You are using an out of date browser. It may not display this or other websites correctly.
You should upgrade or use an alternative browser.
You should upgrade or use an alternative browser.
1:1 Millennium Falcon Cockpit Replica - Group Build
- Thread starter SteveStarkiller
- Start date
Very good stuff Sofa...have you thought about placing some switches near by? Seems to me that some of those "machine parts" ought be switched not from the cockpit only, but near the said "machines" (just a thought)
Hey J,
Thanks! The panels DEF need a few switches sprinkled about. Not too many but enough to make sense.
Just a thought; I've seen the cosplay guys doing some pretty cool stuff with e-cigarette 'smoke' generators. You might want to give these a look for some ideas:
https://www.therpf.com/showthread.php?t=279556
https://www.therpf.com/showthread.php?t=268158&highlight=E-cig+smoke+machine
https://youtu.be/6vnBdmssuEY?t=12m3s
Hey S,
HMMMMM... I'm beginning to lean more toward this idea. I'll have to consult with my resident electronics expert to see if we can make this happen and what, if any, are the possible safety concerns
- - - Updated - - -
A lot of Ghostbuster fans who make their own proton packs have been using e-cig as a vent mechanism. Really cool stuff. I have one in my pack and it's simply beautiful.
Here's a link to a video example (not me or my pack)
https://www.youtube.com/watch?v=EXkIaewQ1oA
WOW!!!!! OK... I'm convinced!
BigBigDave
Active Member
Awesome update Sofa!
This looks like a good spot for one of those "repaired while fleeing and under fire" details - what if one of the wire terminators was missing and there was just a length of bare, stripped wire wrapped around one of those screw terminals? The other wire connectors would tell the story of how it's supposed to be.
Hey BBD,
Thanks so much! I agree! Looking at the panels, they appear to be a little too neat and clean. Some frayed and disconnected wires would DEF help give that used universe look.
Lt Washburn
Sr Member
Are you going to (or have already) make a tool chest and tools to dress the set?
Hi Gang,
Time for another update! Most of the weekend was spent sanding. It was frustrating but those corridor rings had to be finished up. It was hot and muggy but I pushed through. I did manage to get a few other cool things started. Enjoy!
Lots and lots of filler!
After hours of sanding I was able to add some primer. But the primer highlights all the missed areas
And more filler
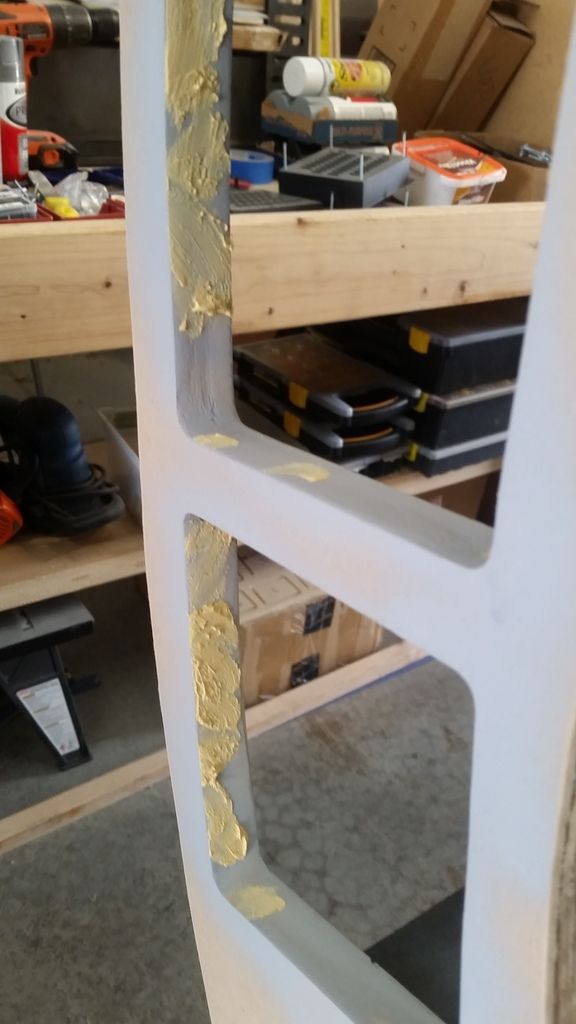
I think there about 6 rounds of filler and sanding...
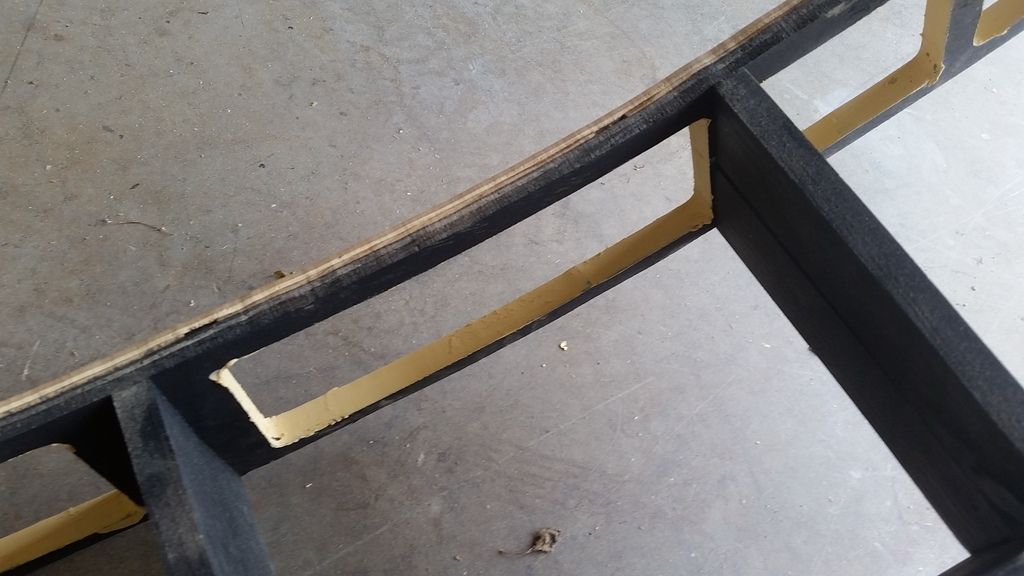
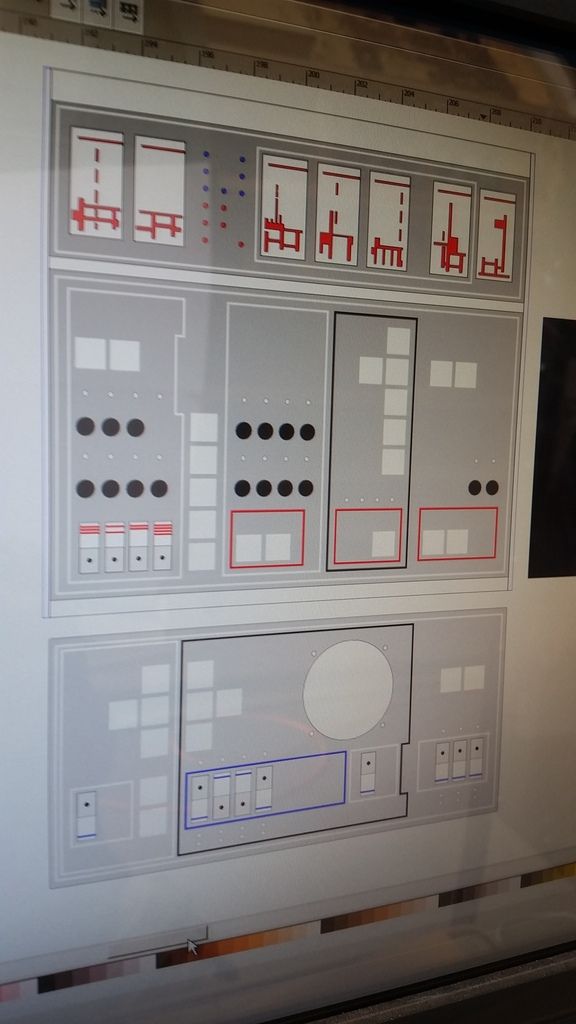
In between all the filling and sanding I made the decision to go ahead and fabricate a new element to the corridor!
There was an incredible amount of design work involved. I was either sitting and designing or sanding and filling
I'm not going to give away too many details just yet!
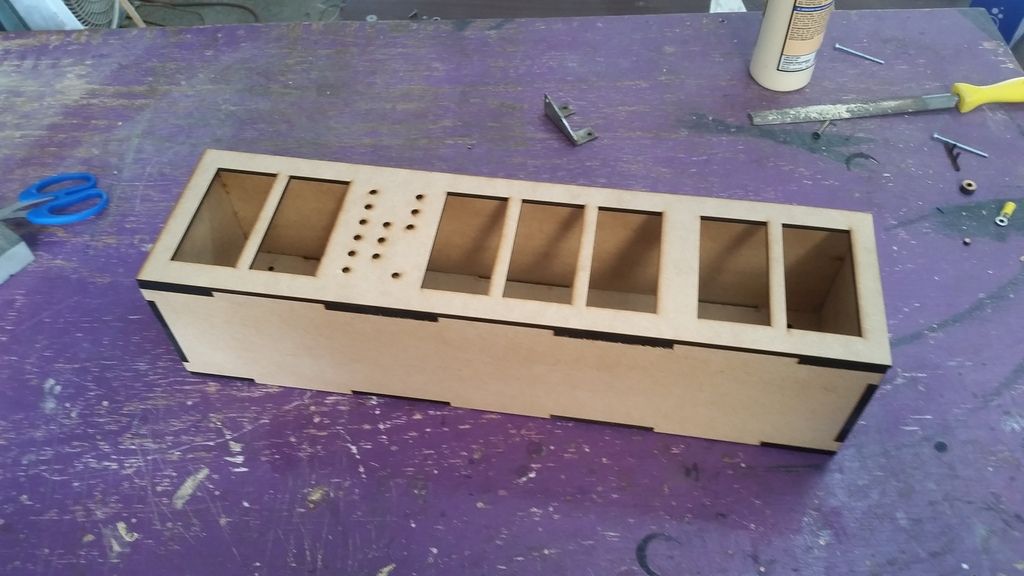
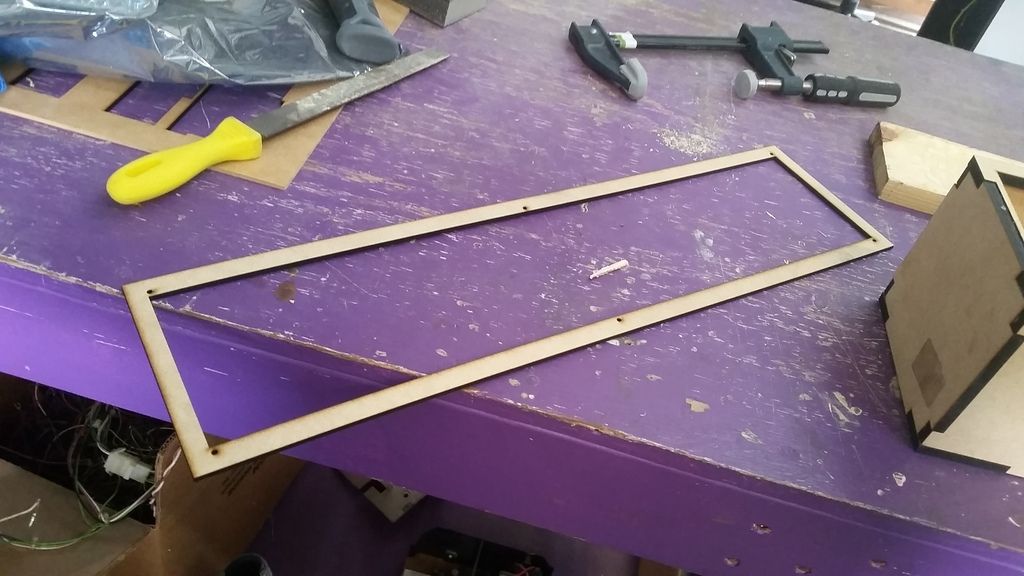
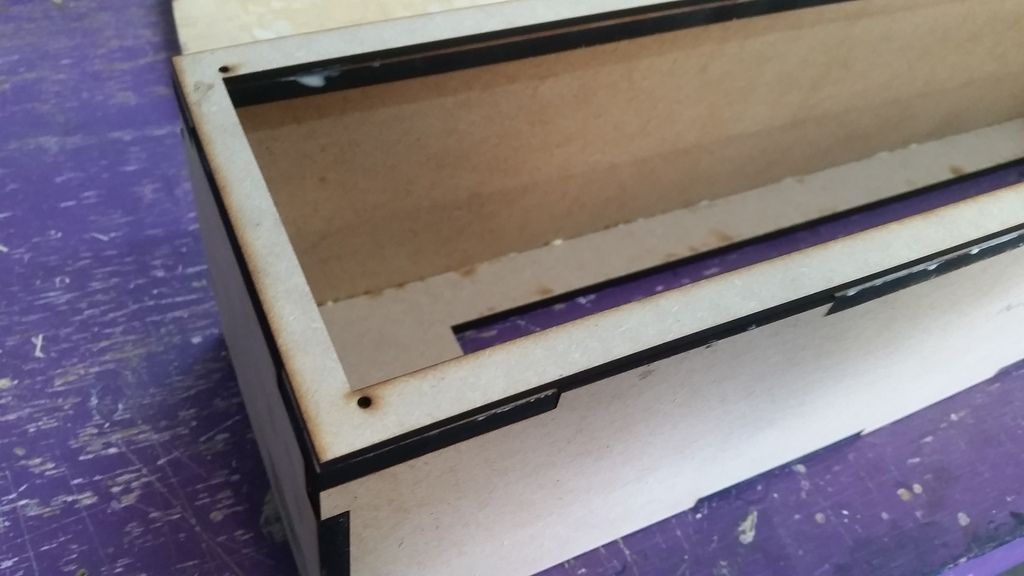
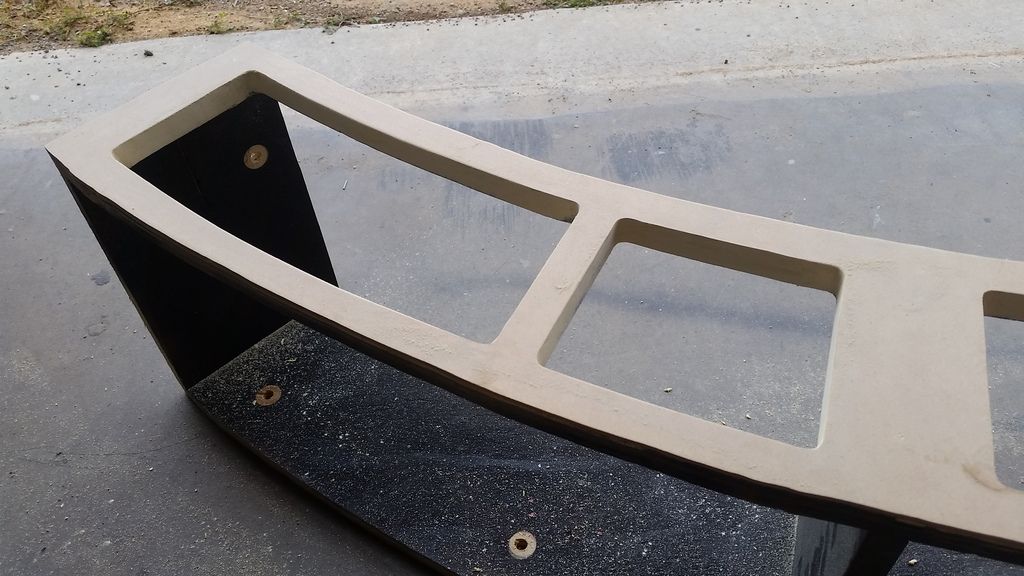
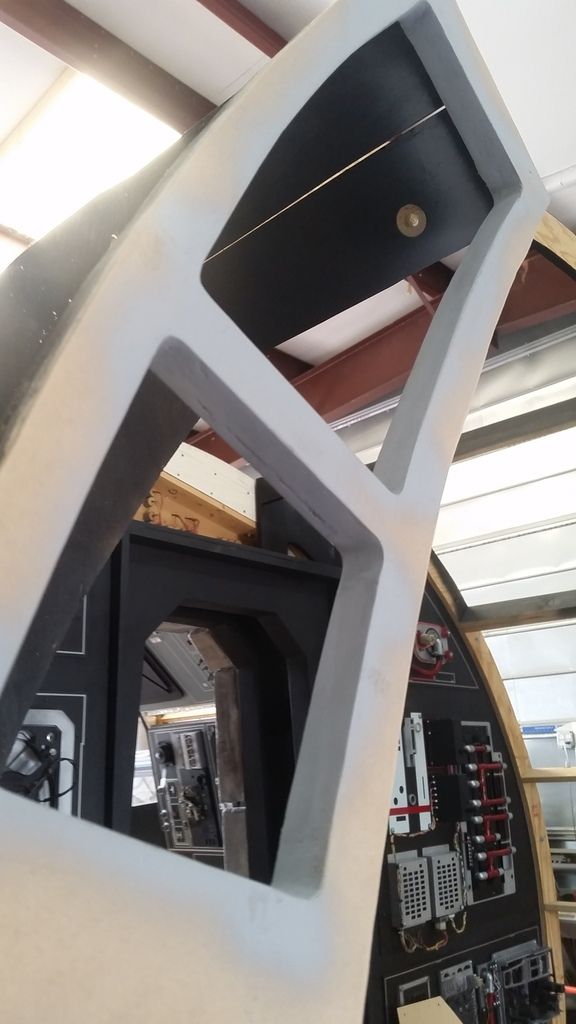
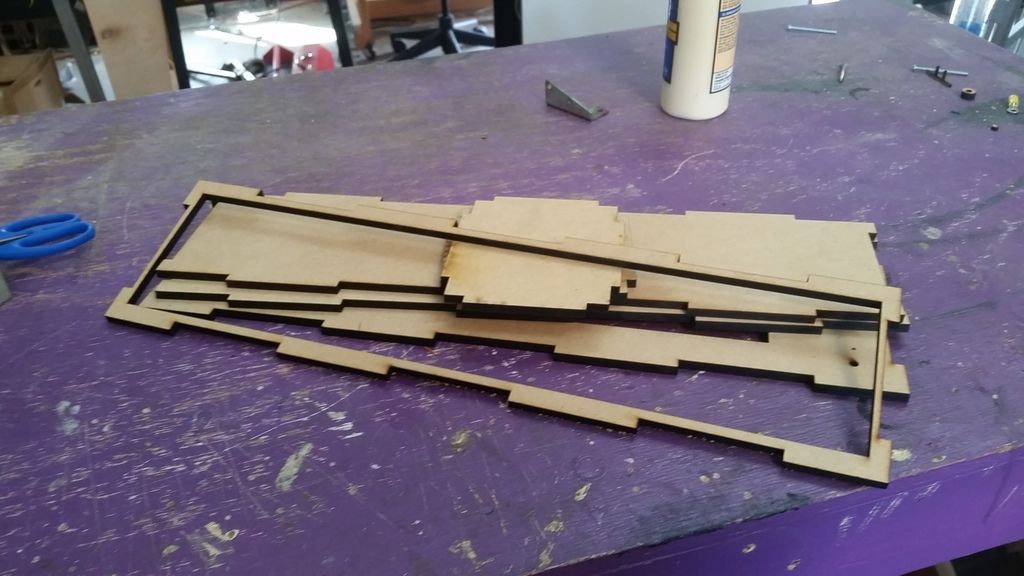
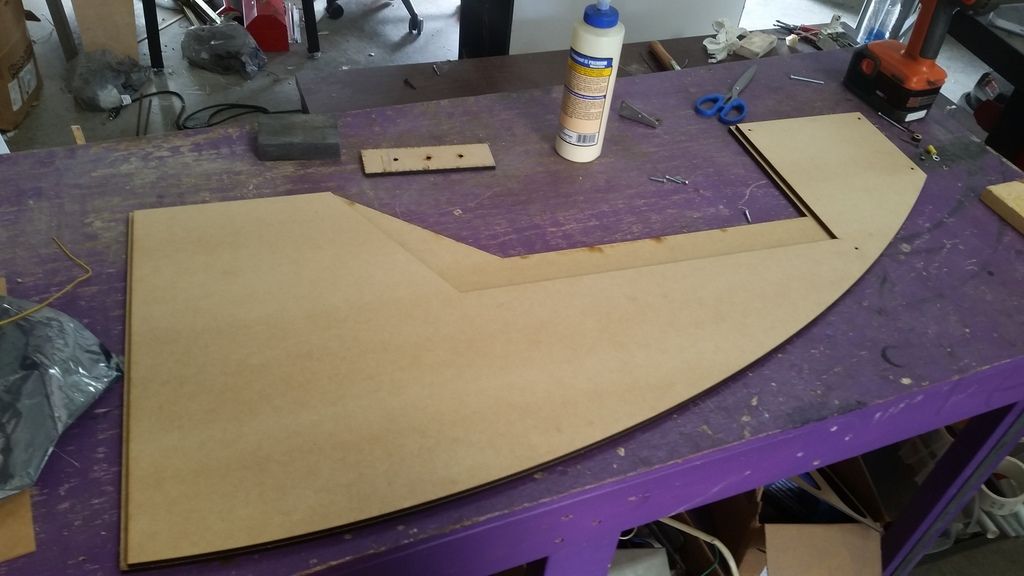
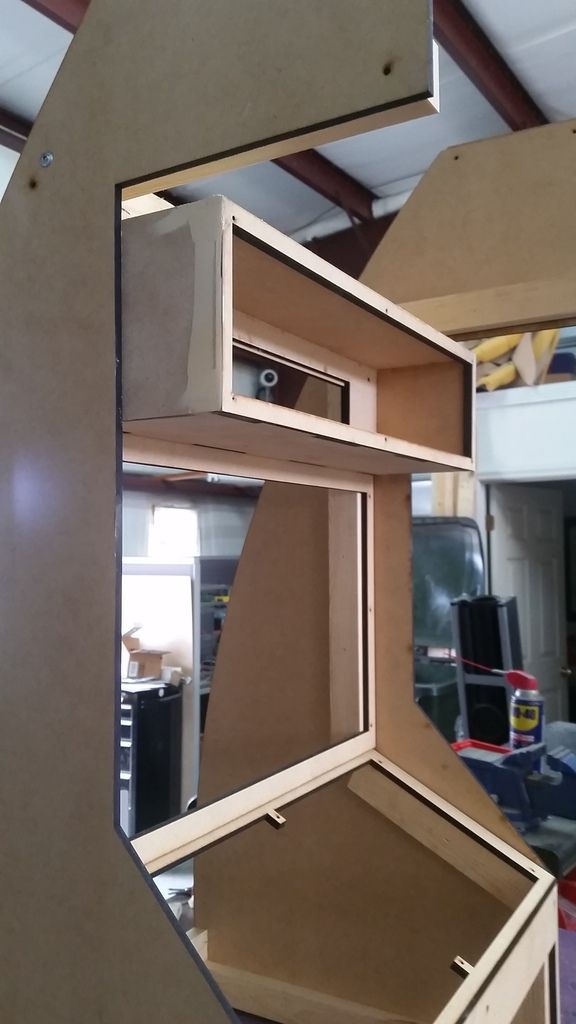
A new side panel
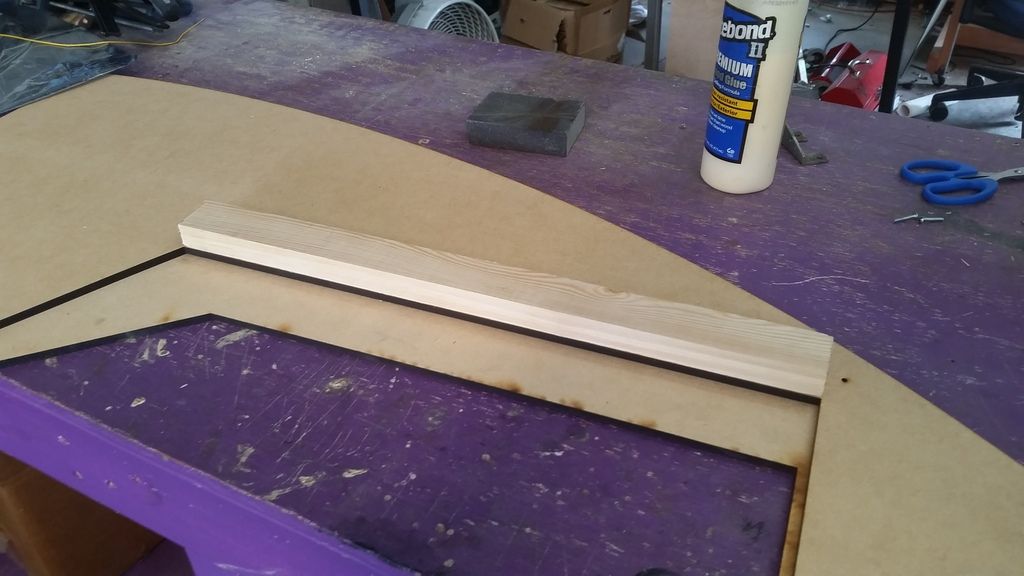
Adding some interior mounting strips
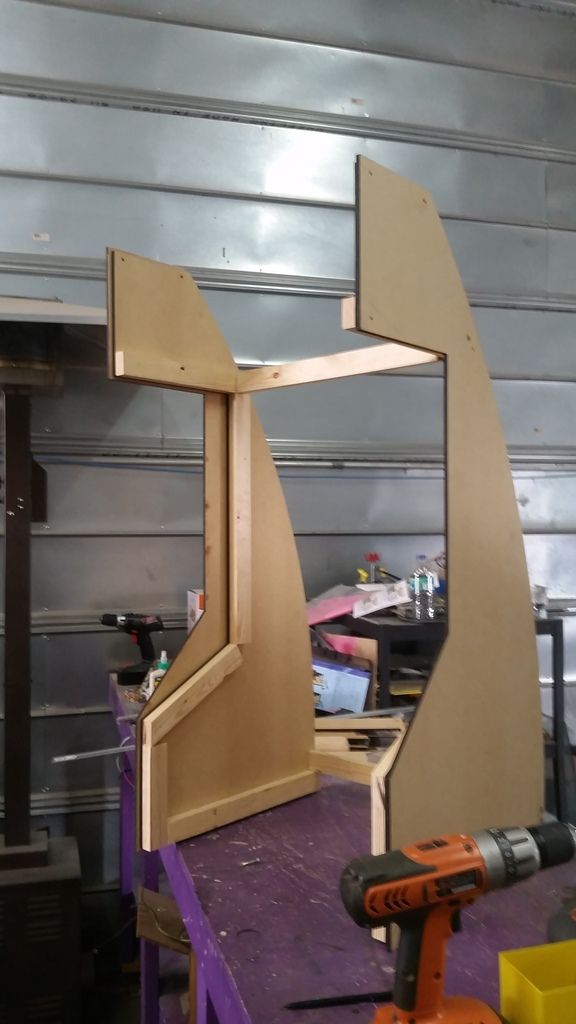
Again... I'm not giving away too much at this time
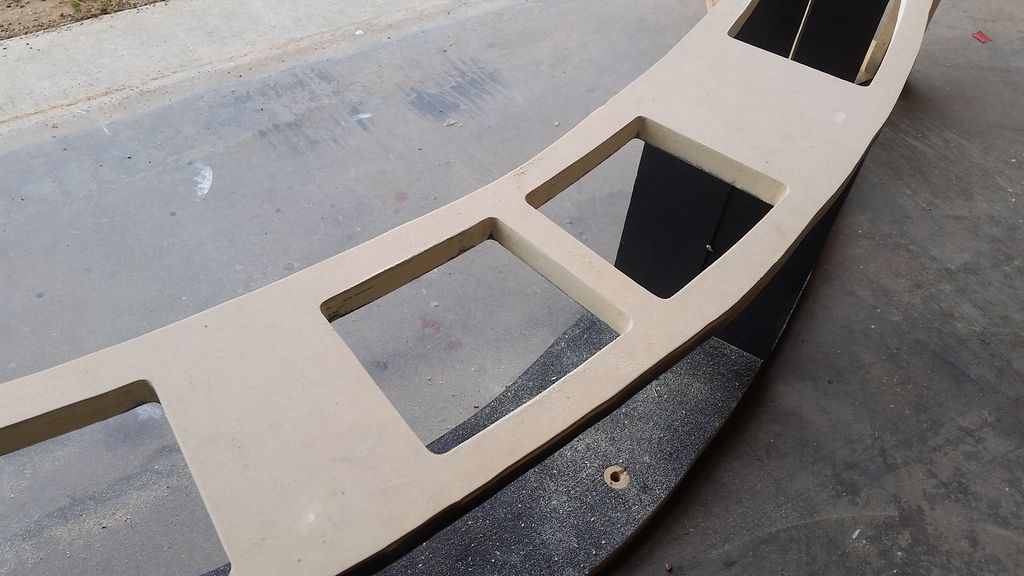
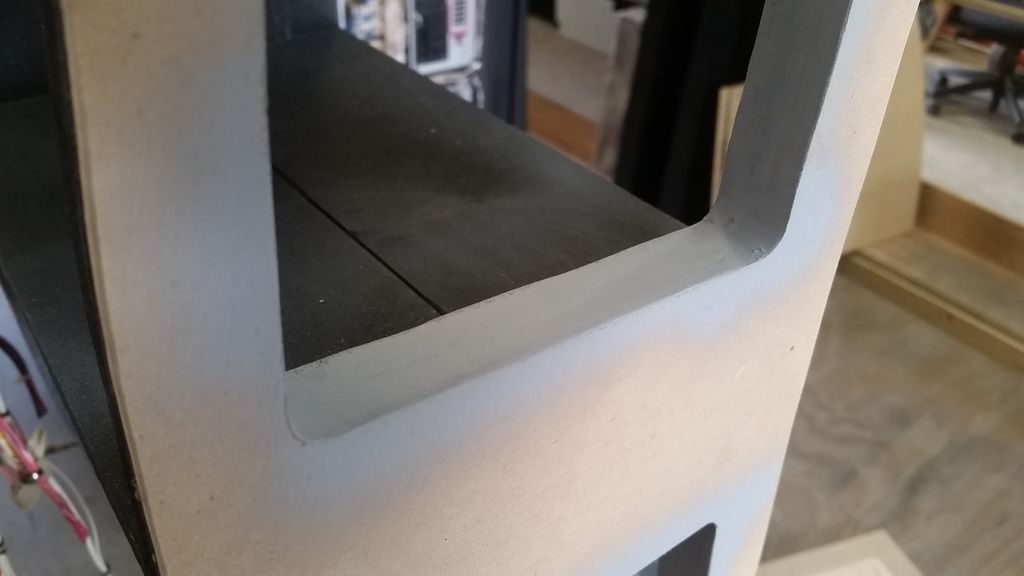
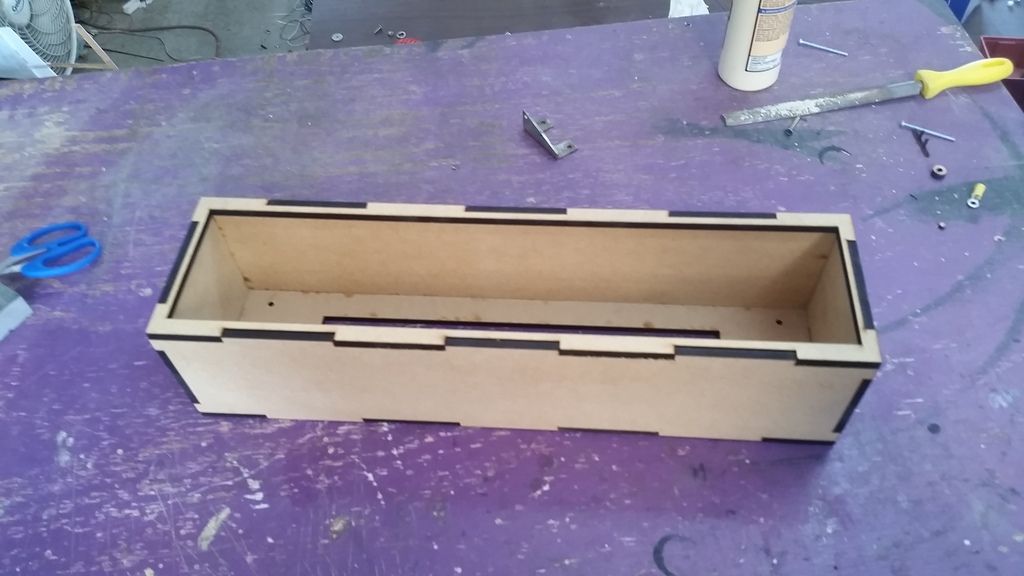
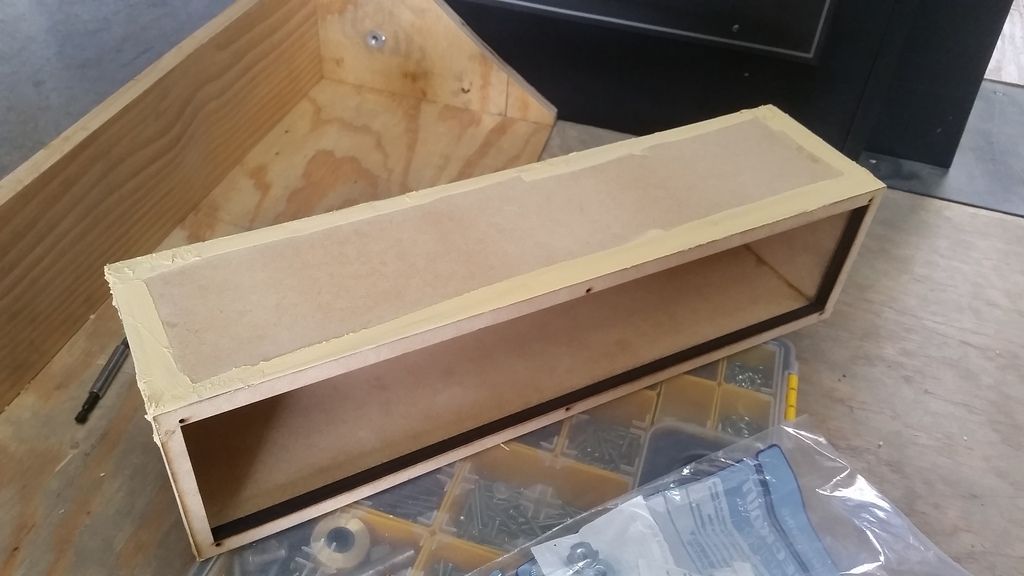
It's not a video game console
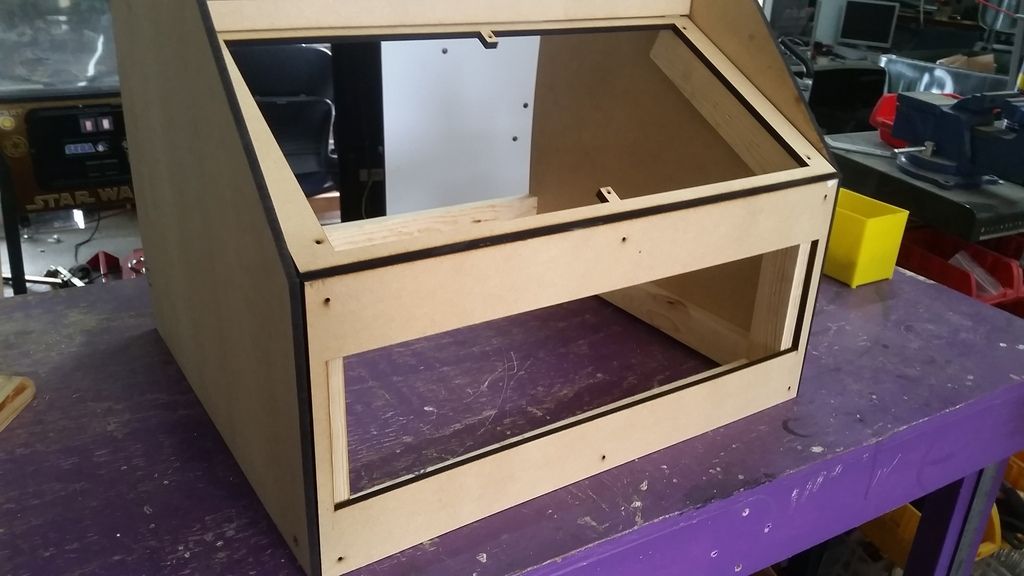
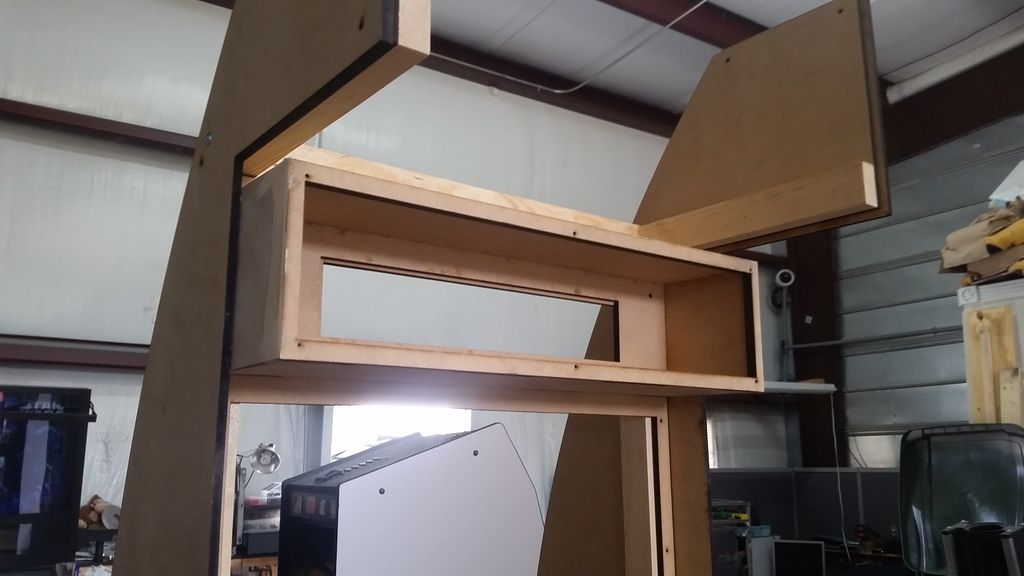
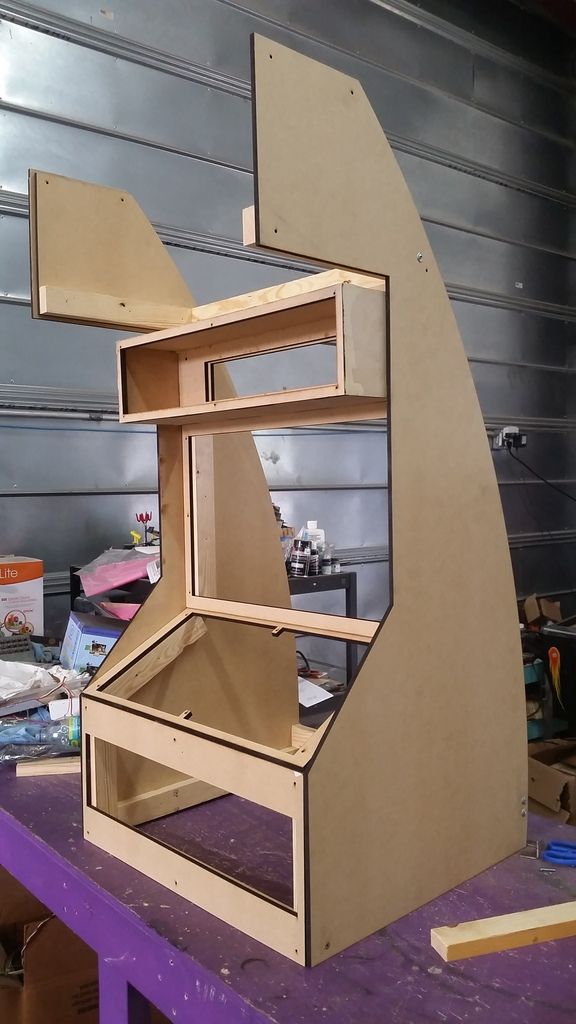
More to follow on this guy
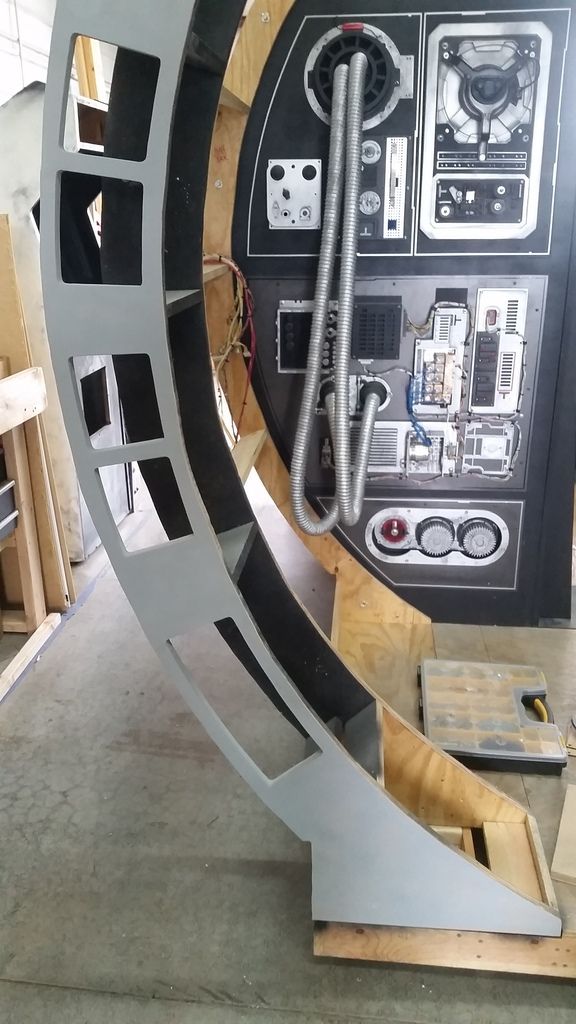
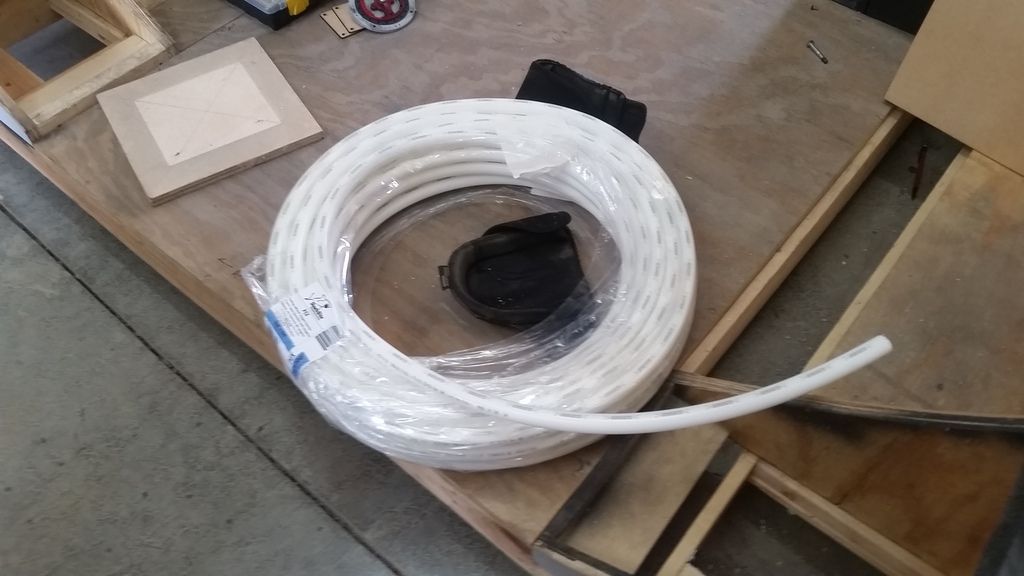
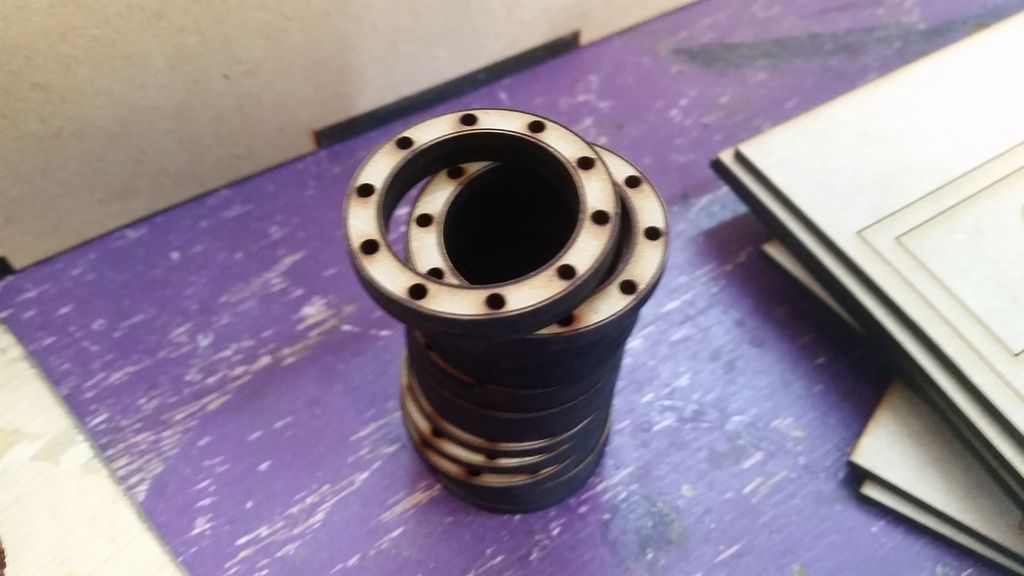
Finally... this morning I purchased this pipe
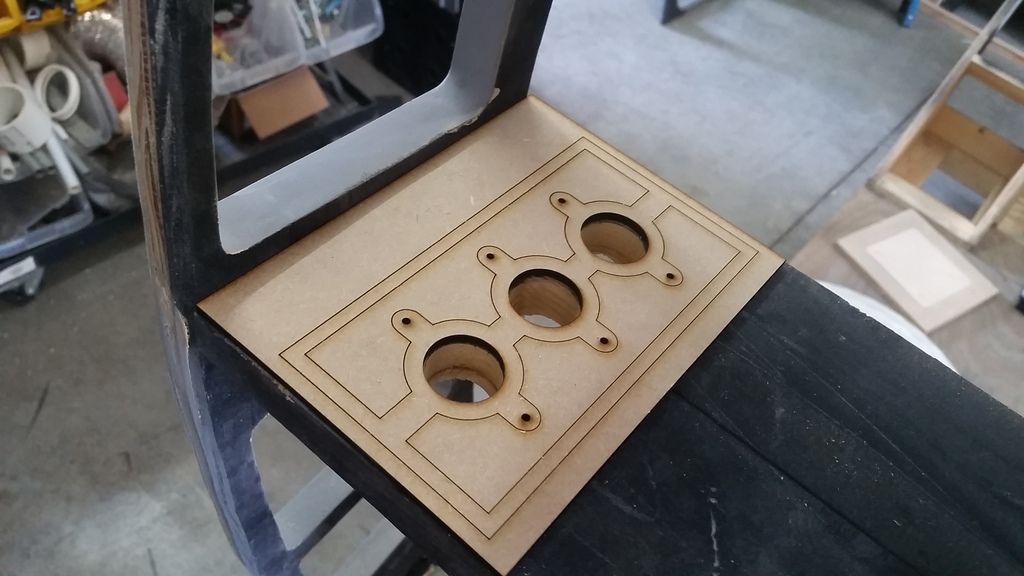
I laser cut this drill / hole saw template
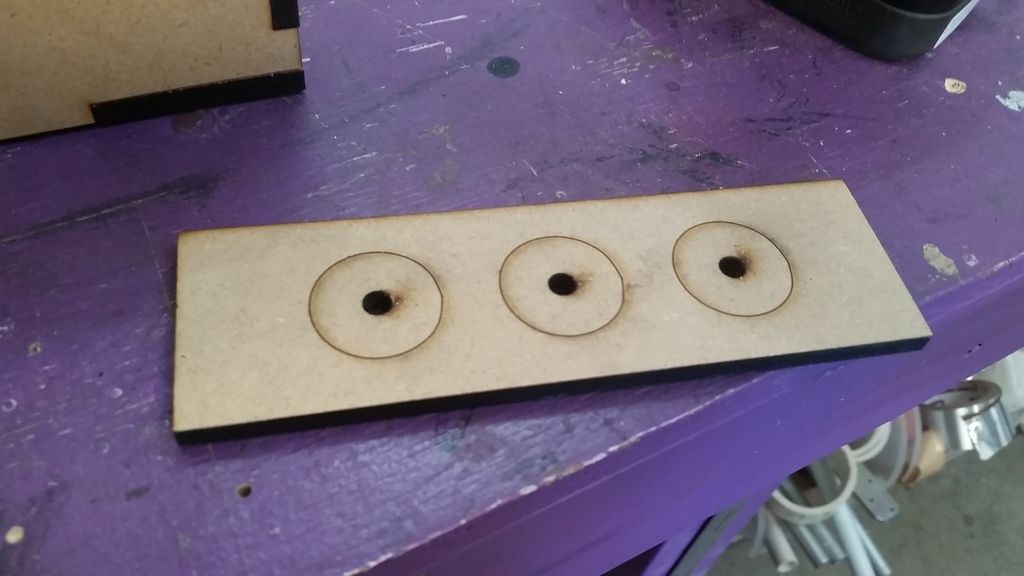
I was going to cut holes into the interior side of the corridor ring
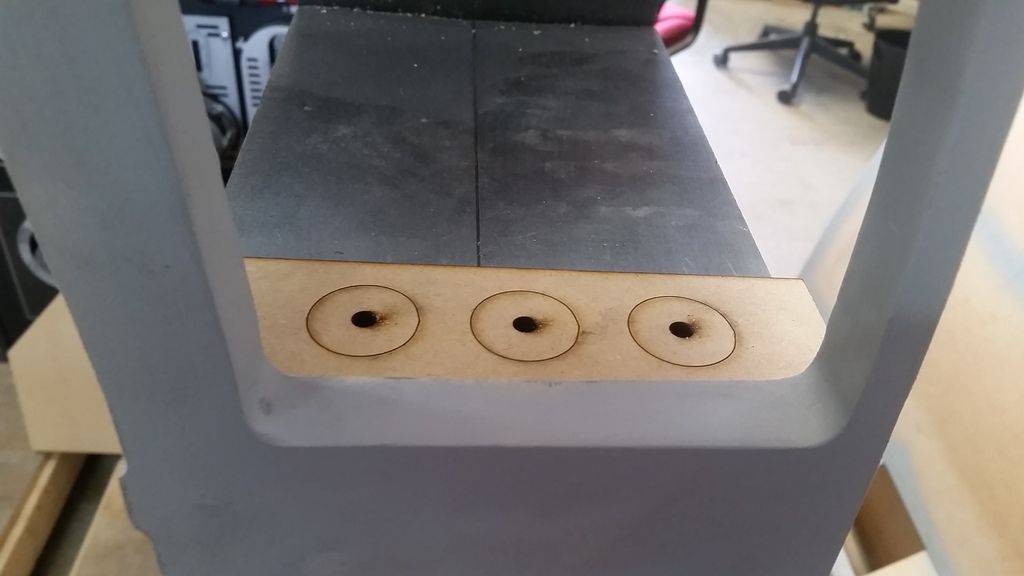
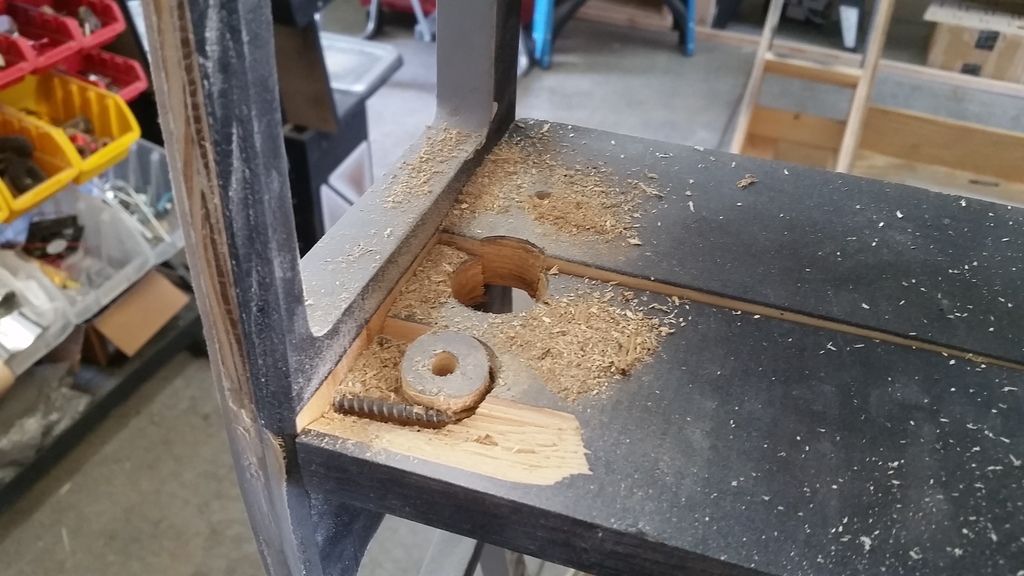
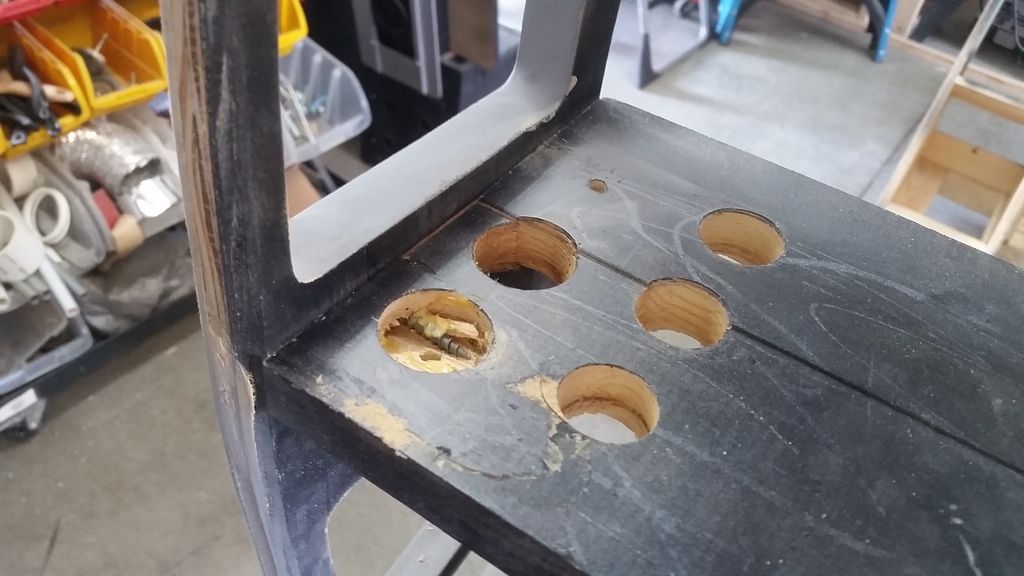
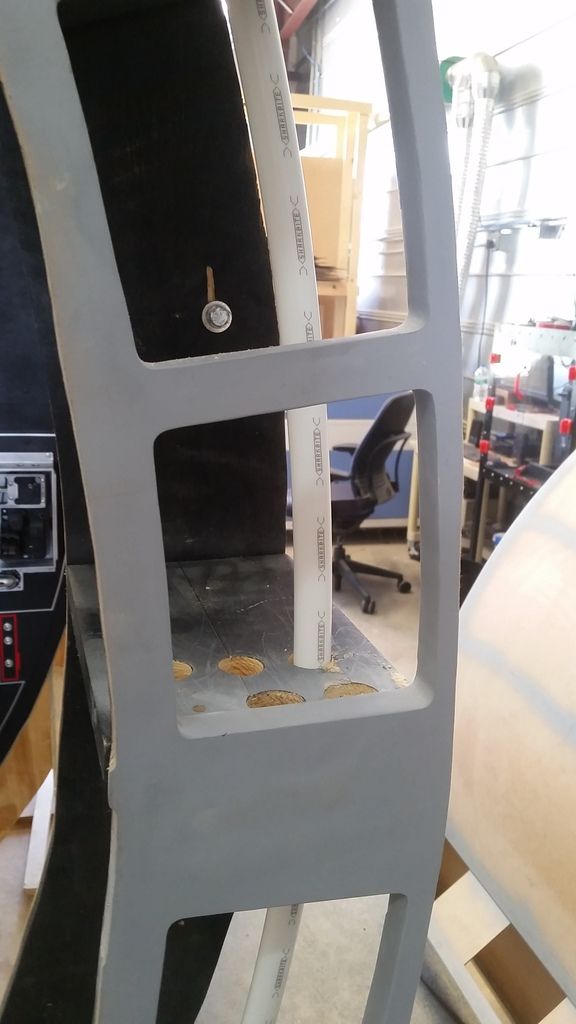
UGH!!! DANG IT!!! I forgot about the longer screws I used. I thought I used the shorter 2" screw
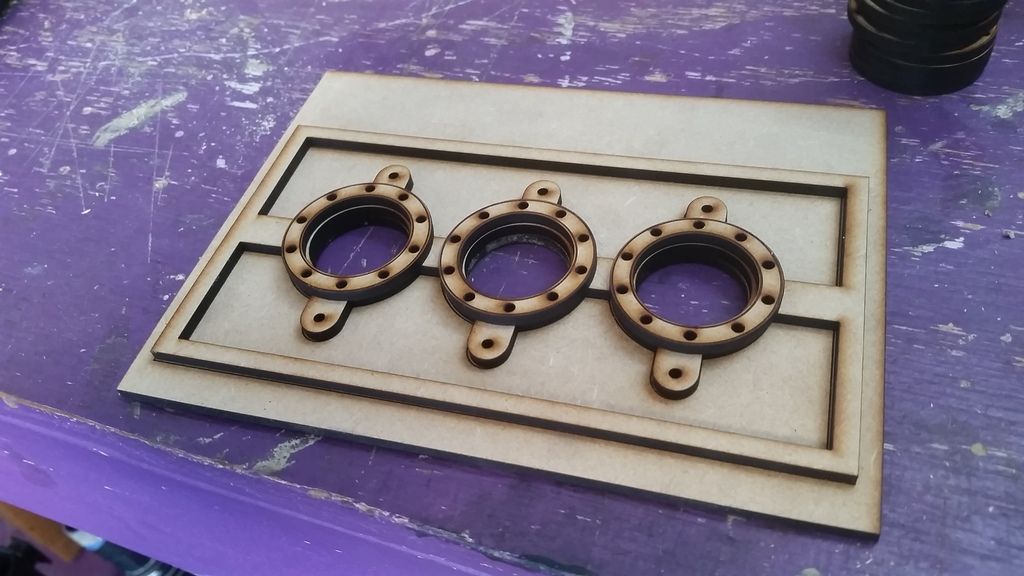
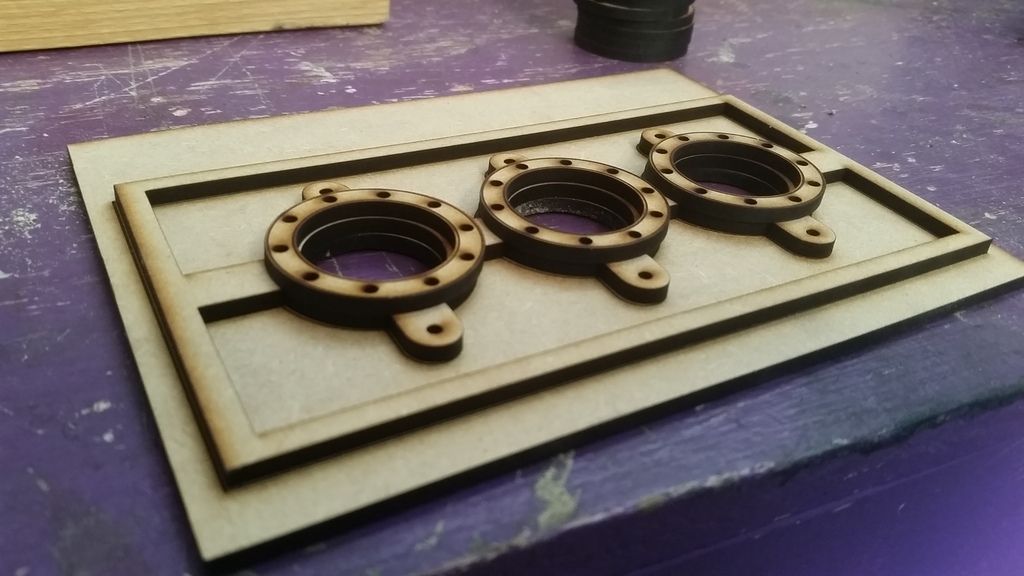
So, after that mistake I designed and laser cut this beauty plate
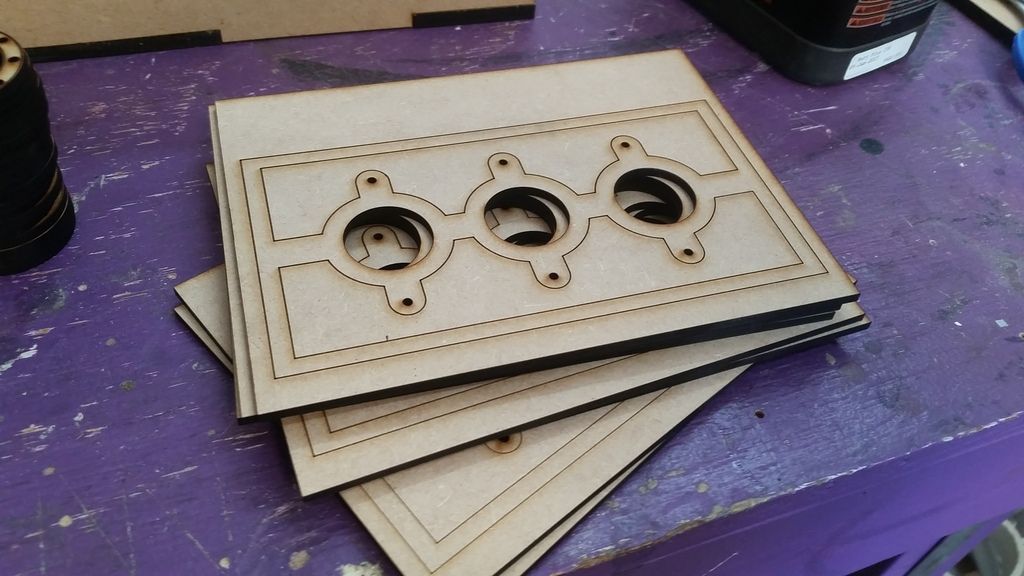
Details
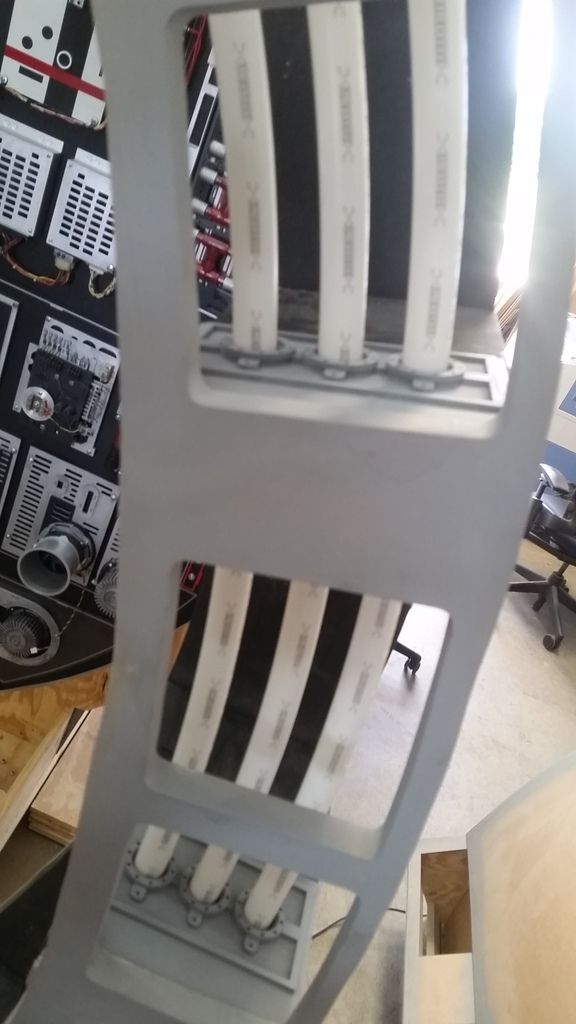
I pushed the holes back a bit further into the interior of the ring
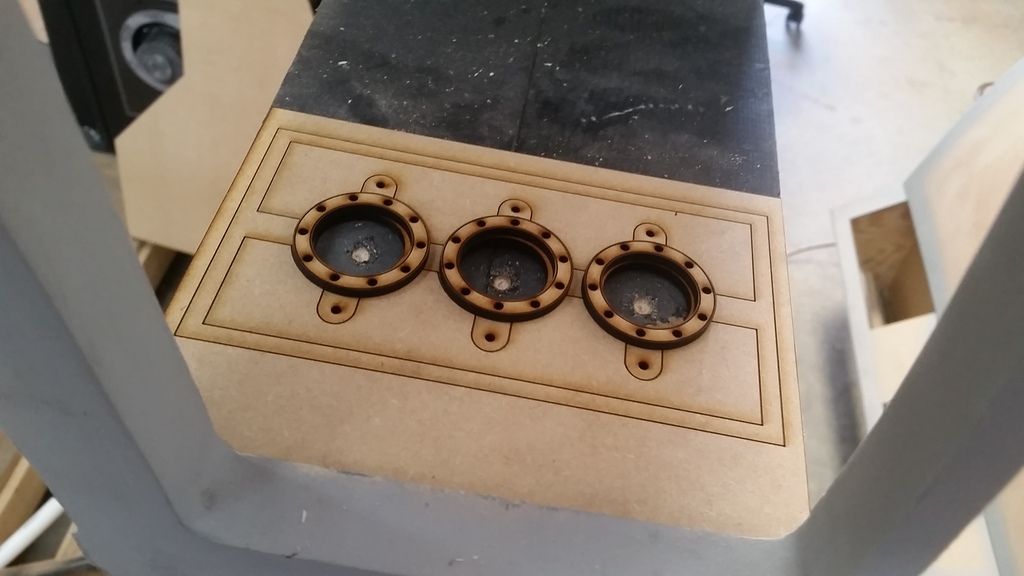
The new beauty plate will cover this disaster but also serve another purpose
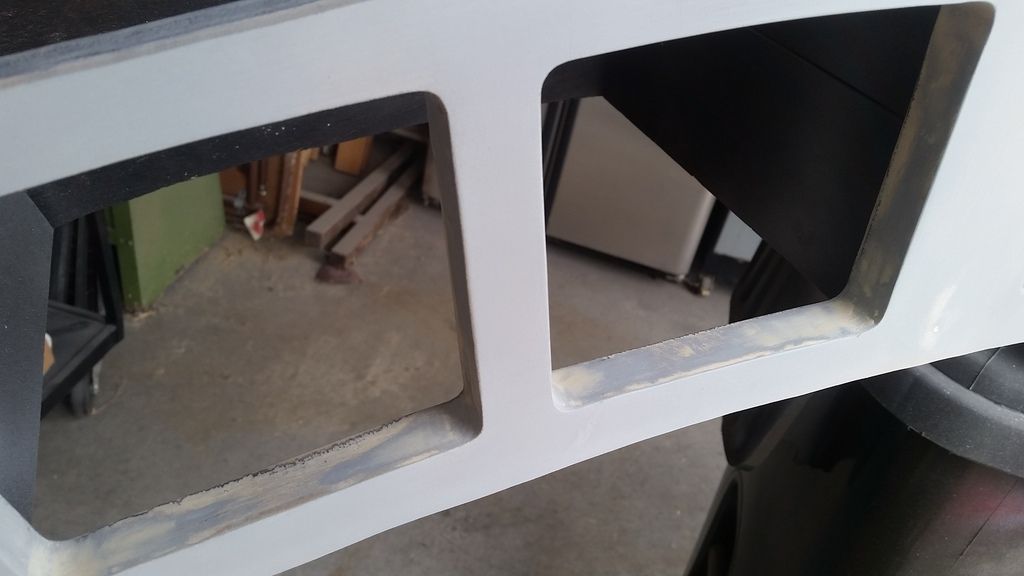
TaDa
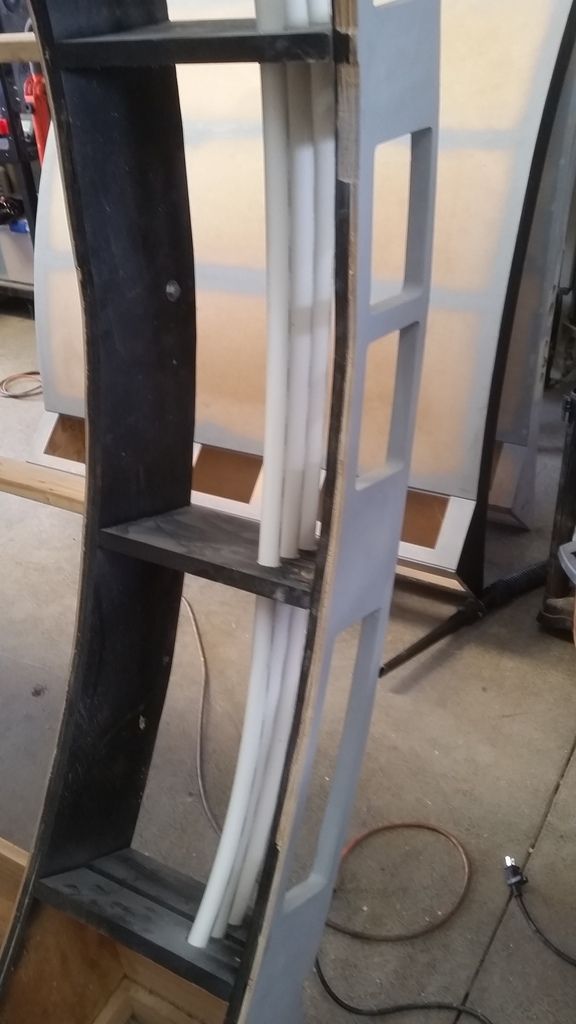
I successfully drilled the holes and fed the new pipe through the holes for test fitting
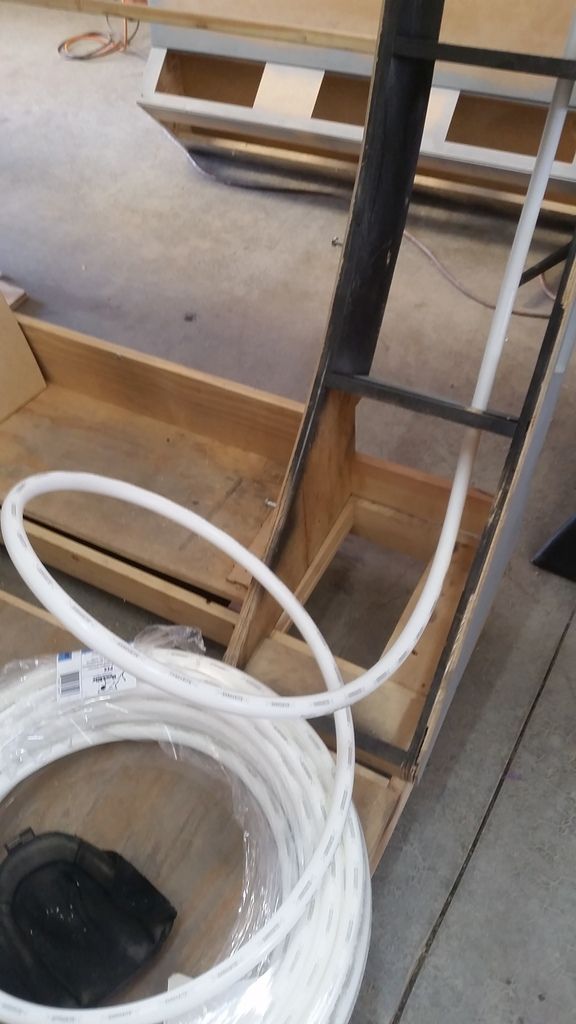
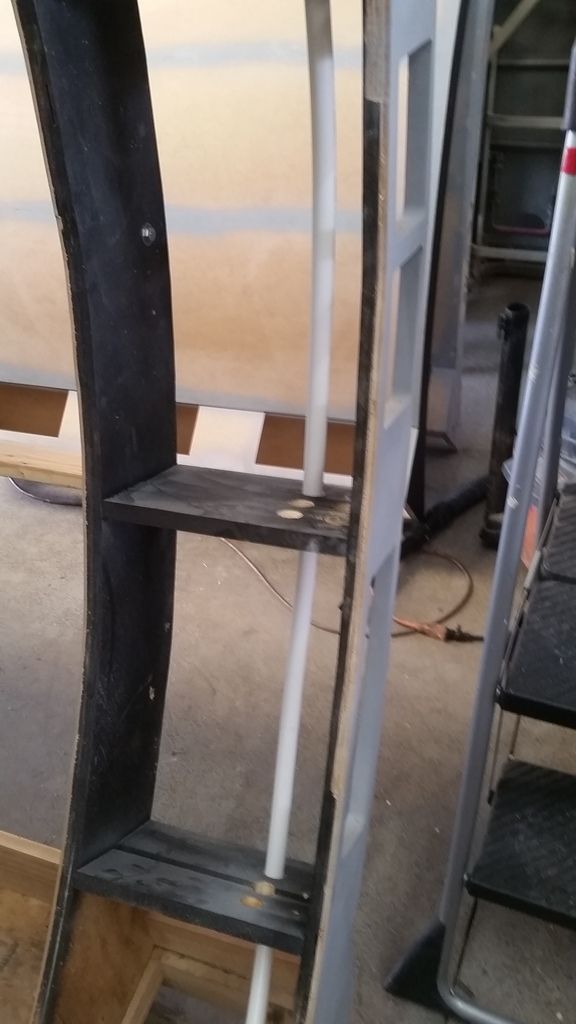
Success!
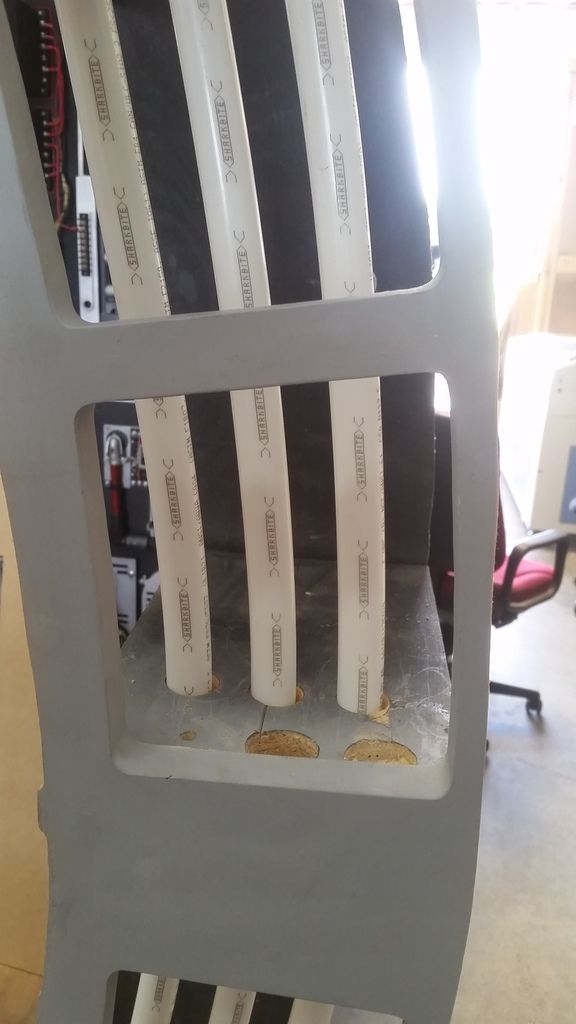

I laser cut 8 of these details per corridor ring - one will mount on the top and one on the bottom. When I reach the end of that section of the ring I'll simply stop the pipe and create a thicker beauty plate for the pipe to rest in giving the look as if it's feeding through to the next section and ultimately the entire ring... at least that's the plan
I'll paint them flat black with a light dusting of silver and then heavily weather
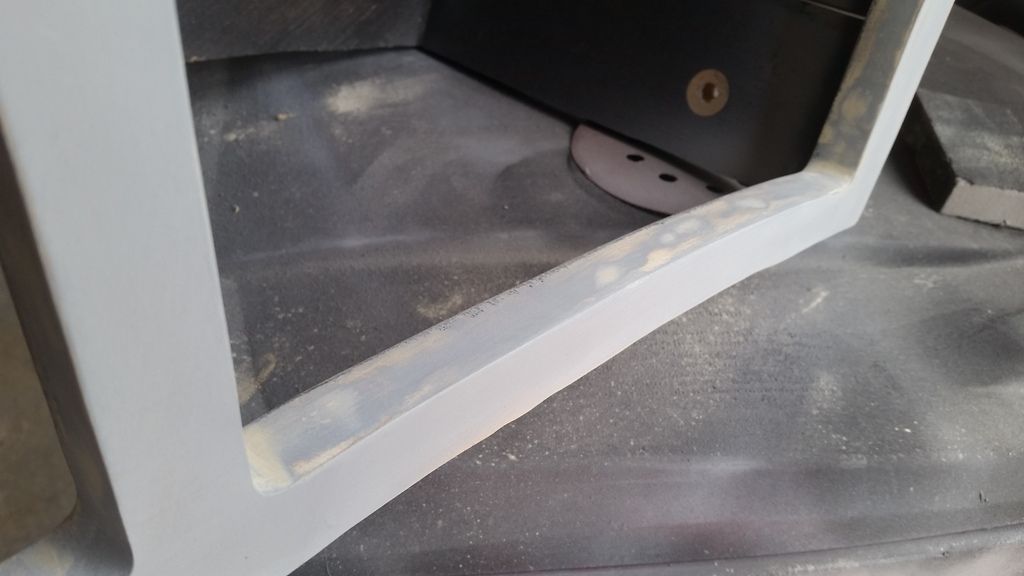
Primer
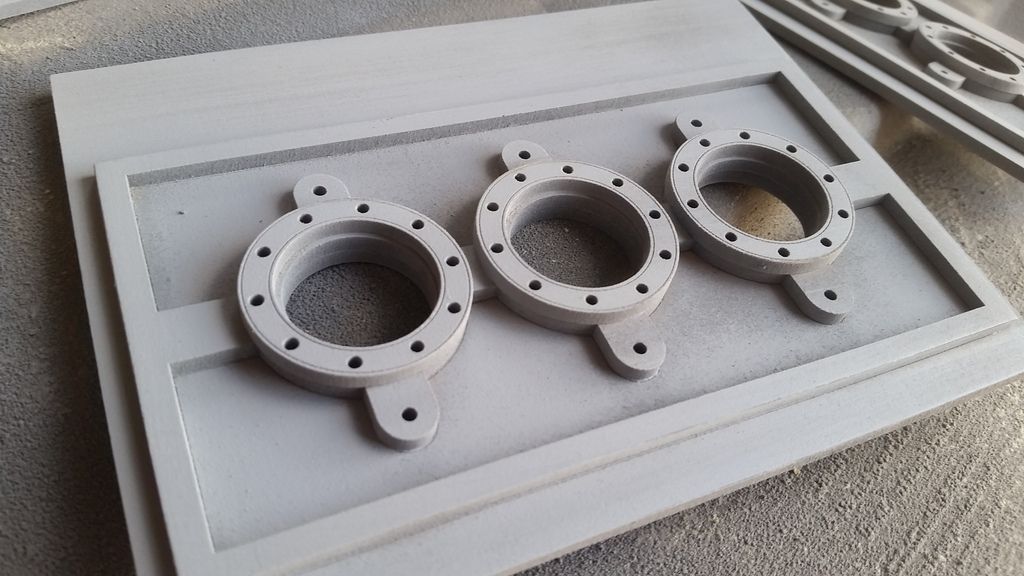
Still lots to do with these guys!
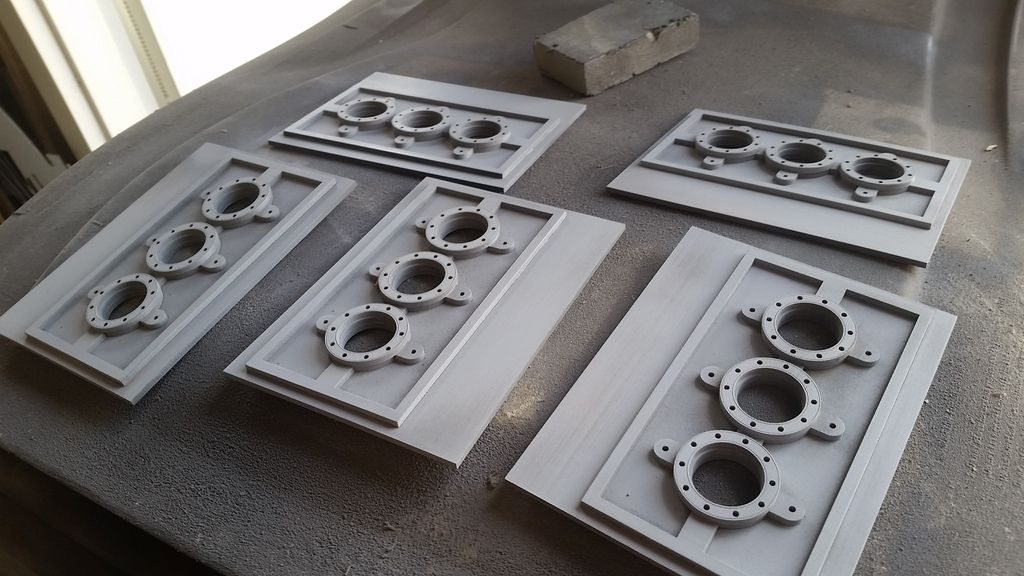
As you can see there are two mounting holes on either side of each pipe. I'll simply screw the plate in place adding another level of detail

Thankfully the beauty plate covers the screw up but also adds a nice detail to the interior of the ring and the empty space in front of the pipe(s) allows more greeblie freedom
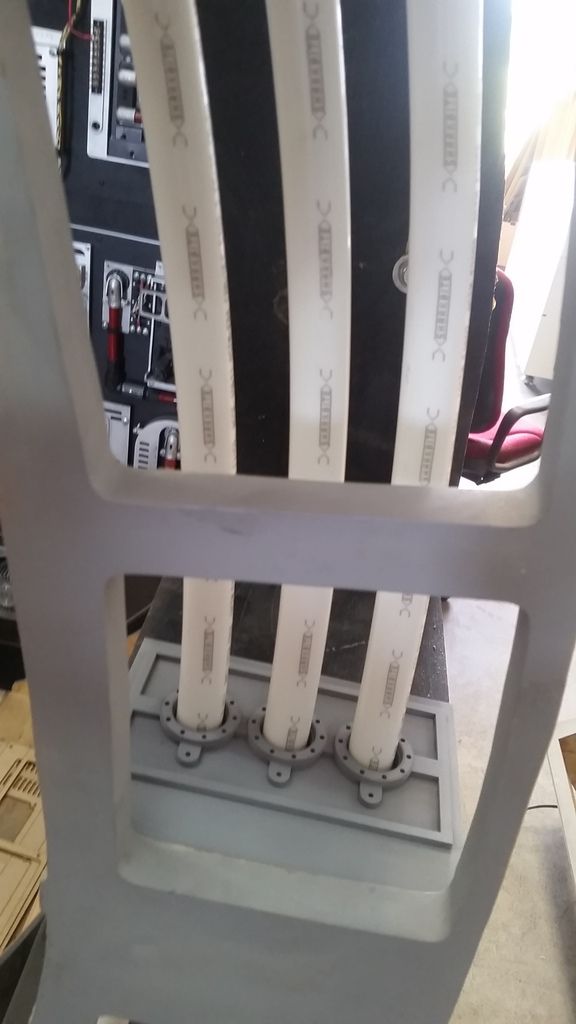
I'd like to add a larger flexible aluminum foil style exhaust pipe behind the three pipes along with some stray wire looms
And this is where we are...
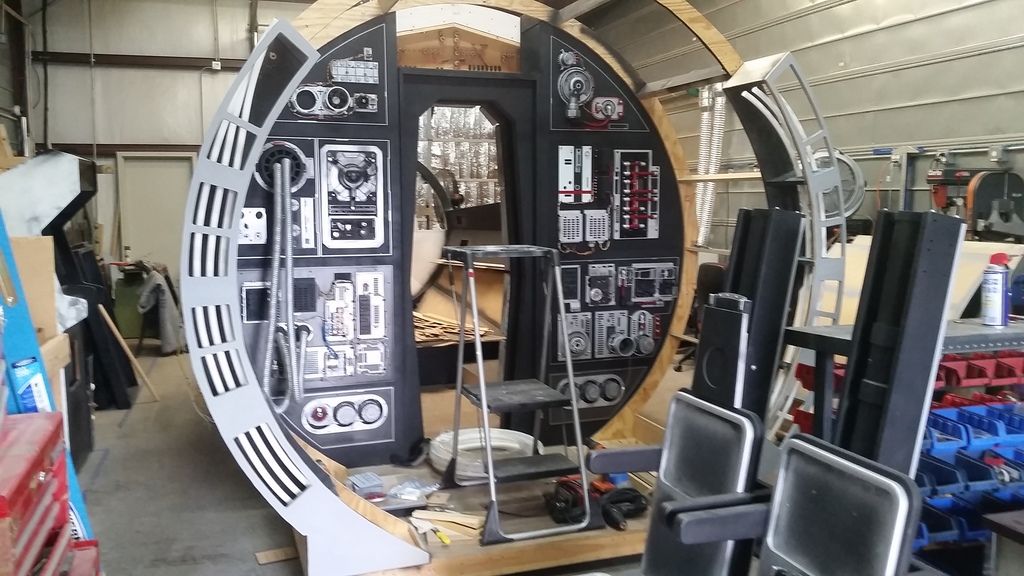
More to Follow So Stay Tuned!
Time for another update! Most of the weekend was spent sanding. It was frustrating but those corridor rings had to be finished up. It was hot and muggy but I pushed through. I did manage to get a few other cool things started. Enjoy!
Lots and lots of filler!
After hours of sanding I was able to add some primer. But the primer highlights all the missed areas
And more filler
I think there about 6 rounds of filler and sanding...
In between all the filling and sanding I made the decision to go ahead and fabricate a new element to the corridor!
There was an incredible amount of design work involved. I was either sitting and designing or sanding and filling
I'm not going to give away too many details just yet!
A new side panel
Adding some interior mounting strips
Again... I'm not giving away too much at this time
It's not a video game console
More to follow on this guy
Finally... this morning I purchased this pipe
I laser cut this drill / hole saw template
I was going to cut holes into the interior side of the corridor ring
UGH!!! DANG IT!!! I forgot about the longer screws I used. I thought I used the shorter 2" screw
So, after that mistake I designed and laser cut this beauty plate
Details
I pushed the holes back a bit further into the interior of the ring
The new beauty plate will cover this disaster but also serve another purpose
TaDa
I successfully drilled the holes and fed the new pipe through the holes for test fitting
Success!
I laser cut 8 of these details per corridor ring - one will mount on the top and one on the bottom. When I reach the end of that section of the ring I'll simply stop the pipe and create a thicker beauty plate for the pipe to rest in giving the look as if it's feeding through to the next section and ultimately the entire ring... at least that's the plan
I'll paint them flat black with a light dusting of silver and then heavily weather
Primer
Still lots to do with these guys!
As you can see there are two mounting holes on either side of each pipe. I'll simply screw the plate in place adding another level of detail
Thankfully the beauty plate covers the screw up but also adds a nice detail to the interior of the ring and the empty space in front of the pipe(s) allows more greeblie freedom
I'd like to add a larger flexible aluminum foil style exhaust pipe behind the three pipes along with some stray wire looms
And this is where we are...
More to Follow So Stay Tuned!
Last edited:
Katuna
Member
"UGH, DANG IT!" ? Nice that you keep it Rated G for the kiddies.
Nice to see some tubing going into the ring. I would try and salvage that center hole and use a corrugated hose. Would give it a change up visually and some extra depth with two layers.
C'mon, we ALL know where your little Pac Man console is going, sly guy : )
Nice to see some tubing going into the ring. I would try and salvage that center hole and use a corrugated hose. Would give it a change up visually and some extra depth with two layers.
C'mon, we ALL know where your little Pac Man console is going, sly guy : )
Love it!
BigBigDave
Active Member
Again... I'm not giving away too much at this time
Me (out loud, to my monitor): It's a video game console!
It's not a video game console
For a second there I thought I'd somehow switched over to a live chat session.
Is it the Nav computer?
THERMATRON ENGINEERING LIQUID-TO-AIR HEAT EXCHANGER RADIATOR 720TBM0A02 115W,
Would this work off of a heat exchanger? On ebay.
or
CM740-A00, Foxconn, Cooling Fan, USED! on ebay.
Intel Foxconn Cooling Fan And Heat sink $8.00 ON EBAY RIGHT NOW.
Hey V,
Thanks for the great ideas! I found another fan with a cone on Ebay. I just need one more to complete the set!
- - - Updated - - -
Good lord!! Just that little bit of red changes everything. Every detail is fantastic brother, great work as always!
Thank you, my friend! I hope I didn't go overboard with the red?
- - - Updated - - -
Are you going to (or have already) make a tool chest and tools to dress the set?
Hey LtW,
I've been so busy working on greeblies I haven't had time to think about the surrounding "props". I like the idea of the tool box with misc SW style tools and greeblies!
"UGH, DANG IT!" ? Nice that you keep it Rated G for the kiddies.
Nice to see some tubing going into the ring. I would try and salvage that center hole and use a corrugated hose. Would give it a change up visually and some extra depth with two layers.
C'mon, we ALL know where your little Pac Man console is going, sly guy : )
Hi K,
LOL! That's not exactly what I said!
I have a few more ideas for the interior side of the corridor rings. I like the idea of a corrugated tube. I'll go back to the improvement store(s) and see what I can find.
- - - Updated - - -
"UGH, DANG IT!" ? Nice that you keep it Rated G for the kiddies.
Nice to see some tubing going into the ring. I would try and salvage that center hole and use a corrugated hose. Would give it a change up visually and some extra depth with two layers.
C'mon, we ALL know where your little Pac Man console is going, sly guy : )
Hey K,
Yeah... I DEF had to dial it back when posting. I was a bit more colorful at that particular moment!
Great idea on adding a different style tube / pipe. I'll sneak by the improvement store and see what I can find.
Sly Guy? Me? Nahhhhhh
- - - Updated - - -
Love it!
Thank you thank you!
- - - Updated - - -
Wow, those pipes and those details are the bomb!! As for the new console...I think it's a new sound system: sounds for the cockpit, take-off, landing, hyper speed, etc
Hey J,
Thanks so much! As much as I hated all the sanding and filling, its so worth it when it all finally comes together. You're not completely far off with the new console I'm building. I don't know what, if anything, Daniel and Co have in mind.
- - - Updated - - -
Ah, that's gotta be the tea, coffee, bantha milk and wookie snacks dispenser. The drinks bubblie around them tubes like a psycadelic oil lamp, or something like that :cool
You were so close! Its the Wookie Bath and Body station - shampoos, conditioners, lotions, etc...
- - - Updated - - -
Me (out loud, to my monitor): It's a video game console!
For a second there I thought I'd somehow switched over to a live chat session.
LOL! It does look a lot like an arcade cabinet. I'm hoping to have the shell finished by the weekend and at least "in place" to get an idea of how it will look.
- - - Updated - - -
Is it the Nav computer?
Hey 13,
It is not the Nav Comp. I am going to build the Nav Comp after I'm done with the cockpit. I need to have something to accompany the 3rd nav chair I'm building.
Roughneckone
Sr Member
Off-topic question... Can anyone point me in the direction of an on-line photo of the interior gunner station WITHOUT anyone sitting in the seat? Preferably decent resolution and preferably in color (though I guess I can live with a black & white). Thanks!
Don't know if this of any help?

Roughneckone:cool
trainman
Well-Known Member
Don't know if this of any help?
Not really, but thanks. I'm trying to do a digital merging / mash-up of a friend sitting in the seat, instead of Luke / Han / Finn. I'll figure out a way regardless, even if I have to partially erase one of those three characters in order to paste the friend over them. Would've been easier to do without somebody sitting in there first though.
Similar threads
- Replies
- 2
- Views
- 859
- Replies
- 6
- Views
- 609
- Replies
- 8
- Views
- 549
- Replies
- 4
- Views
- 775
- Replies
- 4
- Views
- 2,304