indiefilmgeek
Sr Member
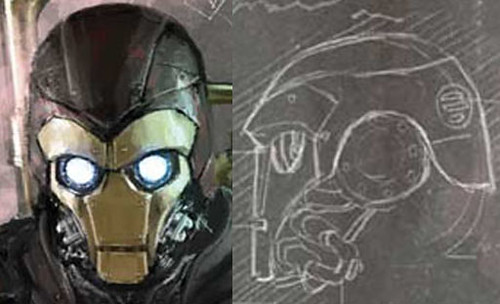
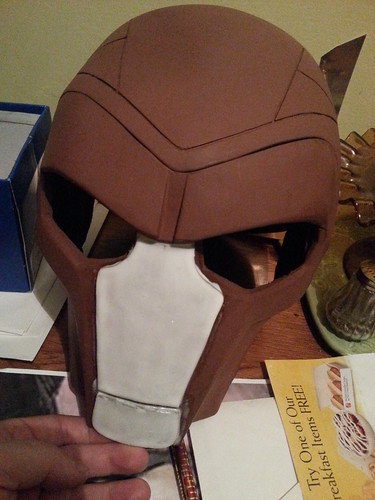
Re: Steampunk Ironman Helmet WIP - Carving Detail Lines Video
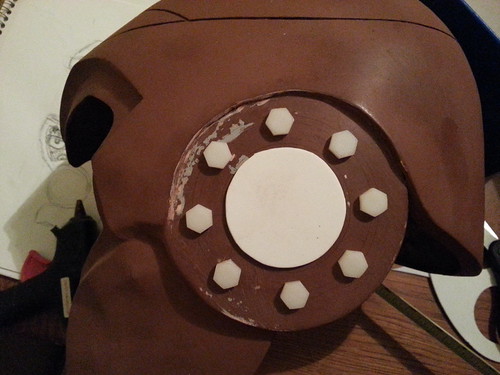
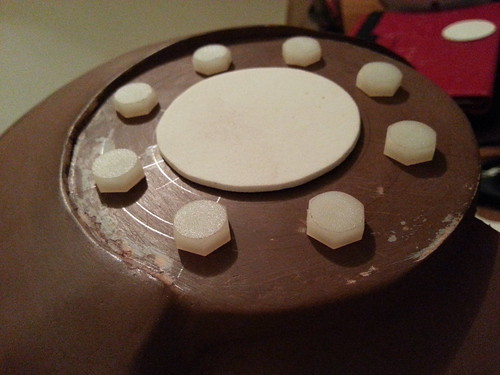
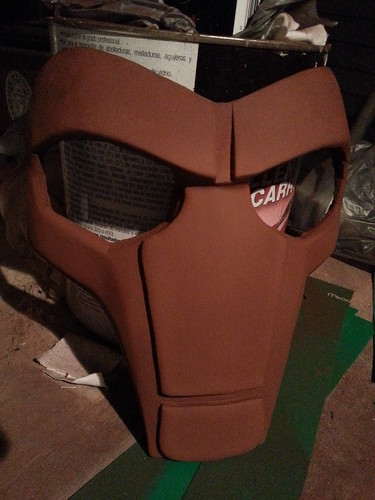
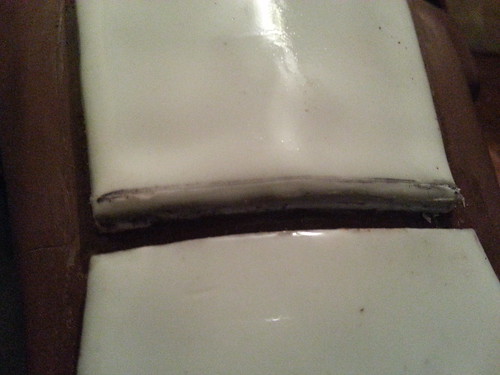
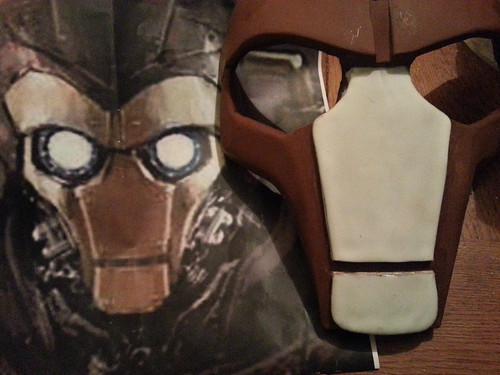
How did you get that texture on your armor pieces? I really like that look! :love
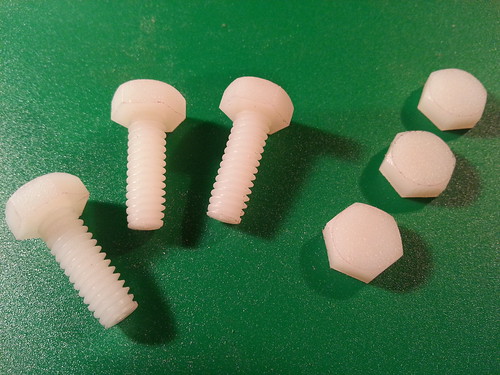
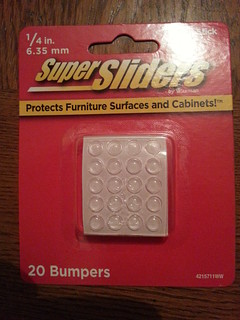
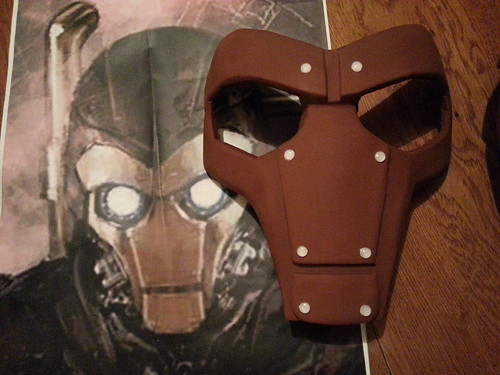
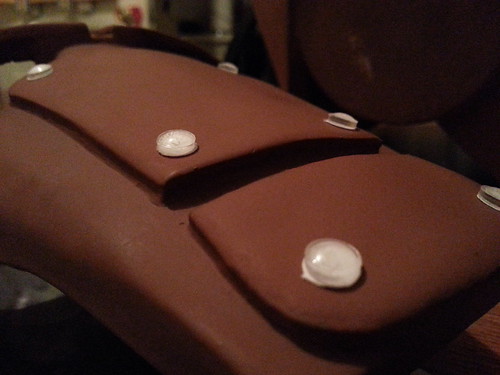
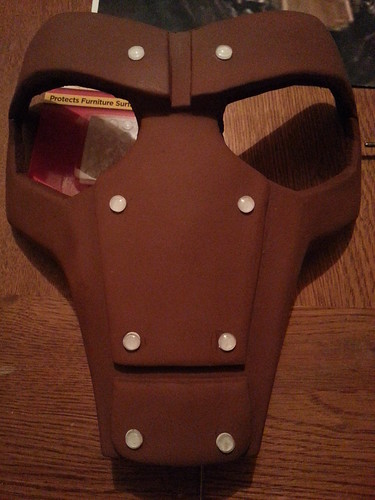
Just another option: I used thumb tacks for the rivets on my Fallout armor
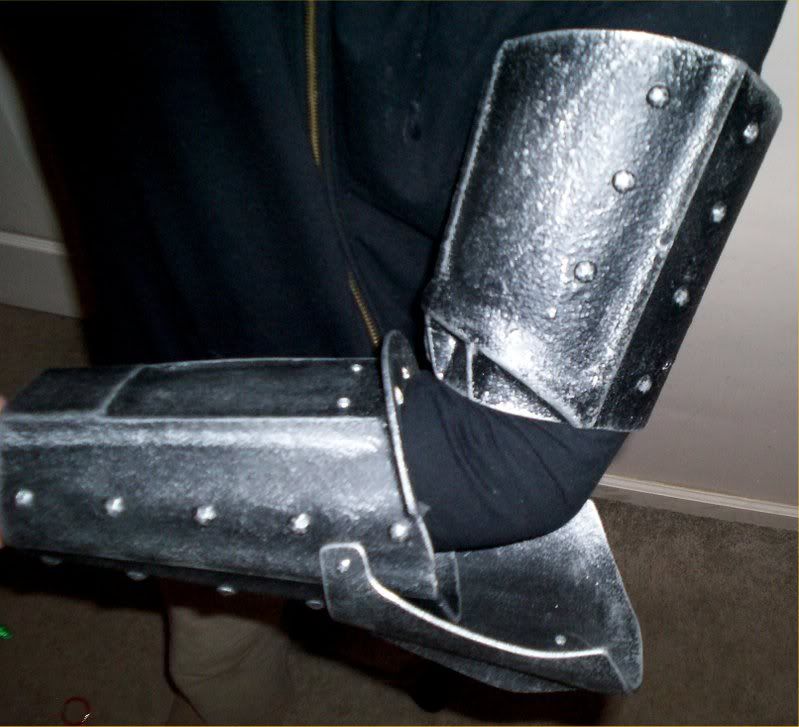
How did you get that texture on your armor pieces? I really like that look! :love
") :thumbsup
:thumbsup