The Definitive Peter Quill/Star-Lord Costume Thread

Several people here have ordered from black leather jacket and received their jacket and were satisfied. Also, BLJ is just a reseller and you can by the same jackets elsewhere like ebay or amazon if you are more comfortable that way. People just went with BLJ because they were the first to sell.

They often have new Guardians gear for sale before others, even ebay or amazon.

EDIT: I should probably add that these are more budget-minded options. There are some very accurate jackets being worked on here if you can afford it.

Checked around Amazon and FJackeet seems kinda good. Says it a leather jacket and its only like $5 more then the BLJ fake leather jacket Even with shipping its still about $50 cheaper so I think I'll go with FJacket unless people (here) have anything negative to add to it..Saw the pricey $450+ jacket, not really in my range of what I wantto spend.
 
Fjacket made my VOL1 short jacket. I don't think they actually made it custom and just shortened a medium. Which is a little tight in the shoulders. Also arrived with very light damage on the right arm.

As far as what VOL2 budget jacket to recommend. There seems to be a rapidly building amount of options. It's rather interesting compared to VOL1, which didn't have so much so soon.

For those that require a budget jacket. I might suggest wait a month or so and see what else shows up. You could do the shirt build, like when he meets Ego, in the meantime.
 
Your build looks fantastic! How are you re painting/weathering the jacket?
I used Angelus Leather paint! Started off just painting in the parts that should have been blackish brown. I then mixed the paint with some water and painted it all over, then wiped it off. It darkened it up, and stayed in deep parts which added a lot of dimension. After all that dried, I planned to airbrush the rest but instead I put very little of the leather paint on my brush and dry brushed some parts that needed to be more weathered or darker. Heres a before of the jacket!
18556158_10211123038623872_13546199553848035_n.jpg
 
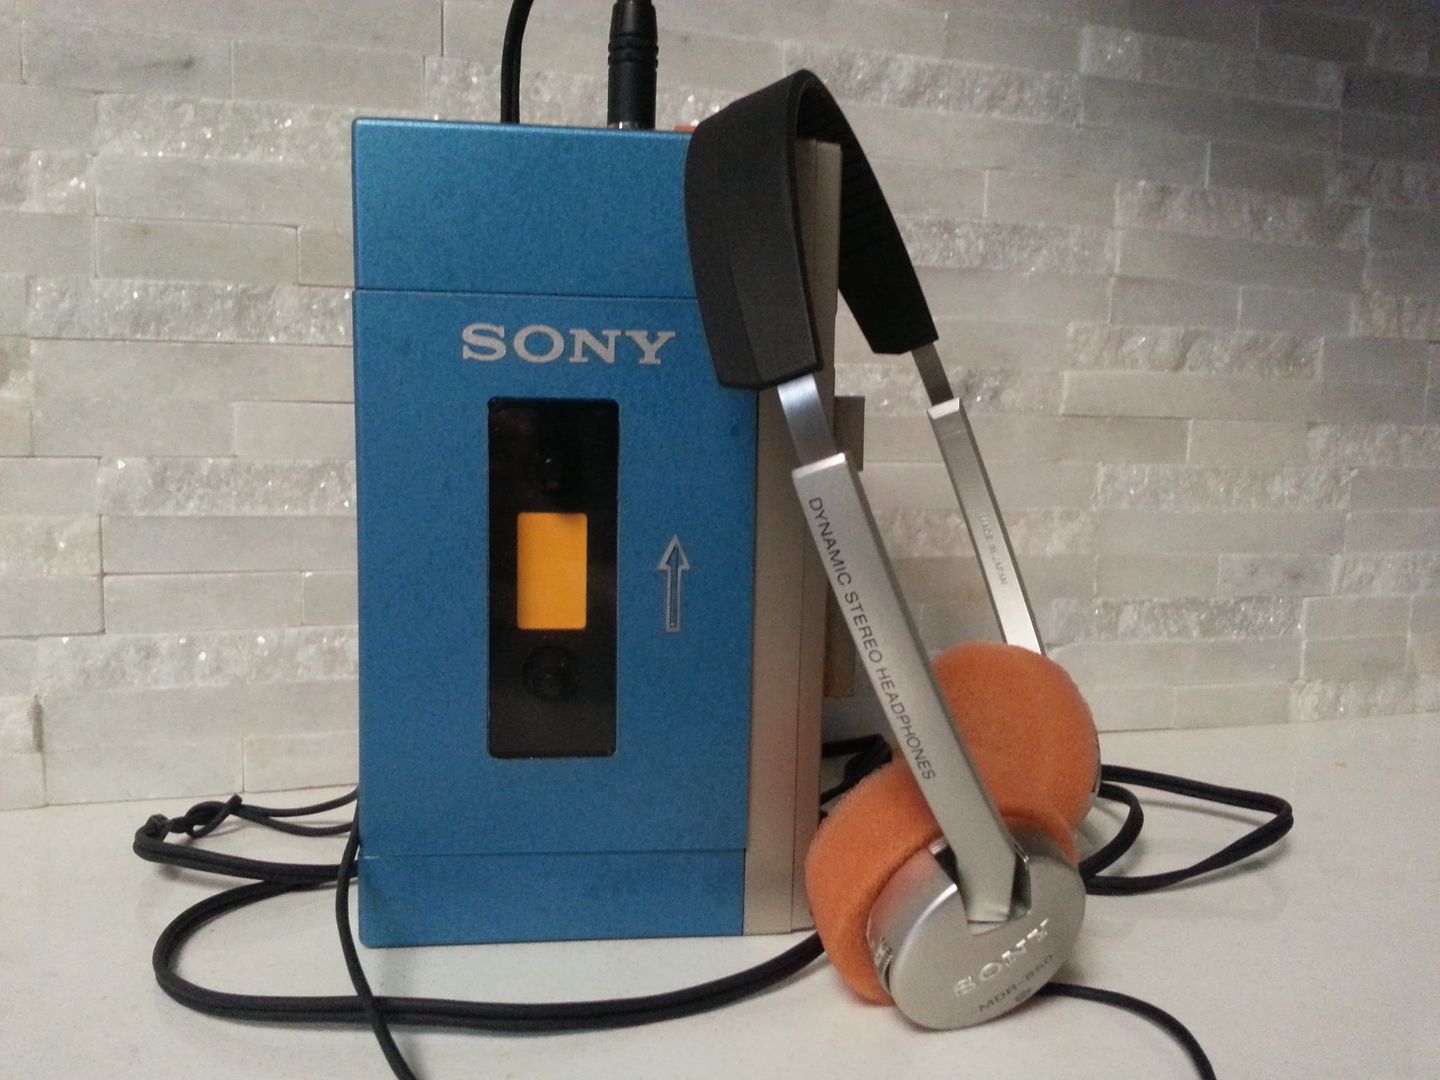
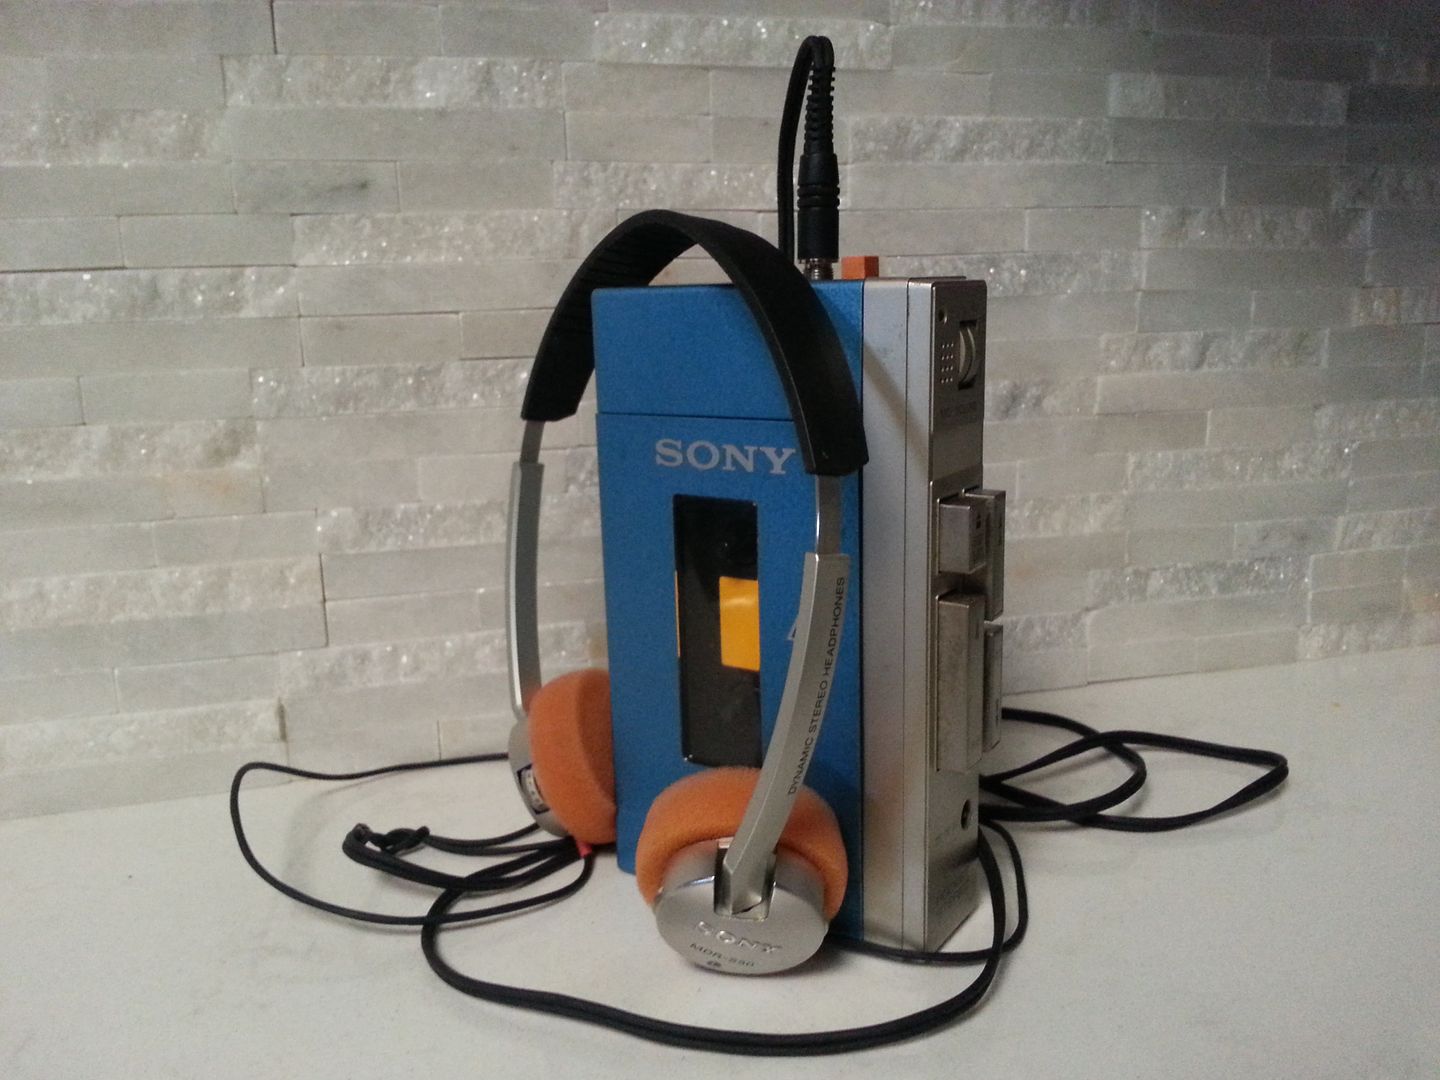
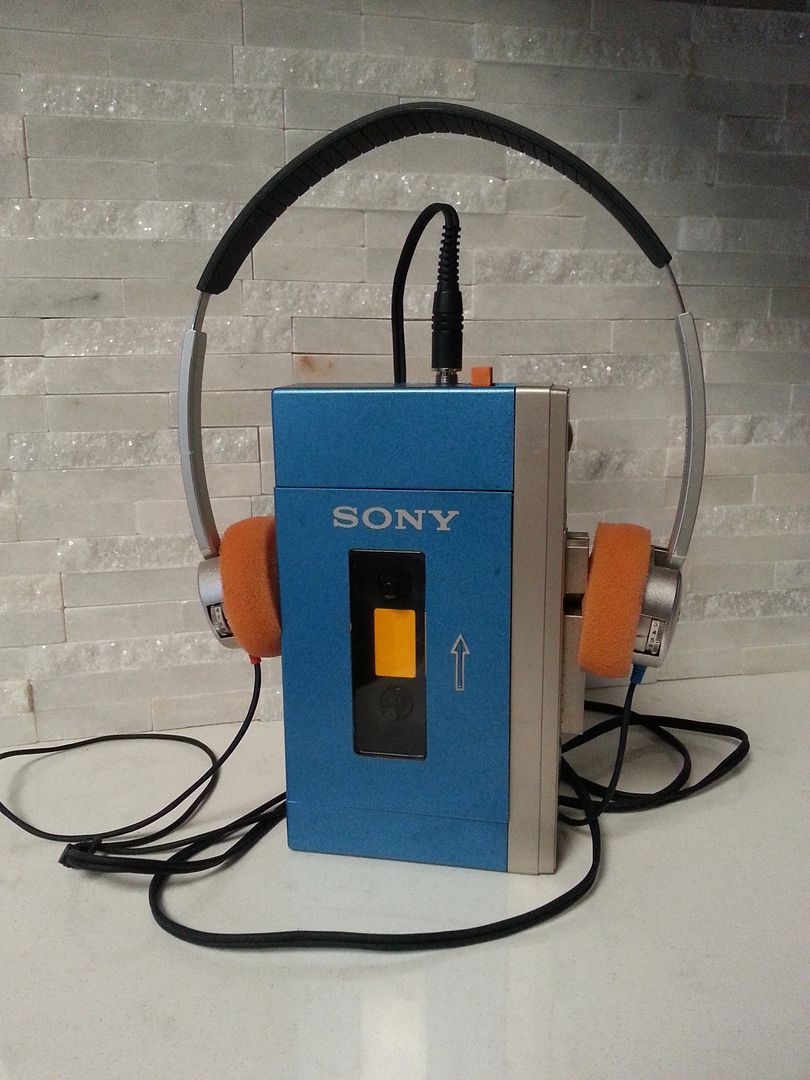
Thought I'd finally jump in and show off what I currently have! Got my ebay jacket in yesterday and am almost done repainting and weathering it! I've currently been through 3 different jackets over the last month (FanJackets, CosplaySky,) and this one is definitely my favorite. The back isn't that accurate, but I'm sure a few mods could help make it look better. The pants are from Cosplaysky and look pretty fantastic besides the color which I will be dying to get more of that terracotta color. The shirt is also from cosplaysky and I love it. The belt is a CostumeBase belt I got for super cheap off of amazon and added one of Nova Props Vol. 2 buckles to make it look even better. This belt is amazing for the price and would highly recommend it! The blasters are those cheap, plastic Rubies guns that have been repainted and have the carbon fiber handle wraps. I do have the actual TPS-L2 Walkman that I got a few weeks before the movie for $150 (was claimed to be broken, though I fixed it within a half hour...) Just need to get the boots, gaiters, and holsters! Would love to hear any thoughts on my current get up!
View attachment 729506View attachment 729507View attachment 729508View attachment 729509View attachment 729510

Really nice job guy !!! I'm going to buy the same jacket, could you tell me what size do you wear ?

EDIT: Do you have a picture of the back of the jacket and wich color of Angelus Leather you used ? I love your work on this jacket, tanks for the little tutorial ;)
 
Last edited:
Test print using clear blue plastic. It hasn't really been cleaned up more than what was needed to fit it to the helmet and I quickly slapped some silver marker on the raised parts. Some of the more extreme "points" need either cutting or filing- they are so small that it's impossible to get them perfect since the plastic is deposited in melted layers. I think a wash of darker clear blue in the recessed areas would work pretty well. I think EL-wire or fiber optic cable glued to the back would work really well for lighting.

materialize4.jpg
 
Hey guys, I just got the Brown Zune from finding out it was that color from the FB live feed.. Just got it in the mail and opened it and plugged it into the computer and just found out that Microsoft totally abandoned it and makes it impossible through there programs to update it since you cannot connect to any of there servers. So I found a video that was made recently that gives a whole run down of what you need to do. Follow it step by step and you'll have it up and running in no time! I'm jamming out to the soundtrack now :thumbsup

https://www.youtube.com/watch?v=HoONoRGCtQM
 
Is the Halo 3 zune bigger than the regular brown one? All these pictures make them seem really small. Can somebody give me the dimensions?
 
Is the Halo 3 zune bigger than the regular brown one? All these pictures make them seem really small. Can somebody give me the dimensions?

The ruler was marked at quarter inches so these are rough.

4 3/8 inches tall
2 3/8 inches wide
5/8 inches thick

It's almost the exact same size as a Galaxy S5 screen.
 
Another Sony TPS-L2 Walkman clone!

I had fun with this one. It used to be a vintage Cybernet PS101 Mini Concert circa 1981. Just did a quick repaint on it. Still need to add the "WALKMAN" decal. It's larger than the Tpsl2, but I figure someone might want to gut it and put their phone inside. Overall it has a very similar appearance. I also Modified the headphones. Surprisingly they still put out great sound!

20170519_093112.jpg


20170519_092943.jpg


20170519_092820.jpg
 
I'm probably just going to modify the Hasbro one assuming it sits well and looks good. It'll be a really sturdy base, and just cut off the front of the mask and build onto it, then give it a paint job.

That might be trickier that expected. I finally found an interior pic of the Hasbro, and it looks to be designed differently than many were thinking it would.
https://cdn.bleedingcool.net/wp-content/uploads/2017/02/Habro-Star-Lord-Helmet-1.jpg
It seems all the strapping and support comes from the front mask. The back and sides are just deco. It's like a Scuba mask with panels around the straps. Which is a bummer. I was so hoping it would have a magnetic face plate like the Iron Man one. With that you could then just pop the mask and but magnetic blue bits in the corners.

Not really complicated. Just gut it, pad the sides, and cut the front off. We had interior pics for awhile. Granted the easiest is just making a replacement for my resin but that's likely costly and I'd rather retire mine since it's signed to hell haha
 
How do you made the lines on the brownisch front part? Is it stitched? o: Cause I´m working at the moment on my boots and still searching for a good solution :confused:rolleyes

That is a leather-working technique. Briefly, you wet the leather, use something to impress the line, let it dry.

It also looks like he simulated the stitch holes in the VOL2 pair. Which is the same technique, but you just dot the leather instead of making a line.

The VOL1 pair has real stitching around the top portion. You can see the thread.
 

Your message may be considered spam for the following reasons:

If you wish to reply despite these issues, check the box below before replying.
Be aware that malicious compliance may result in more severe penalties.
Back
Top