The Holophoner (Futurama) build thread [Finished p.4]

Re: The Holophoner (Futurama) build thread

Okay wow it's been a while. I've had a LOT of other projects going on but finally I've got a bunch of updates to show on the Holophoner.

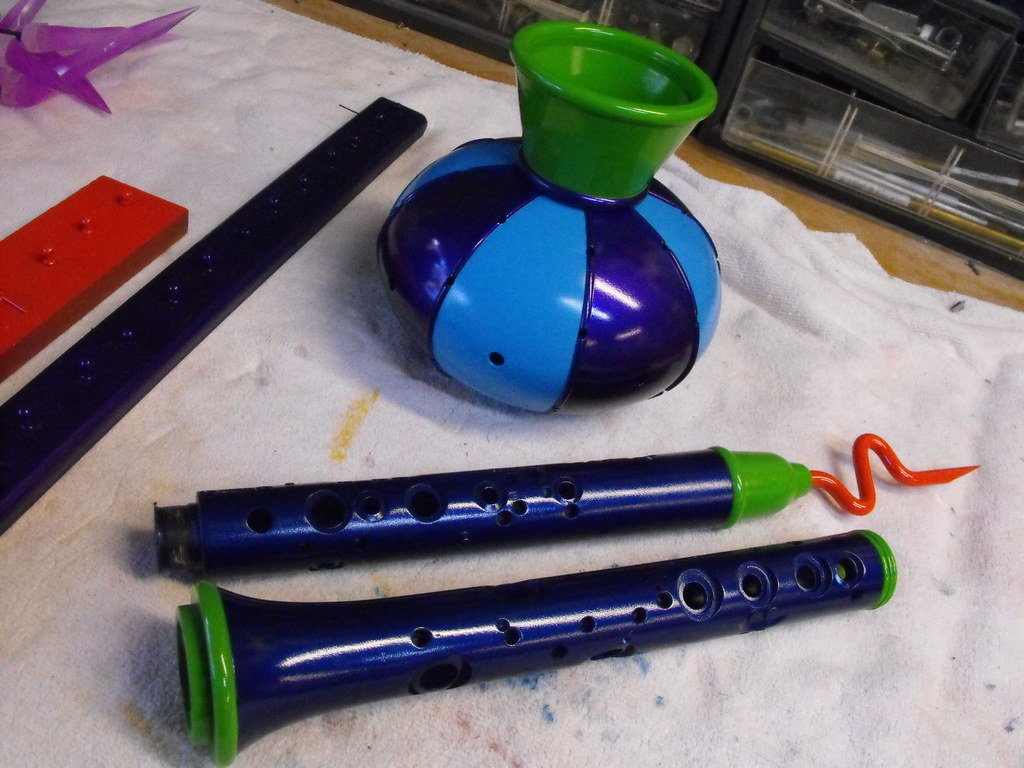
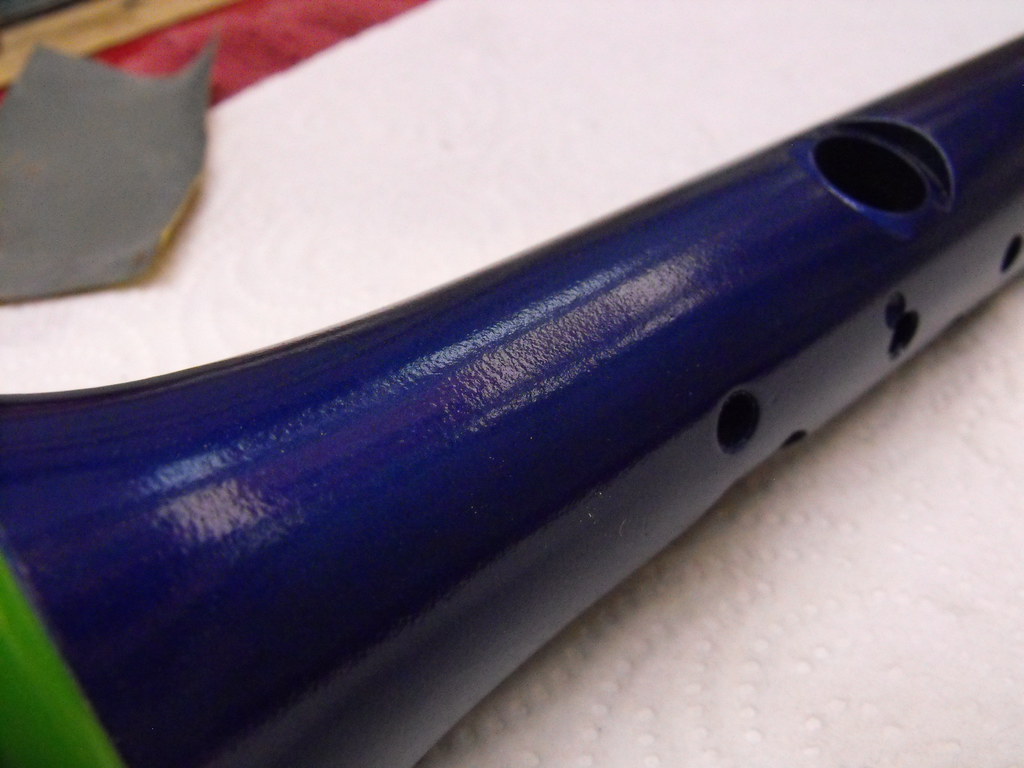
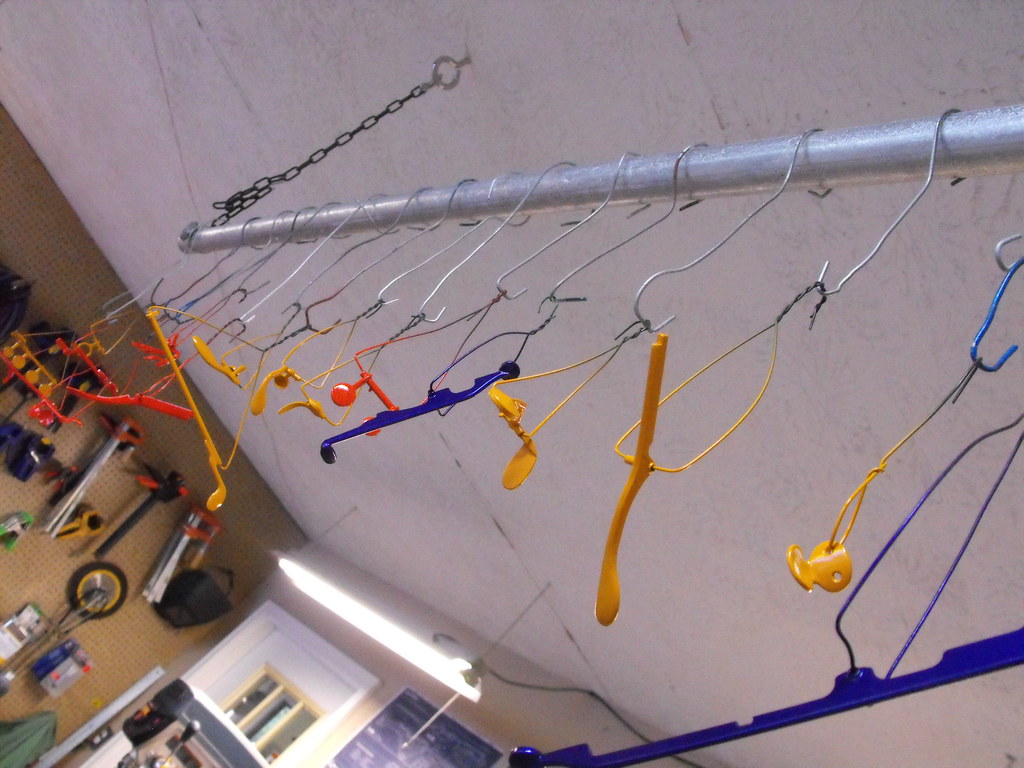
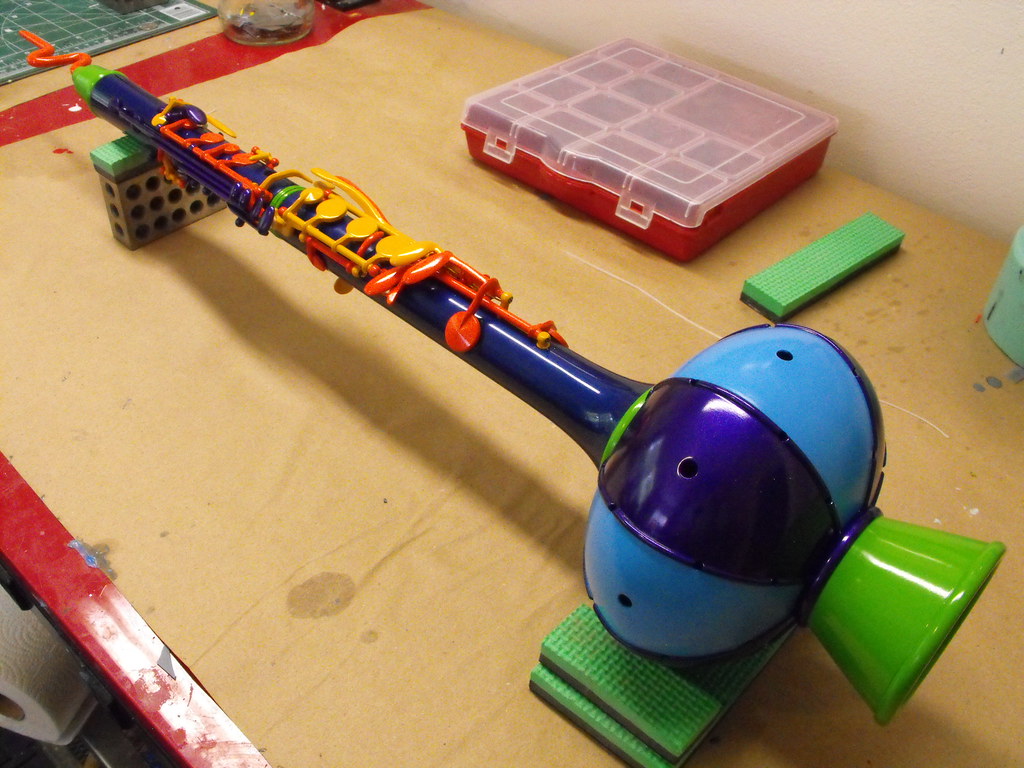
Pretty much everything has been in some state of progress with painting since the last post. I've been chipping away at the individual parts in between other stuff and managed to get a lot accomplished. Now that a few projects are out the door, I can turn my attention back to this piece. The bell got a few coats of paint, still one more mask job to go for the ring at the bottom, then clearcoat and wax and it's done.

8737536468_86887e1362_b.jpg

9061743411_1331e6bc26_b.jpg


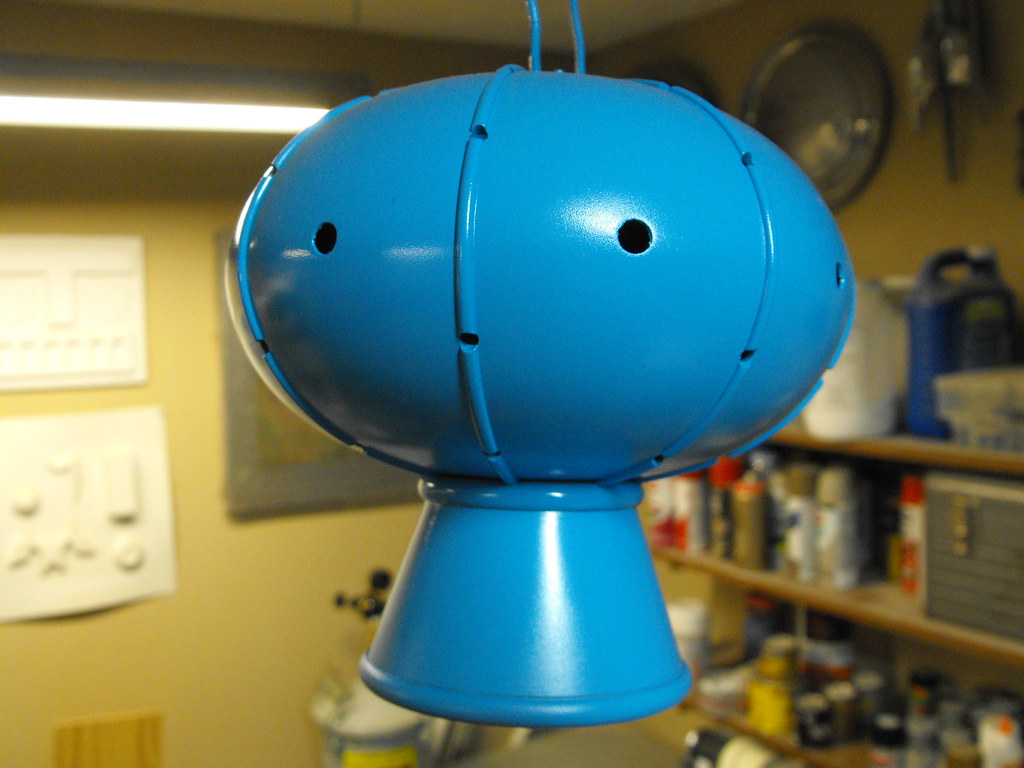
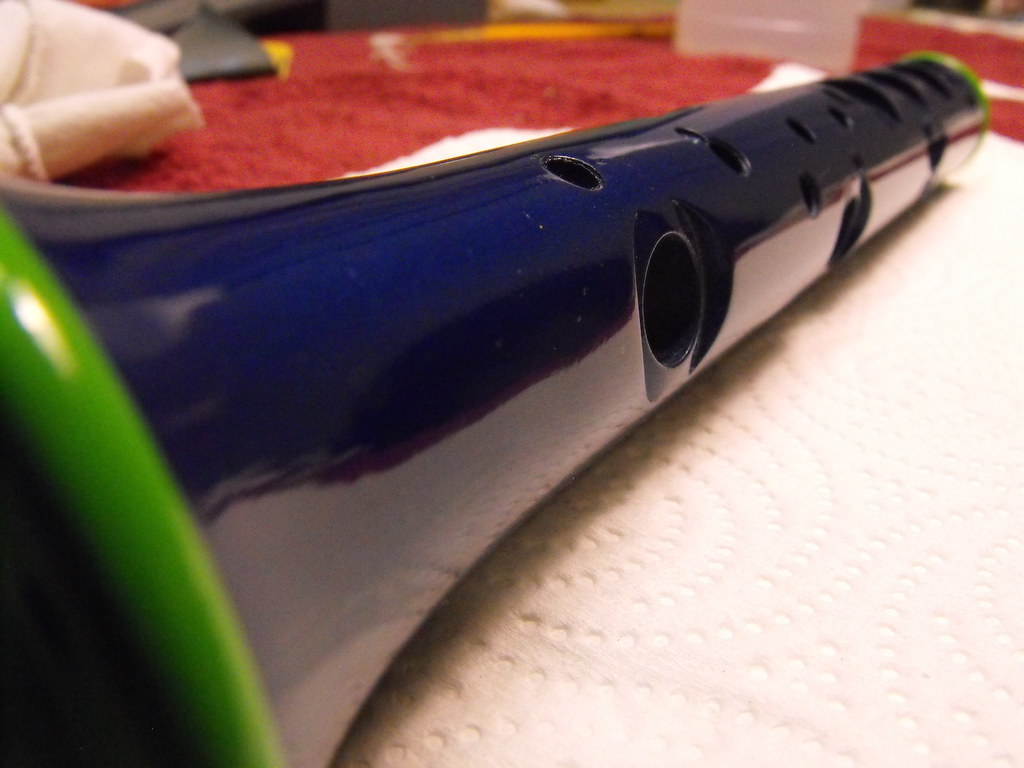
The other halves also got paint, clear, and masking work completed.

9118667442_320a3a103c_b.jpg


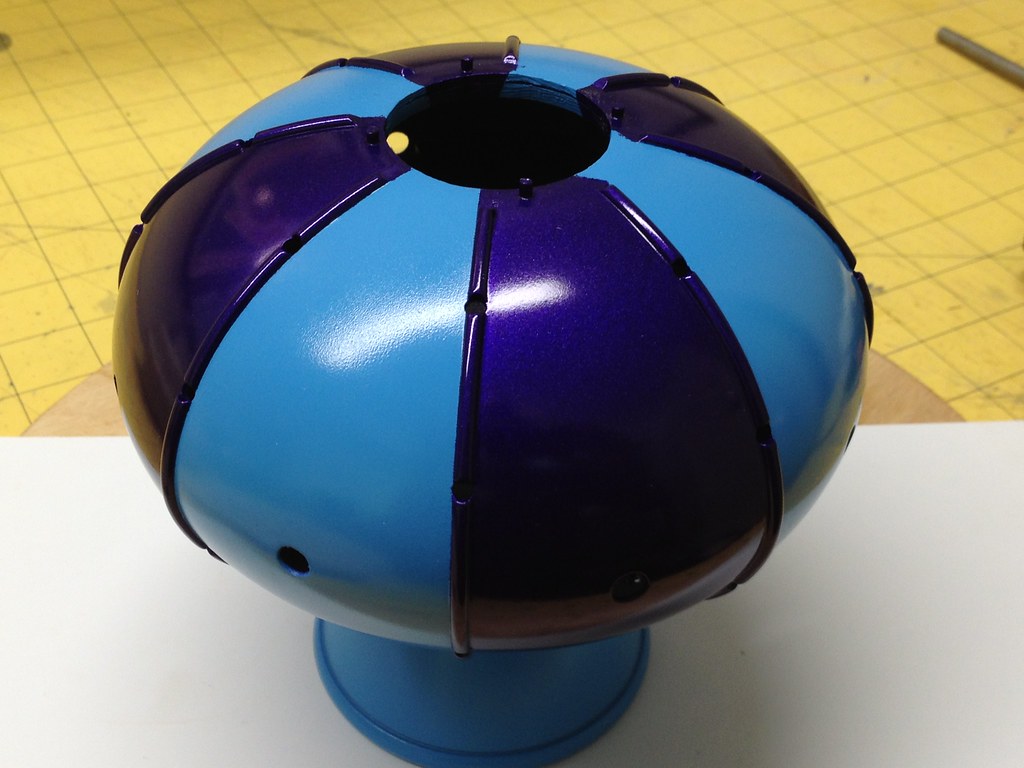
I spent a lot of time wetsanding orangepeel out of the finish for a smoother look. 2,000 grit paper, then fine cut rubbing compound, then a few coats of wax makes a huge difference.

9120747789_73dedf5549_b.jpg

9120749571_94ae91158a_b.jpg


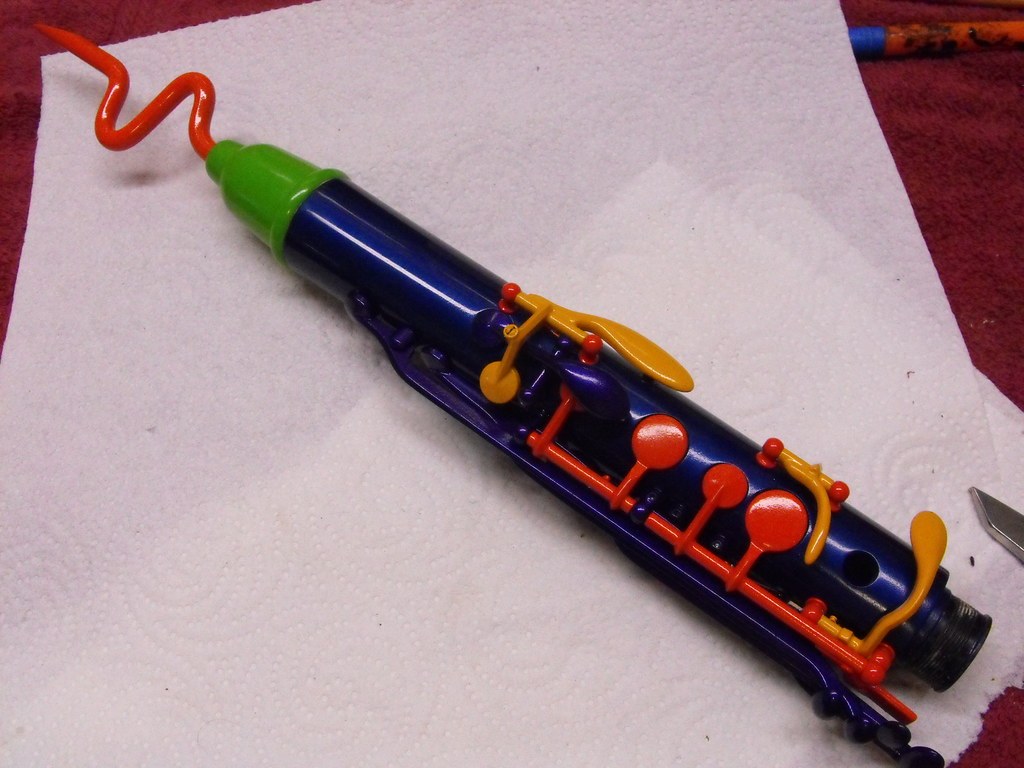
Keys were all painted and clearcoated, then I added cork pads to keep them from scratching the finish on the main body when they're pressed down.

9118665916_1d4e634209_b.jpg

9120745883_58f9d59ec0_b.jpg


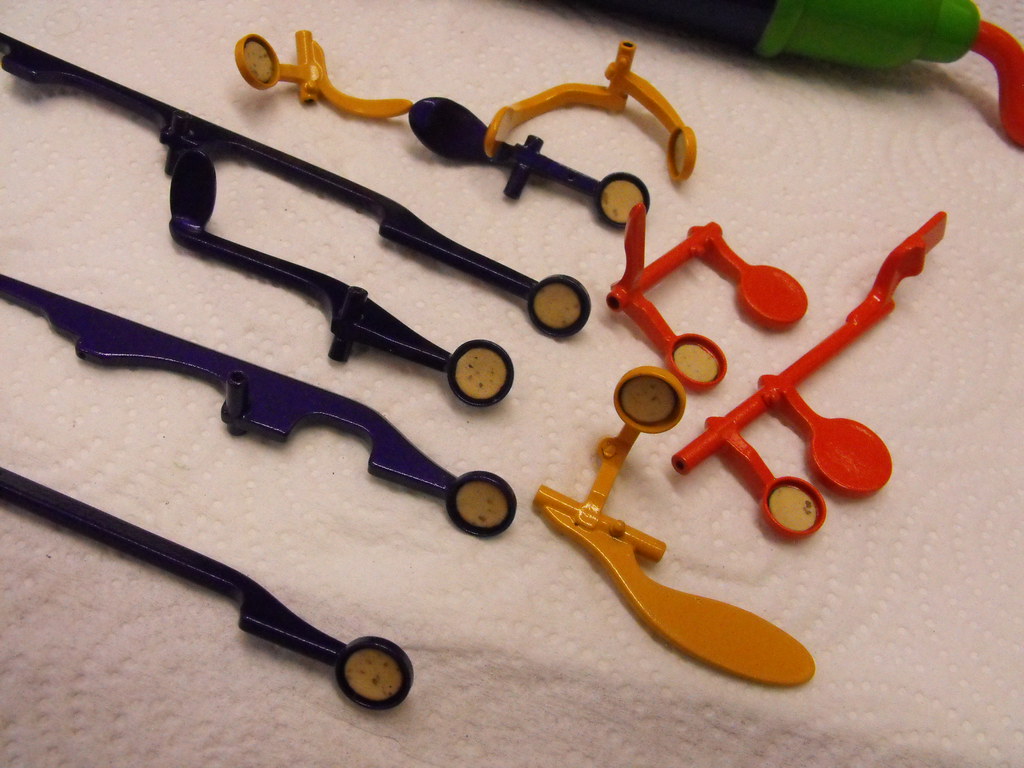
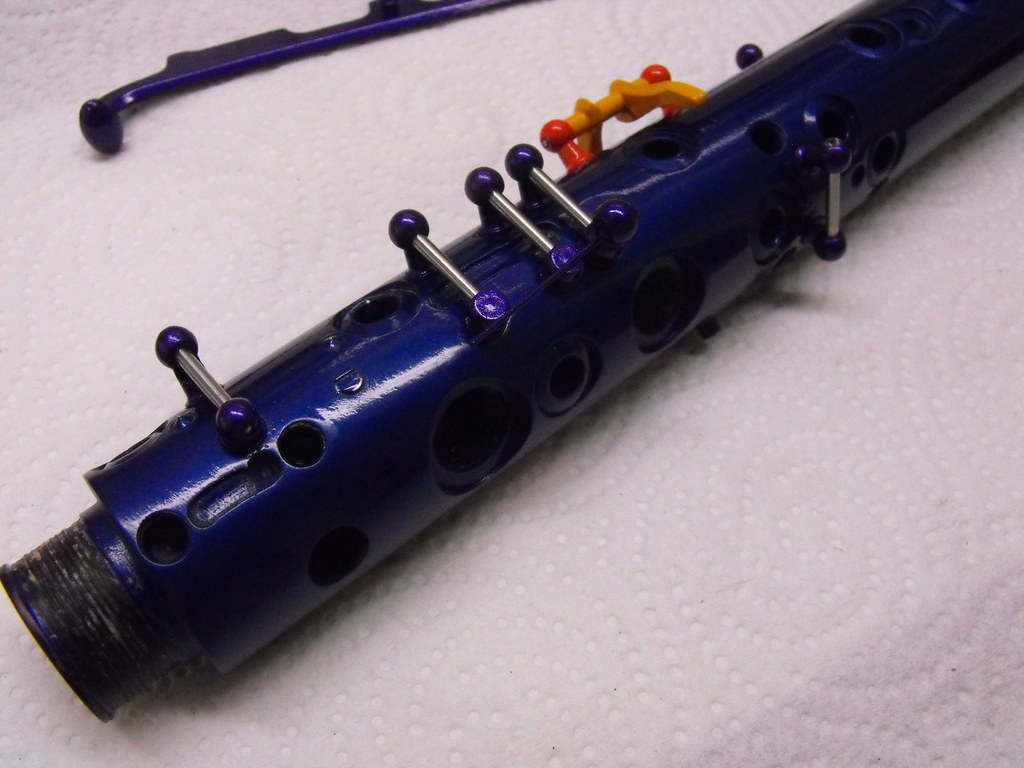
Assembly so far has been very tedious and nerve wracking. I have a few small chips on the keys here and there that I'll need to touch up but they're not noticeable in the photos. All the mounting pins were first epoxied into place with their pivot pins in place to make sure they were all in register to one another. Once that cured, the keys were screwed into place.

9120745367_58c399fcb4_b.jpg

9122969038_3f604434e4_b.jpg


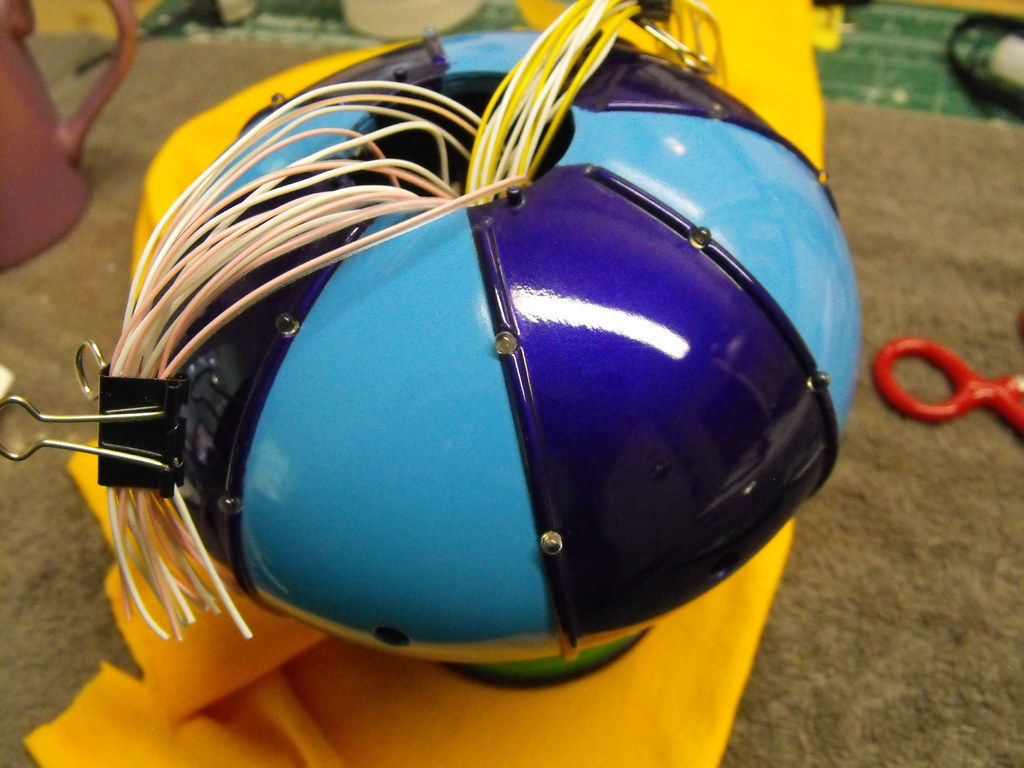
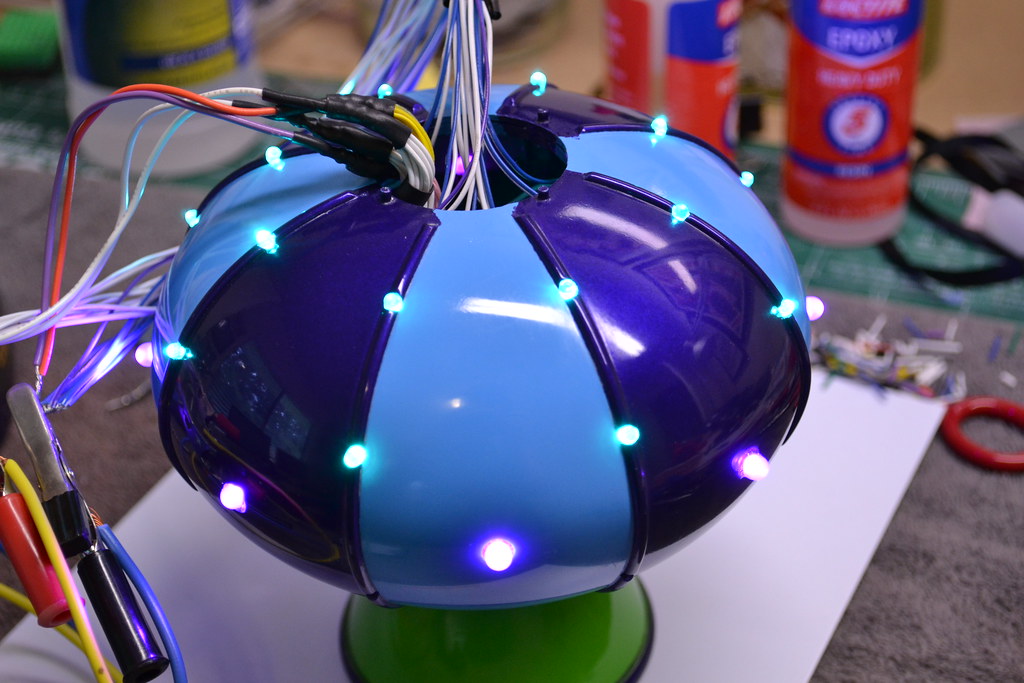
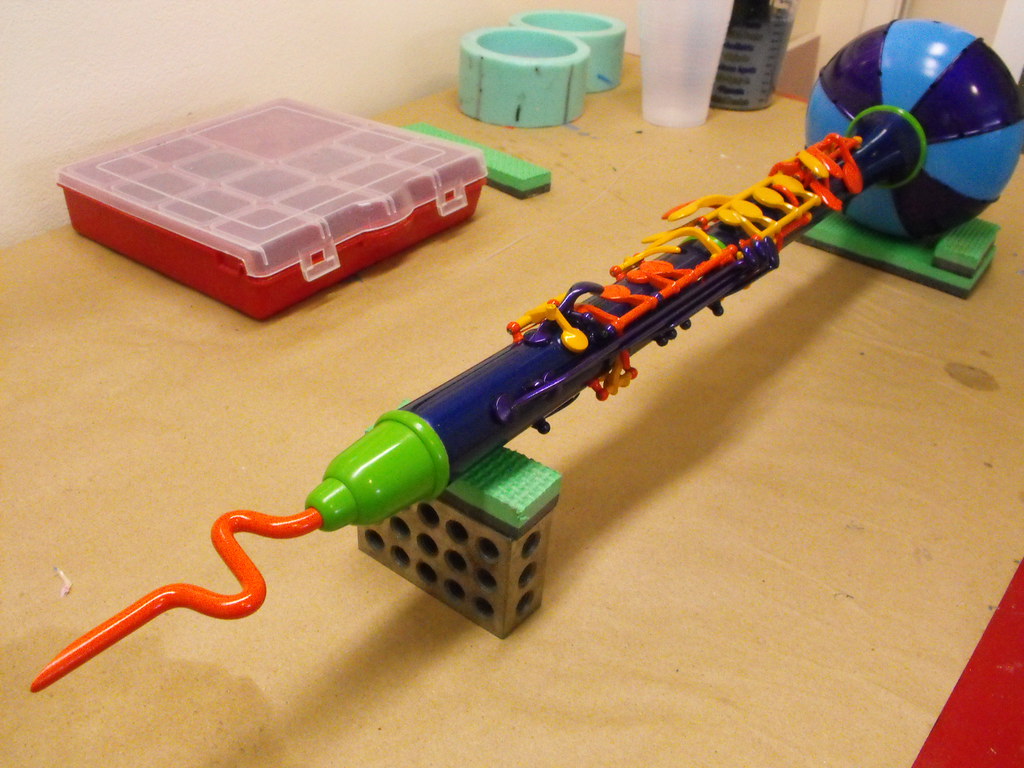
Here's the whole shebang as it sits currently. The halves can still separate to change batteries, and right now the bell is just resting in place. I'll need to stuff a lot of wires in there before it's ready to be glued on permanently.

9128167534_9337c2a2dc_b.jpg

9125947199_eeb7d1a3ef_b.jpg
 
Re: The Holophoner (Futurama) build thread

If there's anything I've taken from this build is that I need better tools and equipment or else my scratch building will never get better...
 
Re: The Holophoner (Futurama) build thread

Man, Volpin, I'm so envious of your abilities... And the fact that you have a holophoner now!!

Marvelous job!
 
Re: The Holophoner (Futurama) build thread

Got to see this up close in person, that paint job seems like a nightmare! Glad to see it all together finally. :D
 
Re: The Holophoner (Futurama) build thread

When you talk about waxing it after the rubbing compound are you using regular car wax like turtle wax? Do you find this better than a sprayed protective clear coat? Thanks and great work.
 
Re: The Holophoner (Futurama) build thread

When you talk about waxing it after the rubbing compound are you using regular car wax like turtle wax? Do you find this better than a sprayed protective clear coat? Thanks and great work.

The coat I'm waxing is the clearcoat. Paint process is: Primer, sanding (220 grit), primer, wetsand (2000 grit), basecoat (2-3x), clearcoat (2x). On this piece the base and clear are both lacquer. You have to make sure to have enough clear to get the orangepeel out while wetsanding without cutting through to the basecoat of color. You can tell you've gone too far if the water starts to pick up the color of the paint.

After the fine cut rubbing compound I buff the entire piece (by hand) with Turtle Wax, the paste kind that comes in a small plastic tub. Always check this stuff on a scrap piece before you go slathering it onto something, and make sure the paint has cured for several days. Some waxes don't like some paints, and waxing uncured clearcoat will only cloud it up irreparably.
 
Re: The Holophoner (Futurama) build thread

got it, so the orange peel is actually occurring in the clear coat.

thank you for the very detailed process!
 
Re: The Holophoner (Futurama) build thread

As a clarinet player, I applaud the life you gave that old Vito! As a Futurama fan, this is the coolest thing ever! What brilliance in building it!

But you know, if you had used a hollow mouthpiece tube you could have put an oboe reed in there. It would look roughly the same and you could get a few squeaks and squawks out of it (maybe even a few tunes). But it's not really important...

OBOE-REEDS-by-PETER-Peter-VandeBurgt.jpg
 
Re: The Holophoner (Futurama) build thread

As a clarinet player, I applaud the life you gave that old Vito! As a Futurama fan, this is the coolest thing ever! What brilliance in building it!

But you know, if you had used a hollow mouthpiece tube you could have put an oboe reed in there. It would look roughly the same and you could get a few squeaks and squawks out of it (maybe even a few tunes). But it's not really important...

View attachment 202000

Is "Vito" a sort of throw away brand? I'm curious, but I have that feeling since it's mostly just ABS plastic and it doesn't seem to be built with dis assembly or repair in mind. As for the oboe reed, I never really wanted this thing to make sound - with the batteries and lower bell pretty much the entire center tube is blocked off and the squeaks would be kind of sad to hear coming out of it.

I'm typing this with the holophoner blinking away next to me right now. It's taken quite a long time to get all the LEDs in place and all wired up. 50 bulbs total that all have to be mounted to the inside of the bell assembly. I used 5 minute epoxy to secure them but because of their somewhat loose mounting positions I could only do 4 at a time before leaving the assembly to cure. If I tried to do more than that I'd knock the other ones loose from bumping up against the wiring.

Here's a shot of the wires for the first two rows of green 3mm LEDs. That's about 1/4 of the wires that eventually fill up the bell. In retrospect I might have been able to daisy chain them together to make the wires shorter, but I'm not sure if that would have made mounting and assembly more difficult.

9217443785_143e56de8e_b.jpg


Here's the light ring that goes around the curly bell at the bottom. 4 orange 5mm bulbs and 4 green 3mm.

9220214694_d6a18f6504_b.jpg

9217443201_79472be109_b.jpg


And all illuminated! This part is BRIGHT. The holophoner might not be able to project holographic images, but it will make cool patterns on the wall from 15 feet away.

9217441855_e494ef23e9_b.jpg


The pink LEDs that ring the outer perimeter of the bell still need their oval-shaped lenses cast and installed, but I'm still working on the mold for those parts. Hope to be done with that part soon.

9217442803_d0f31290fe_b.jpg


Video of fun blinking when my nice camera has a freshly charged battery. I tried recording on my phone and shop camera but auto aperture and focus settings don't work with this many LEDs...
 
Re: The Holophoner (Futurama) build thread

Wow, you've got some serious ingenuity and abilities, This build is Really original, i love it!
 
This thread is more than 9 years old.

Your message may be considered spam for the following reasons:

  1. This thread hasn't been active in some time. A new post in this thread might not contribute constructively to this discussion after so long.
If you wish to reply despite these issues, check the box below before replying.
Be aware that malicious compliance may result in more severe penalties.
Back
Top