Hi Gang,
Time for that "End of the Weekend Update"! Oh yes... this is a good one. For me...
")
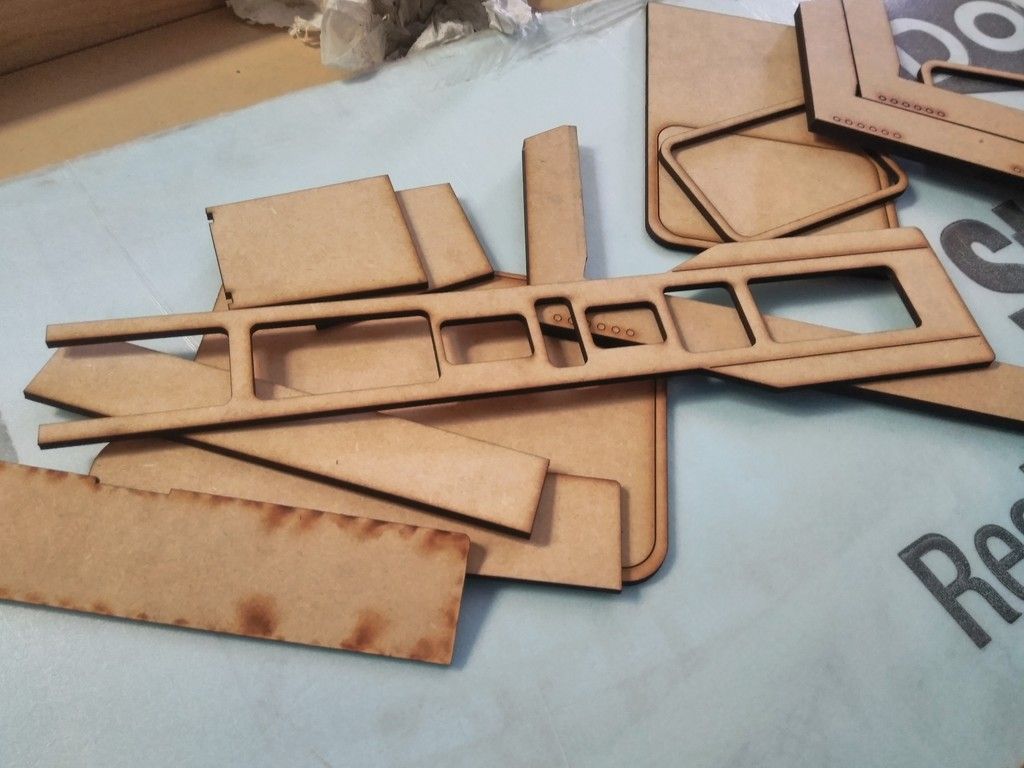
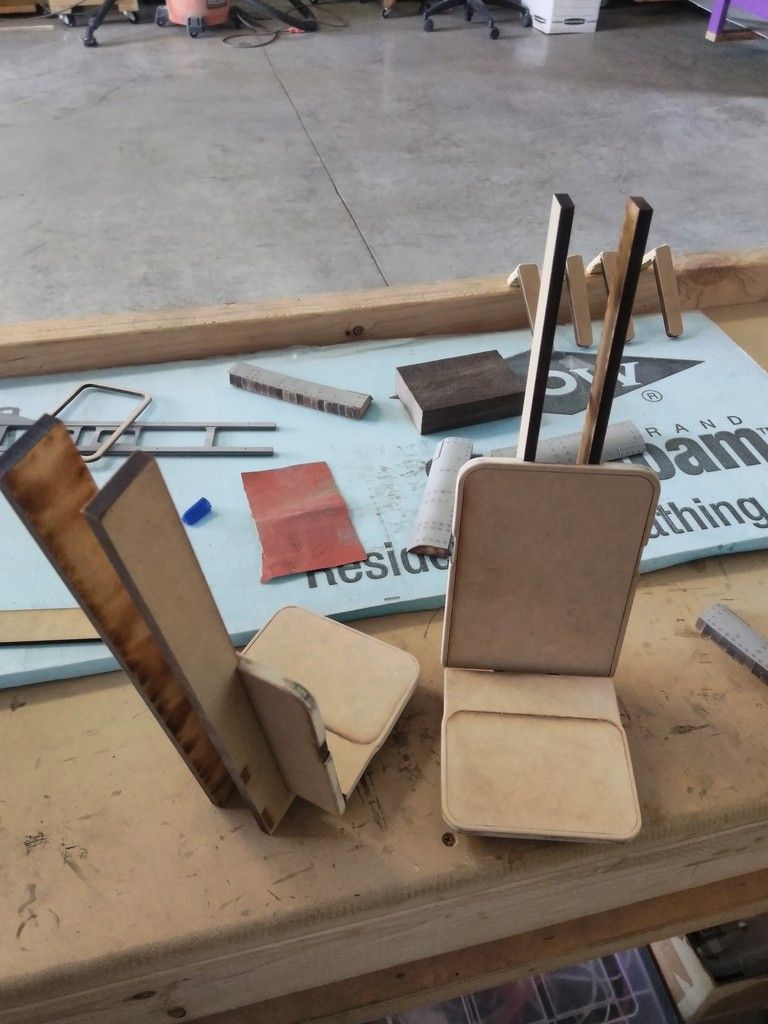
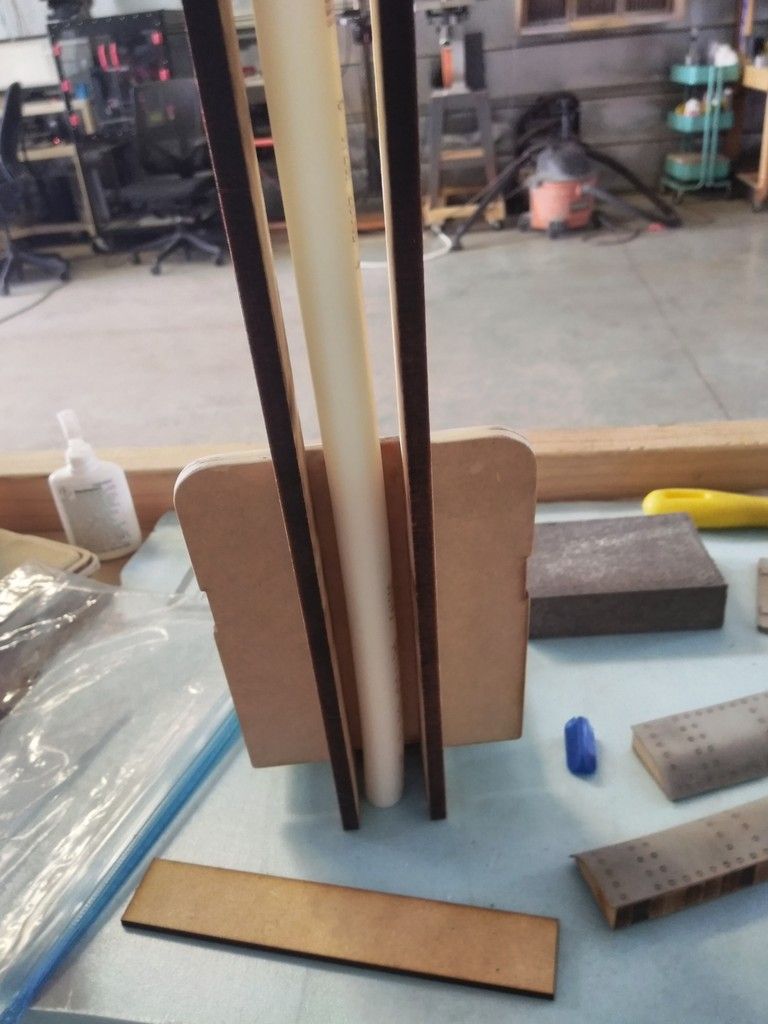
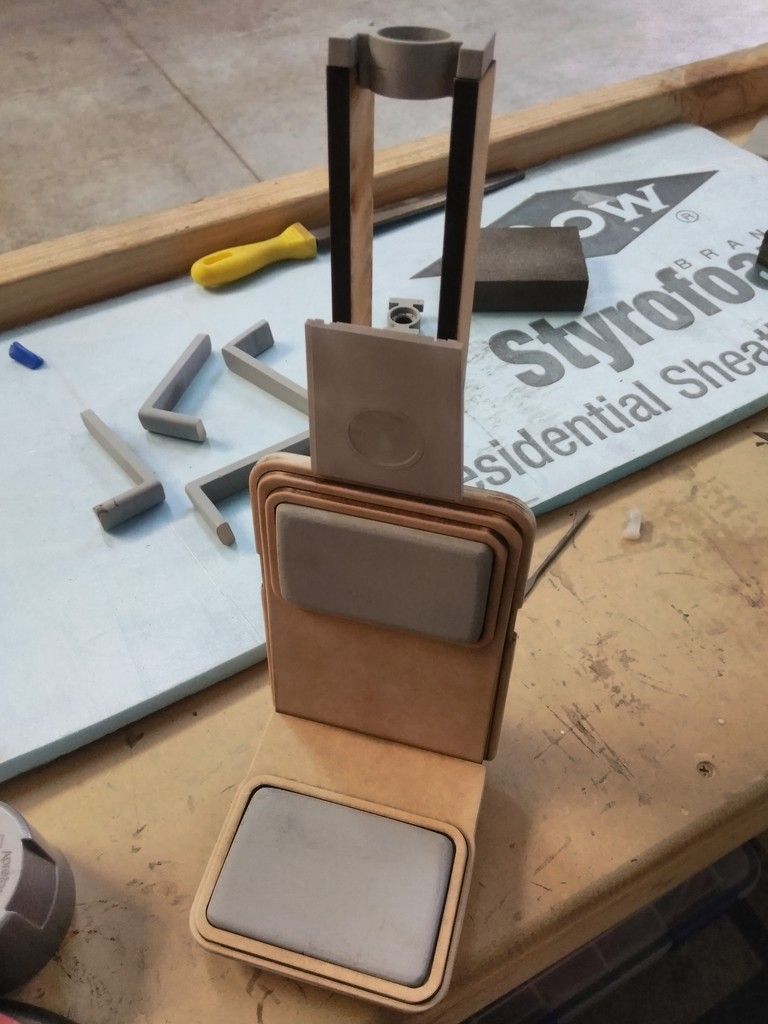
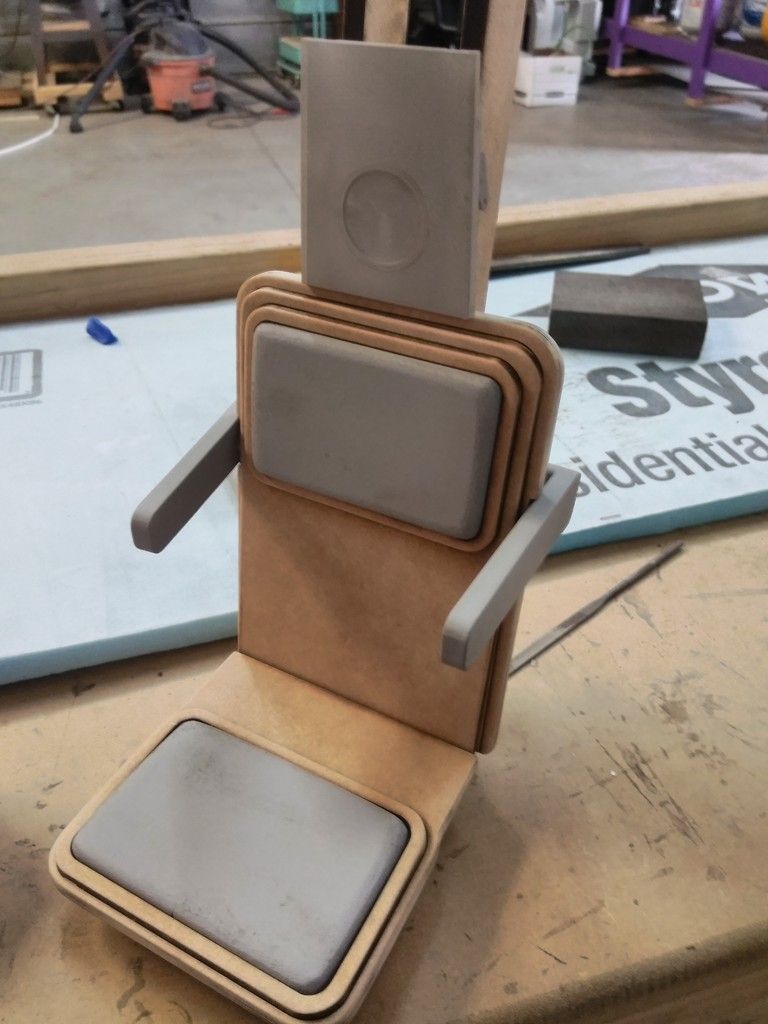
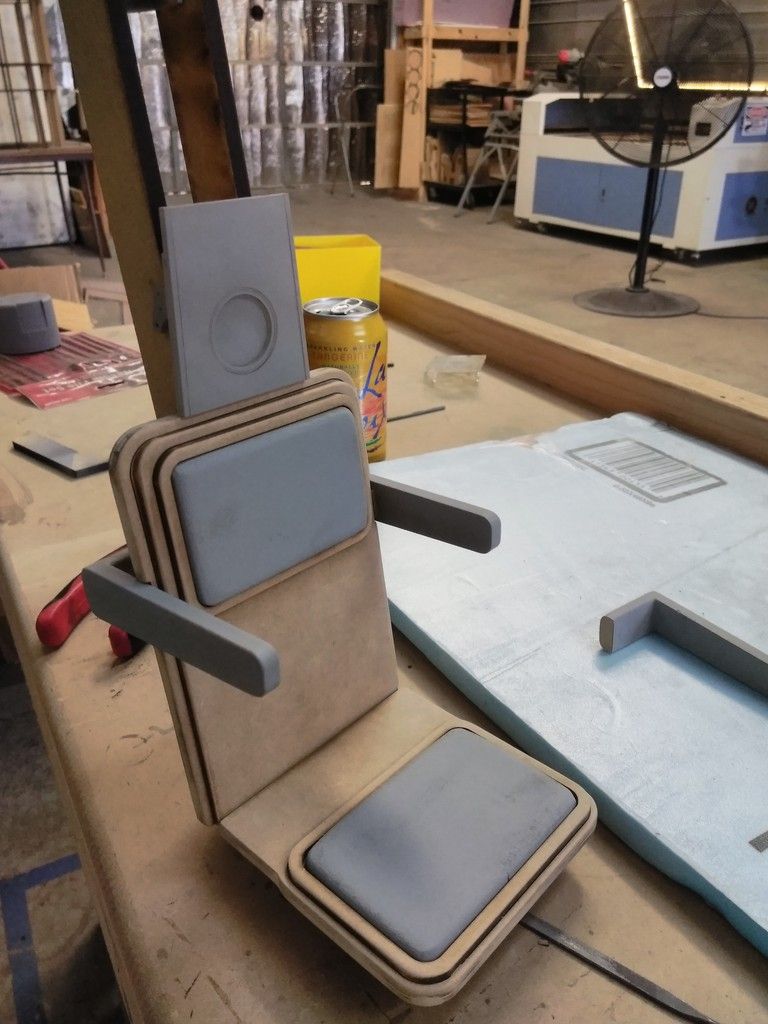
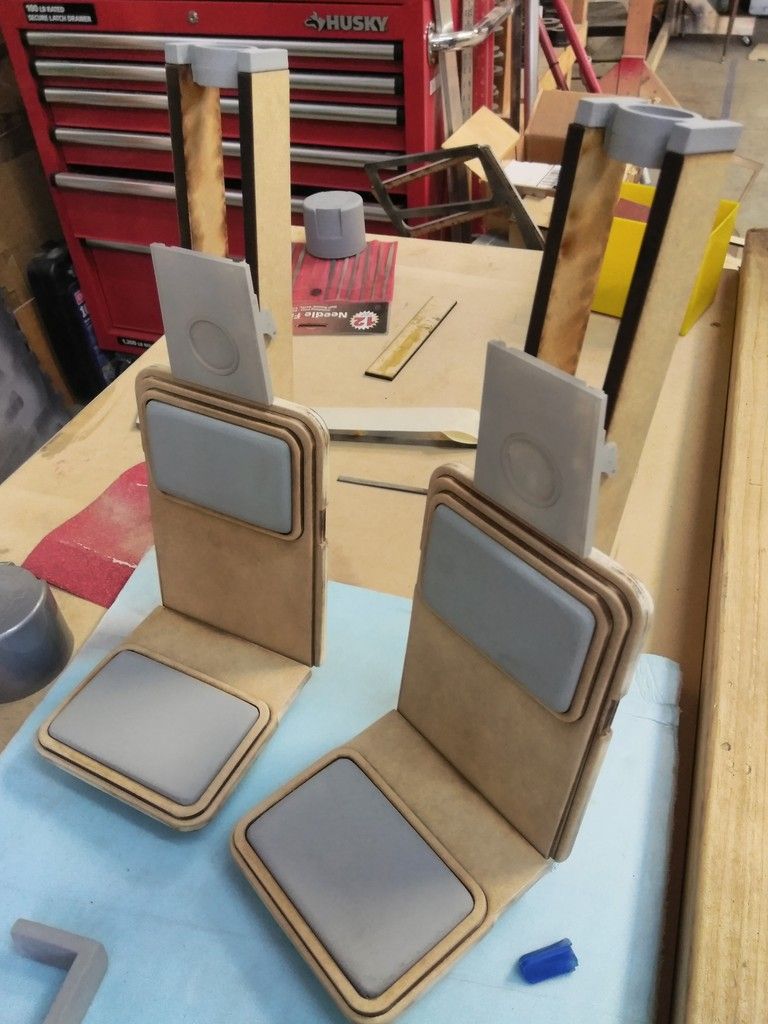
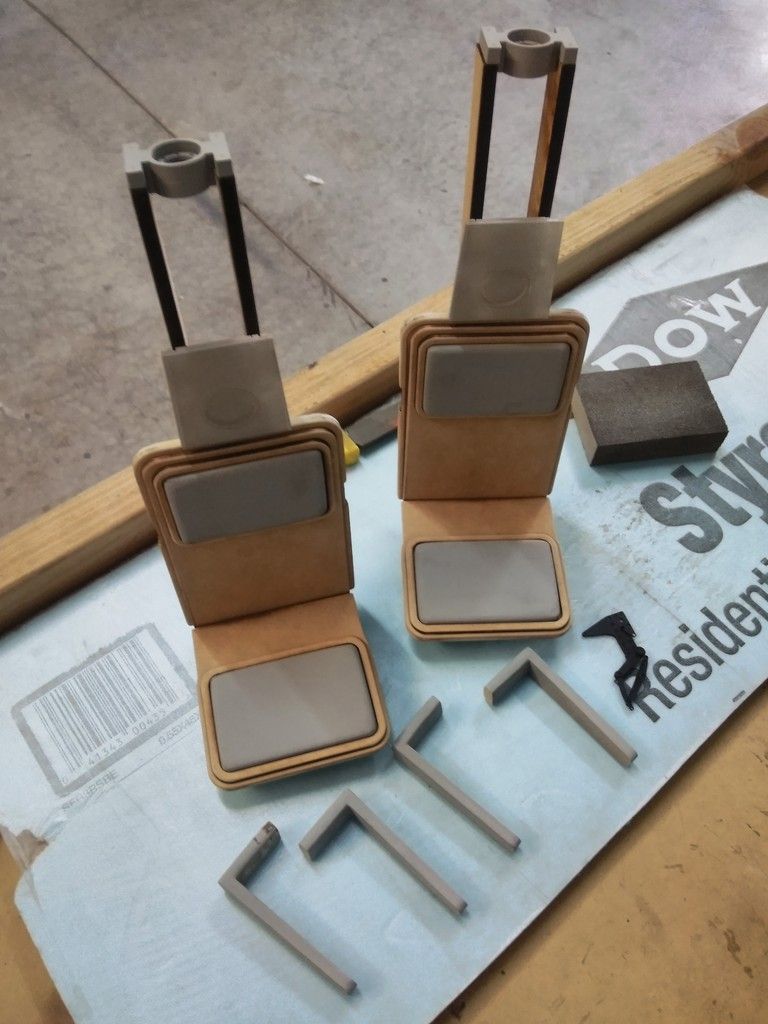
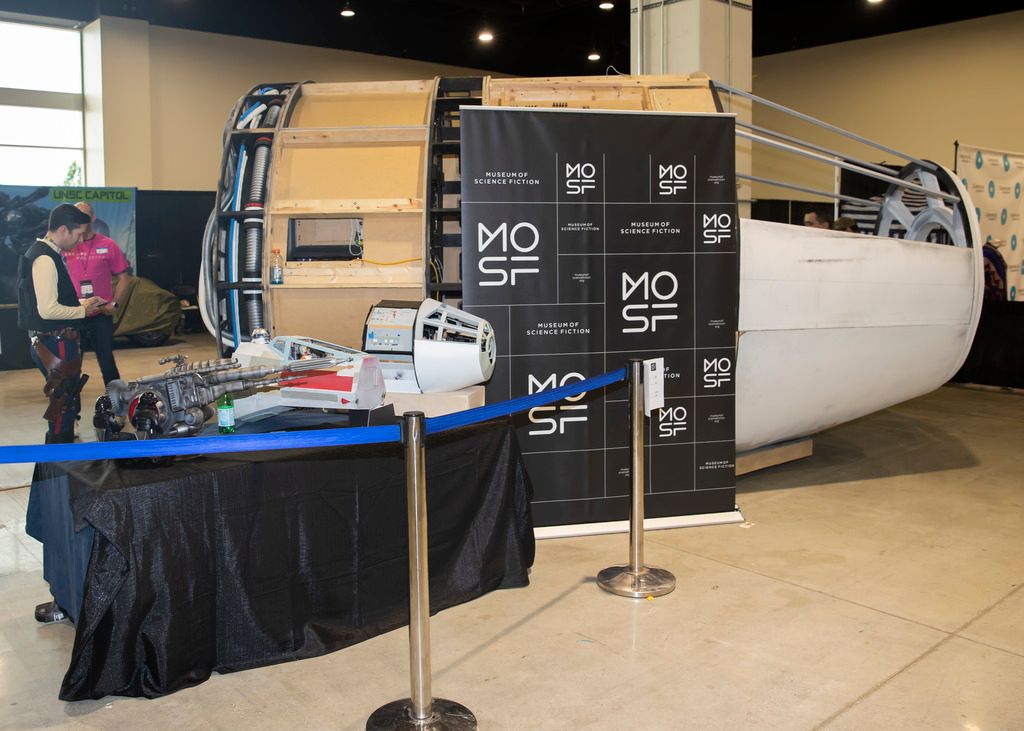
With the cockpit now in Dallas, TX I decided to work on the 1/4 scale cockpit for a little before gearing up for another full scale build. So, I started on the Nav Chairs
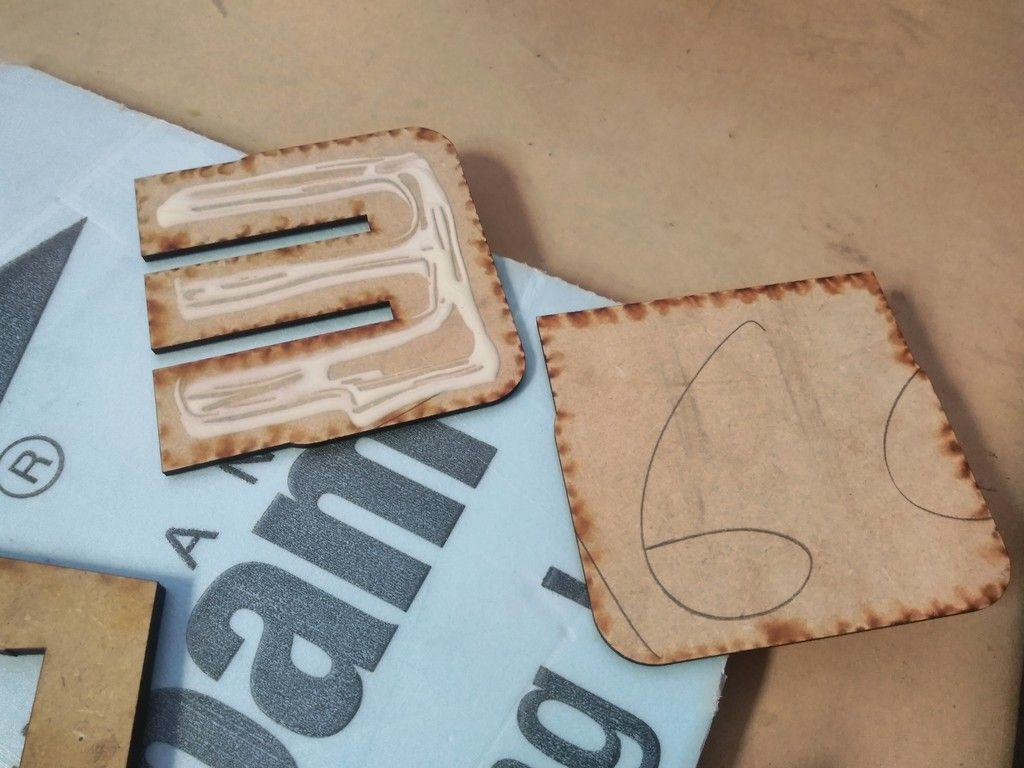
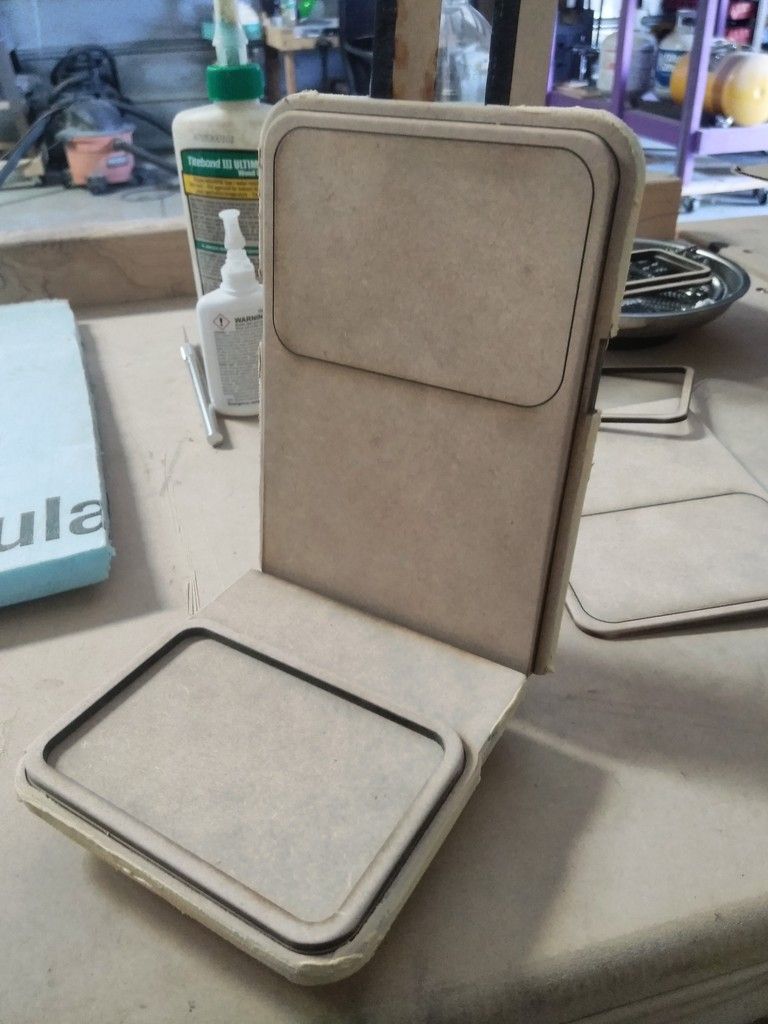
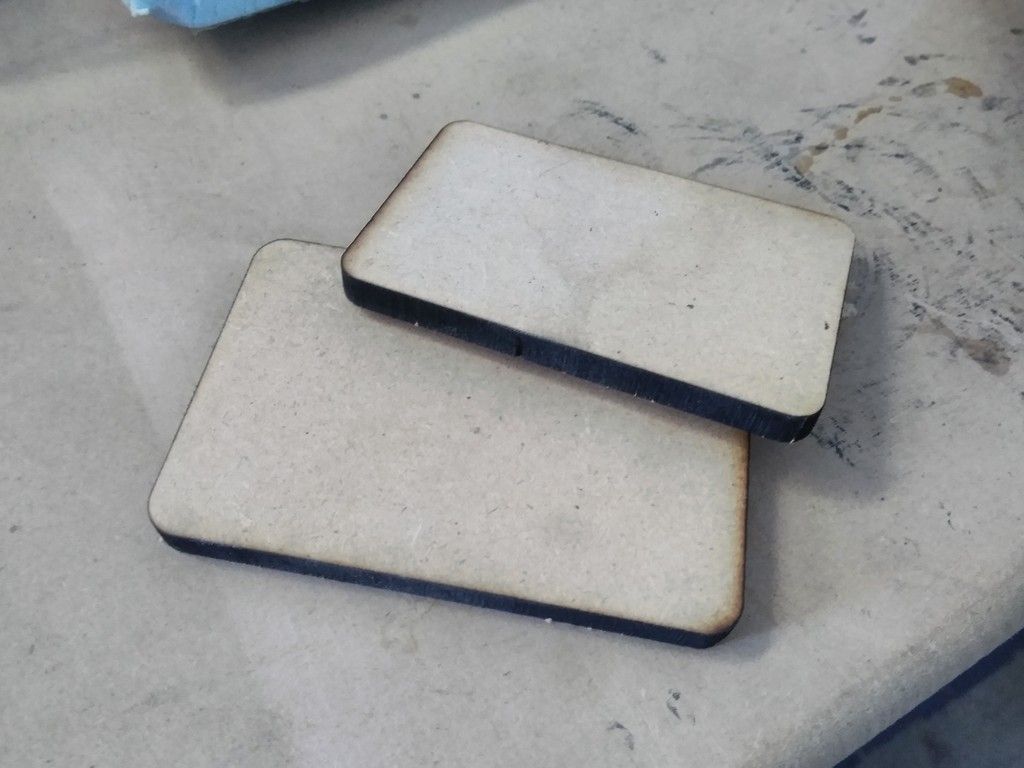
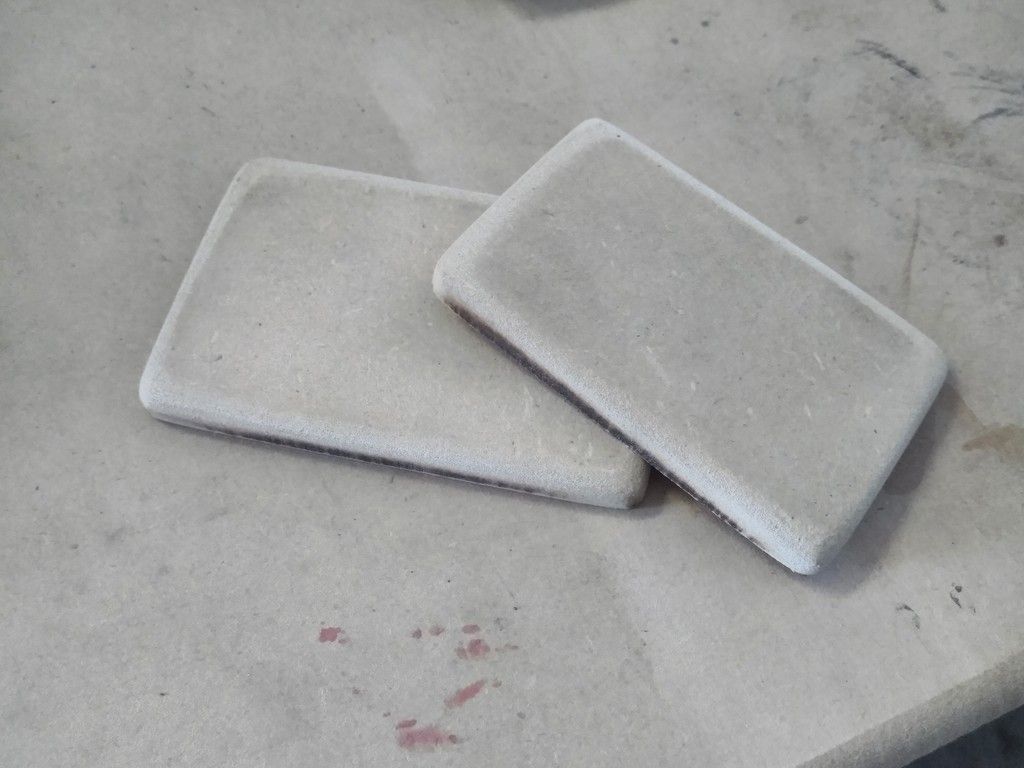
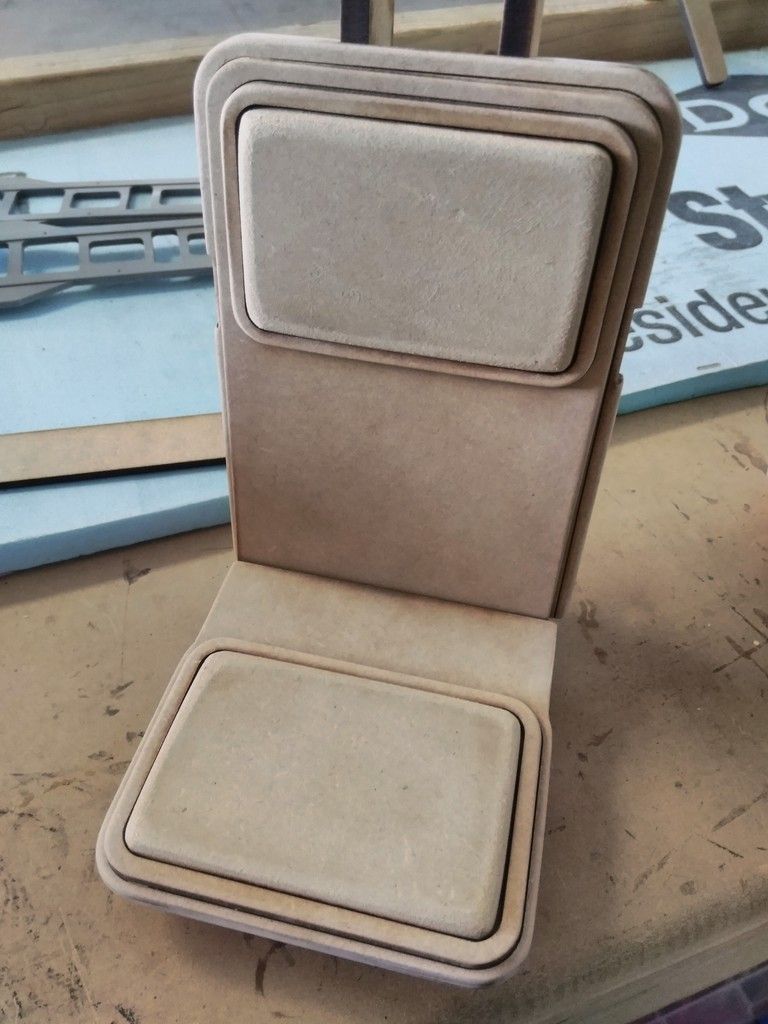
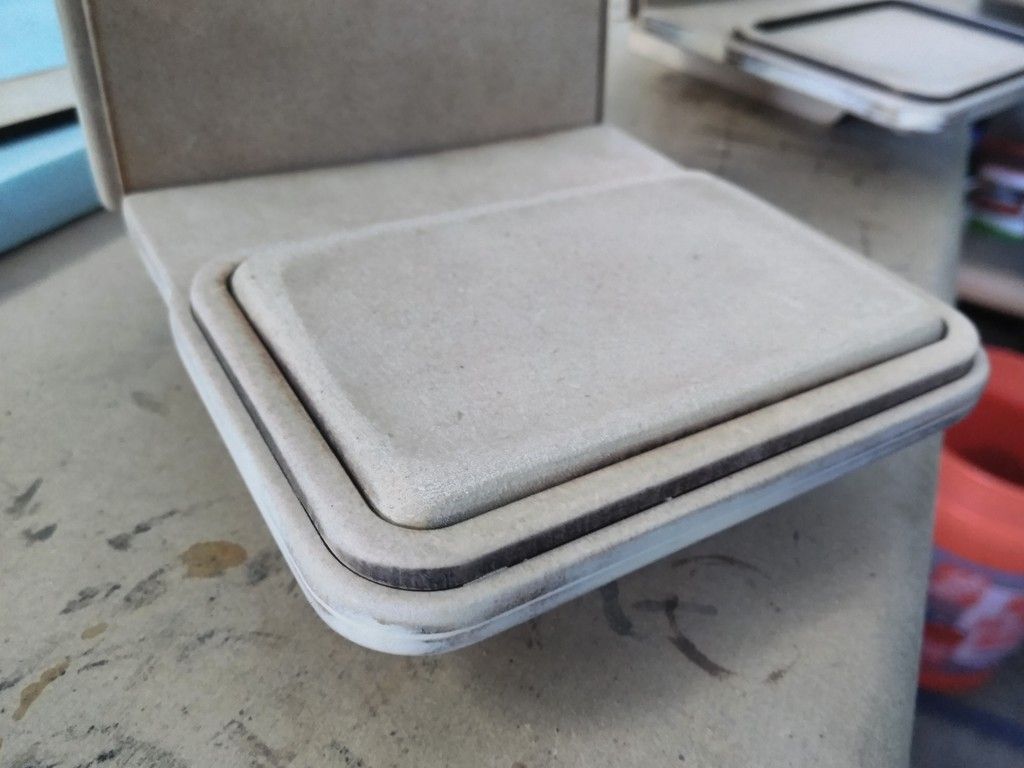
Seat pad
Back support
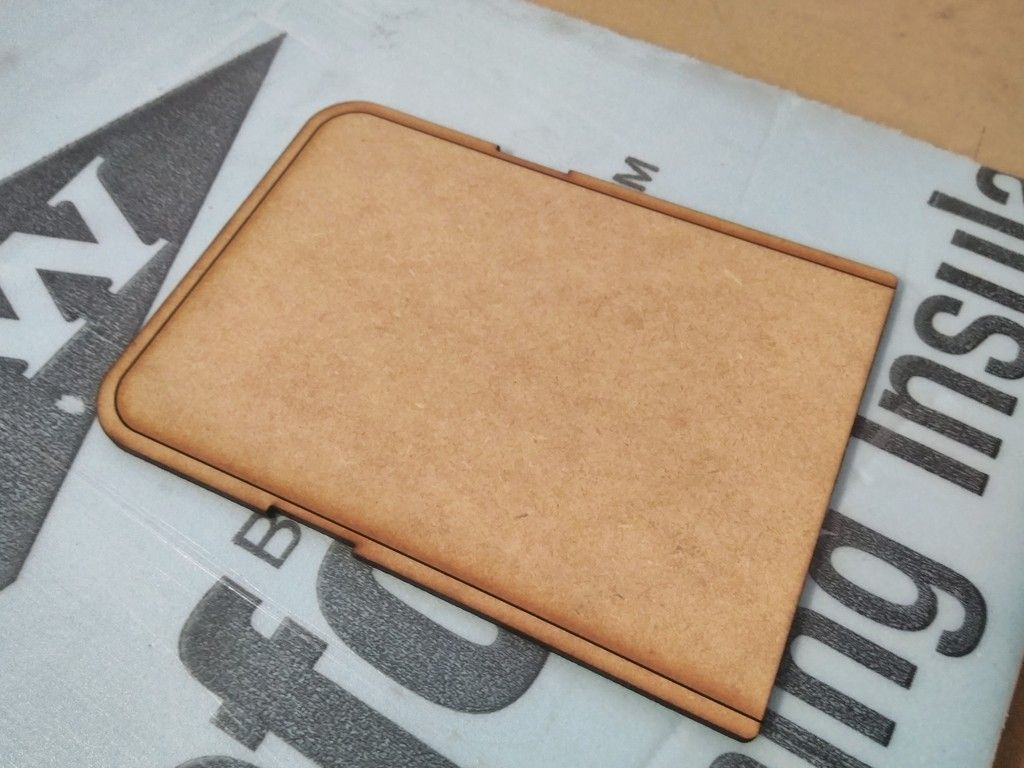
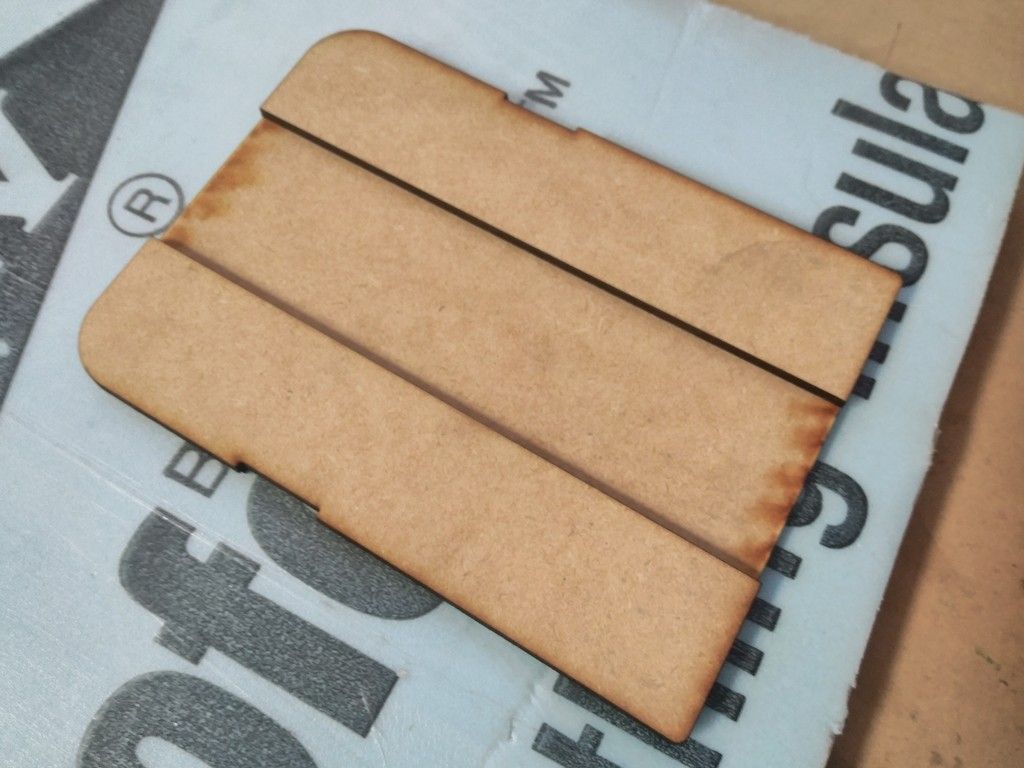
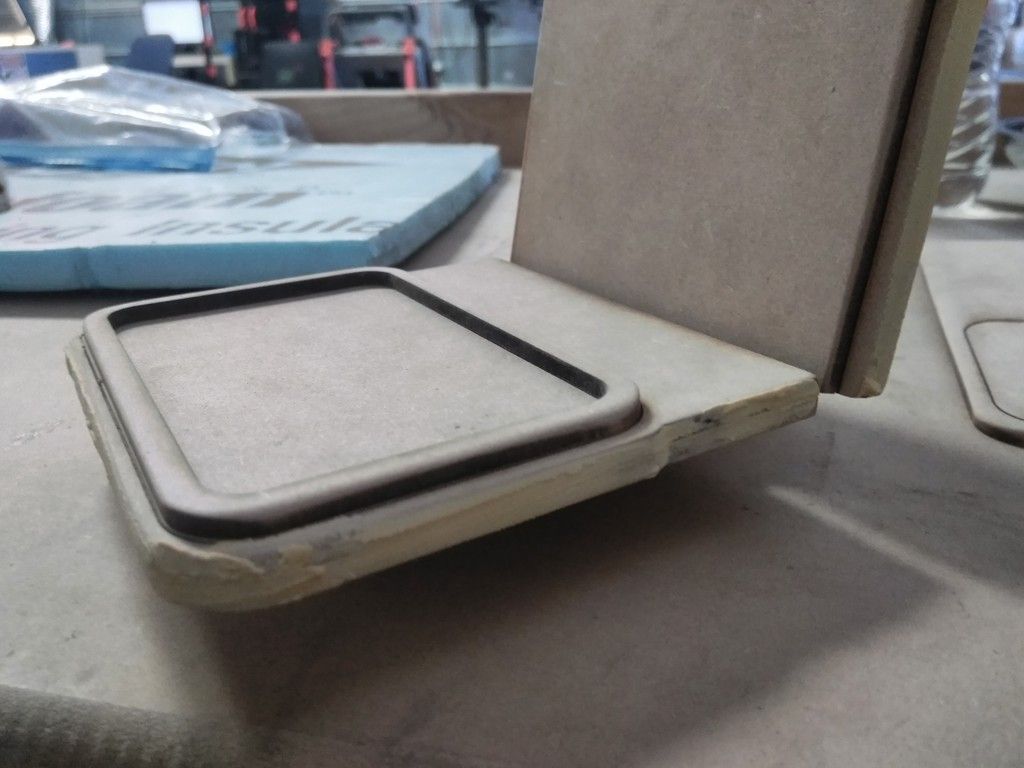
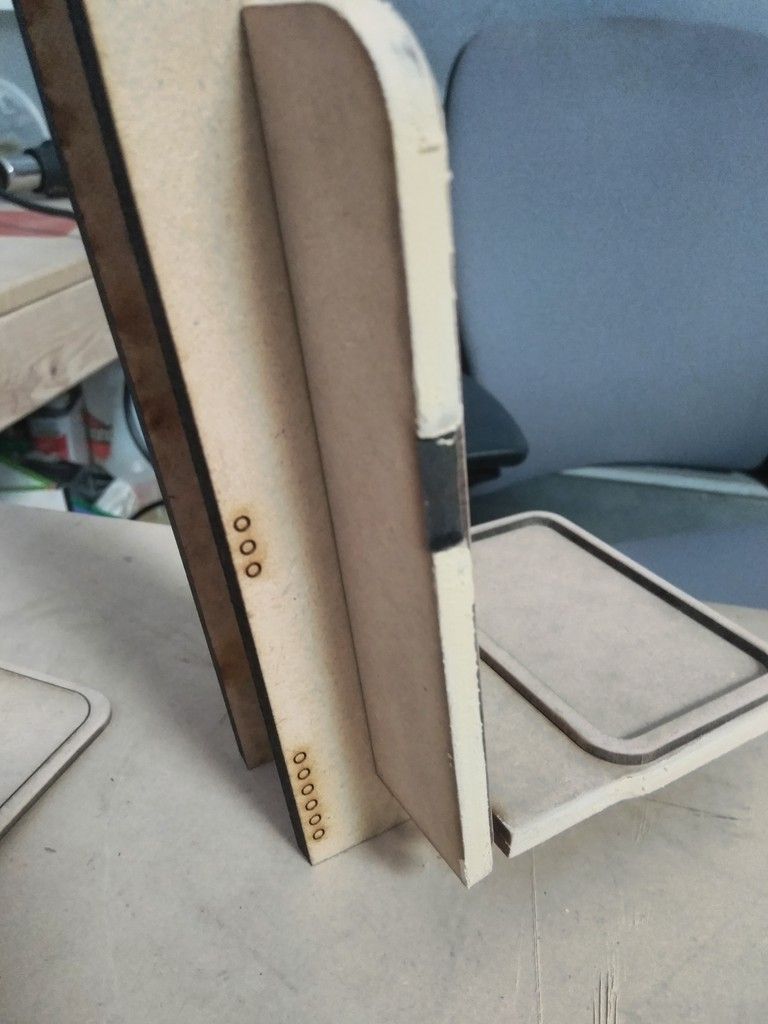
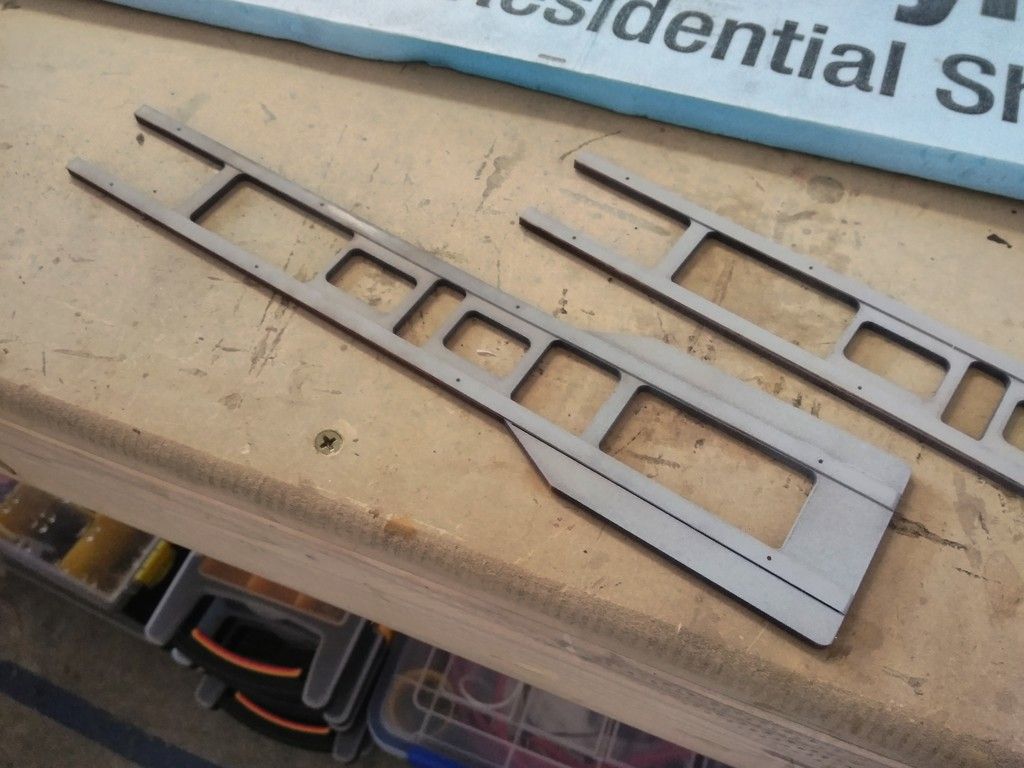
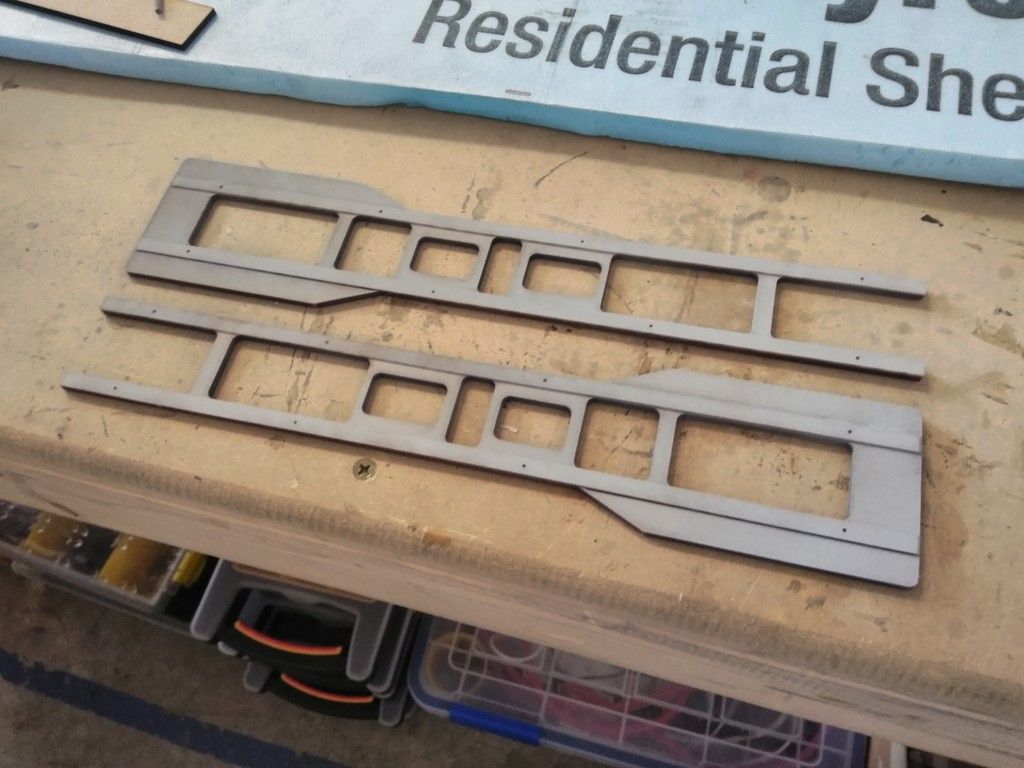
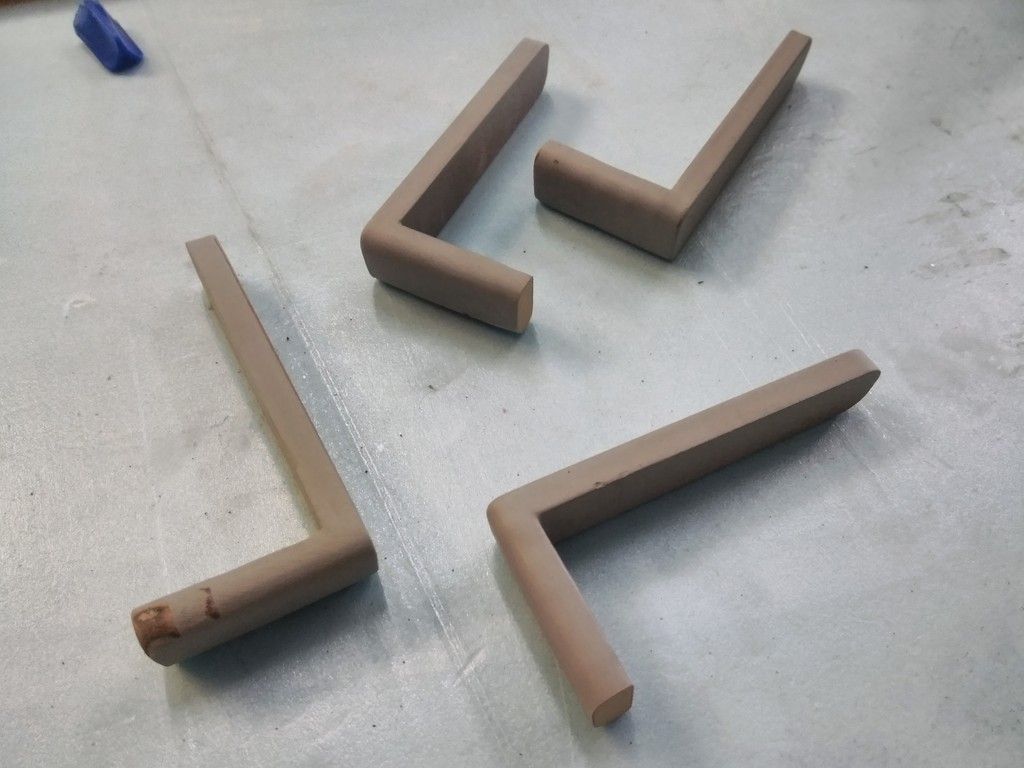
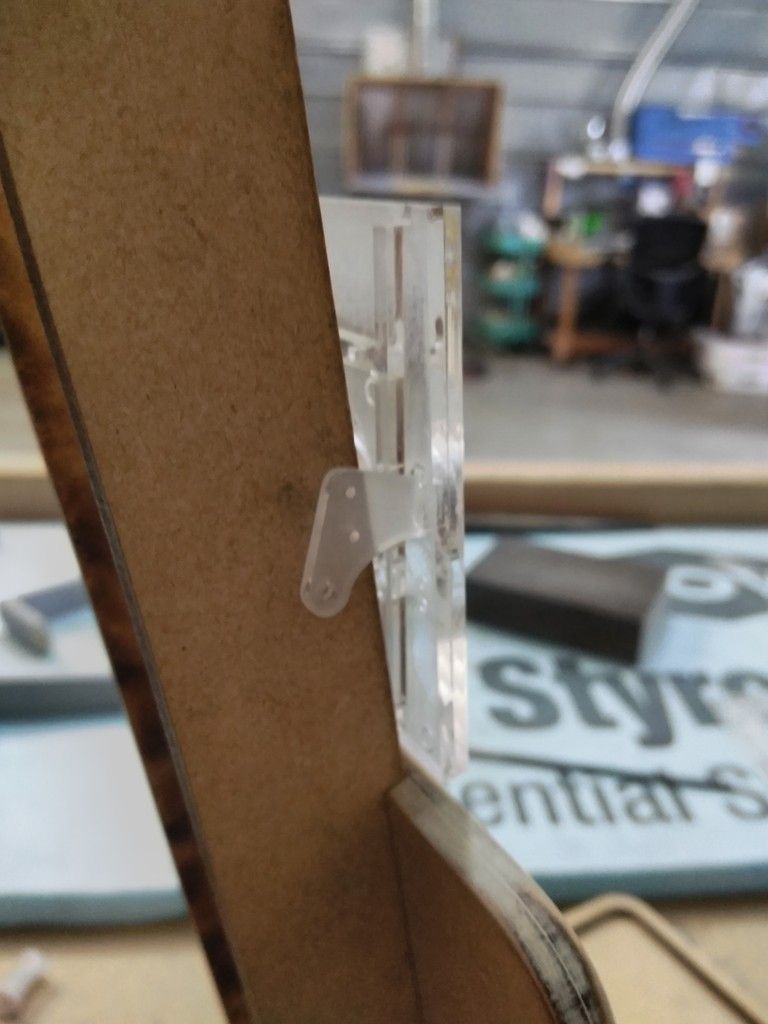
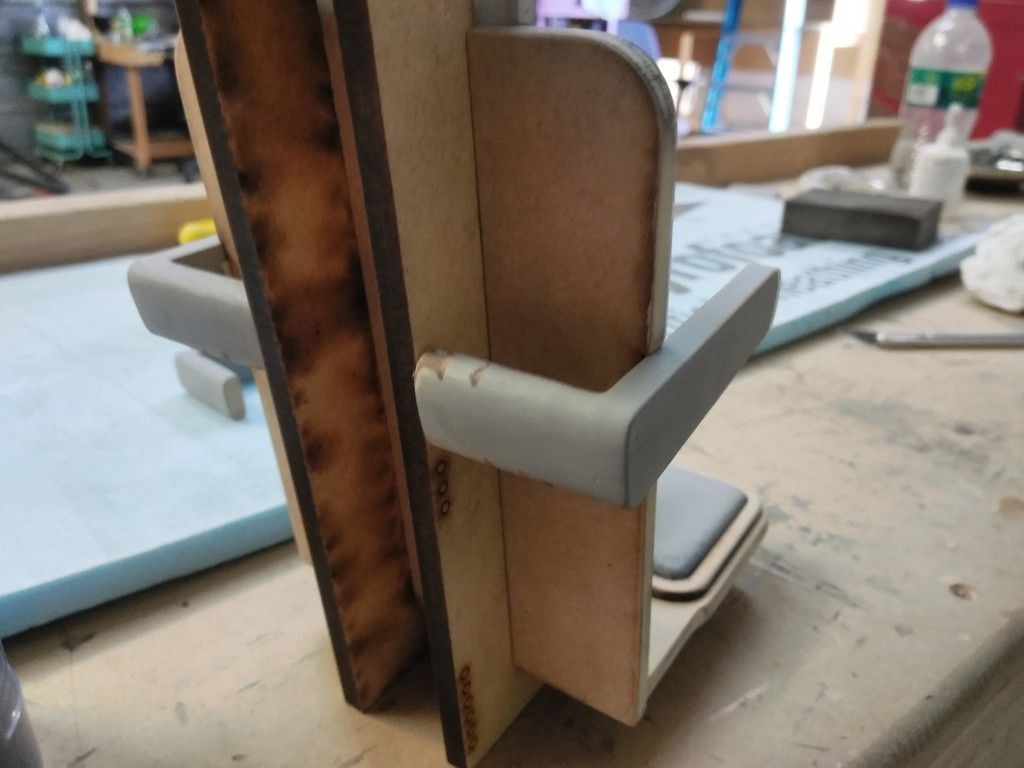
Frame guides
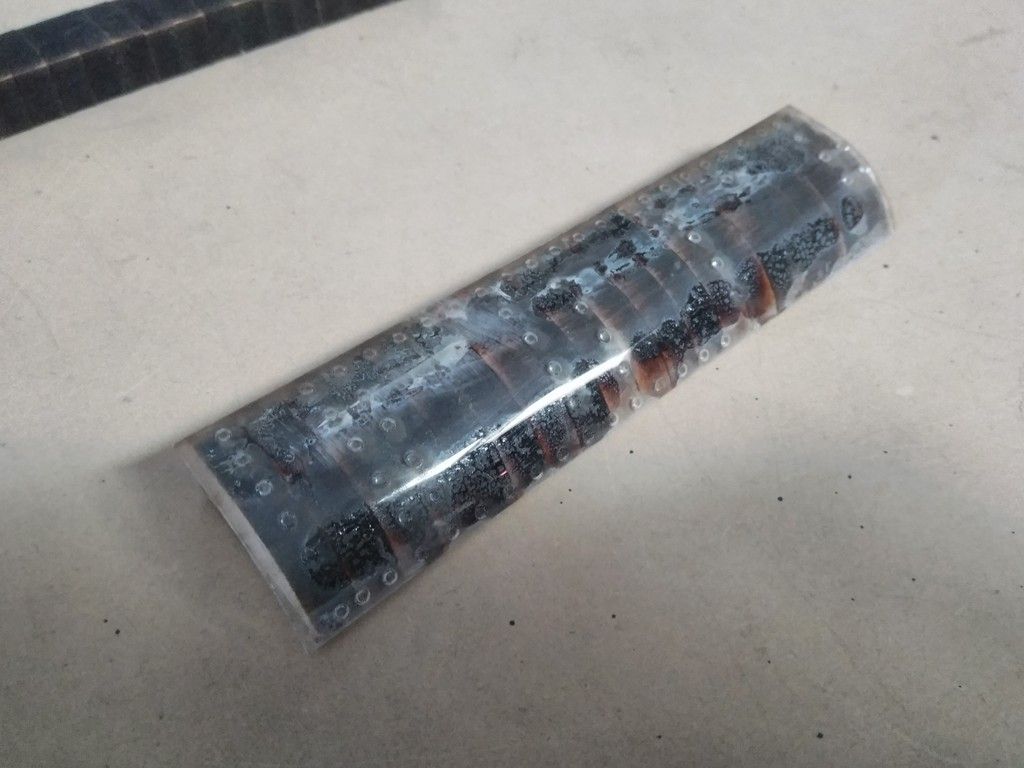
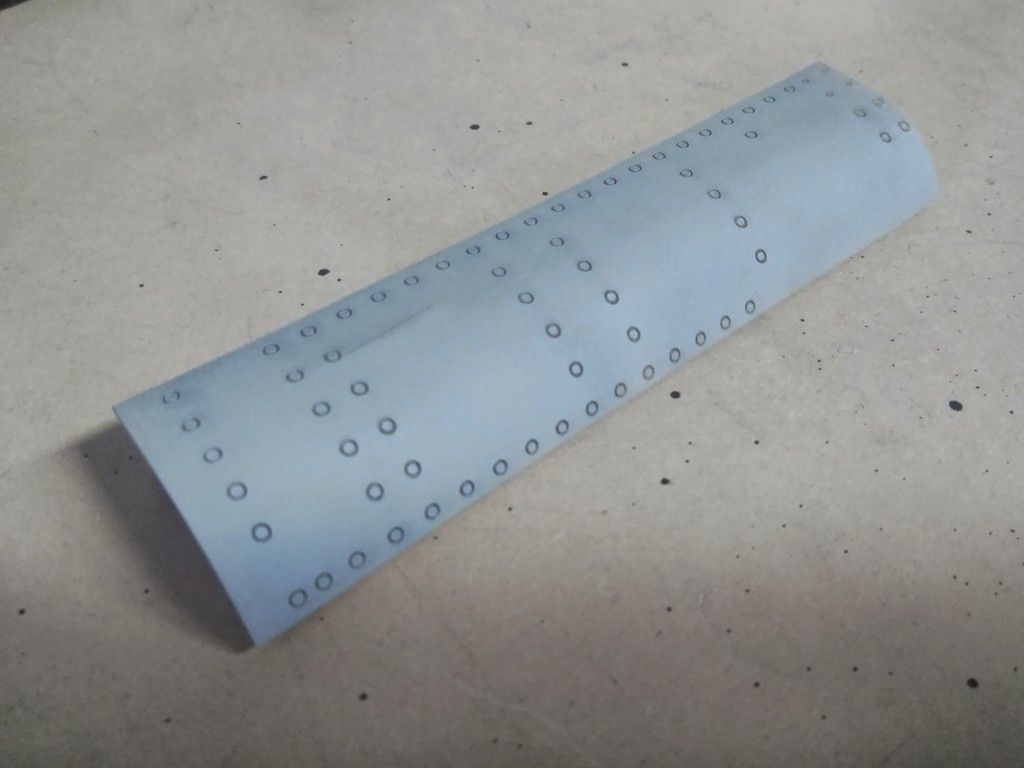
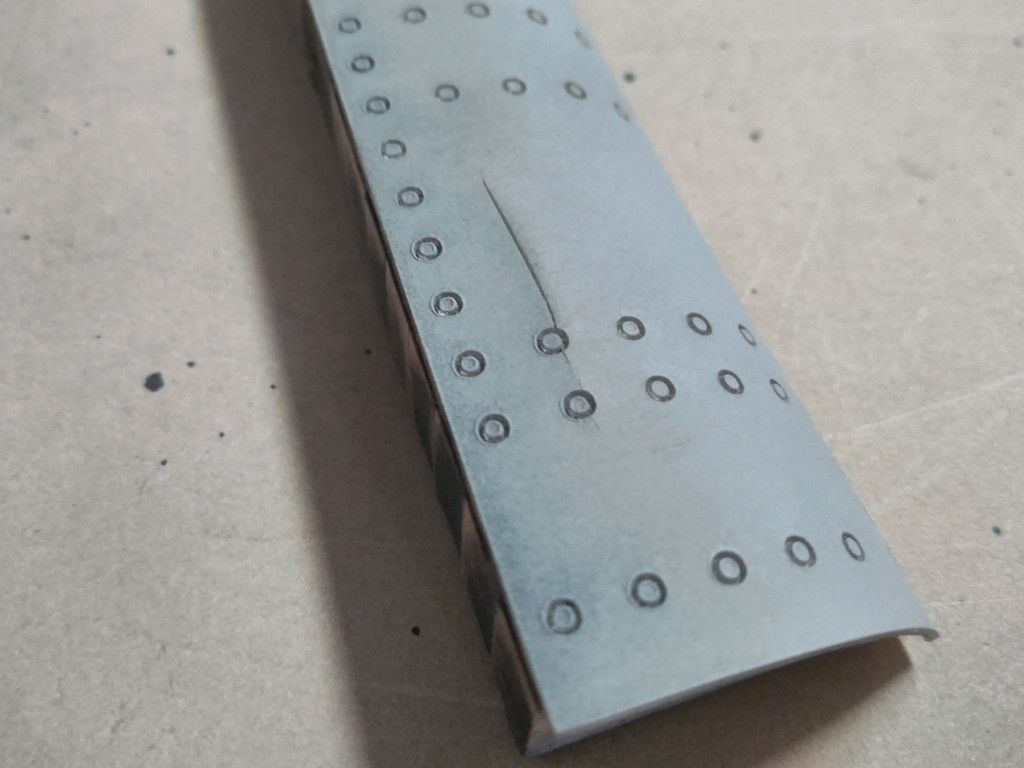
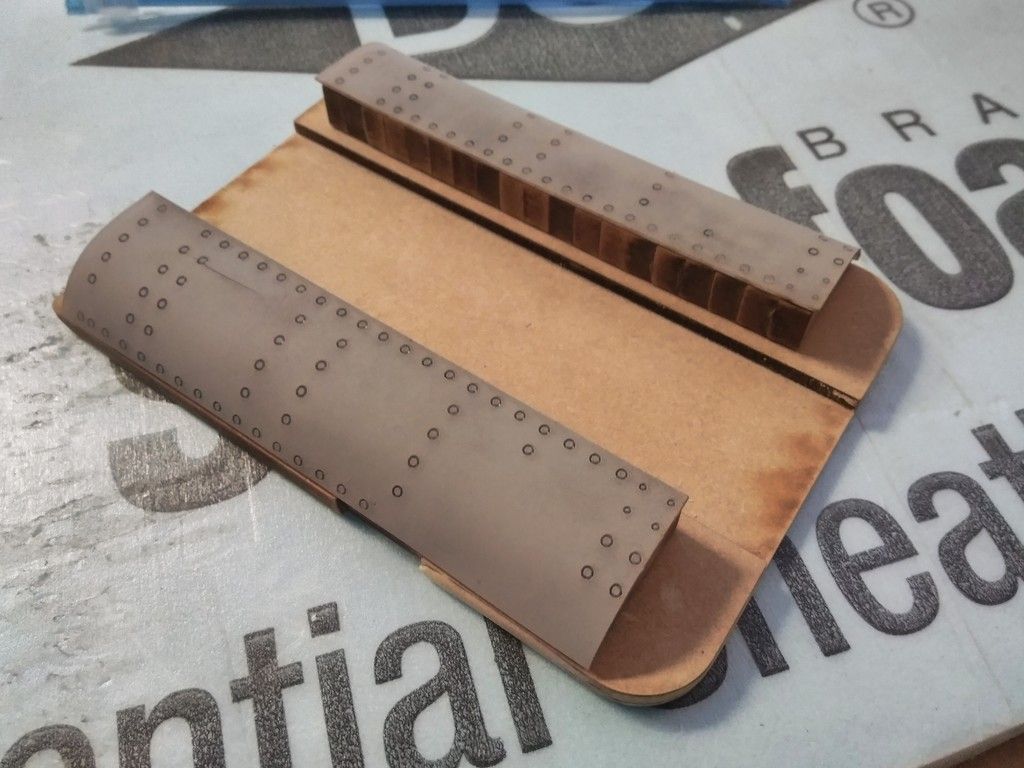
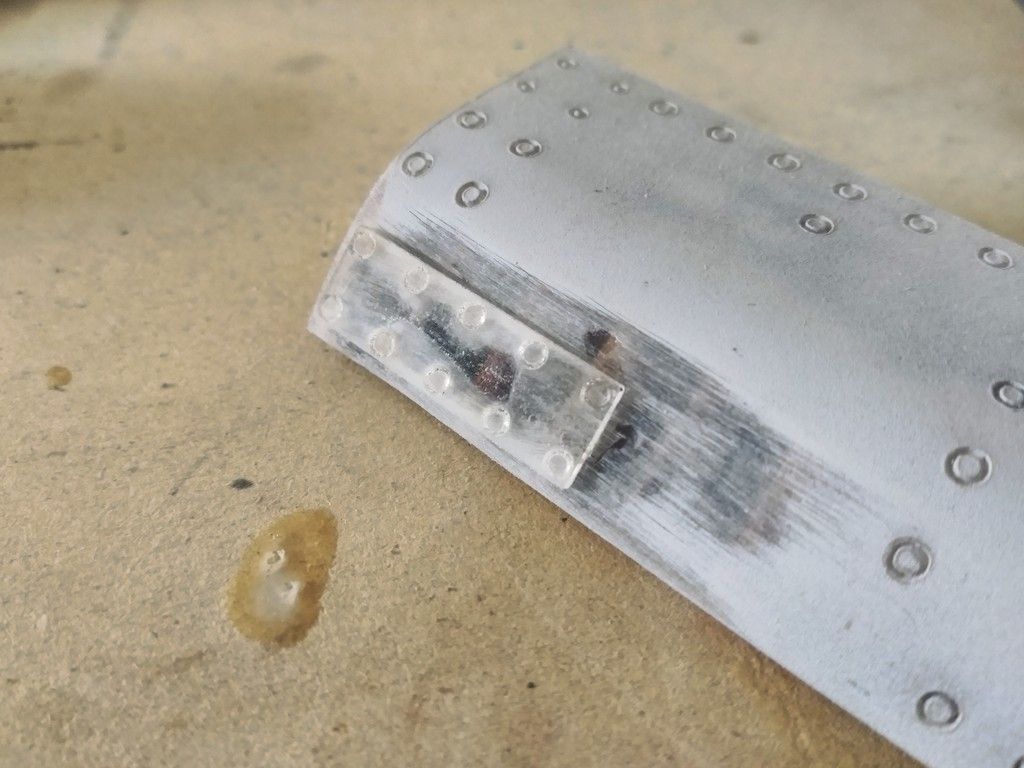
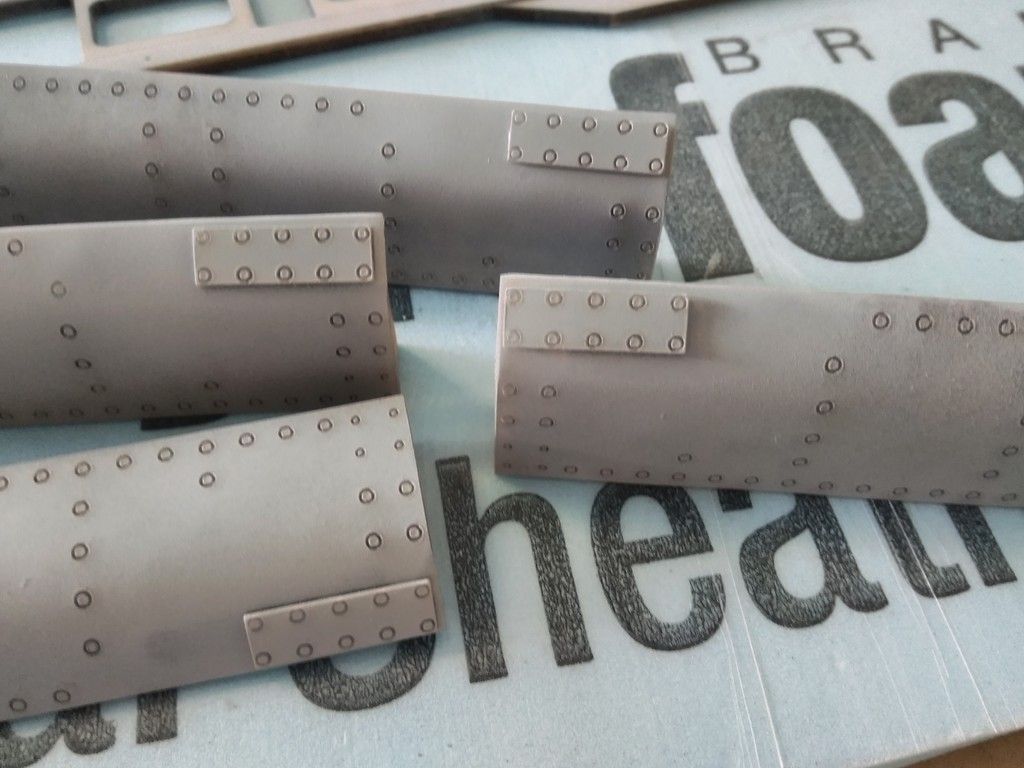
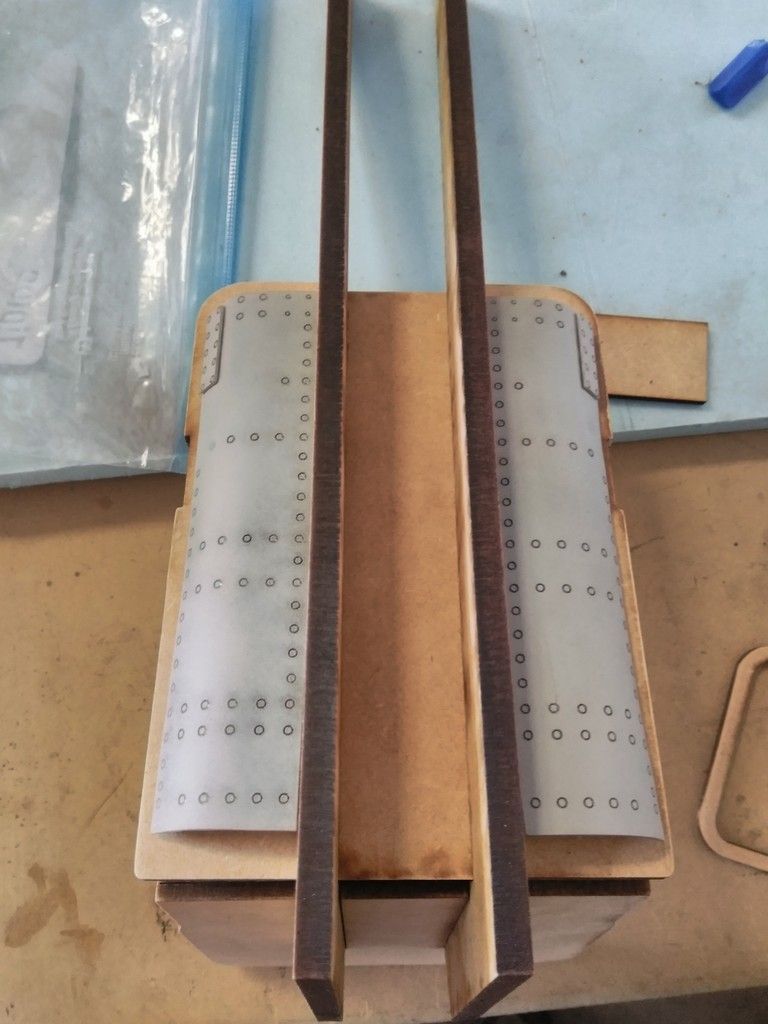
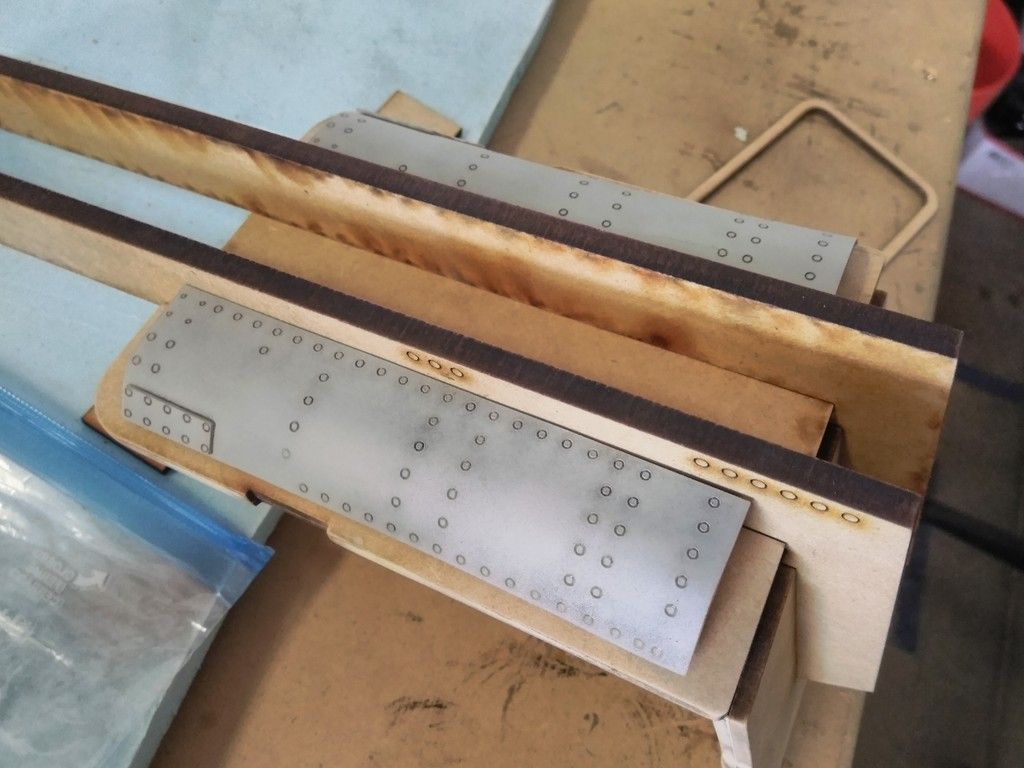
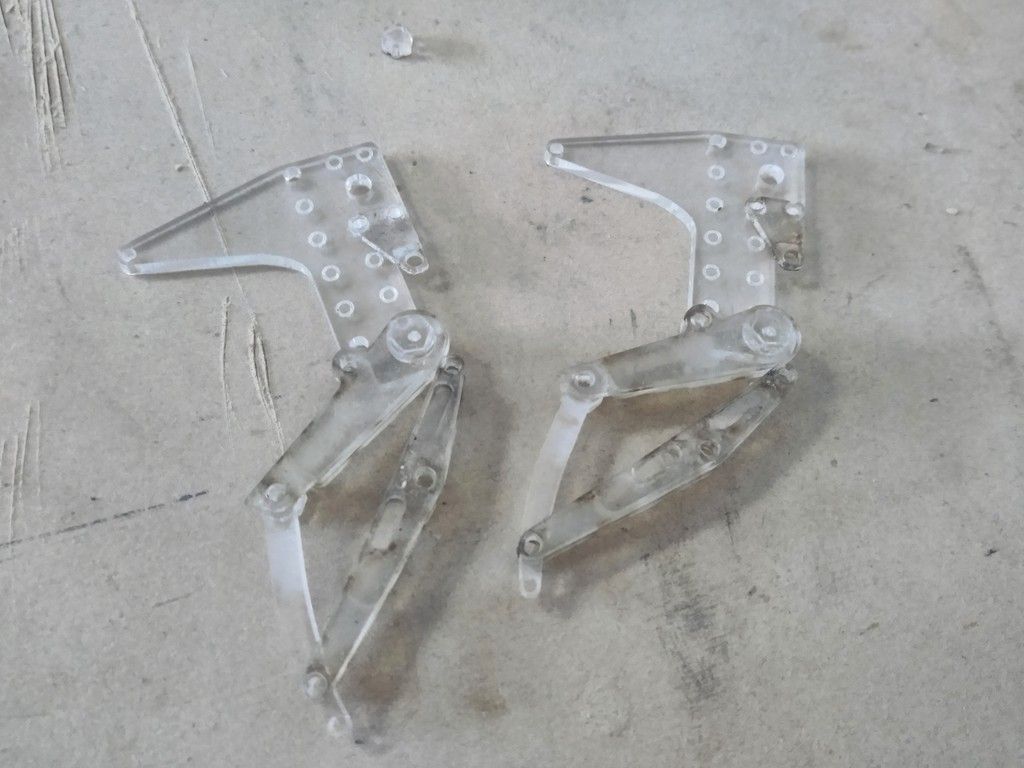
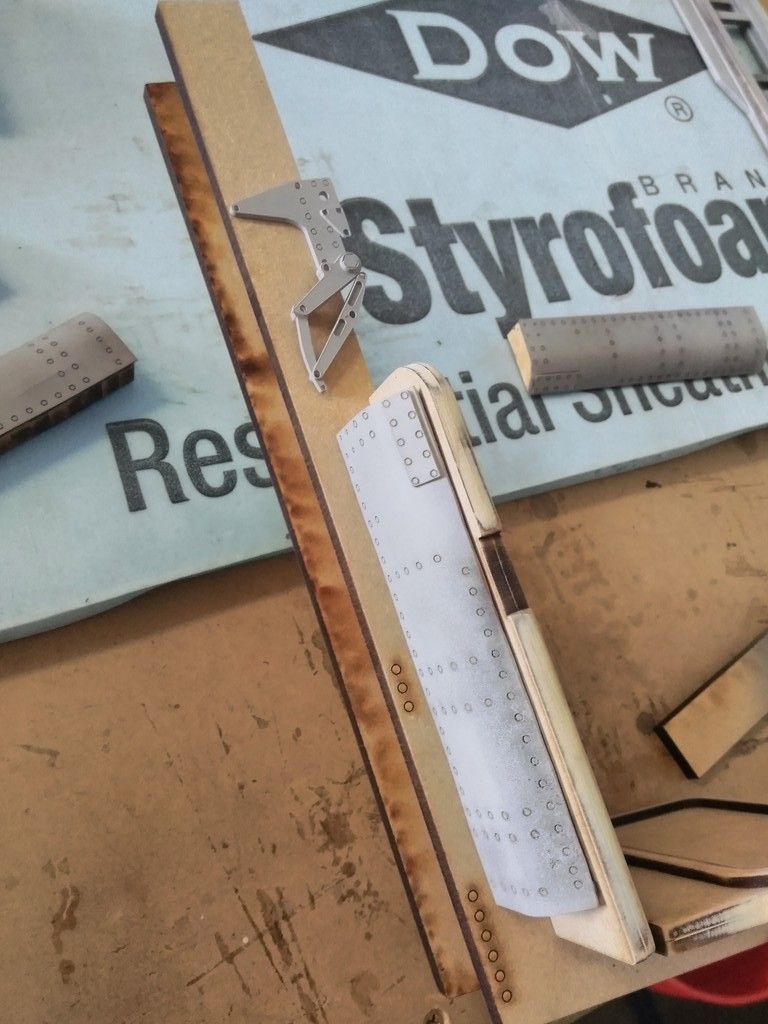
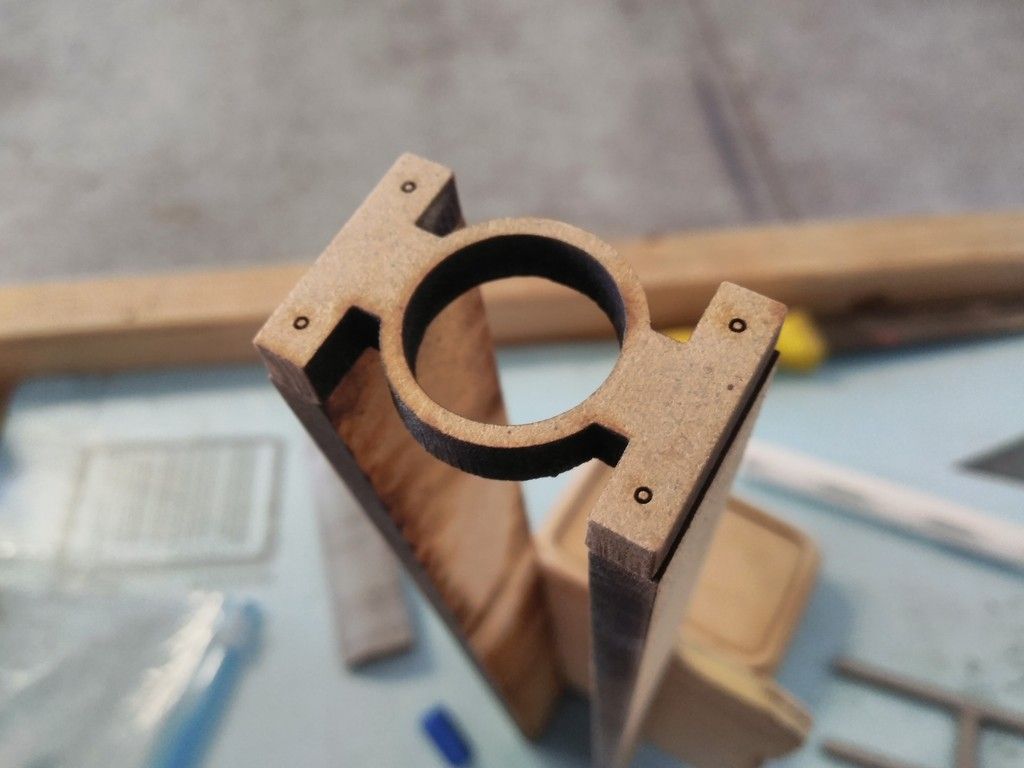
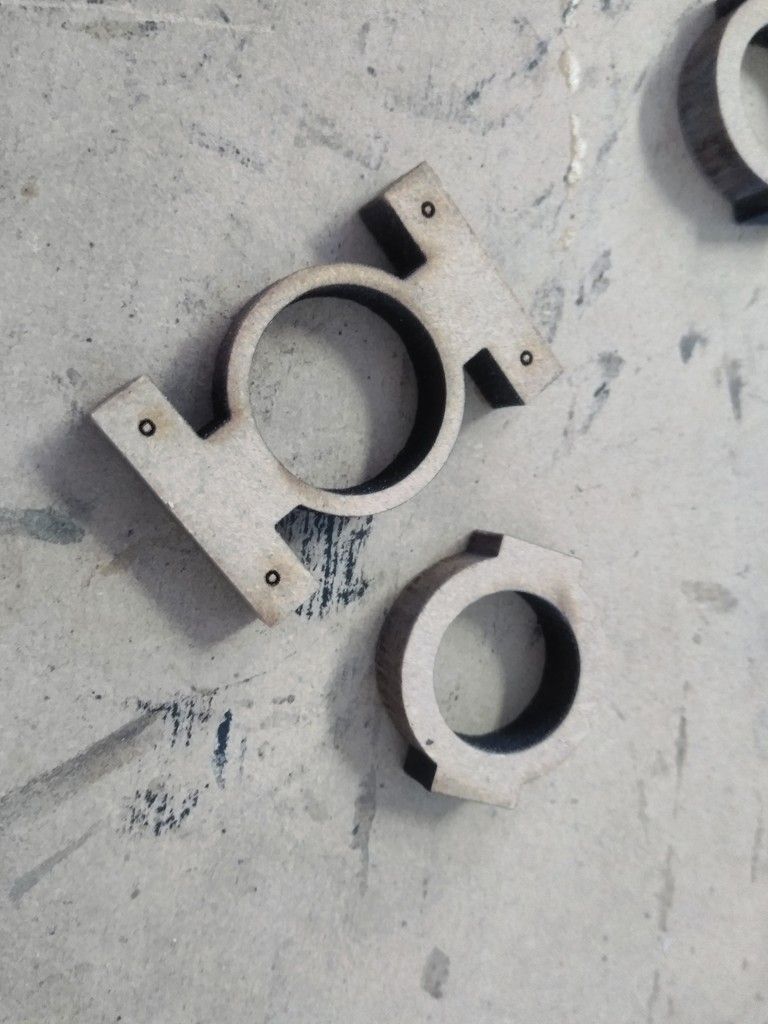
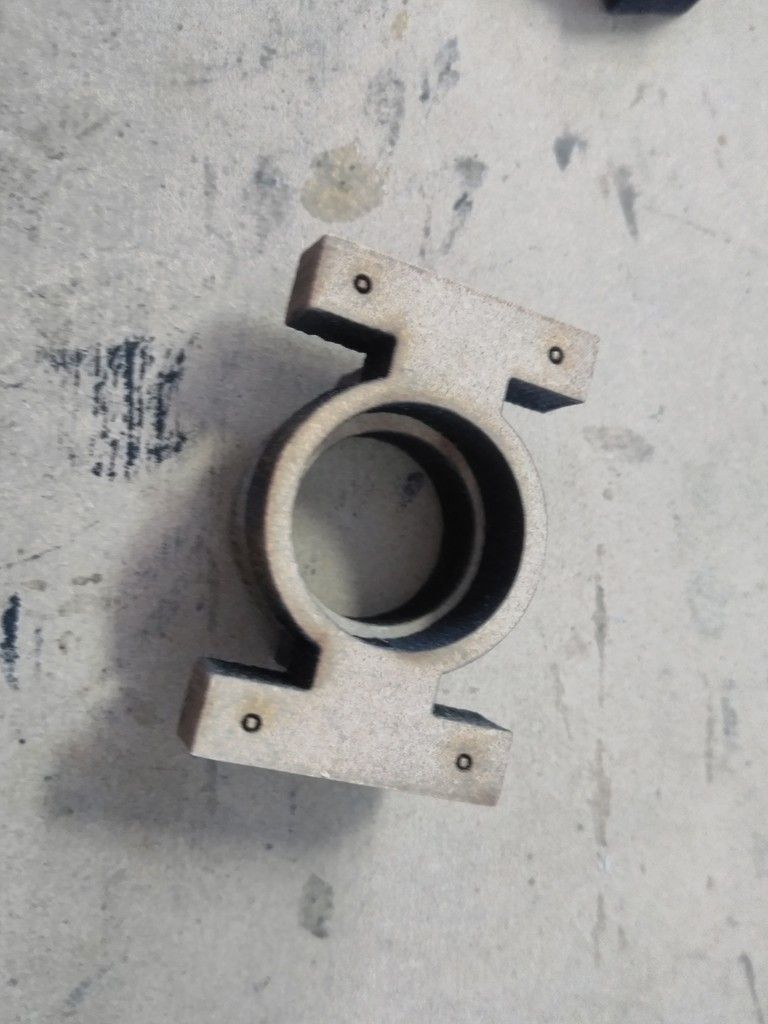
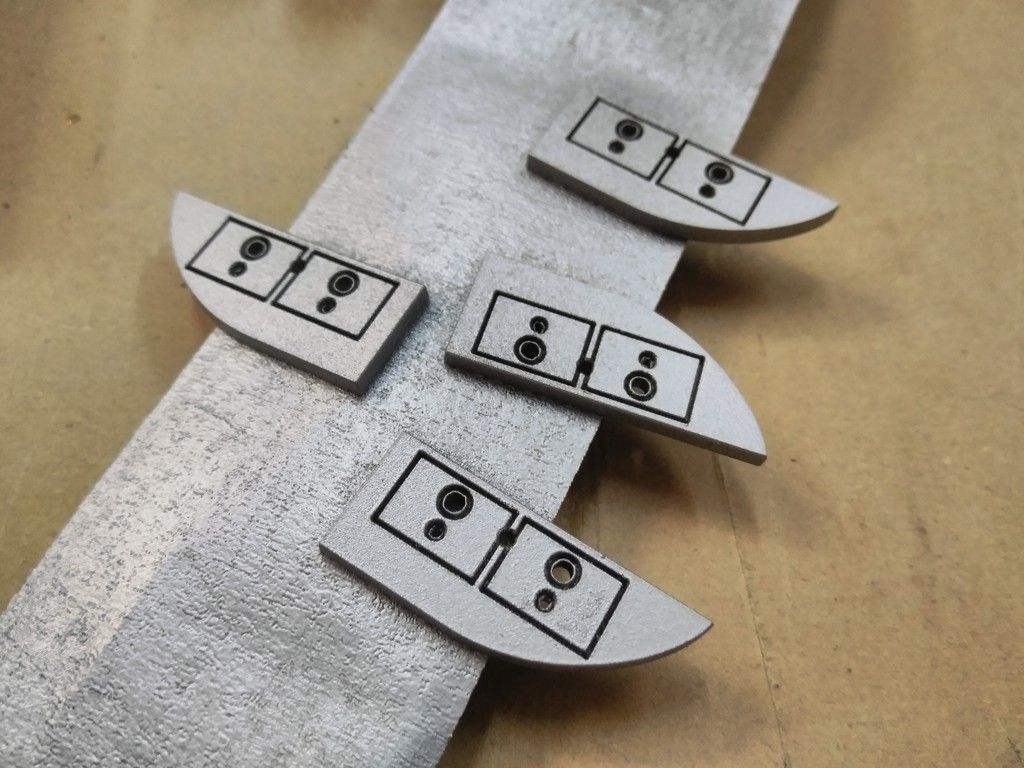
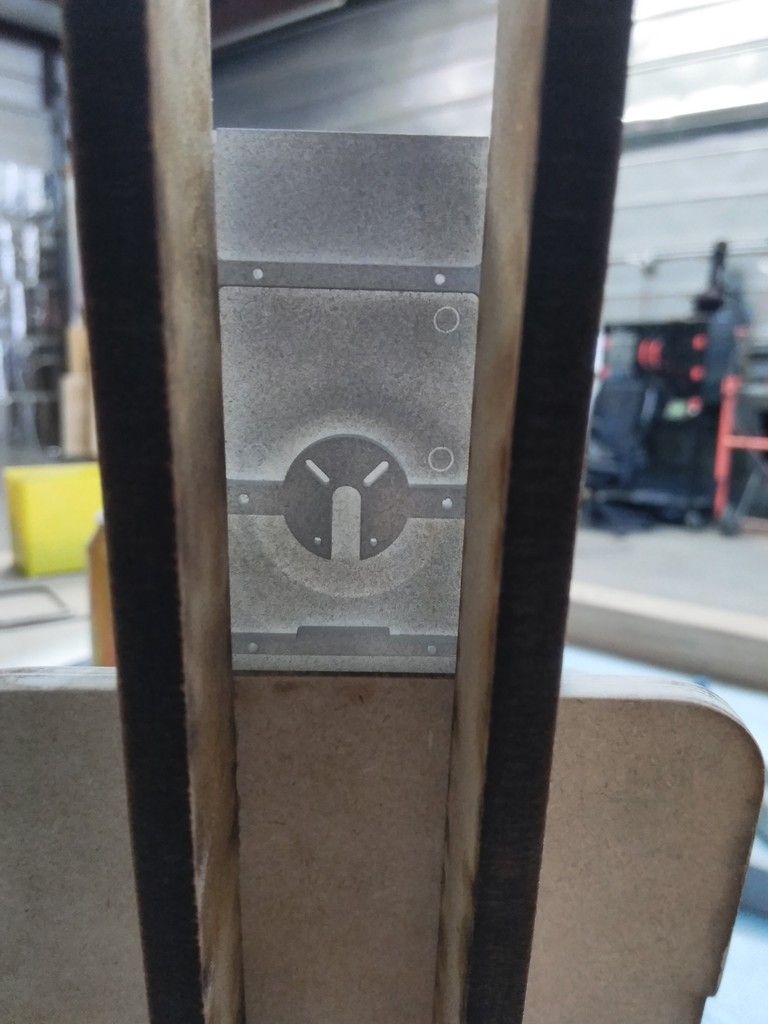
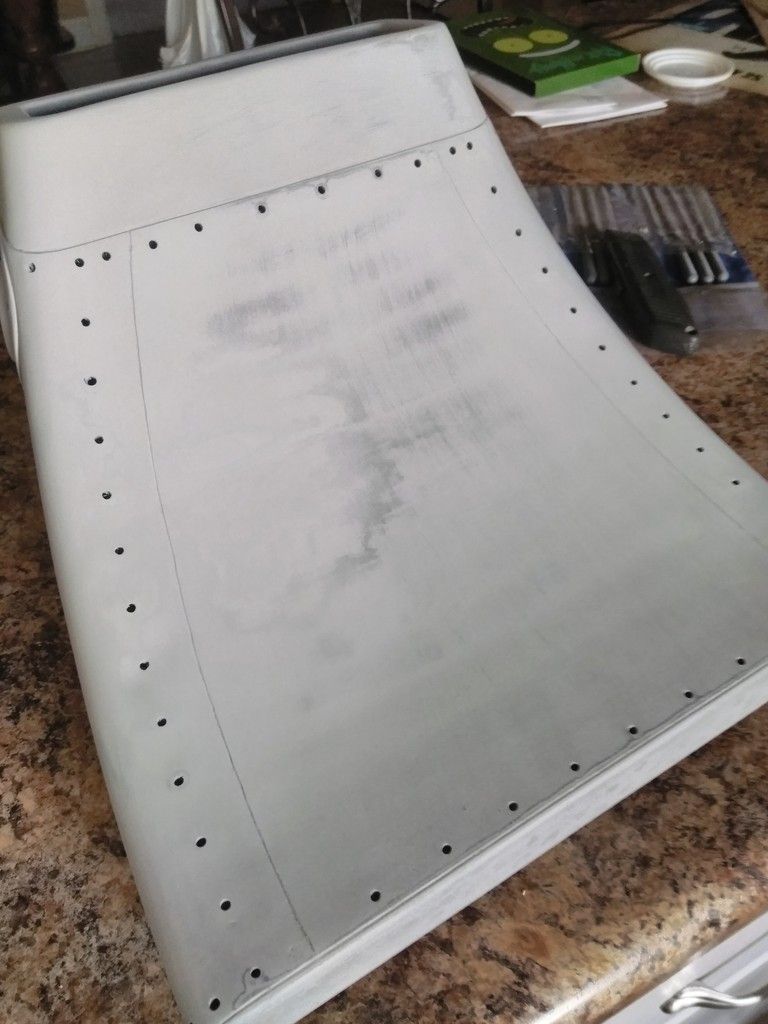
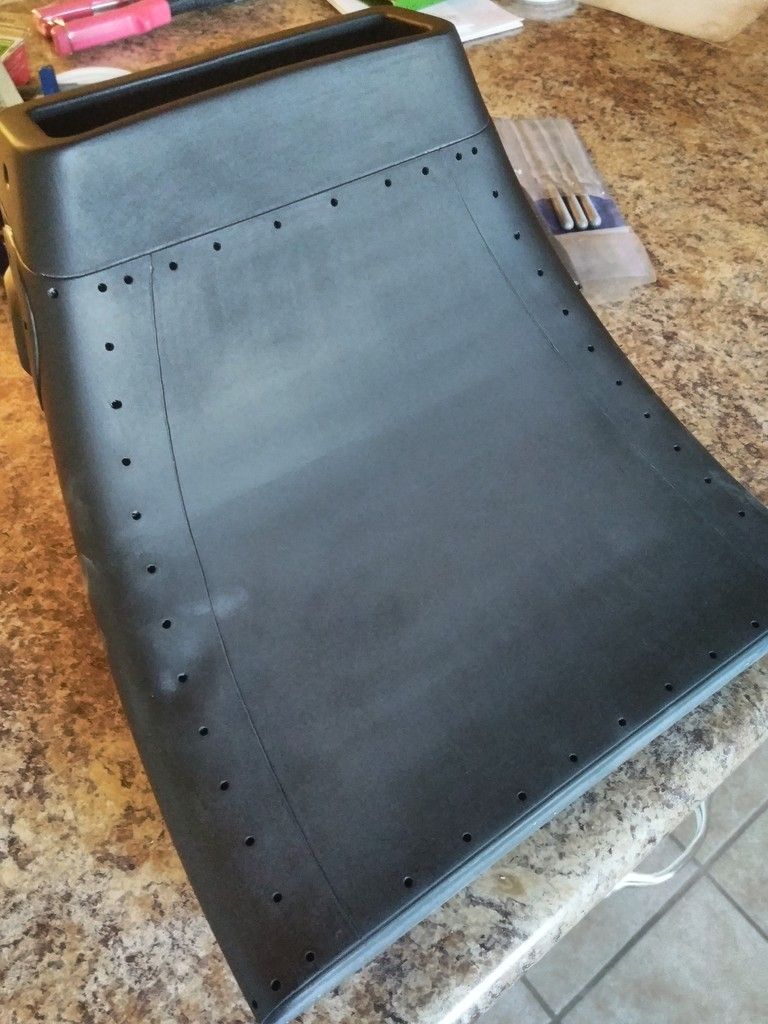
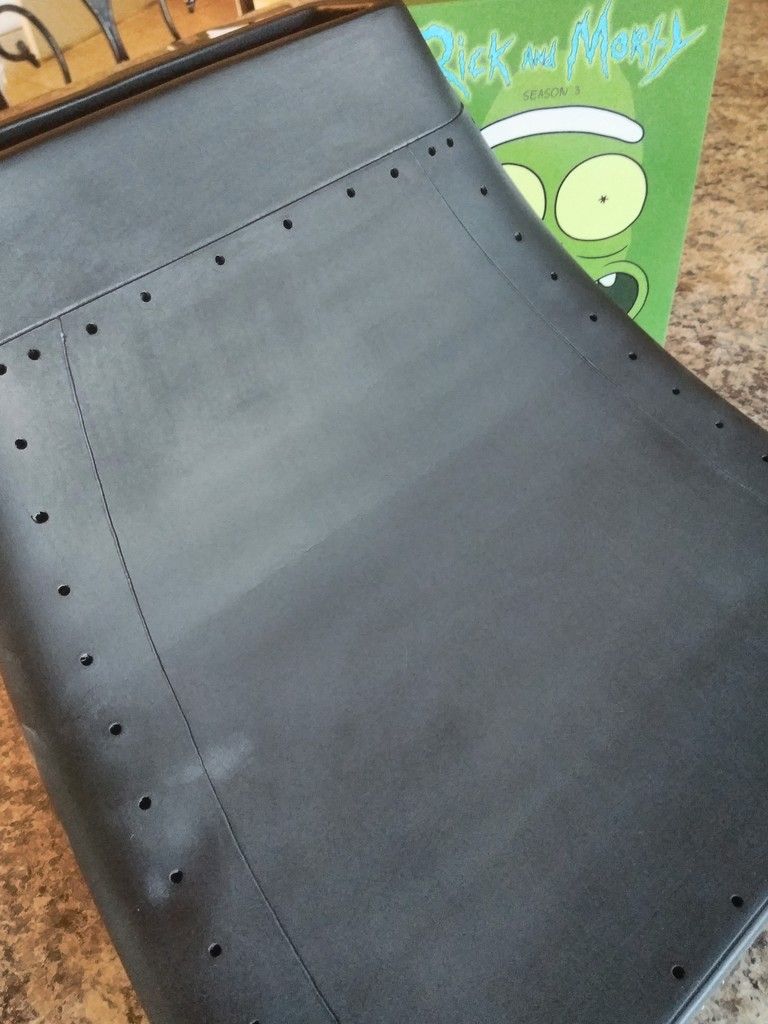
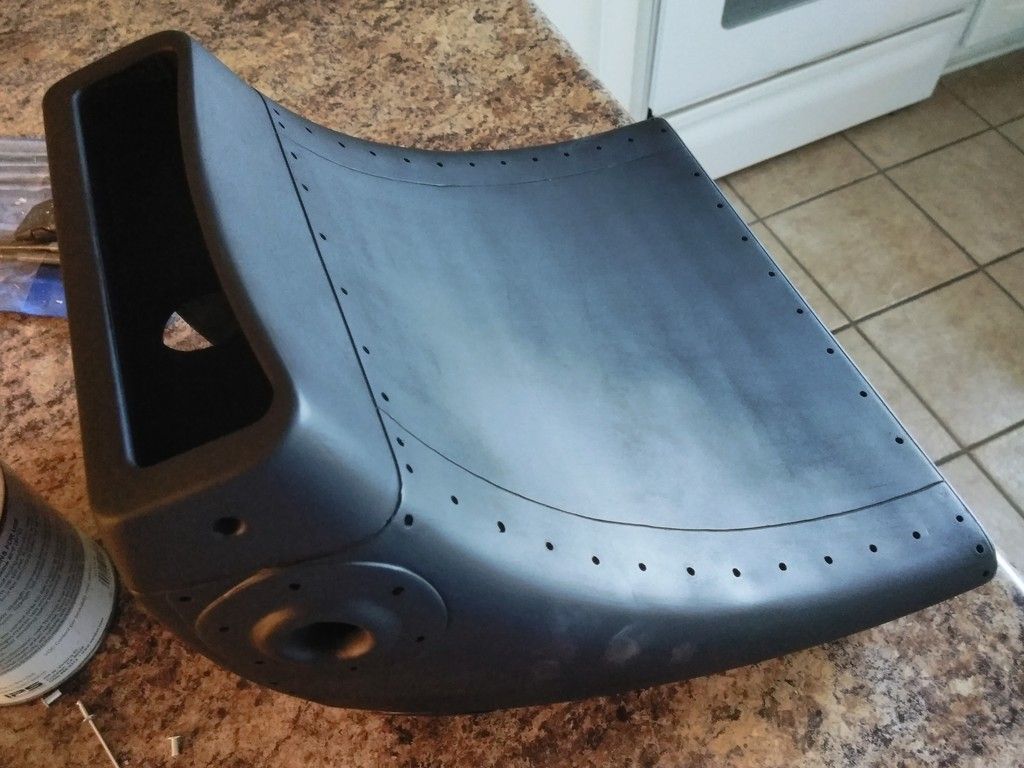
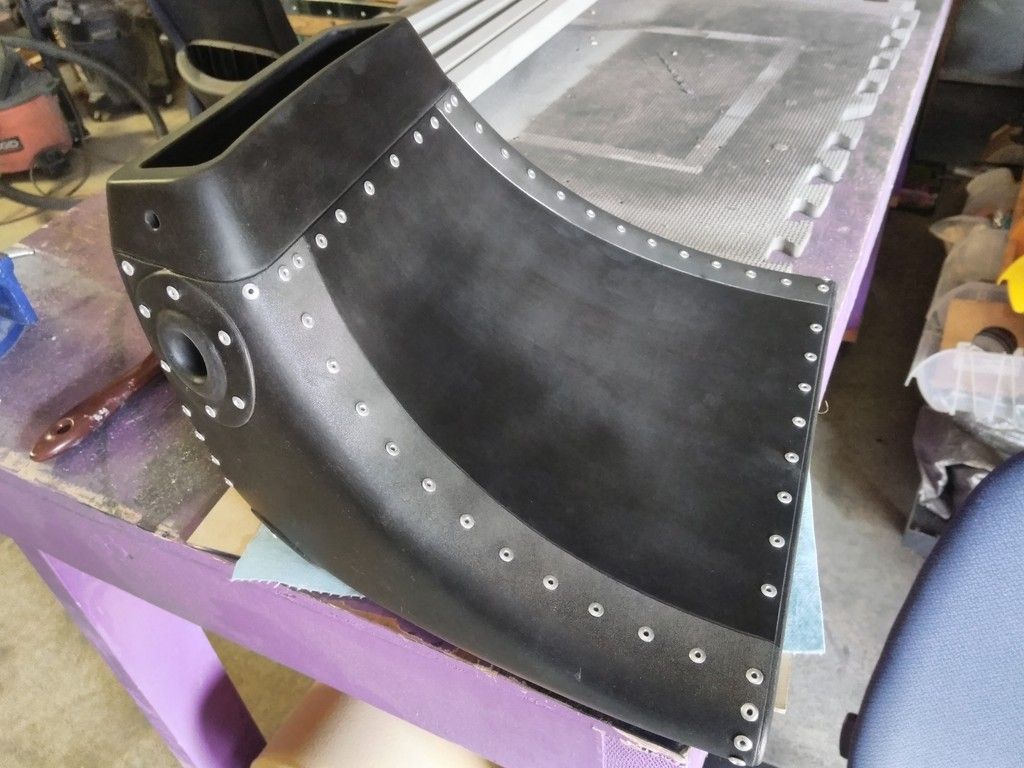
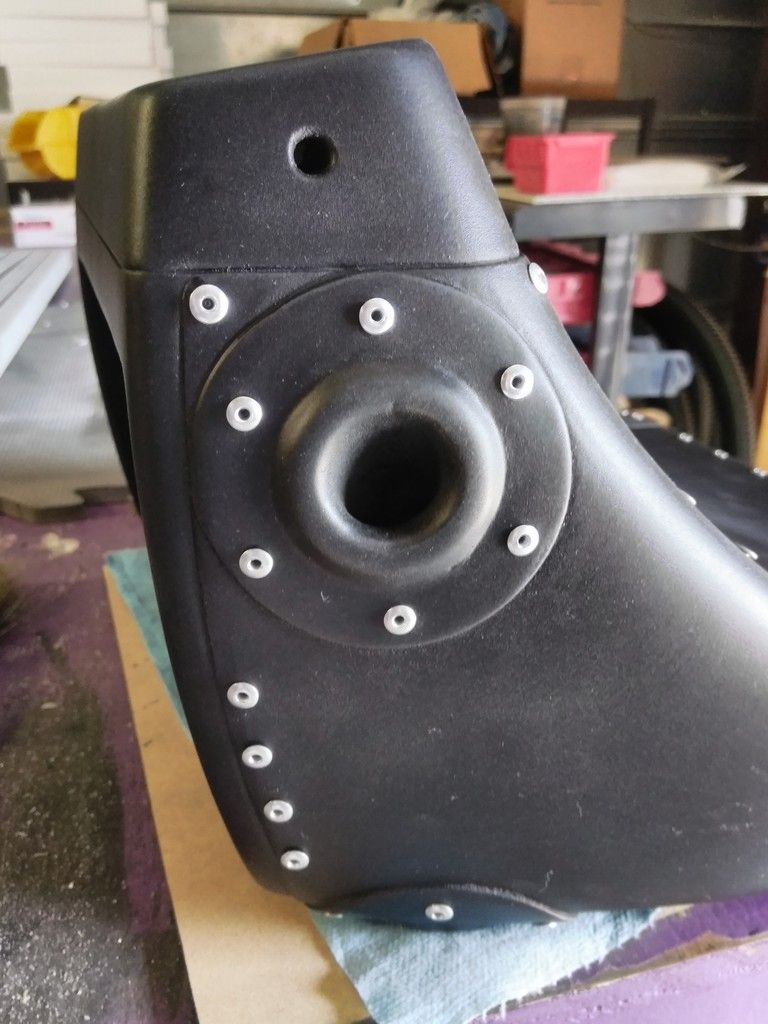
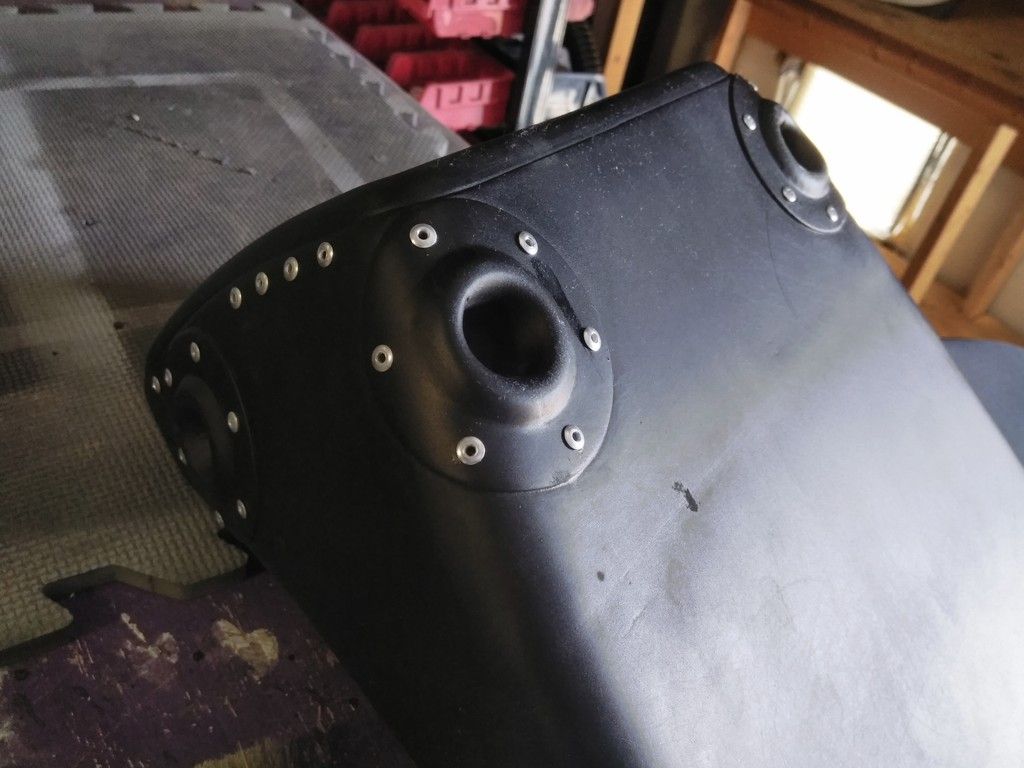
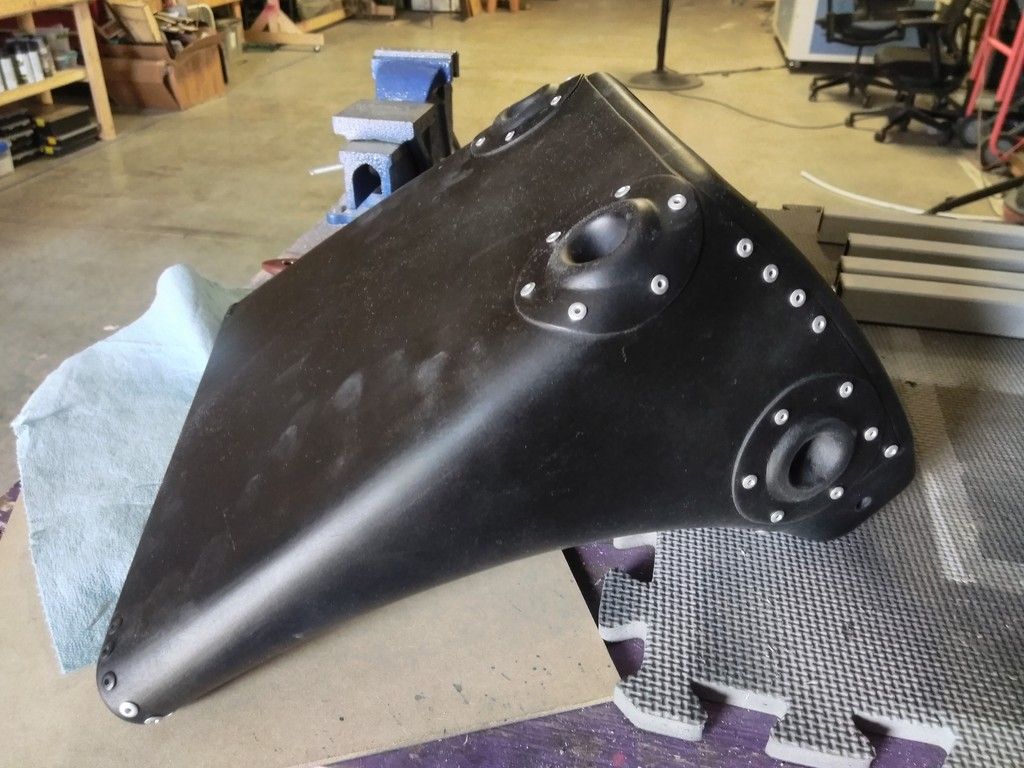
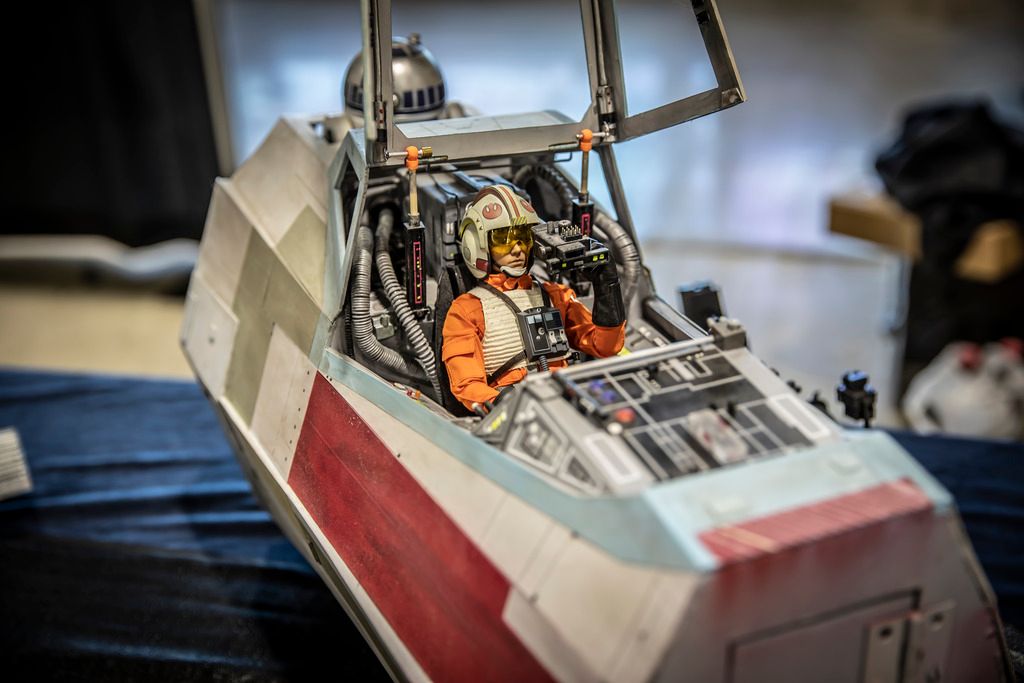
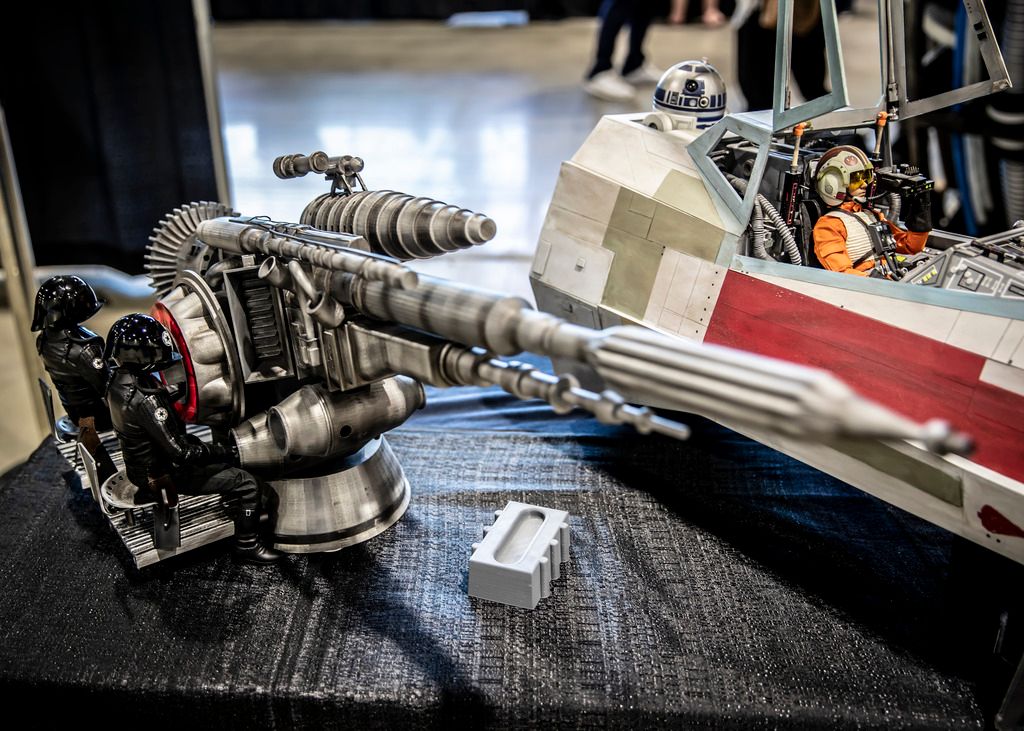
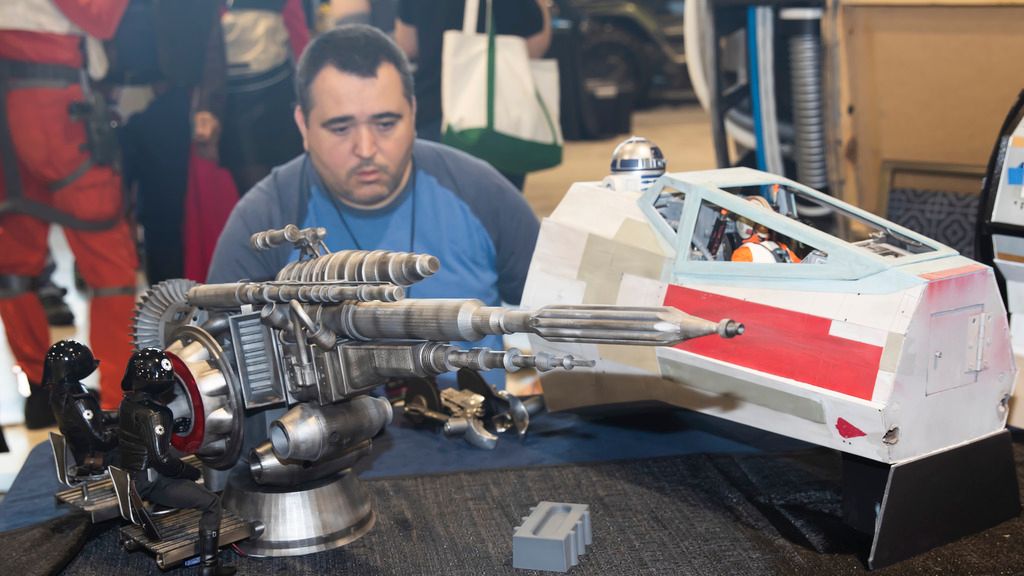
1/4 scale nacelles
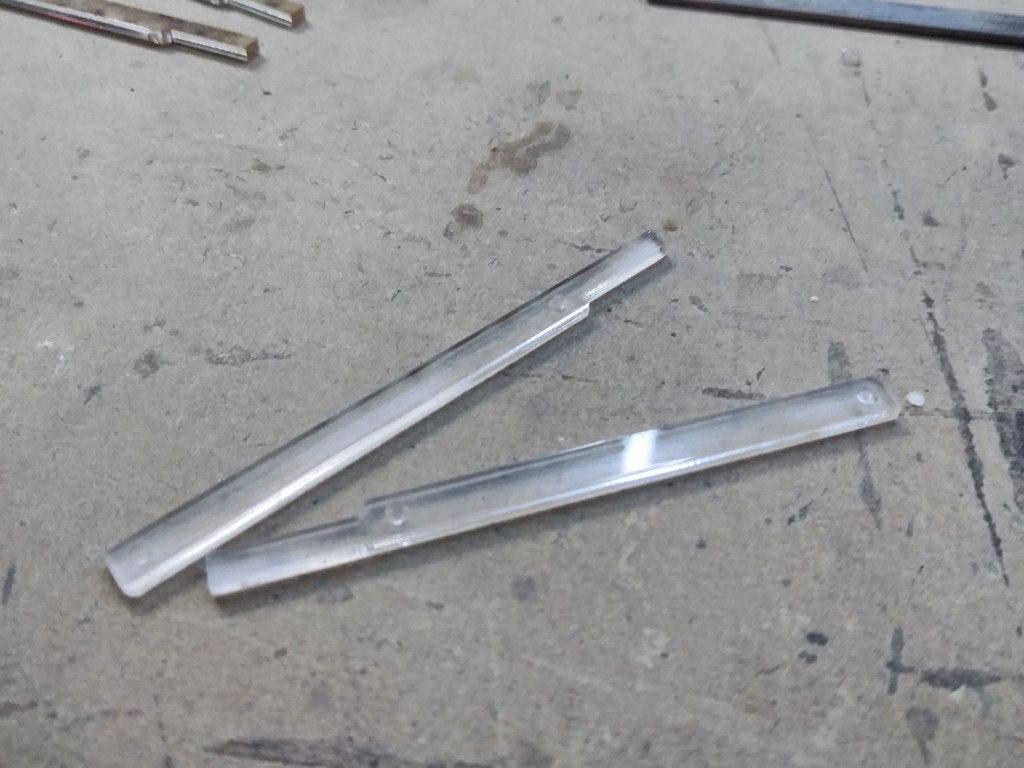
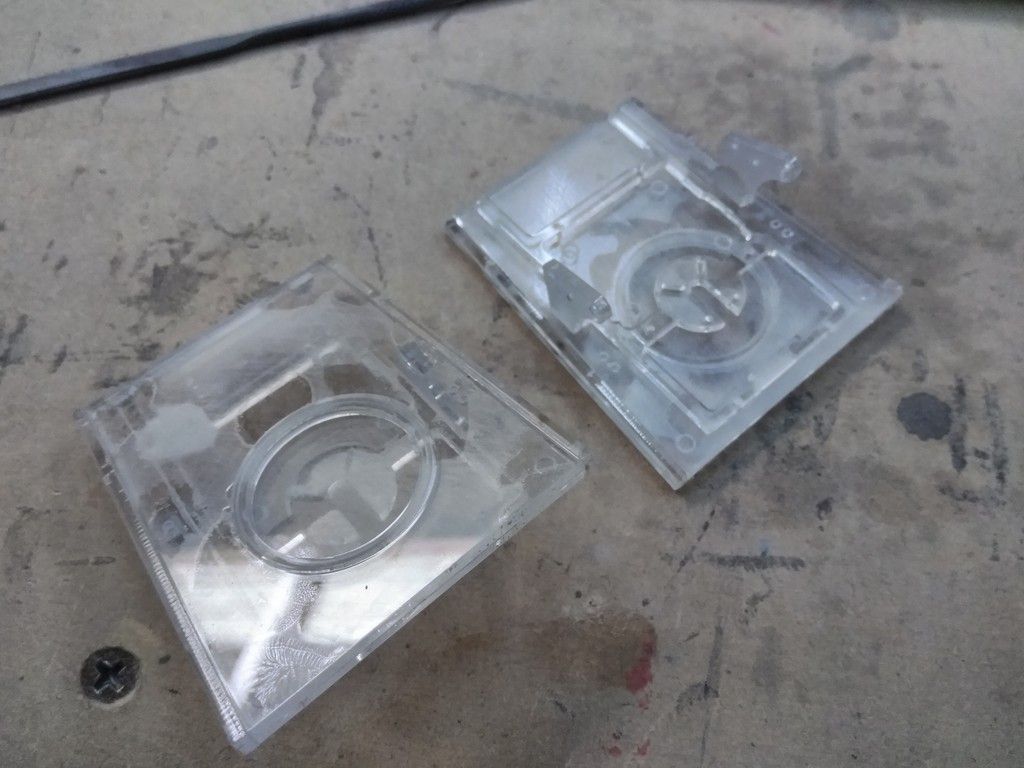
CRACK!
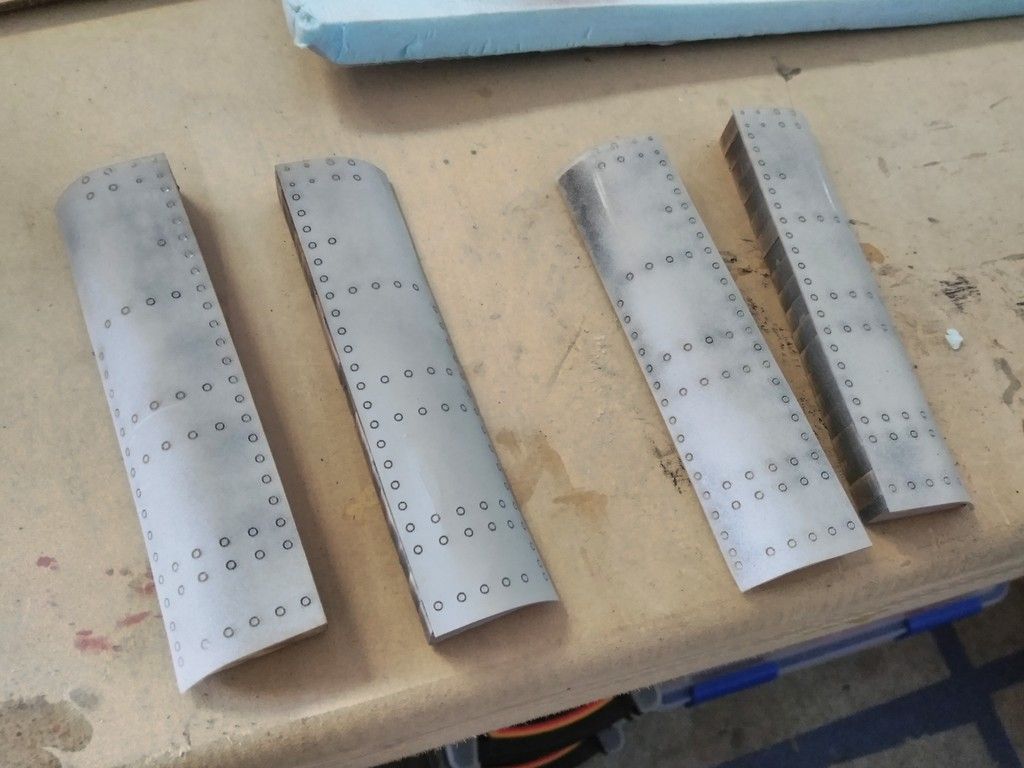
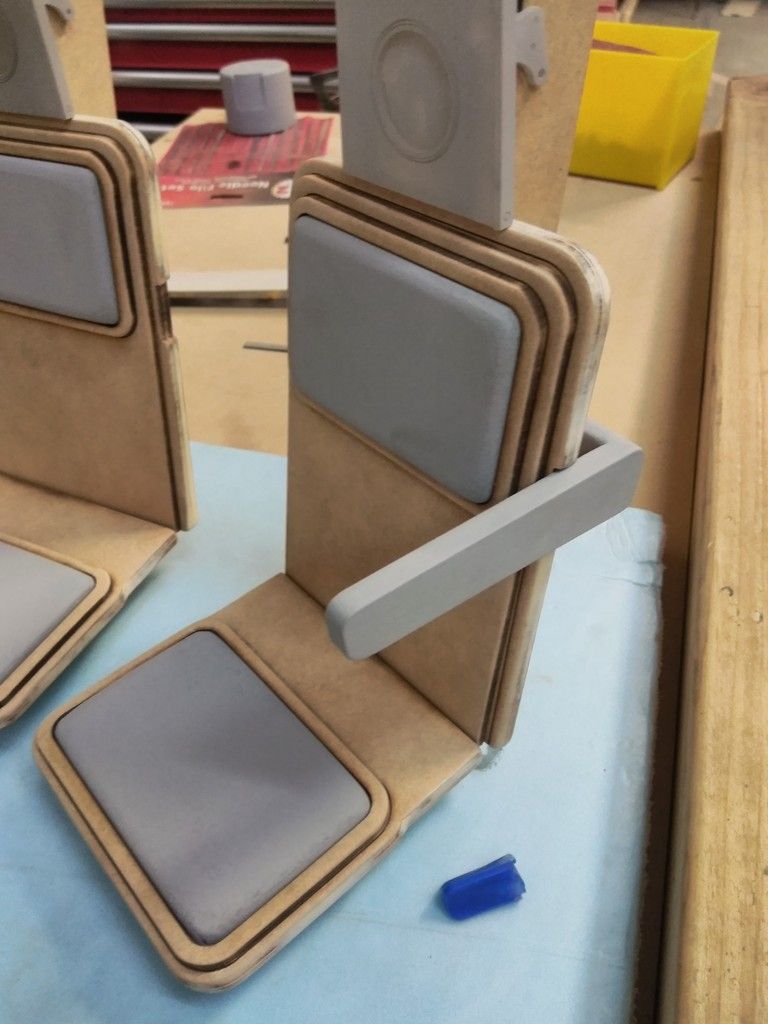
Armrests... I swear this took a LOT longer the first time I did this!
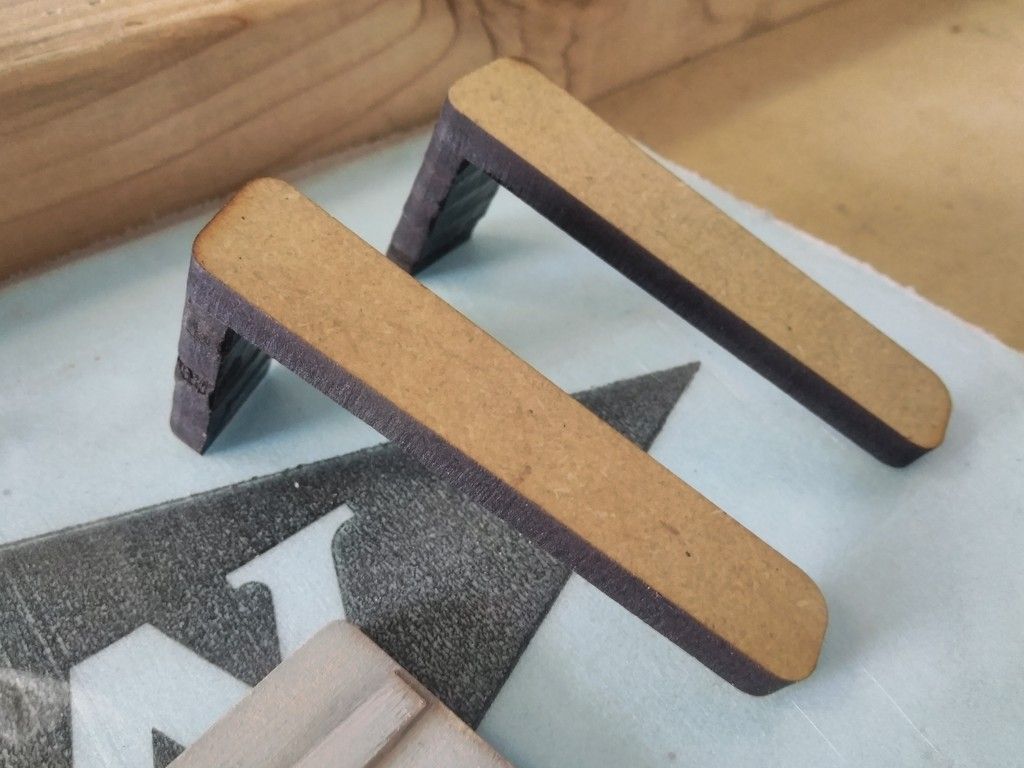
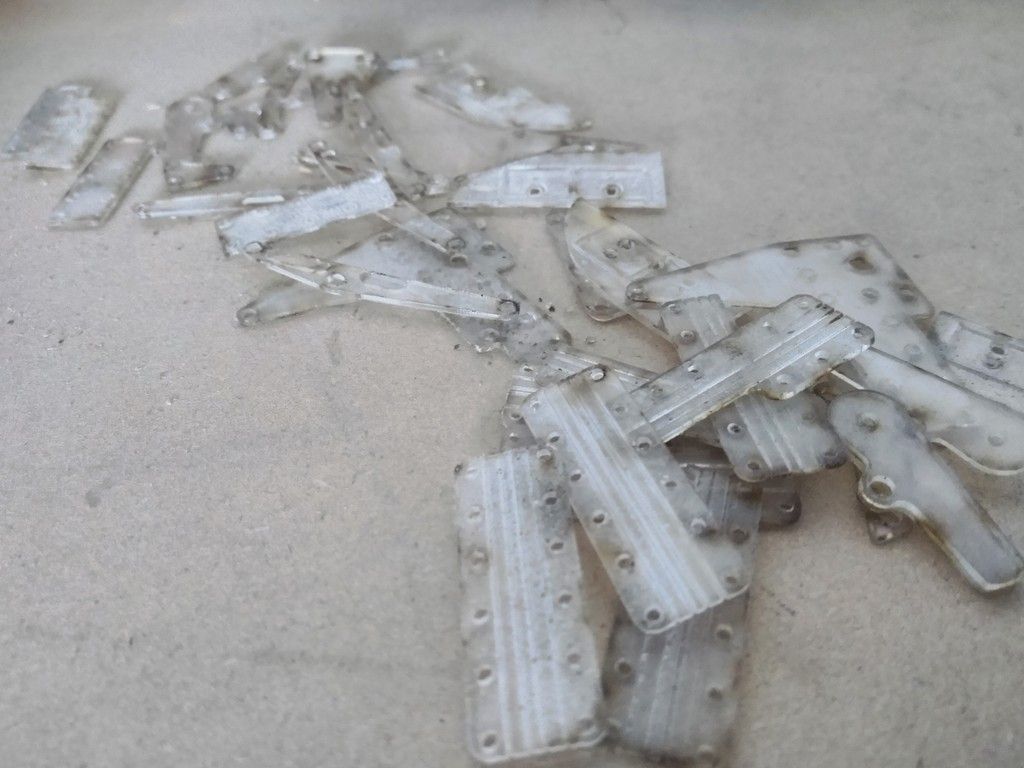
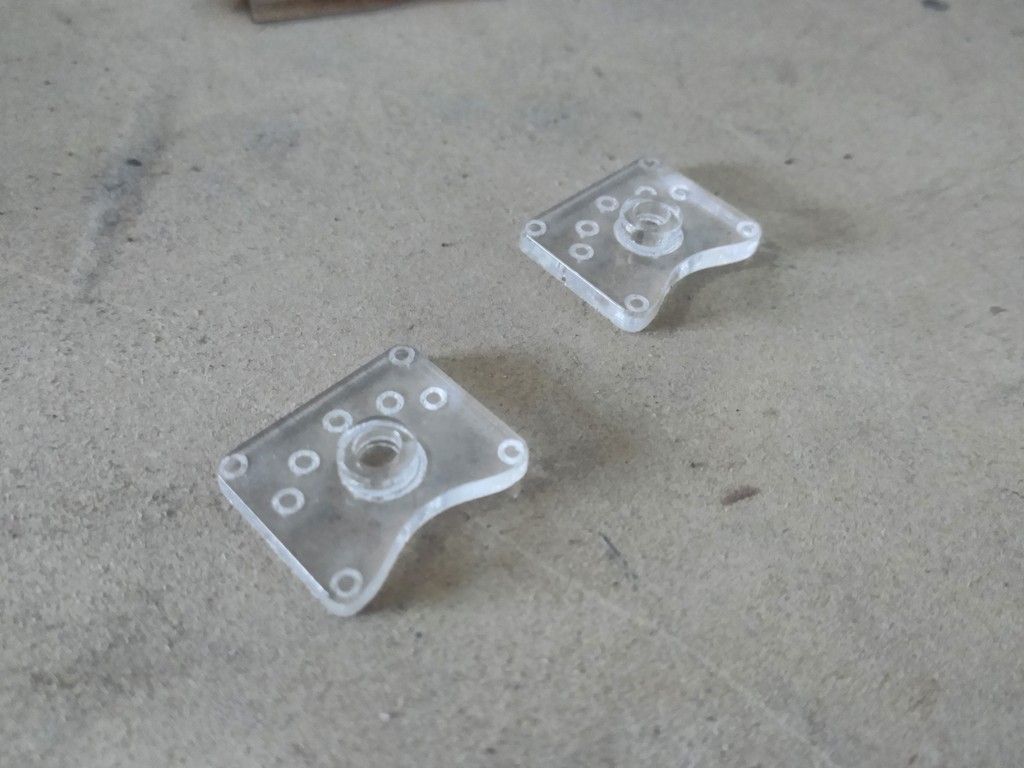
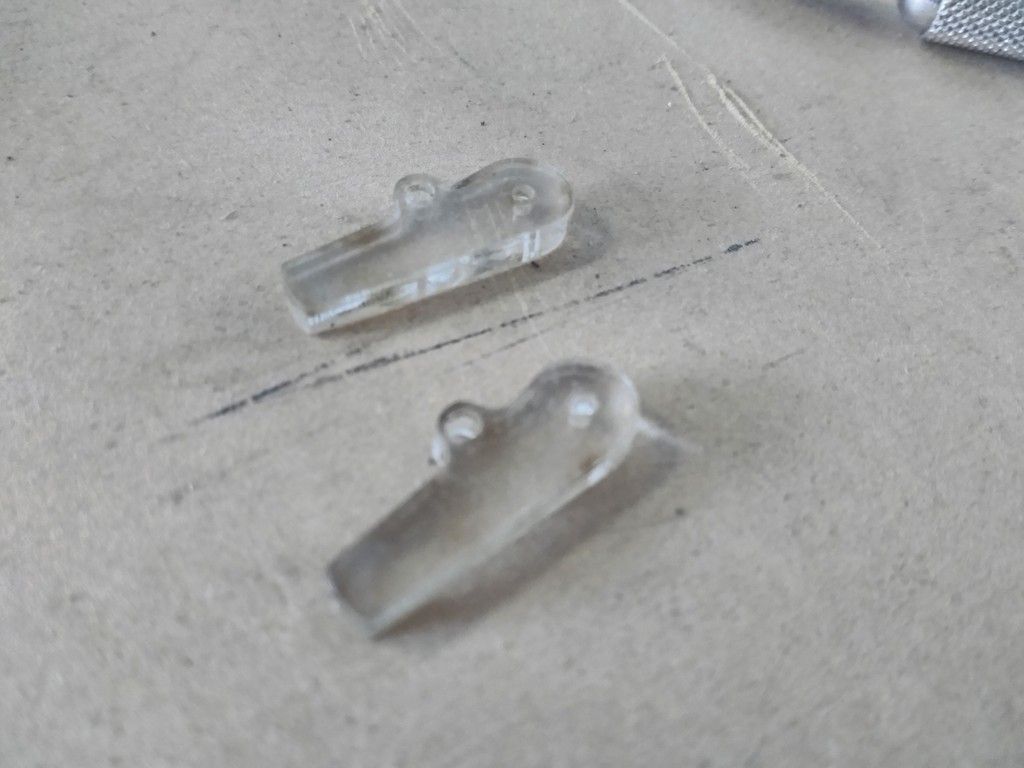
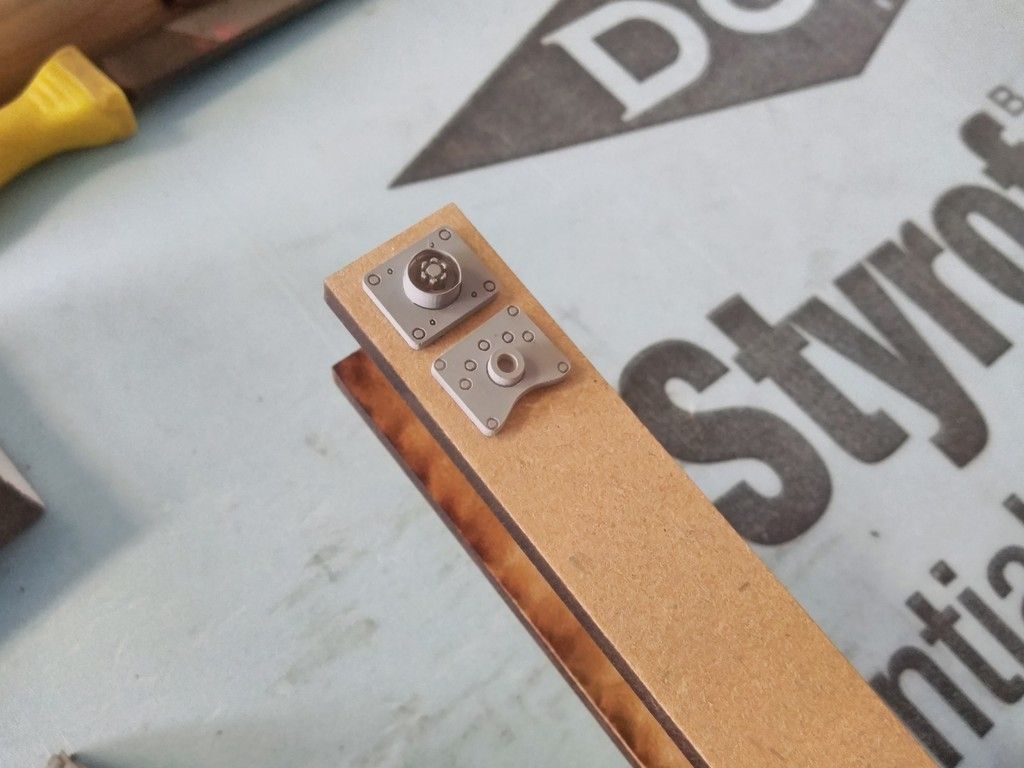
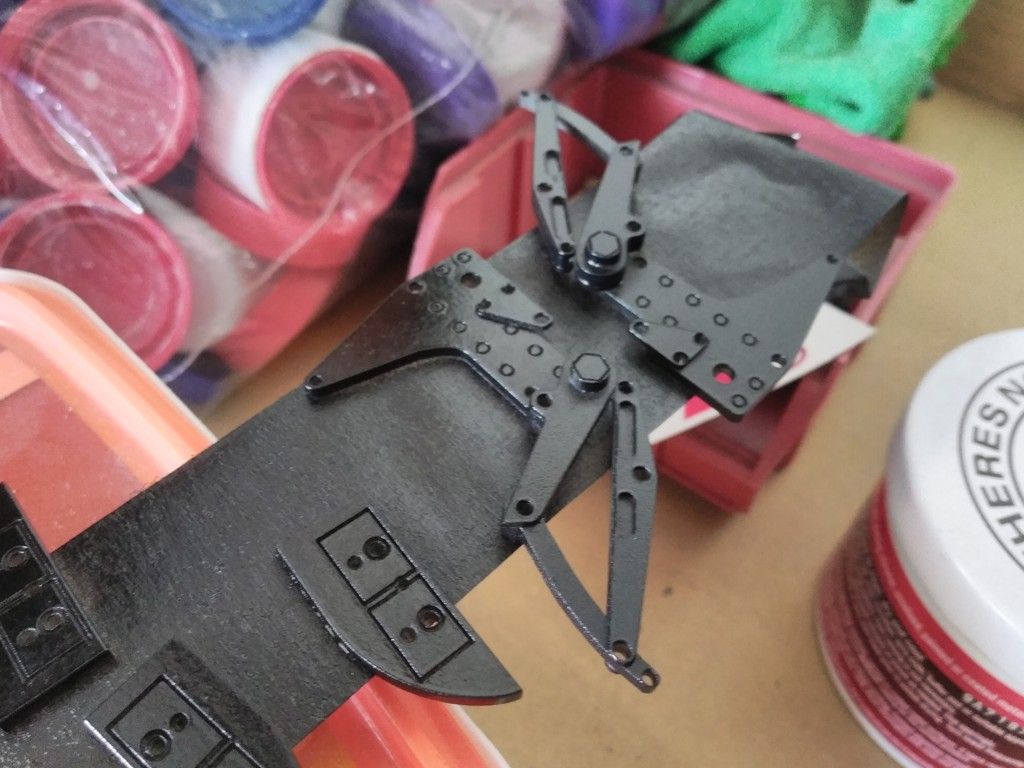
Details!
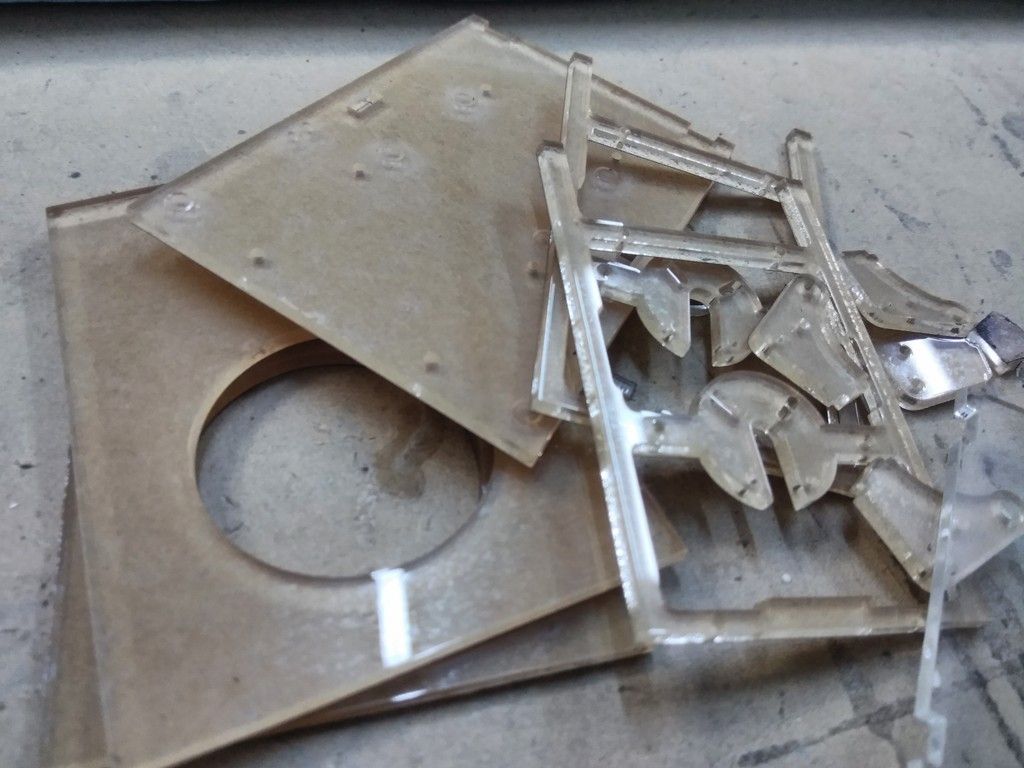
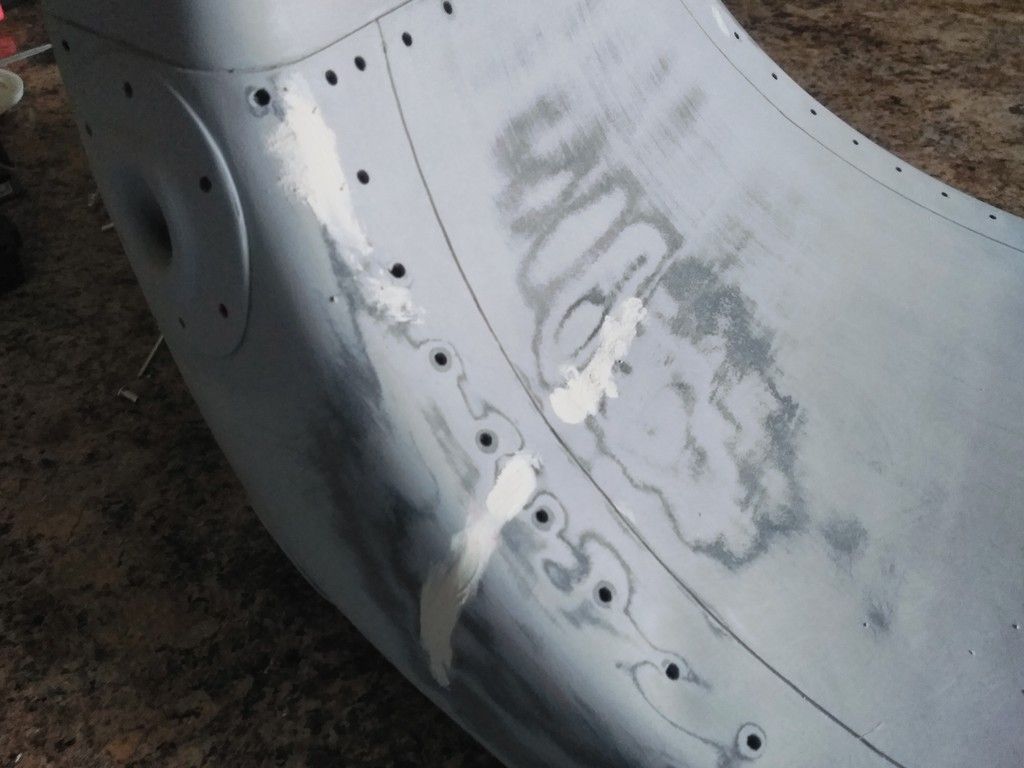
Filler... Whats an update without filler?
More details
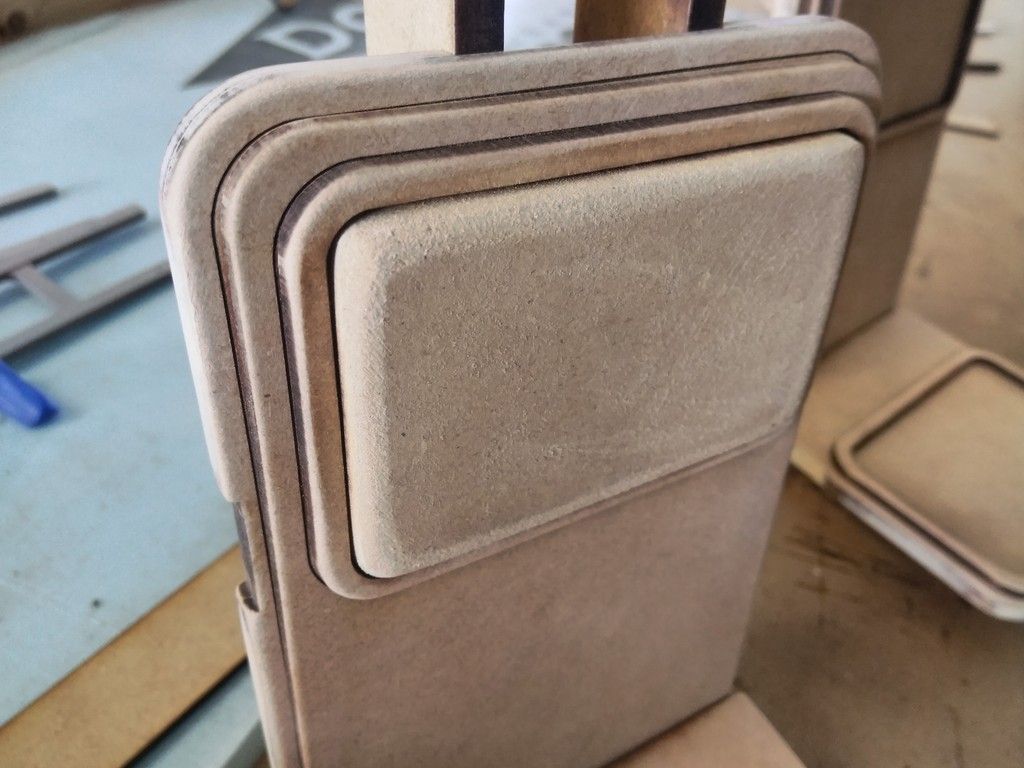
Remember... this is 1/4 scale
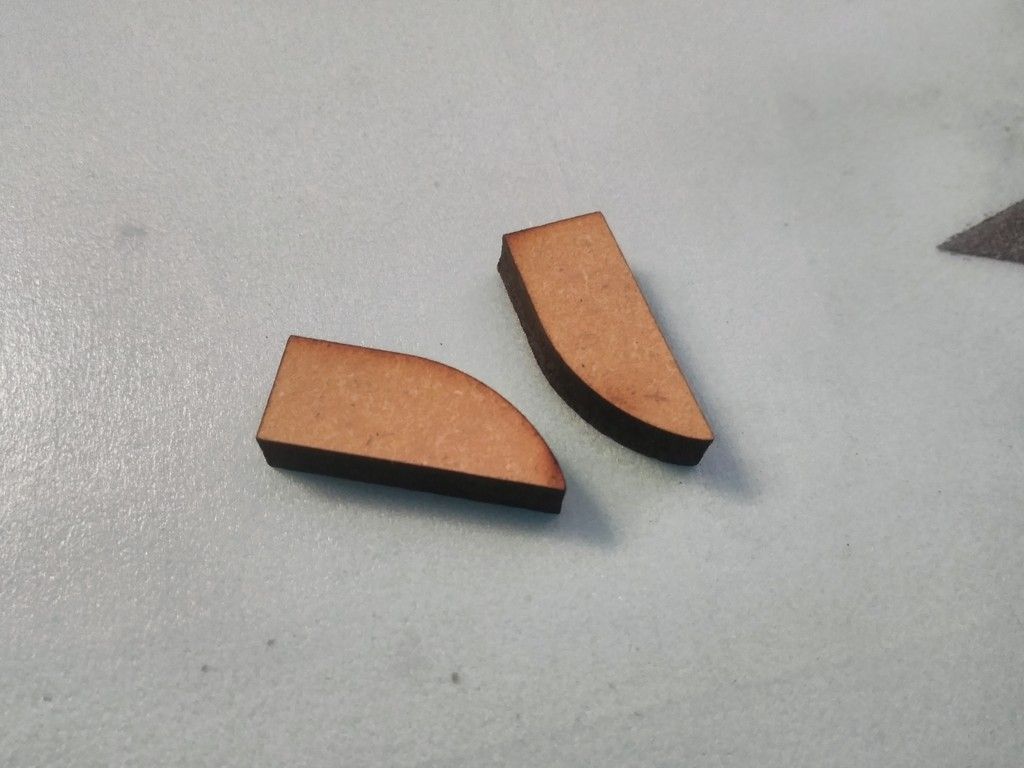
Might redo these guys. That edge is WAY TOO thin
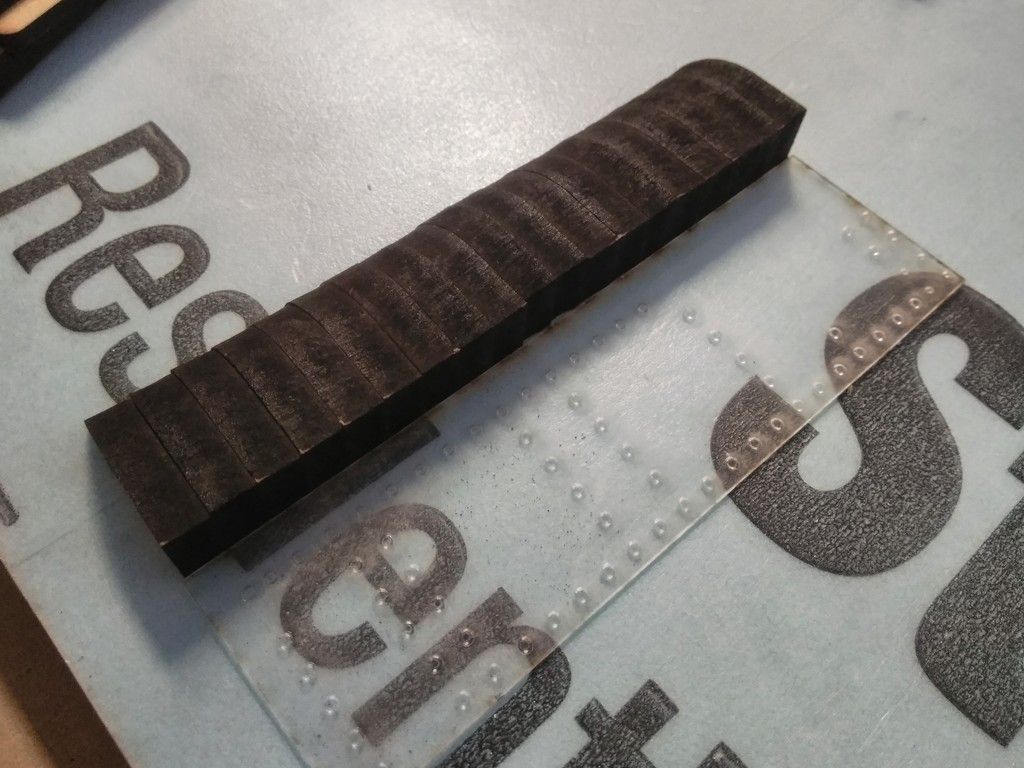
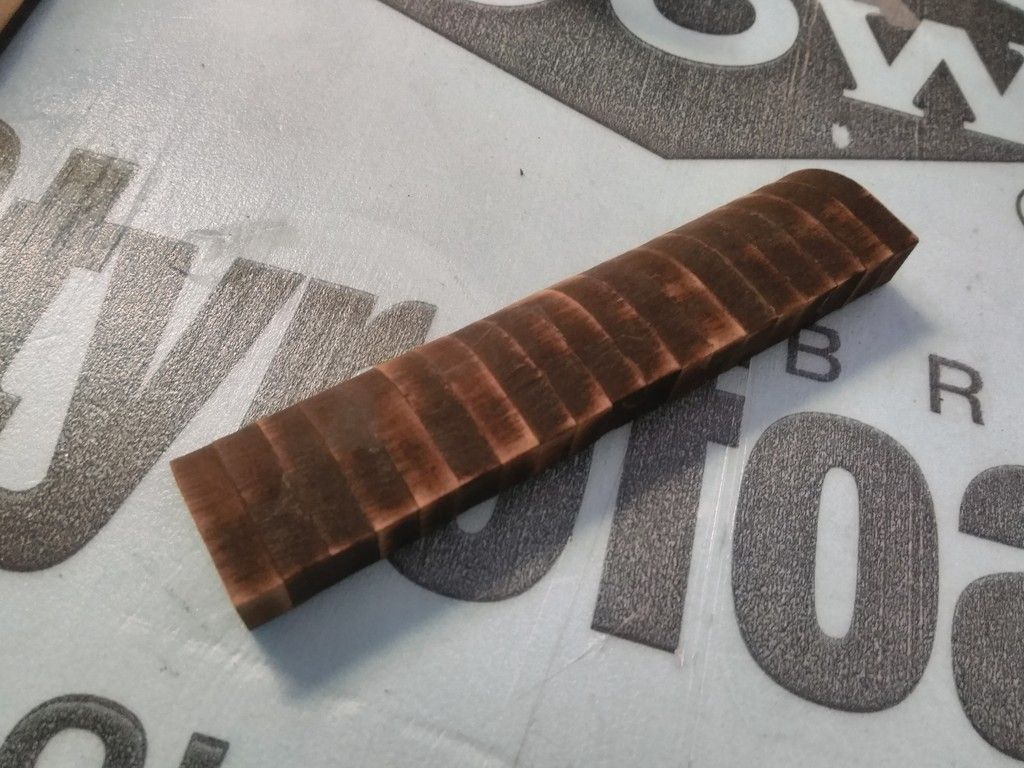
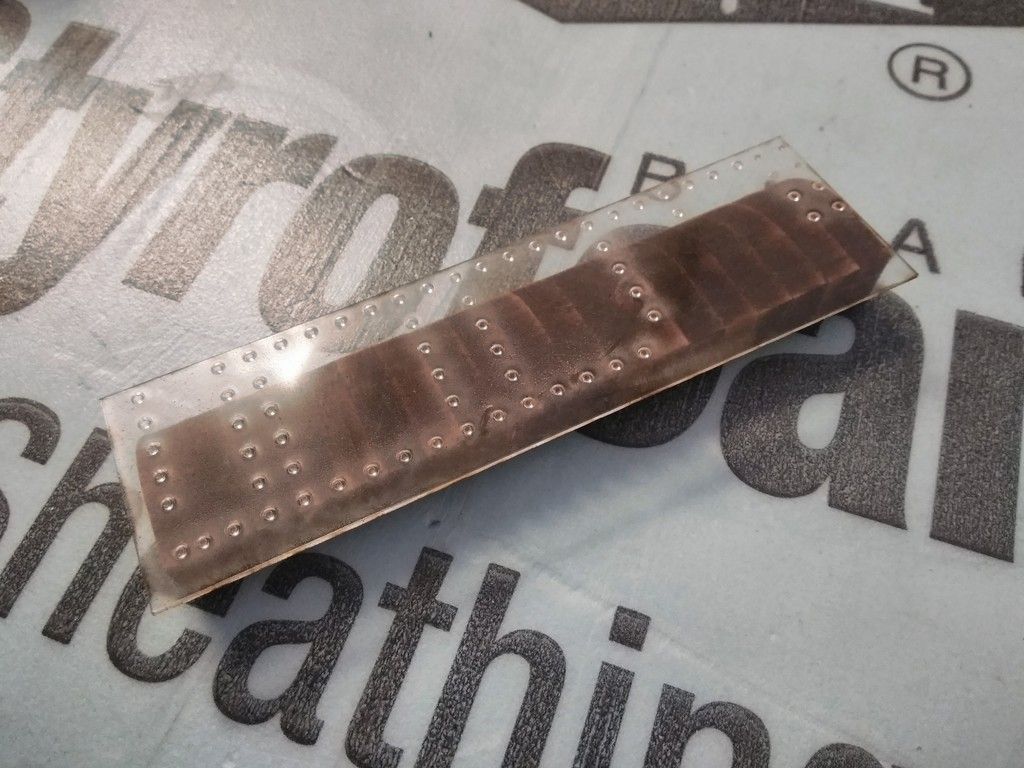
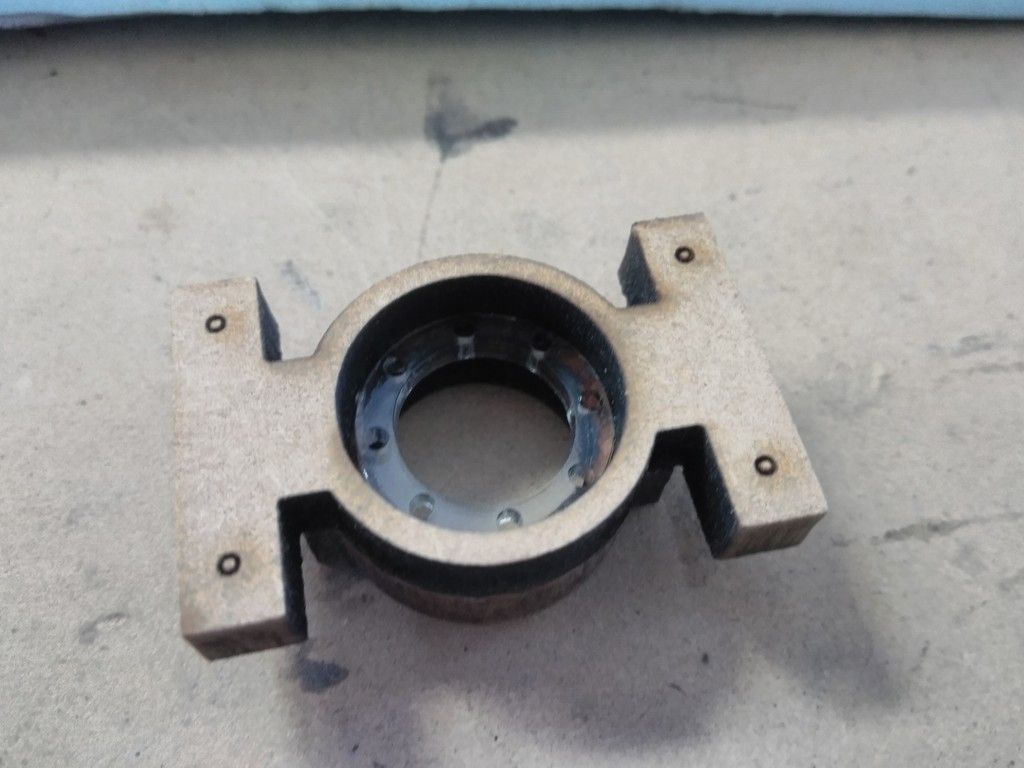
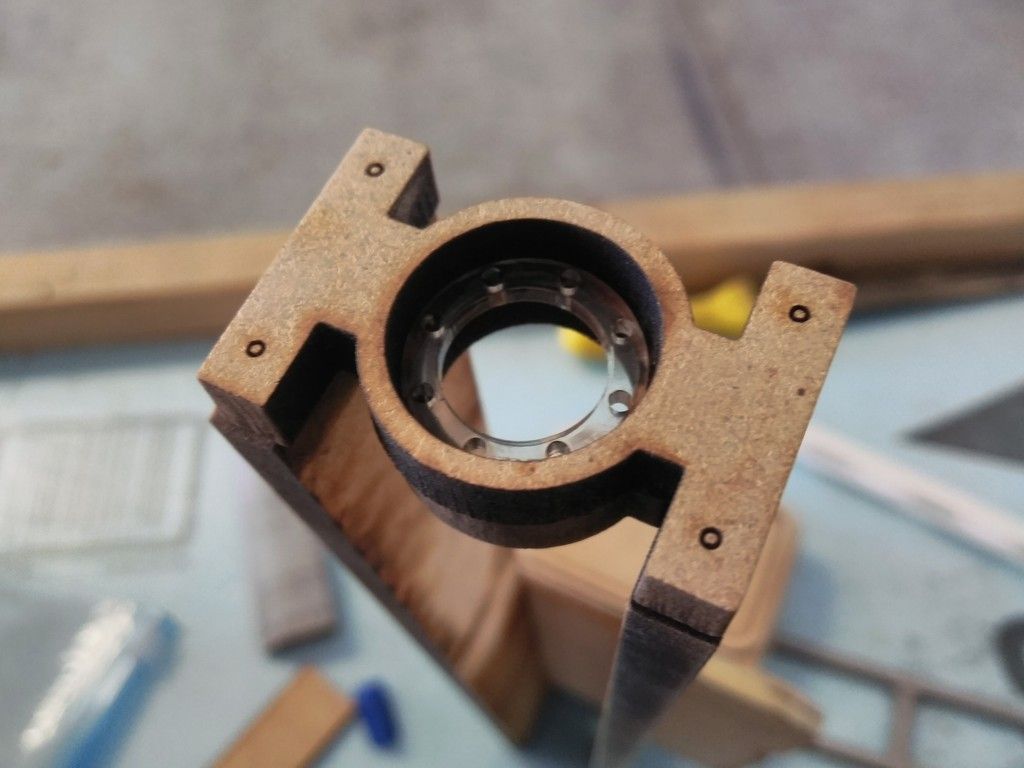
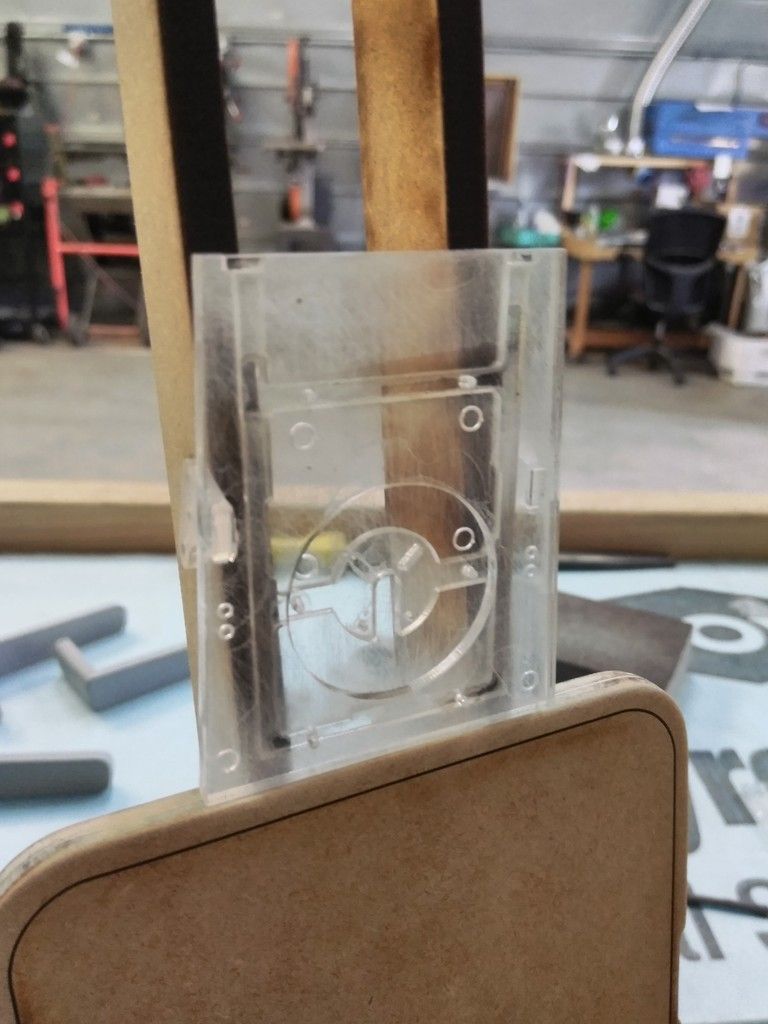
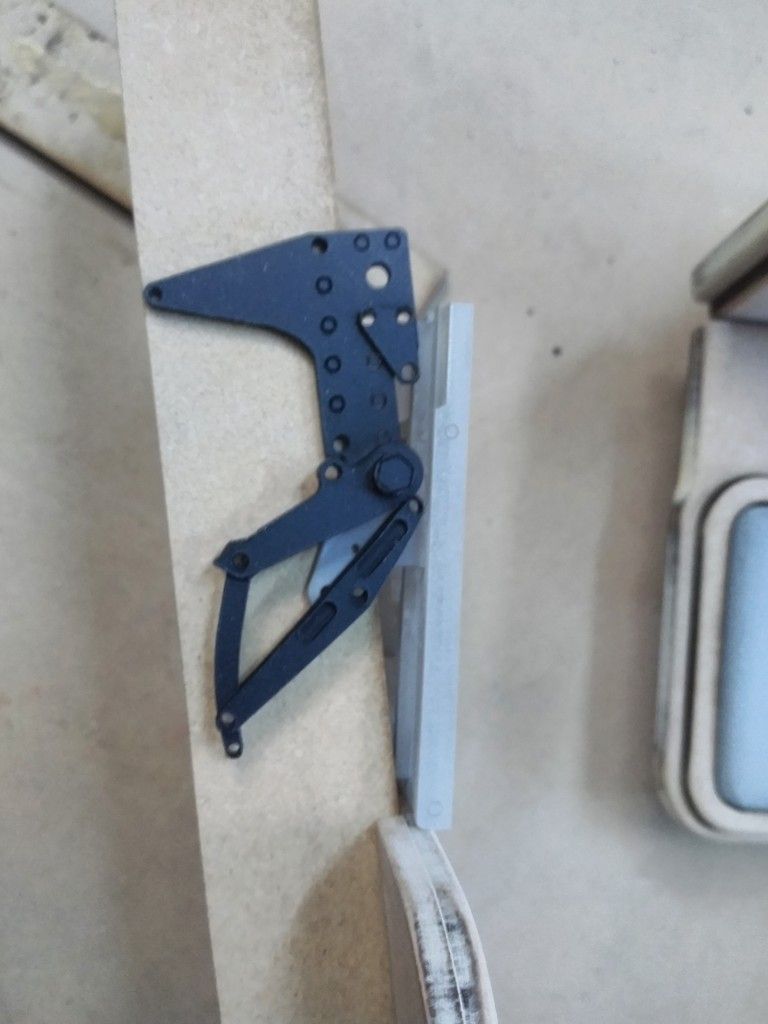
Ejection tube
Ejection tube top
Having fun and adding details
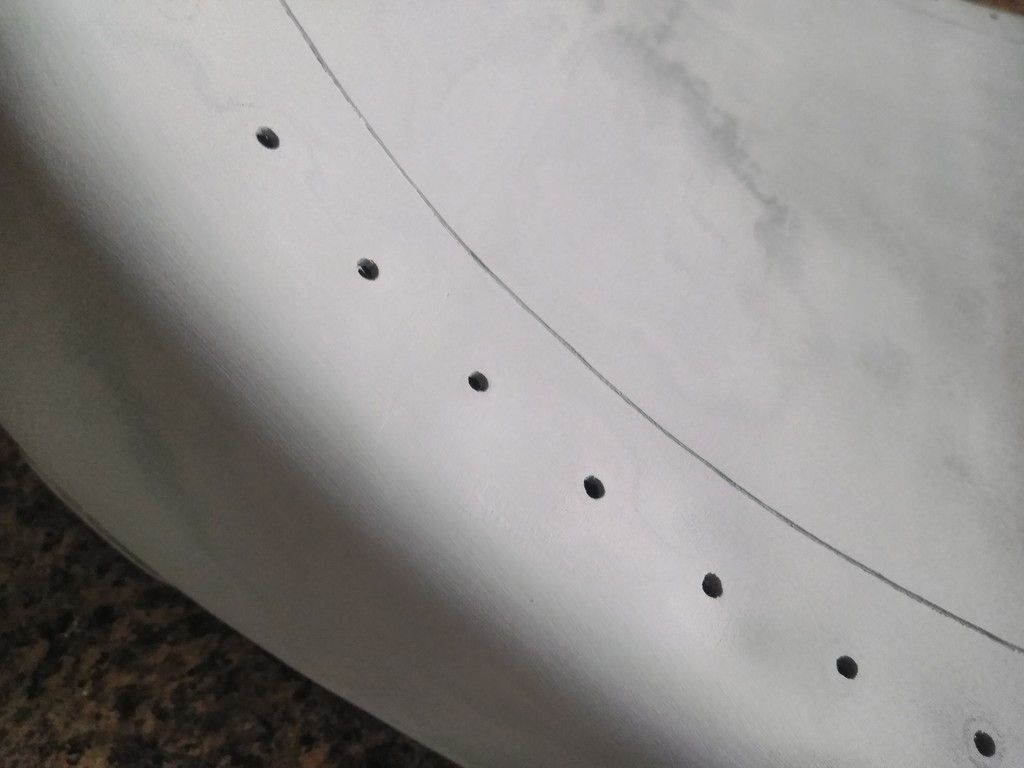
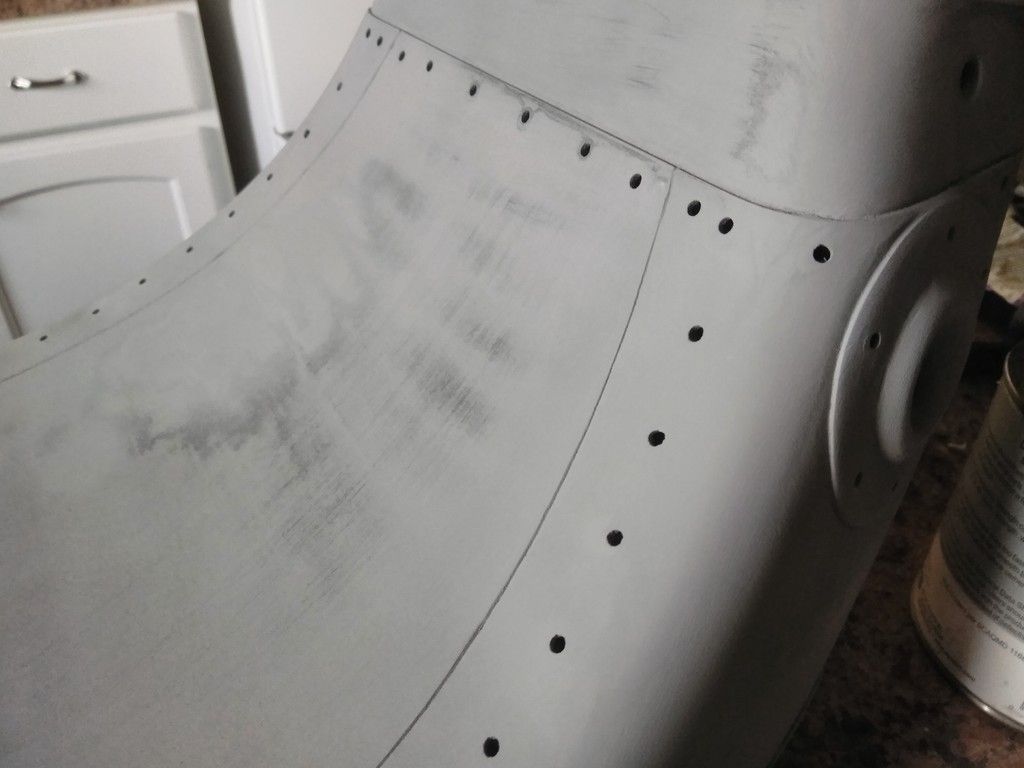
First coat of filler and primer and sanding
Headrest
Primer... Seriously, I remember this taking a heck of lot longer!
WOW... that empty floor sure looks weird
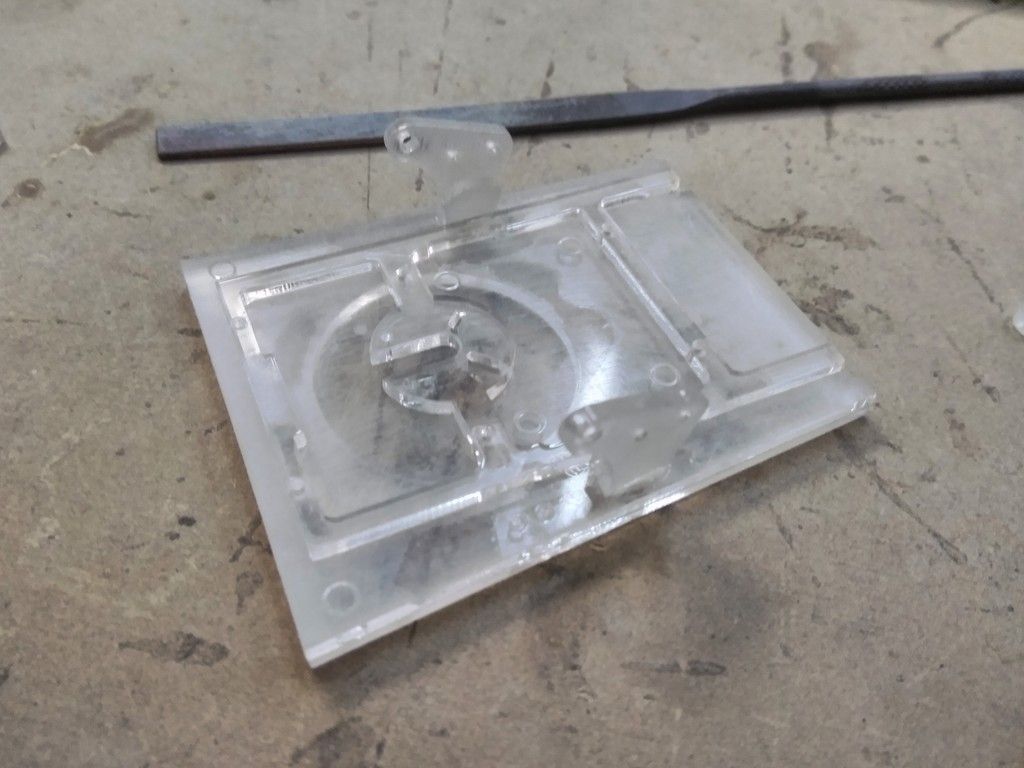
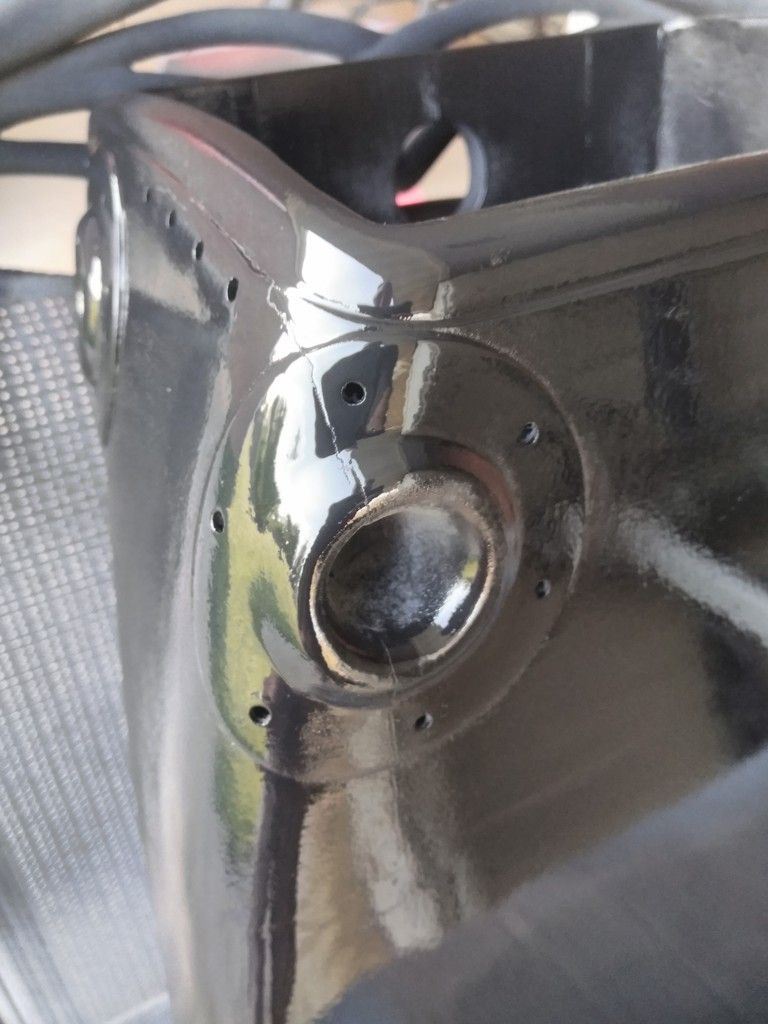
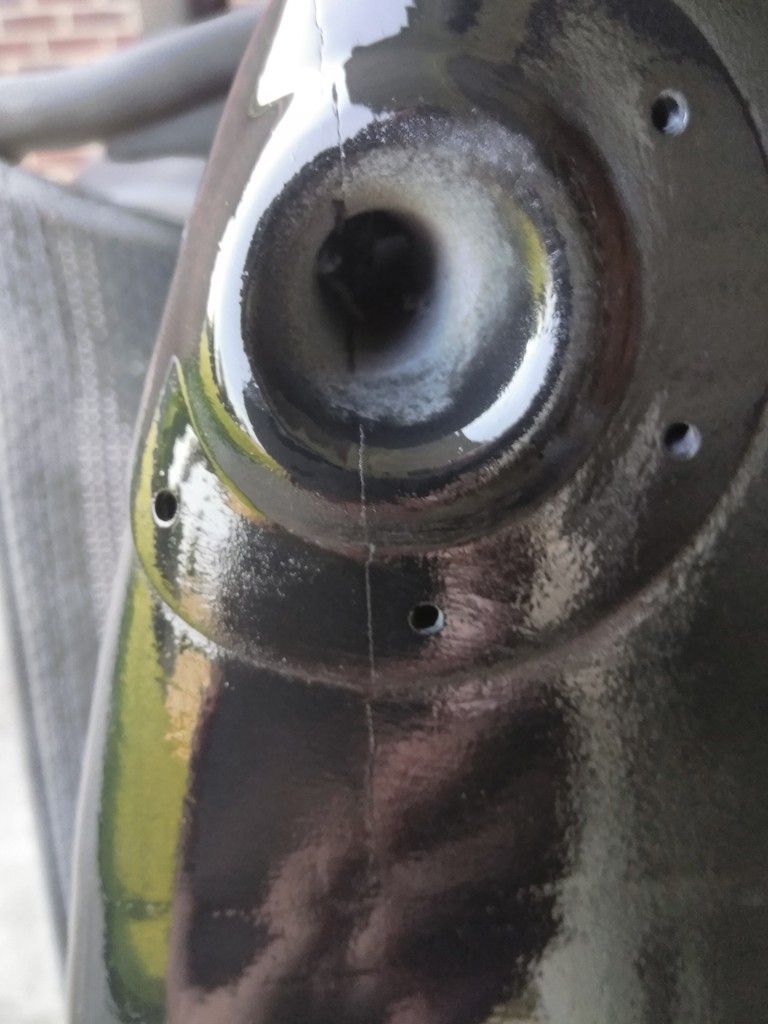
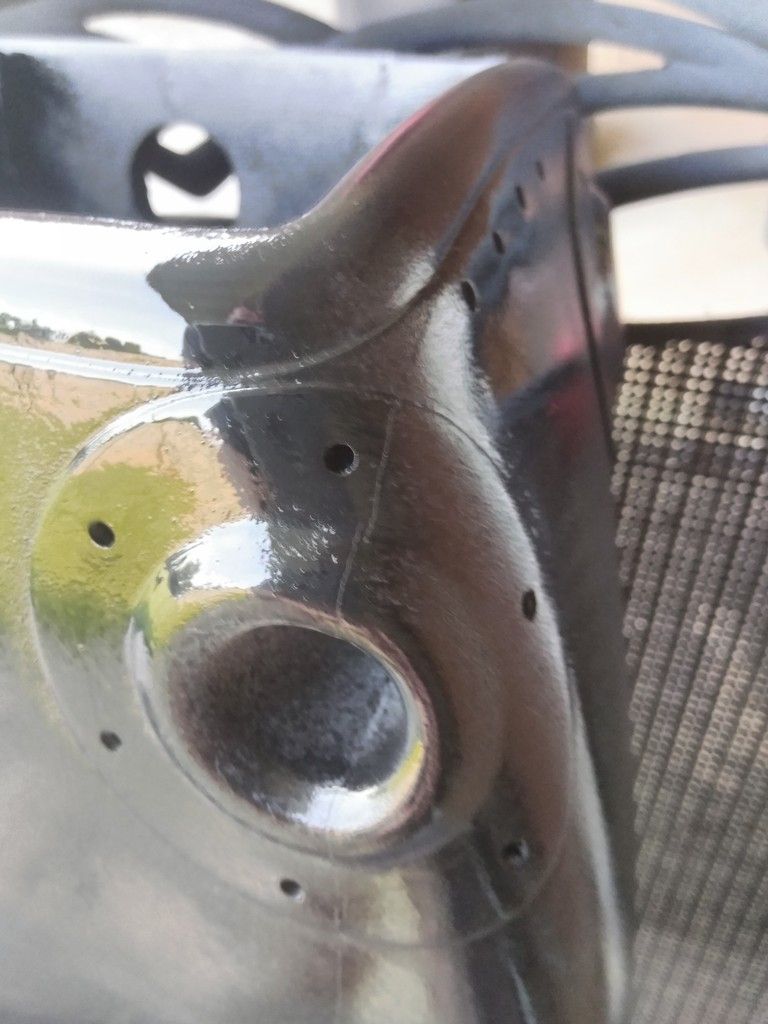
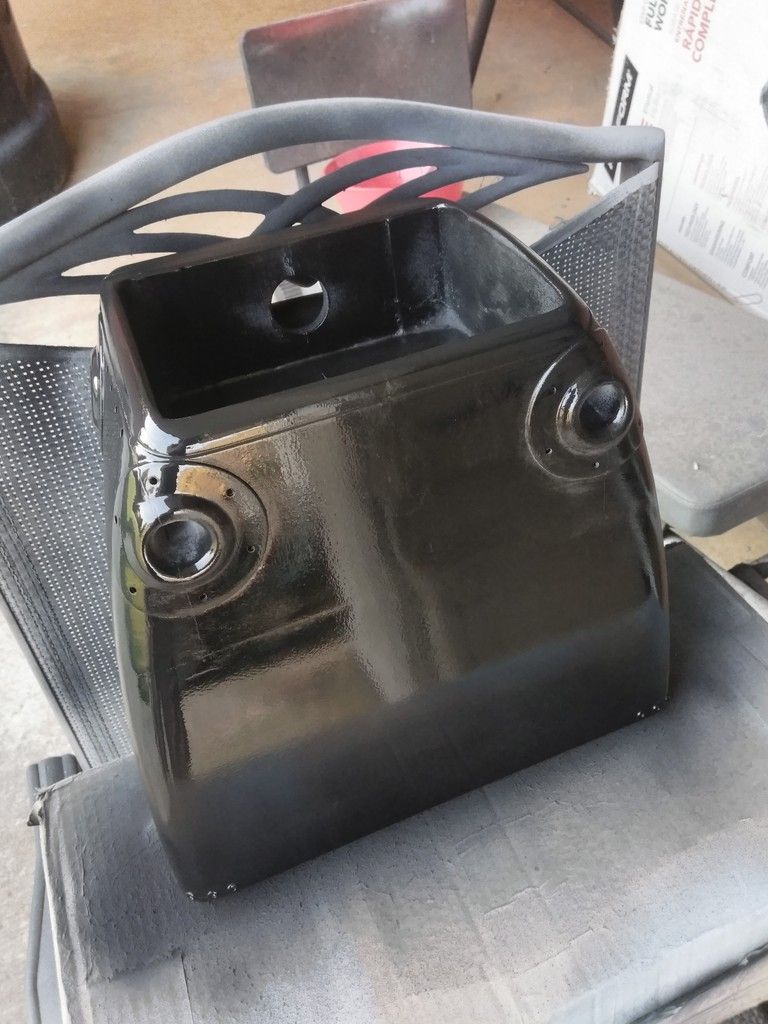
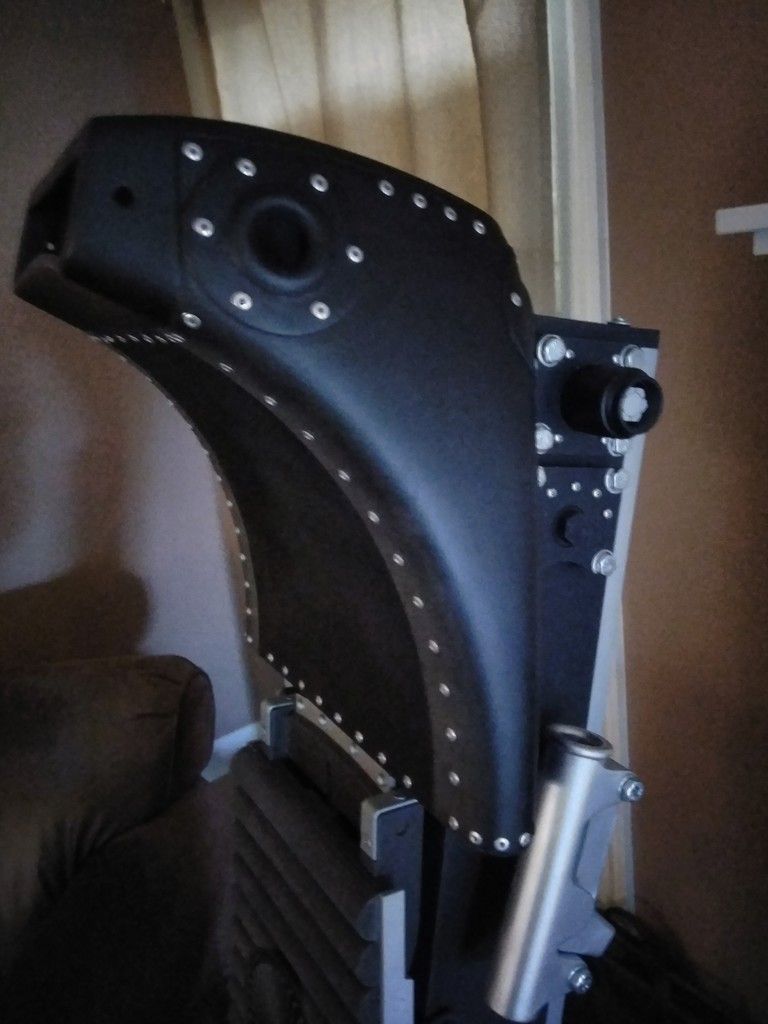
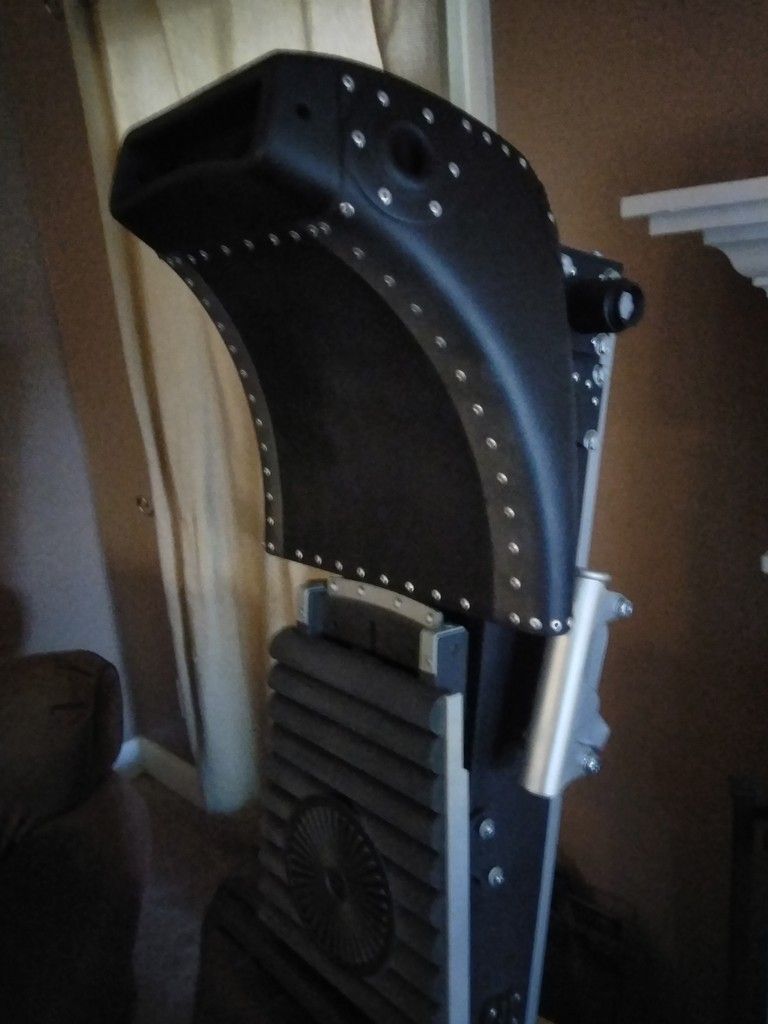
And finally... back to the head piece! This piece put up such a fight!
Fixed the cracks in front
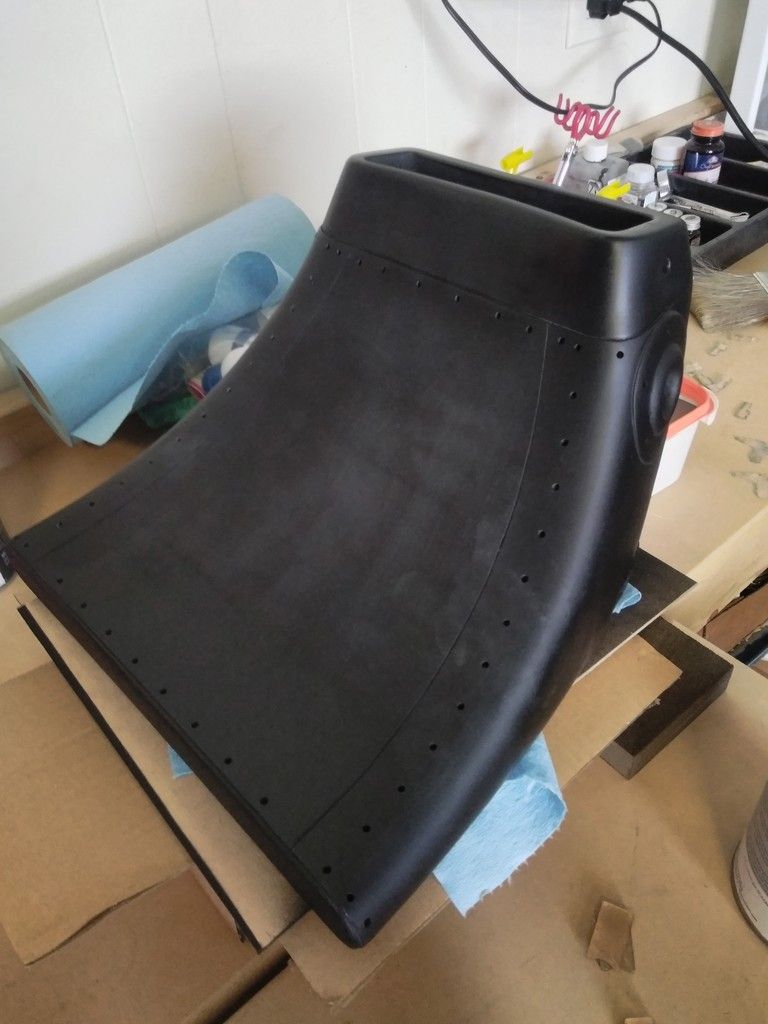
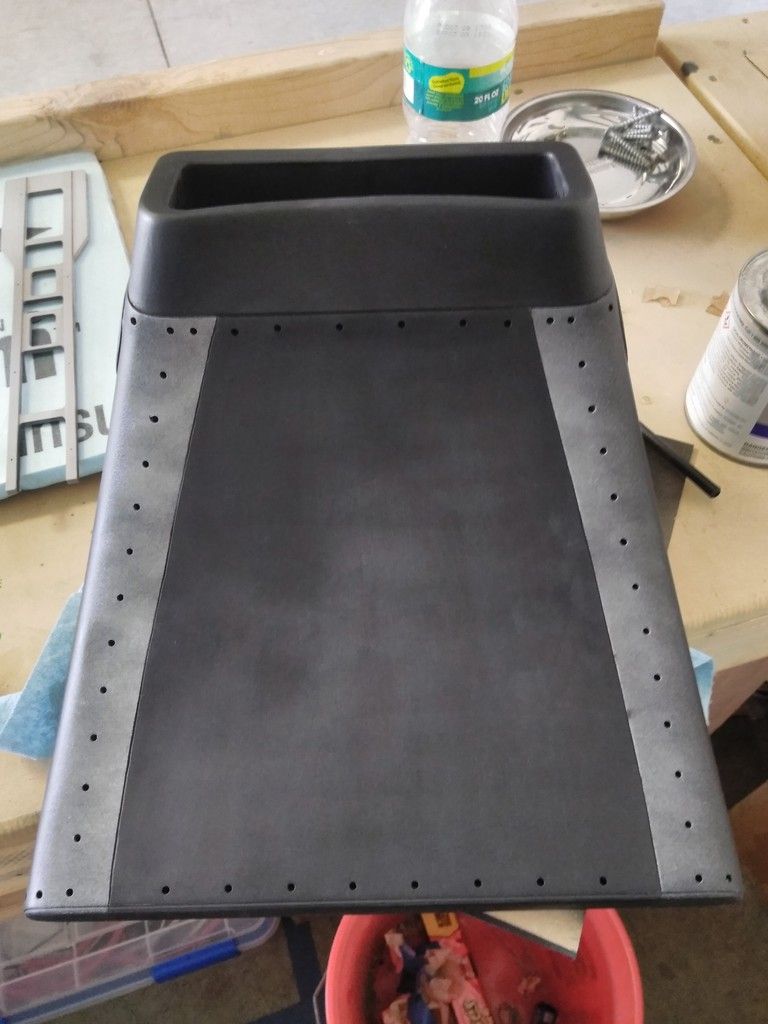
Paint!
OH YEAH! Paint, baby!
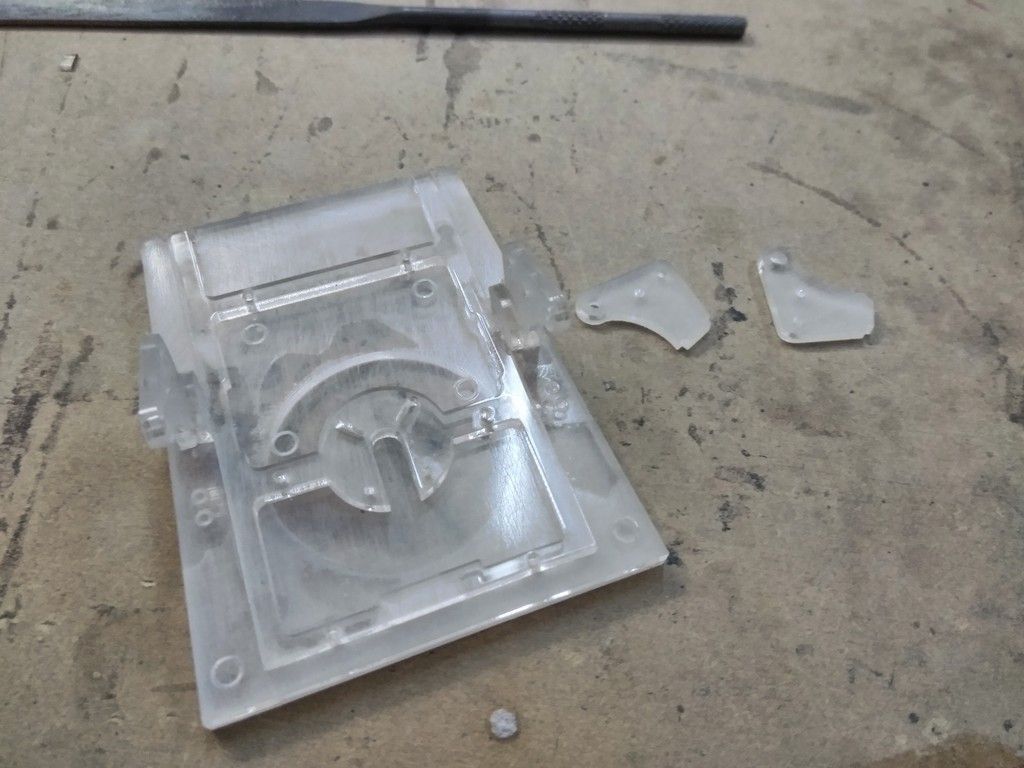
Cracks in front were fixed... only to find cracks on the backside! UGH
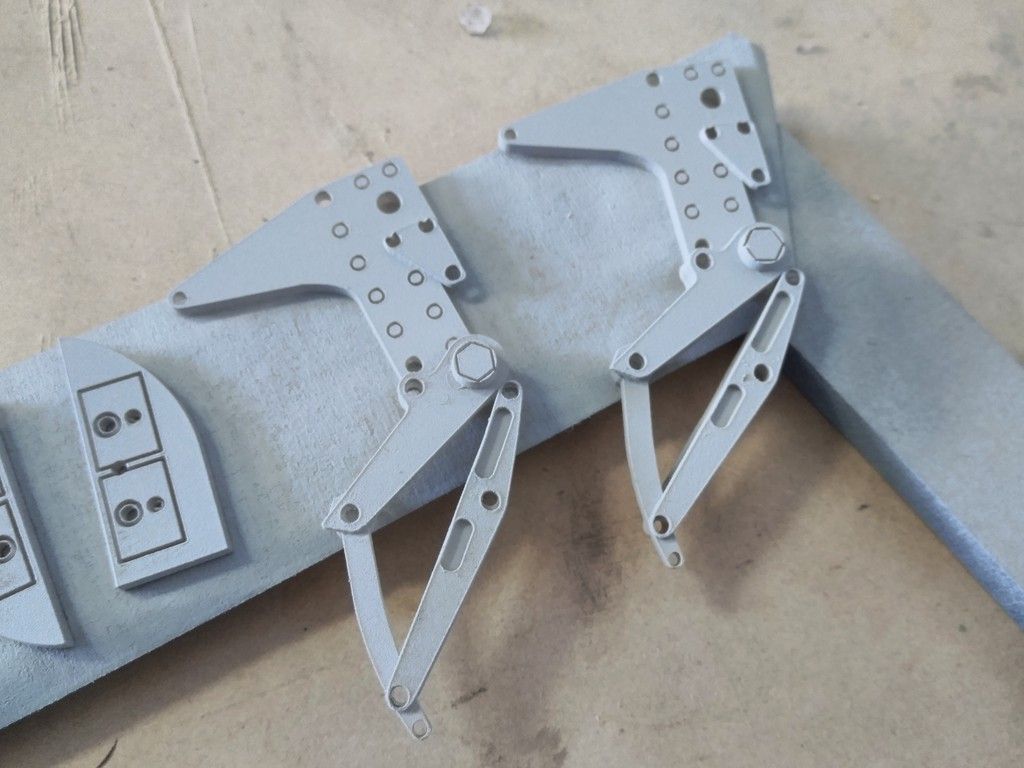
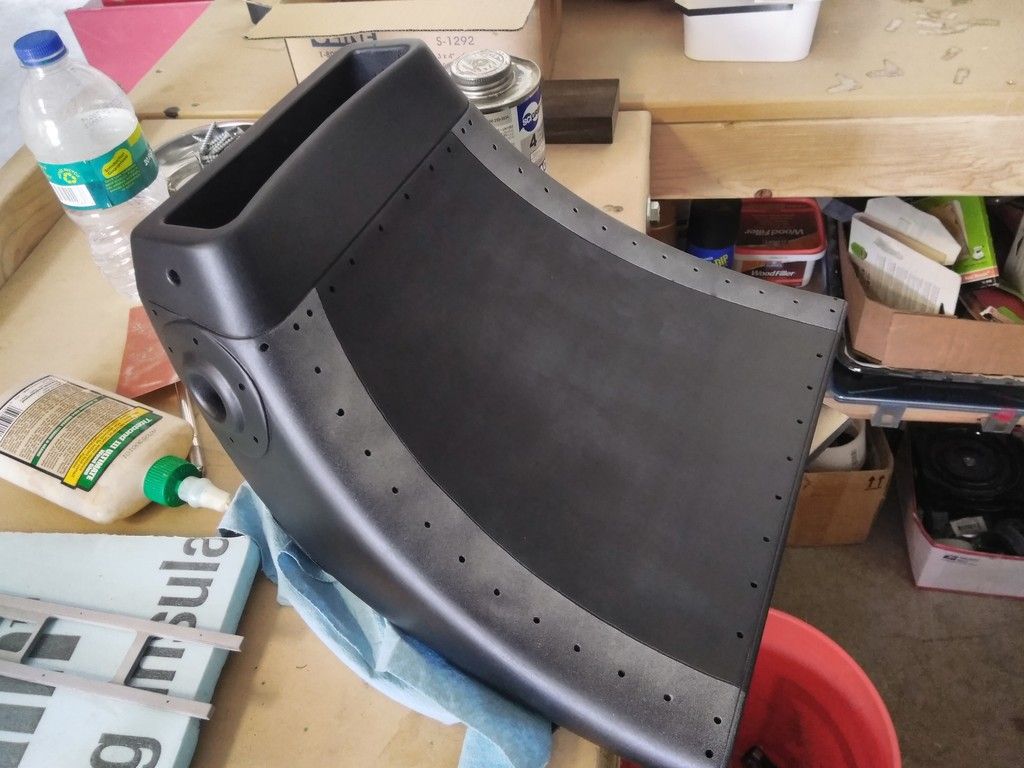
Primer
Paint... again
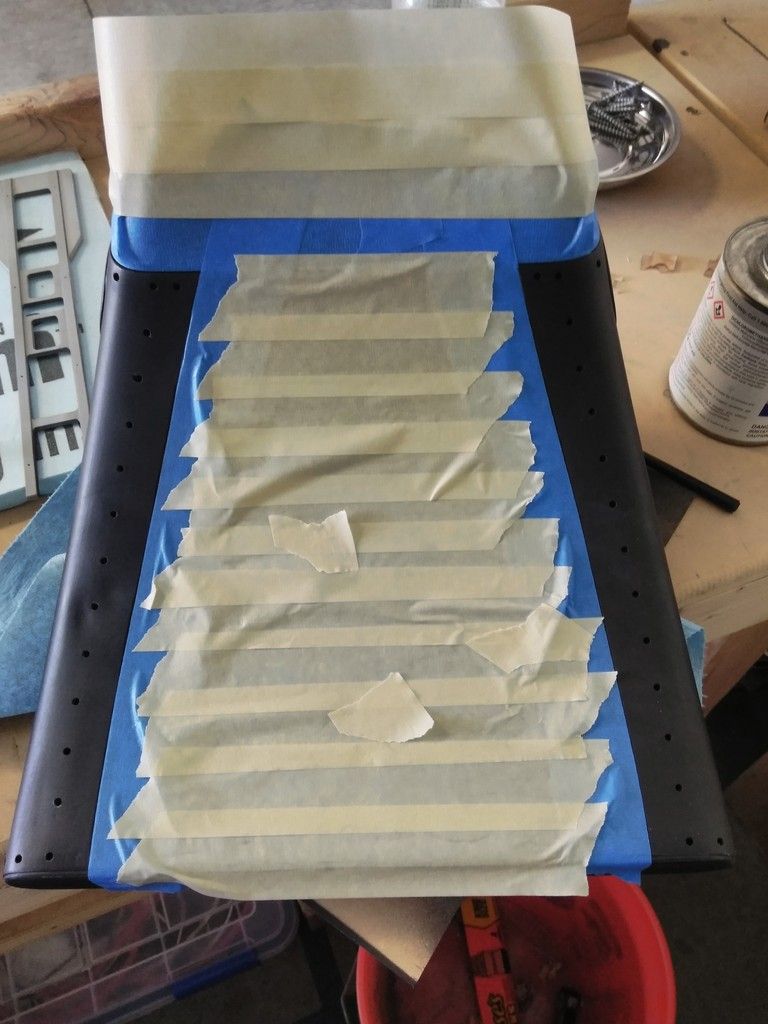
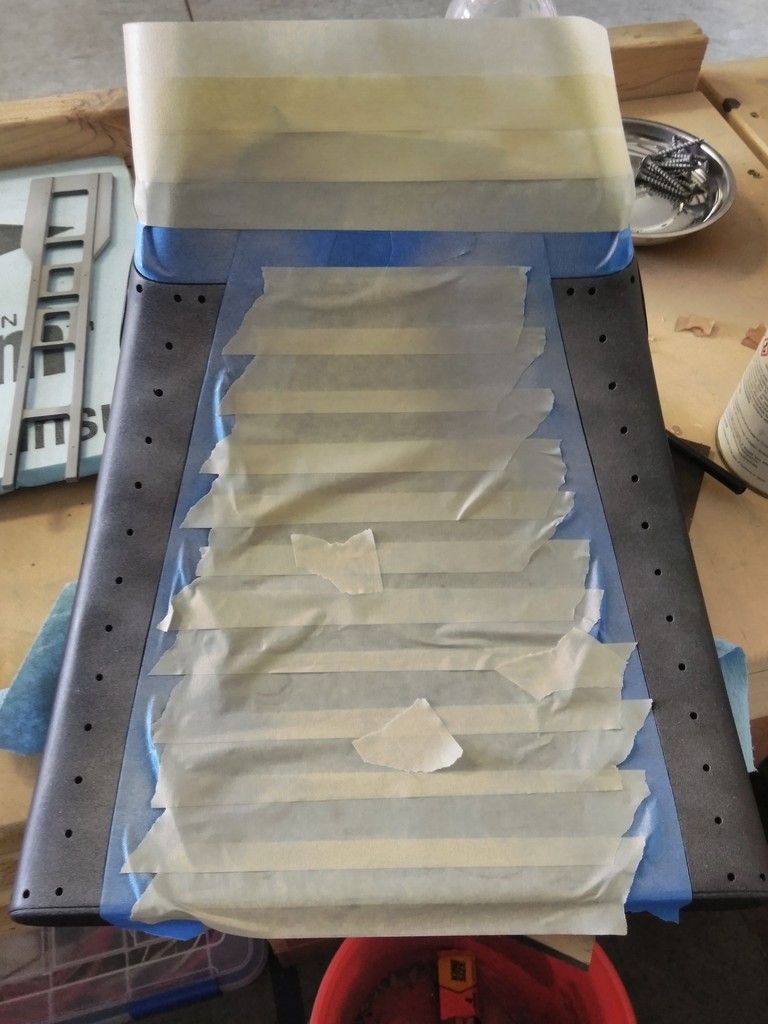
Masked off the front
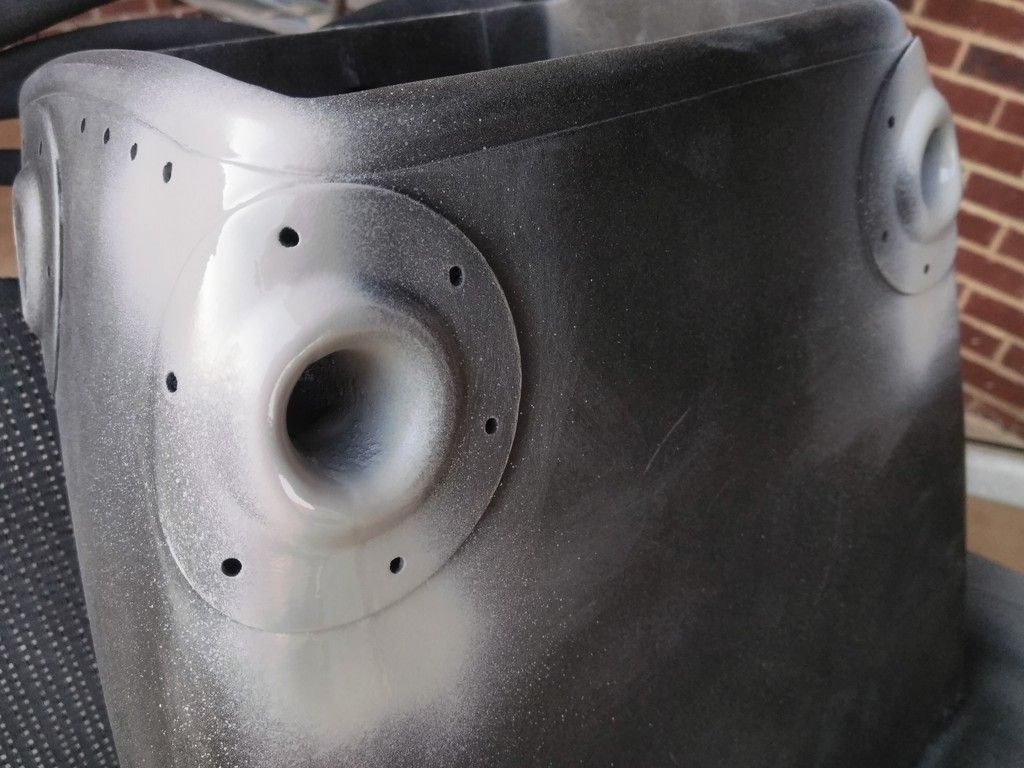
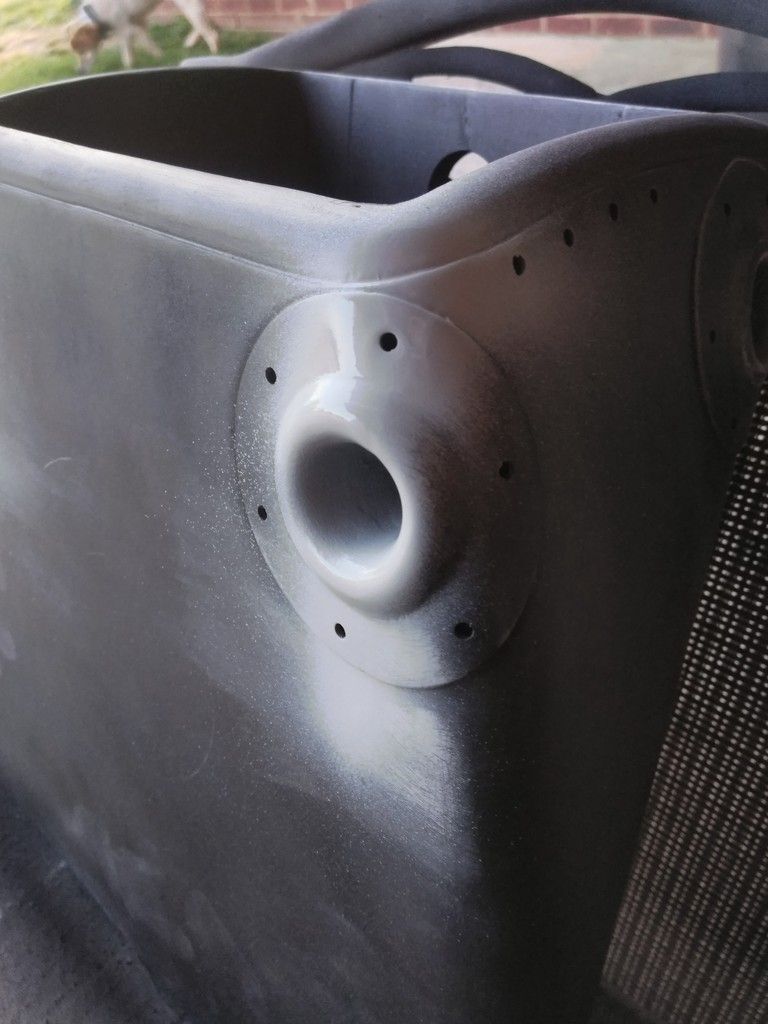
Gently sprayed silver
FINALLY! Here we go!
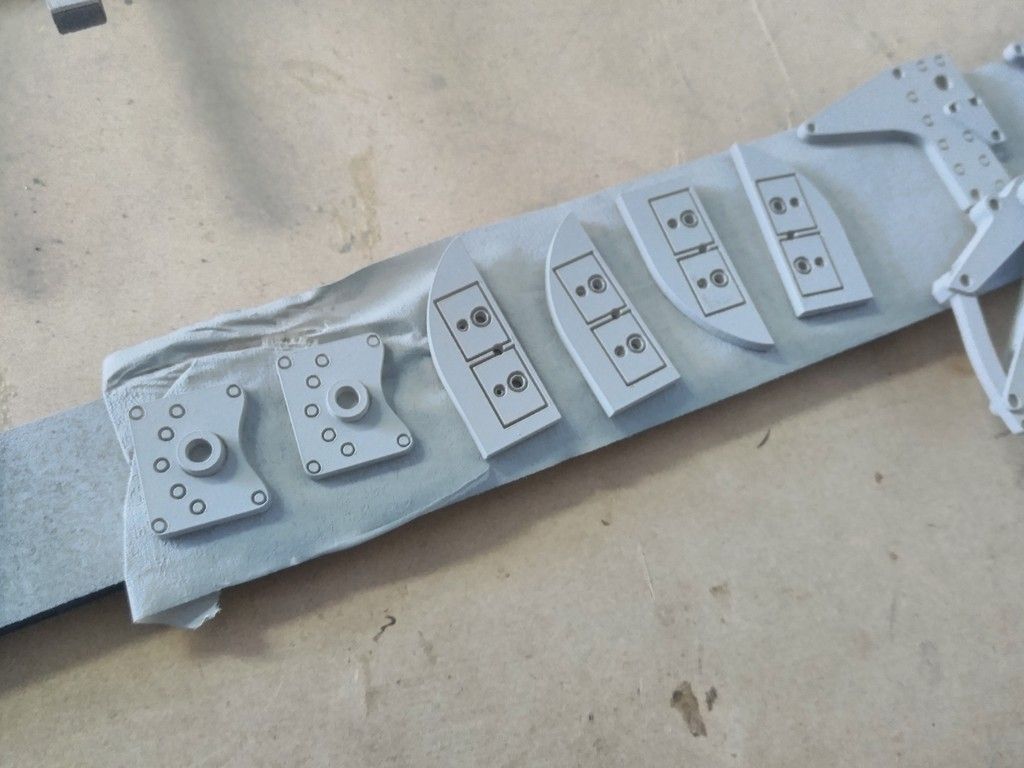
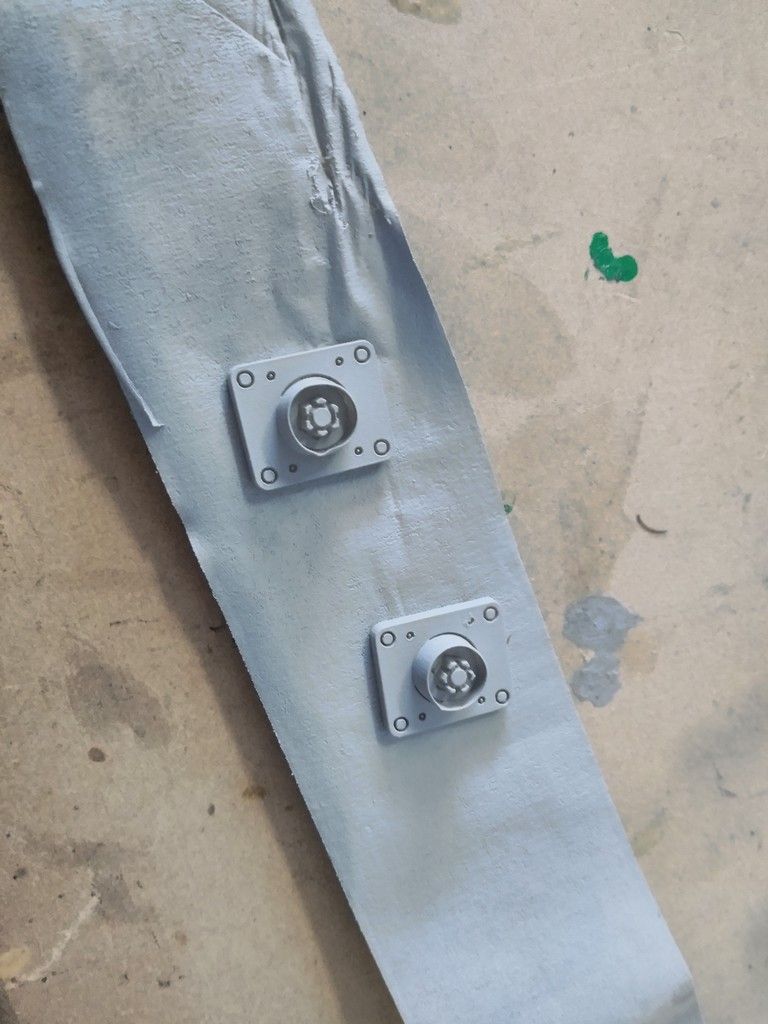
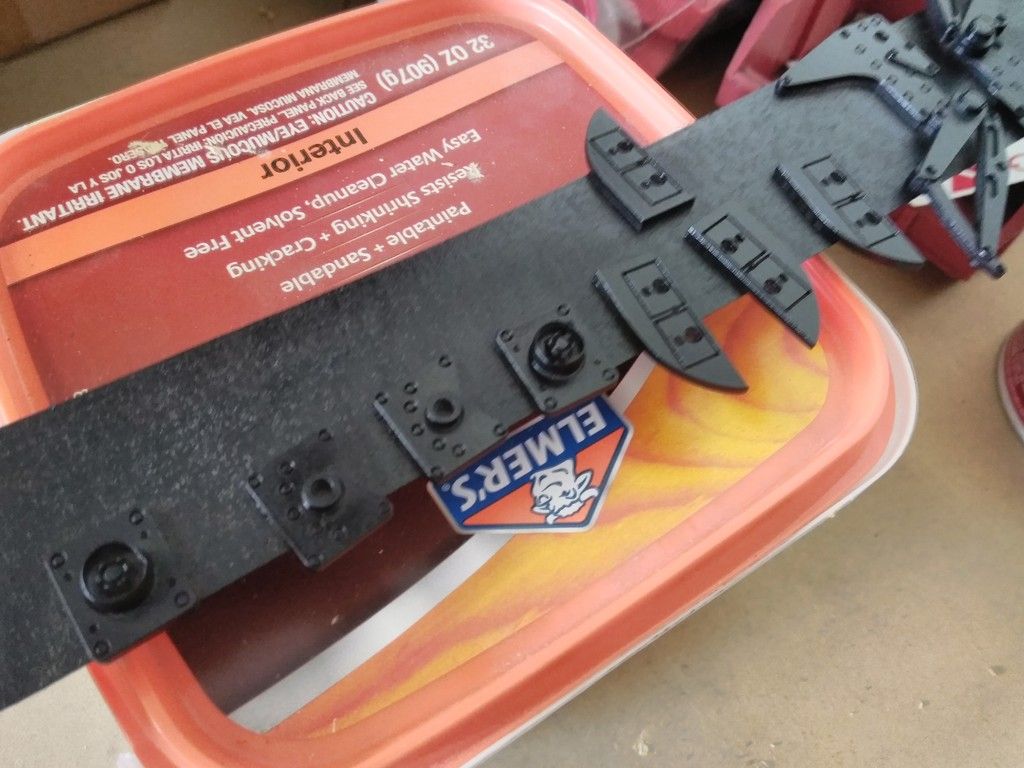
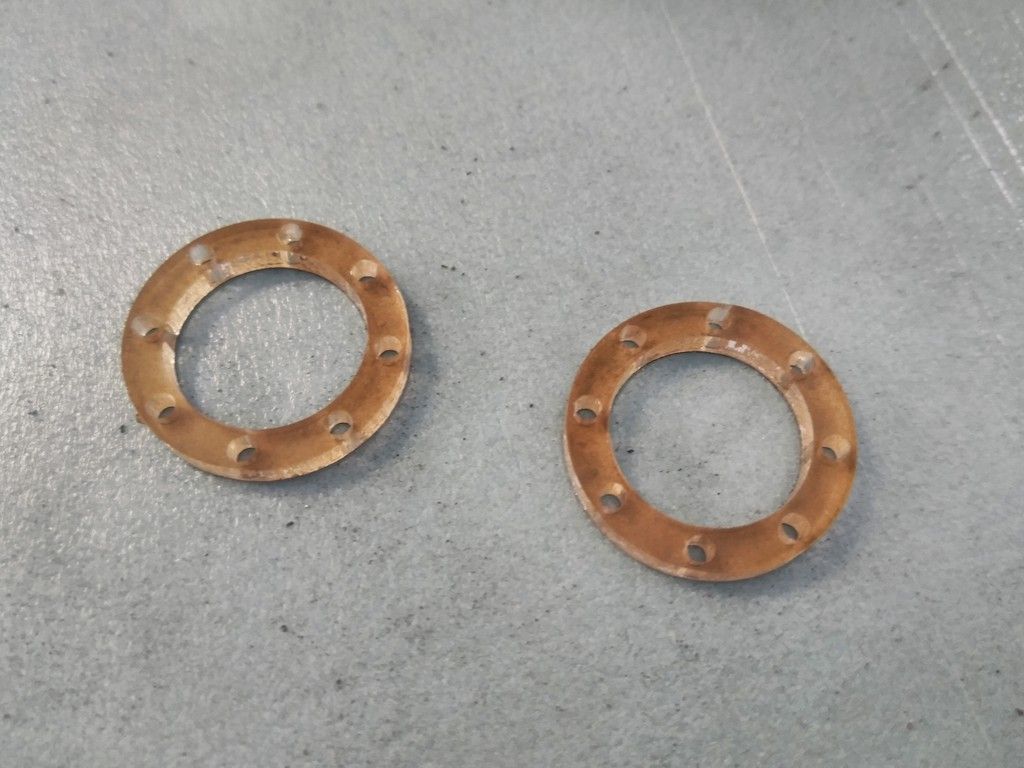
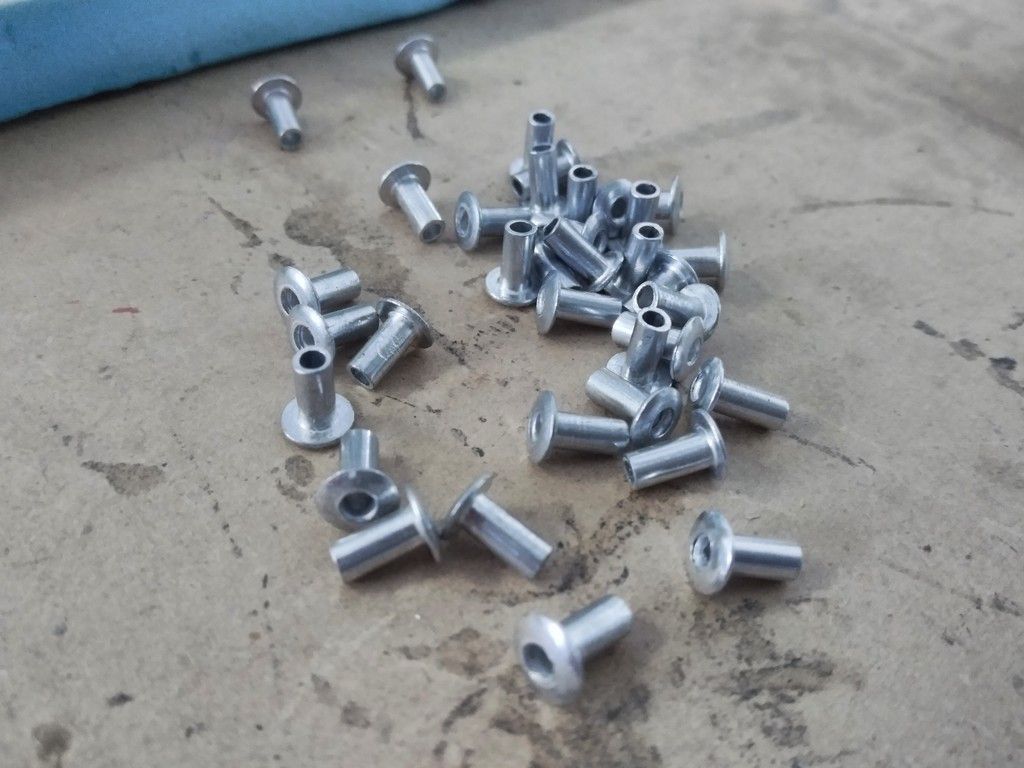
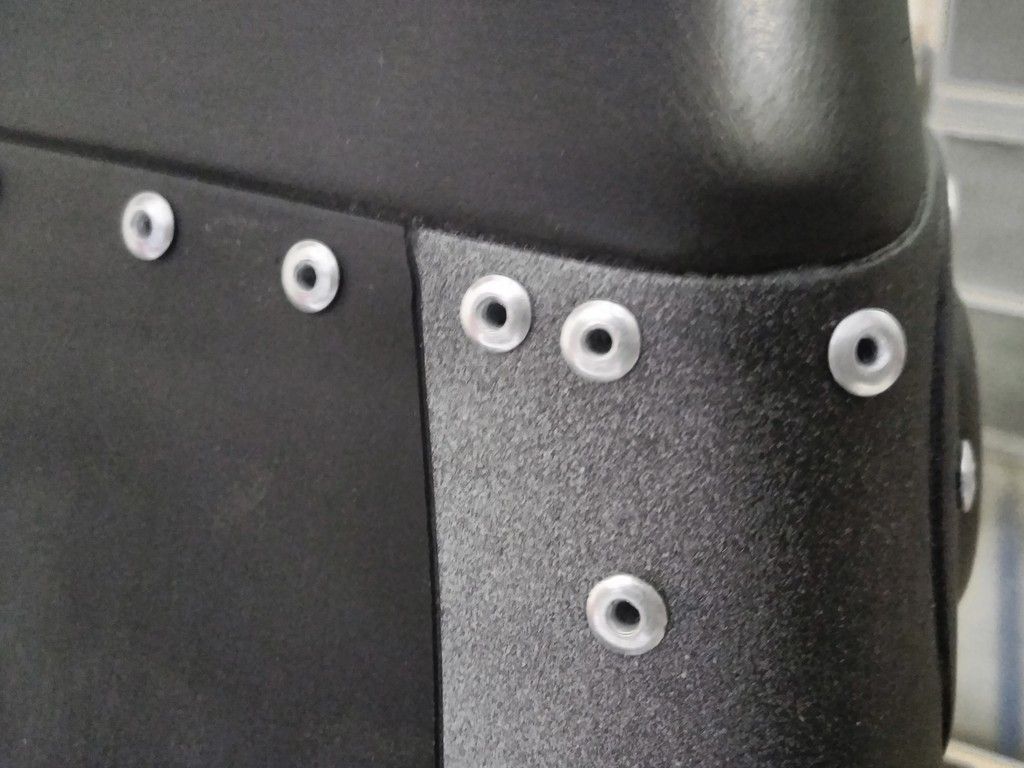
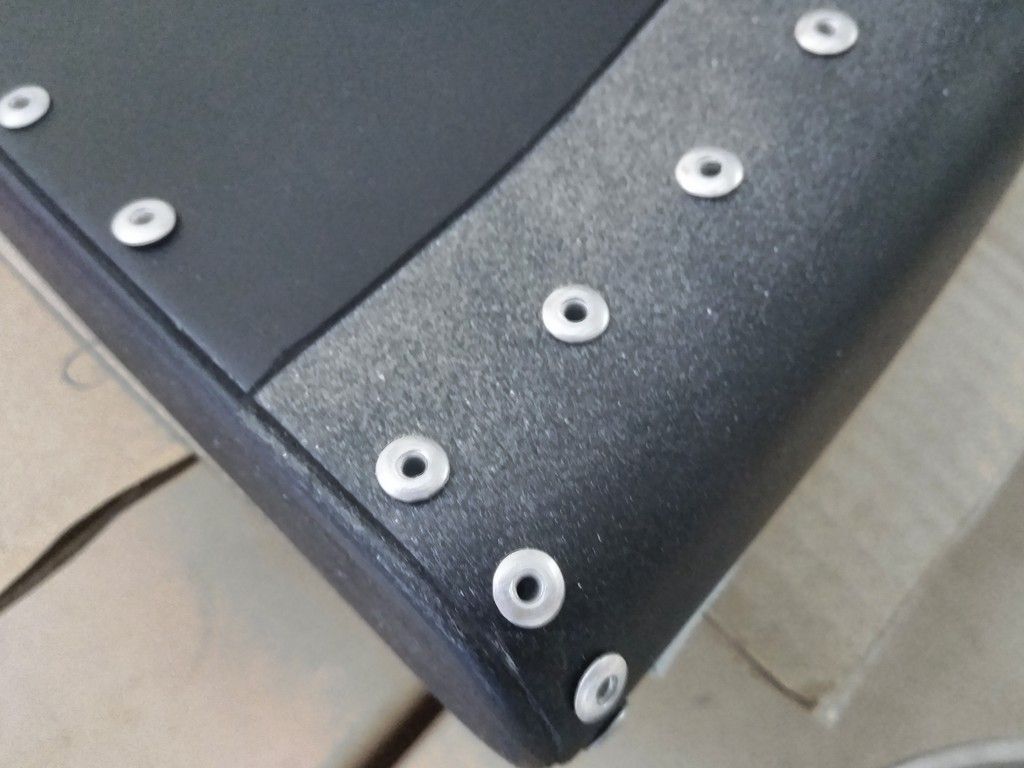
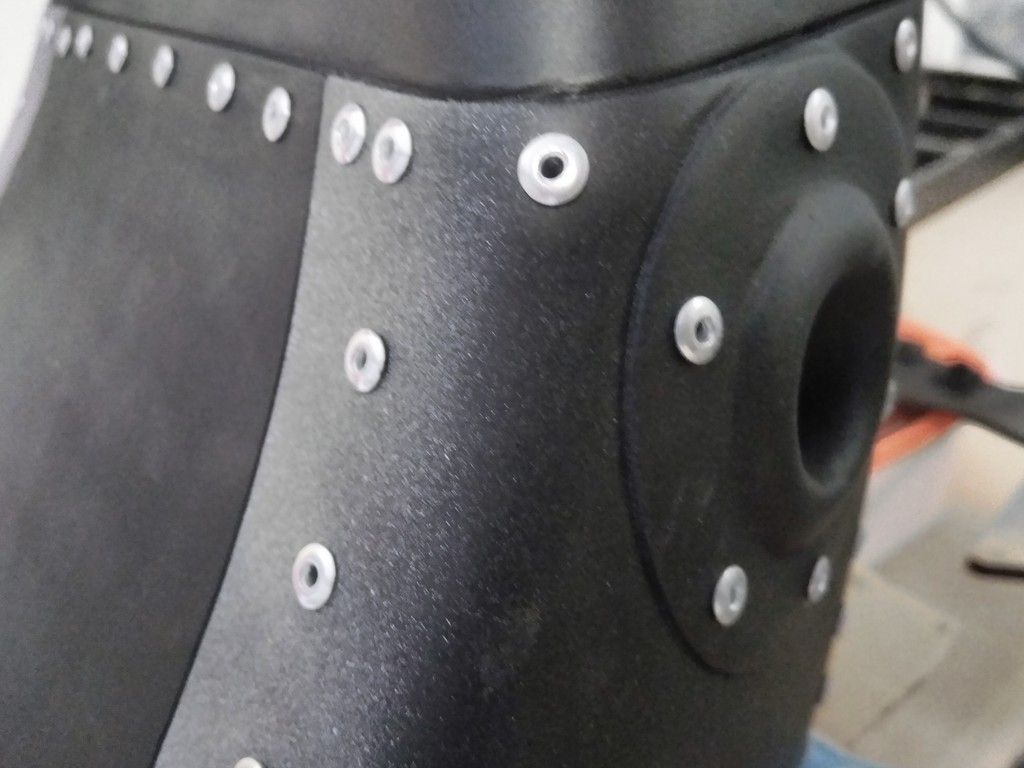
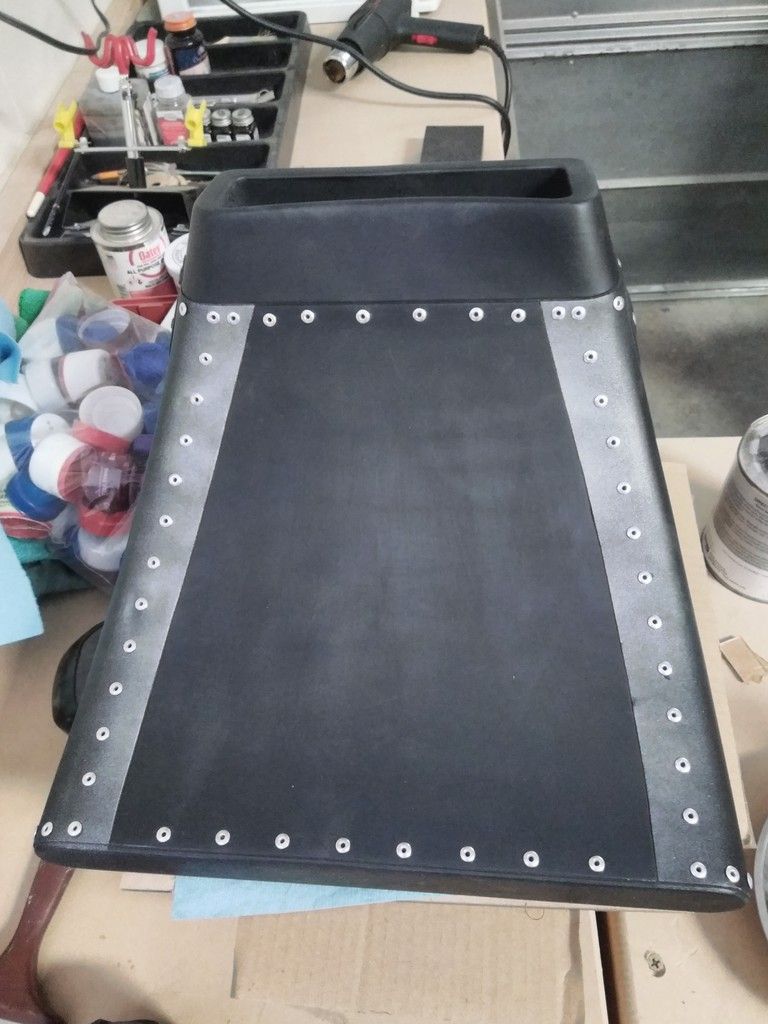
I didn't actually rivet them into place. I adhered them fearing the 3D print would crack under pressure
The humidity makes drying horribly difficult and everything sticks to the finish!
Thanks, Iz!!! You are the man!
And this...
... Is where we are! Blurry photo or not, I have waited a LONG TIME to see that head piece finished and sitting in place.
More to follow so stay tuned!