Hi Gang,
Another weekend come and gone.. time for some updates! I spent way too much time in front of the computer designing and redesigning a couple of new additions to some old greeblies but did finally make some forward progress.
")
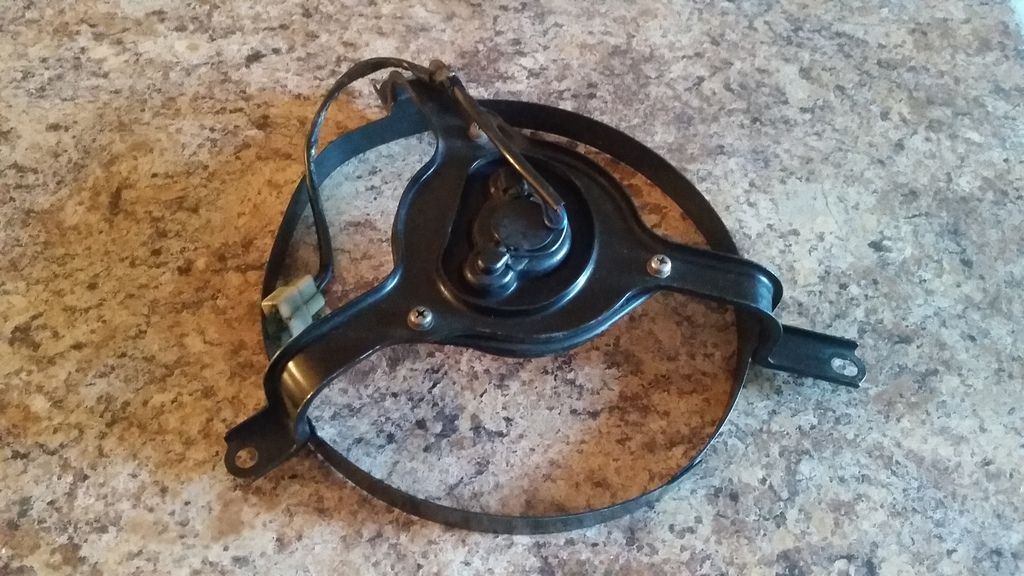
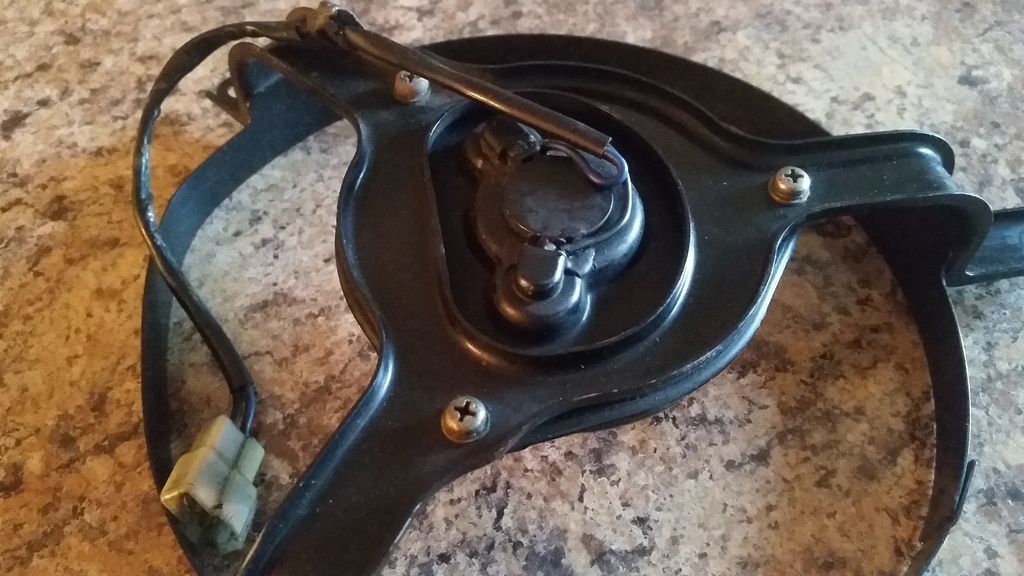
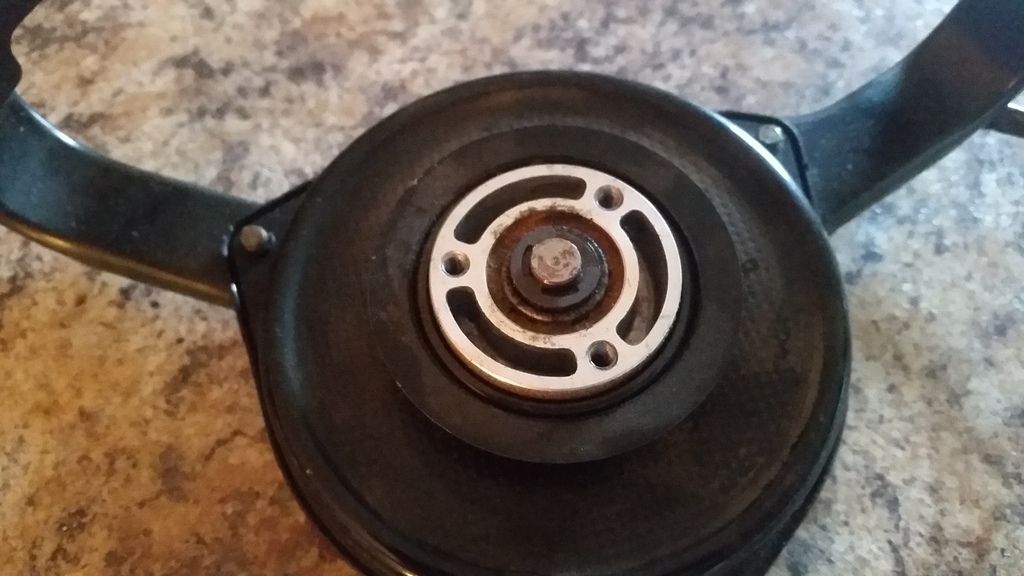
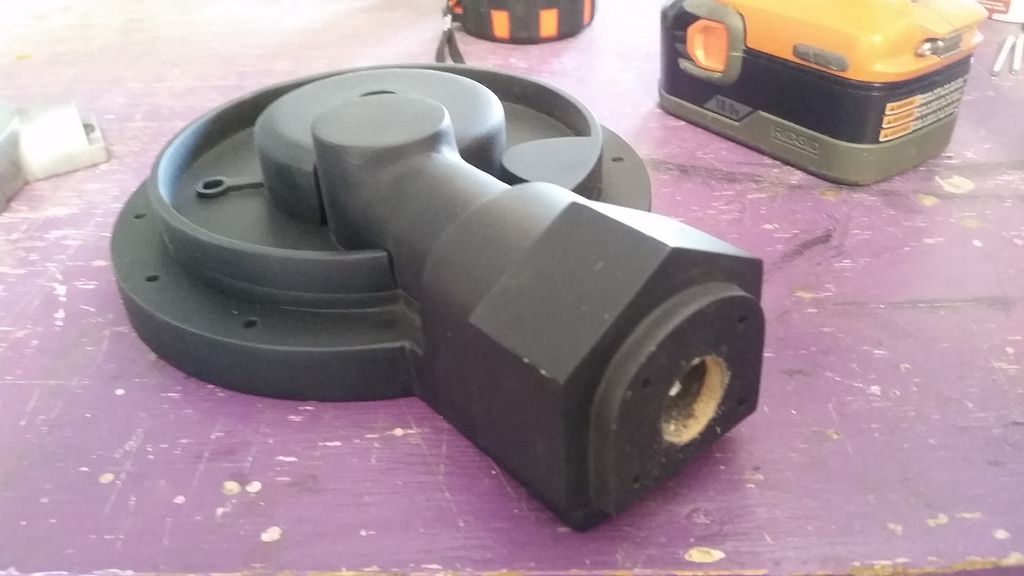
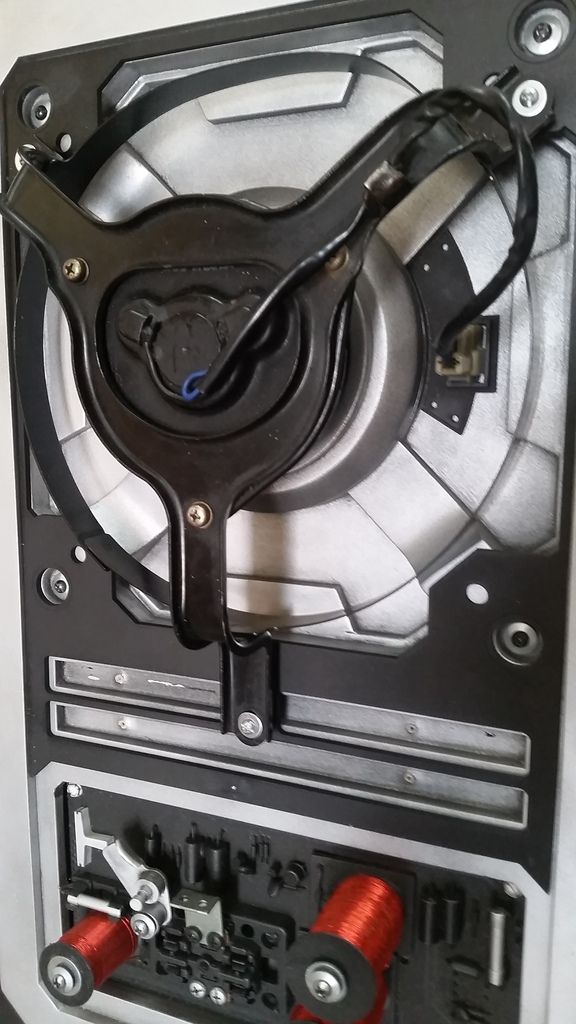
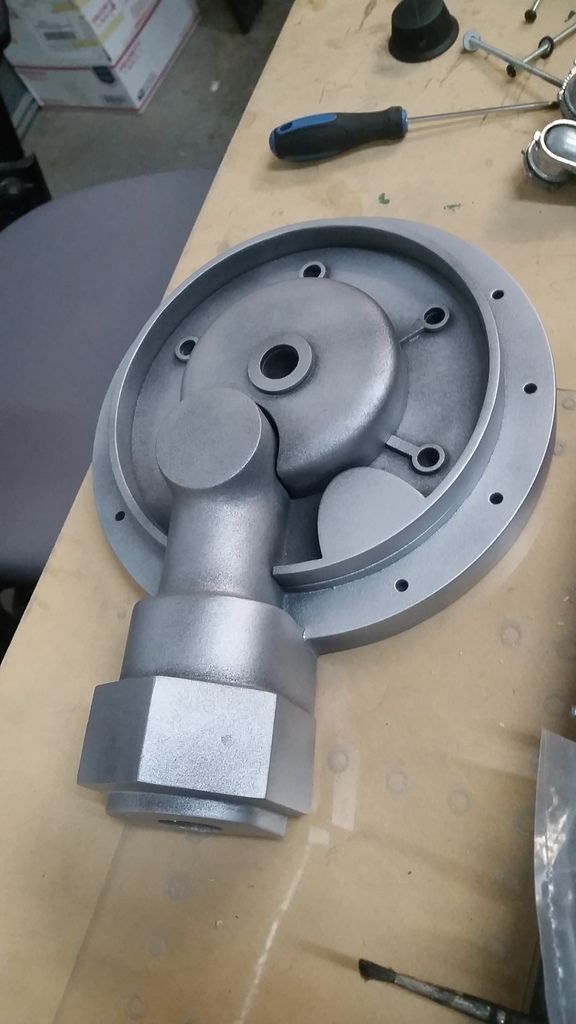
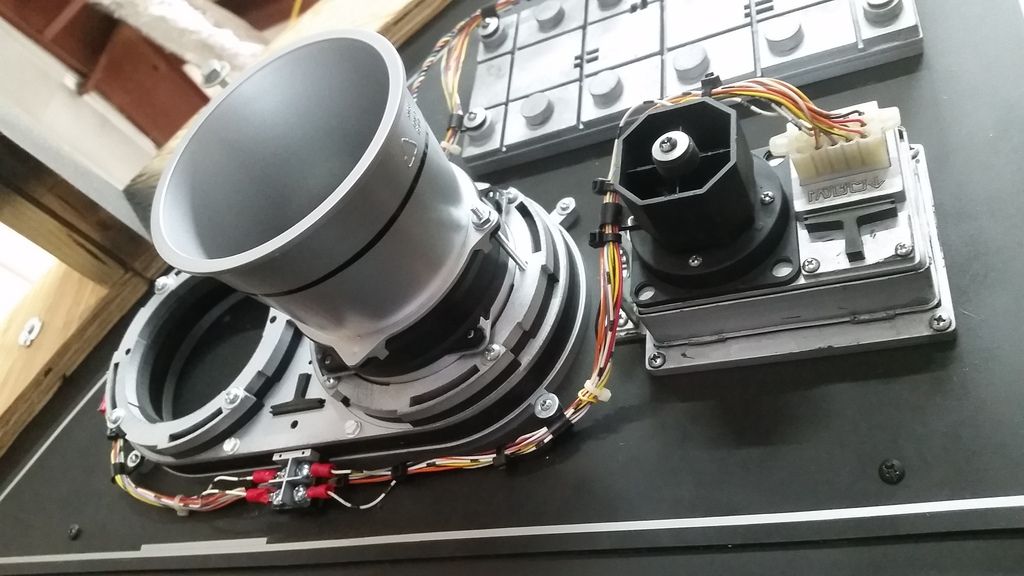
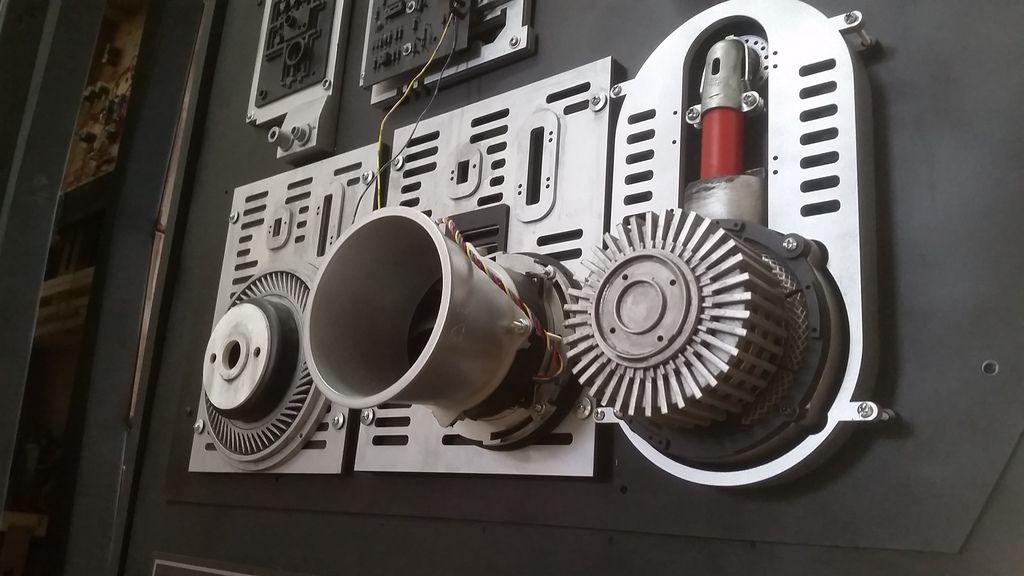
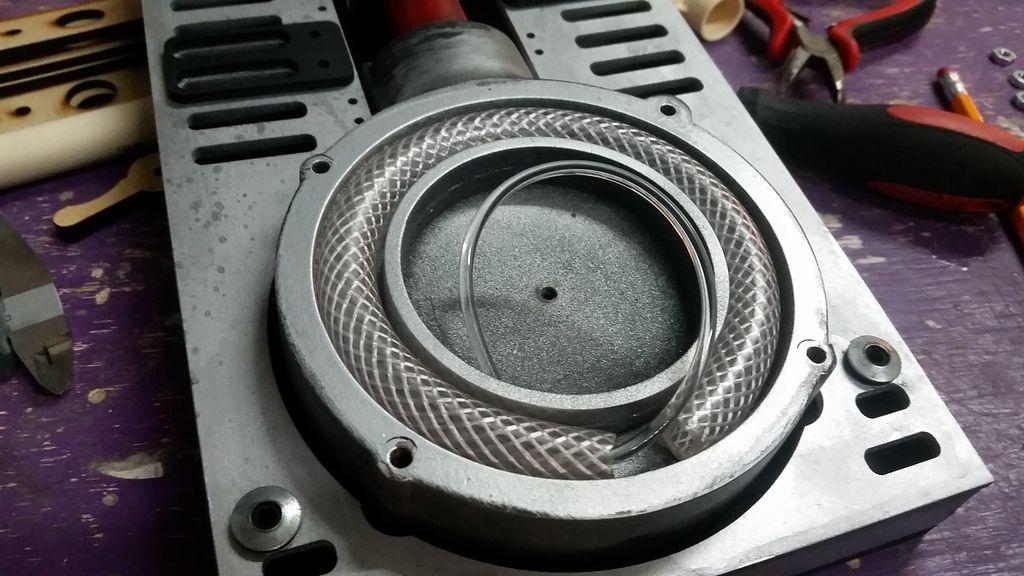
But first, I picked a few new real world parts - cool fan frame to a Yamaha bike (I think)
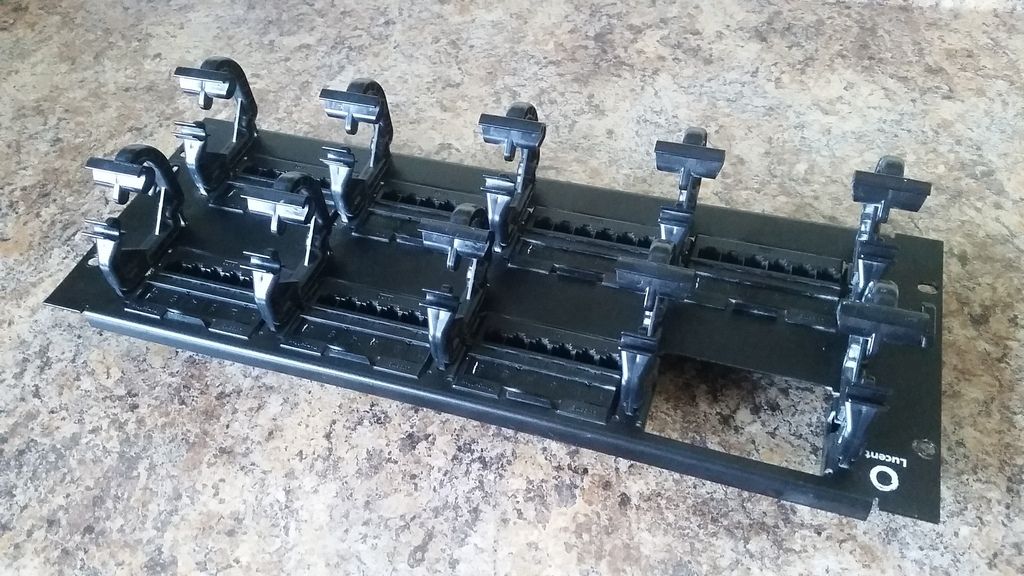
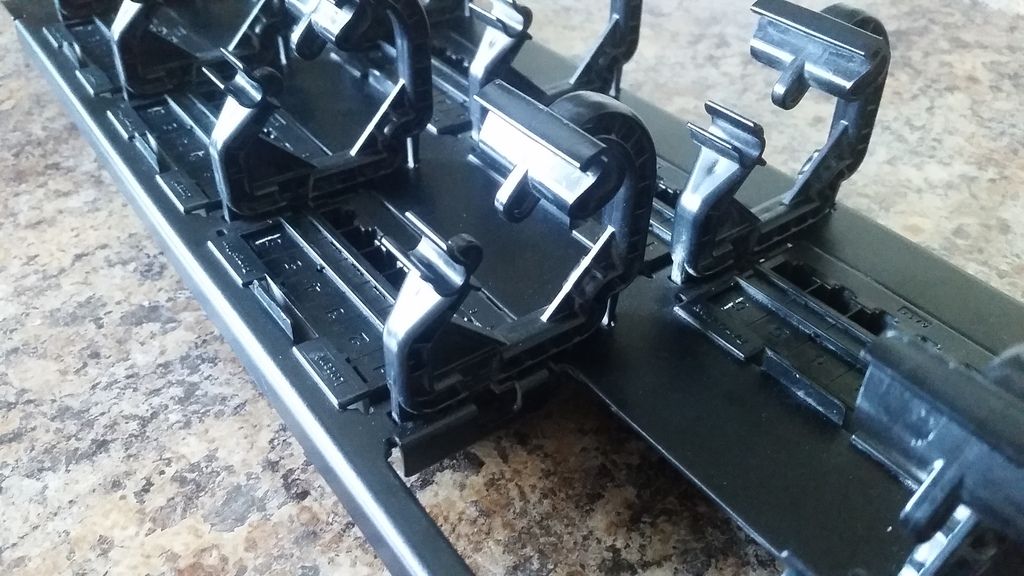
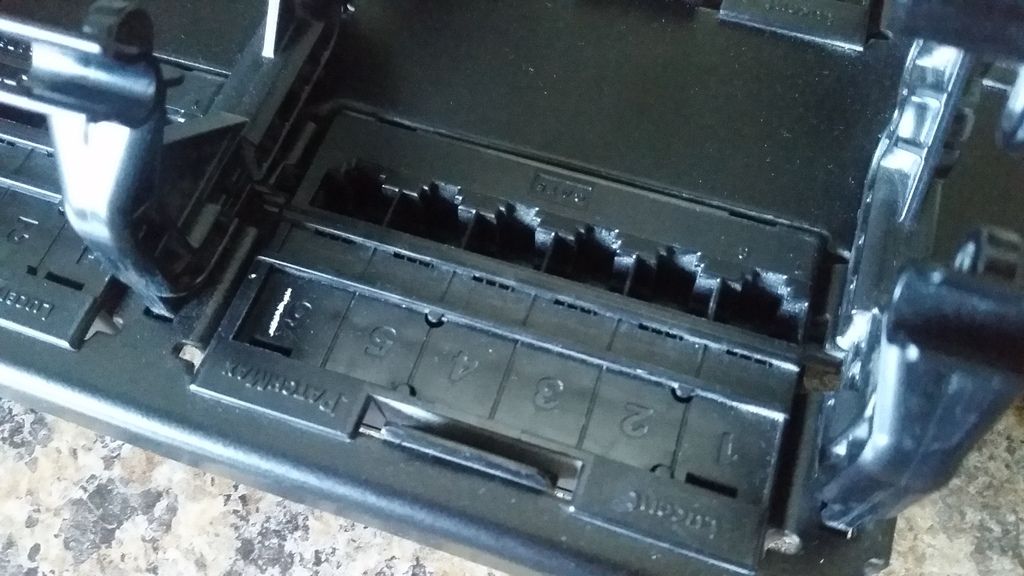
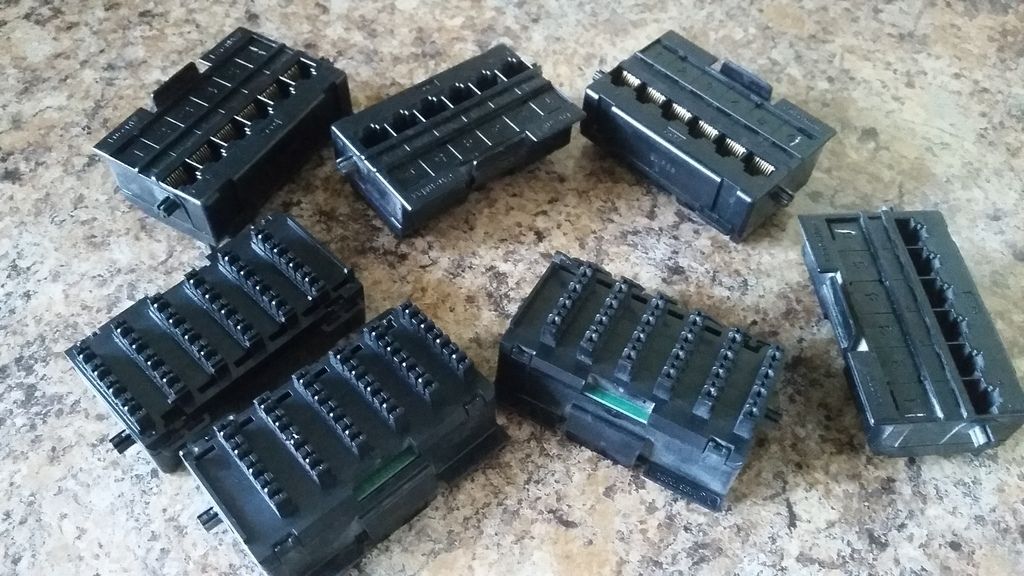
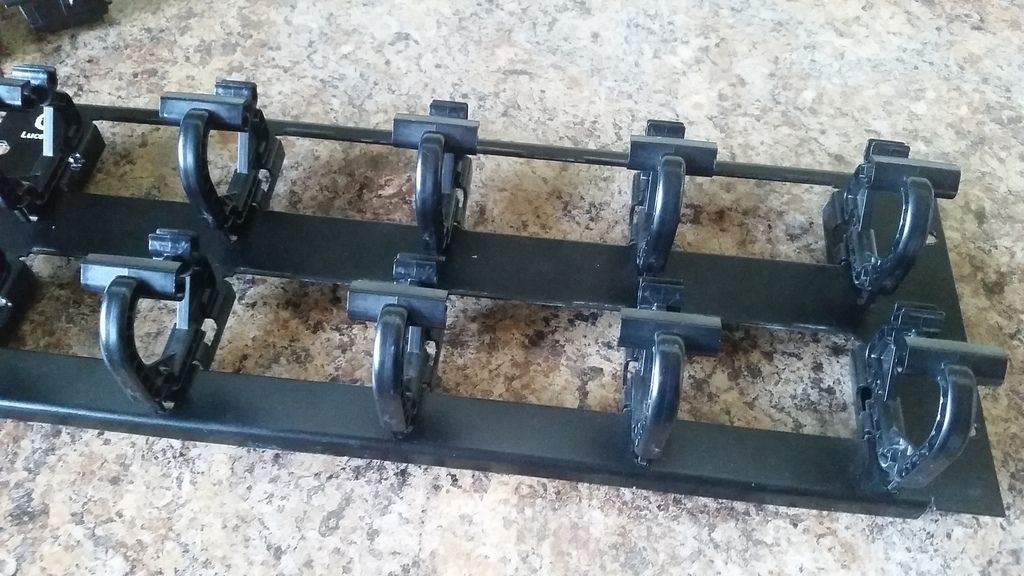
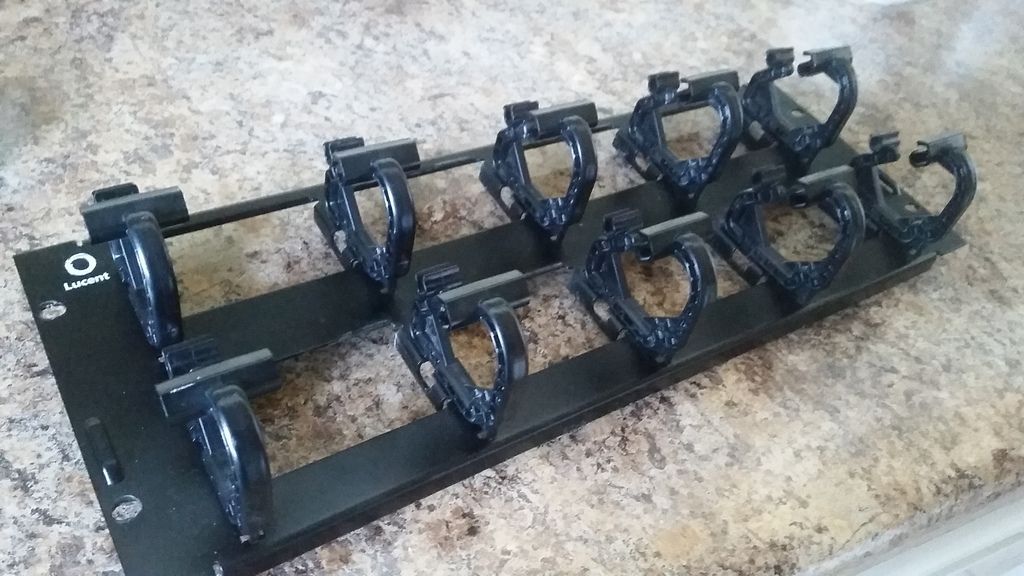
Lucent Cable Rack
Dont really need these parts
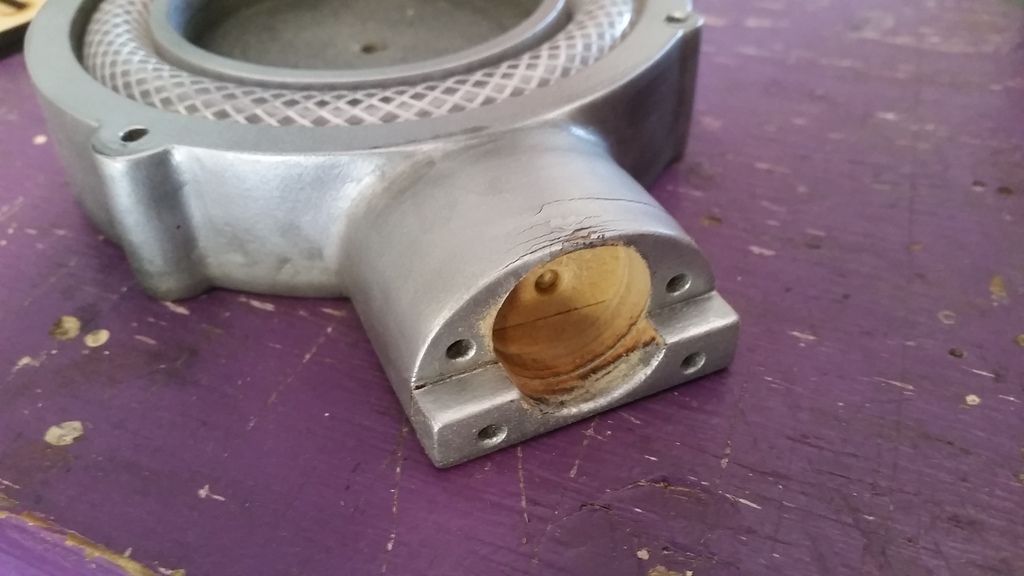
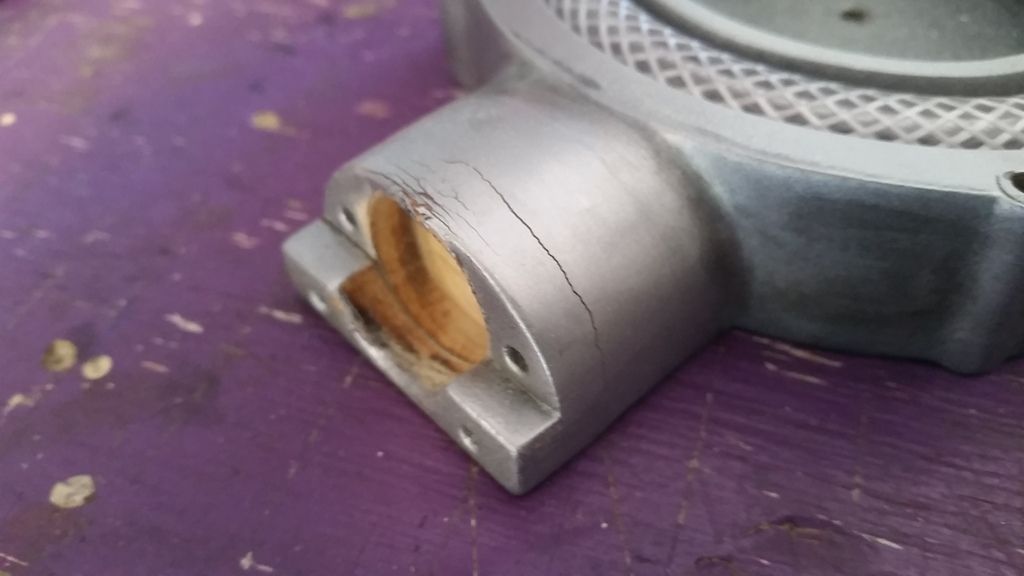
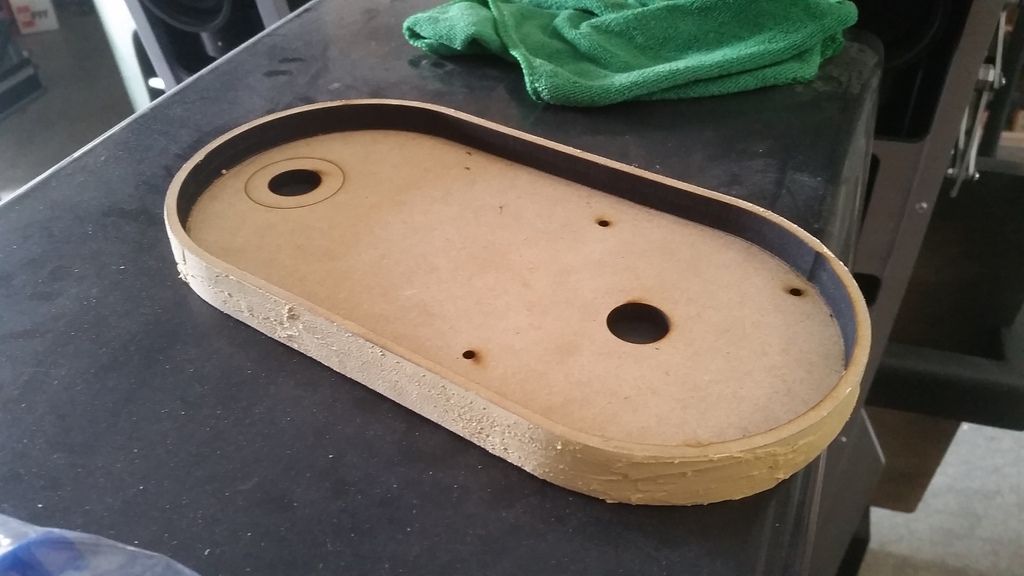
I started the weekend by removing this greeblie and drilling hole a bit deeper
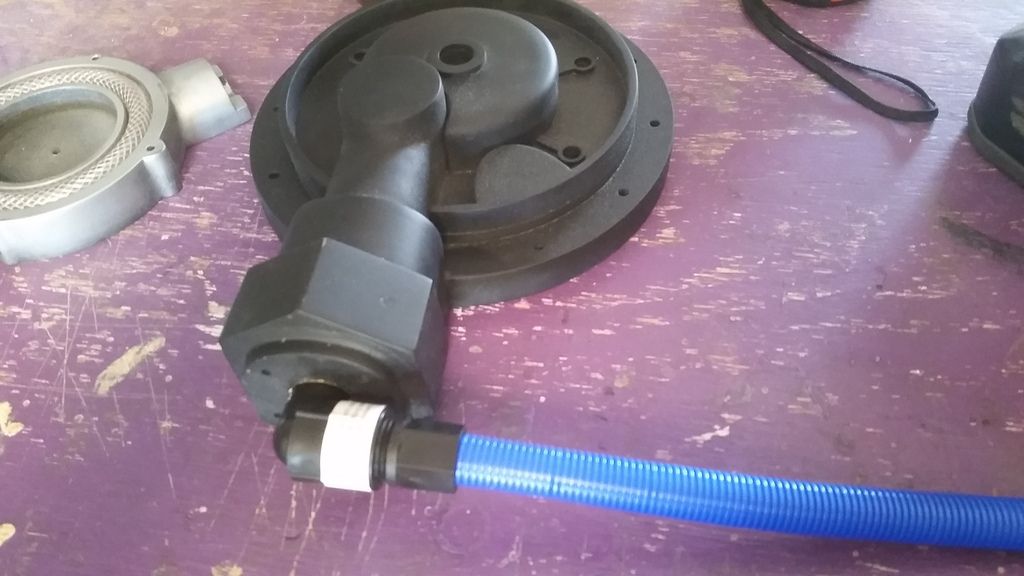
Picked up a water sprinkler hose for a few bucks to get some ideas
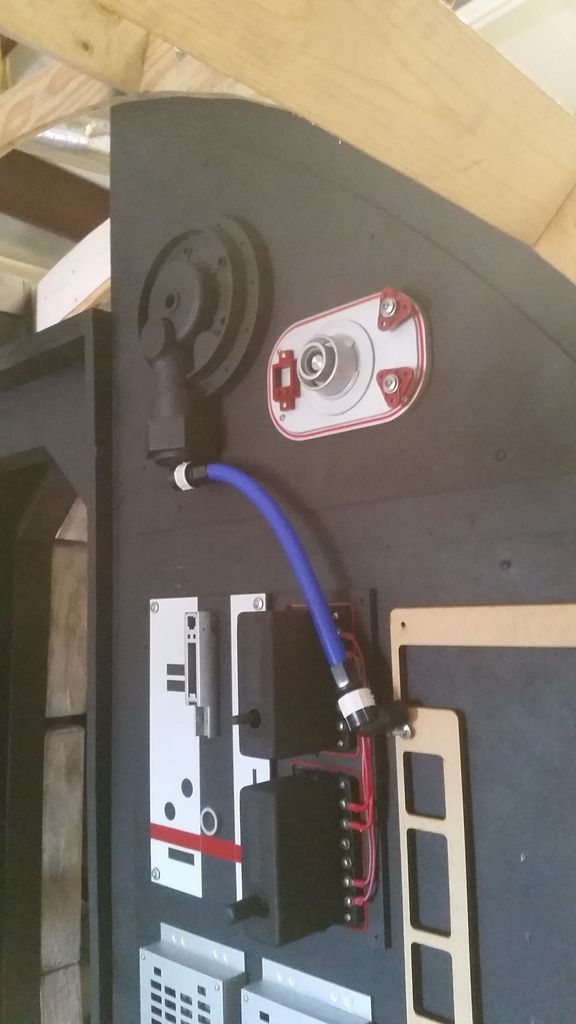
Not sure what I'm going to do yet... this is one of those "pondering" greeblies. But I might paint the greeblie silver and then heavily weather
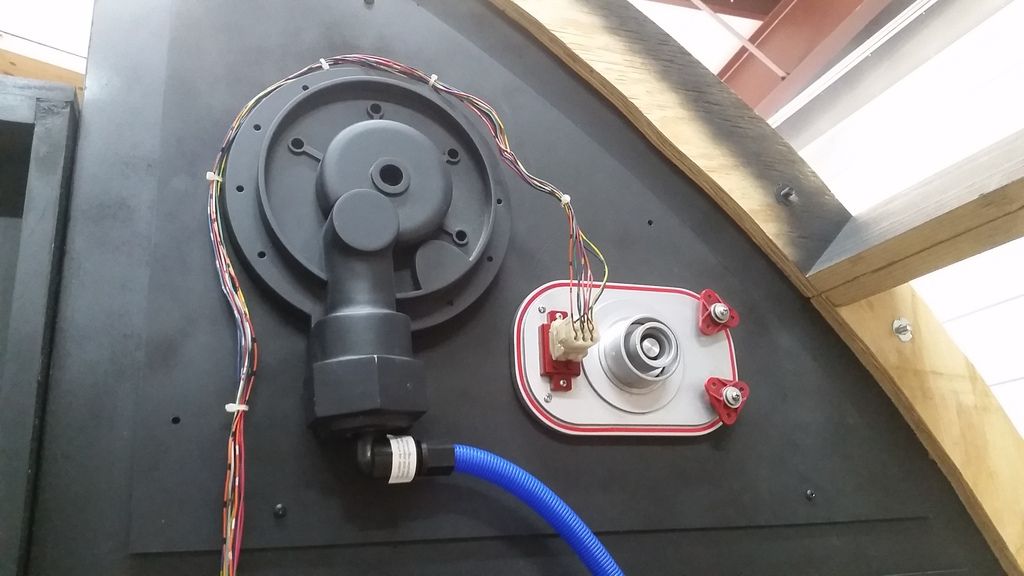
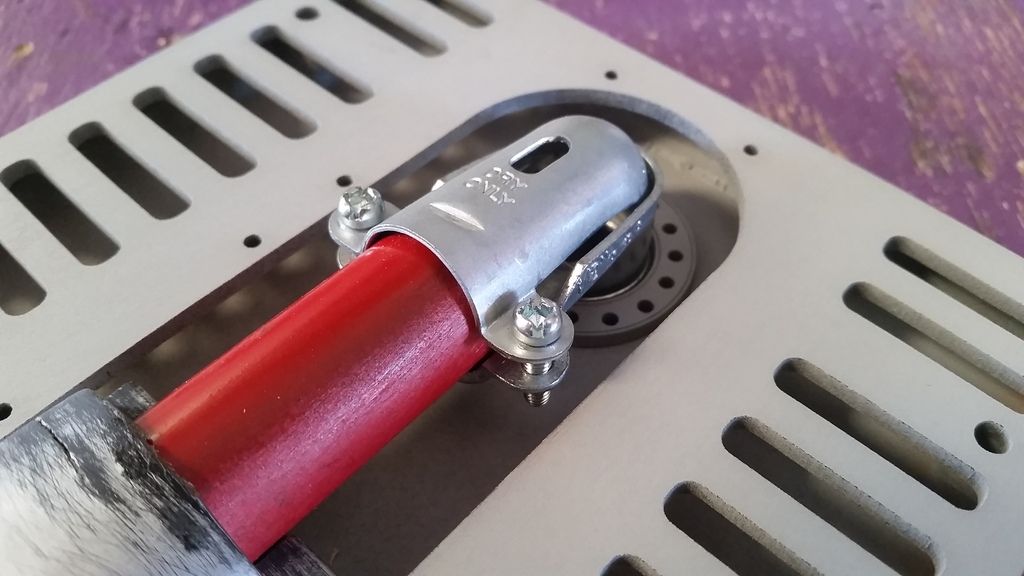
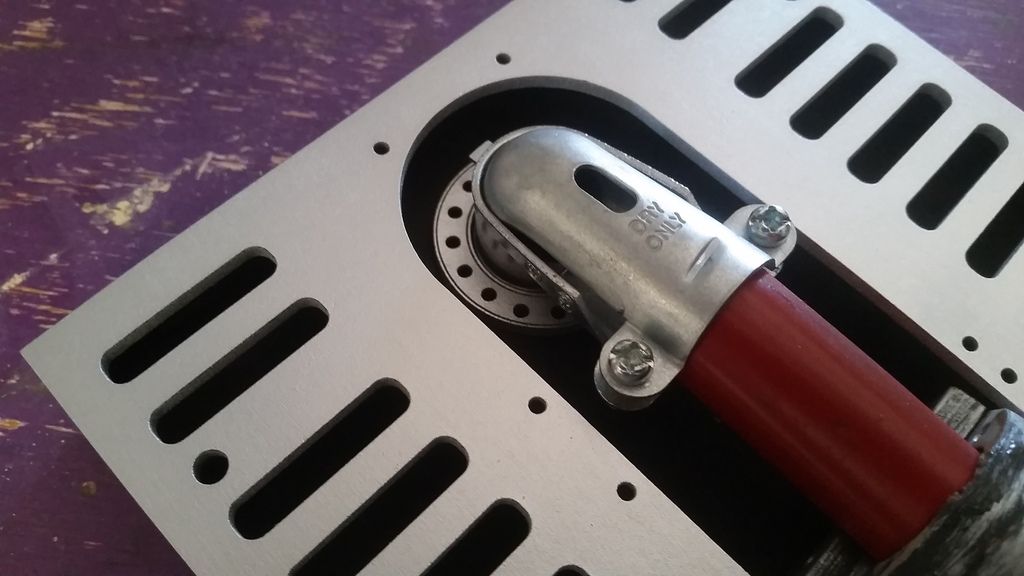
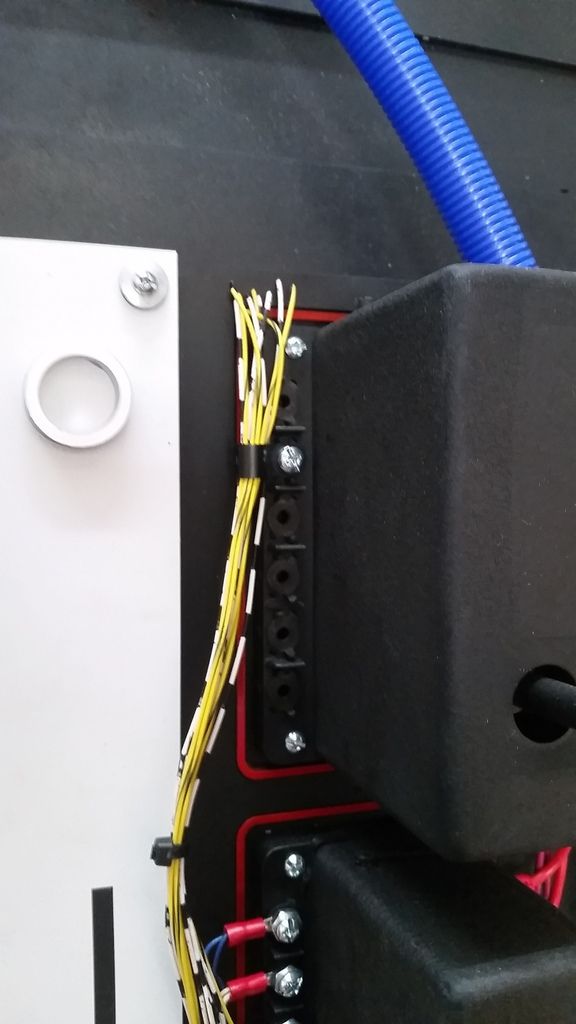
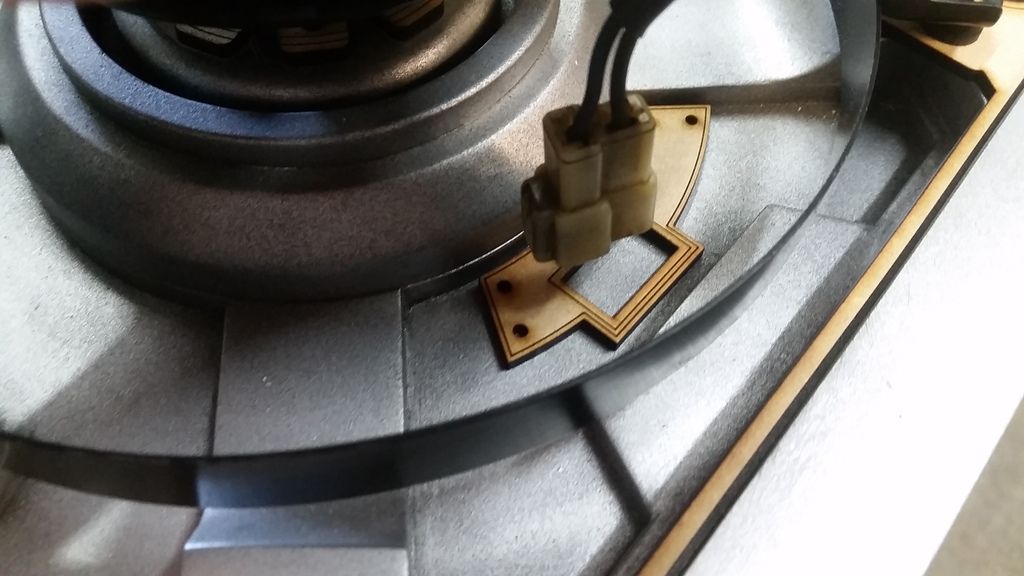
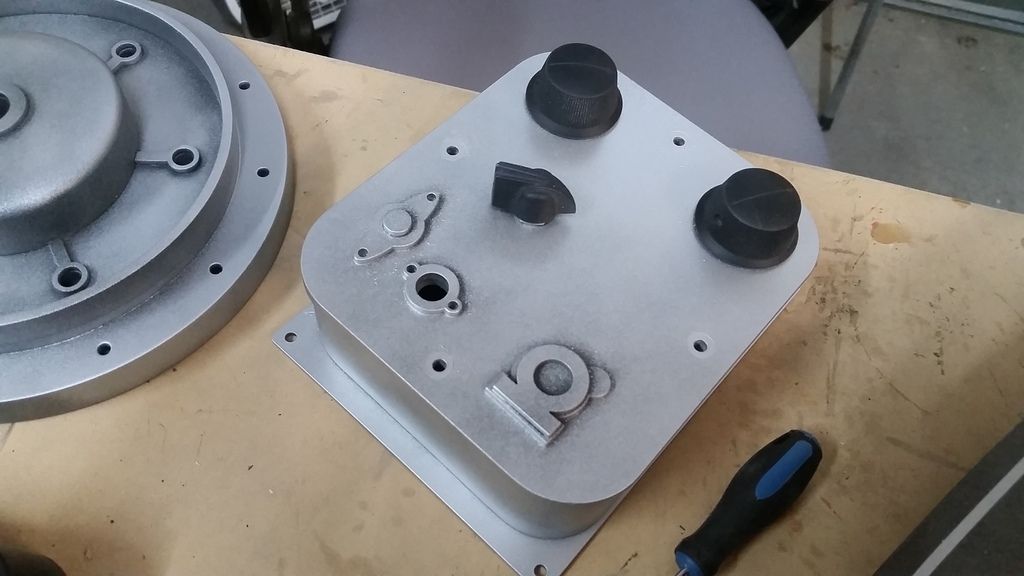
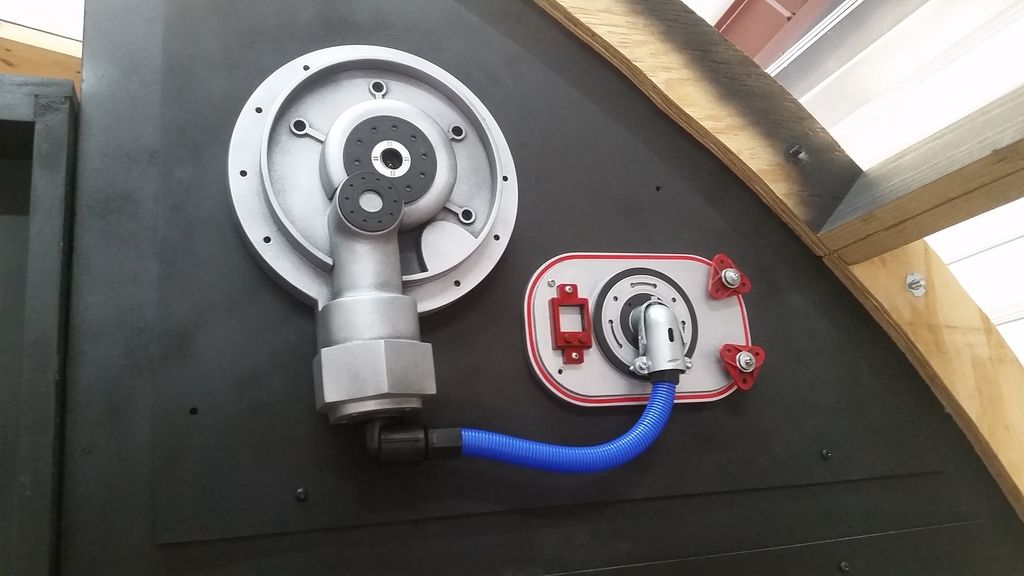
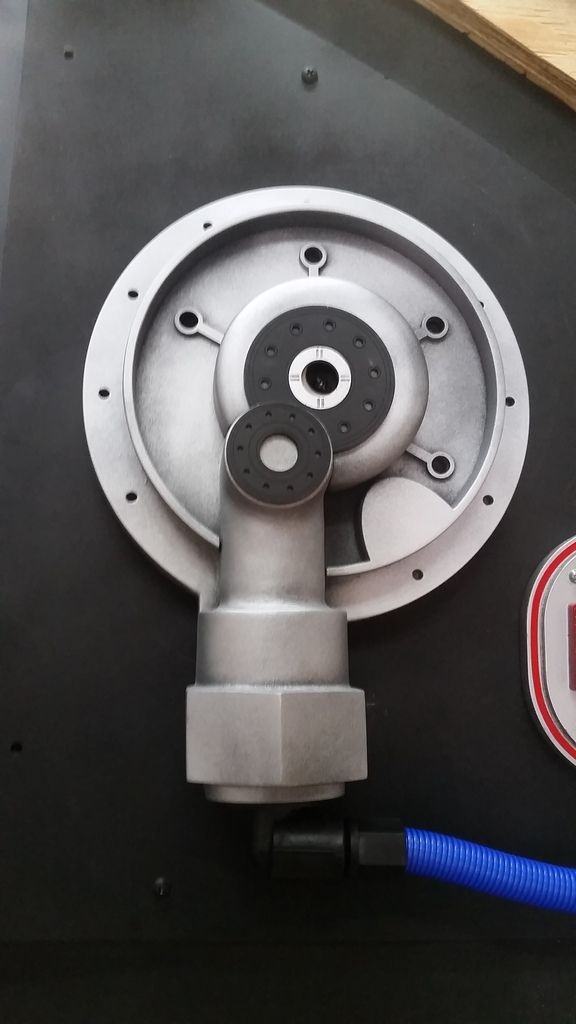
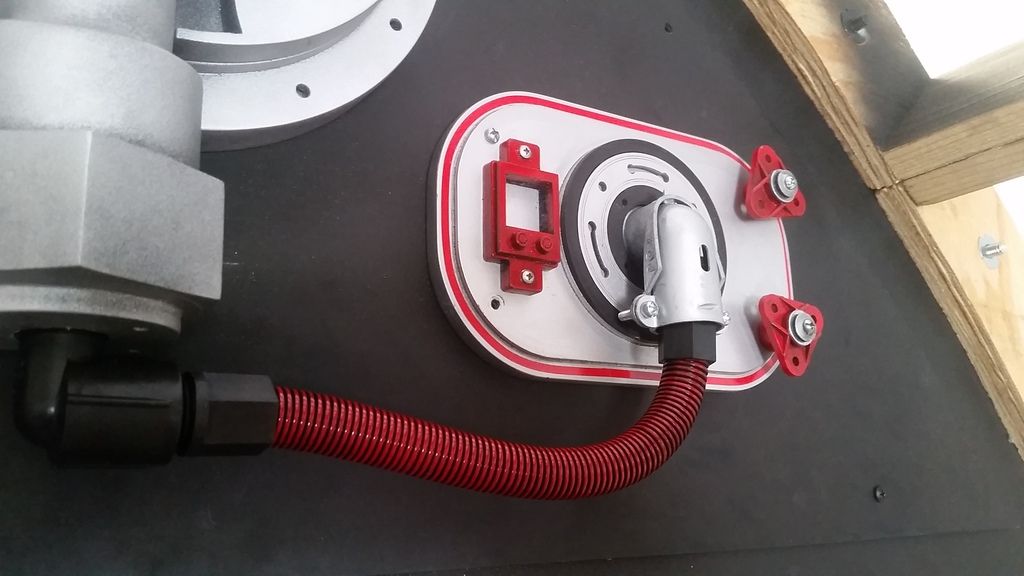
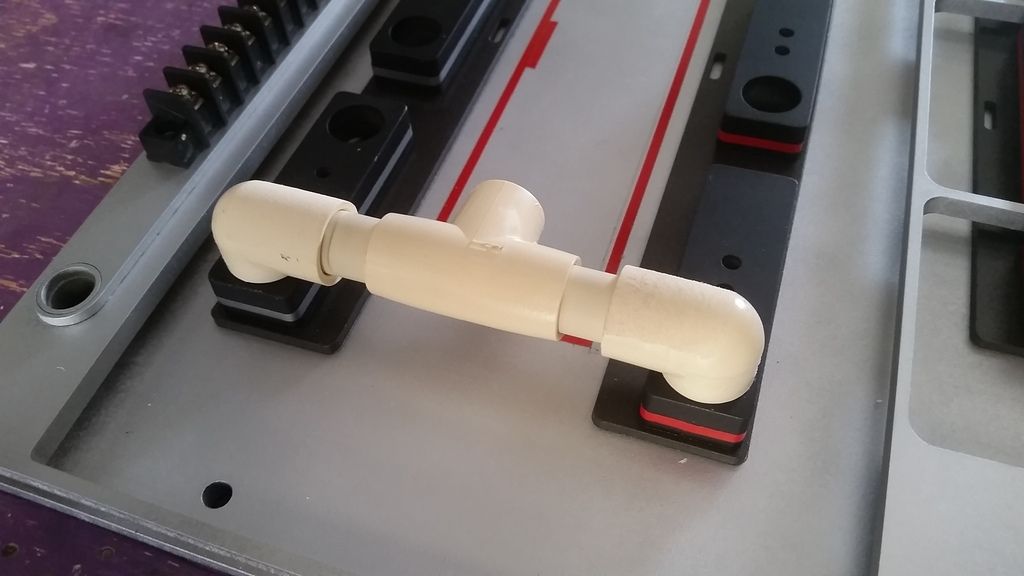
But I may have figured out what do do with this part of the wiring harness. I might create a new base plate
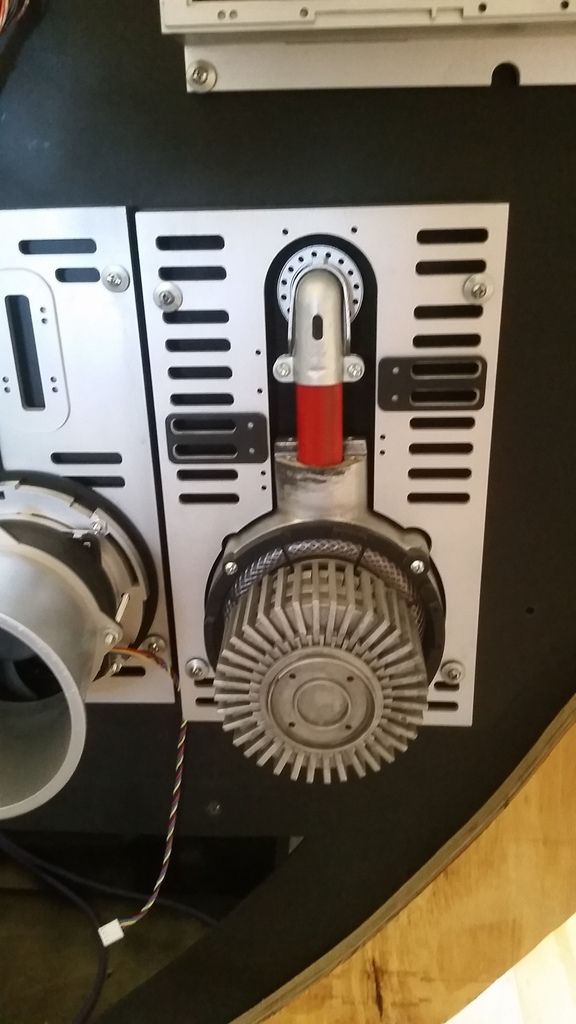
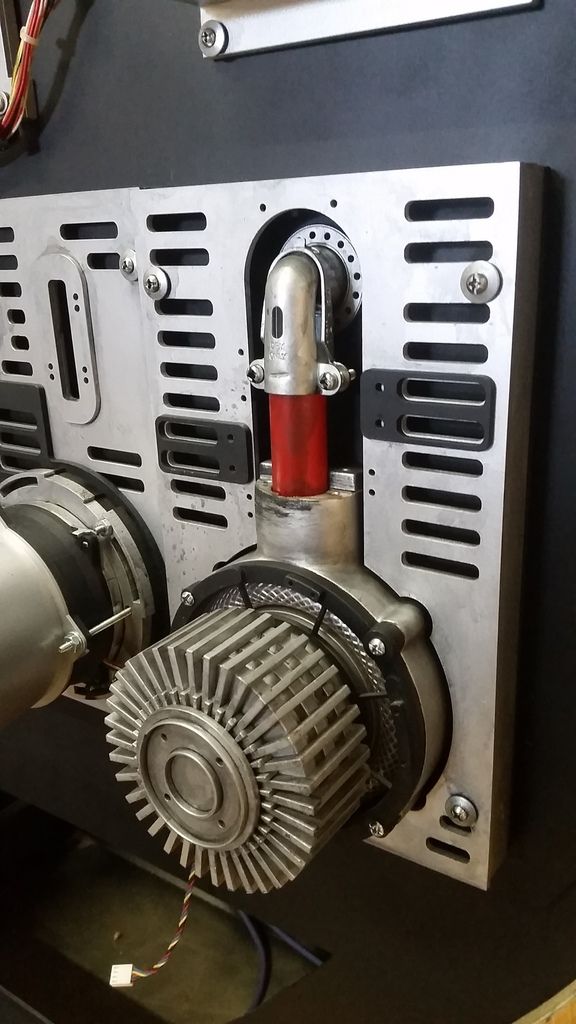
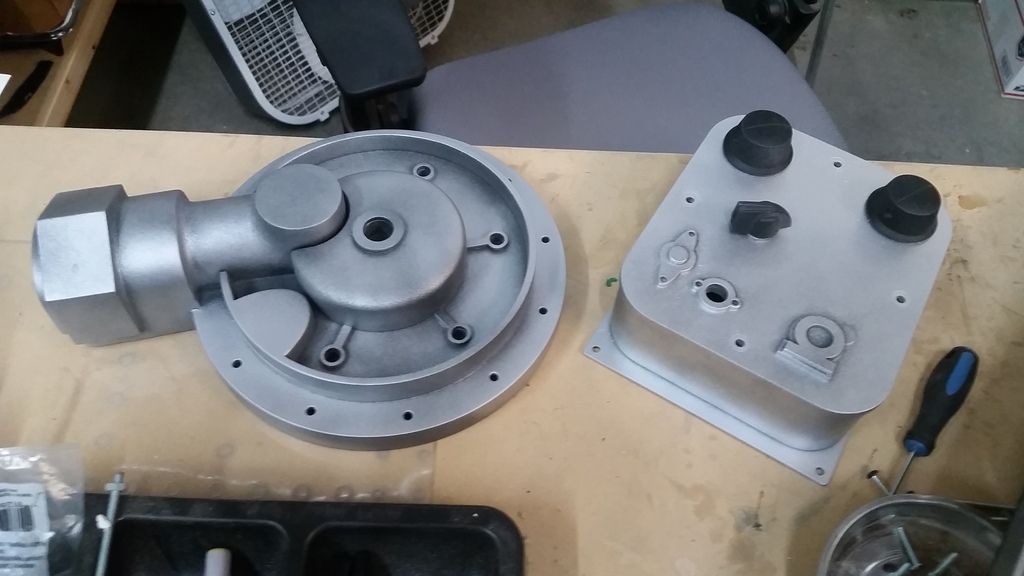
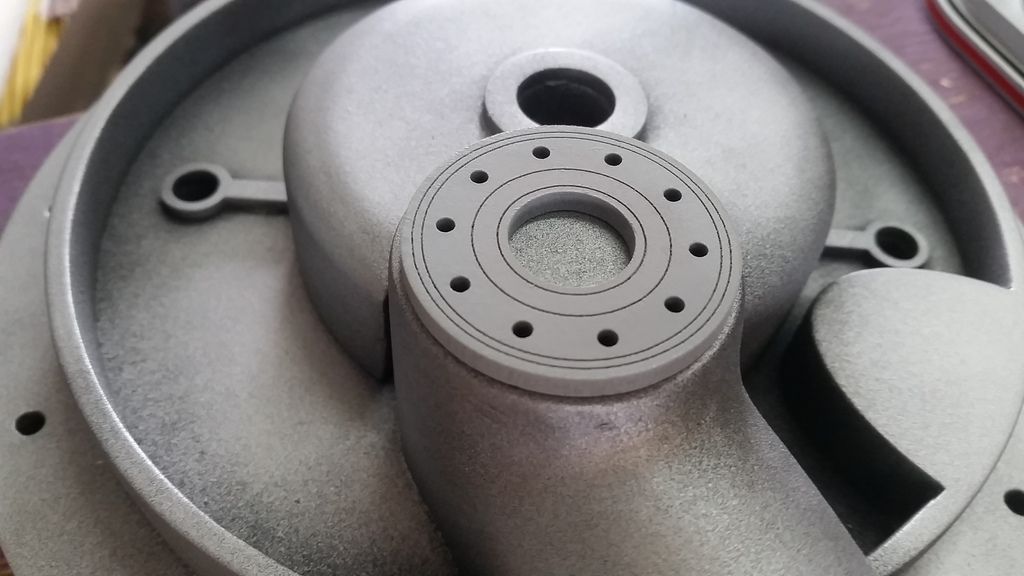
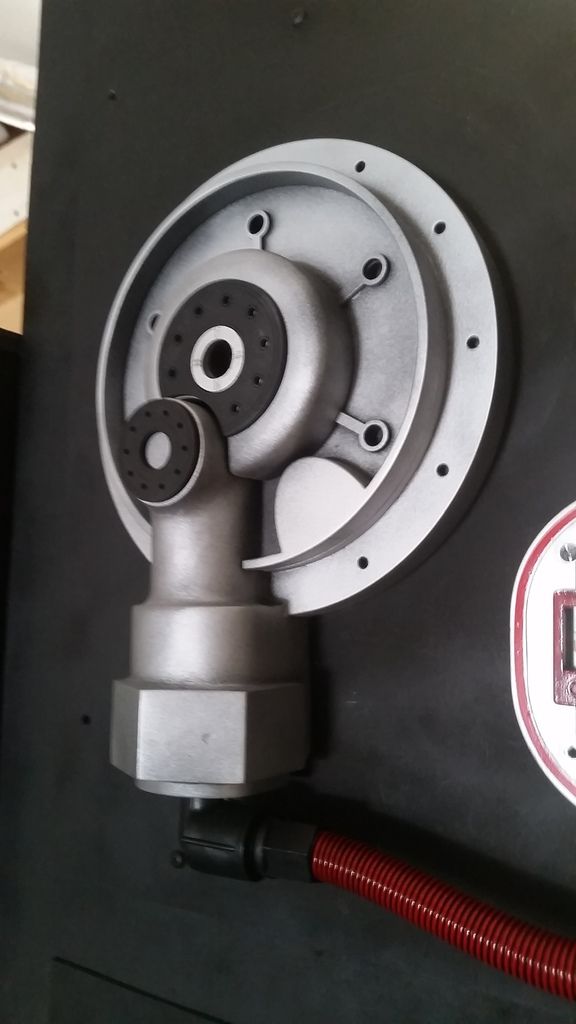
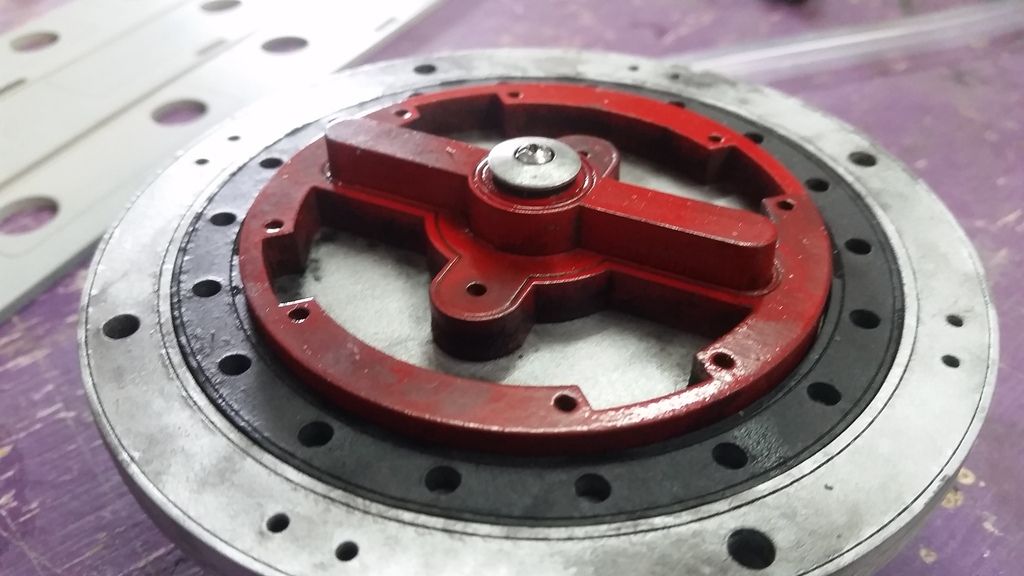
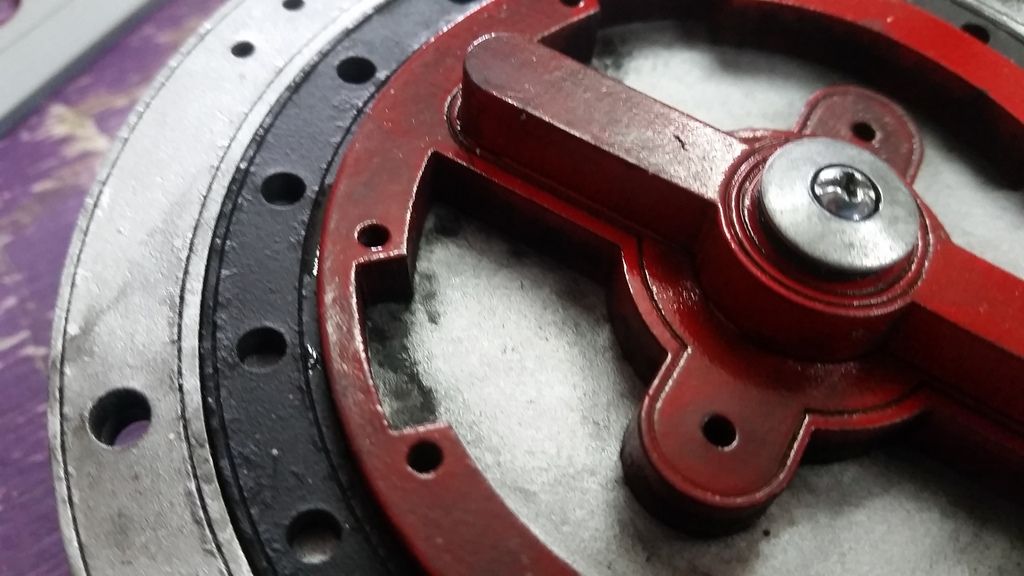
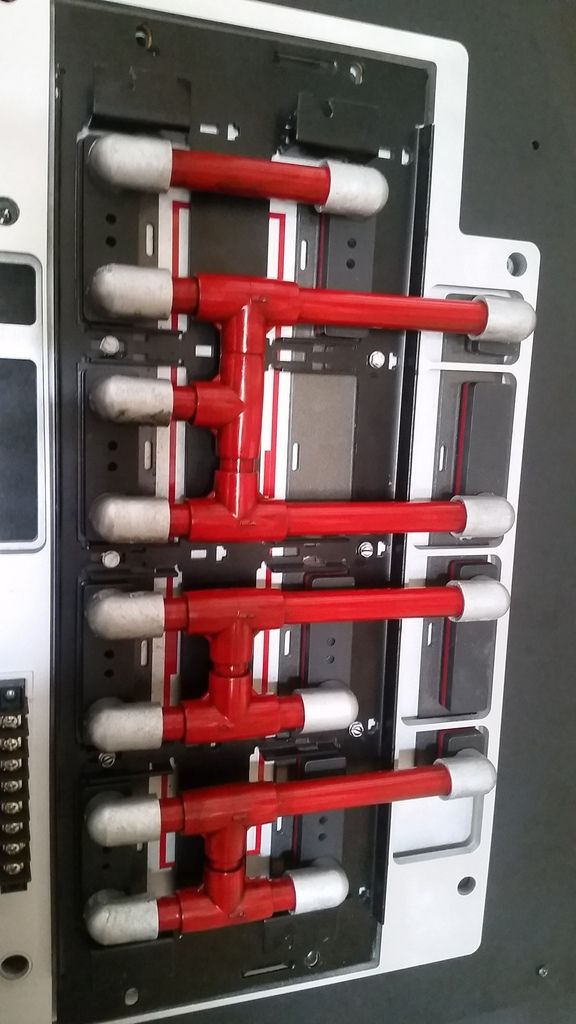
I then moved on to other coil and created a new housing. This greeblie gave me ALL sorts of grief on Saturday!
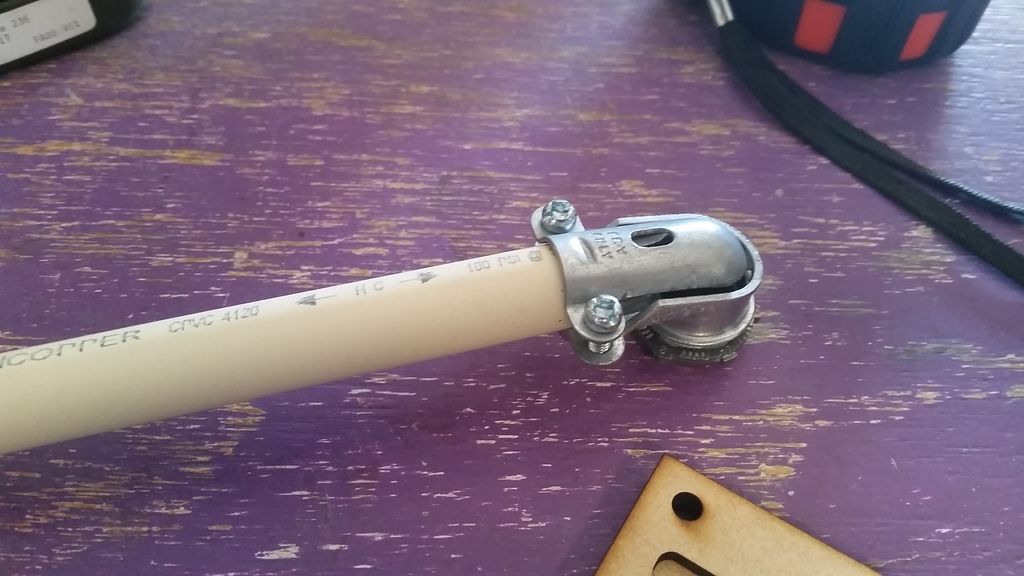
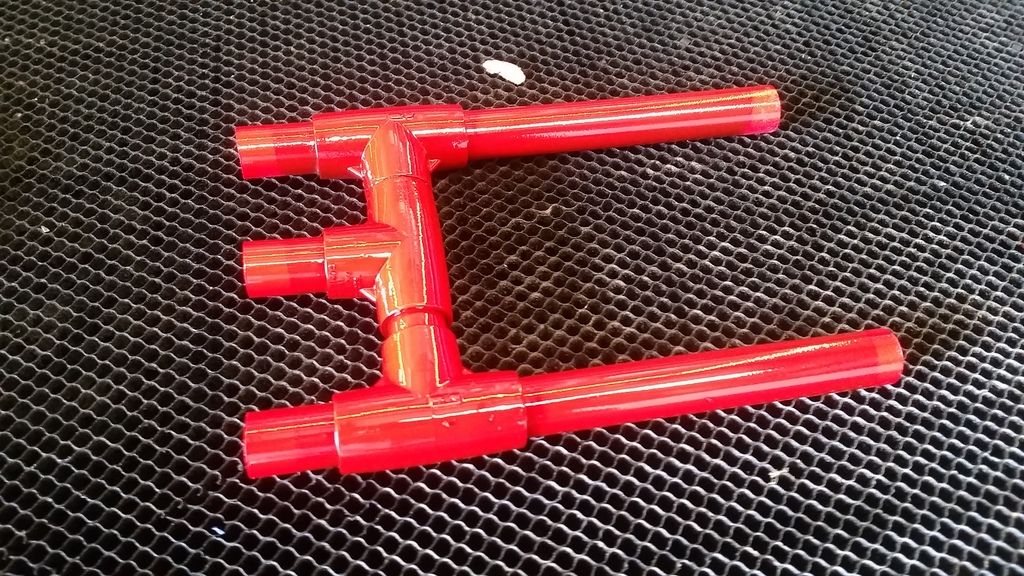
I thought about having two smaller pipes come from the coil base
Ultimately decided on staying with the 1" PVC pipe so I made the hole a bit deeper
Nothing a little filler and paint can't fix
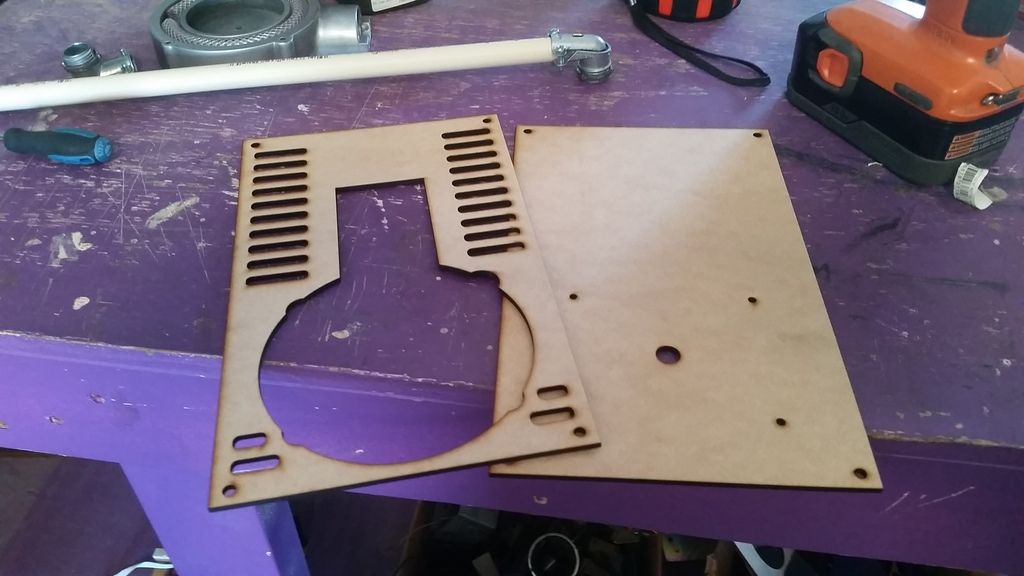
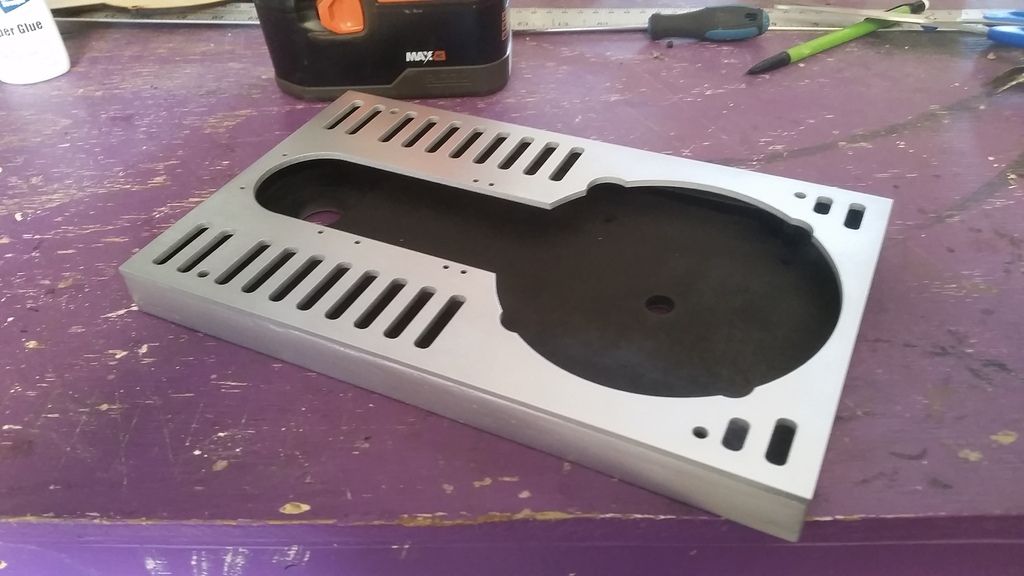
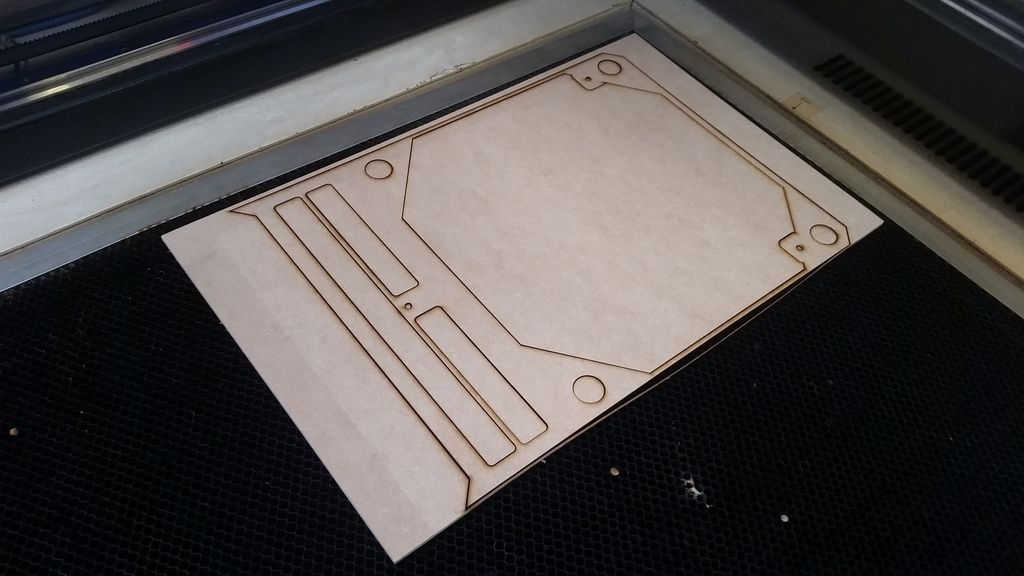
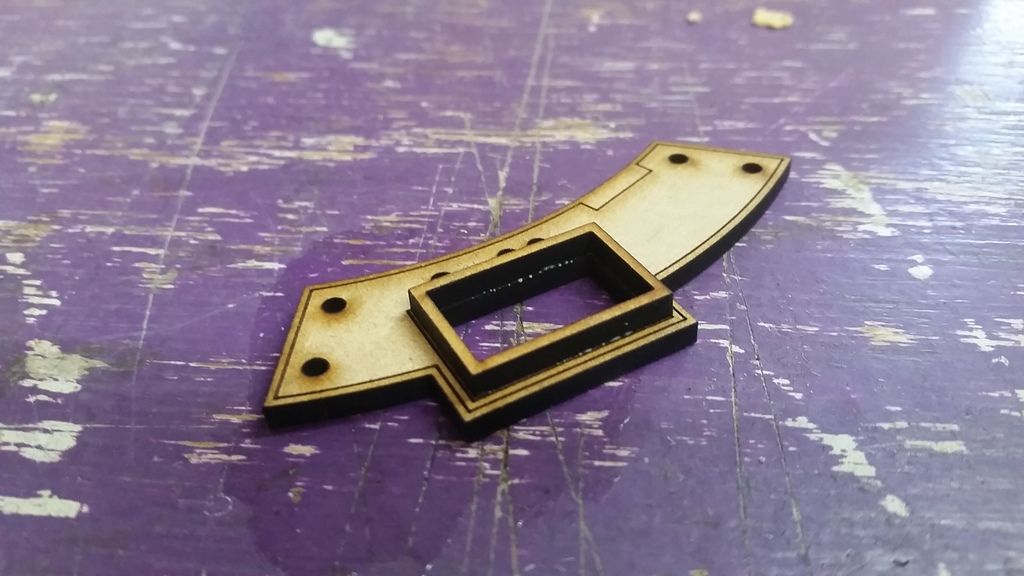
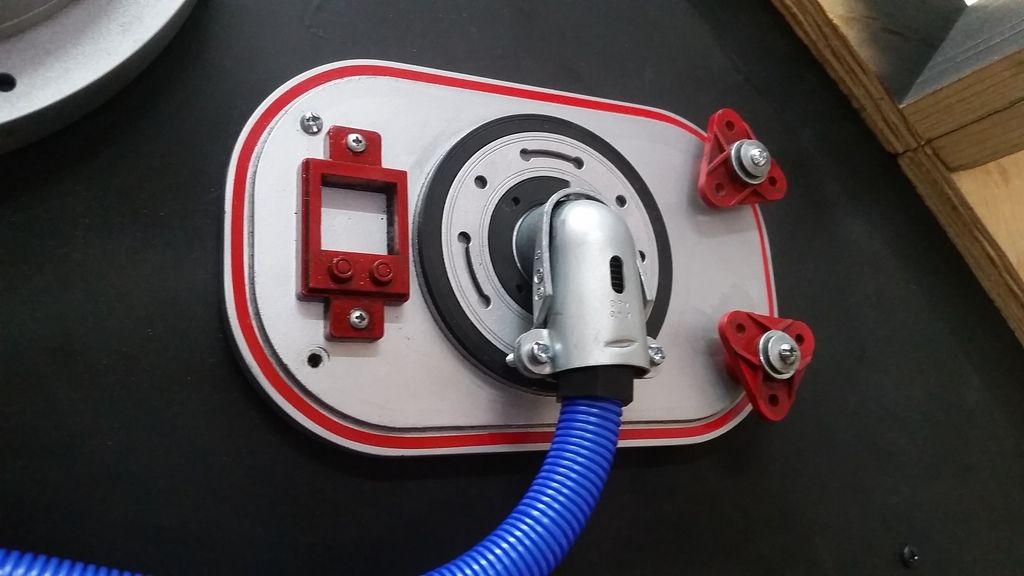
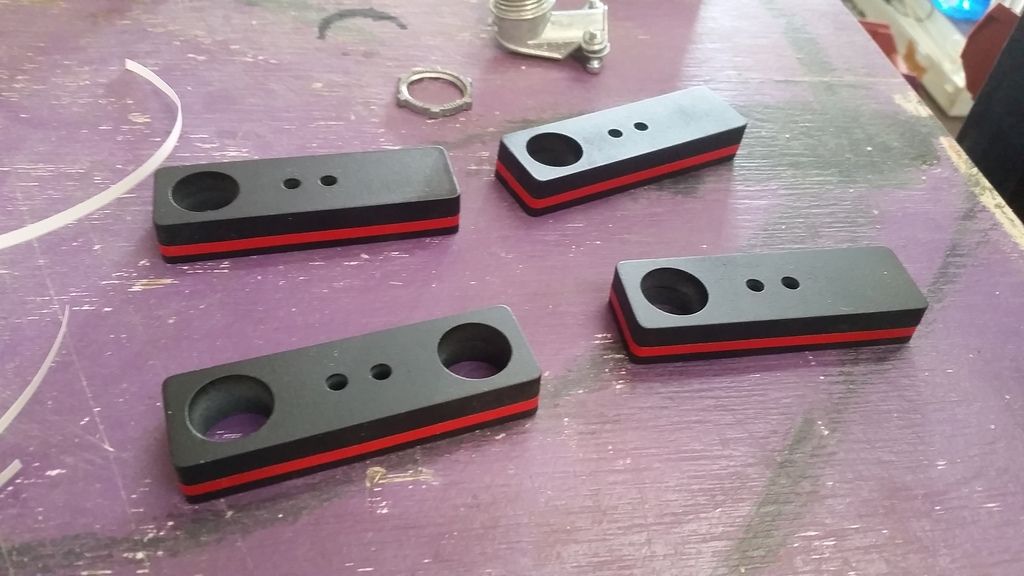
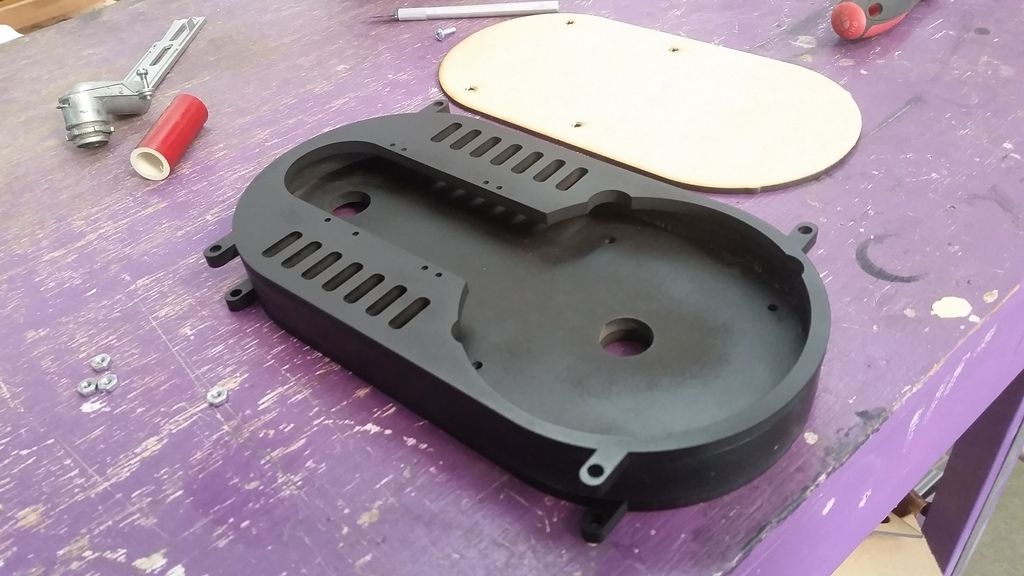
Again... I went through 8-10 different cover plate designs before finally settling on a design I liked
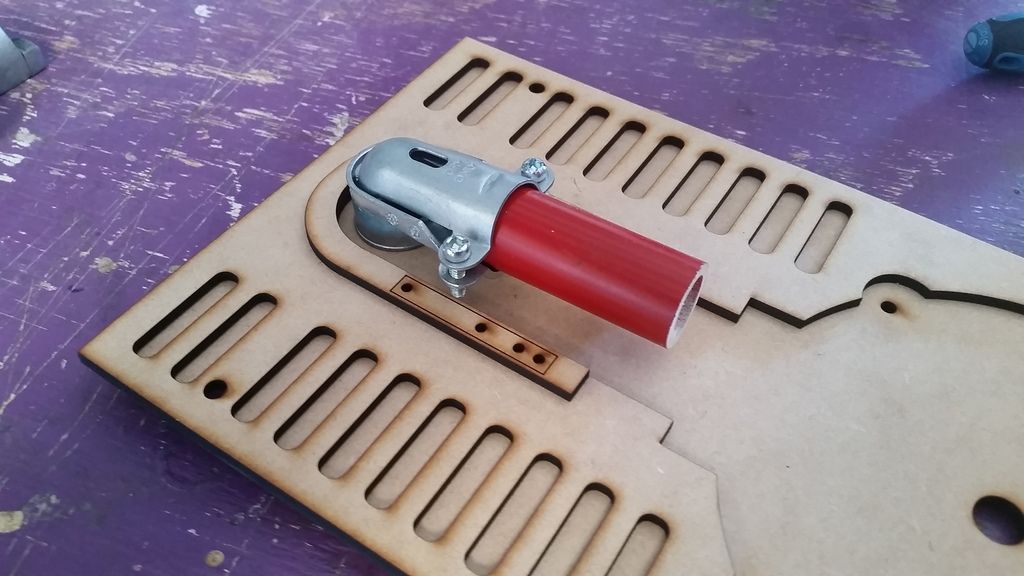
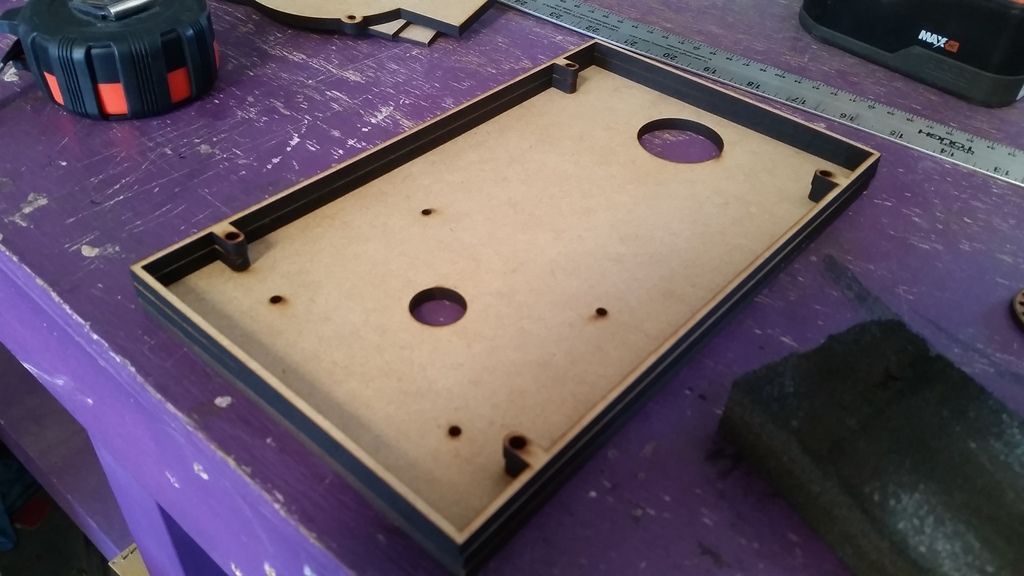
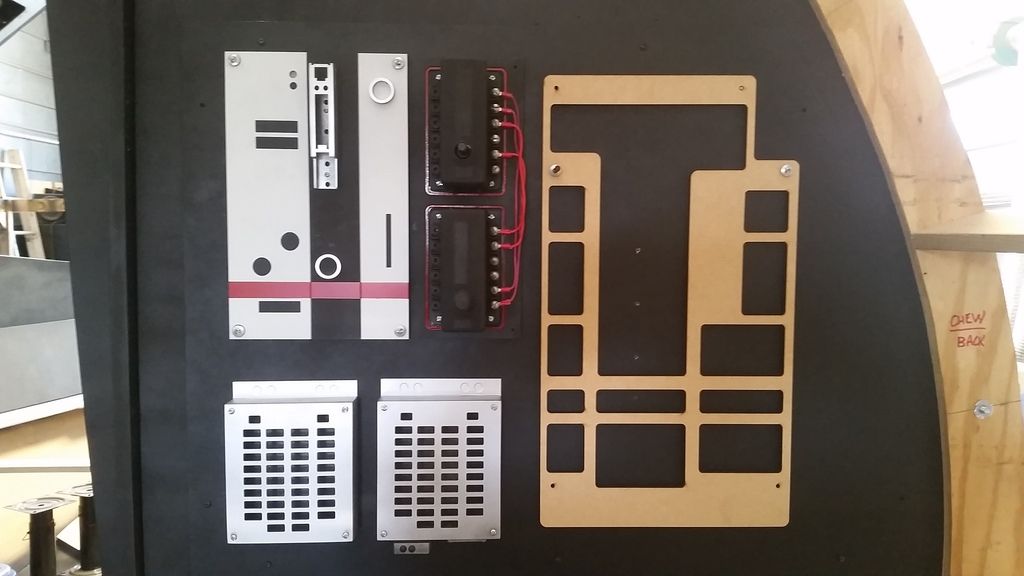
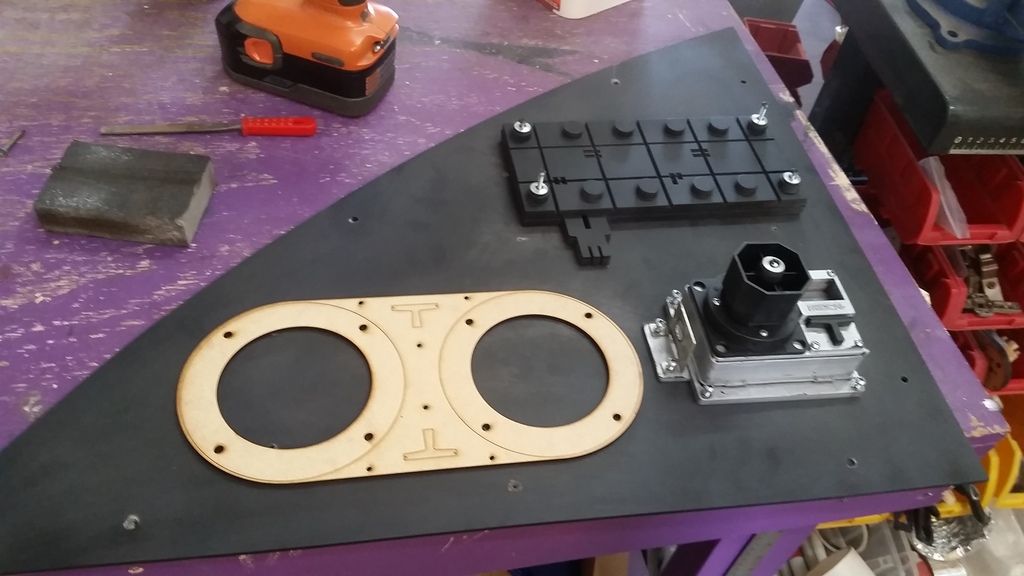
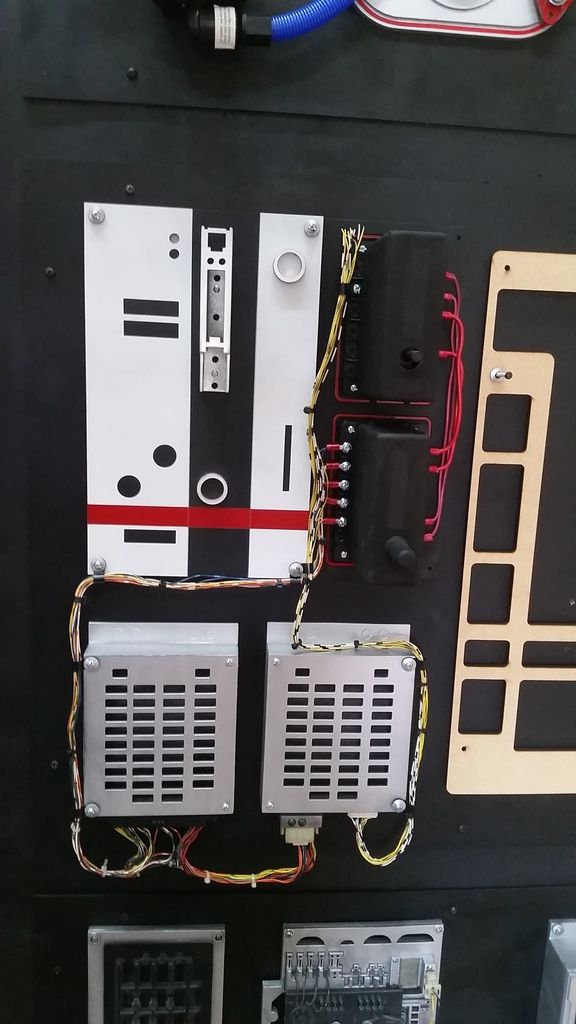
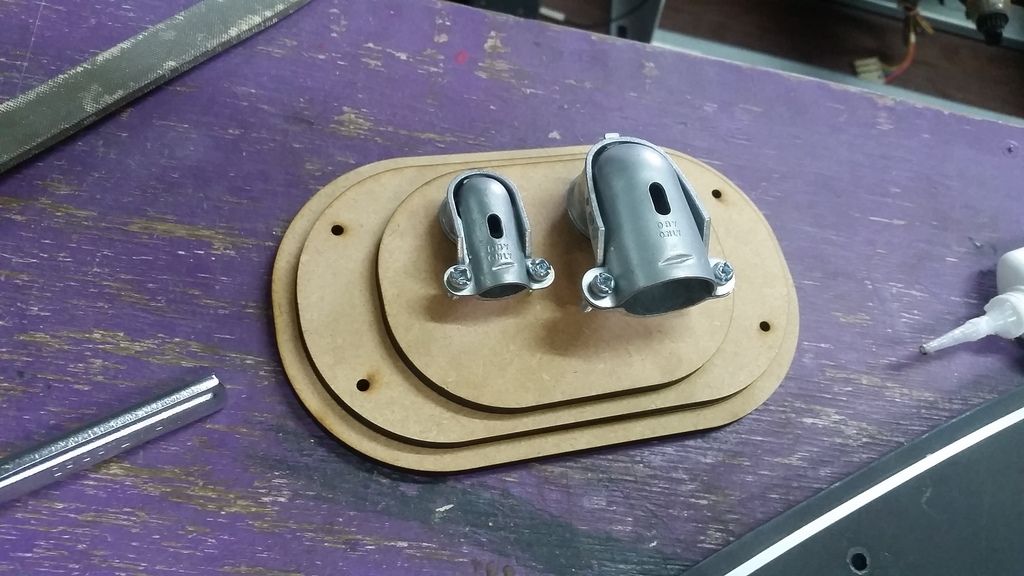
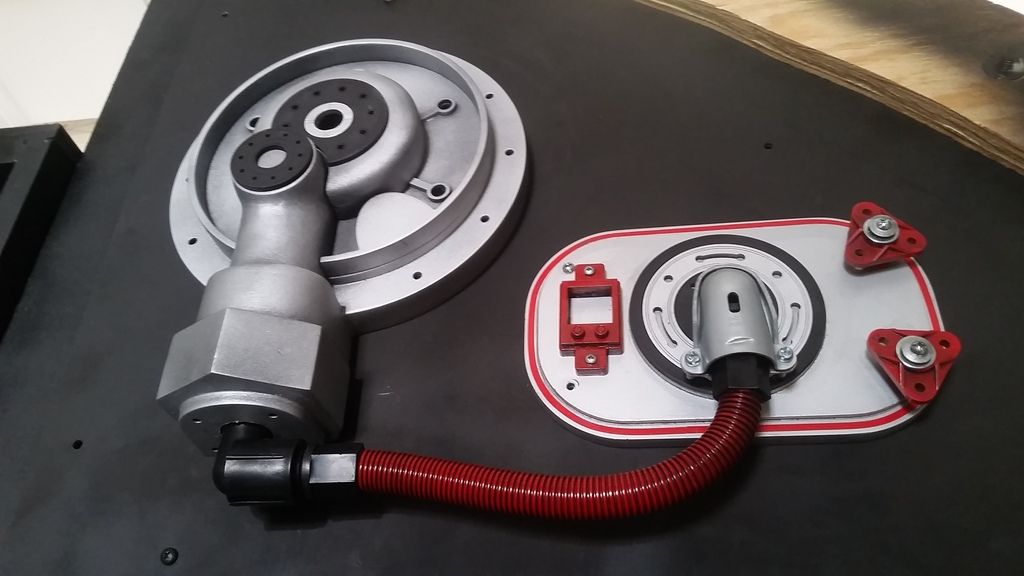
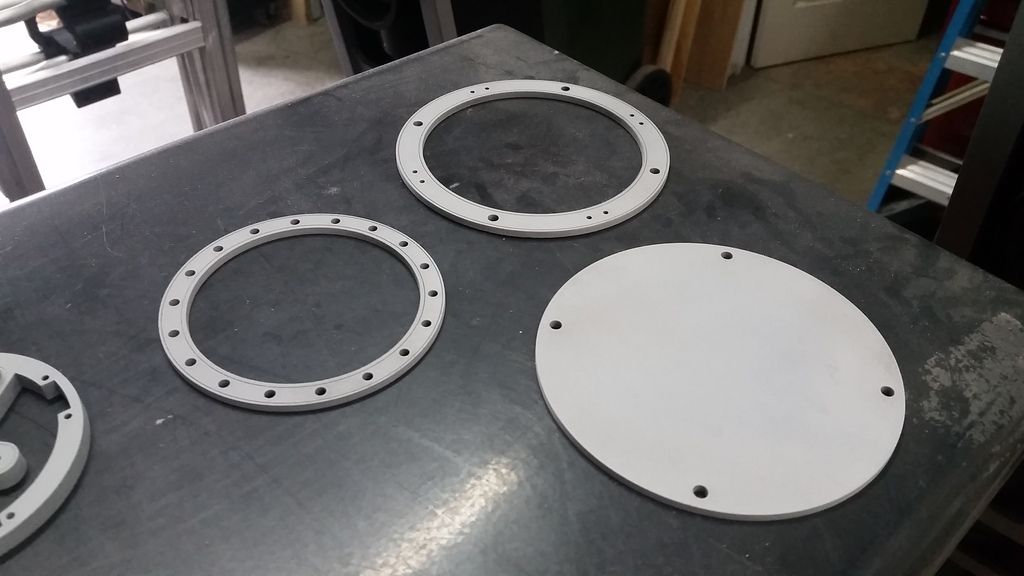
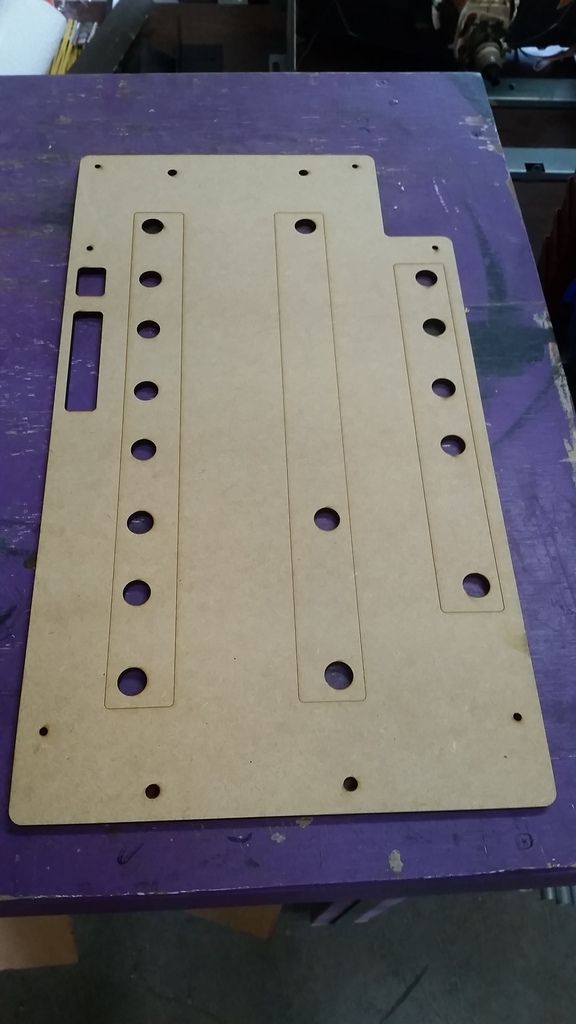
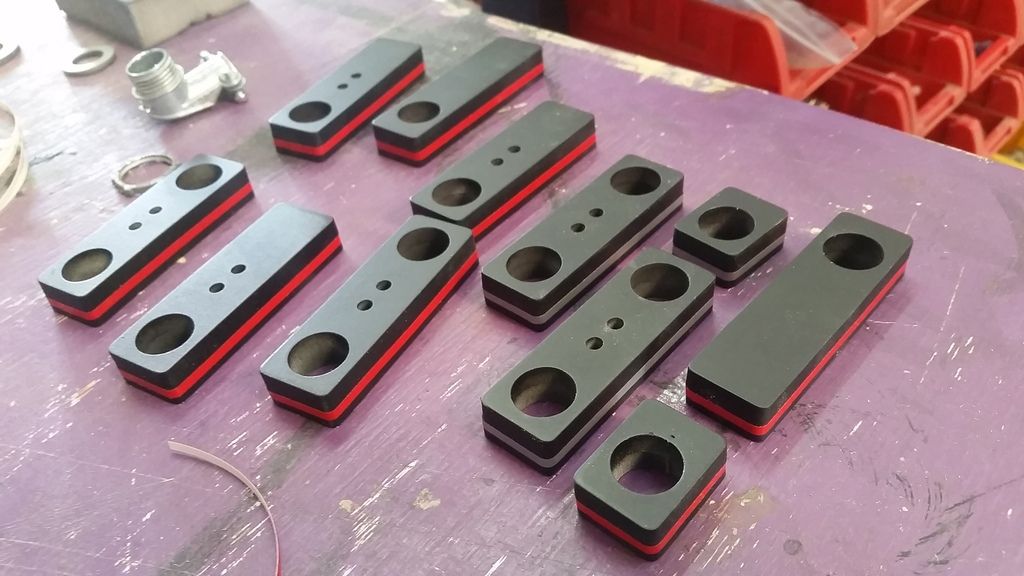
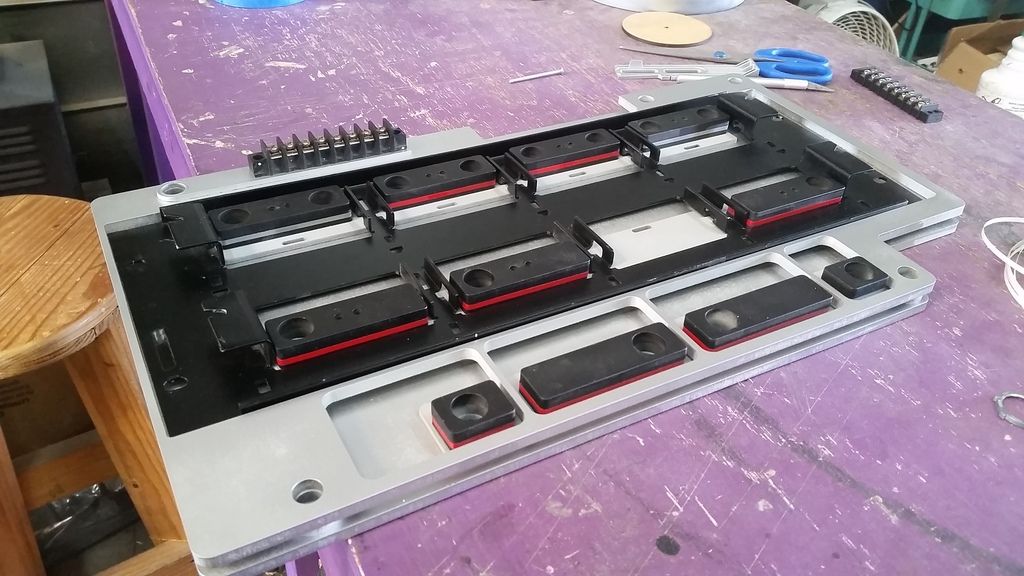
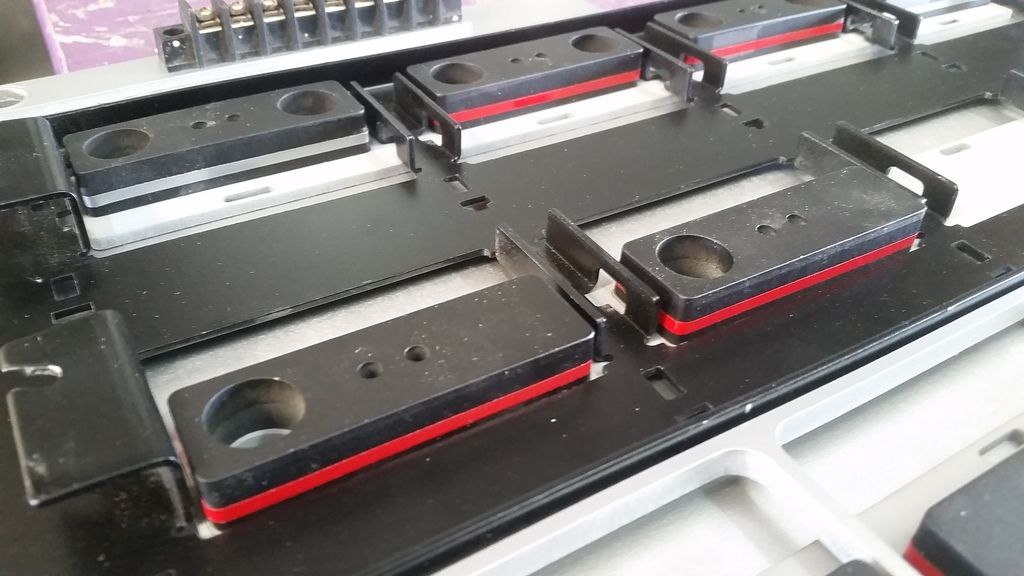
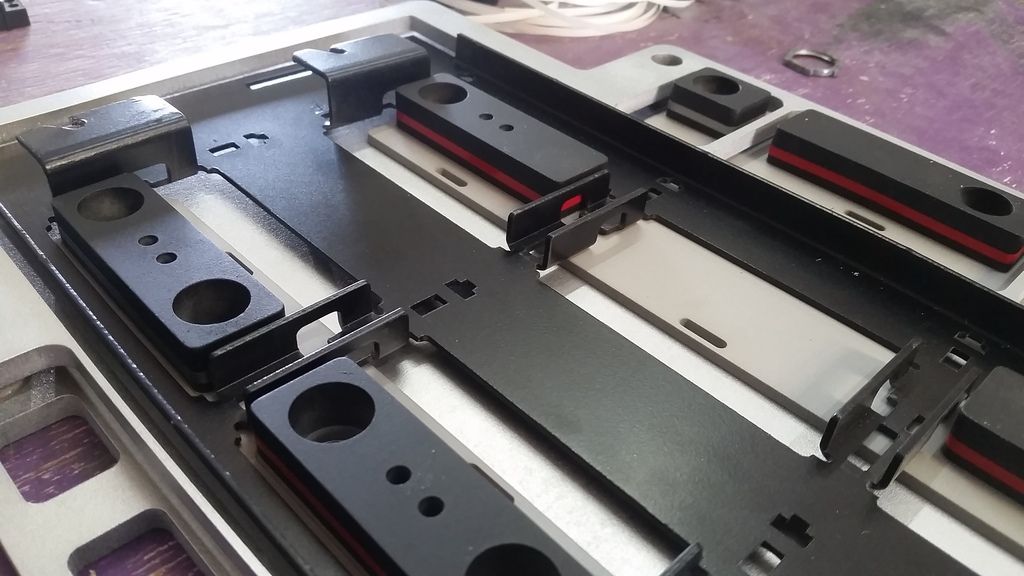
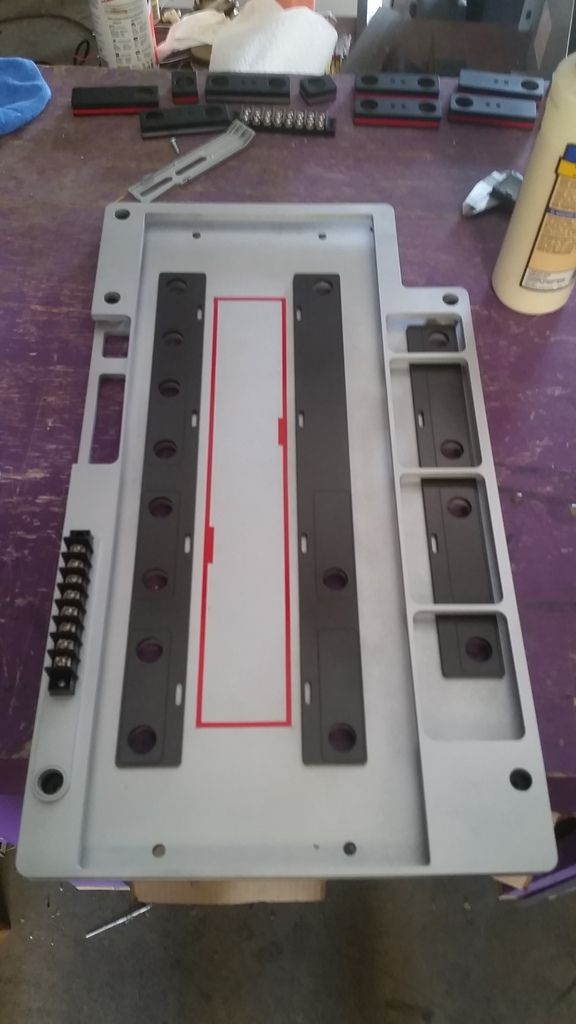
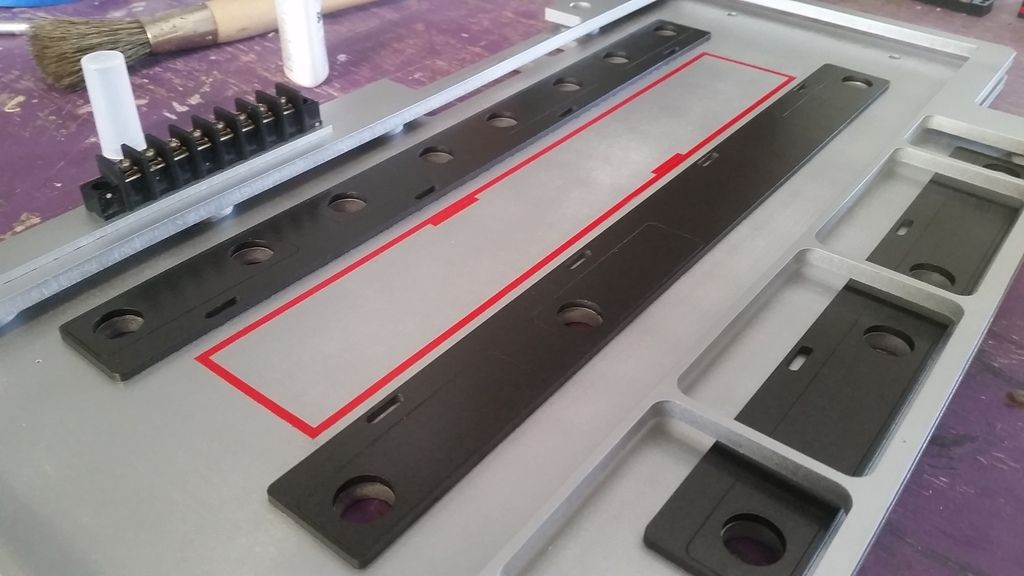
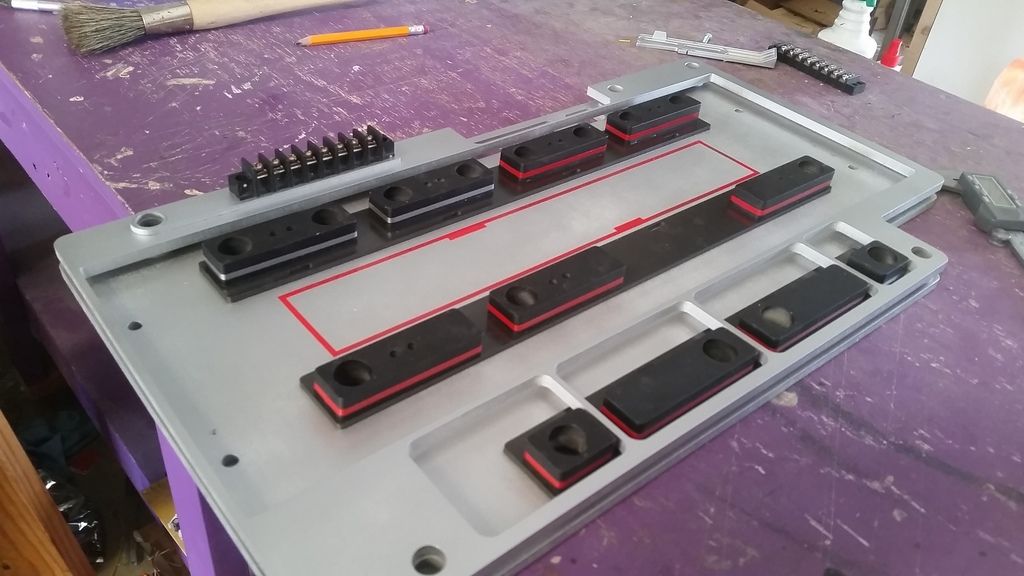
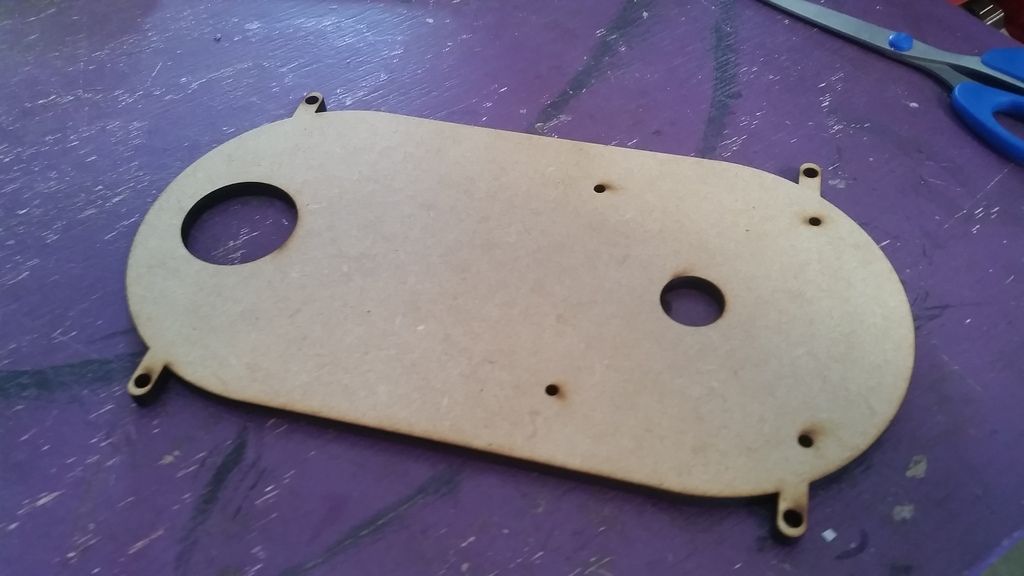
Basic layout
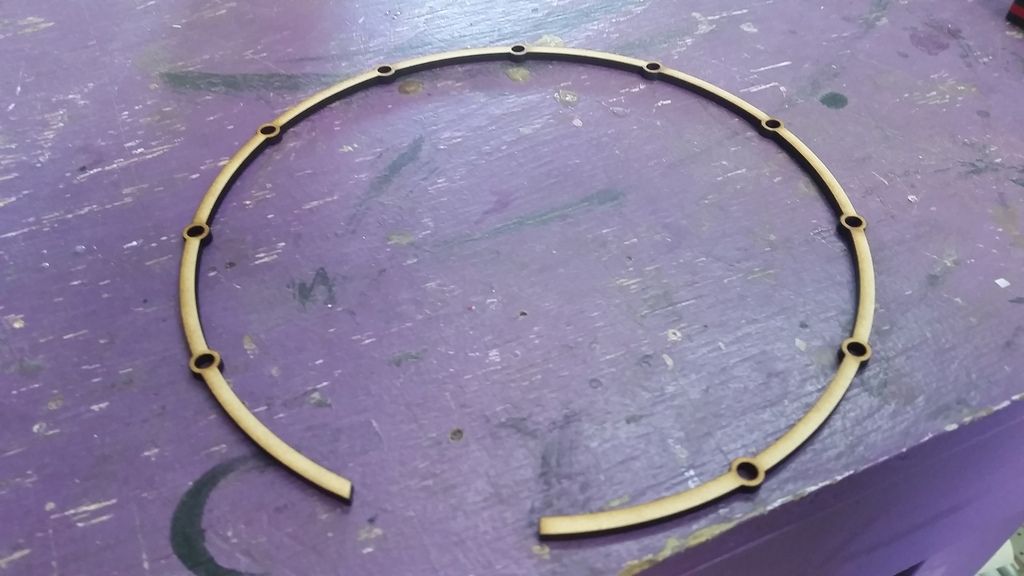
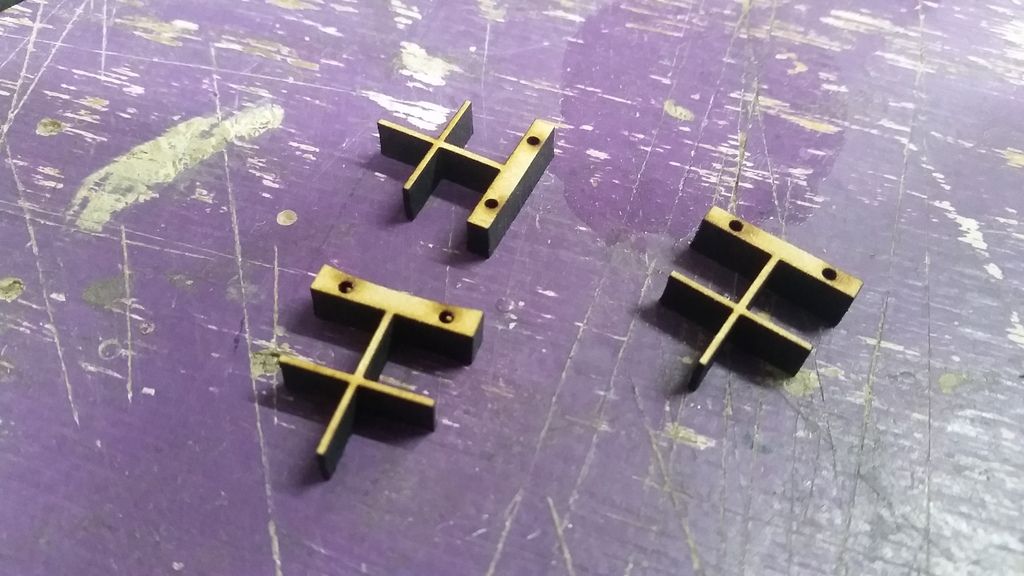
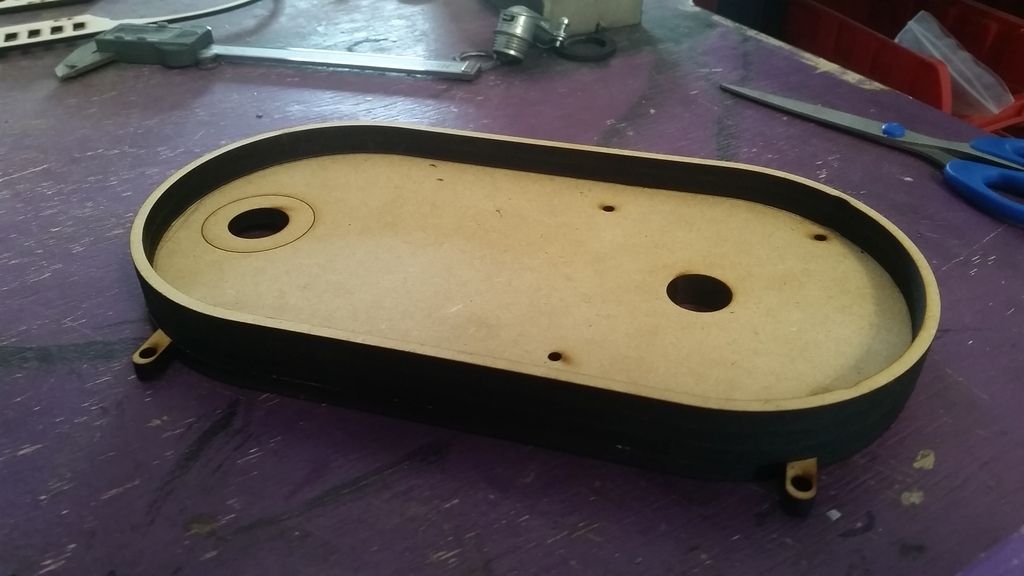
I laser cut these sides to help counter sink the coil
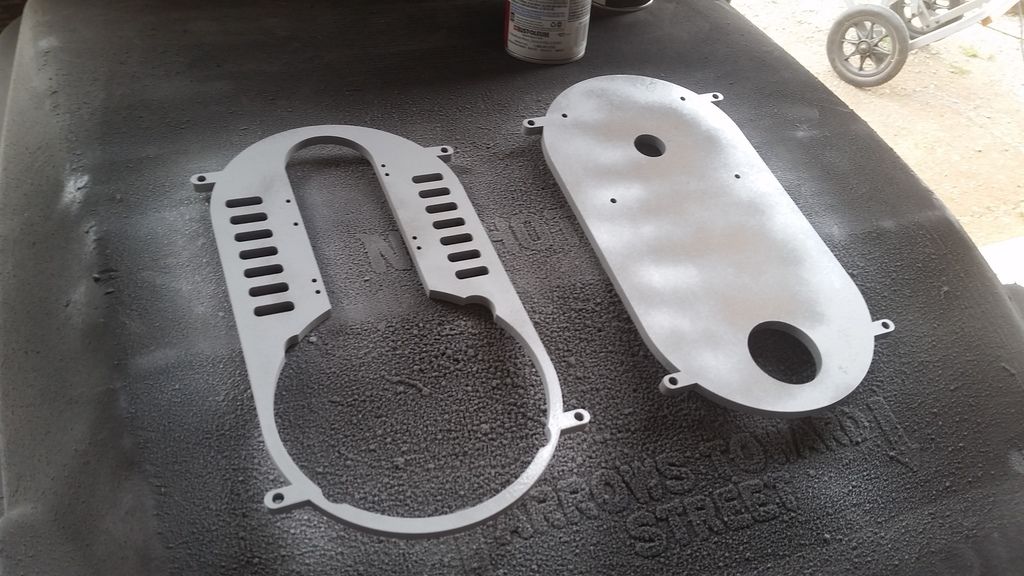
After filler and sanding comes primer
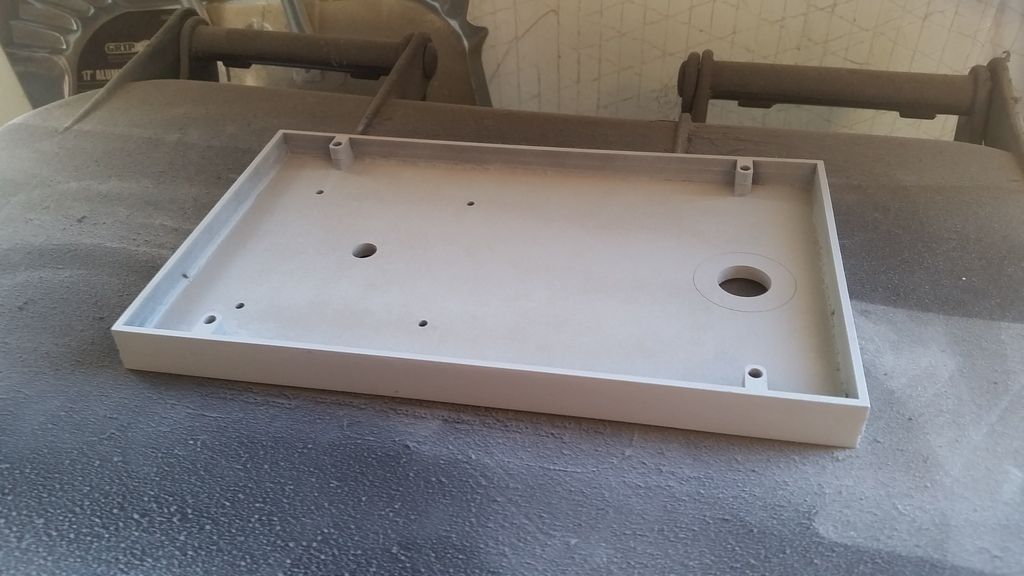
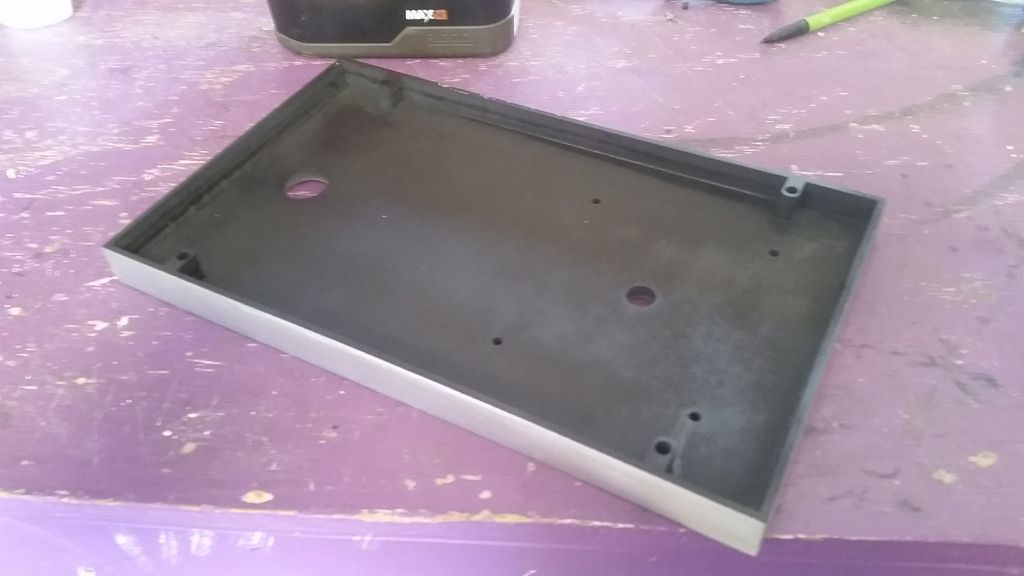
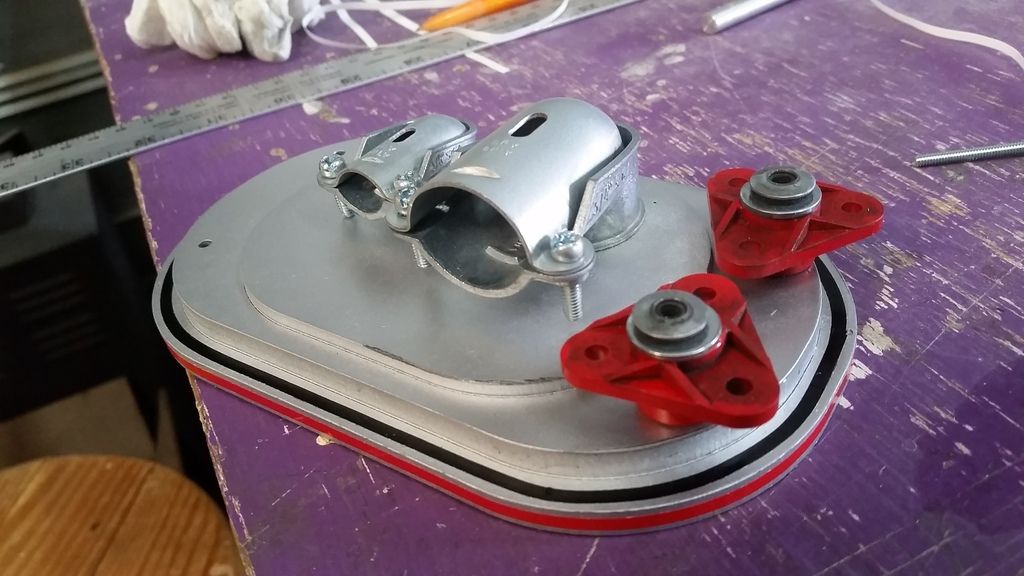
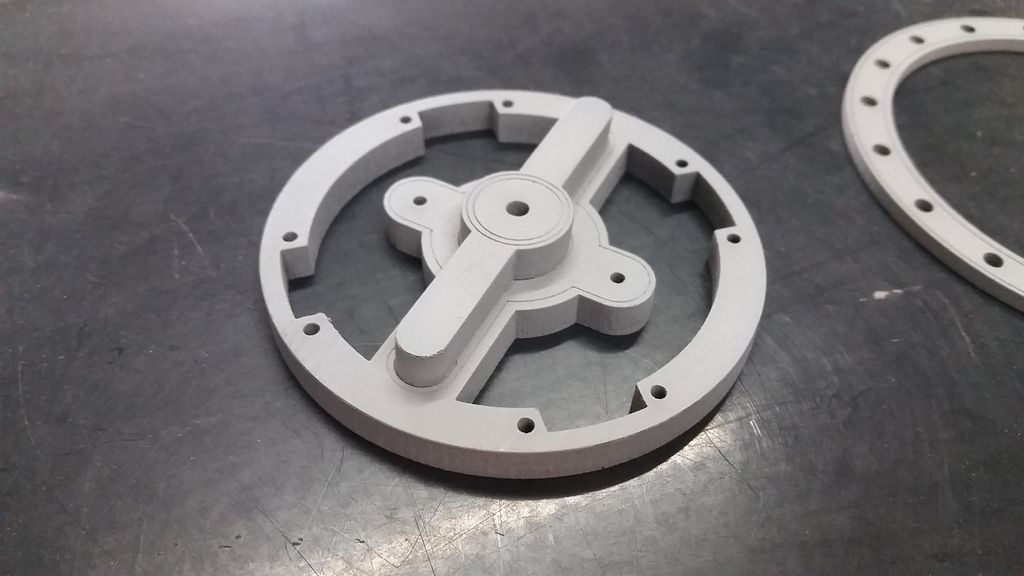
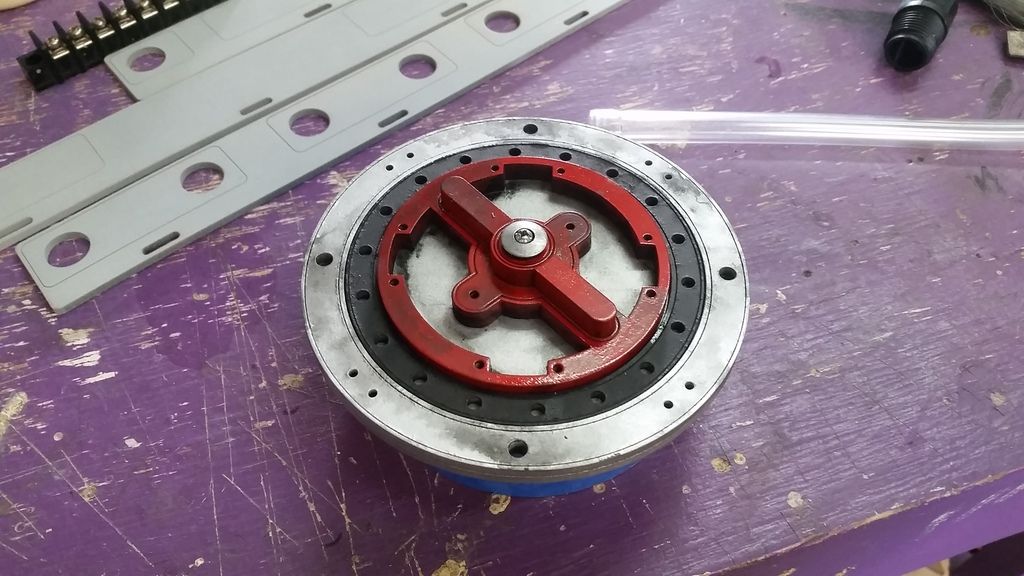
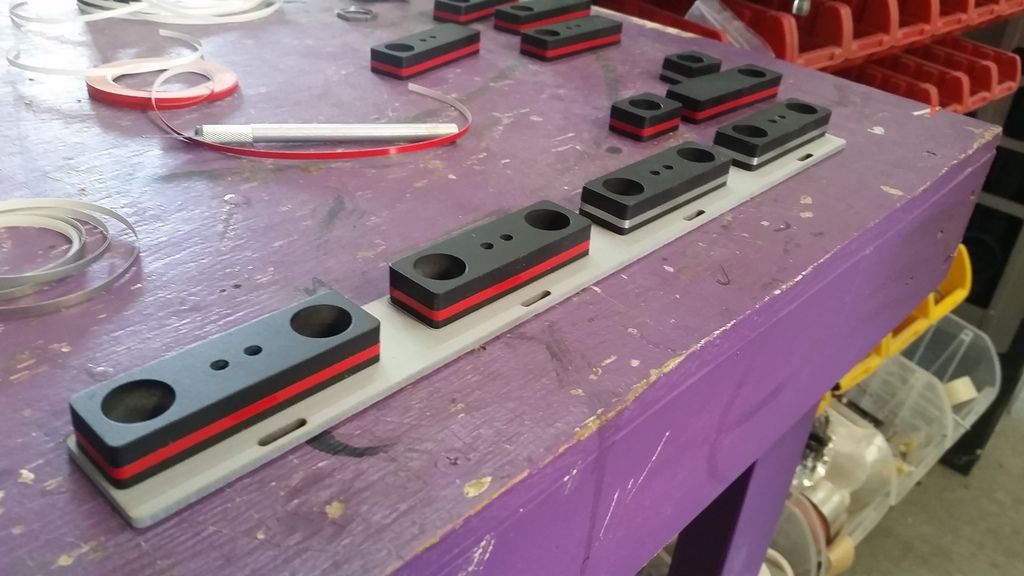
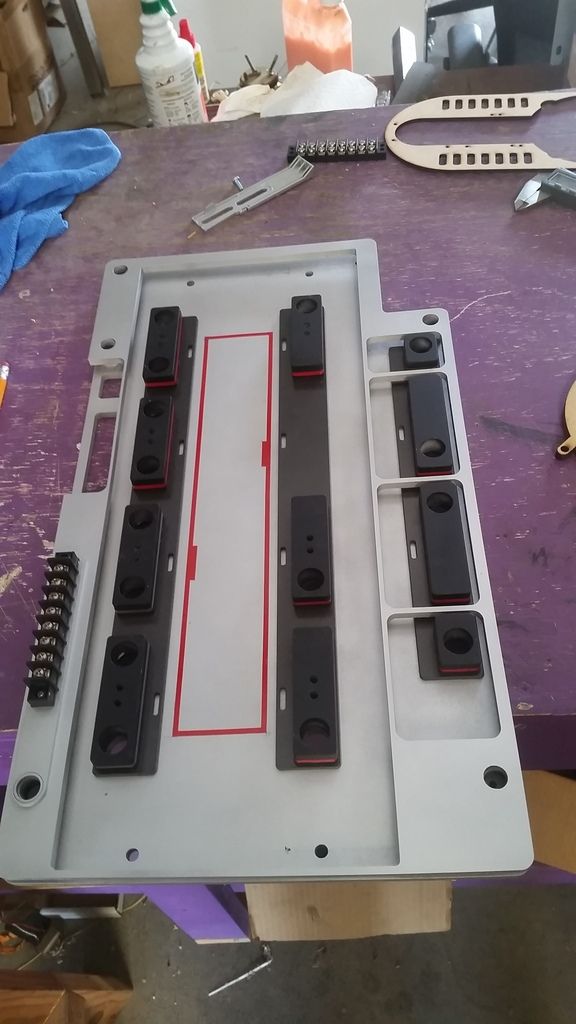
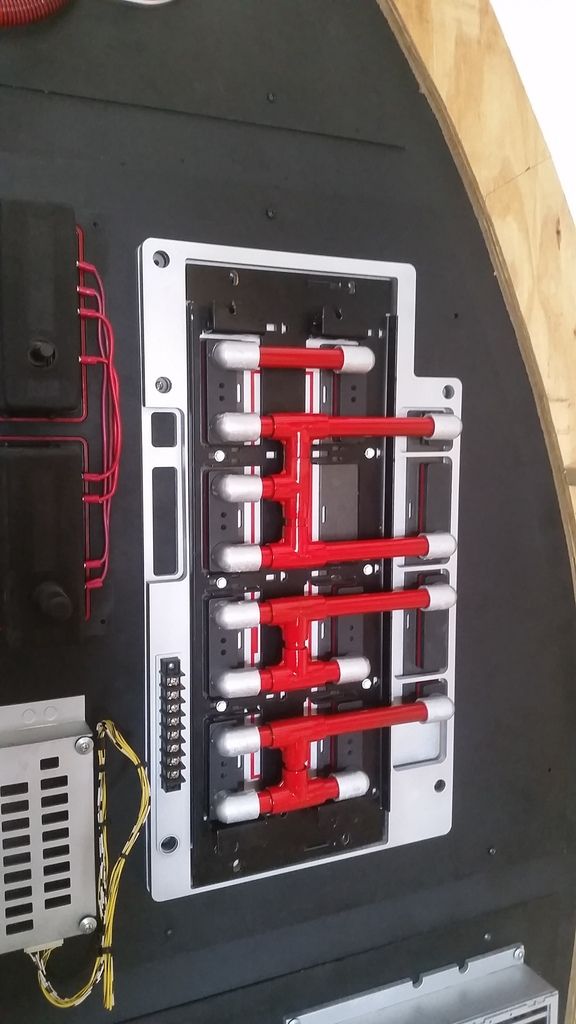
Base plate
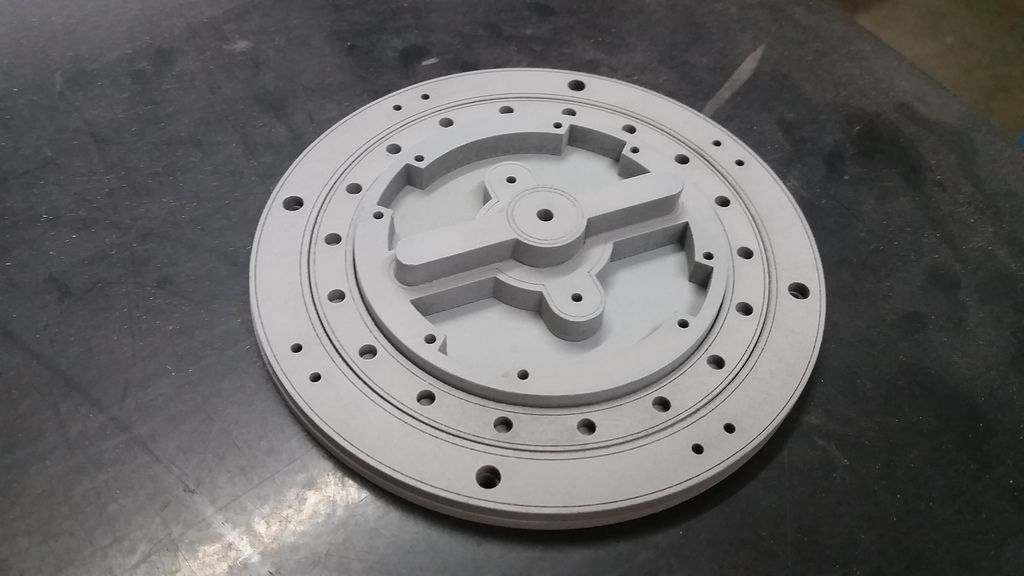
Getting closer
Silver exterior / black interior
hmmmm... not sure I like it
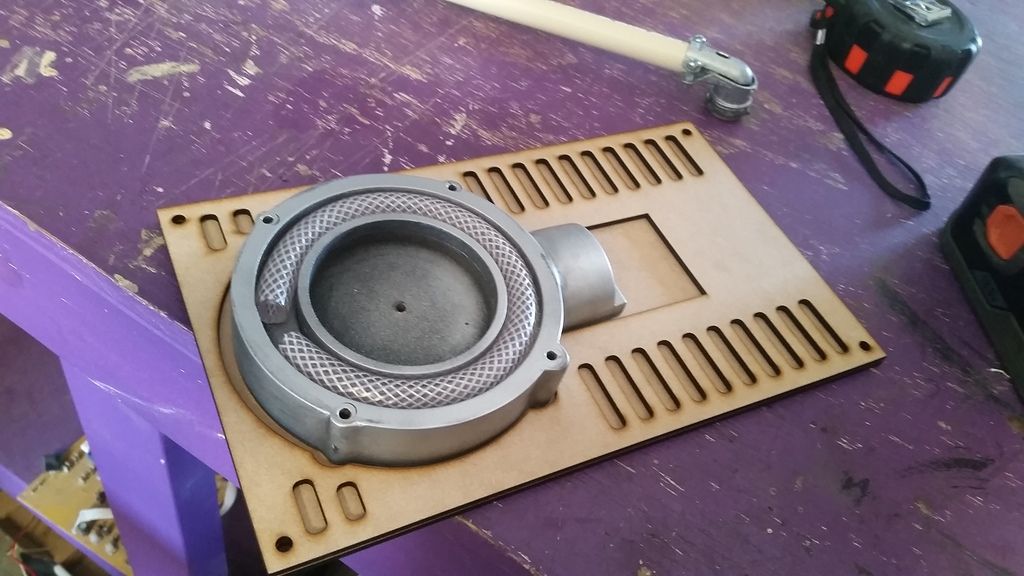
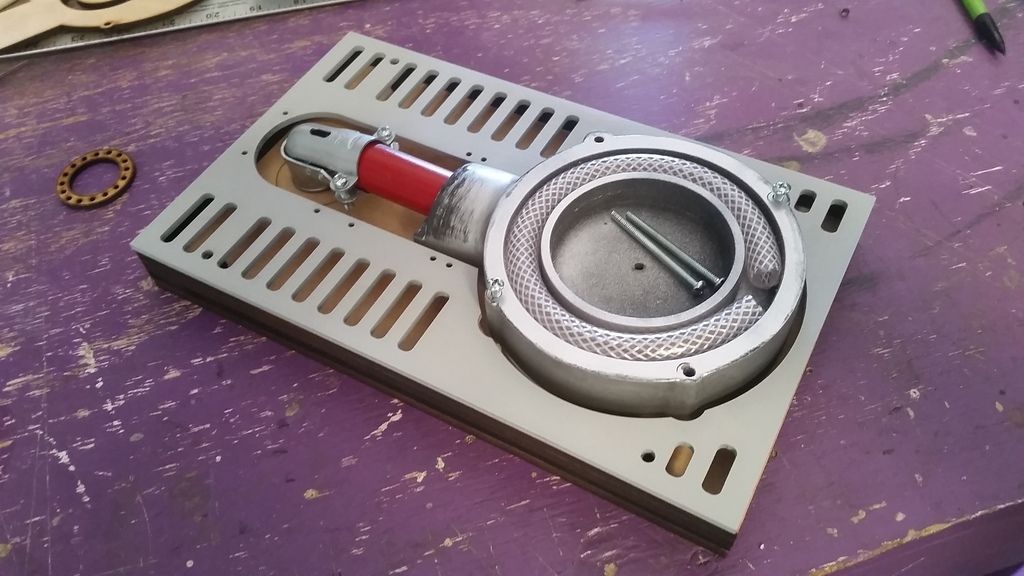
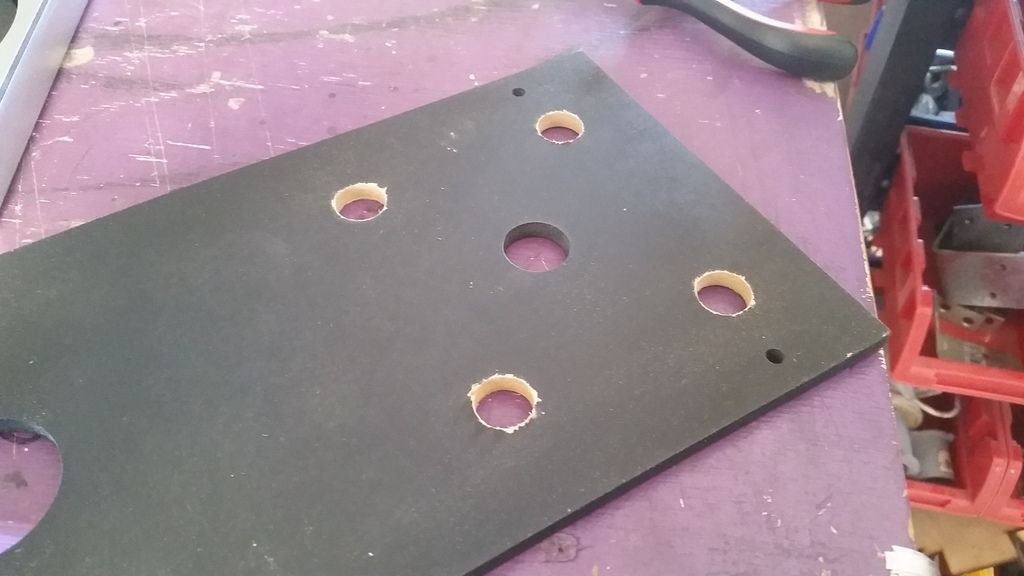
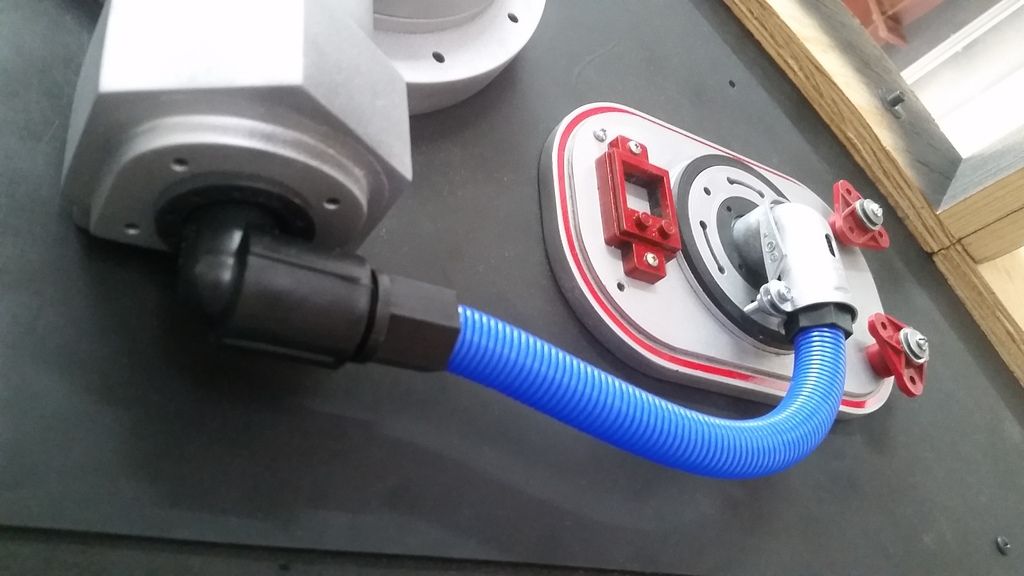
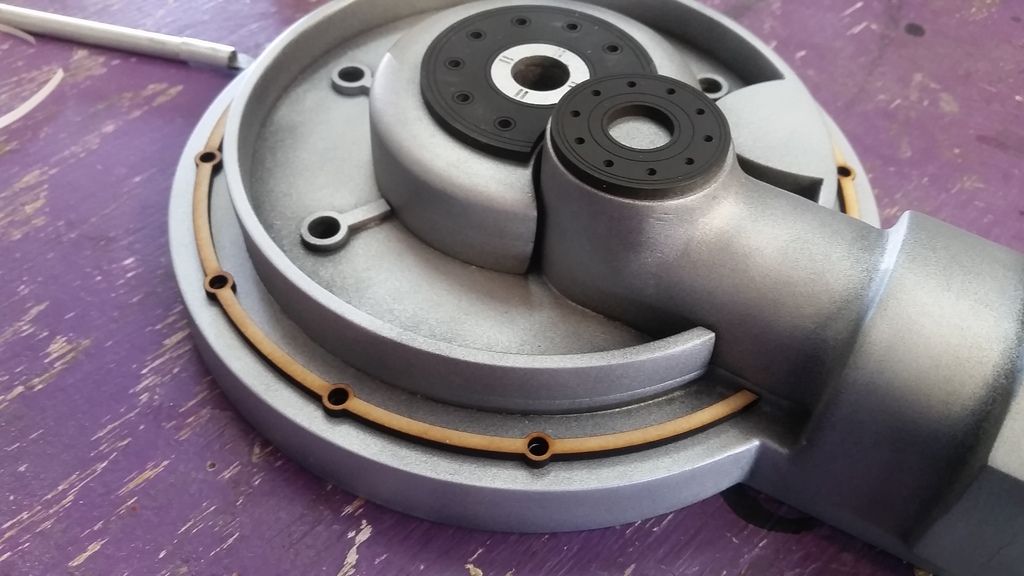
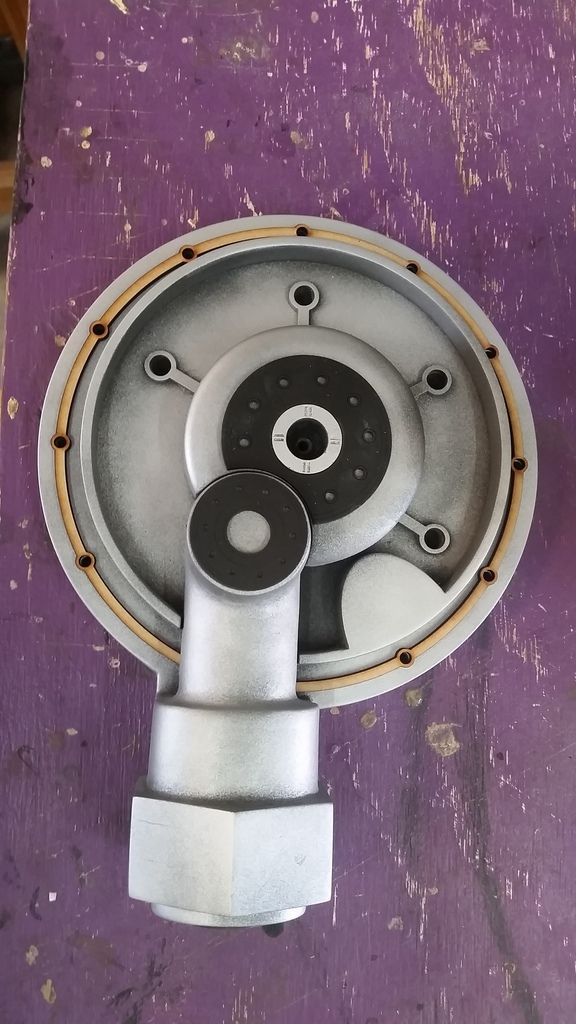
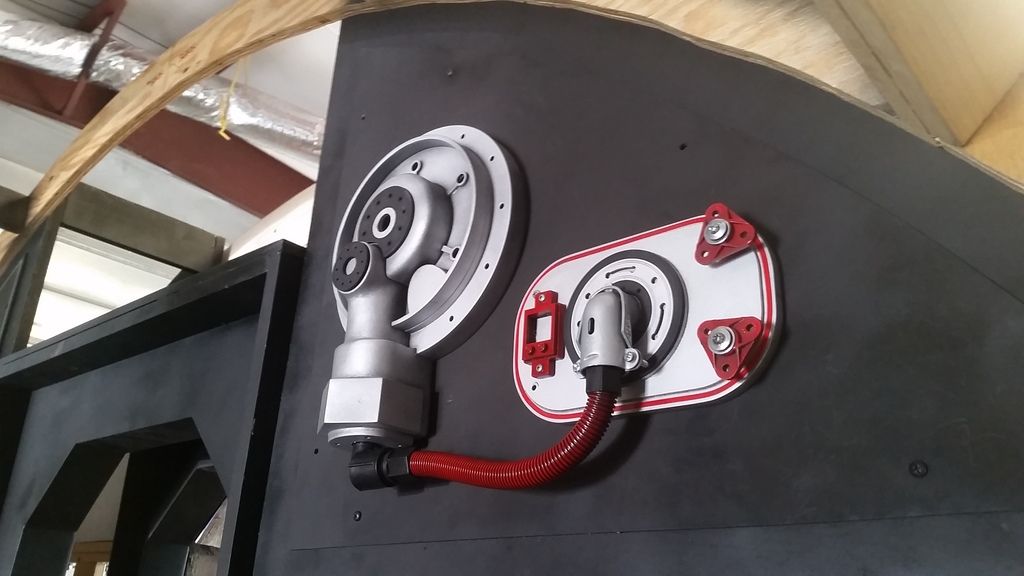
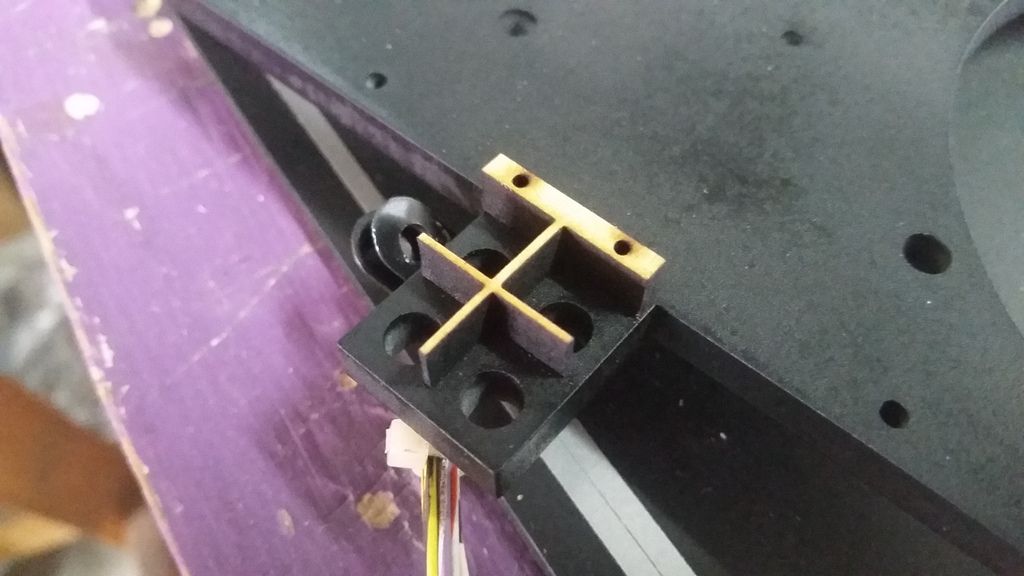
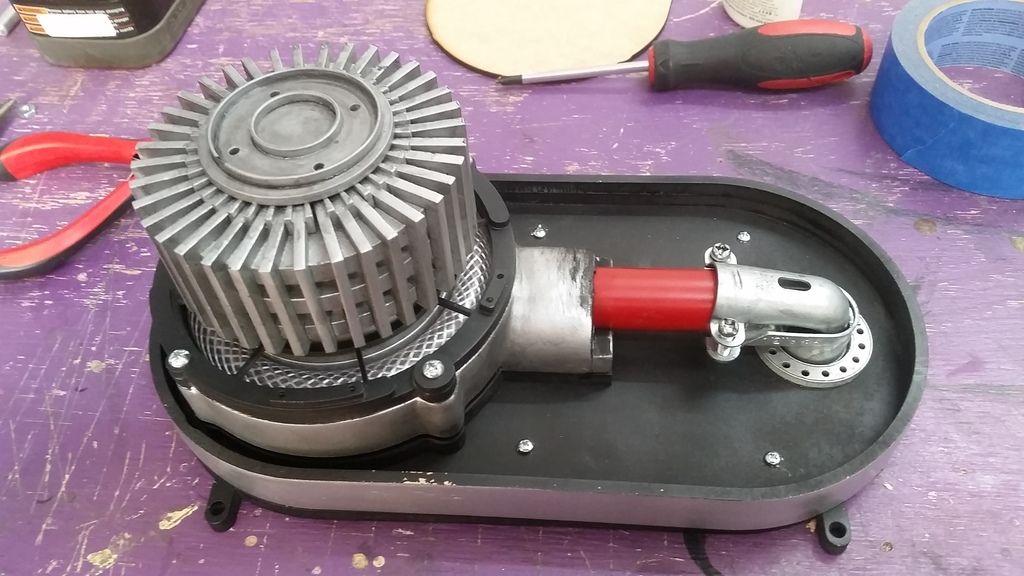
I cut holes in the base plate to allow me to screw the coil in place without having to go through the actual cockpit entrance panel
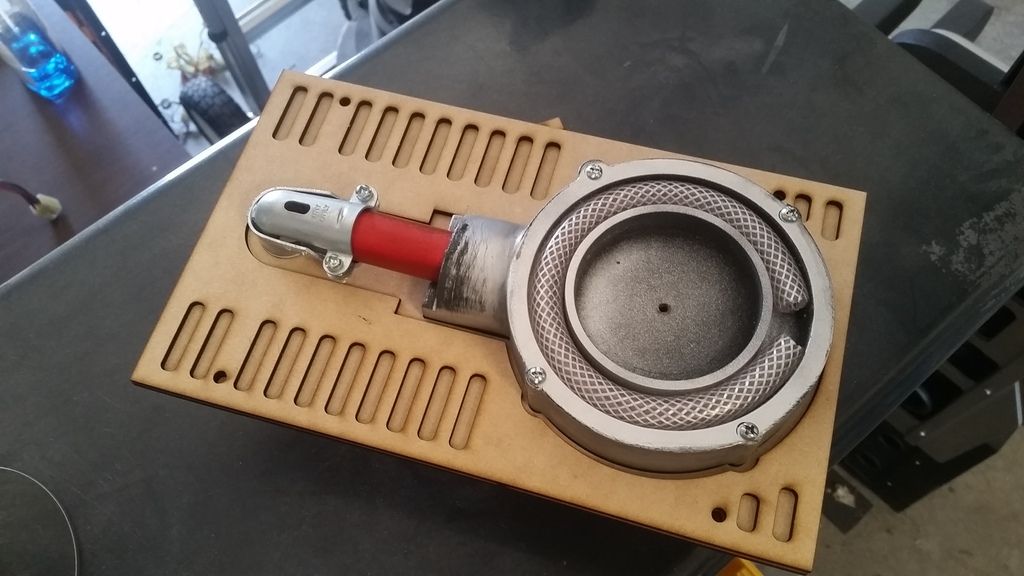
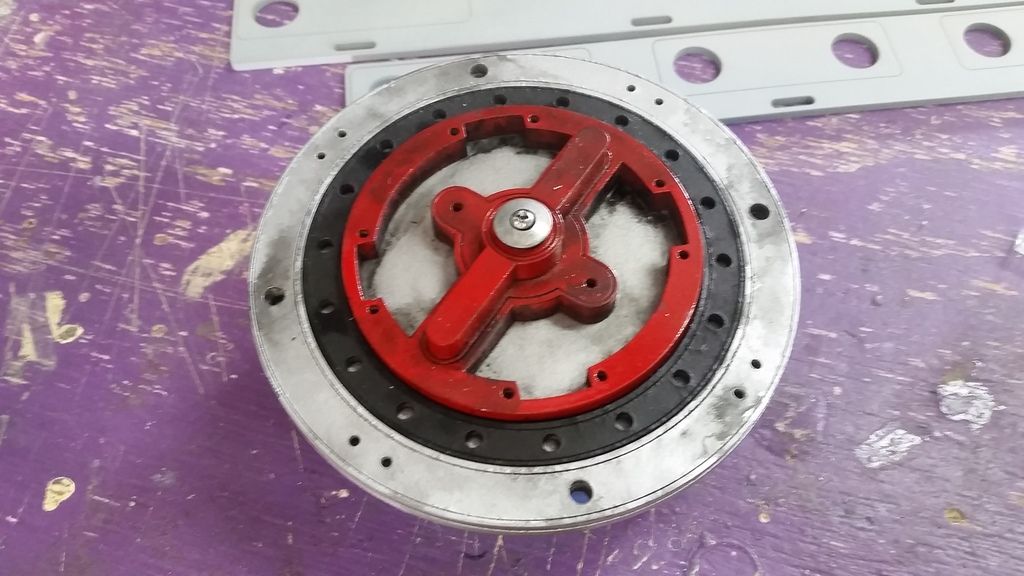
Mounted!
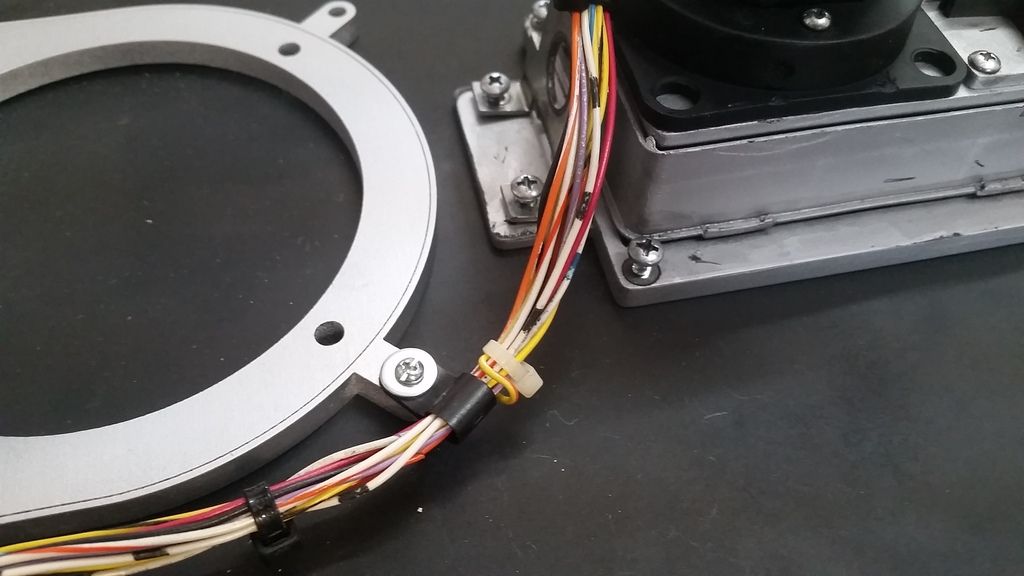
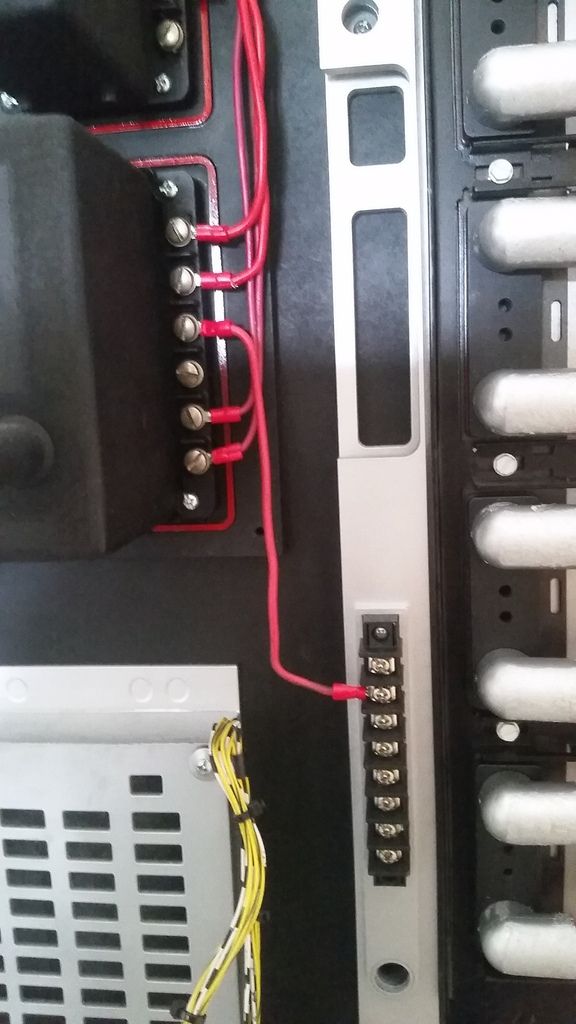
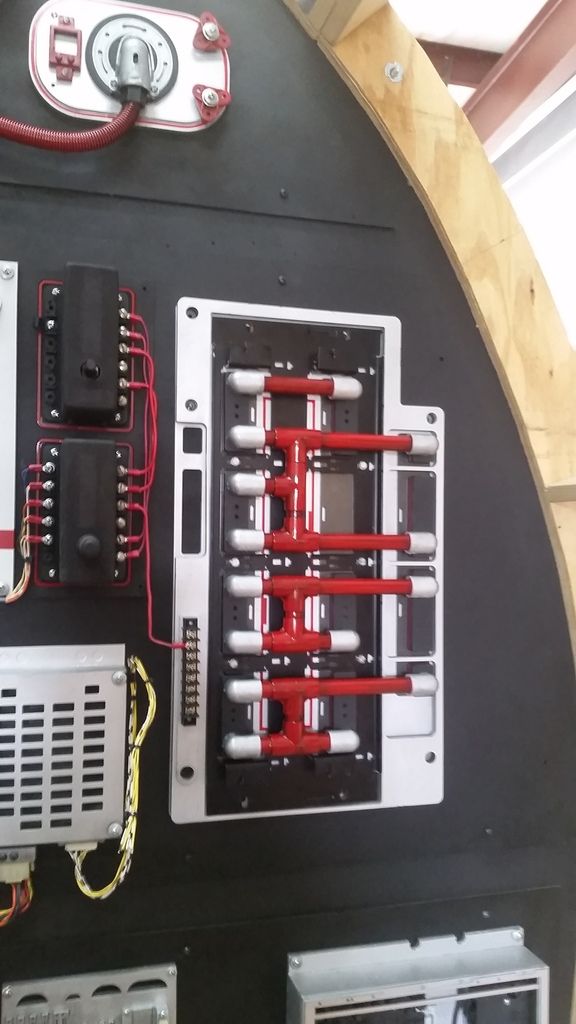
Gotta figure out that wiring harness
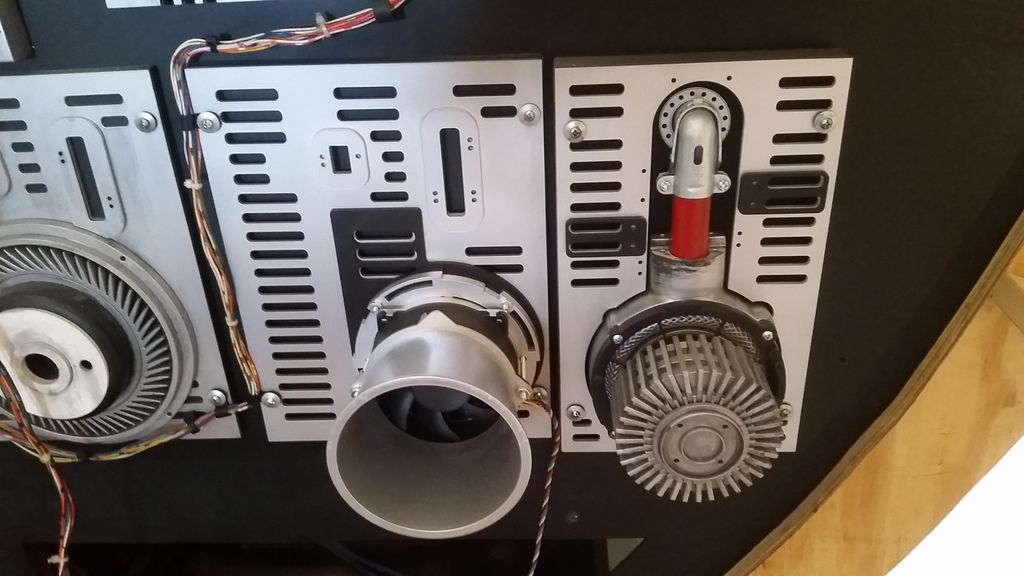
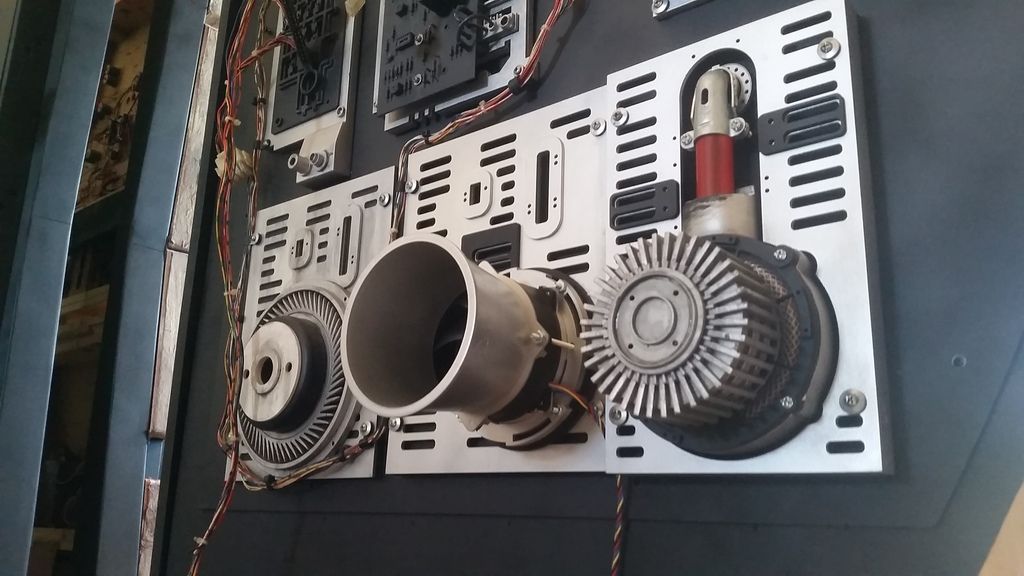
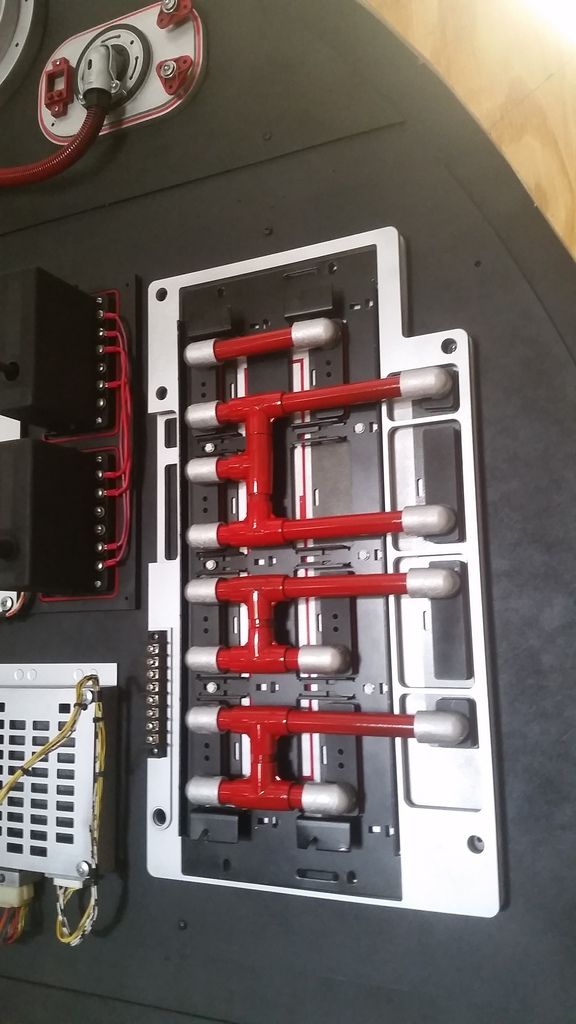
First coat of weathering added to the new panel and more to the sister panels
Its growing me but I'm not sure it works
What do you guys think?
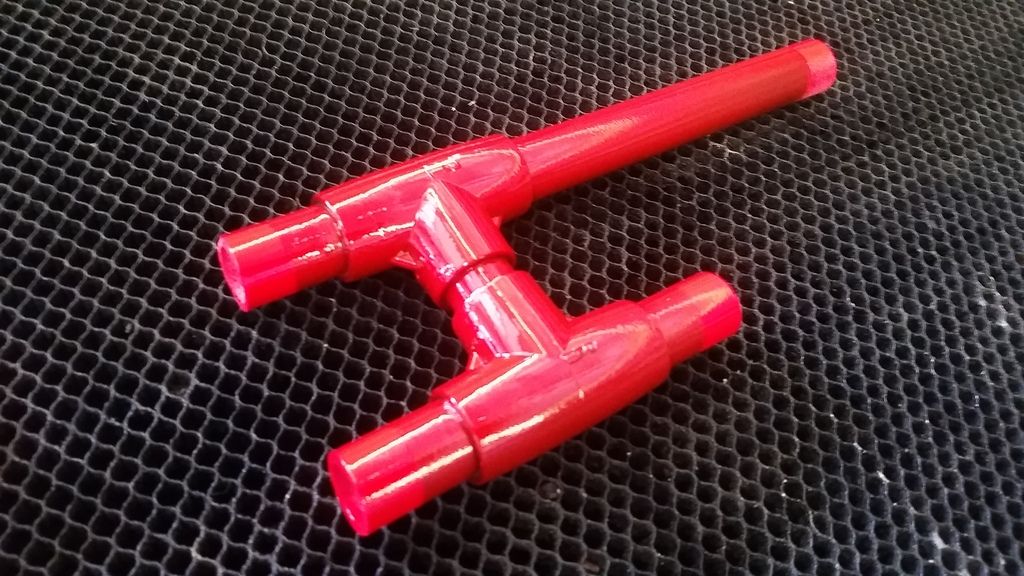
I then jumped to the new pipe greeblie. I'm designing something completely different. This is as far as I got!
This is where the Lucent Cable Rack will be added
I finally got back into pin striping! I think the metallic grey works really with the darker silver. I think white pin stripes would have been too much
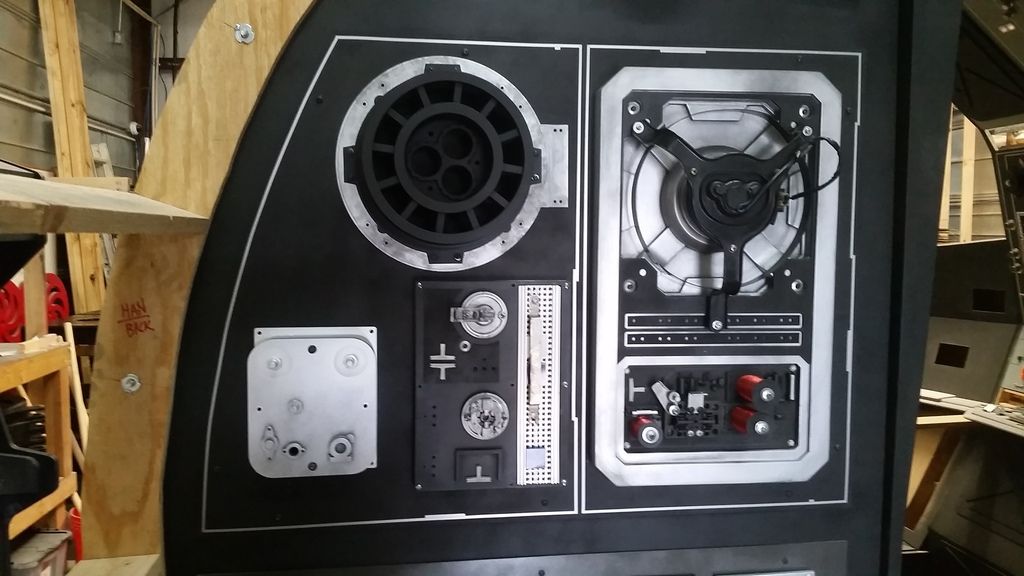
Han's side
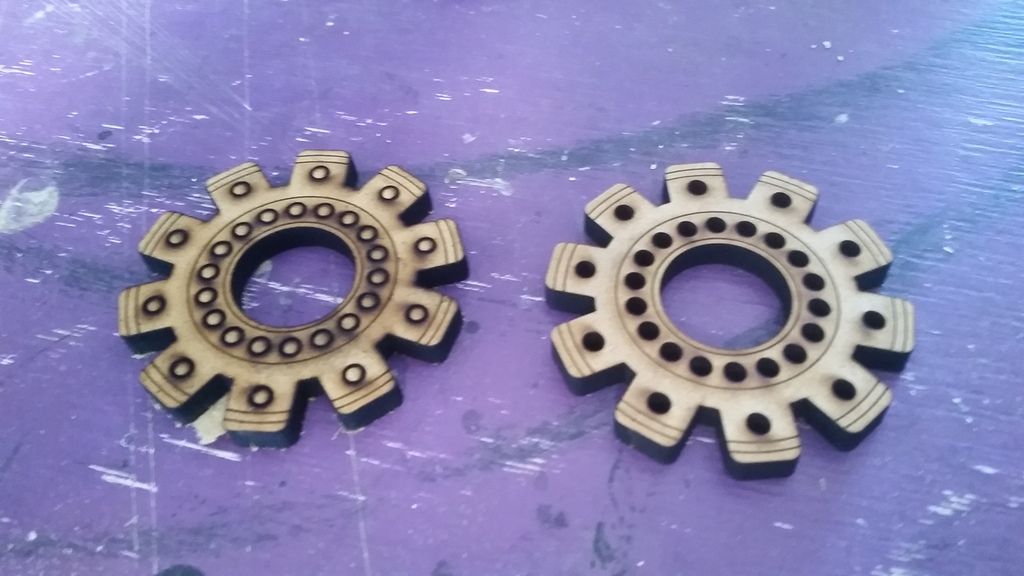
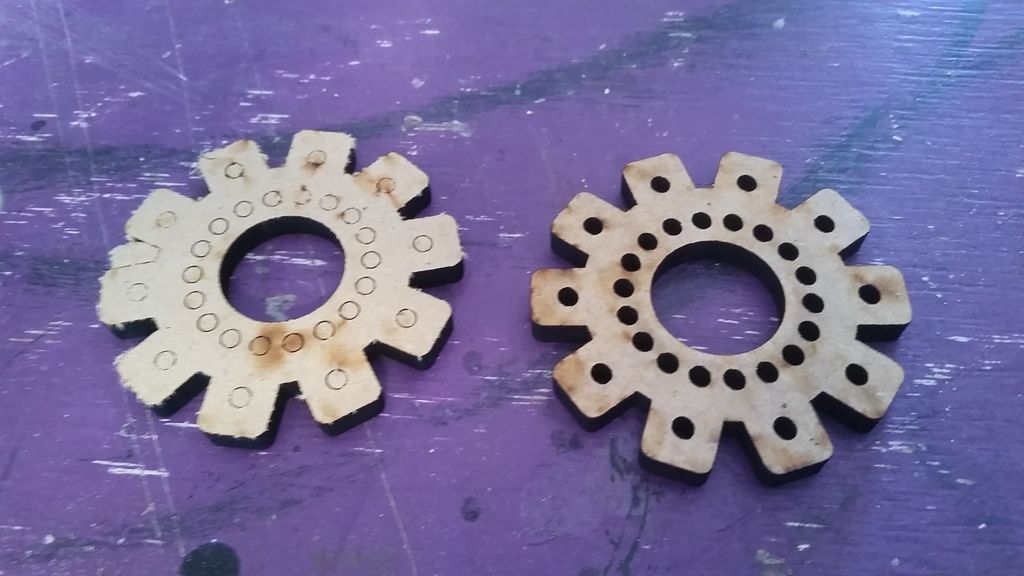
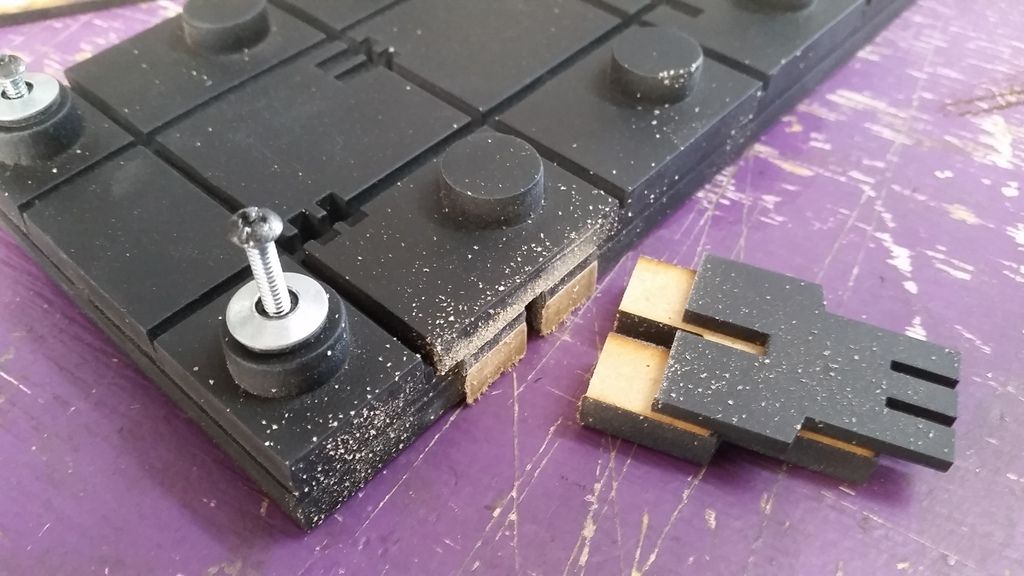
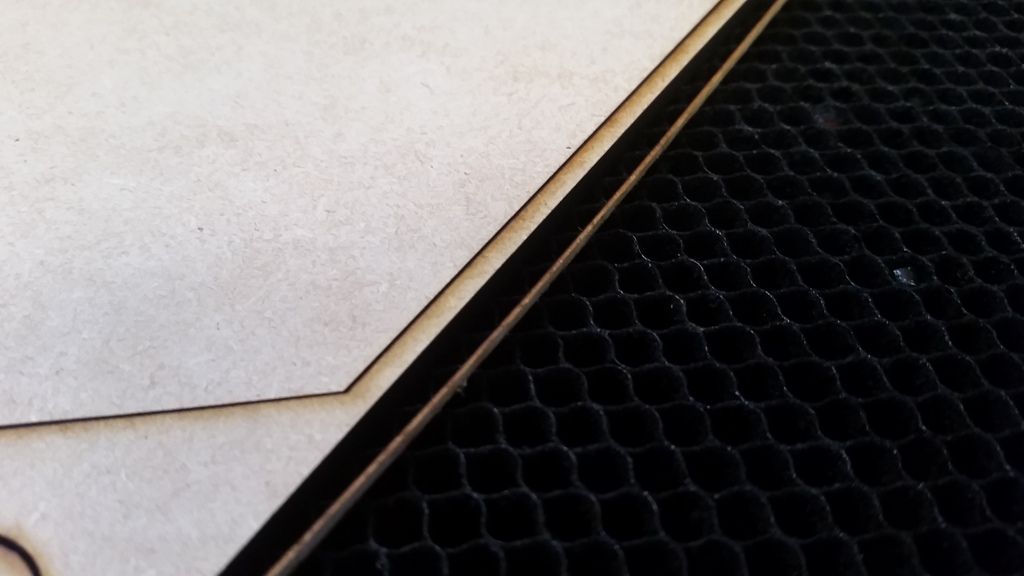
Moving on... Here's a nice comparo between bad MDF and good MDF. Same setting(s) on the laser cutter. Note how burnt the one on the left looks compared to the clean cut edges on the right
Same settings and the laser didn't cut all the way through the bad MDF. This is SO frustrating
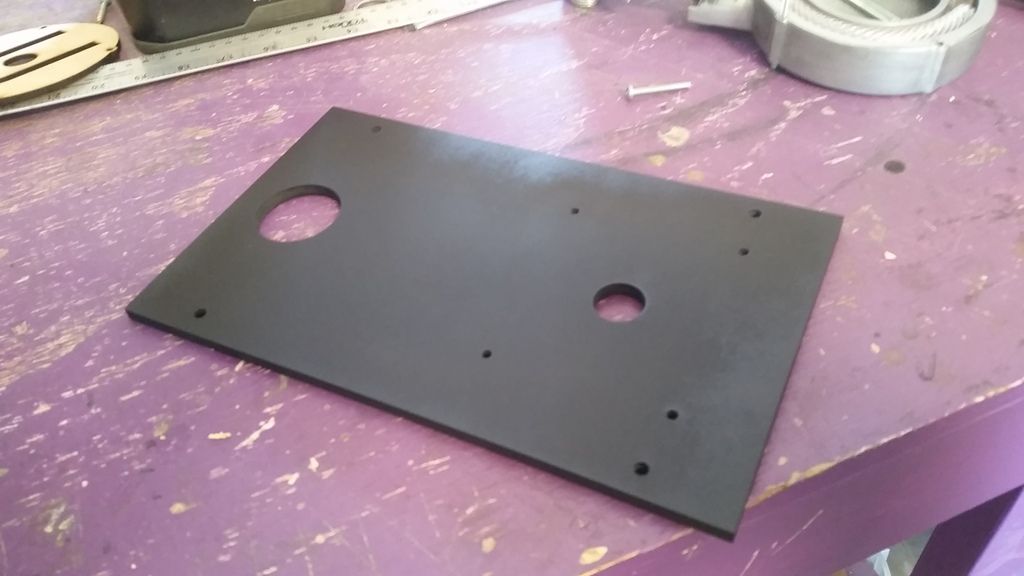
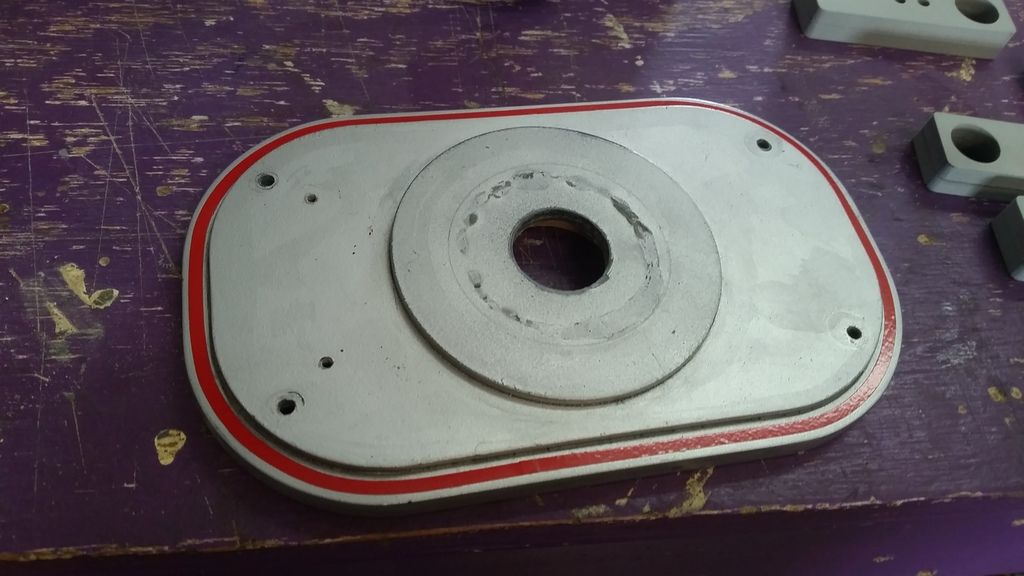
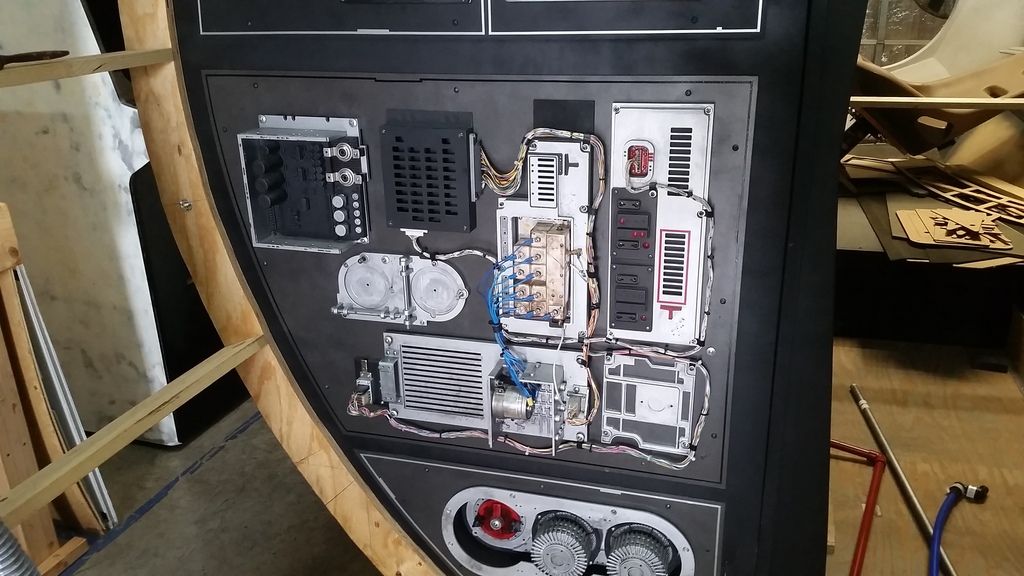
I then jumped to this panel. I thought it too needed a facelift
So... I cut the "nub" off and sanded smooth
Added silver
Sanded and repainted the panel flat black
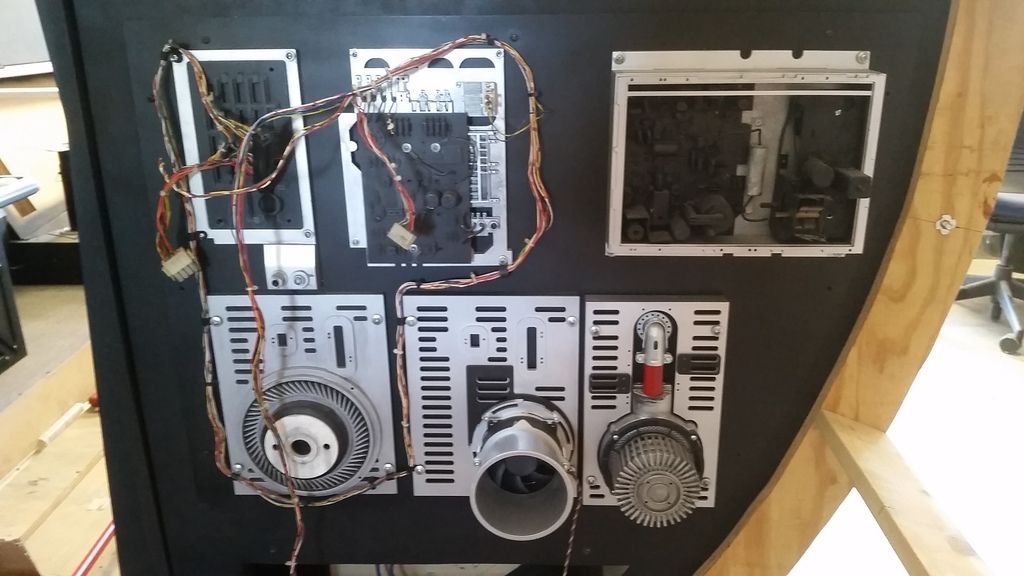
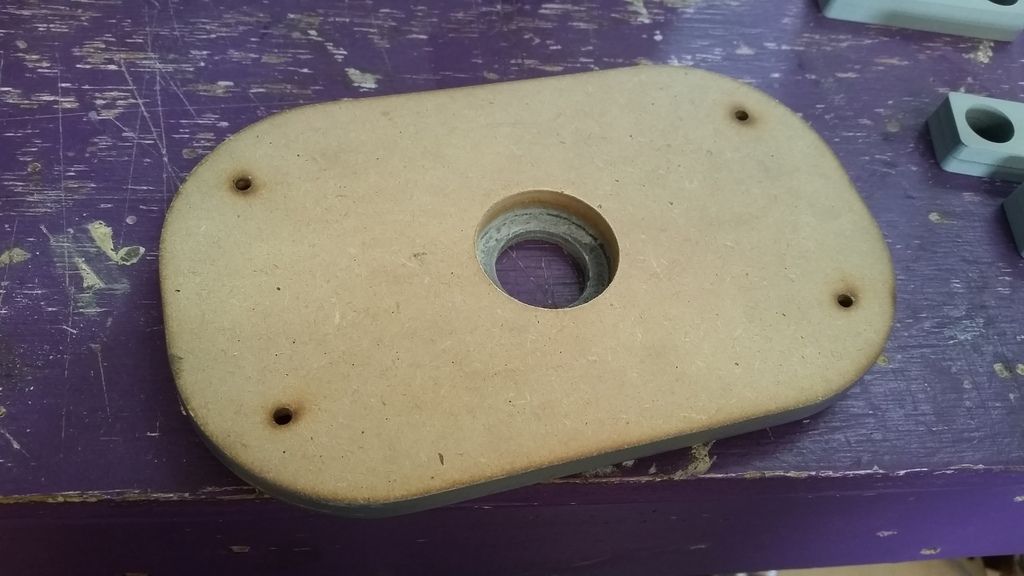
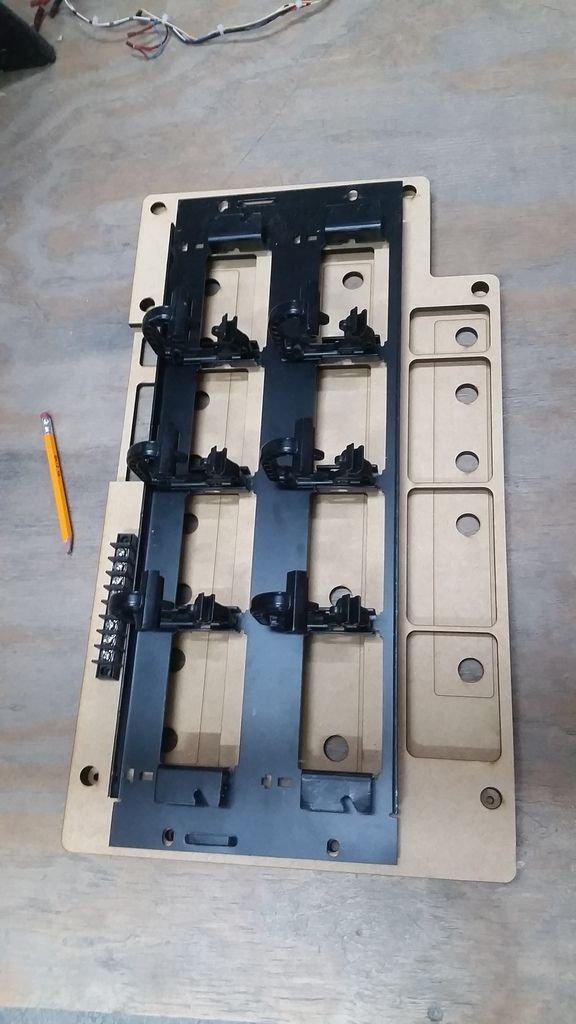
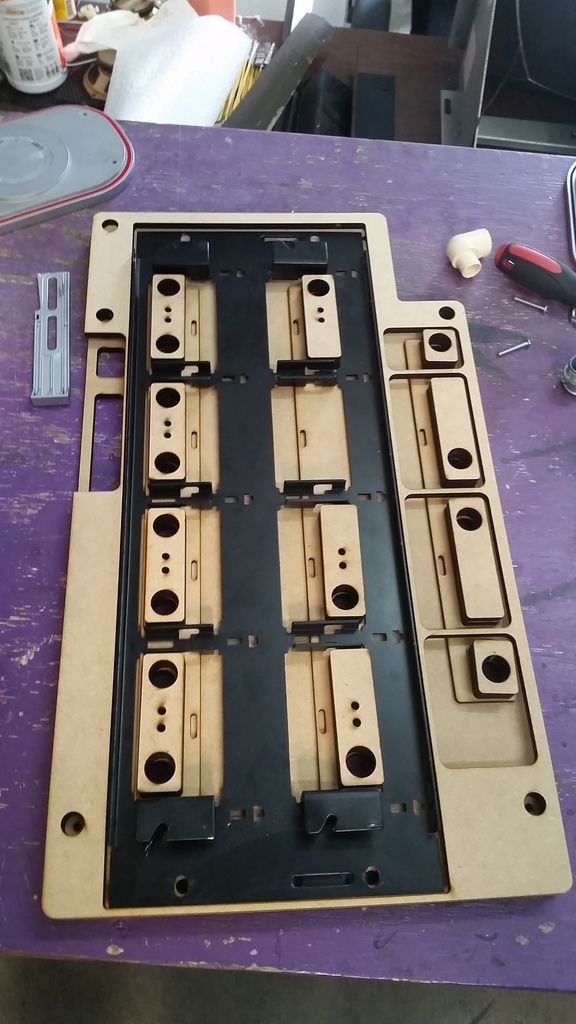
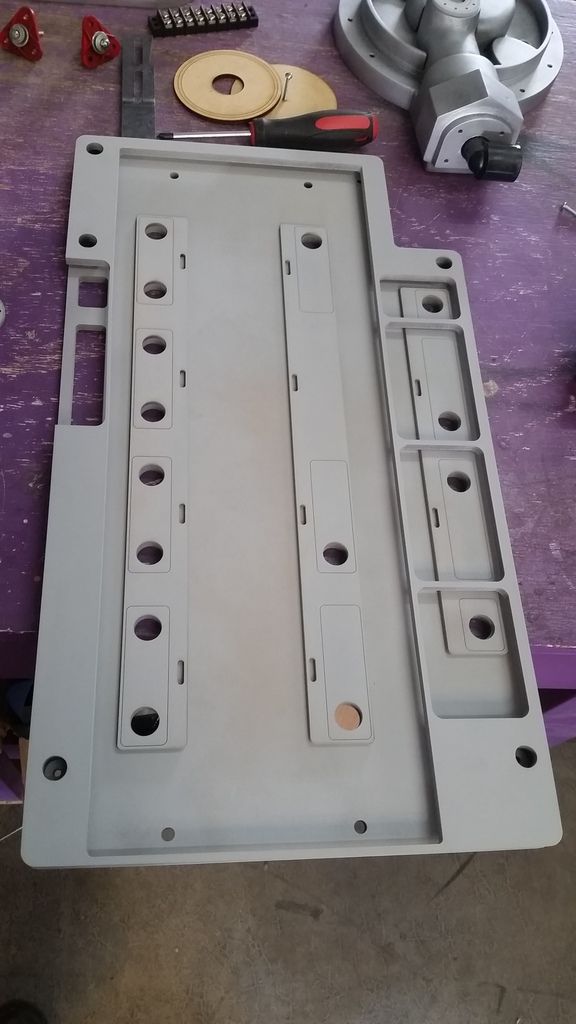
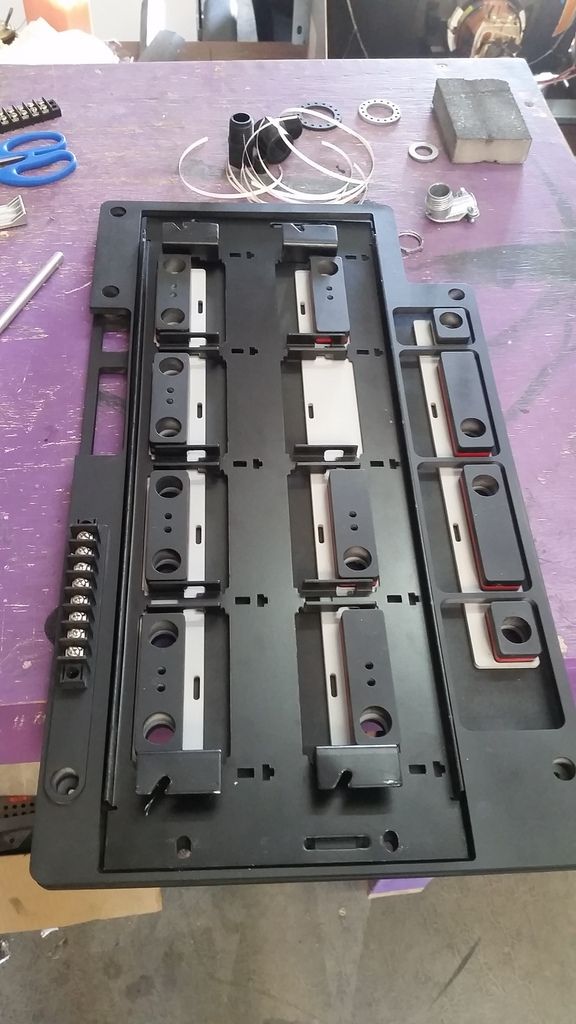
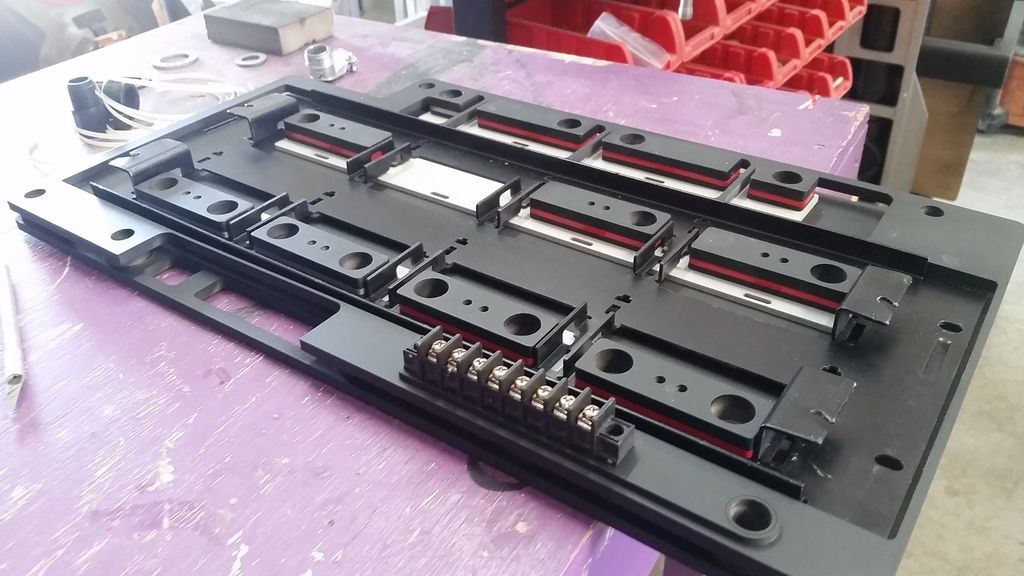
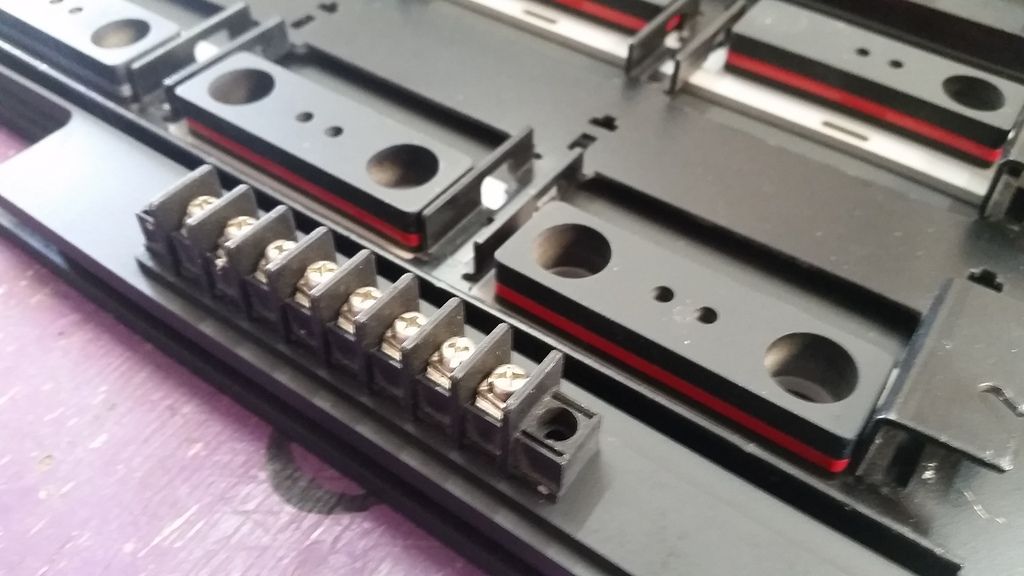
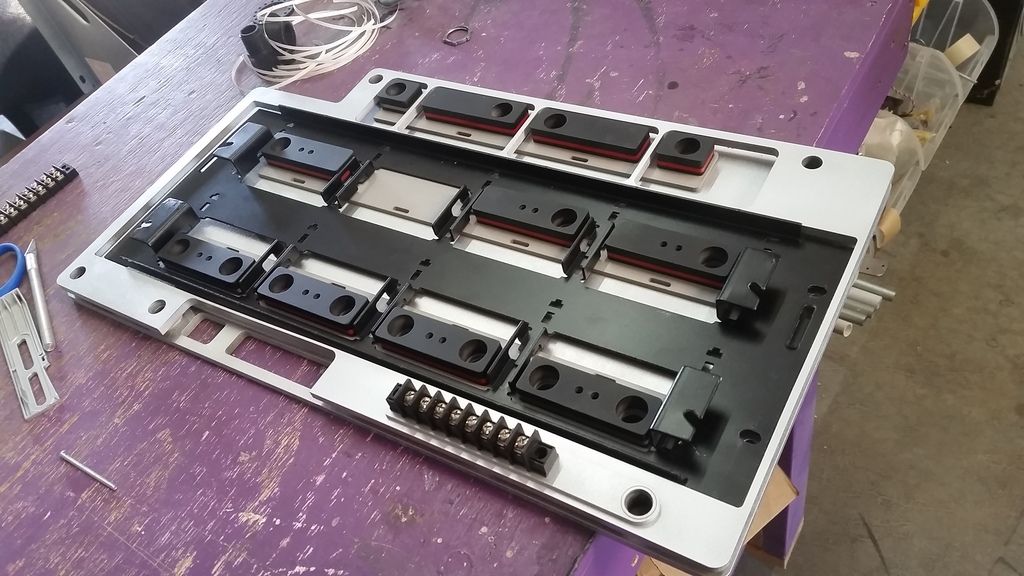
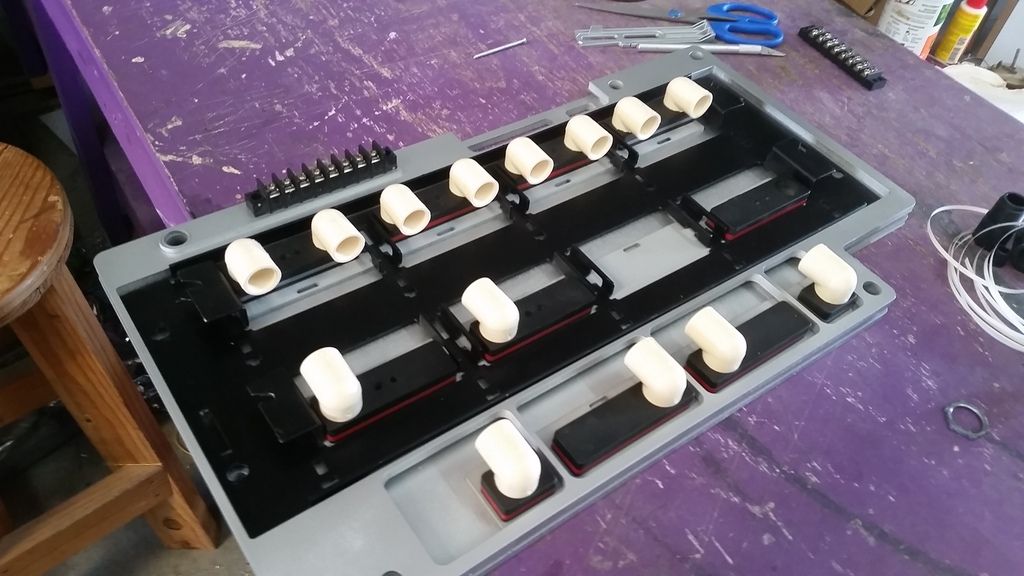
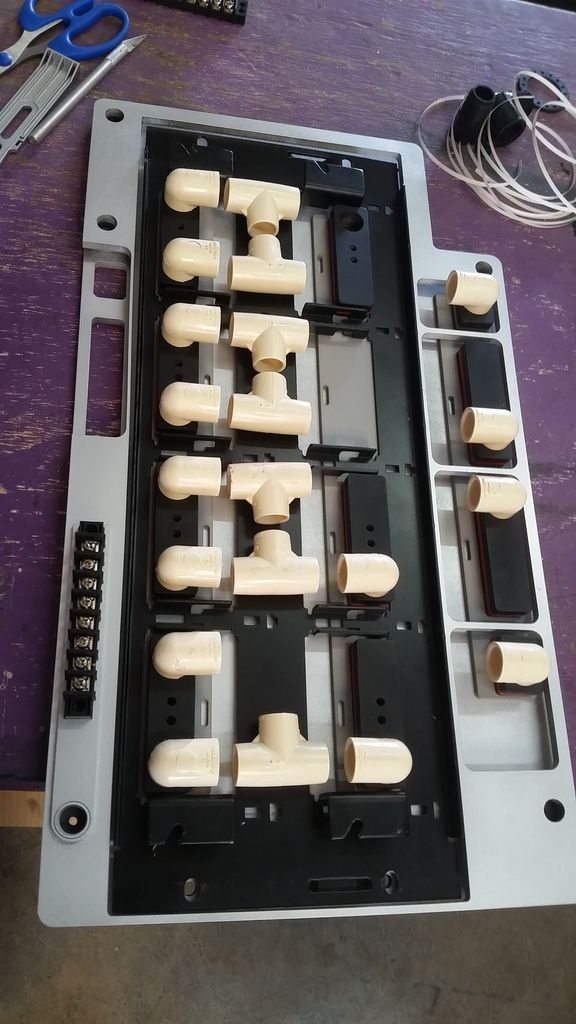
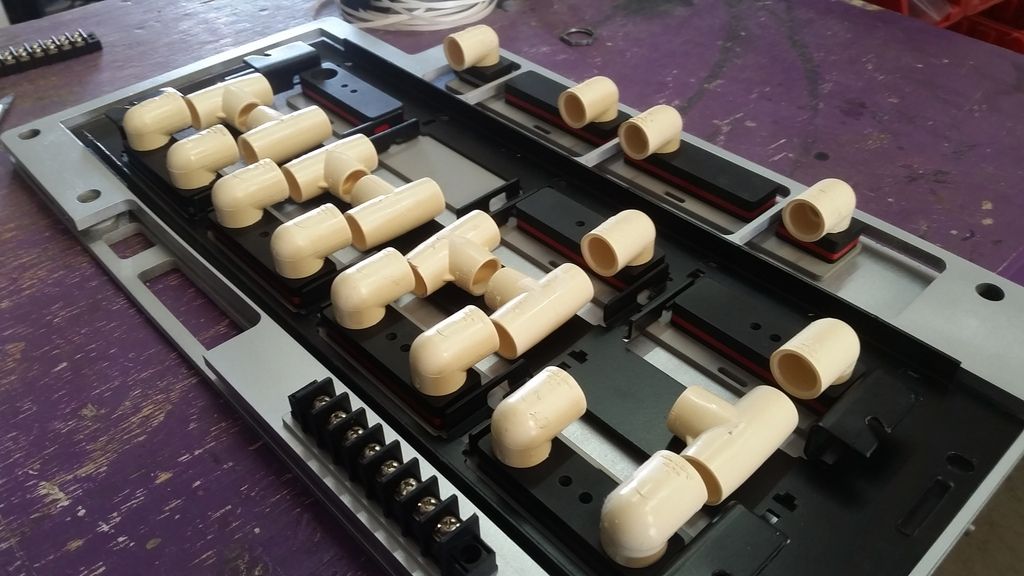
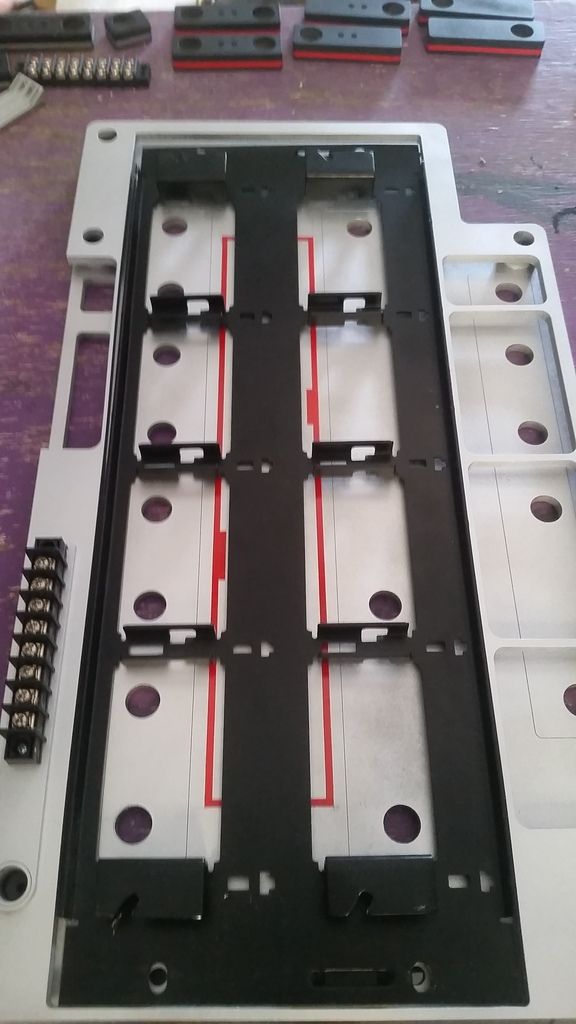
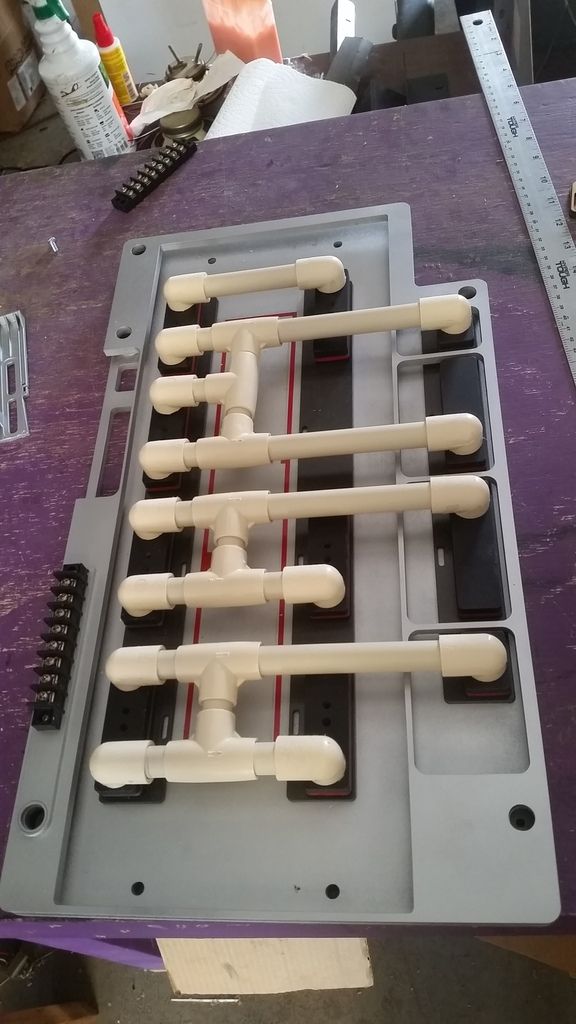
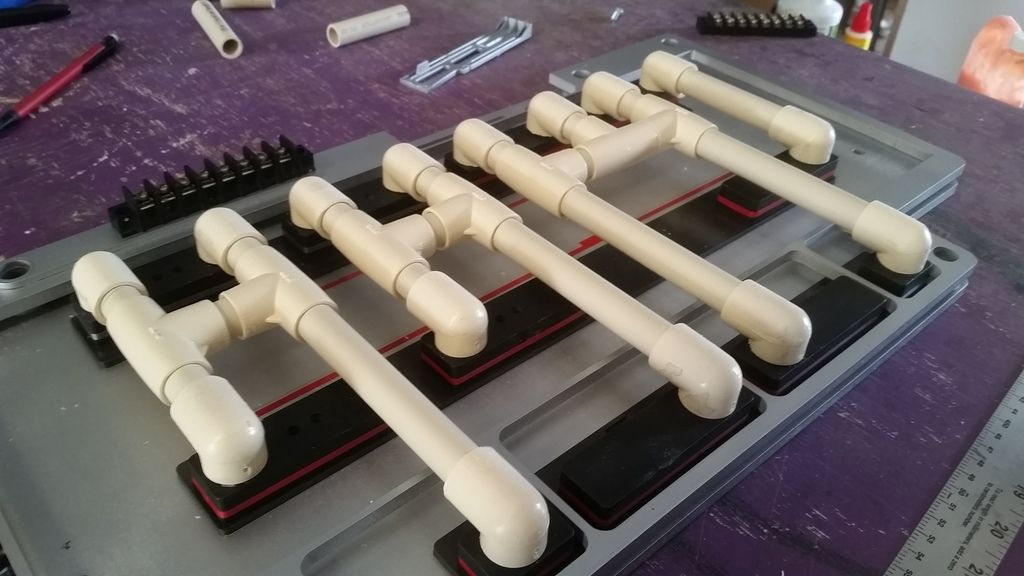
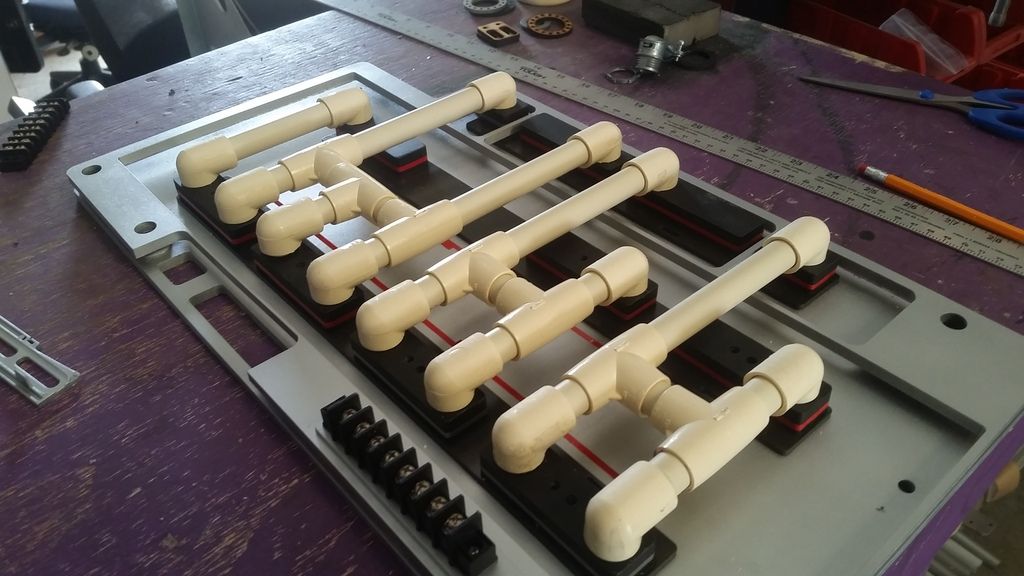
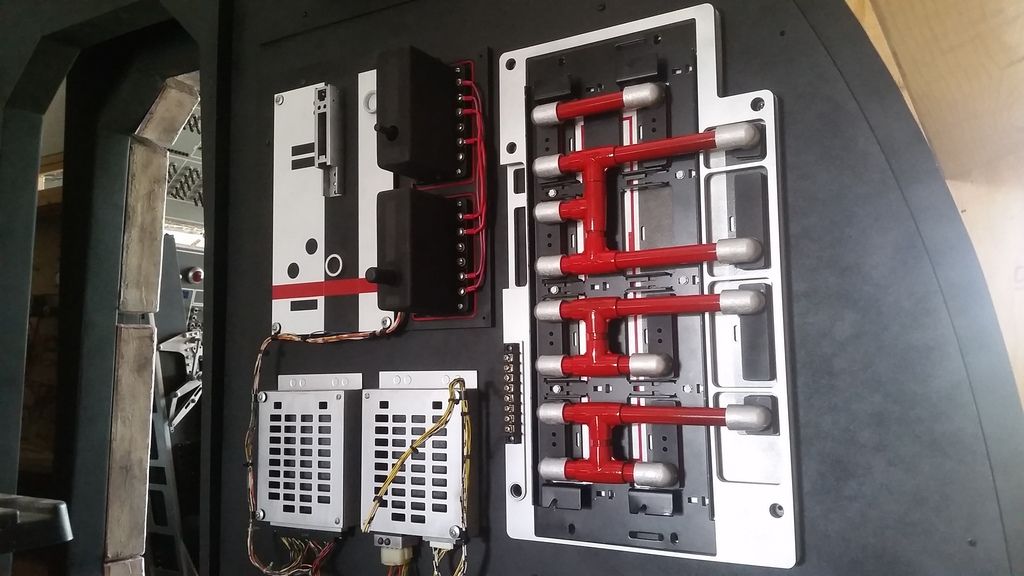
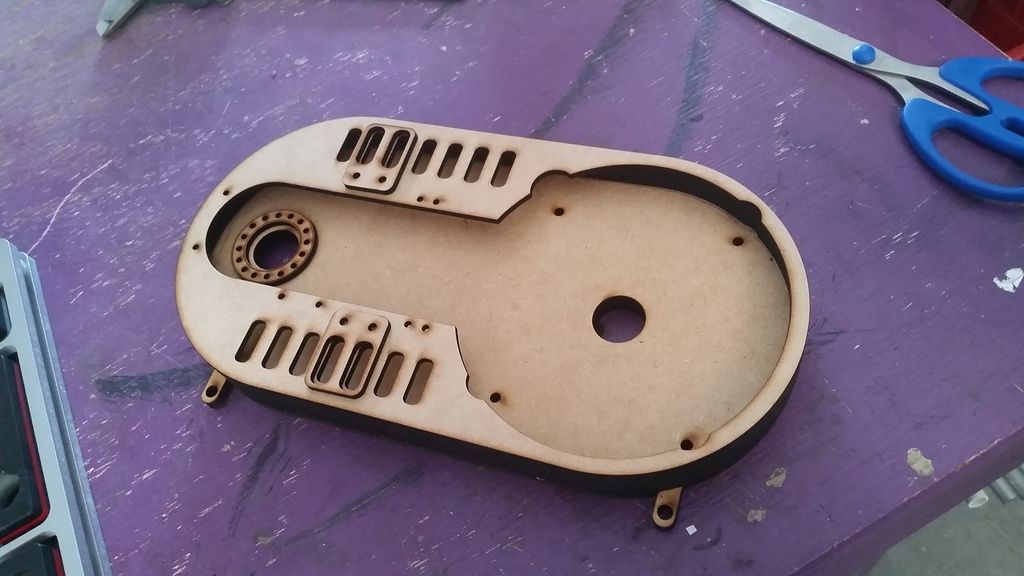
Configuring the new layout
Basic layout
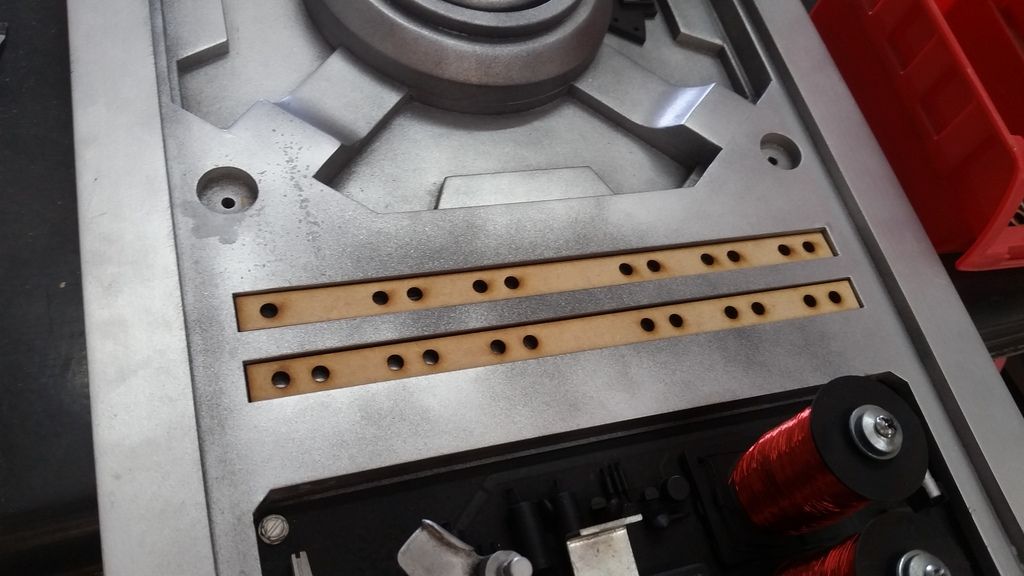
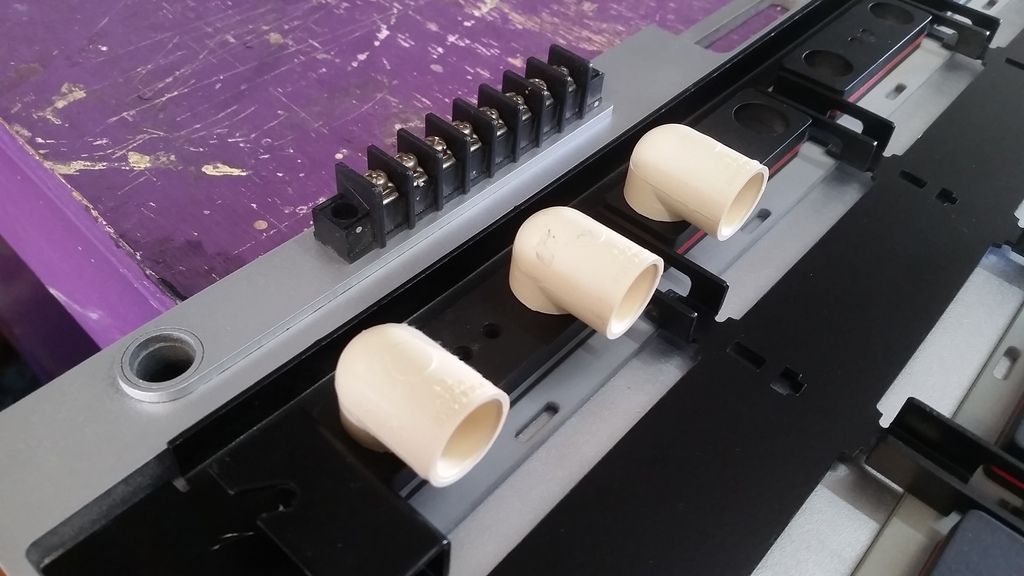
Found a place for a wiring harness
First round of weathering was nothing more than taking a low grit sanding pad and lightly scuffing the silver paint
Another redesign... A new base with mounting points coming off the edges
Drilling more holes
Primer
Paint and scuffing
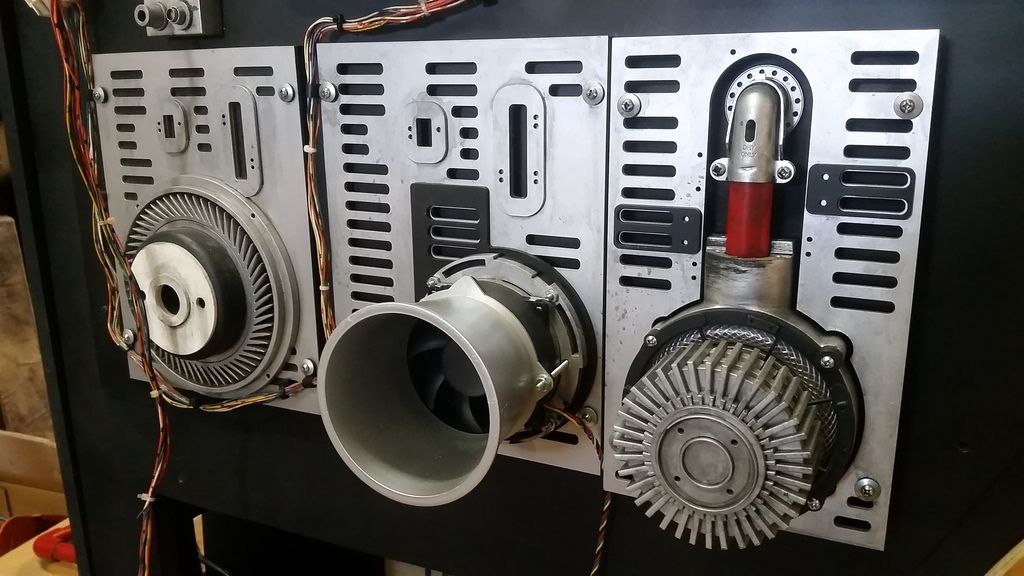
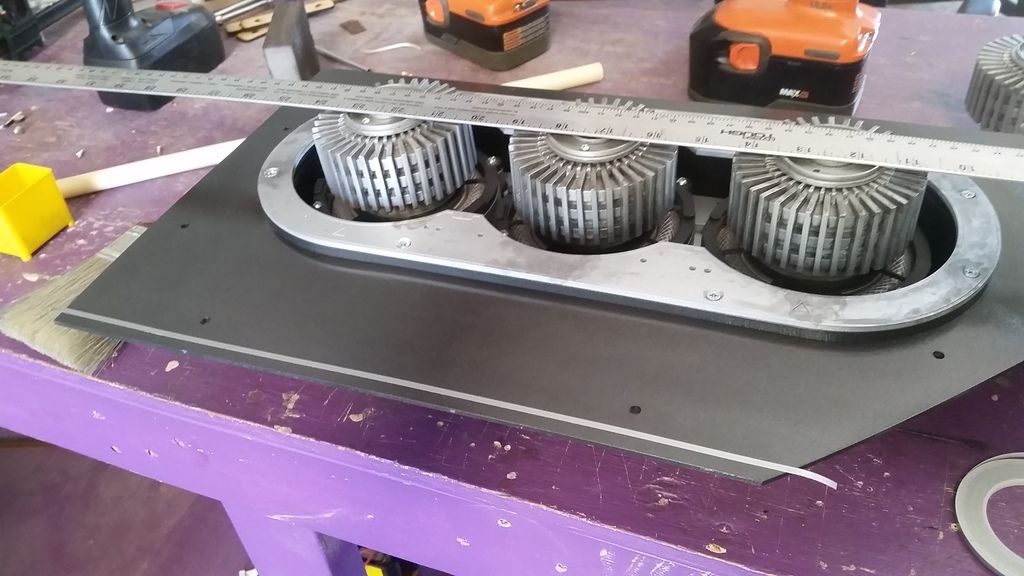
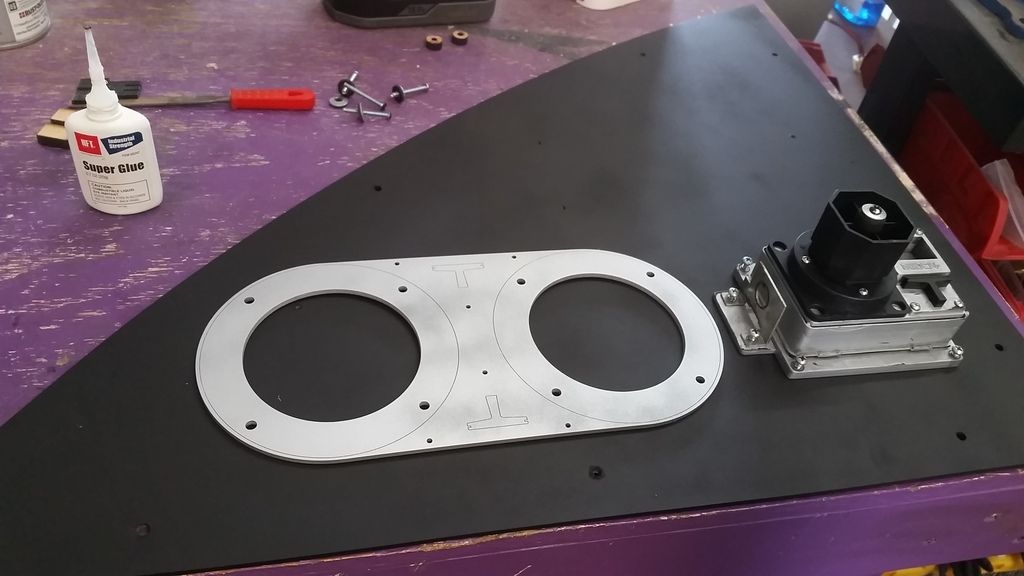
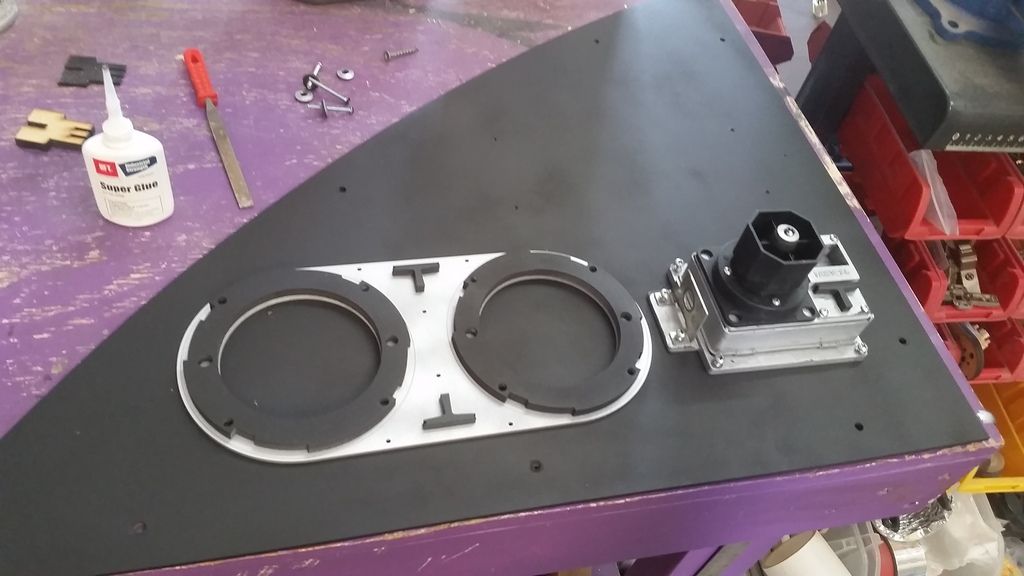
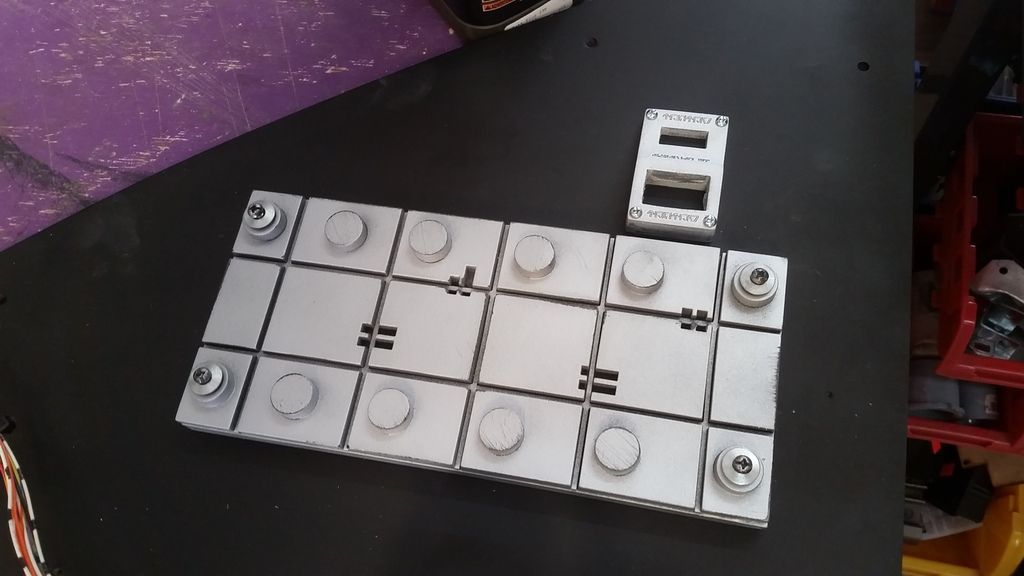
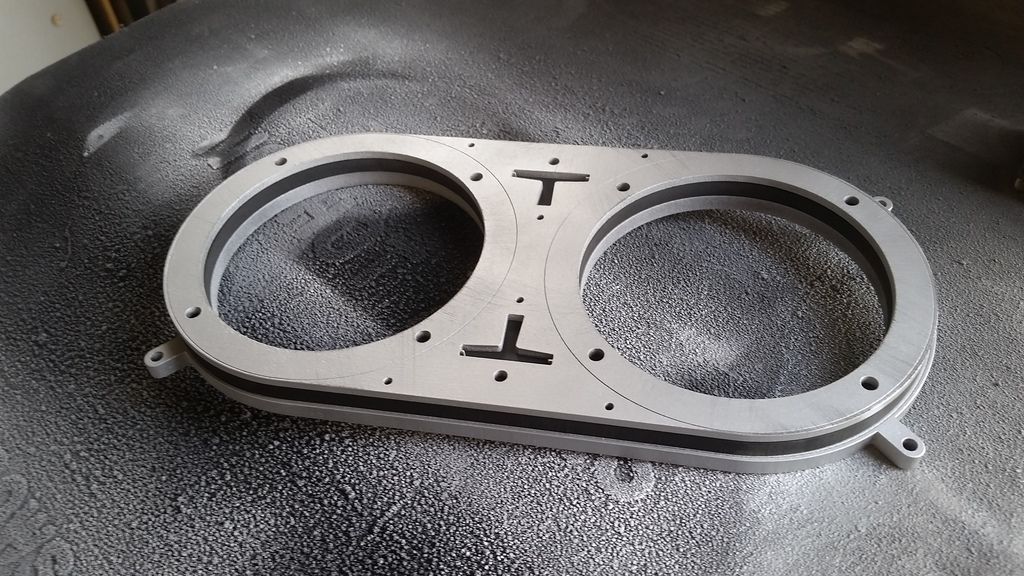
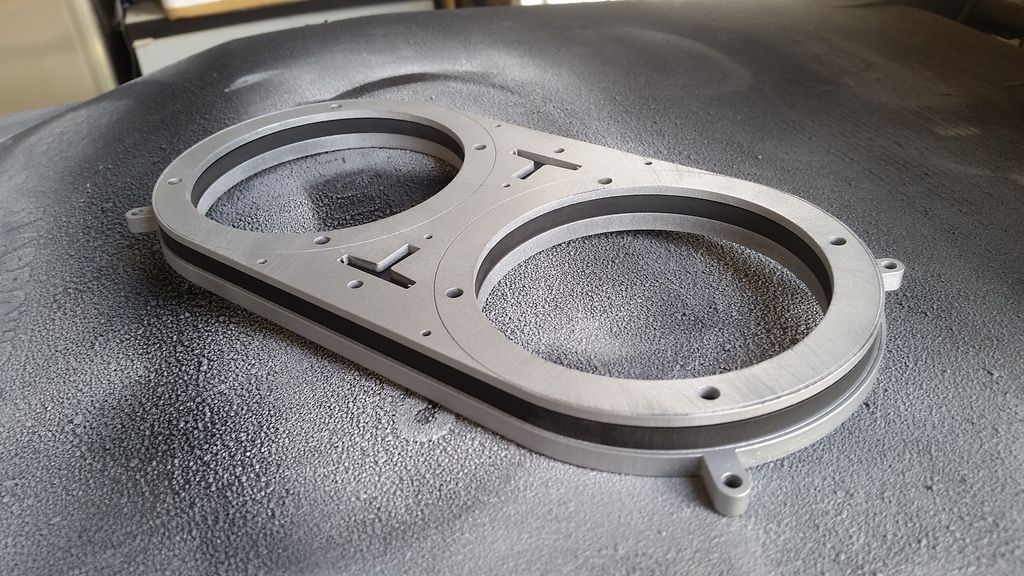
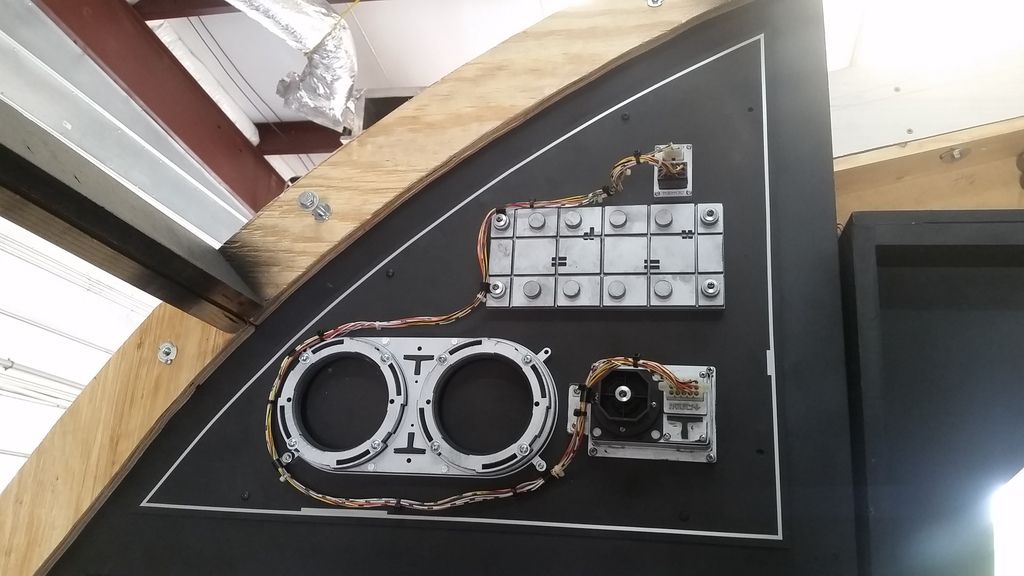
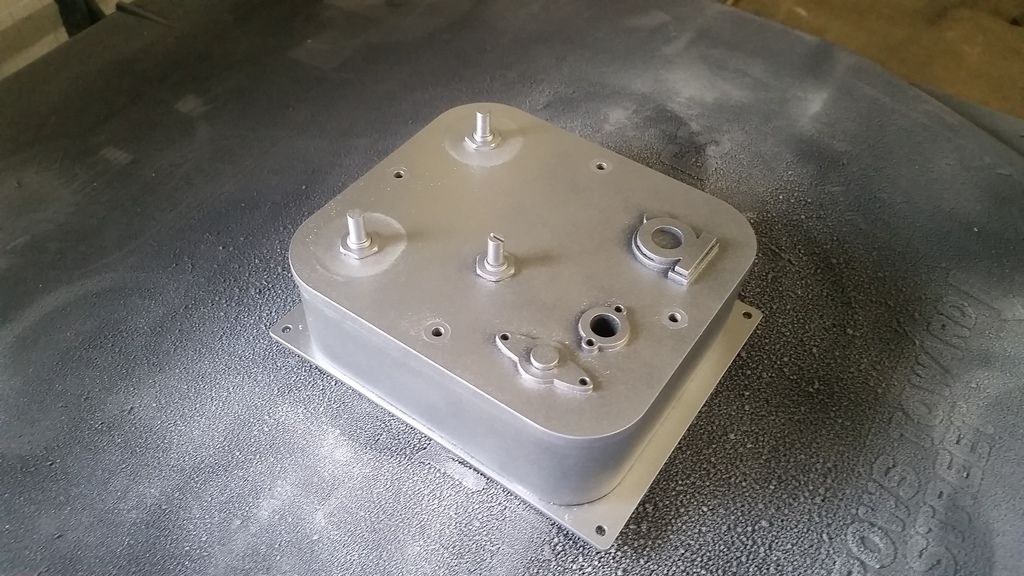
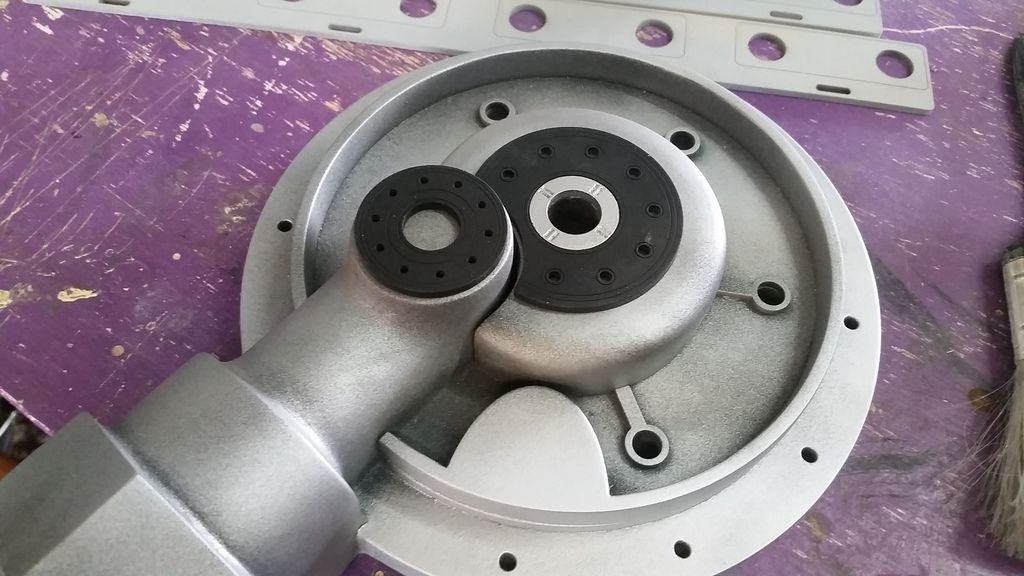
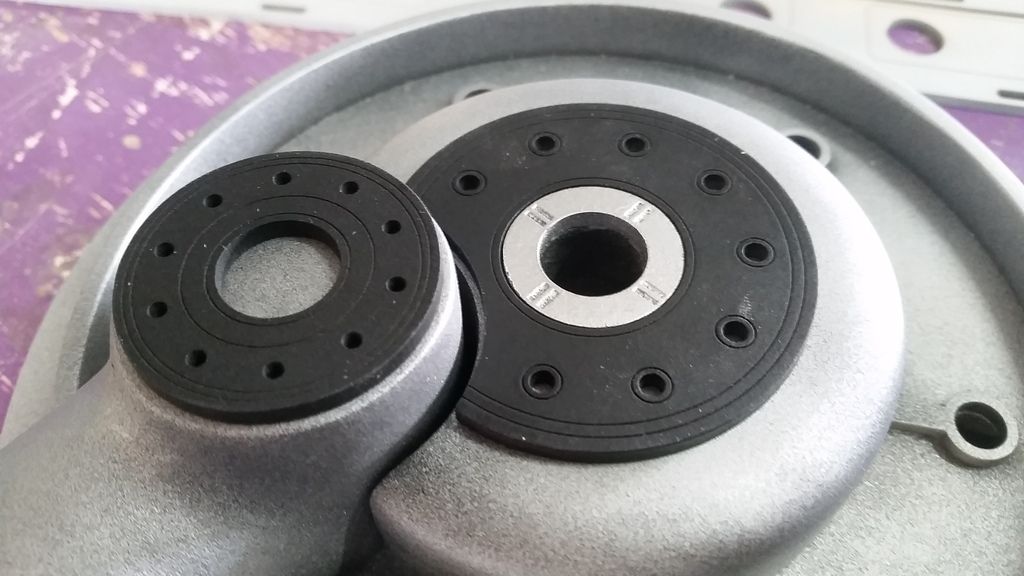
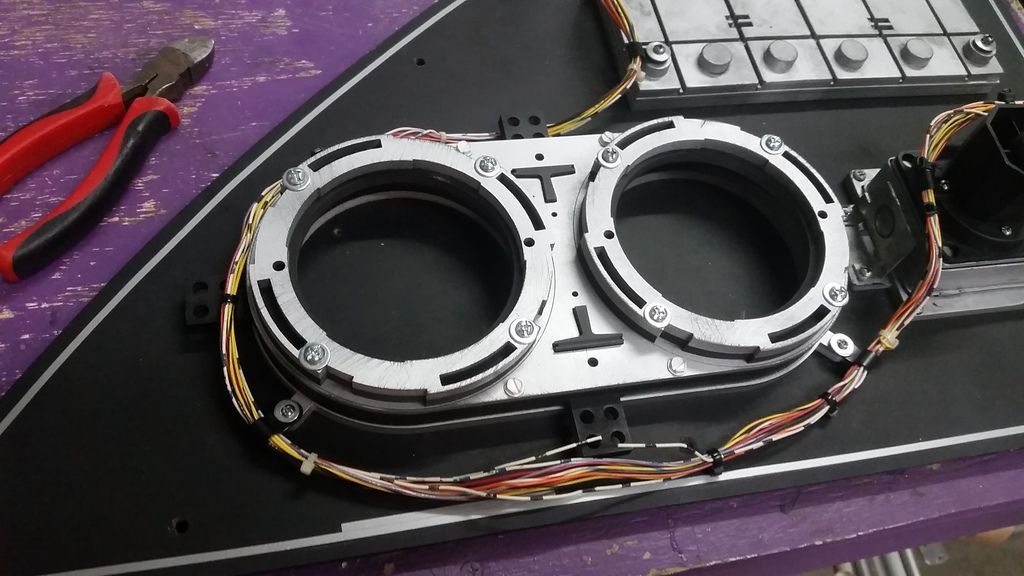
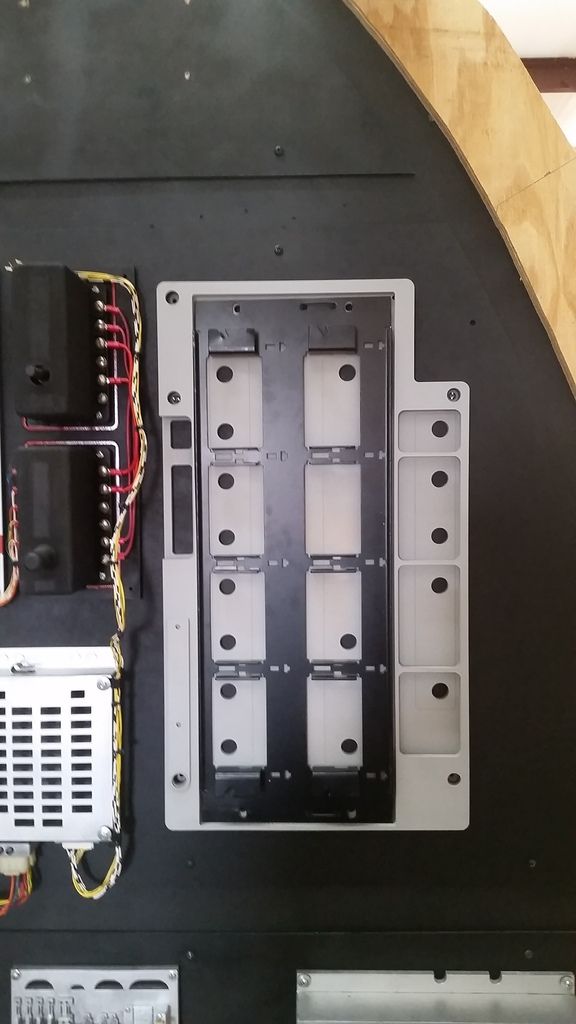
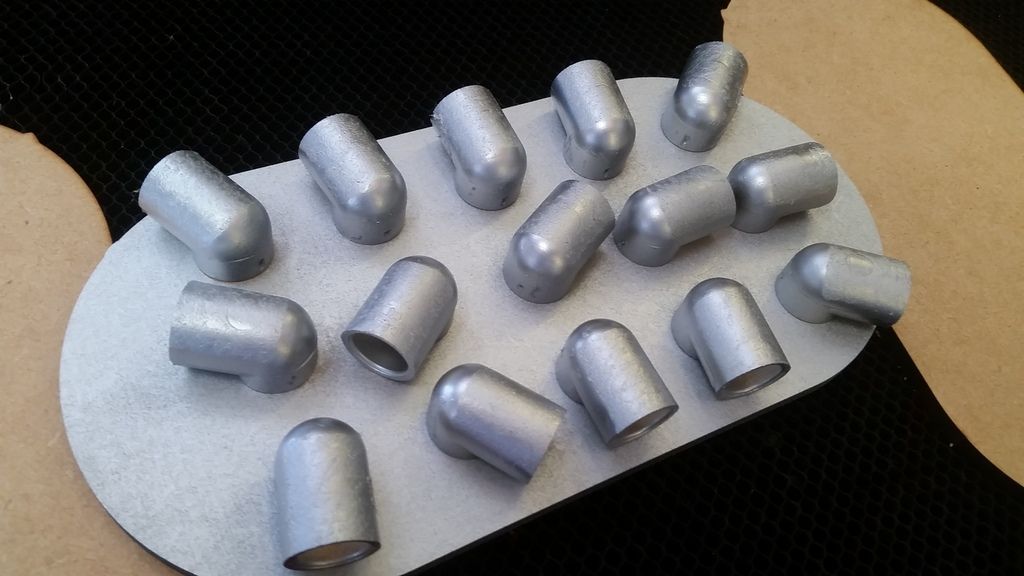
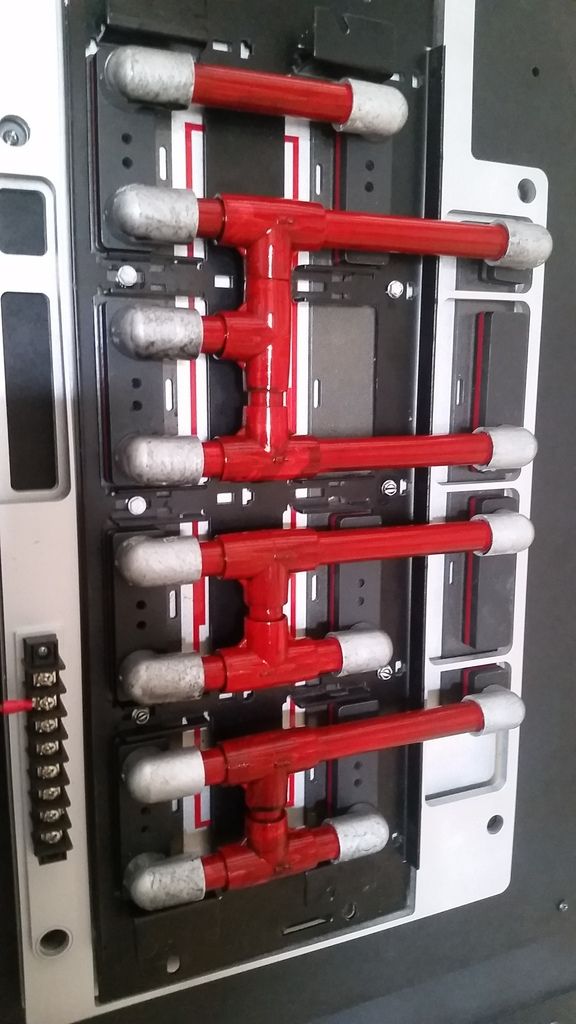
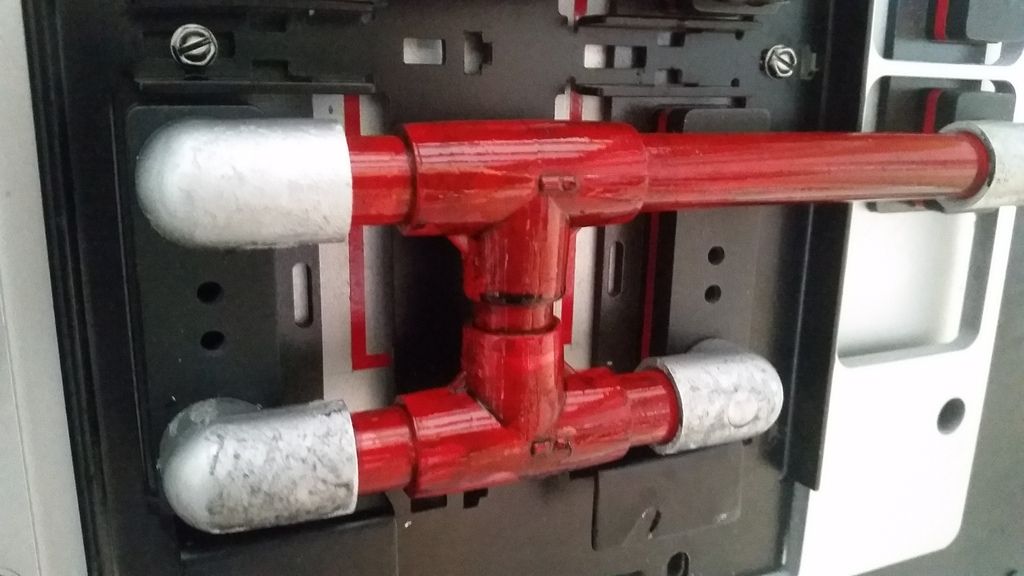
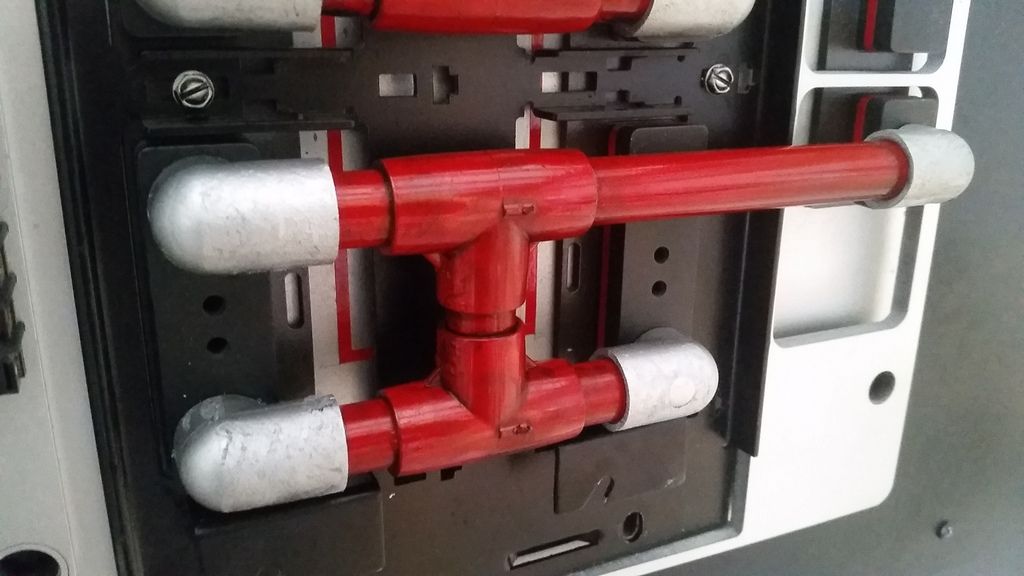
This is actually the new base plate for 2 more CPU fans with the cones
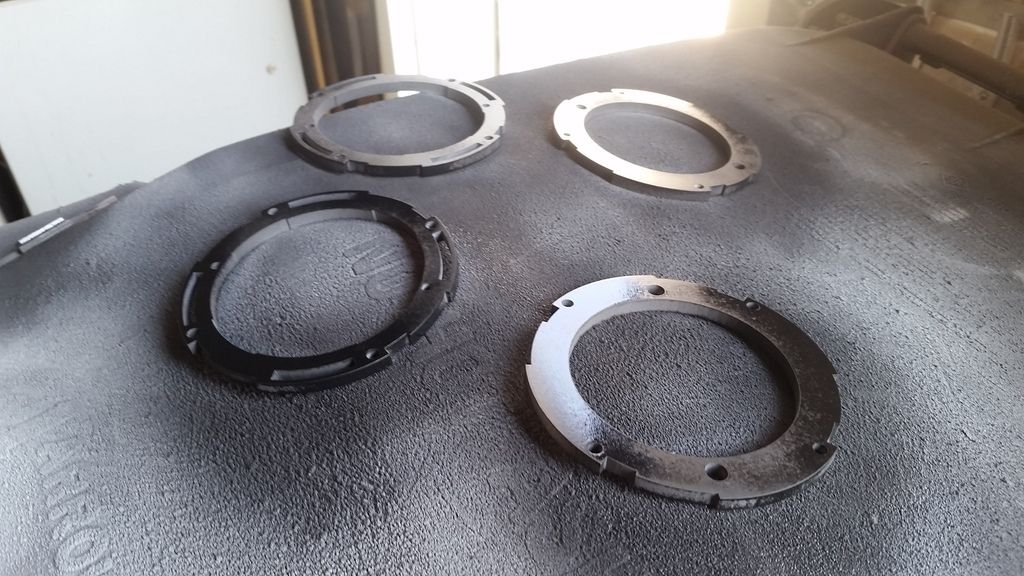
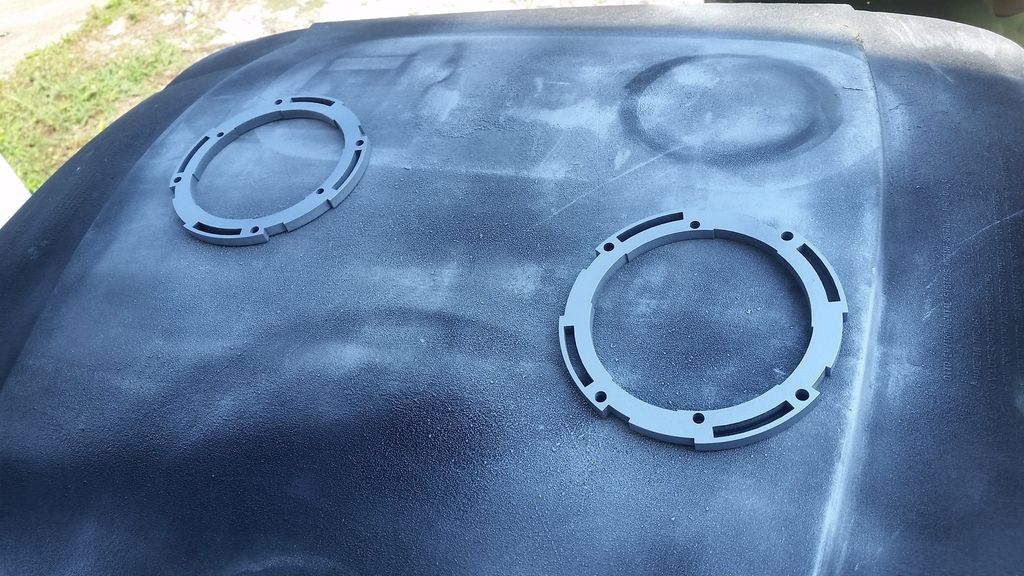
Rings
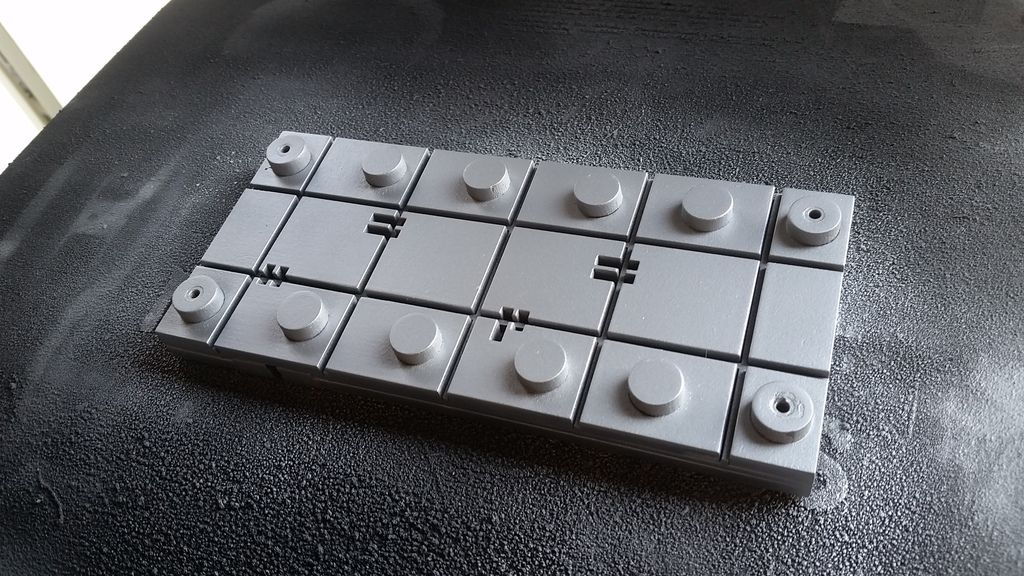
Silver
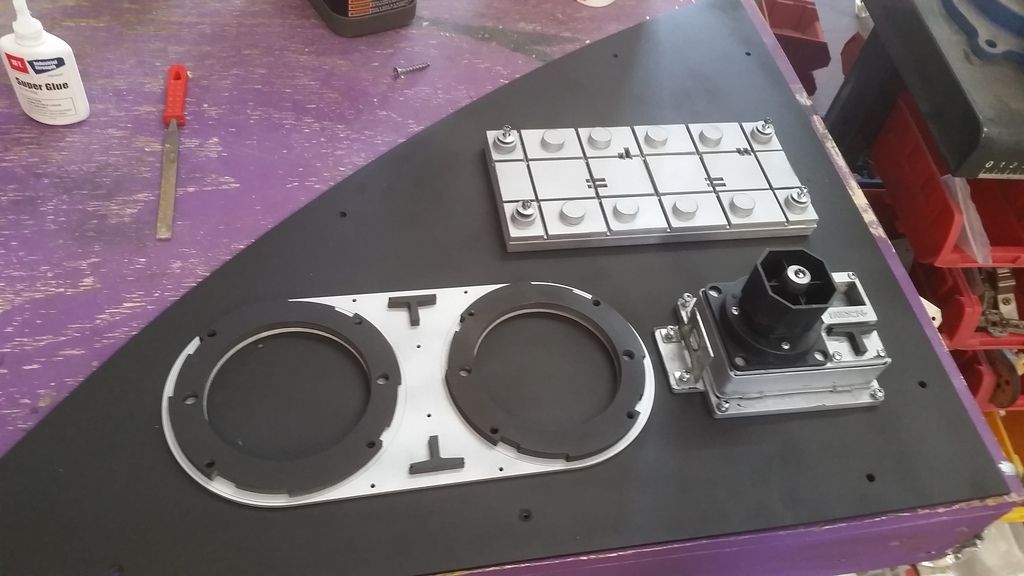
Lets add a wiring harness
Down and around
Up and to the right
Why go ALL the way around the panel instead of straight up? Wheres the fun in that!
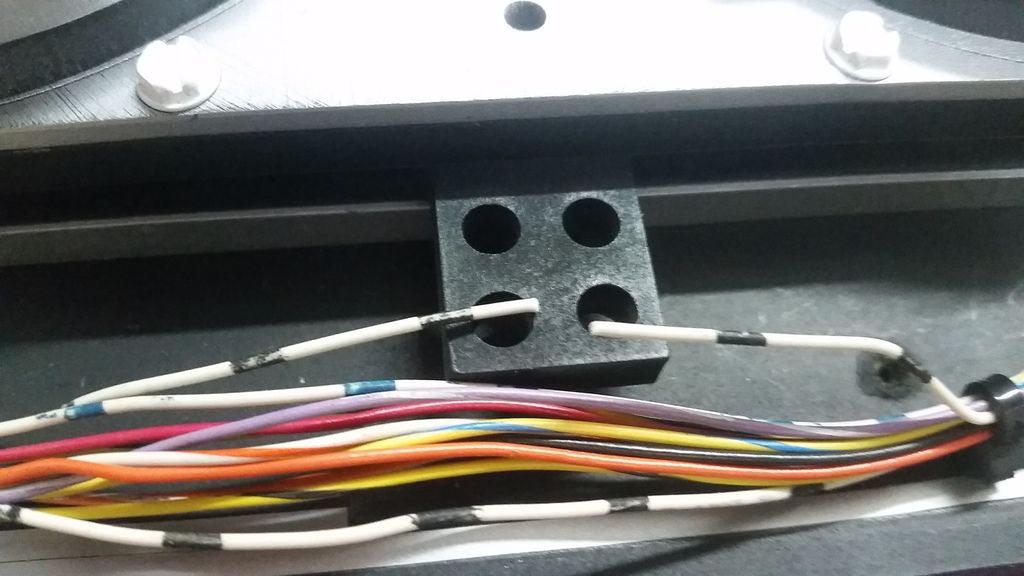
I'm considering taking a few wires from the main harness and breaking them away and attach to the new CPU fan base
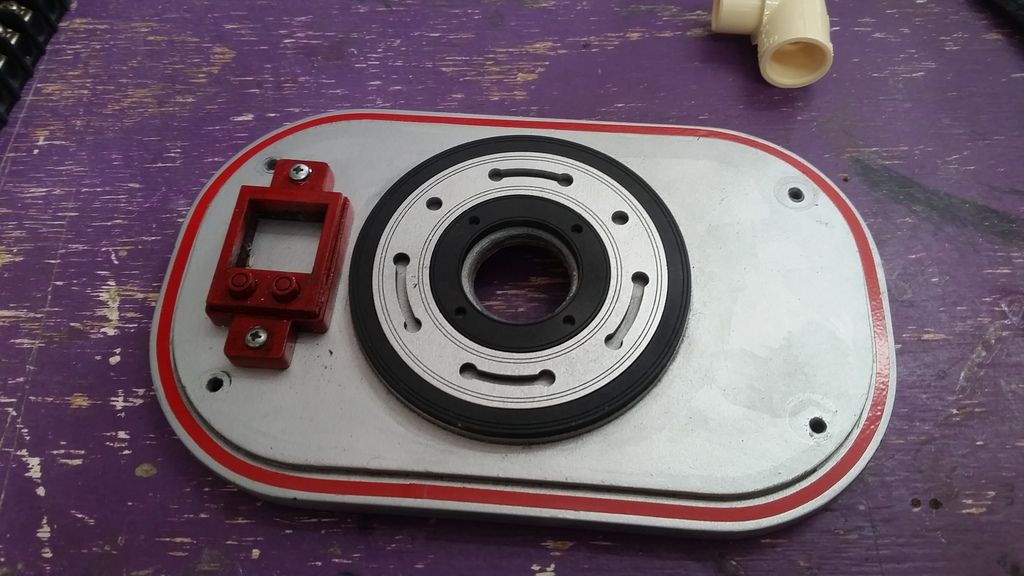
Mounted with pin stripes!
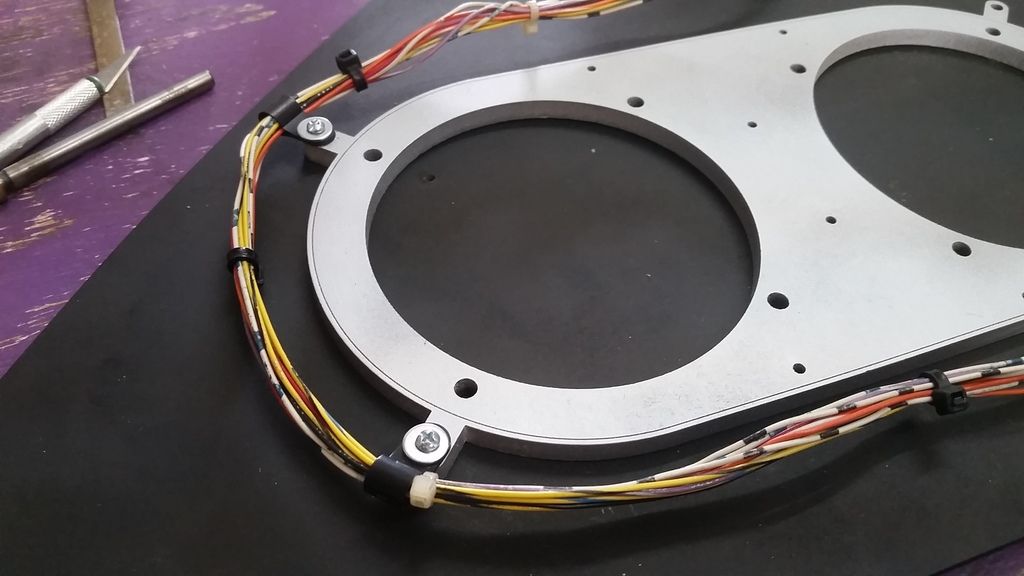
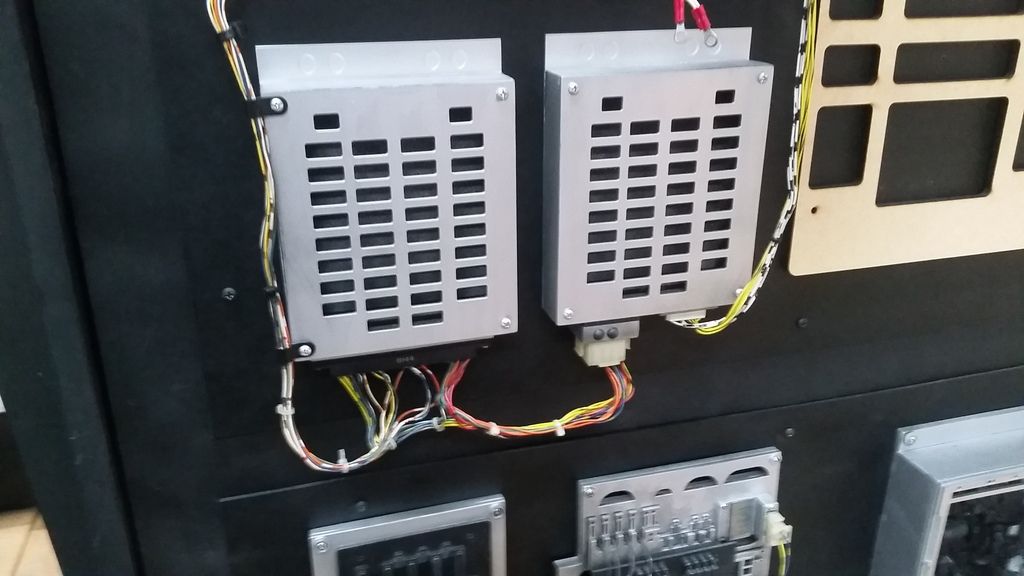
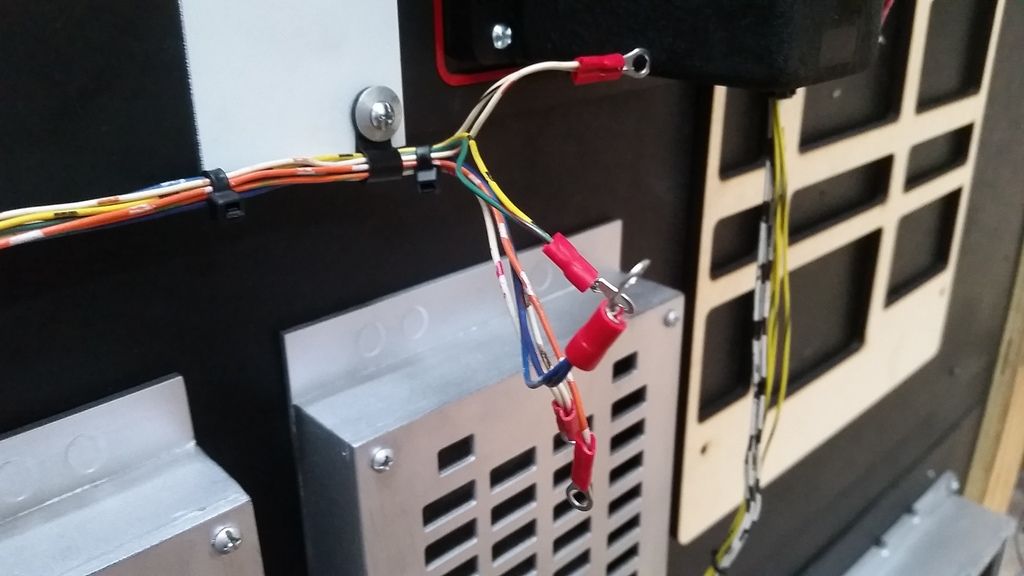
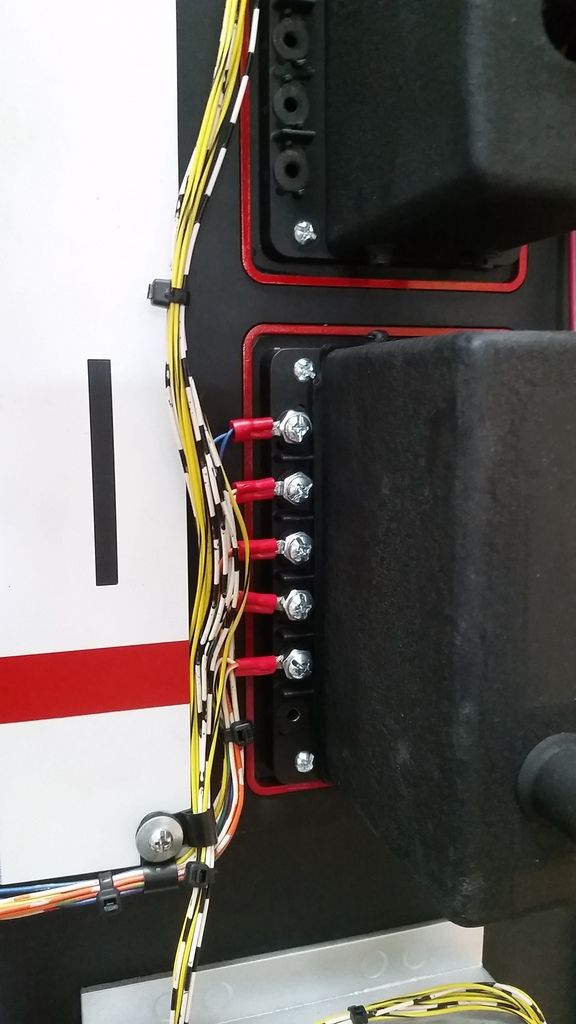
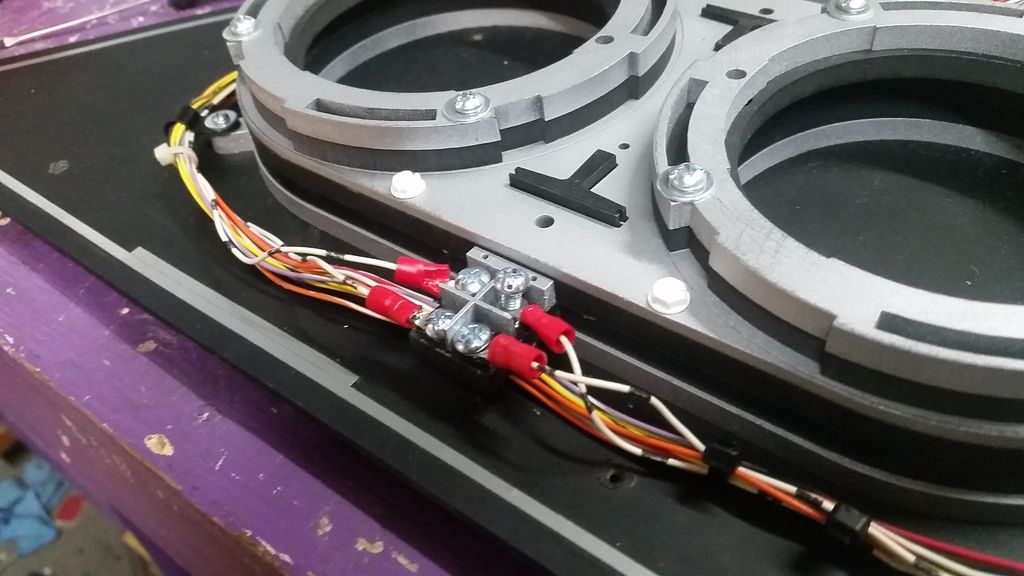
I then found a new route/path for this wiring harness
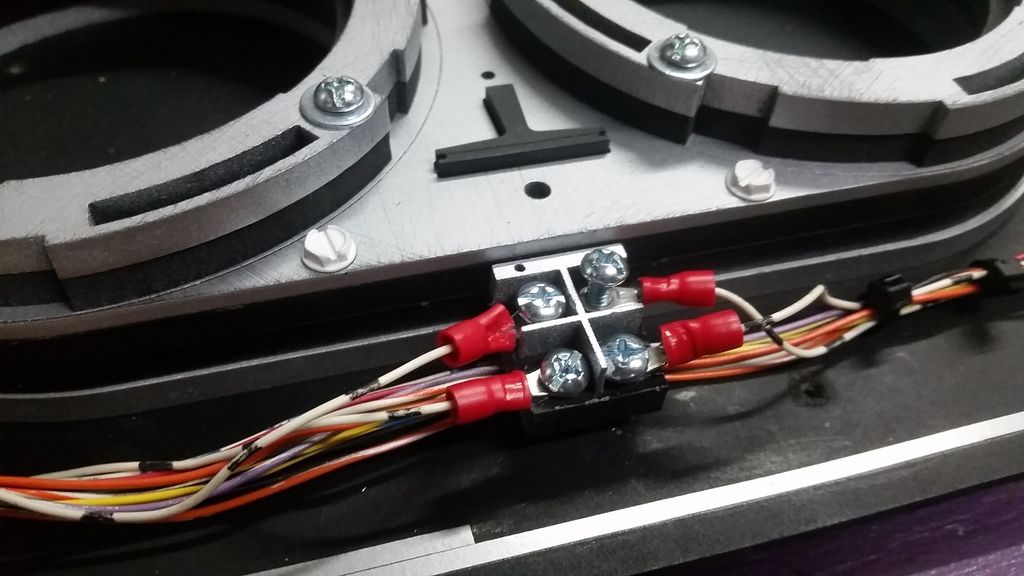
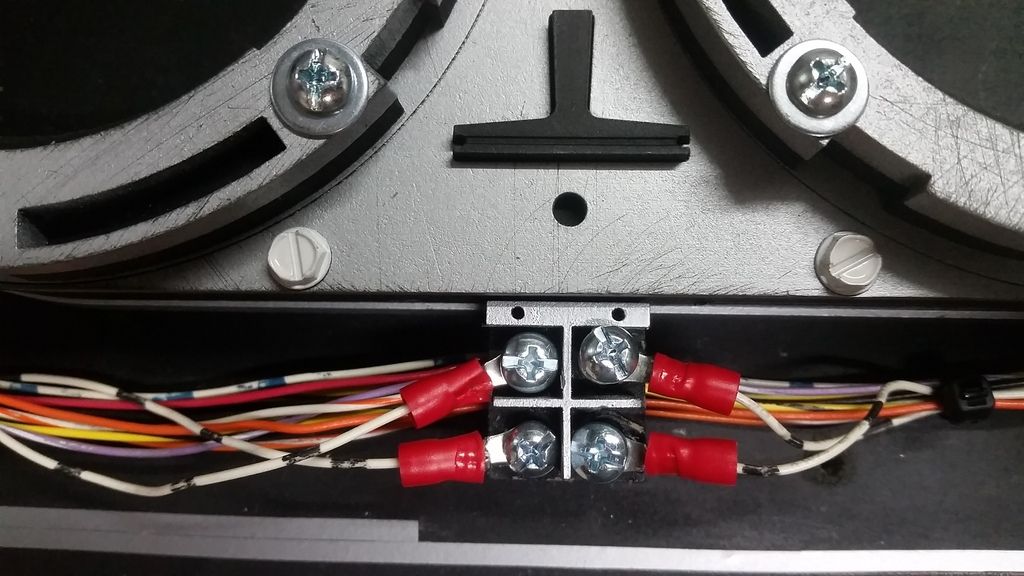
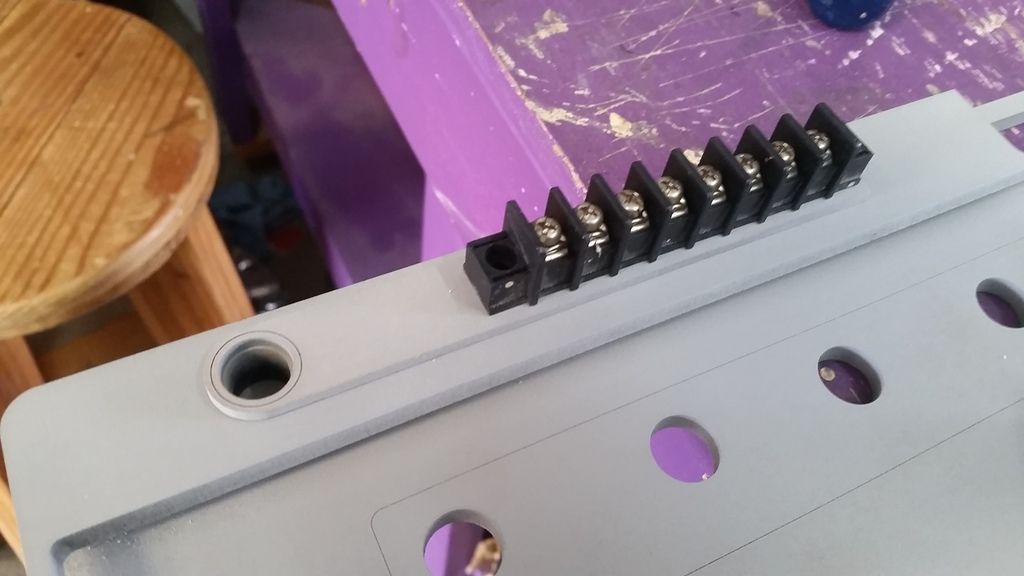
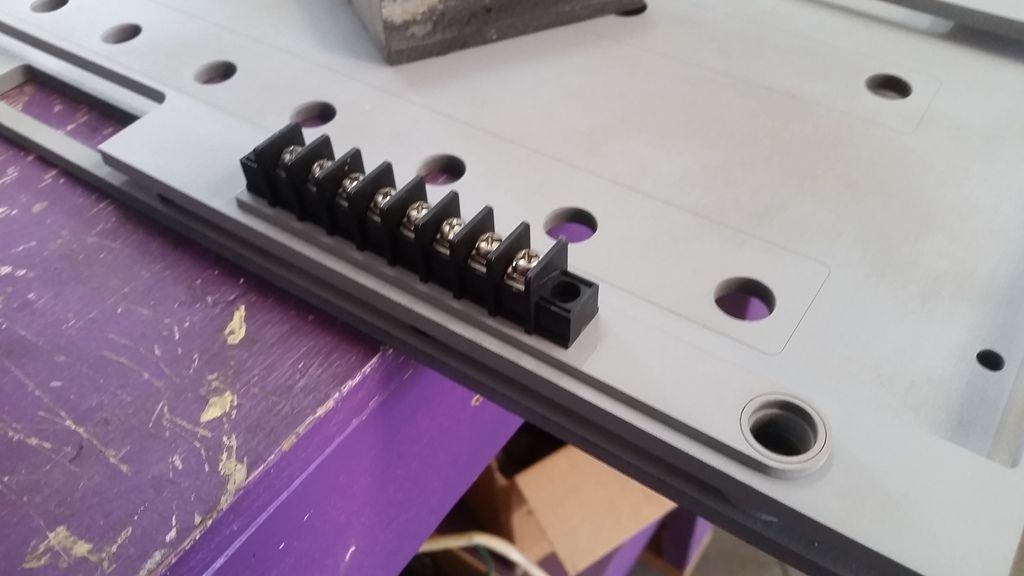
Cut the ends and add connectors
Attached - I have 12 new connections I can make!
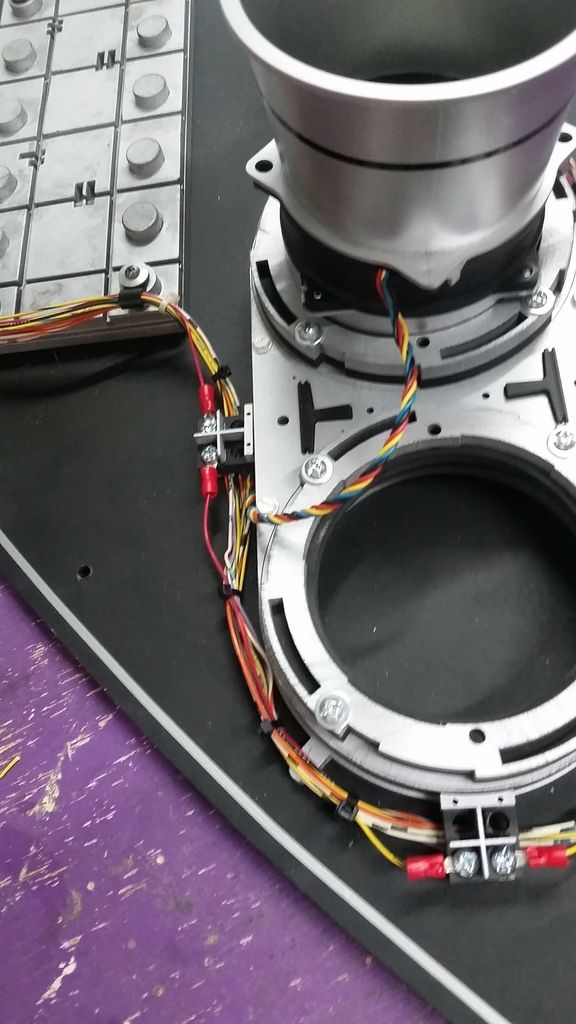
Ran out of time on this area
Basic wiring layout
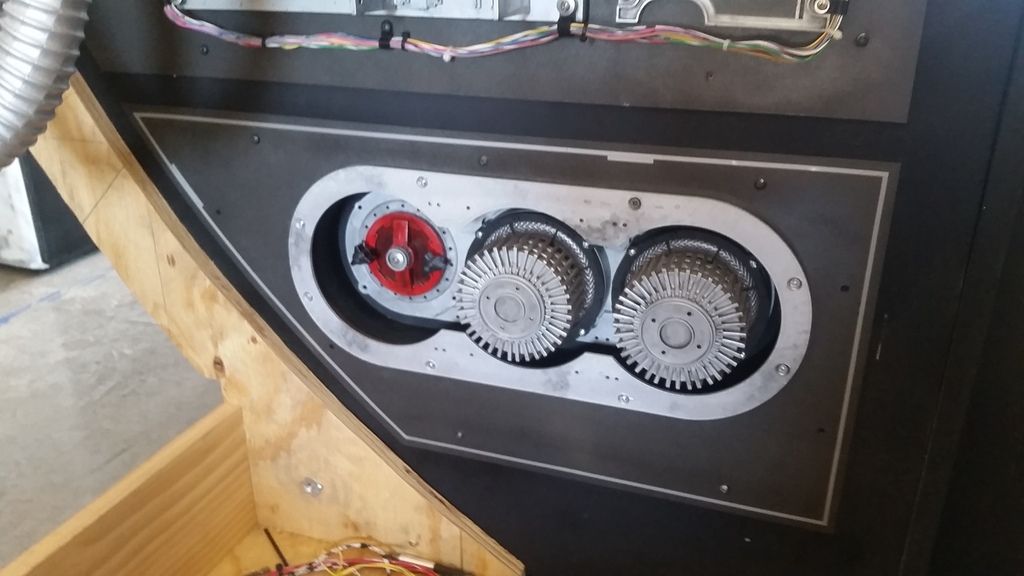
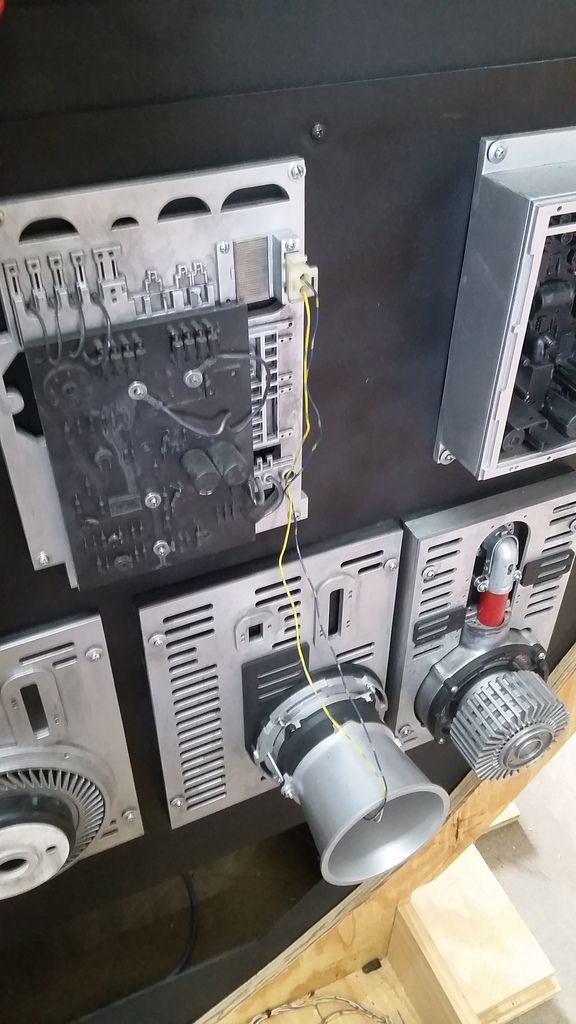
Now what to do with this lonely guy
The lower panel DEF needs a wiring harness. I'll figure something out
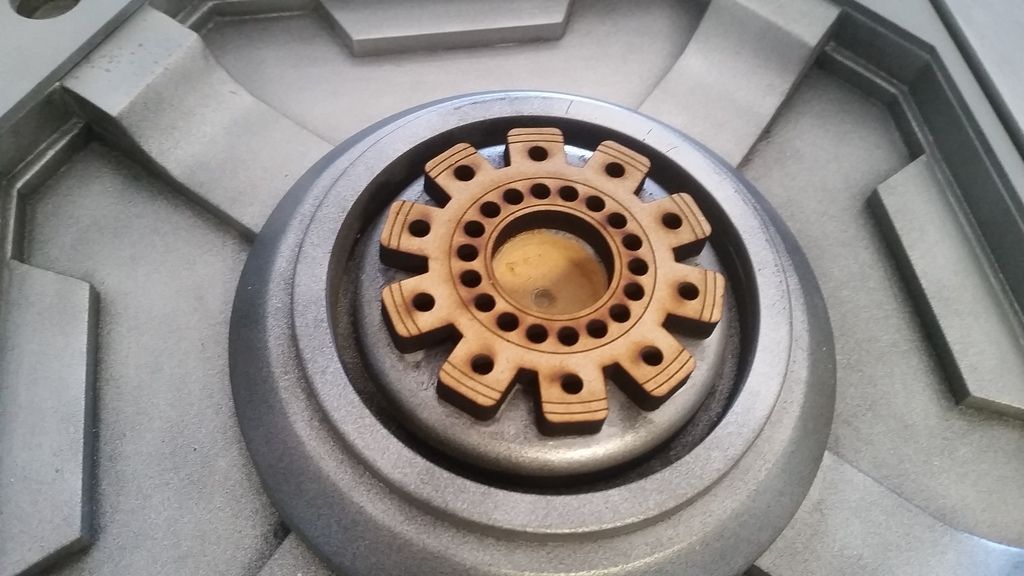
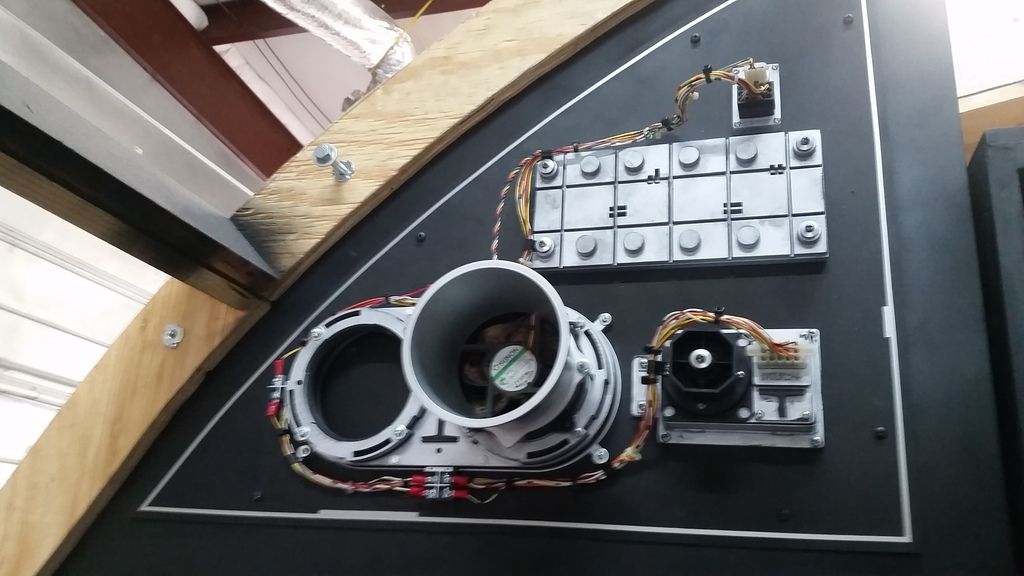
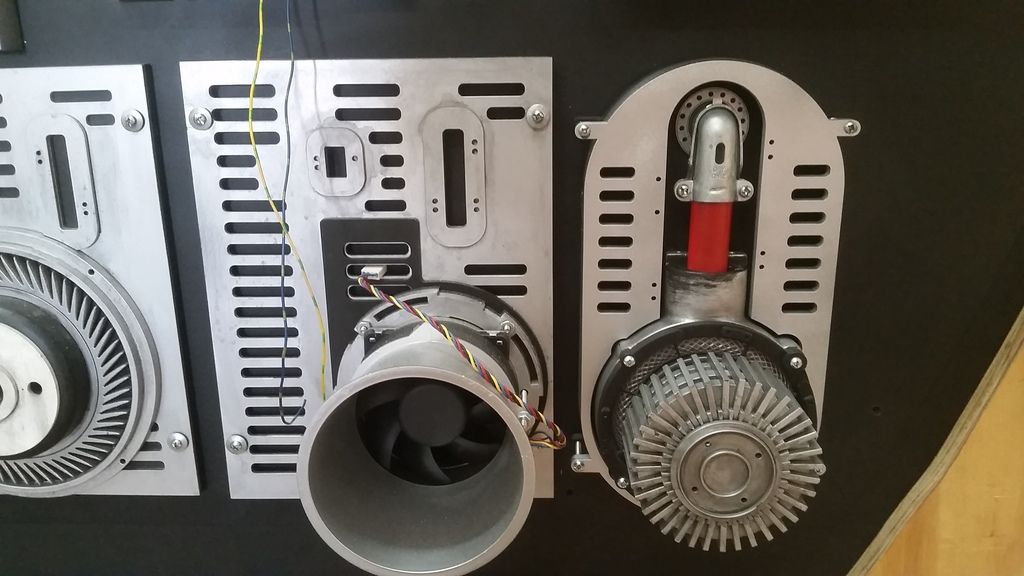
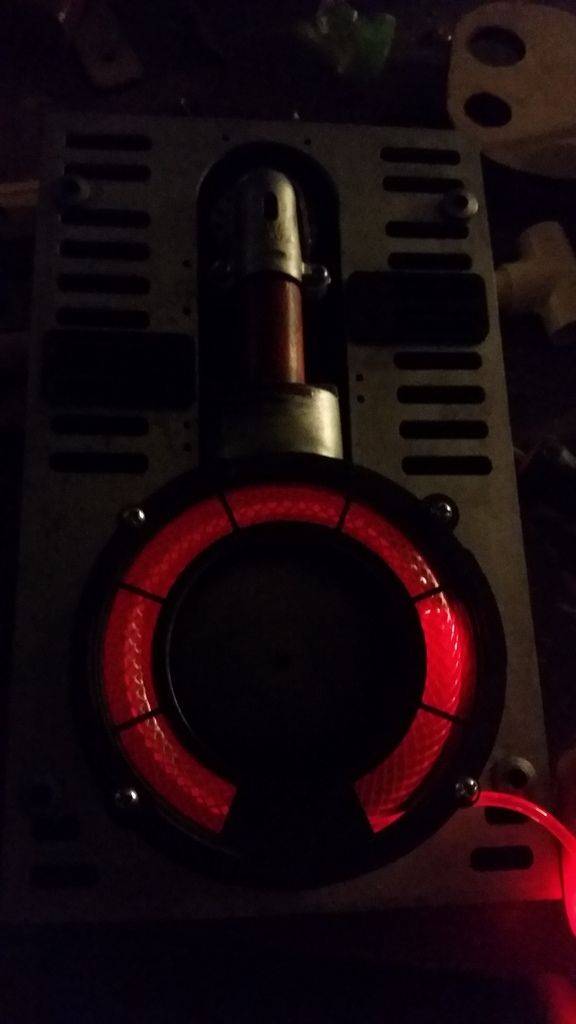
Back to this guy!
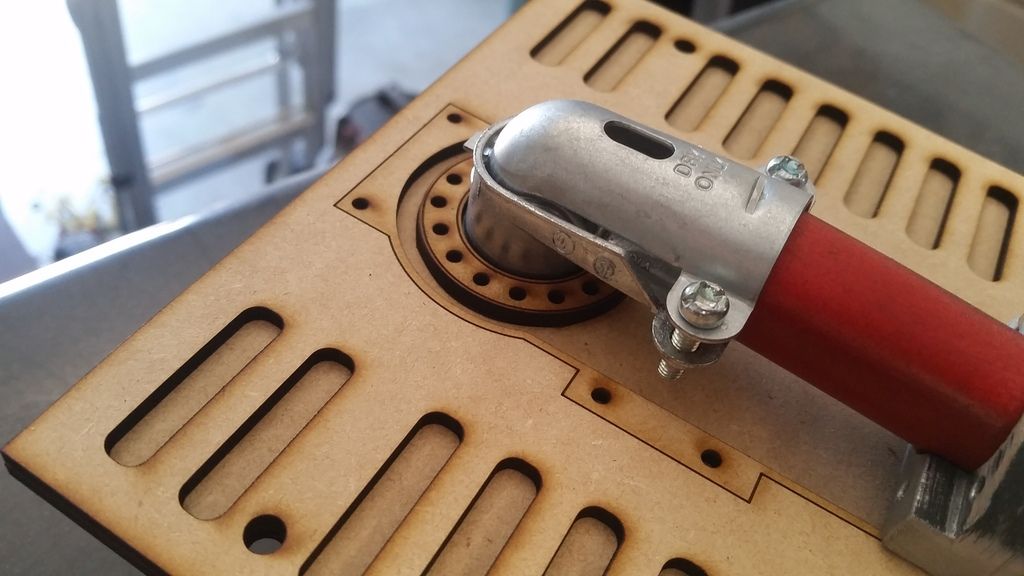
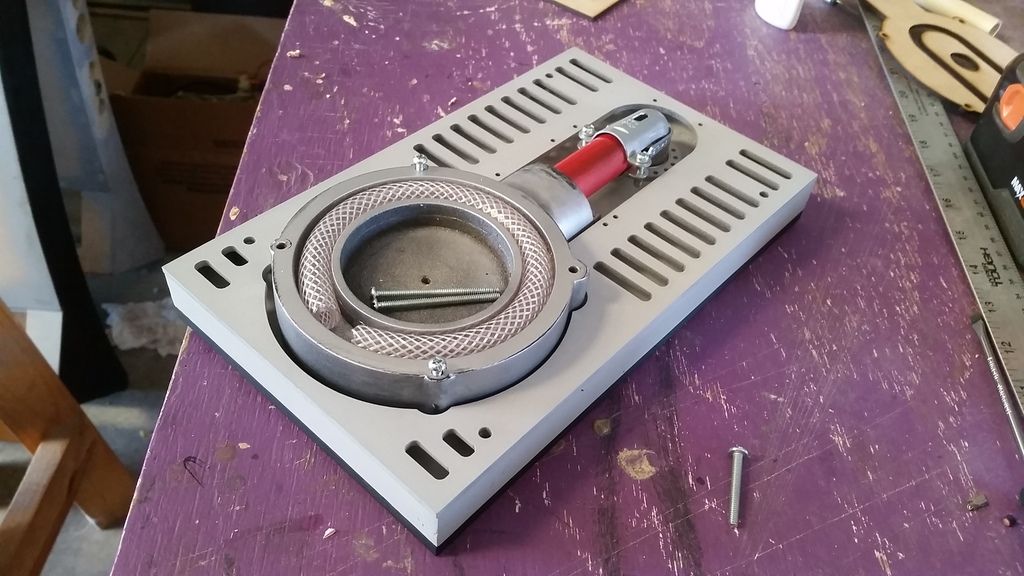
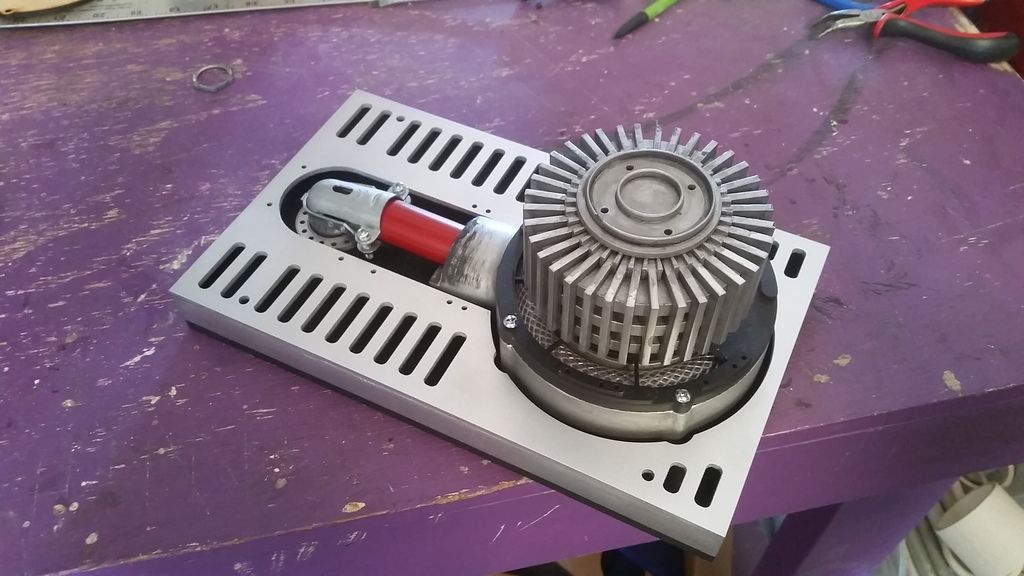
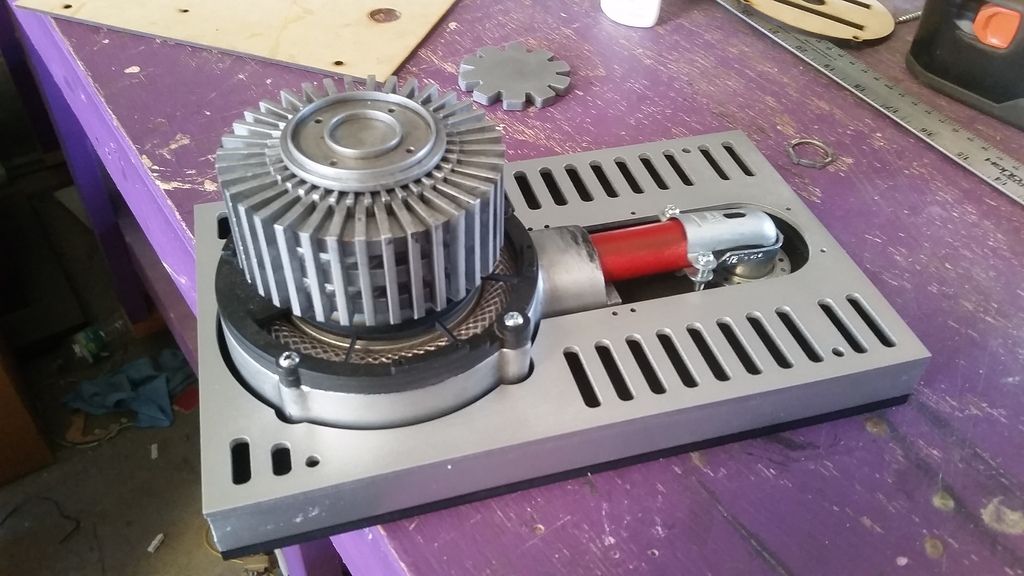
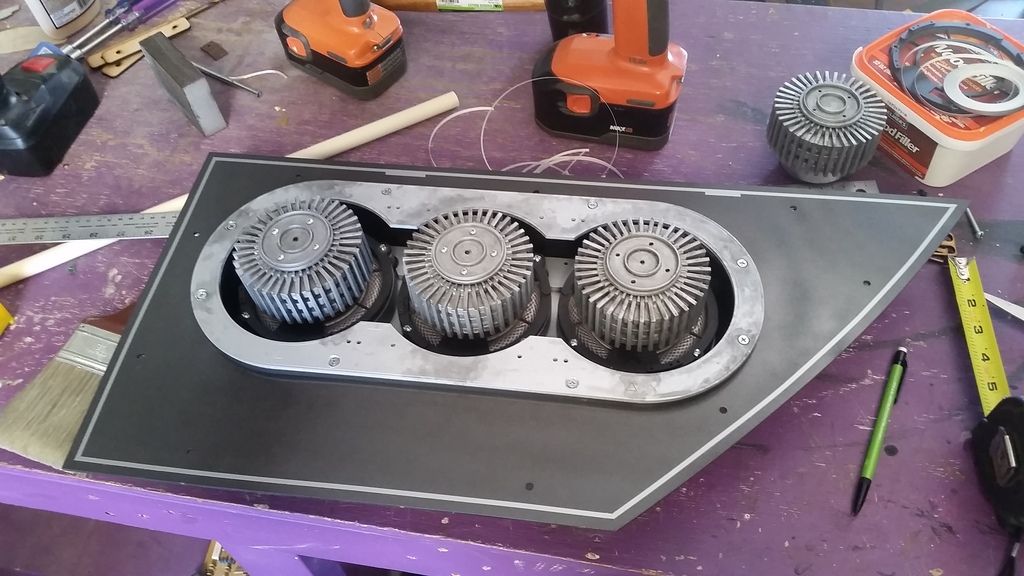
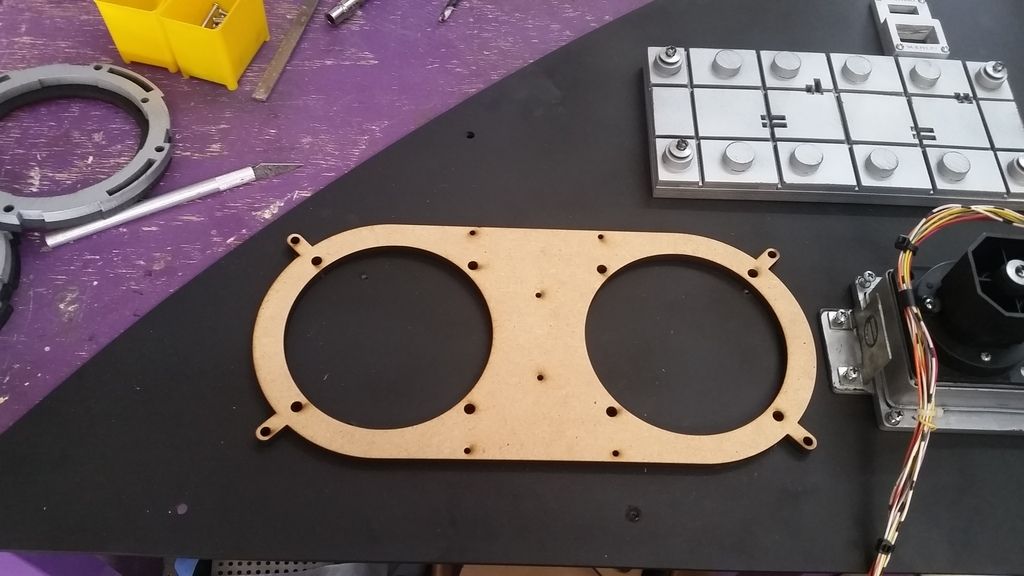
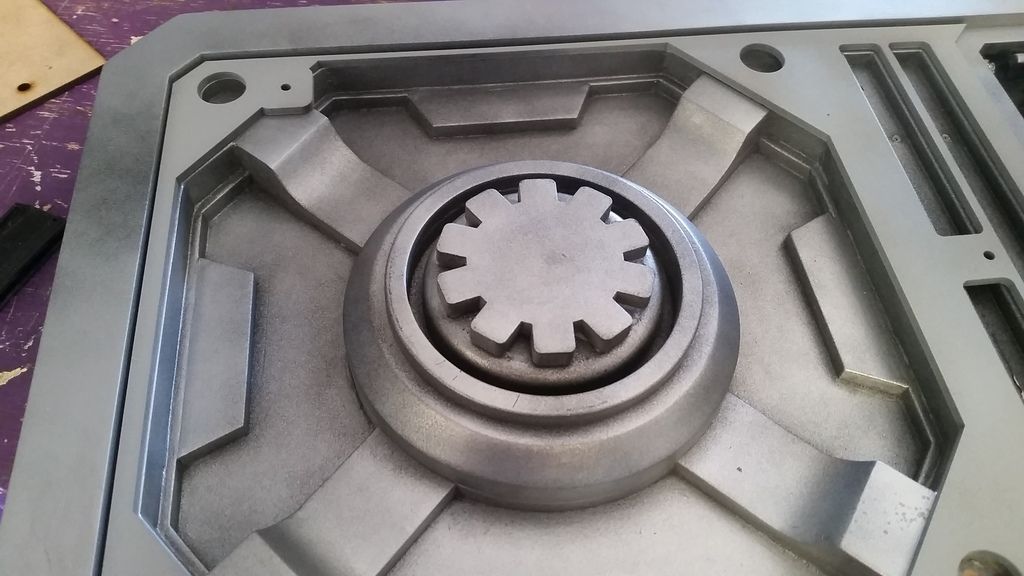
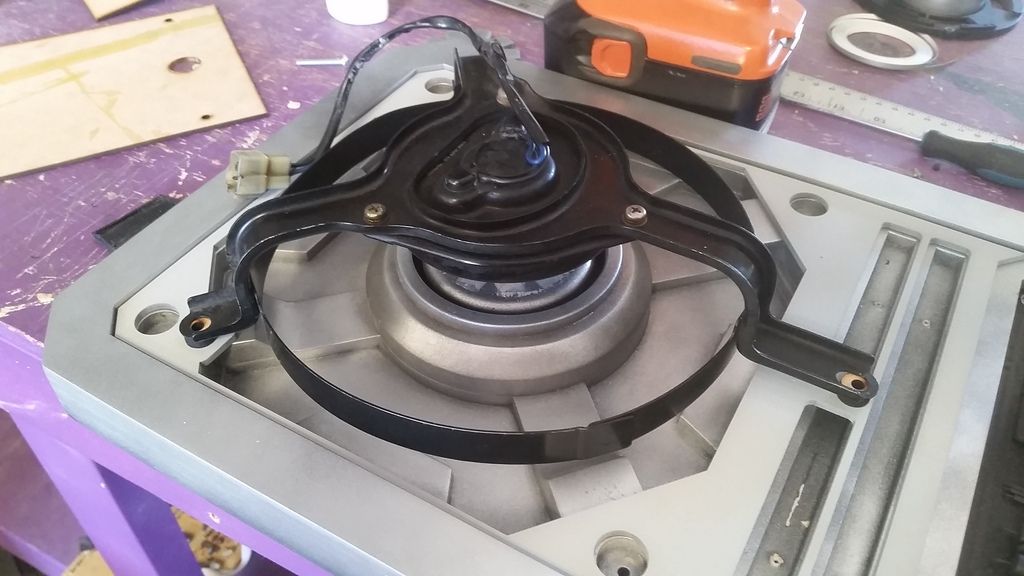
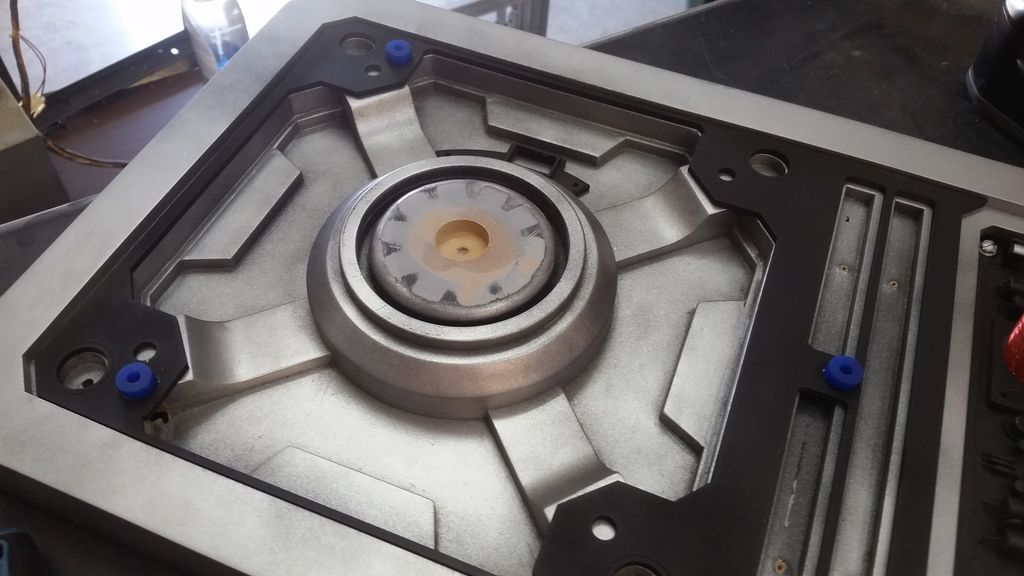
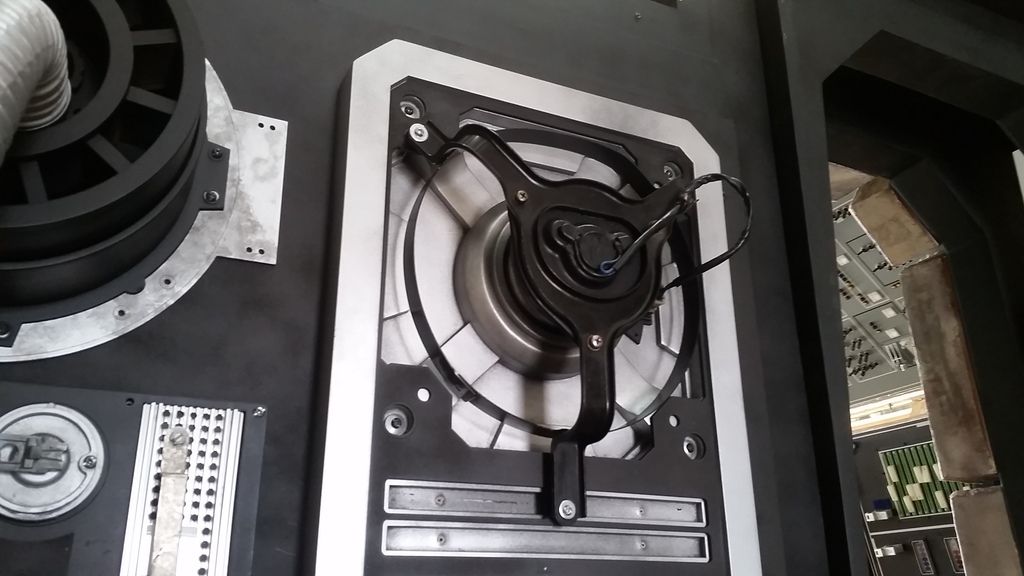
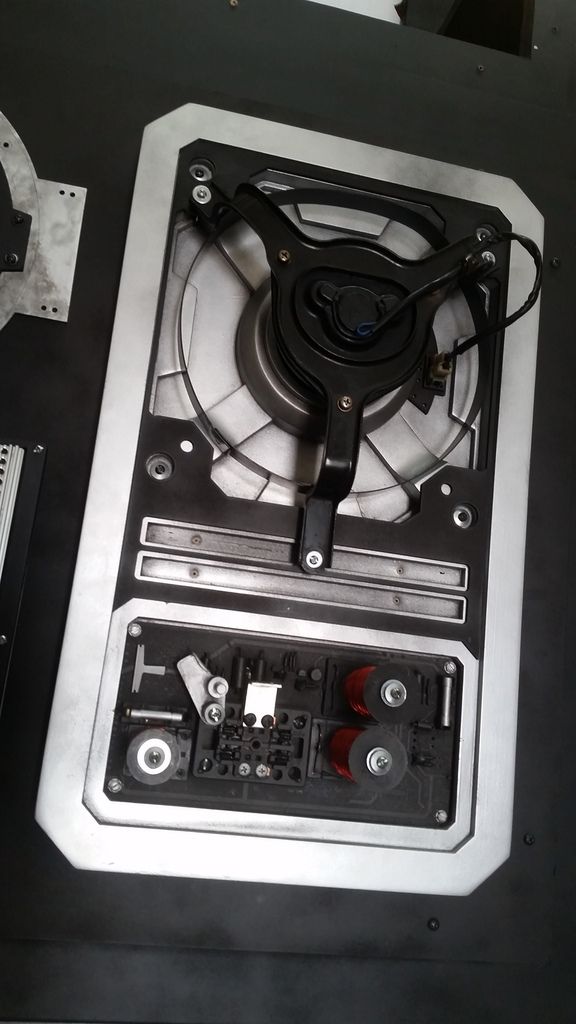
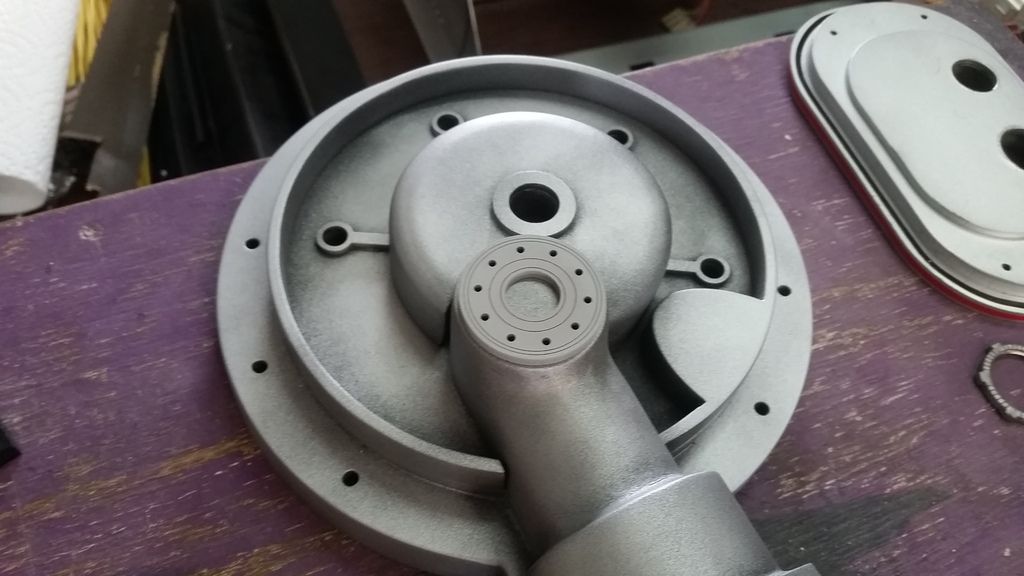
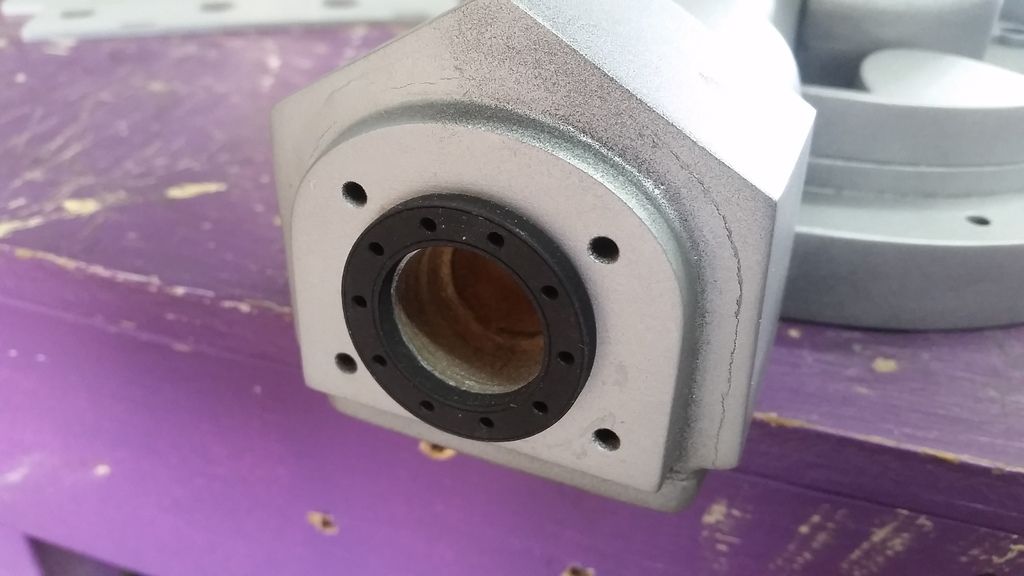
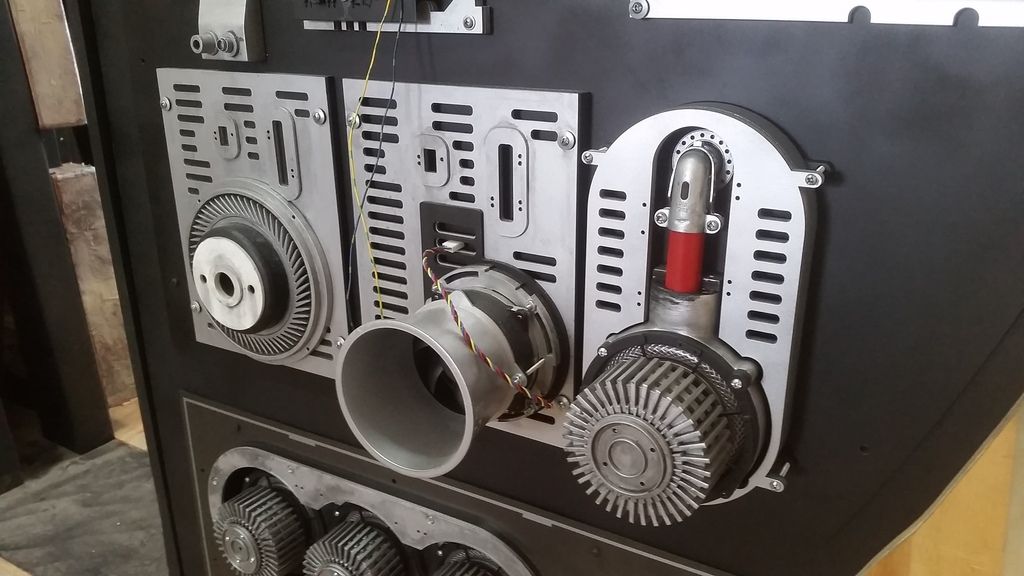
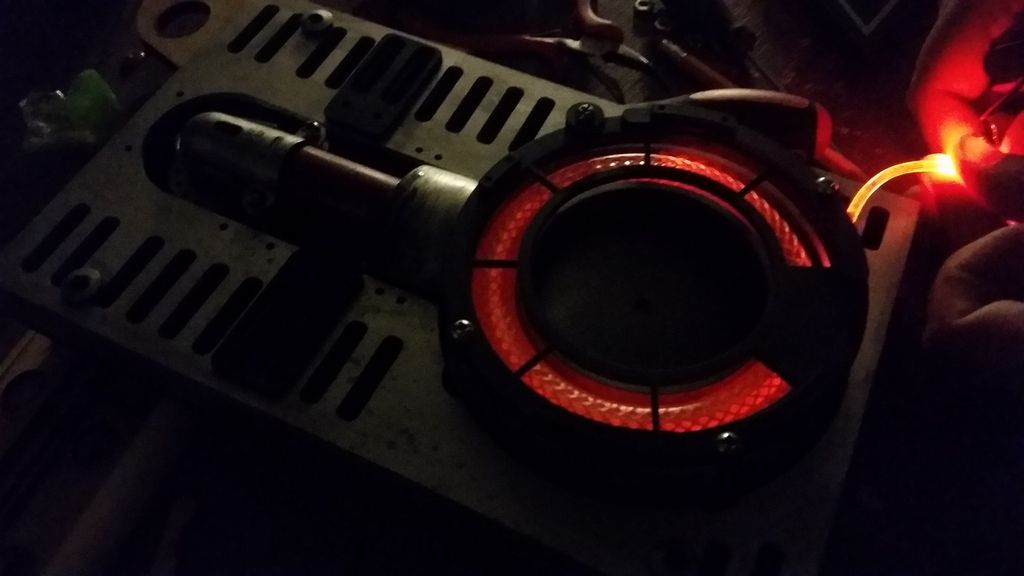
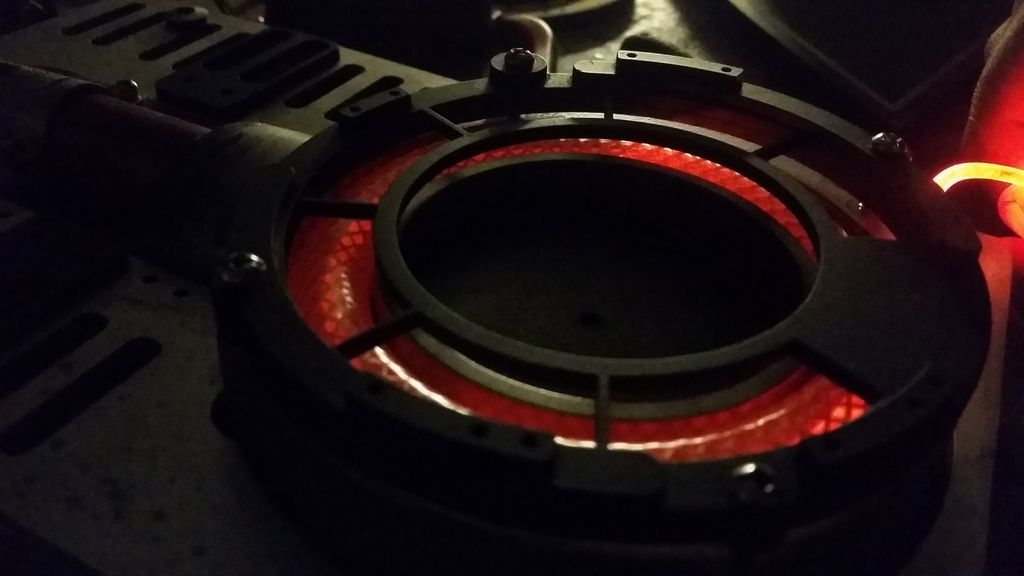
Another greeblie I thought needing a redesign is the large silver panel on Hans's side. I laser cut a new interior piece to mount the new fan frame
WOW! That was a close cut!
I need to add more life to this guy!
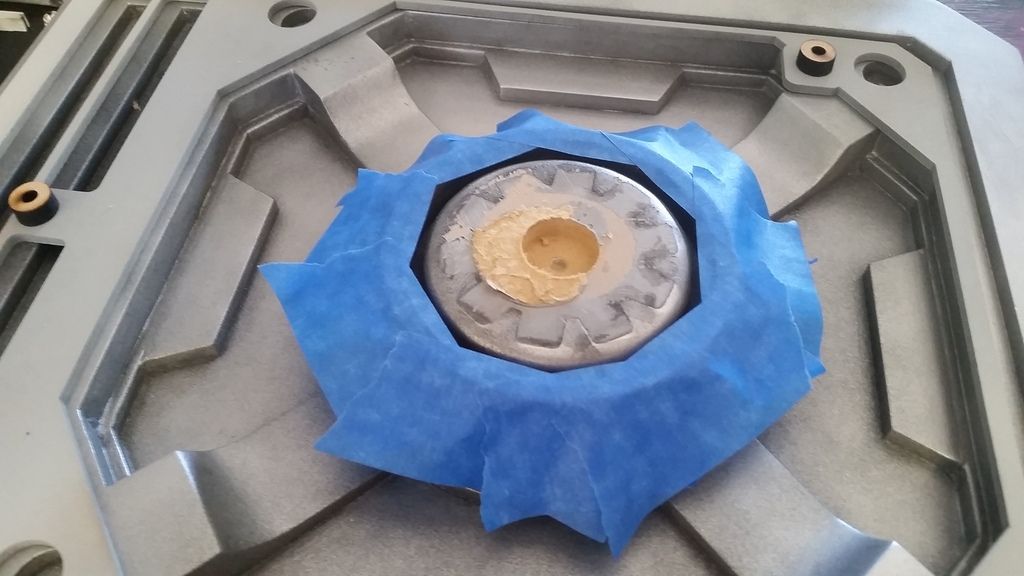
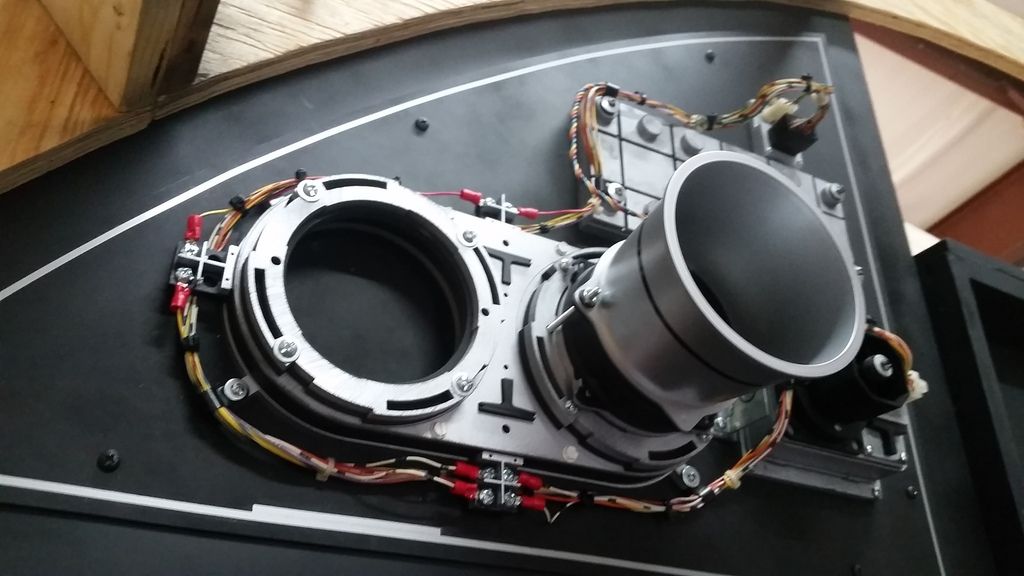
Removing the center piece for the frame to fit
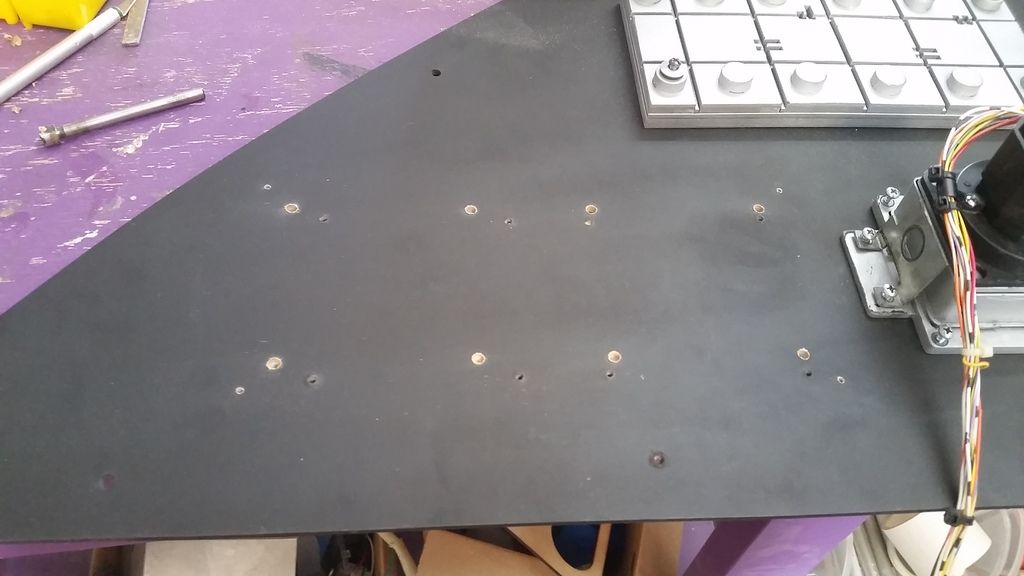
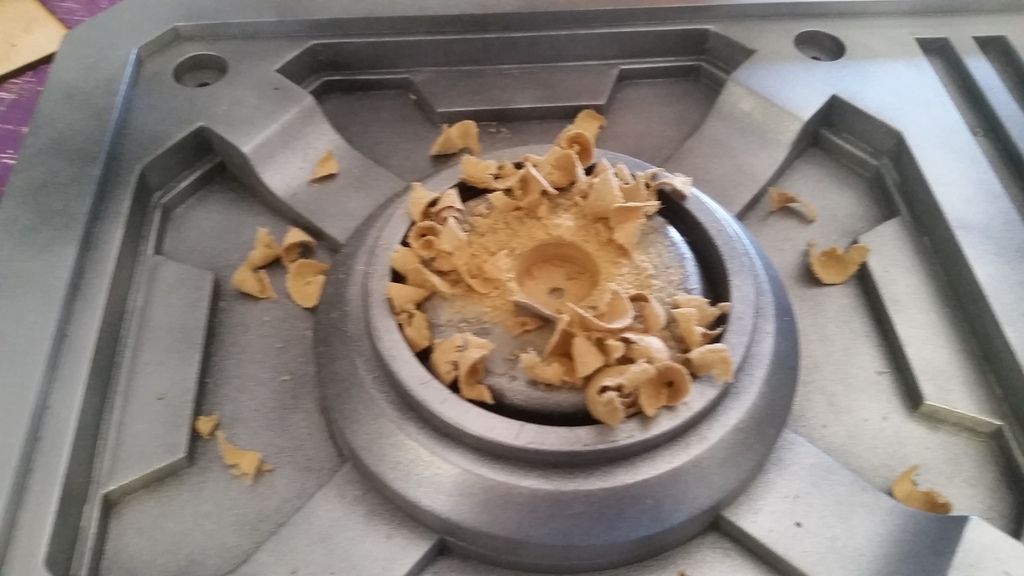
Removing that piece wasn't enough. I had to drill a counter sink hole as well
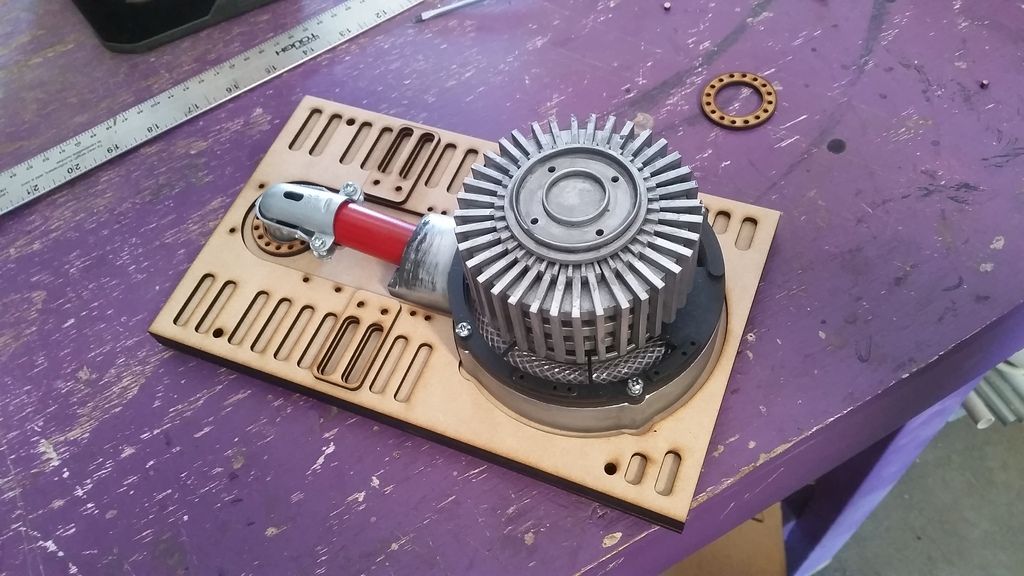
This is where this piece going to go
It was really difficult trying to figure the exact measurements and spacing of the 3 holes
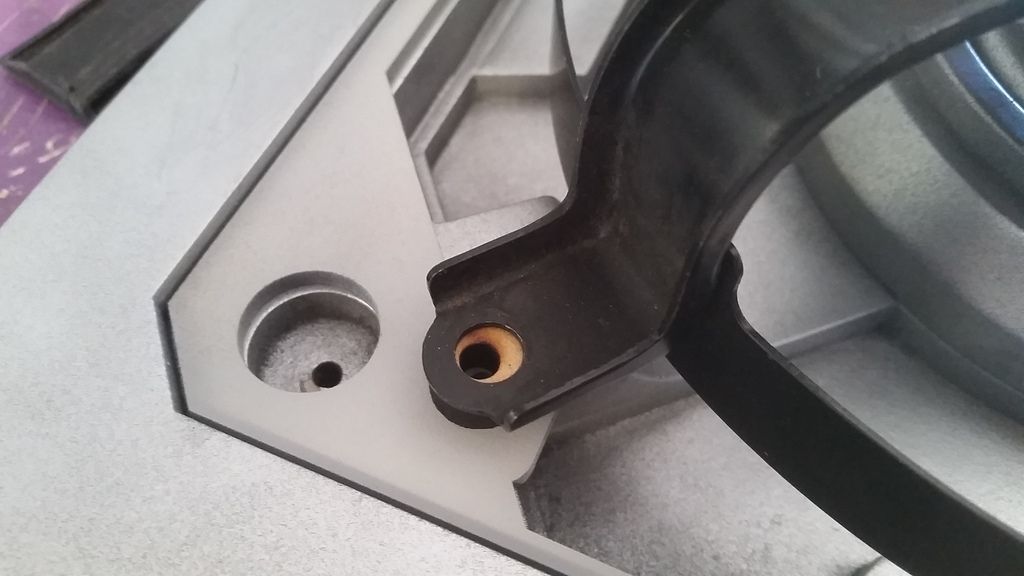
The black outer ring on the fan frame was also interfering with the existing set up so I had to create spacers to lift the frame even higher
Unfortunately... I was supposed to cut a 1/8" piece not a 1/4" :facepalm
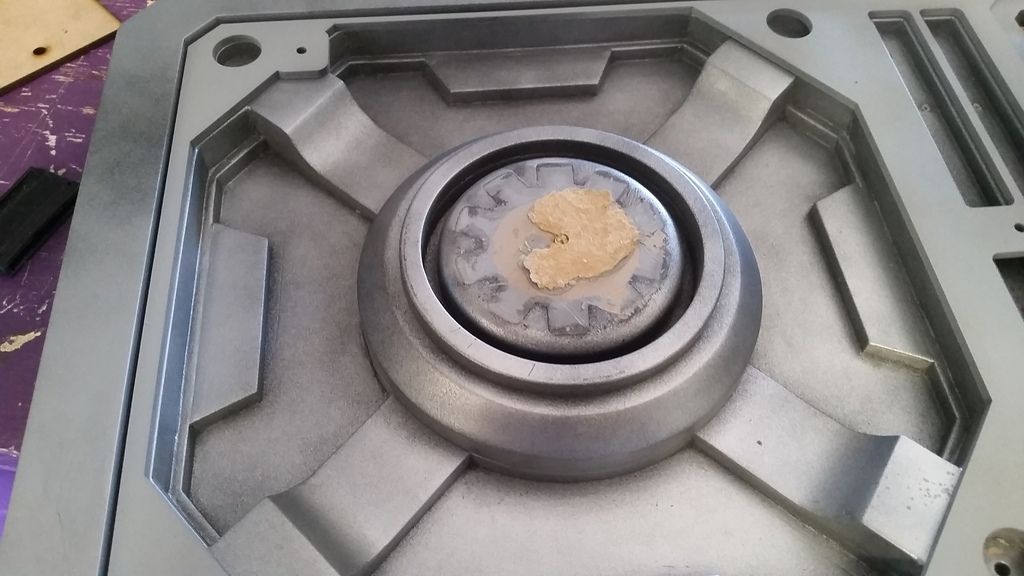
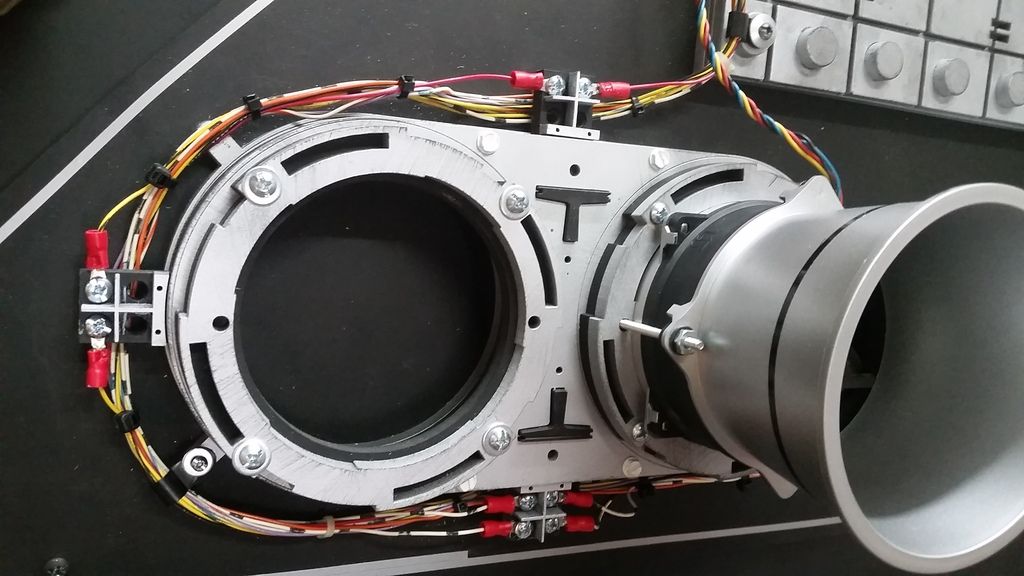
Before I do anything I have to clean this up and sand smooth
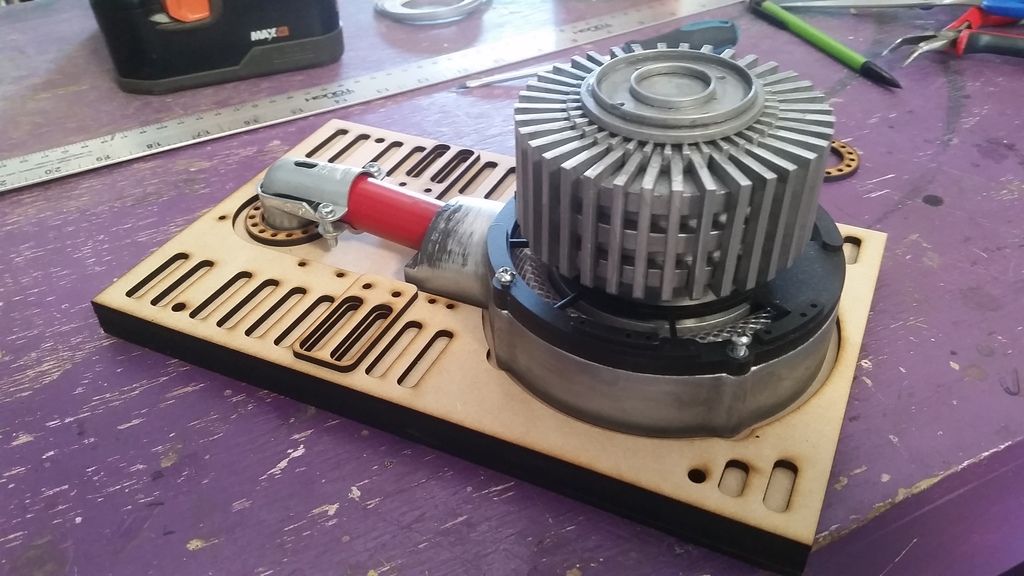
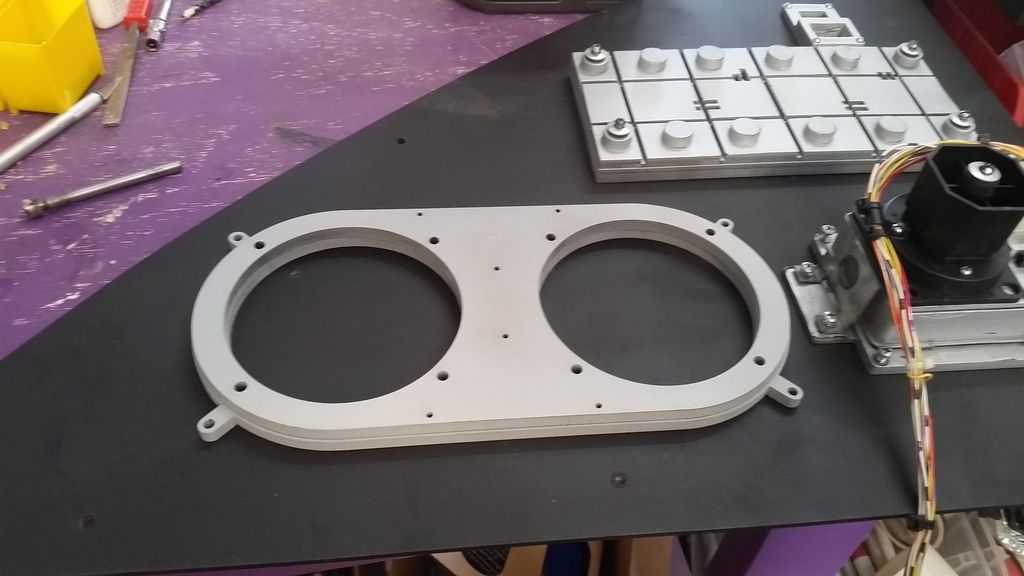
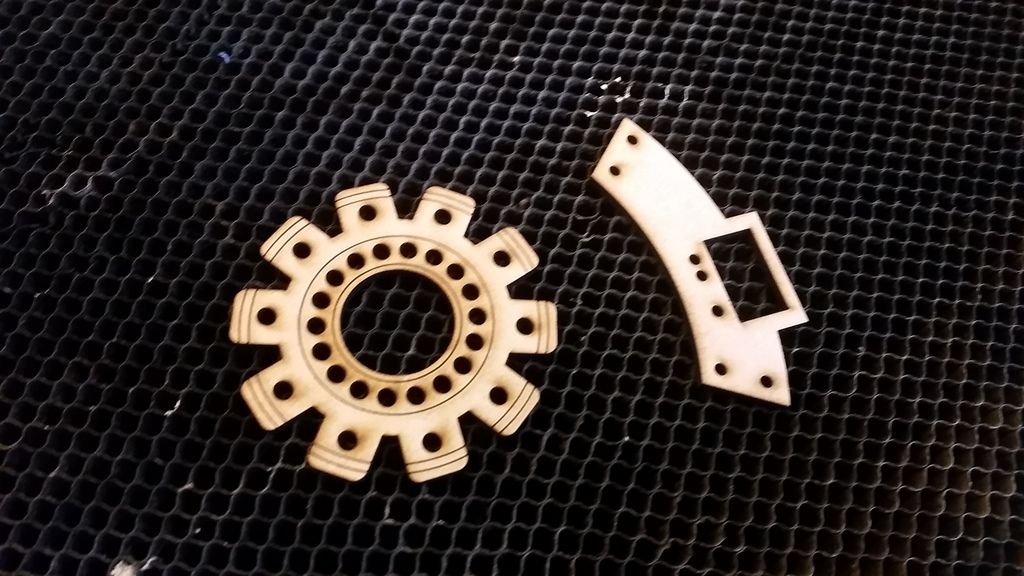
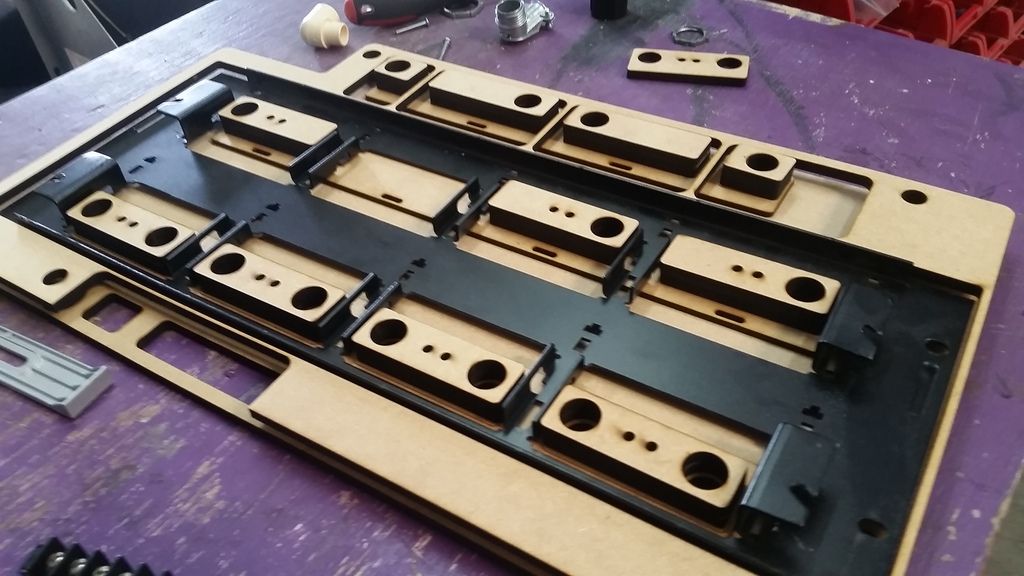
More laser cut pieces added to this growing puzzle
Almost there... just one more change. I love the natural color of the MDF against the silver
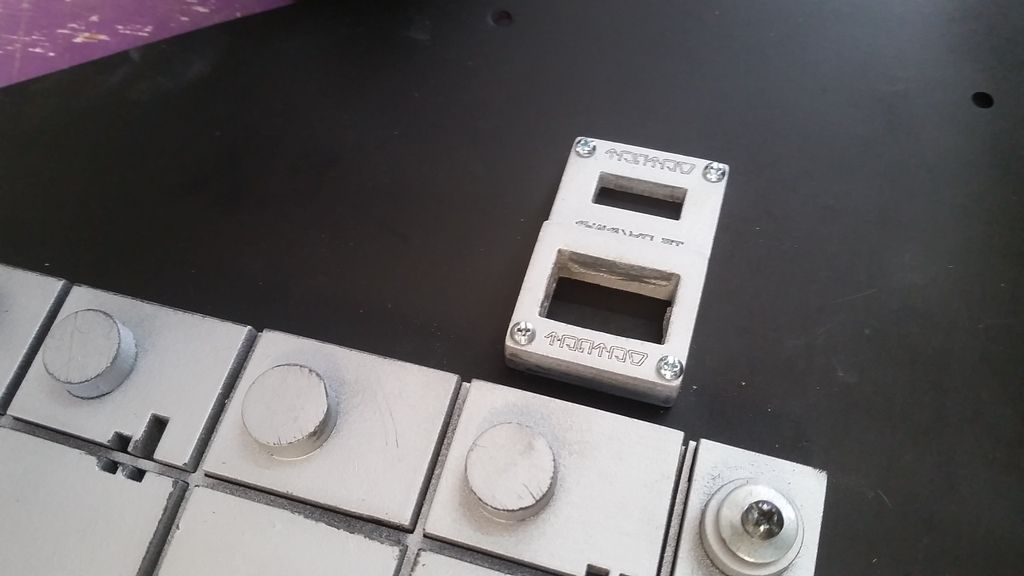
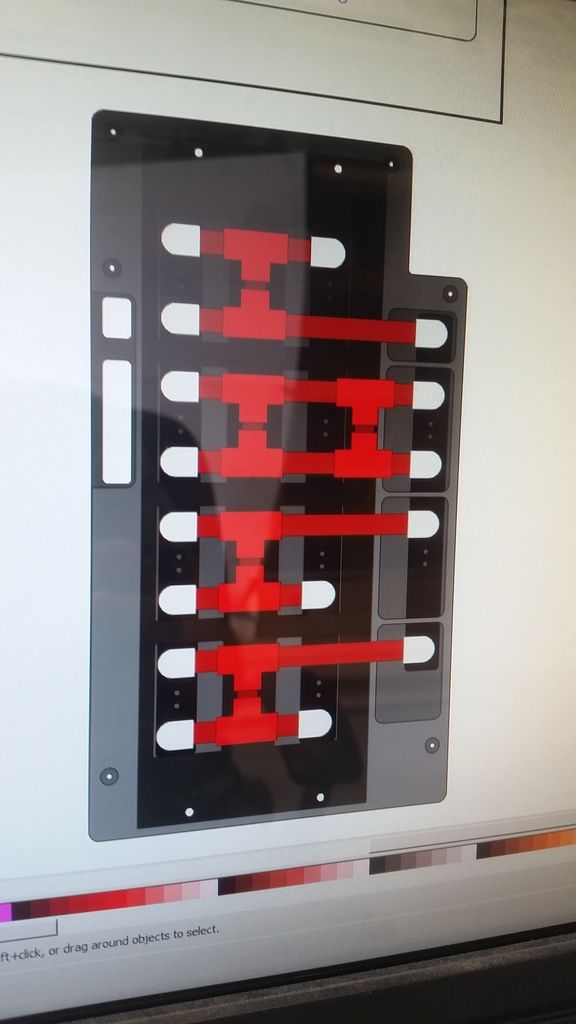
Wire connector
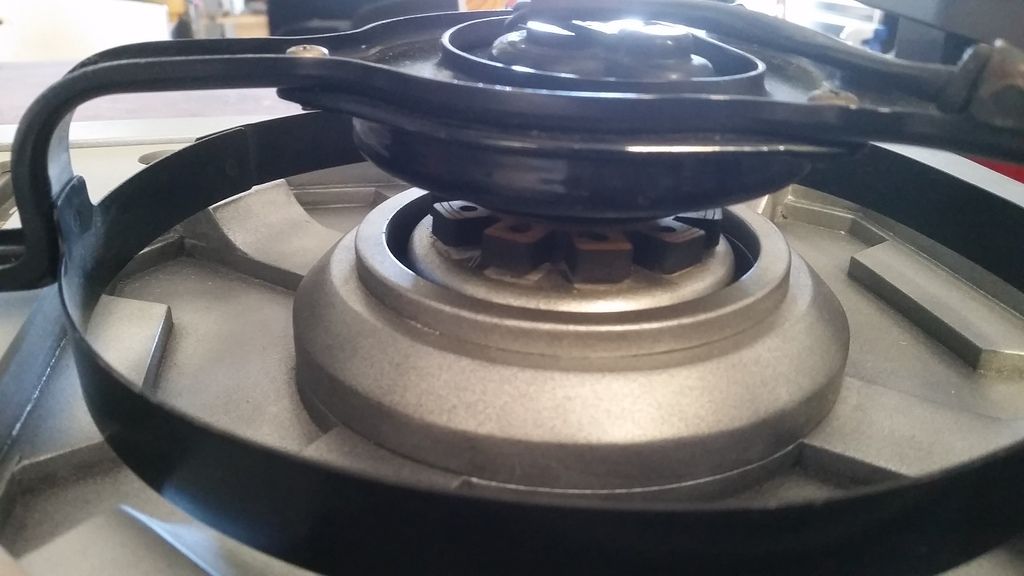
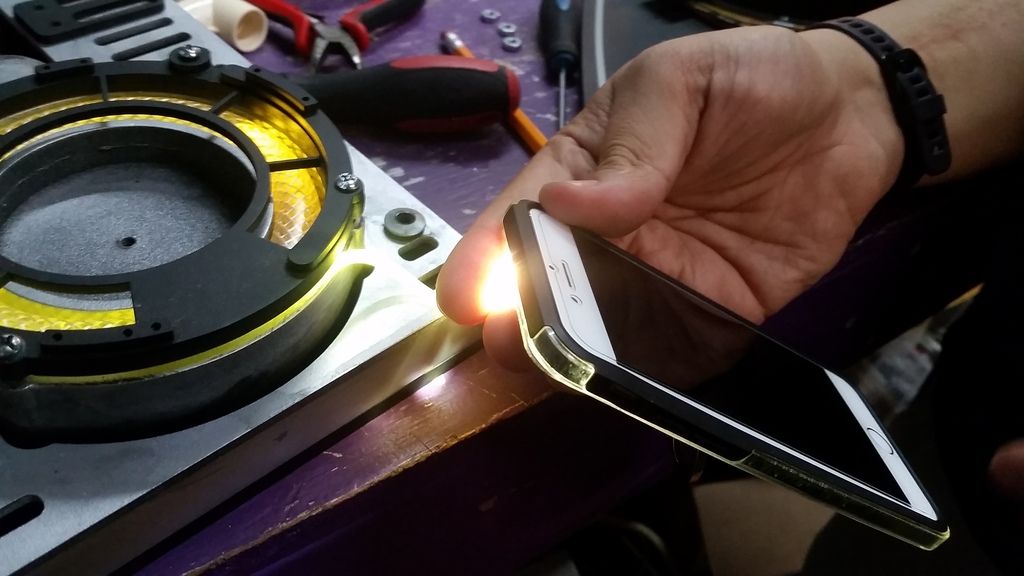
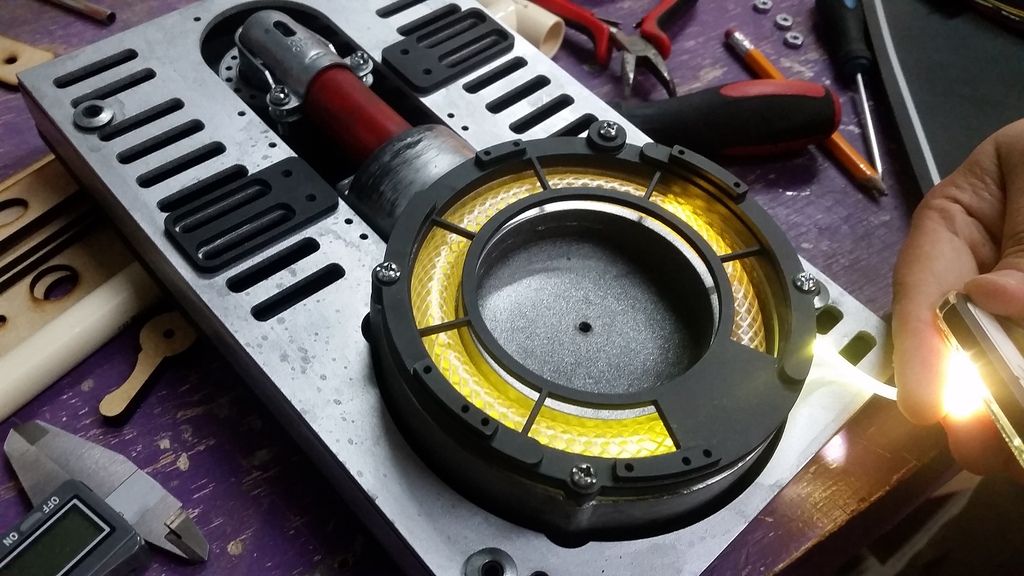
A place to put some flashing LEDS!
Getting close to mounting! I had to cut some counter sink holes
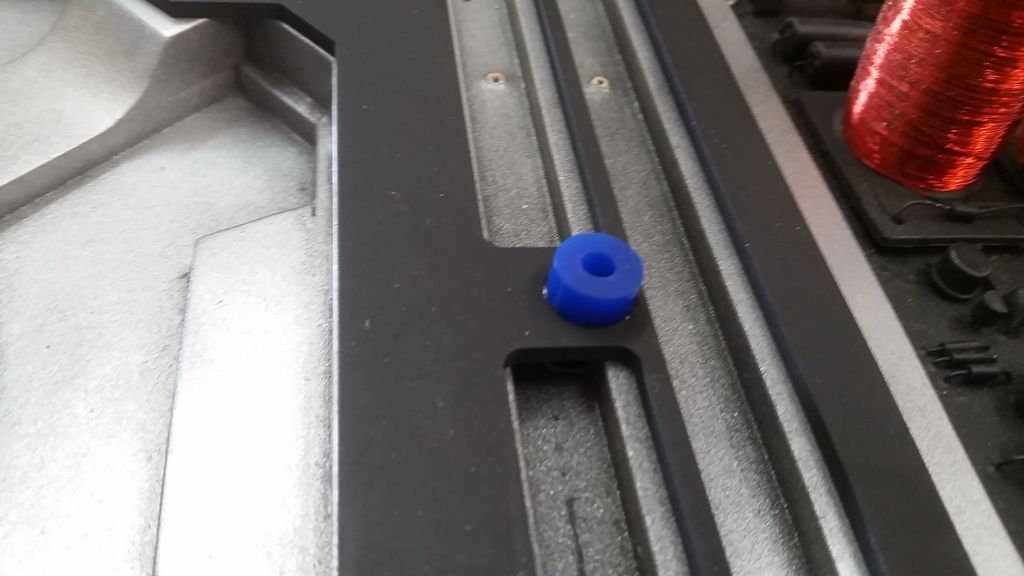
New trim piece cut with blue acrylic spacers - both to be painted black
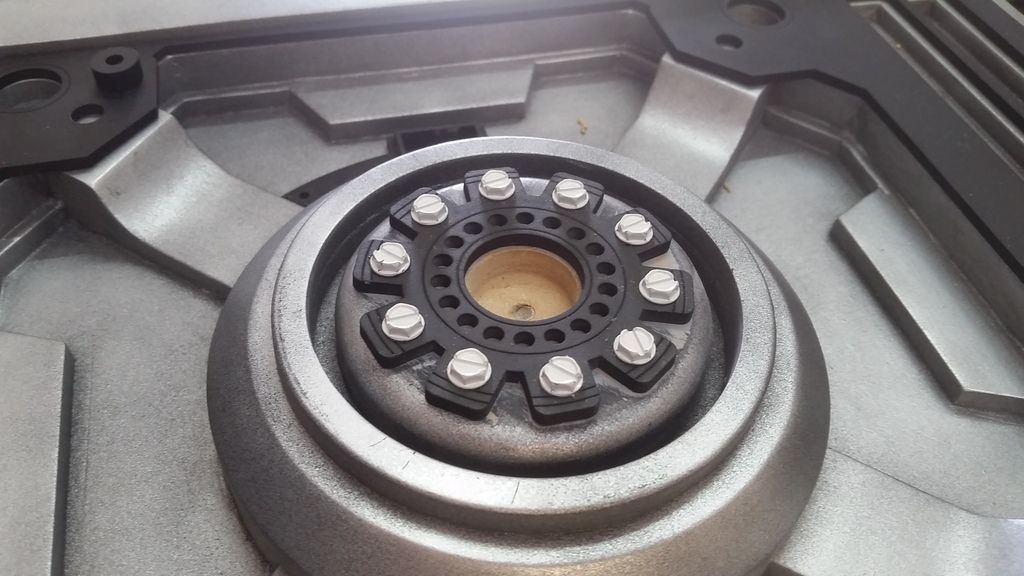
New center piece mounted
Weathered
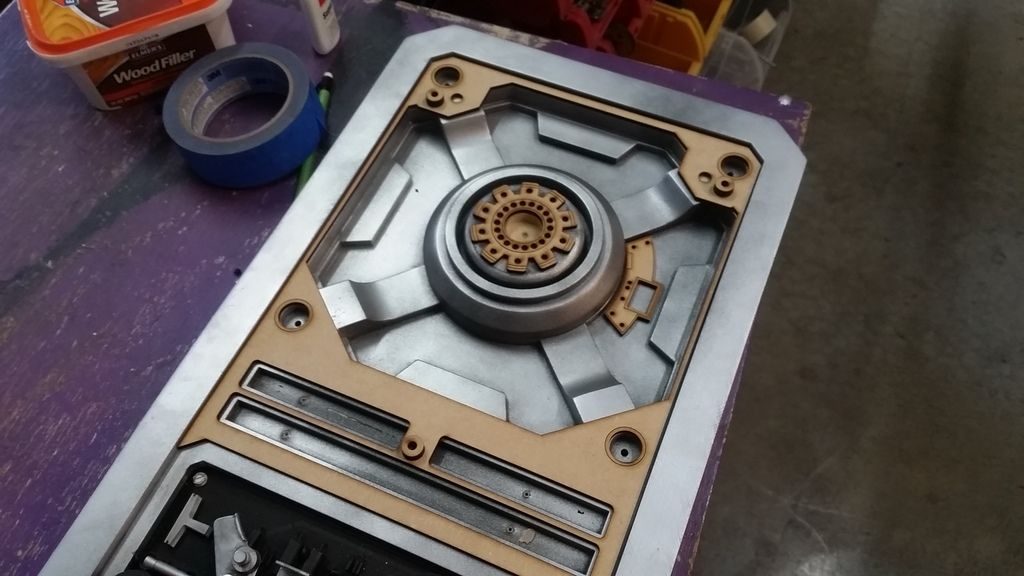
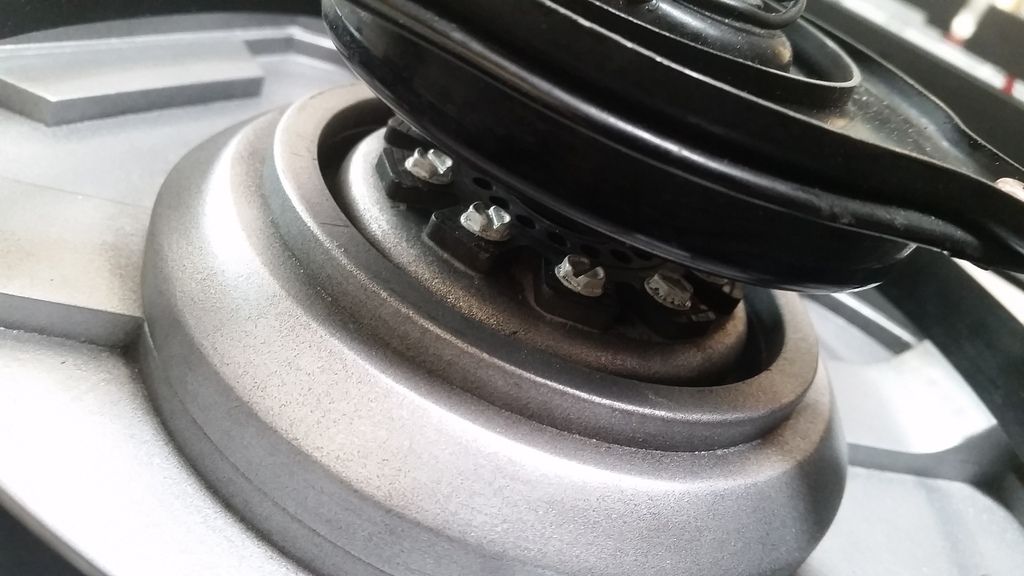
Almost there!
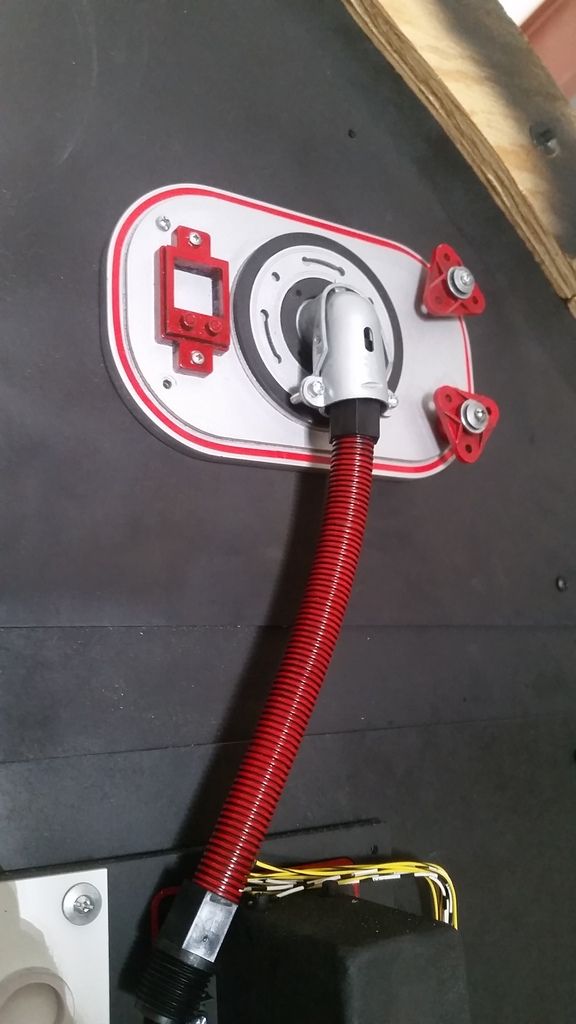
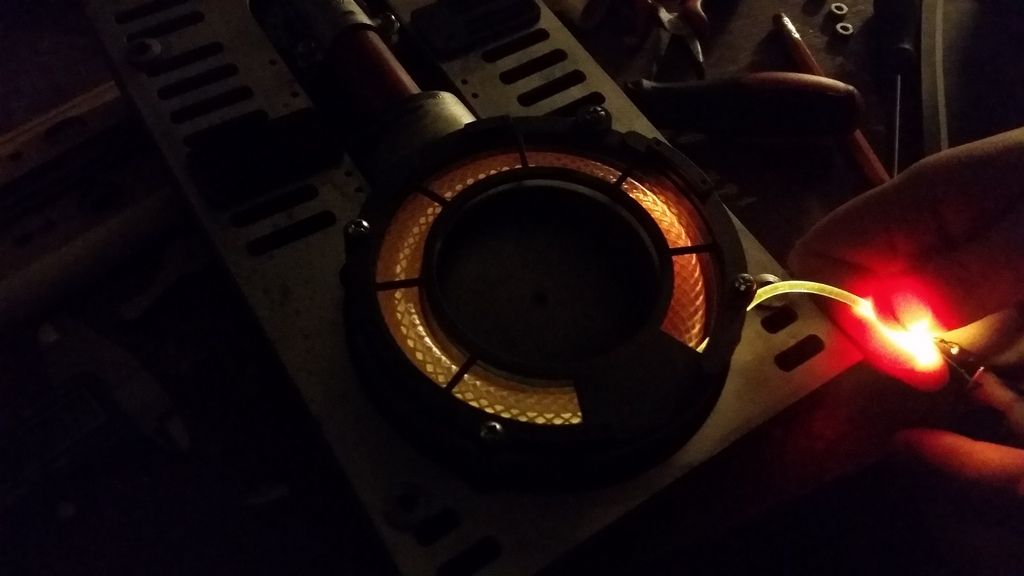
DONE! (mostly)
I love it! The new fan frame adds so much visual interest! I can't wait to add the flashing LEDs
Still need to add the pin stripes to all the other panels - that's going to be fun!
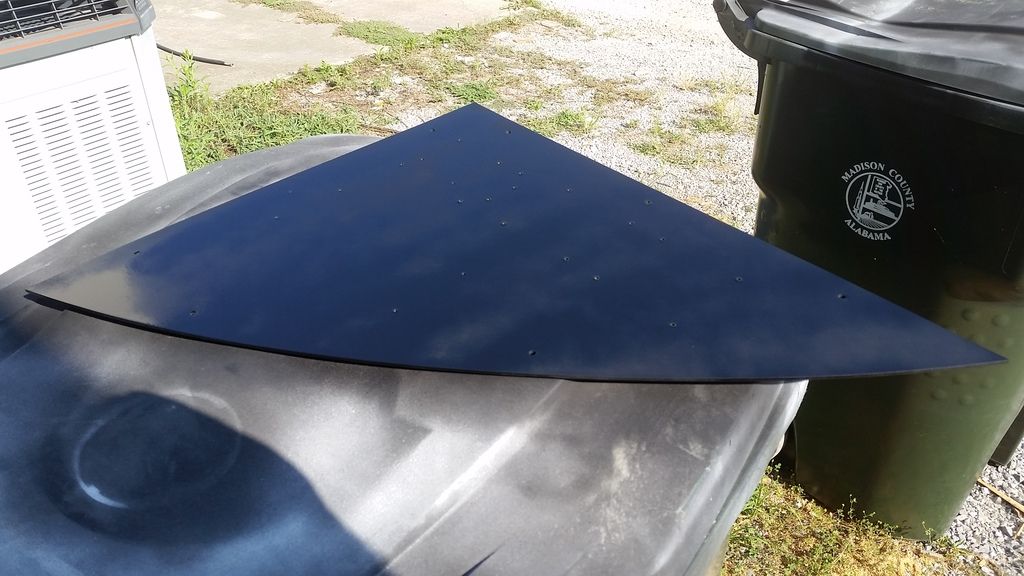
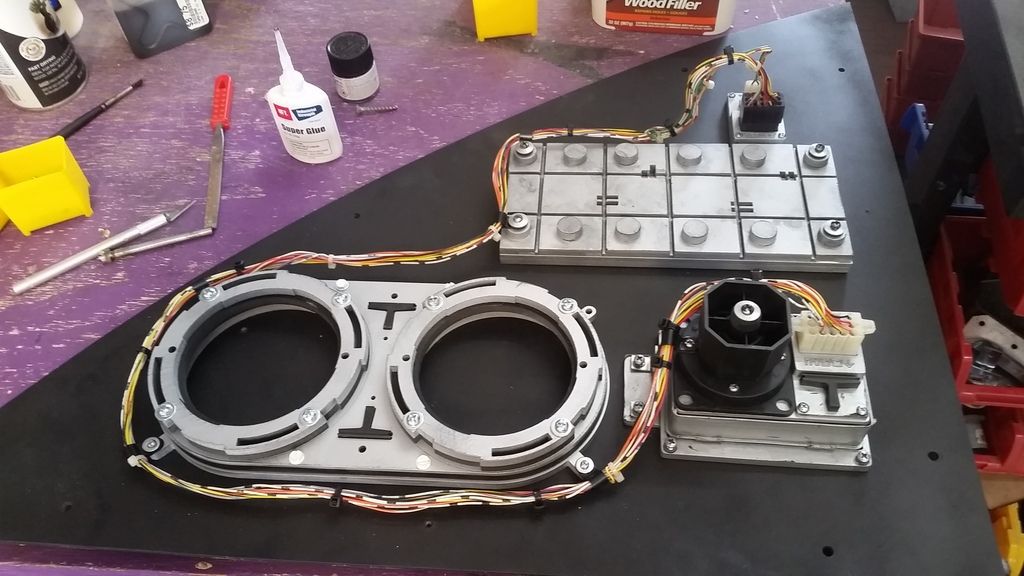
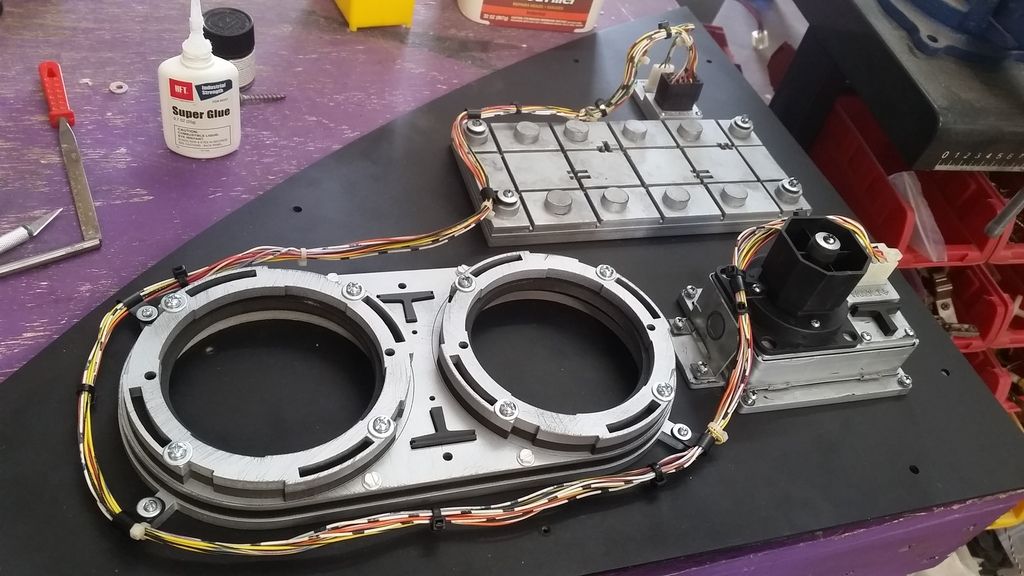
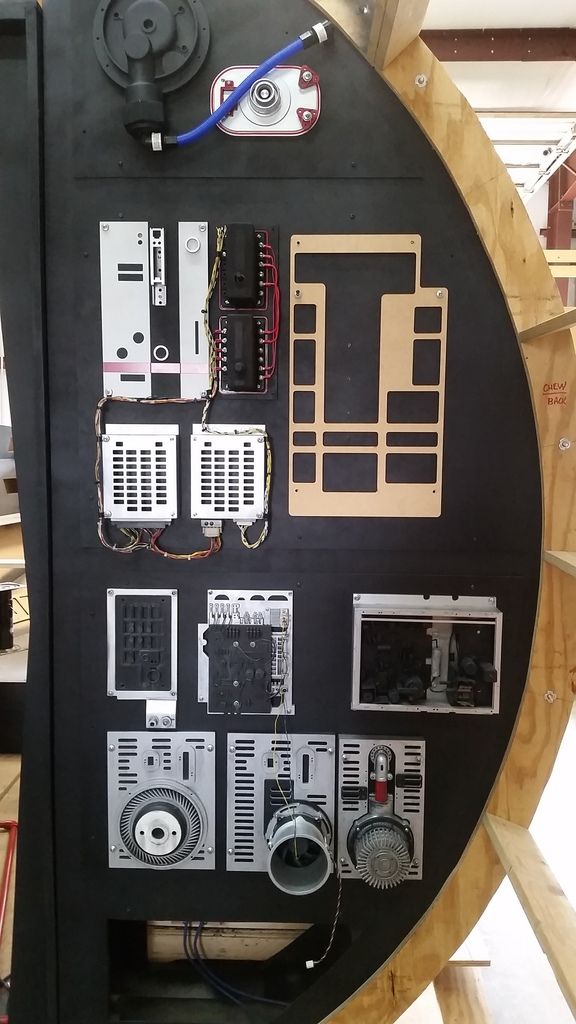
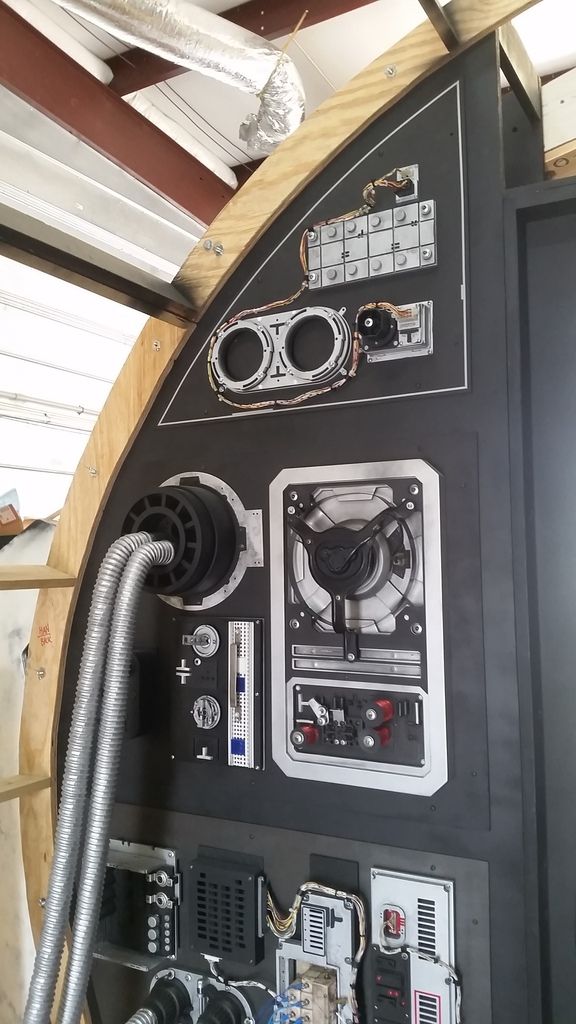
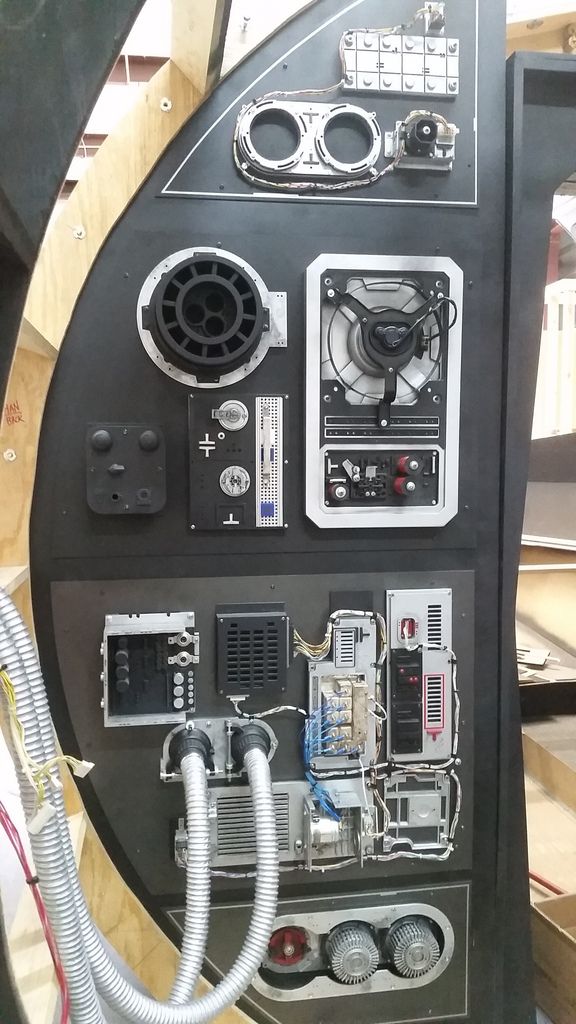
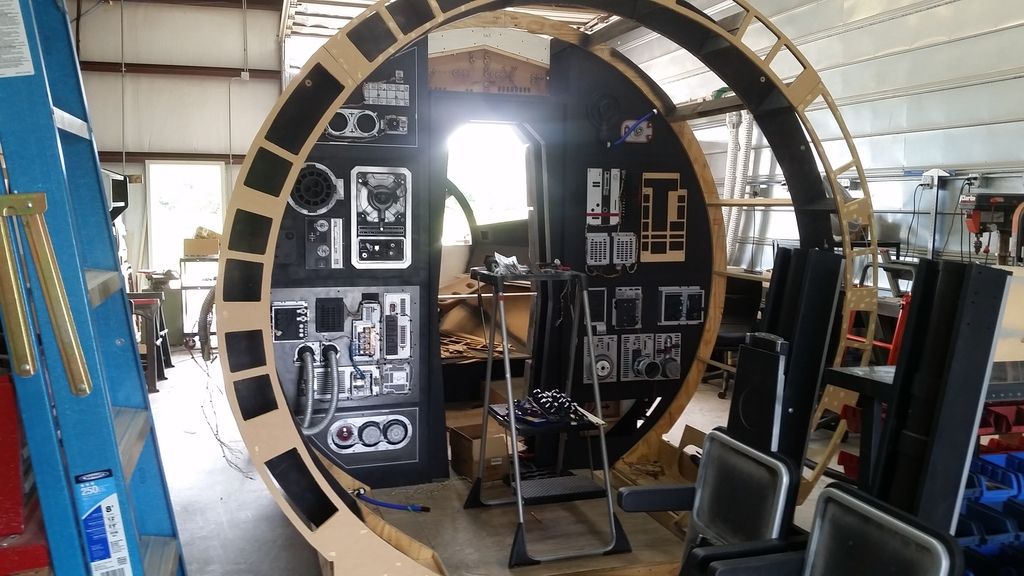
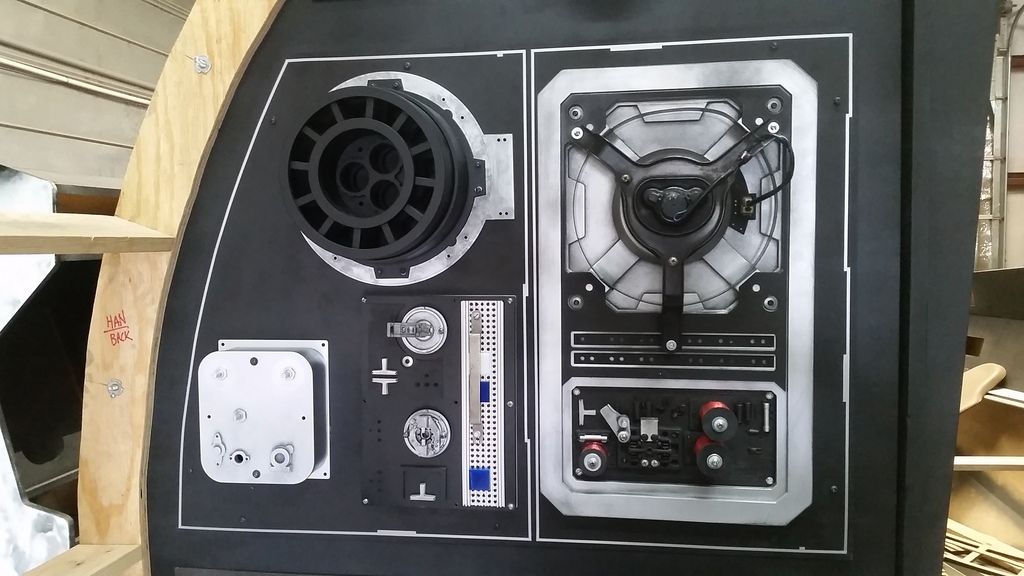
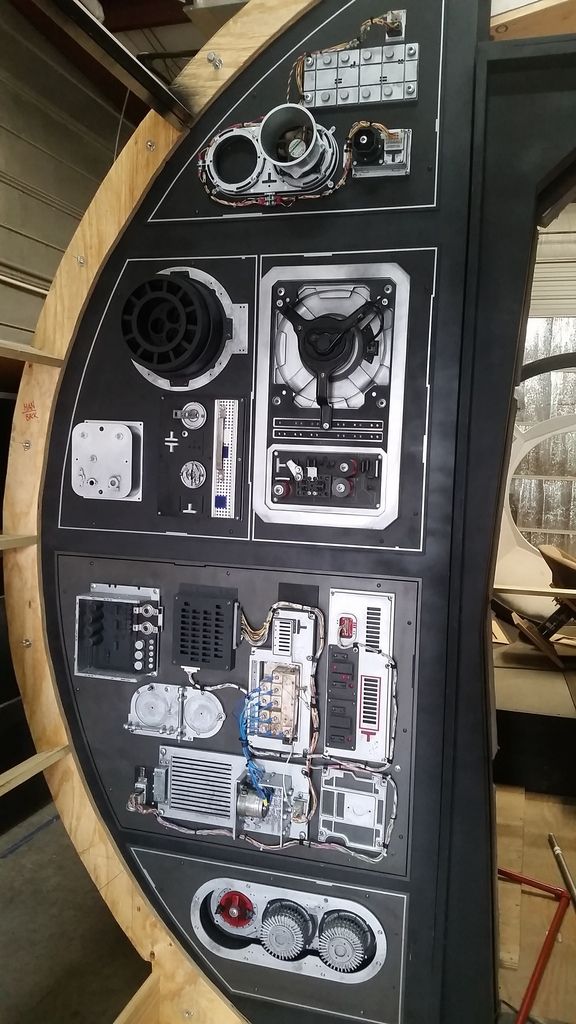
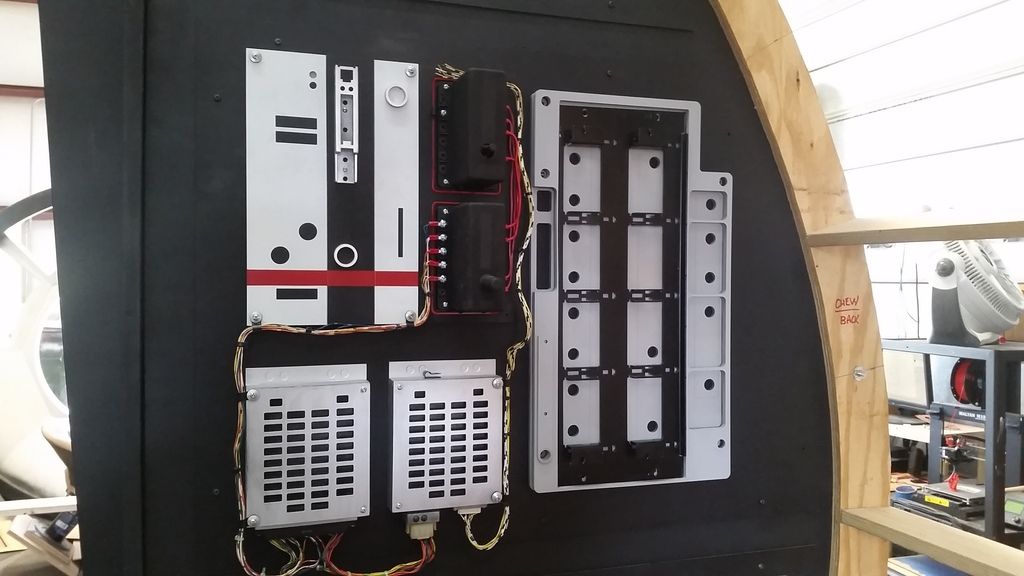
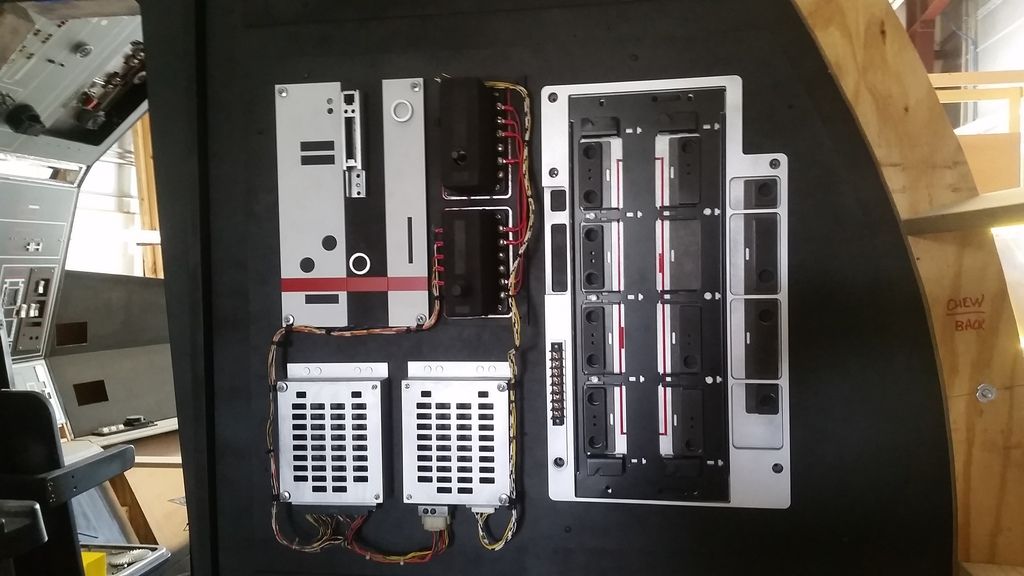
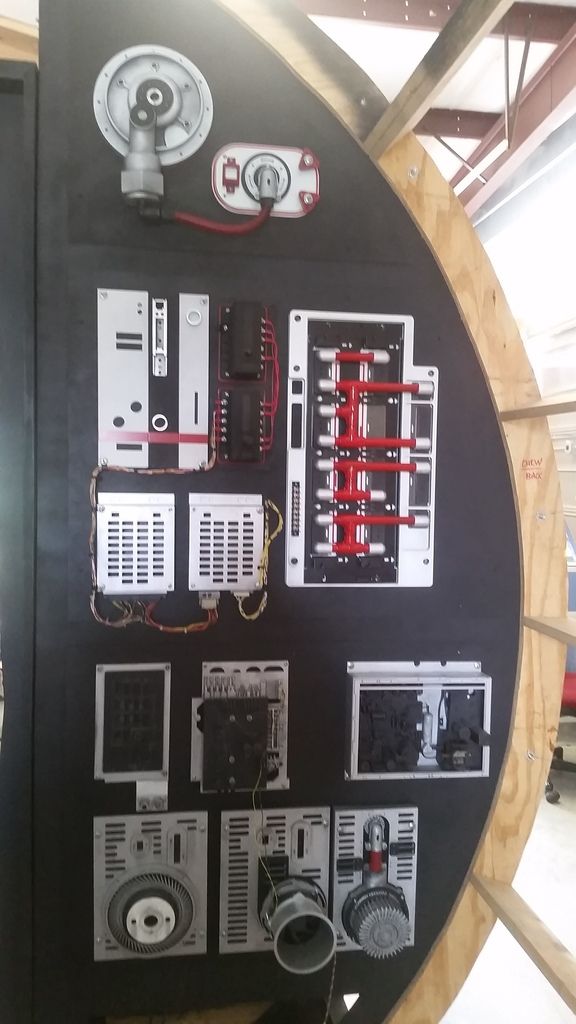
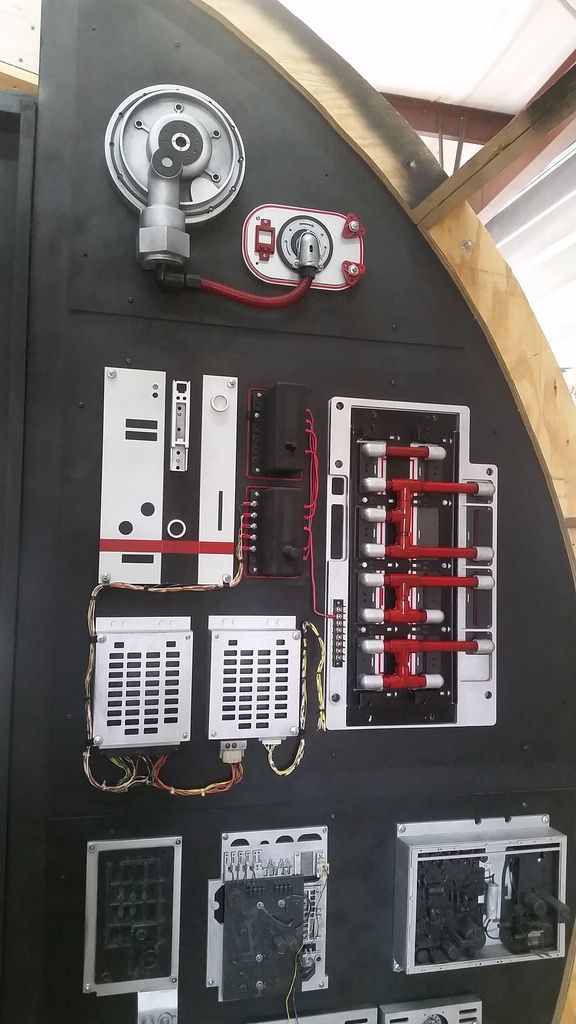
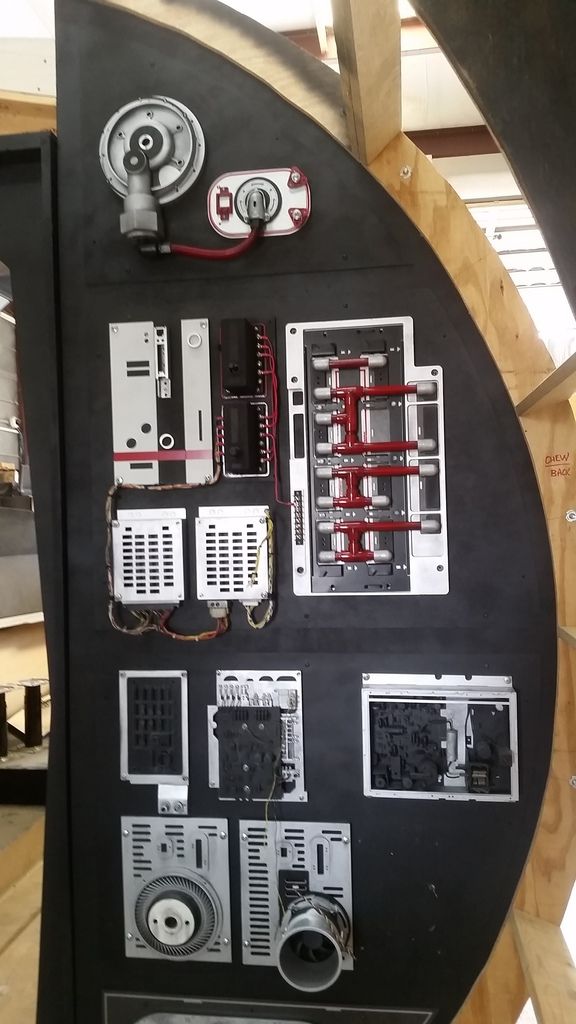
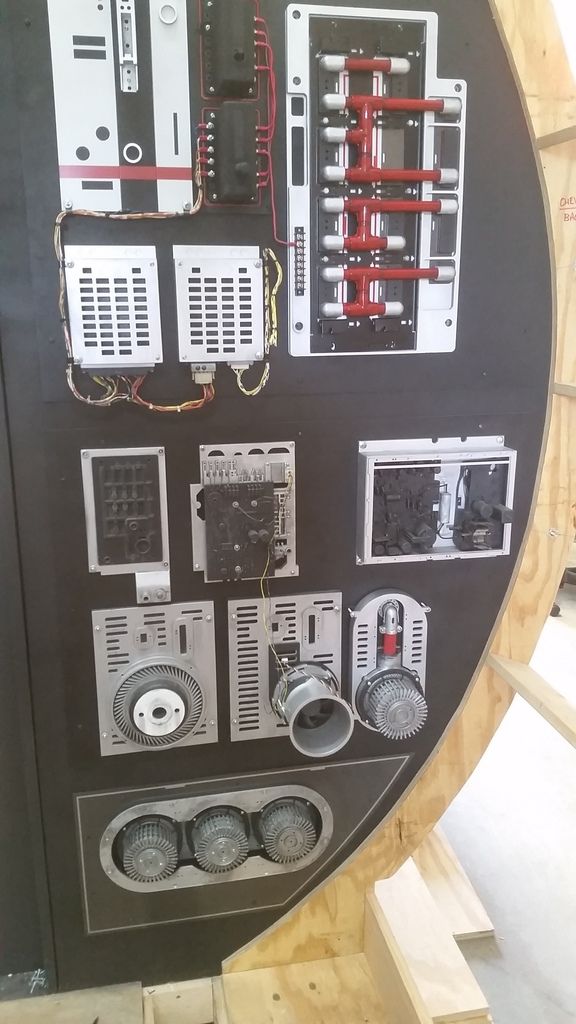
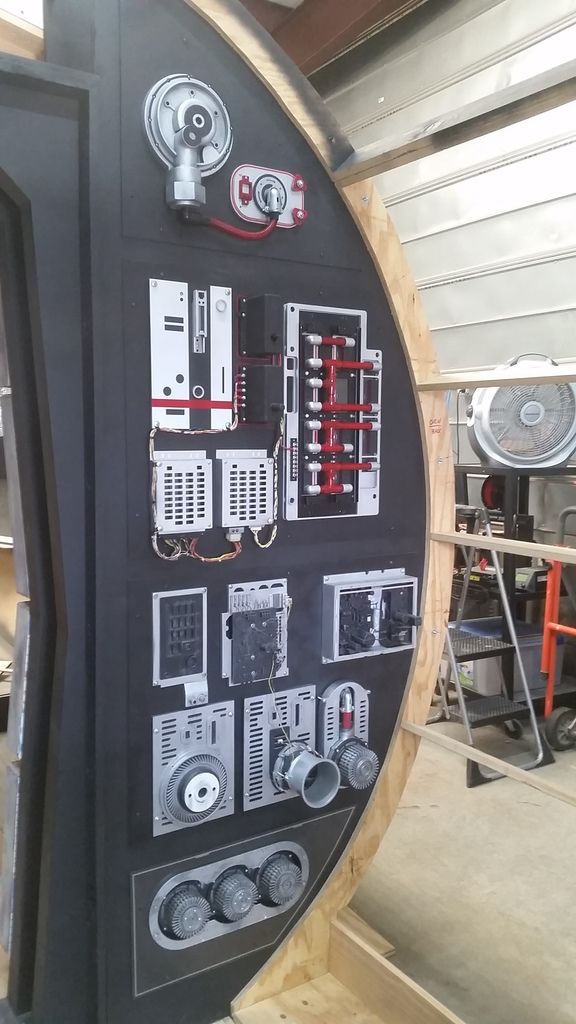
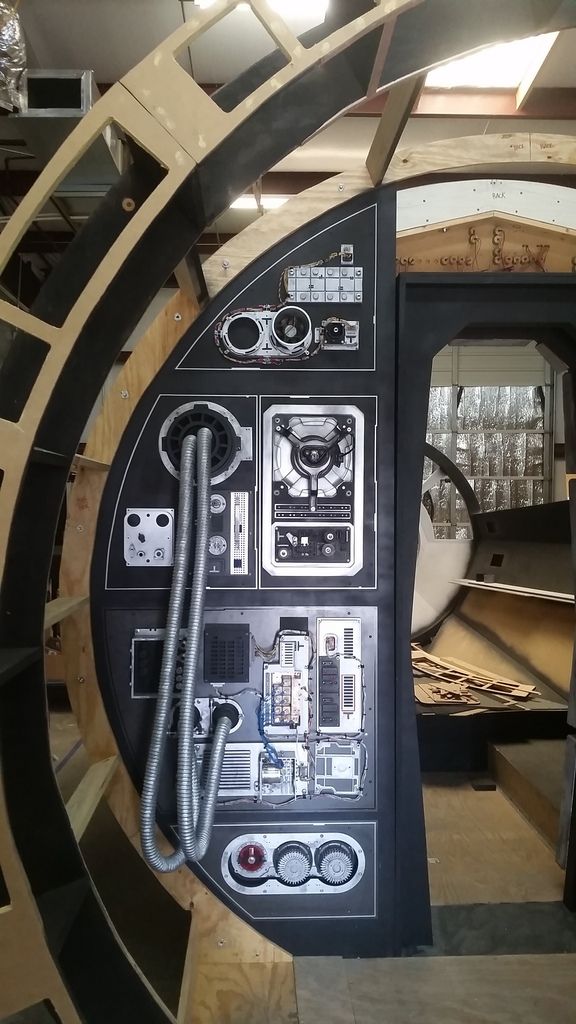
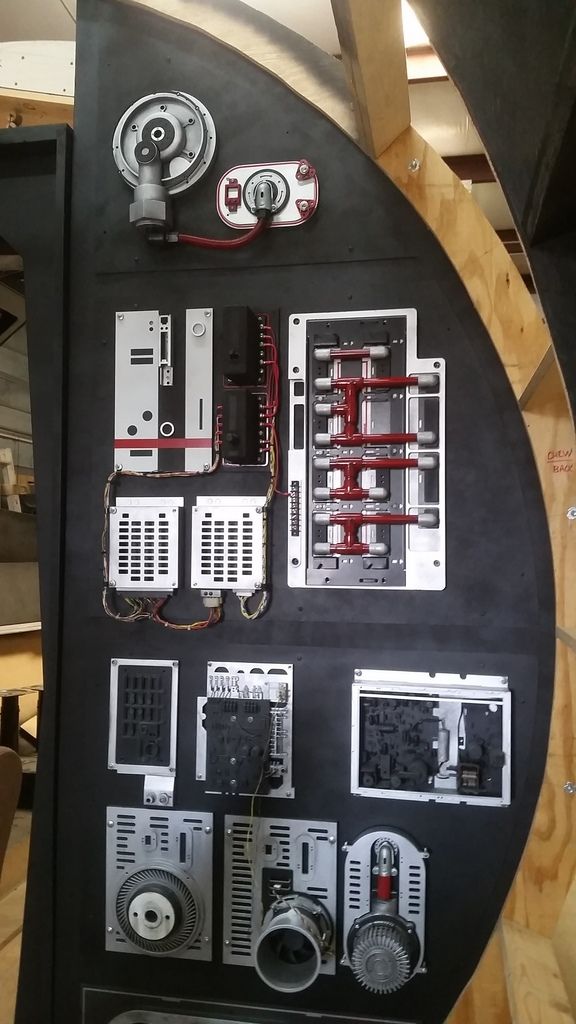
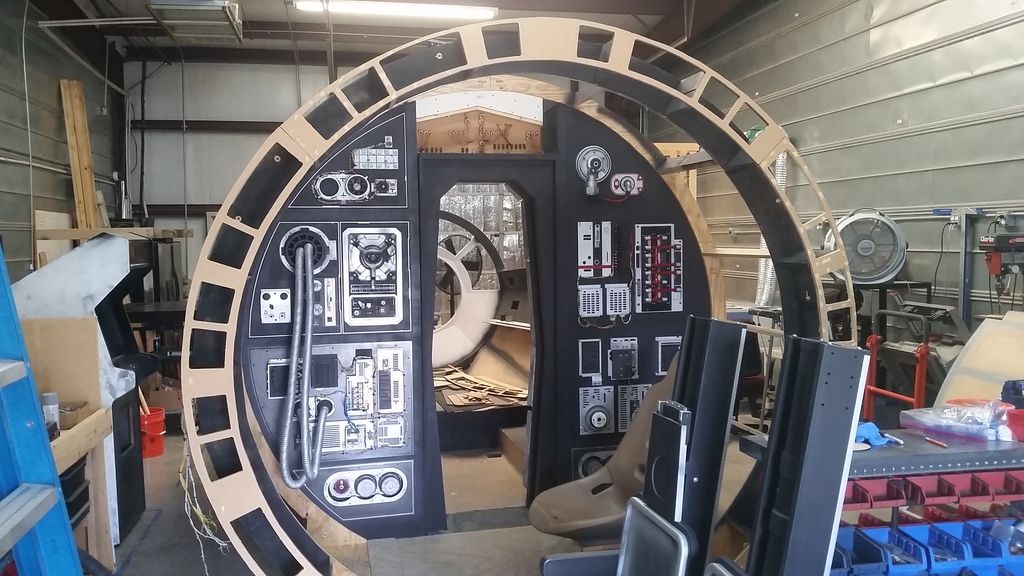
And this is where we are!
More to follow! I'm going to try to go to the shop this week and knock out a few things.