37 1/2 inch (1/2 studio scale) TOS Battlestar Galactica scratchbuild #2

Lighting a model can be simple or as complex as you want. This kit would require as the basics some white 5mm 3v 20mah LEDs and a red 3v LED. The whites would be for the windows and main engines and the red for the middle impulse (?) engine. Plus you will need fiber optic for the windows.

Go here and plug in the info and it will design a circuit for you.

LED series parallel array wizard

You can get more complicated by adding special lighting features like the landing bay lights, flickering engine lights, etc.

You can add lights with a little understanding of basic electronics and a good pencil type soldering iron (about $20). There's lot of videos on how to solder LEDs and how to use fiber optics. I say with this kit, you almost just have to light it. When I get mine, I'll do a full build tutorial and if people want I'll show the basics of lighting and fiber optic-ing as well. I'll be doing my engines blue (just to be different) and will add the snow fall lights in the landing bays.

Thank you Robiwon for the advice! I for one would appreciate in your tutorial if you did cover lighting! Like you said, this one just begs for lighting and I want to do it right. I plan to light the engines, bridge,random windows and back light the landing bay decals. Plus with your full build, that will help with where some of the small greebles from the ziplock bag go that I have not figured out their location yet!
When you do get yours, you will love it. It is some of the most outstanding model work and casting I have ever seen!
 
HI Mike, I am new here, and expect to be known also for the many models I make too. Love your BSG starship. I would like to know how I can get one. Randy and Martyn got theirs, Where is mine? lolll PM me if you please. JF
 
Mike, I was helped by Nwerke and send you an e-mail back in november and december 2013, but never got any answer. Am I at the right place this time? JF
 
I know we've seen pictures of the kit parts already, but PLEASE POST MORE PICS FOR THOSE OF US WHO DON'T HAVE OUR KITS YET!

And, yes, I was yelling.....but in a good way! :lol
 
I know we've seen pictures of the kit parts already, but PLEASE POST MORE PICS FOR THOSE OF US WHO DON'T HAVE OUR KITS YET!

Unfortunately pictures do NOT do justice to the kit. I have received my kit yesterday. The detailing is insane and the casting is amazing. You can see in every aspect of the kit that Mike has years of experience. This kit rocks ! THANK YOU VERY VERY MUCH MIKE !!!

I have never posted pics before, so hopefully I have done that right:

Galactica kit 1.jpgGalactica kit 2.jpgGalactica kit 3.jpgGalactica kit 4.jpgGalactica kit 5.jpgGalactica kit 6.jpg
 
Last edited:
So he did. Didn't get any far as I have seen, but I have some of the right stuff anyway I think. Ta for the clarification.
 
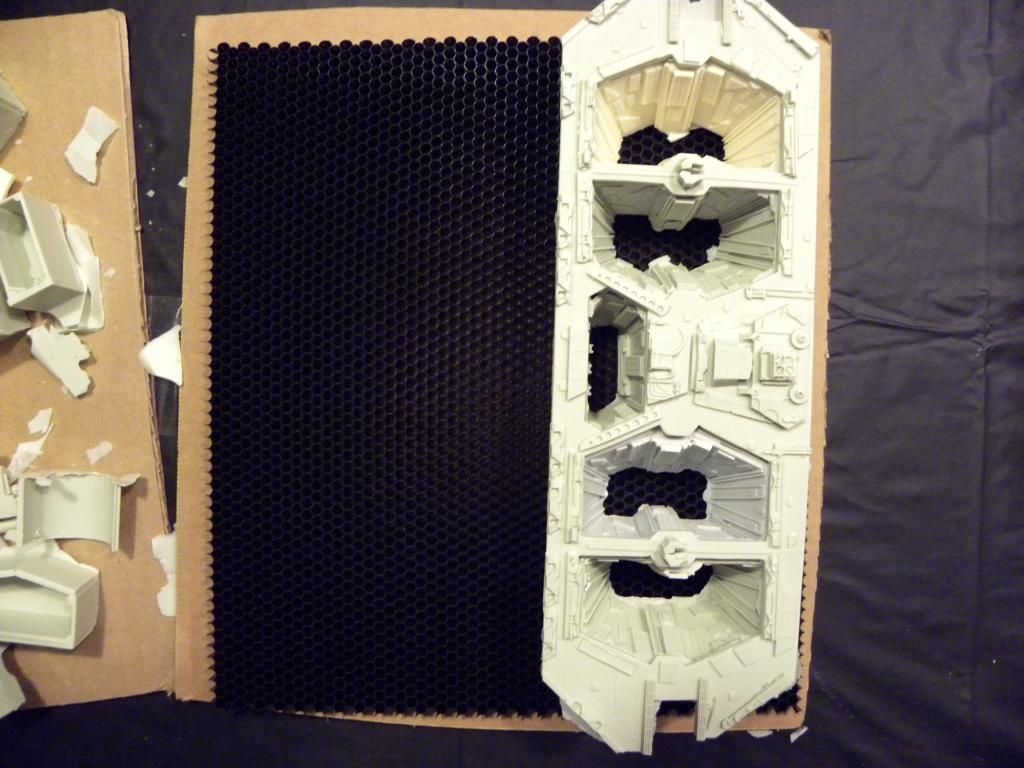
Well after a super crappy week, I got back into town to my fedex delivery of honeycomb grid material.

Ordered 1/8 inch grid size, 20 degree diffusion and it comes in black polycarbonate.

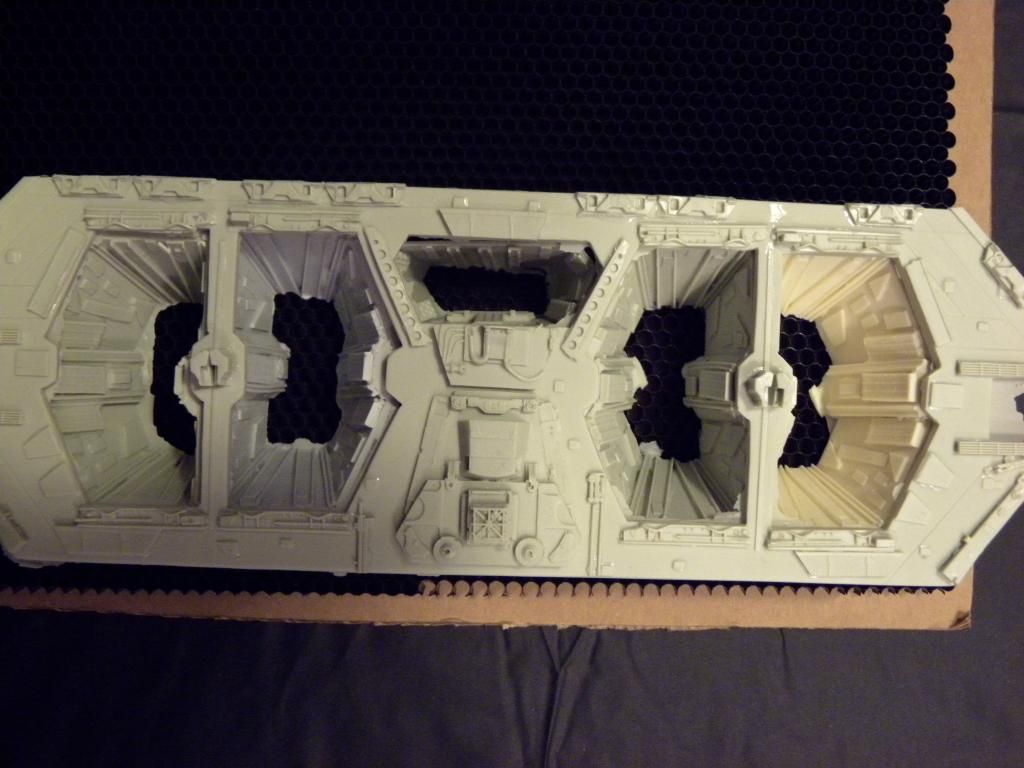
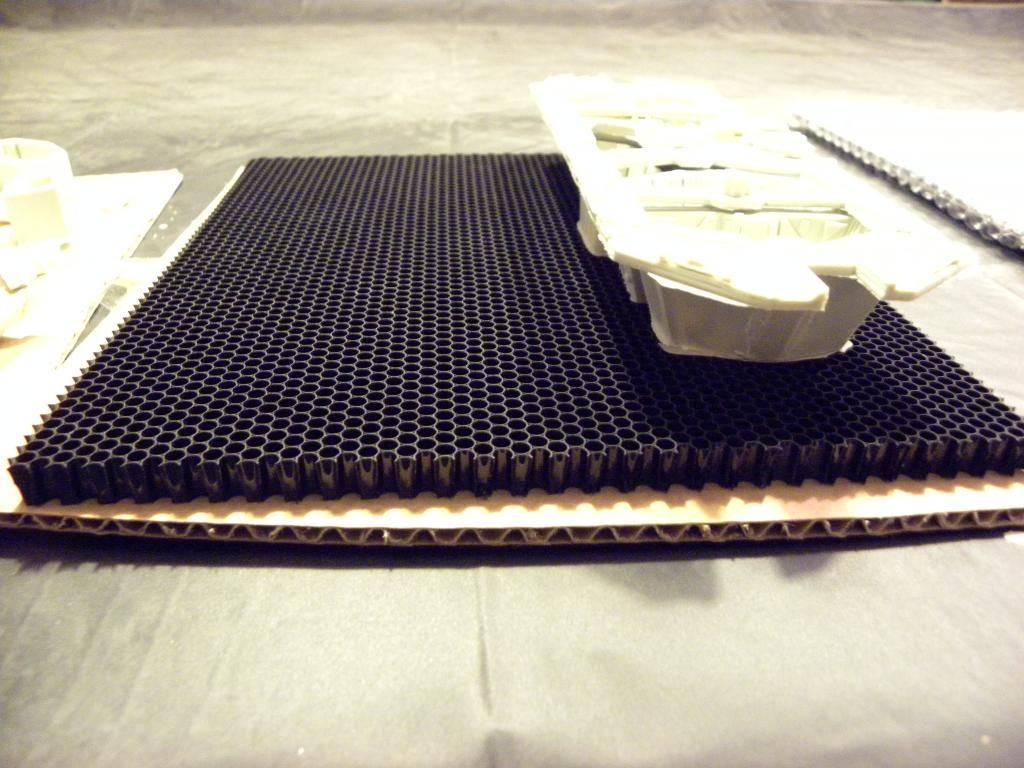
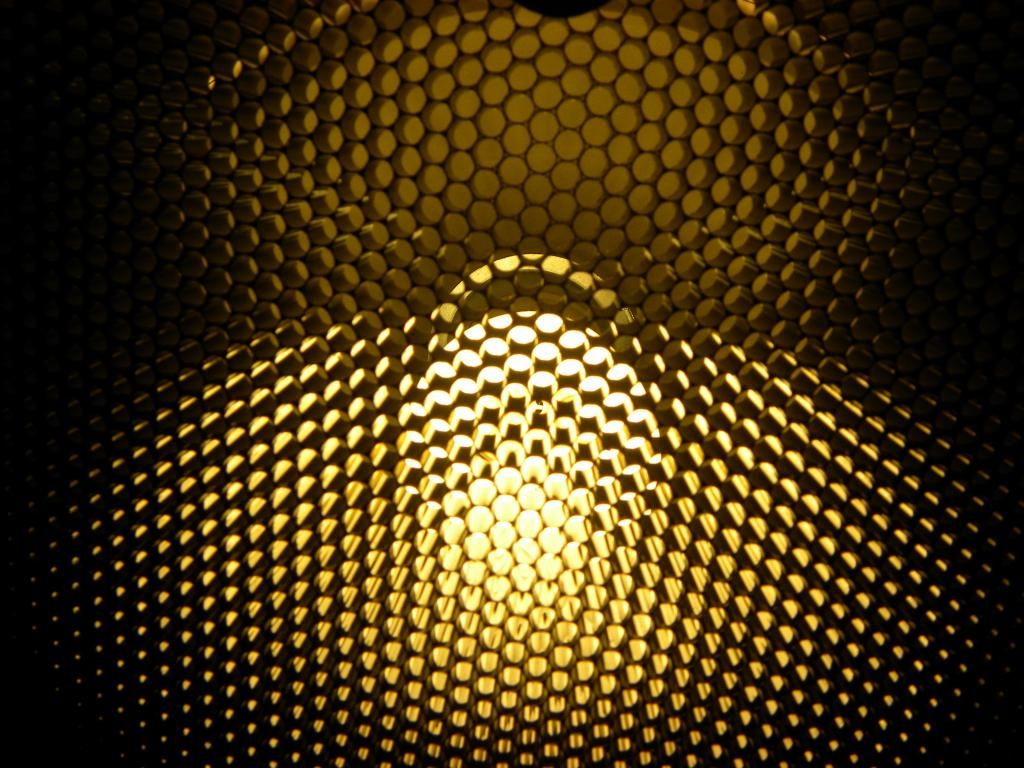
Cracked it open and mocked it up . . .


I think I'm going to be SUPER happy with this, especially once I run a gunmetal spray over the black grid, as the original was stainless or aluminum, I don't remember and mines in storage, but either way this is spaced 1/2 of the original. Its a little thick at 3/8 inch but should be easy enough to make work with the provided light boxes.


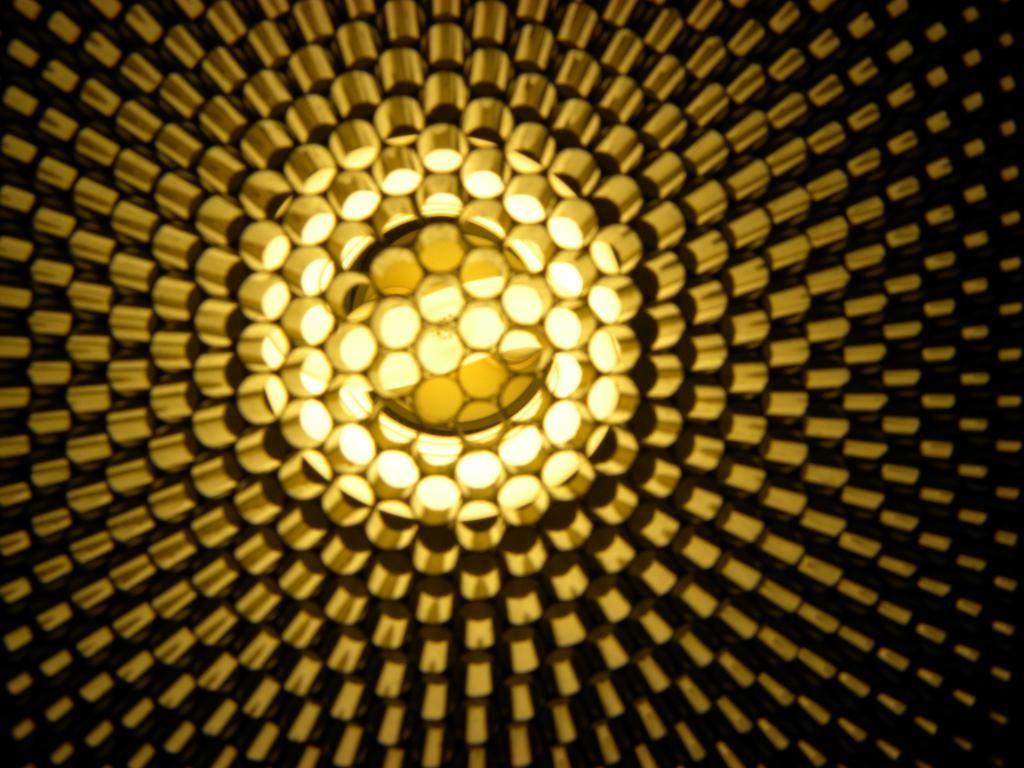
Shots of angle of light limit, straight on bulb and offset.


Pretty happy with it, and because of shipping I bought enough for 3 kits worth . . . all spoken for already but, with shipping, was like $23. Well worth it to finish this kick ass kit off nicely.

I can't wait to get cracking on part cleanup starting this week on this bucket. Its SO going to rock!

Ryan
 
This thread is more than 6 years old.

Your message may be considered spam for the following reasons:

  1. This thread hasn't been active in some time. A new post in this thread might not contribute constructively to this discussion after so long.
If you wish to reply despite these issues, check the box below before replying.
Be aware that malicious compliance may result in more severe penalties.
Back
Top