Show your custom Lightsabers!

I've got my Canon's finished but I'm waiting on posting it up with the other sabers I've got done. Figuring out what to do with two Graflites and make it interesting is a pain!:wacko
 
Last edited:
So speaking of Canons.... I finished off my second Y and my X. Both of them were two-cells, so finding length was once again the main task at hand. I'm actually really happy with X. The finish was completely pitted to brass and a wreck, so I took a chance and decided to try the wrinkle paint I used on my Nega-Vader. End result has made it one of my favorites.

Anyway, I feel like I always babble too much about parts and stories and processes-- so I'll just dump pics and bail :)

Y2_A.jpg
Y2_B.jpg
Y2_C.jpg
X1.jpg
X2.jpg
X3.jpg
X4.jpg
 
Nice sabers!

i just got my Canon, very cool flashgun,
very odd texture on the tube. Feels like tiny microspic rings along the tube from the lathing process?
it makes a squeeky noise when i run my fingers across it
 
Yeah! A couple of us have noticed how it;s ribbed for somebody's please. @ScottD may know what it's all about. MiniCams have a similar surface.
 
Last edited by a moderator:
Yeah i got lucky on this one.
i have an automated search on ebay, and this popped up.
the main photo only shows the leather pouch so i almost passed it up. i clicked in it and around the 3rd photo it showed the flashgun with the accessories.
im not going to drill anything into this one. Almost mint condition.
 
Honestly? I have no idea :)

It was just in my box. It was either innards from some other piece of photogear, or some score I got in a greeblie/part swap with @ScottD. He may know!

I have a bunch of emitters pre-made from bulb sockets from reflector pans, right angle flashes, and flashgun guts that are hidden inside the bodies.
 
Last edited:
Anyway, I feel like I always babble too much about parts and stories and processes

Personally, I know at least for me, hearing about the build and knowing what parts you use is fascinating. For those of us just getting started it's a big help and inspiration.
 
Okay then! From the top down...

CANON Y

-Emitter is a greeblie construction
-Shroud is a failed attempted at 3D designing something and having it printed via shapeways. Turns out that flipping it over made it a lot cooler-- as did hitting it with wrinkle-paint.
-Knob is from the original canon flash head
-the rusted flashing that covers human Earth words was cut from a chipboard tube that was inside of the flash. After years of being curled it fit on there perfect. I painted it black, and it flaked off but I decided I liked the worn look.
-Canon Y upper body
-Canon Y clamp
-Clamp card is half of a red board from the custom saber shop
-Other half are some sections of Pinewood derby car weights I got at Michael's
-The lower half of the body is a separate 2 cell flash called a Nicca. Go back a few pages to find my first Canon Y to see the saga of trying to find a lower half. Basically, there's a knob threaded internally into the base of the Nicca, which then screws into the base of the Y.
-The end cap is from a part-trade with @ScottD. I think he said it was an early attempt by parks or somebody at an Obi-Wan pommel before accurate measurements were available. The Nicca top (now my bottom) had threaded m/m piece connecting it to the flash head. I attached it to the pommel with a washer and a bolt, then just screwed it onto the saber
-T-track grips
- tiny bits of chrome and texture tape

And the X

-Emitter is a blade holder from the custom saber shop
-Upper body is a Canon X, painted black with wrinkle-paint
-A Heiland mini-bulb release is mounted on the back
-Greeblie screwed into the cable socket
-Canon Y Clamp (used the X clamp on my first Y)
-In the clamp is a bit of circuit board from an old calculator, and covered by bubbles from a Parks replica MPP clamp
-Lower body is a flash extension. It's basically doing exactly what it is meant to do-- lengthen short flash units.
-Couple o-rings
-T-track
-texture tape
 
Last edited:
Hey guys!

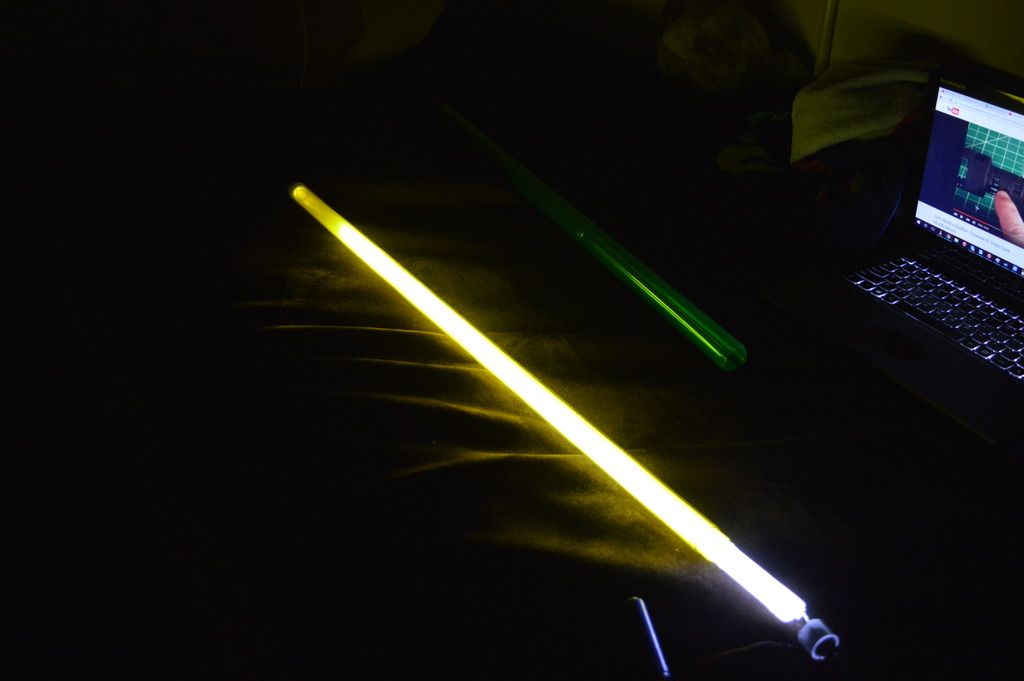
I posted last time with an experimental method of creating different colored blades without sacrificing brightness. I wanted to update it with further pictures and some results!

The LED's I'm running are rated at 12000 MCD, which is pretty bright, but not the brightest. I've got some new ones coming in that are rated at an astounding 60,000 MCD, which I fear is just going to incinerate my retinas, but I guess that's what I'm sort of going for anyways!

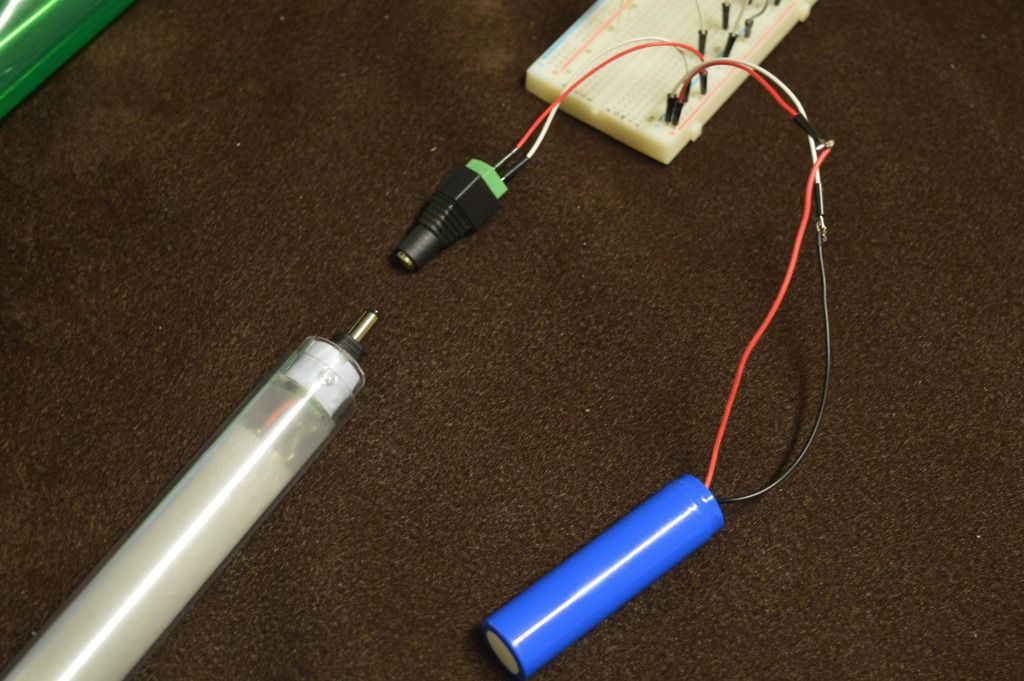
Here's the LED's which are wired in a Seriallel style, running off of ~3.5 Volts. The set up is using a 2.1 mm jack as the connector, which is just so much easier than using DIN plugs.


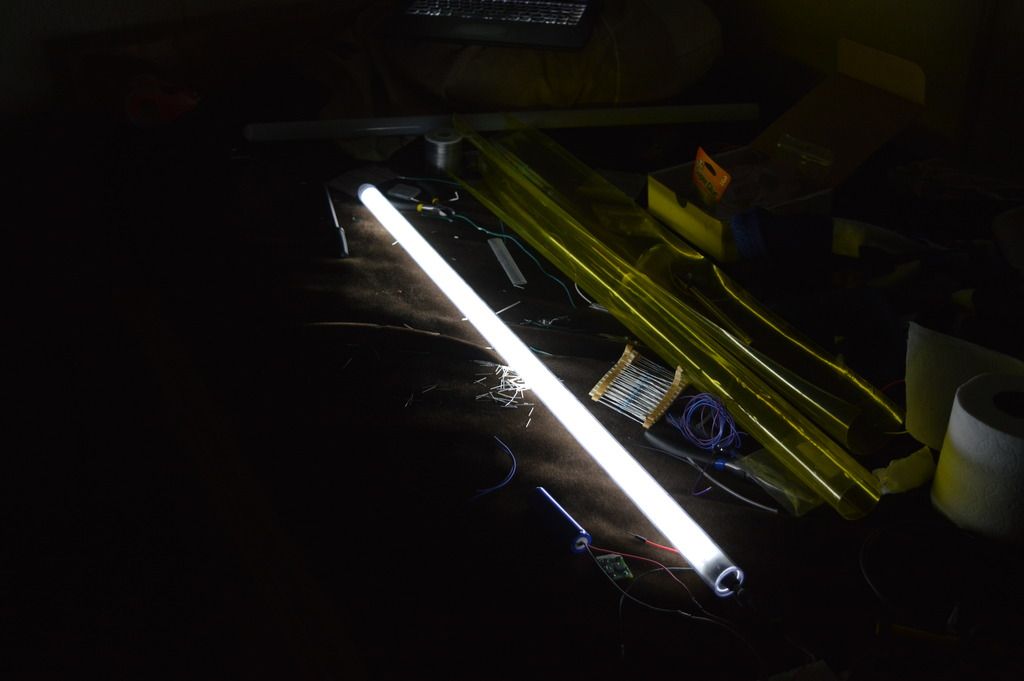
It's nice and bright, exactly how I wanted it! It will be brighter though, mark my words :p

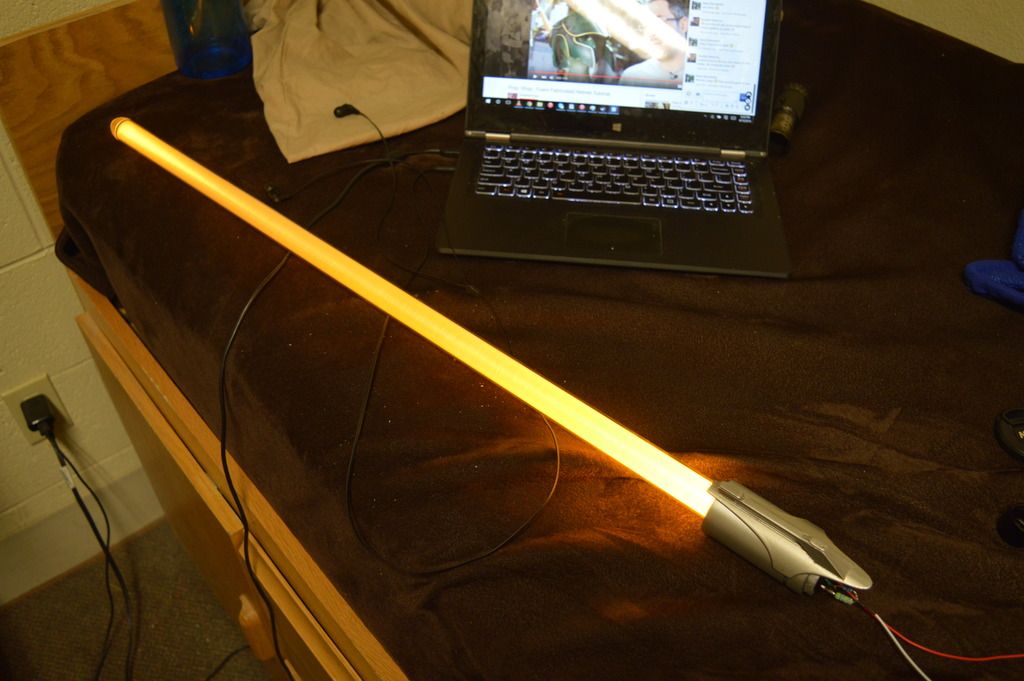
Another comparison shot, here's the star LED running off of a fresh 3.7 charge Li-Ion.


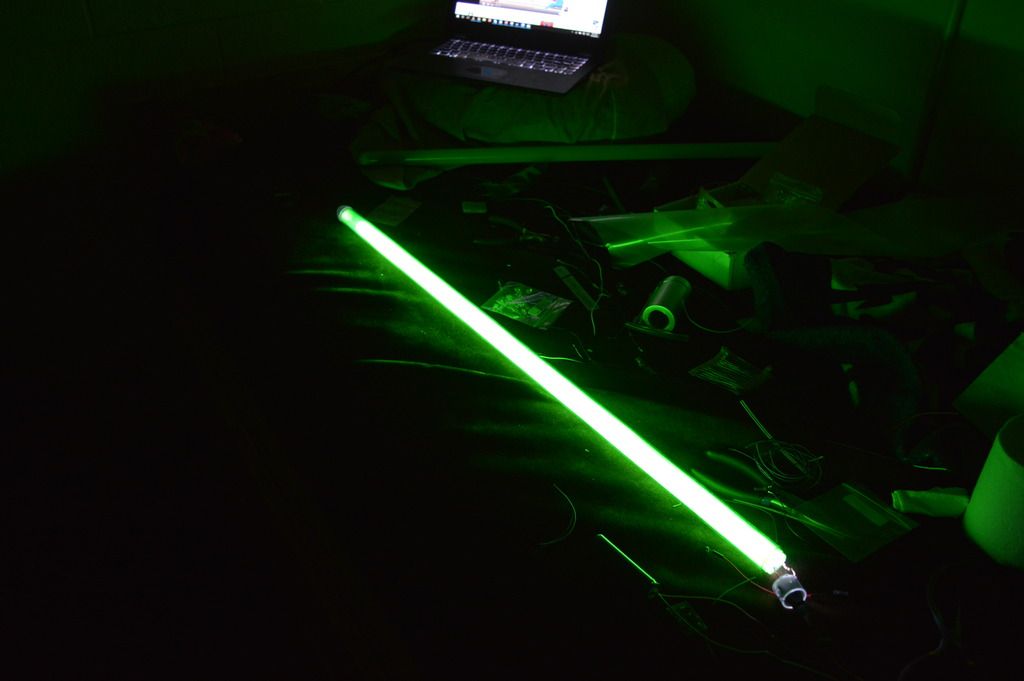
Just so unsatisfying... Here's my blade with the same LED's, just with the headlight film wrapped inside of the blade now.


The LED string wasn't pushed in all the way on purpose with the yellow because I was experimenting with different foam thickness and I underestimated the fit of the blade a bit with the film in it. The green one I though was all the way in, but I didn't see it wasn't at the very end.

Never the less, it's a major upgrade in brightness and color. It's exactly what I wanted! Hopefully this helps someone out there figure out their own method and ideas and stands as a proof of concept for an idea that I put together.

Thanks guys!
 
you're a wizard or something none of what you say makes sense to me but it's so awesome looking!
 

Your message may be considered spam for the following reasons:

If you wish to reply despite these issues, check the box below before replying.
Be aware that malicious compliance may result in more severe penalties.
Back
Top