Hi Gang,
Lots going on this weekend! Let's start with the smaller stuff...
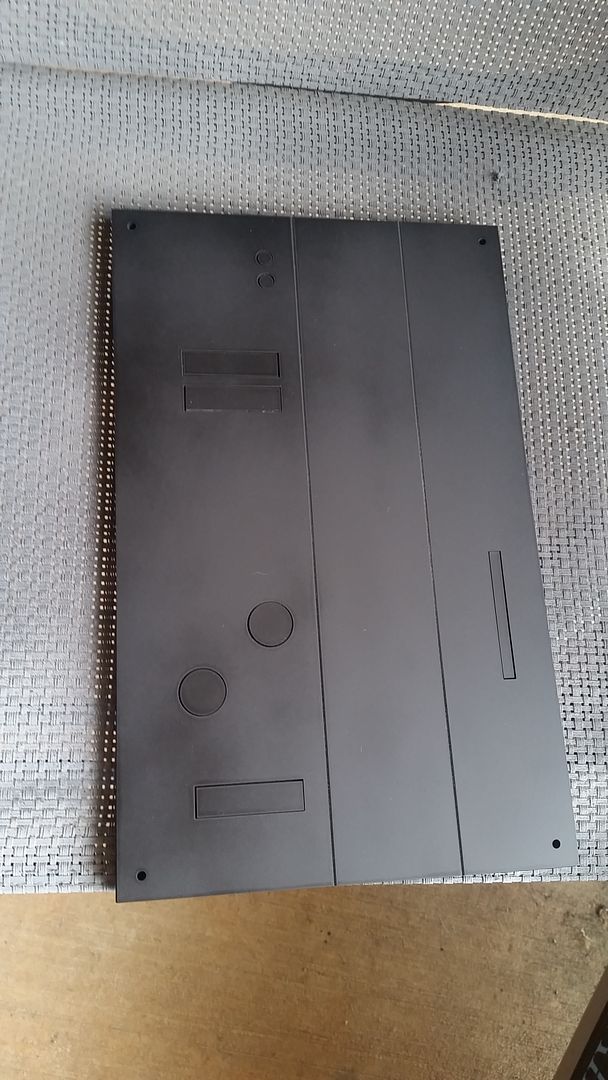
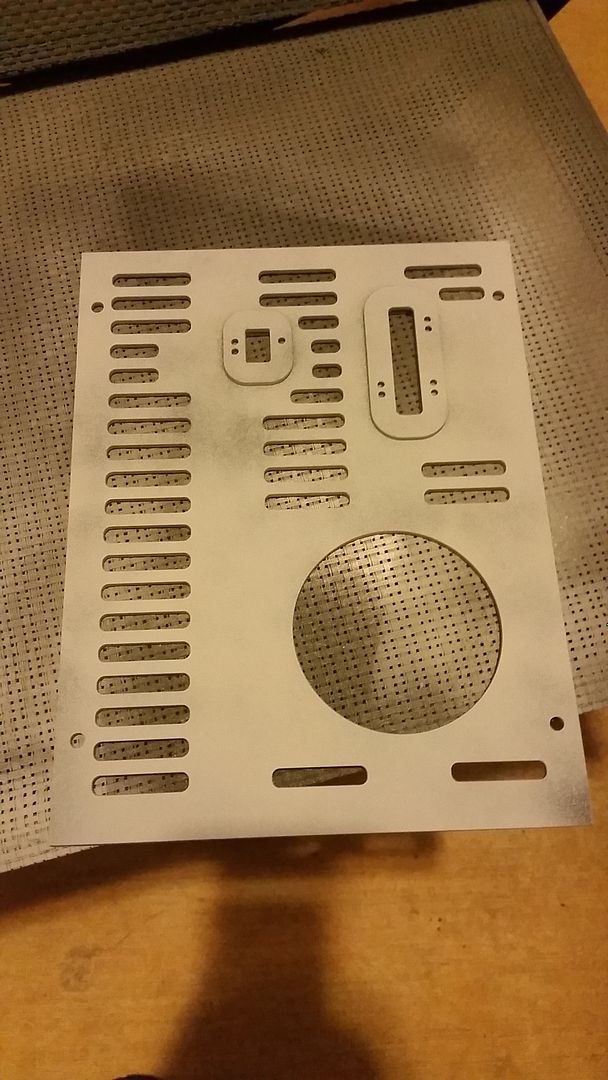
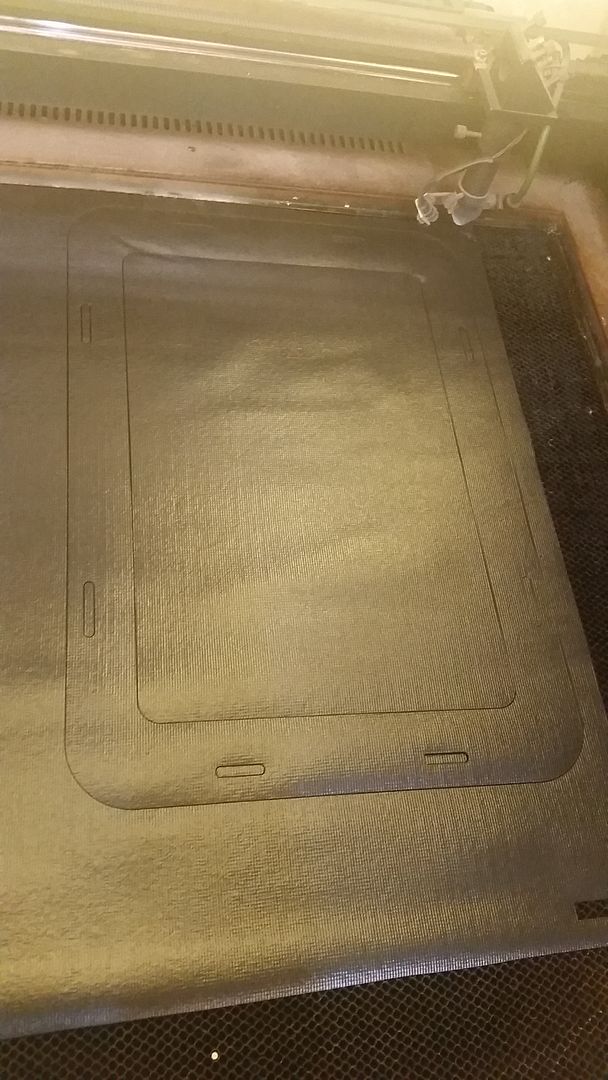
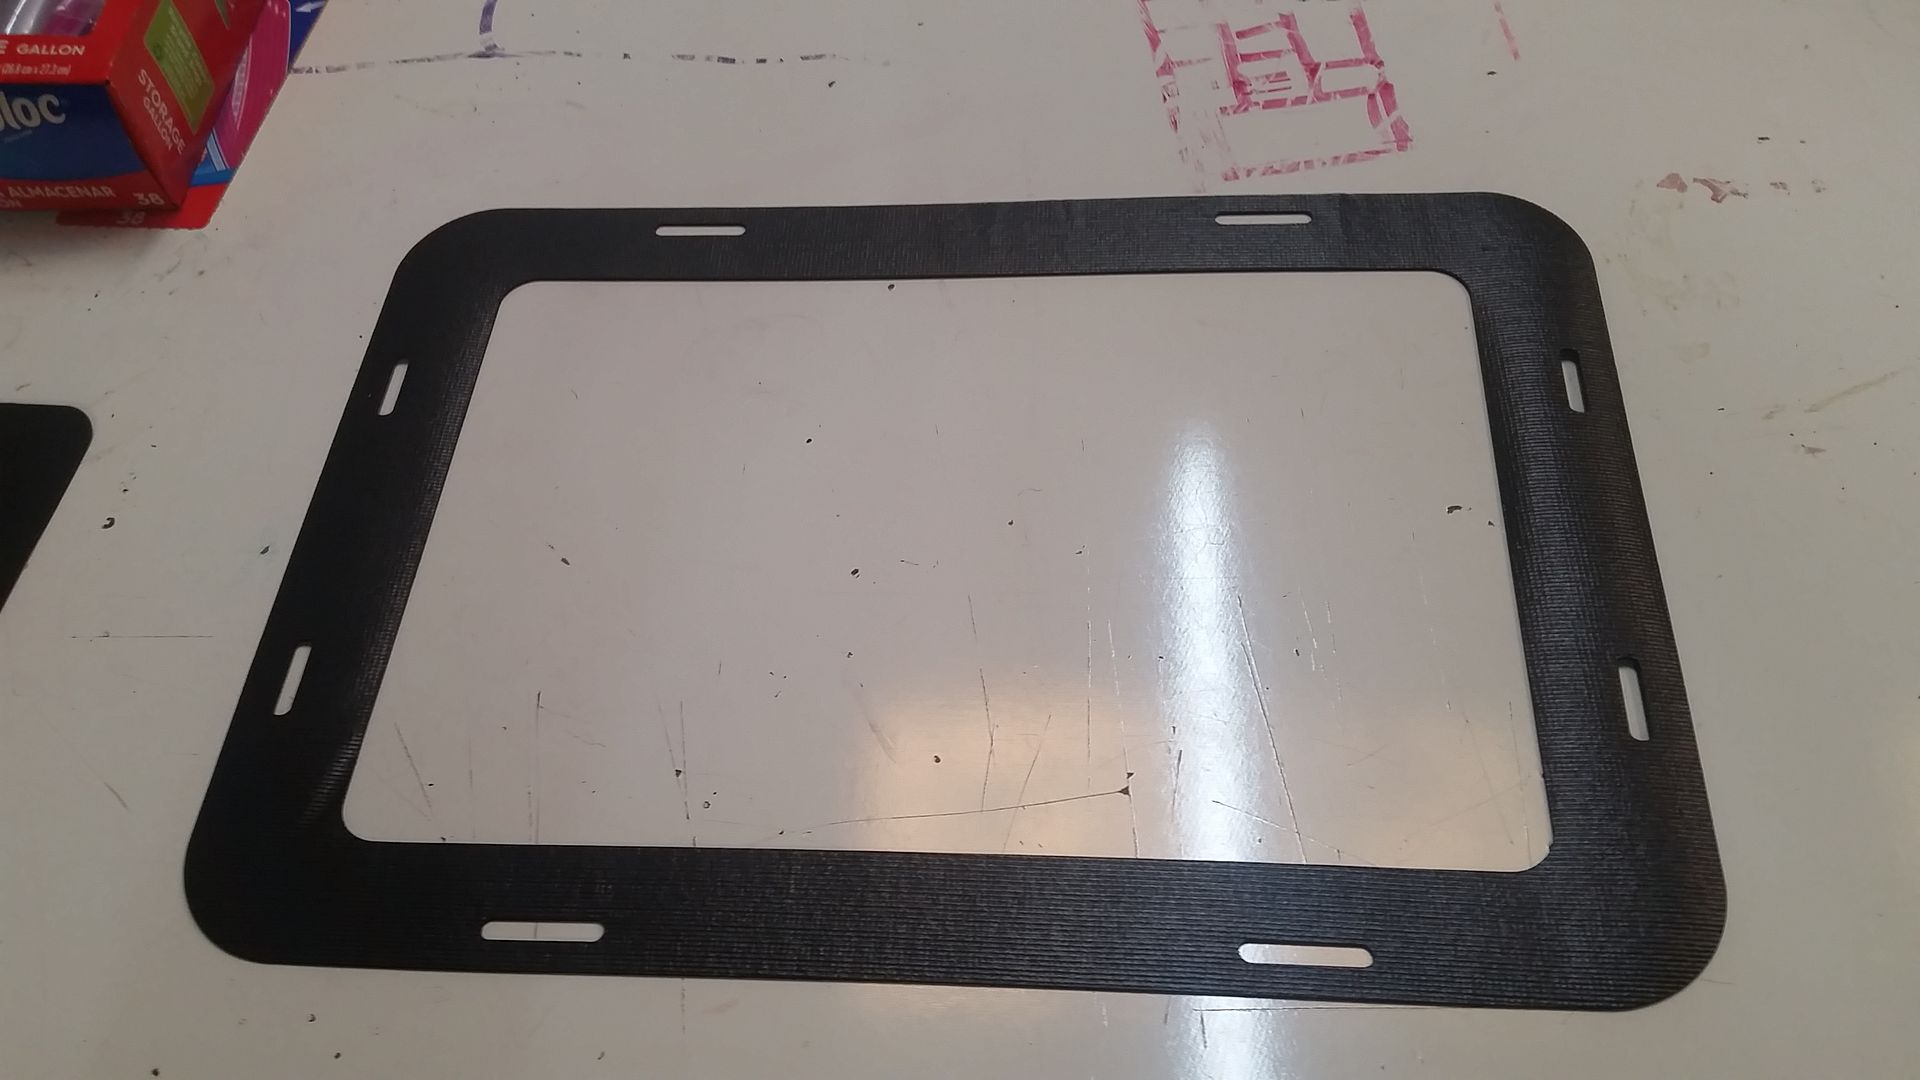
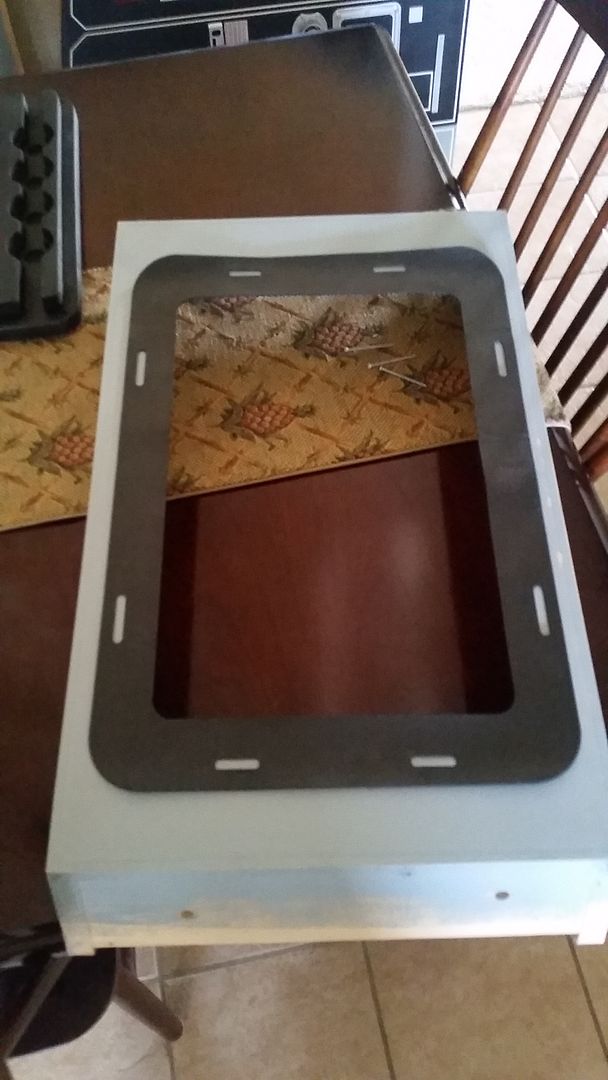
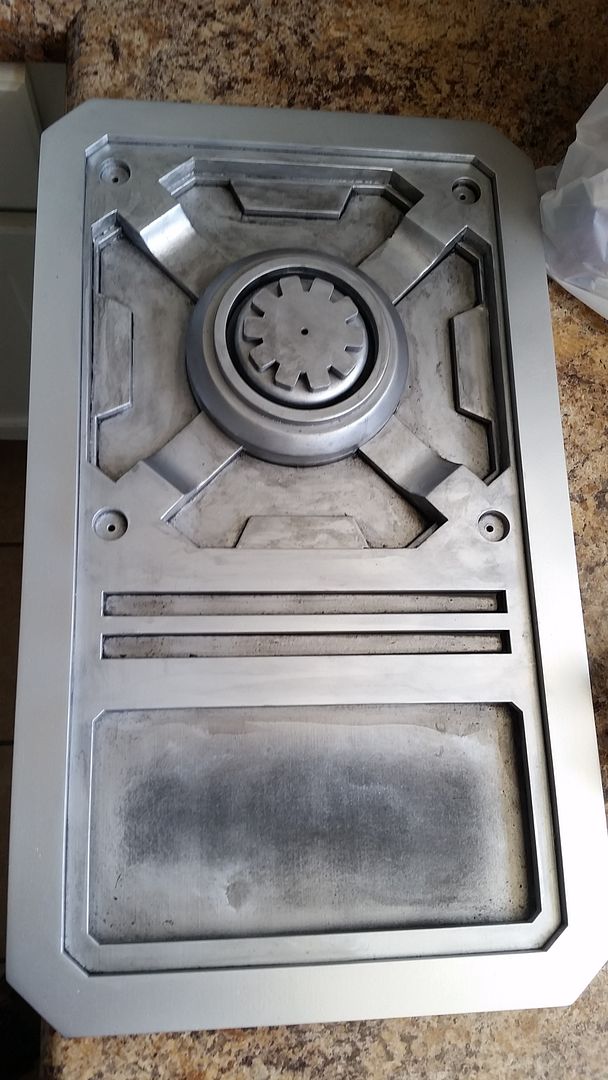
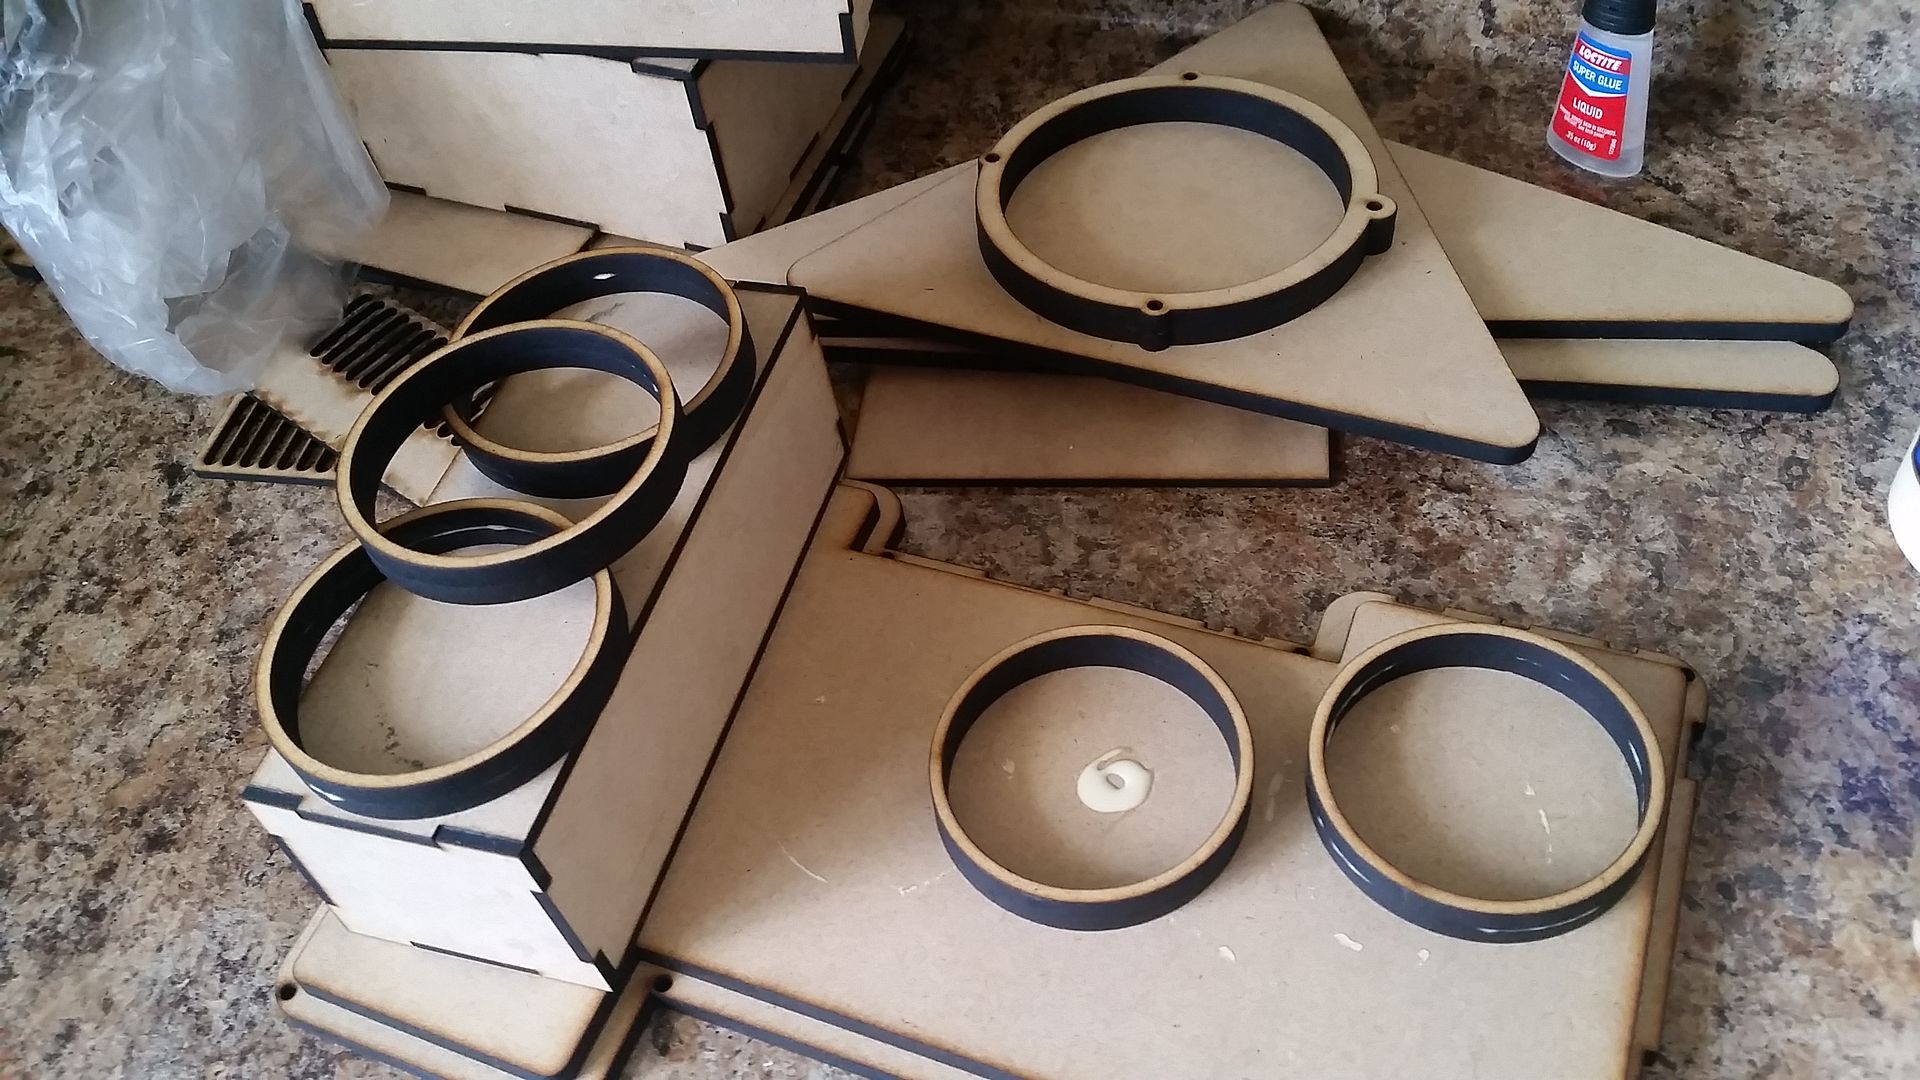
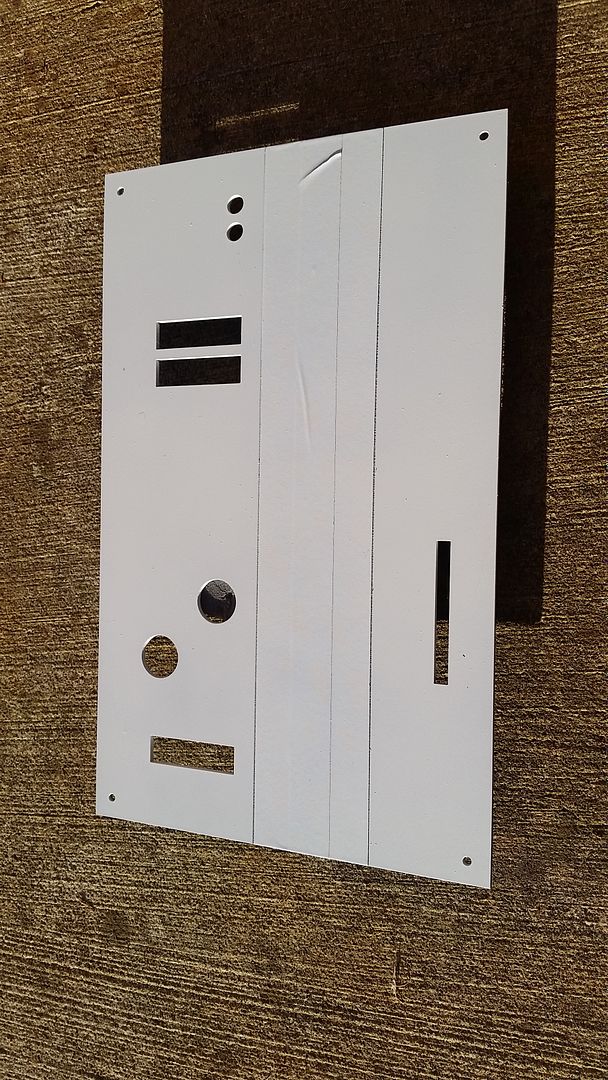
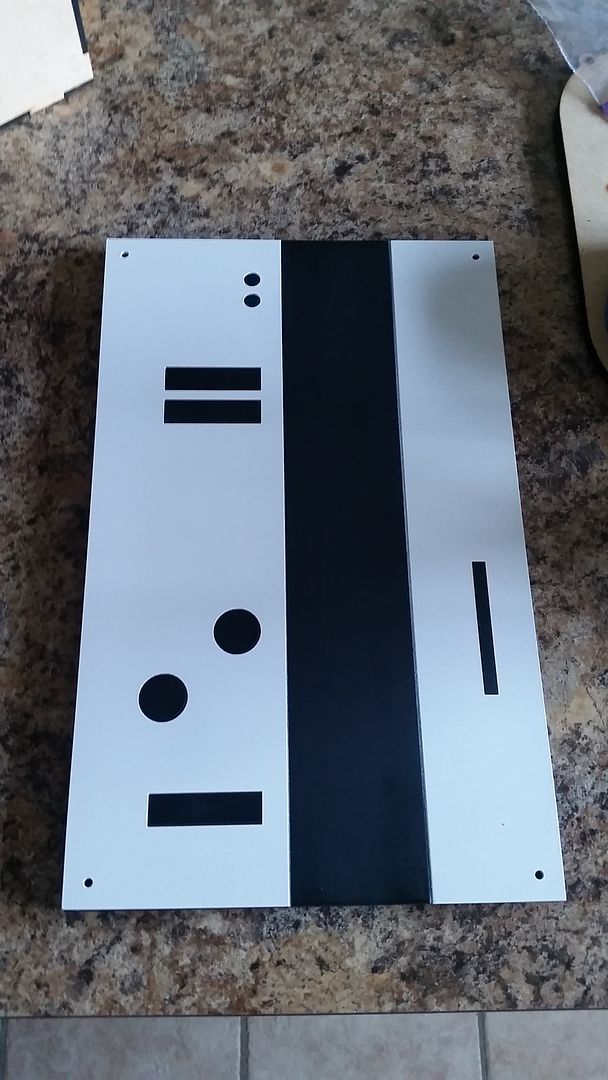
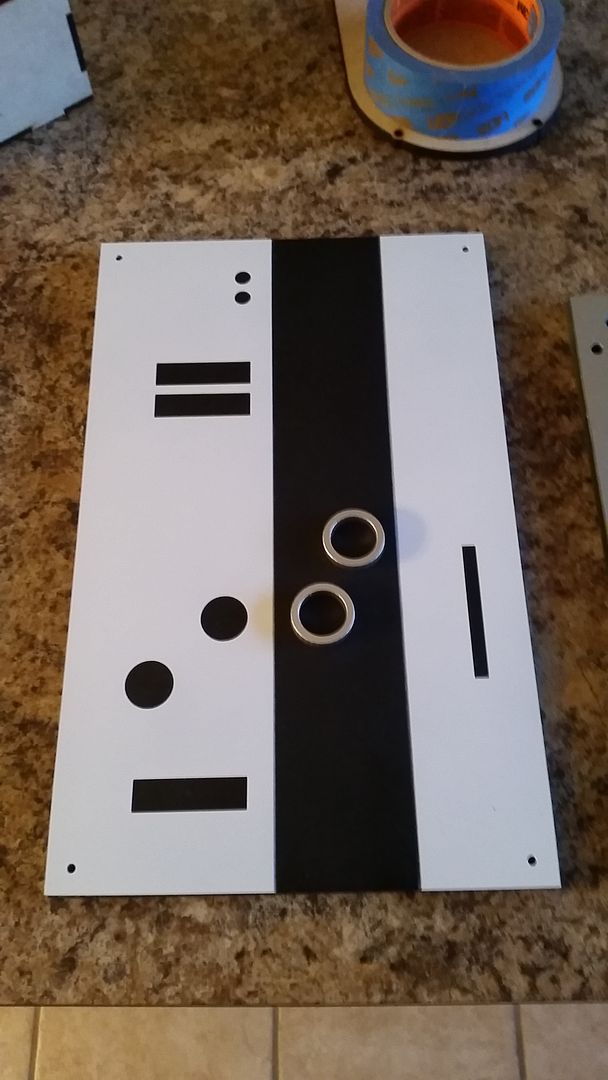
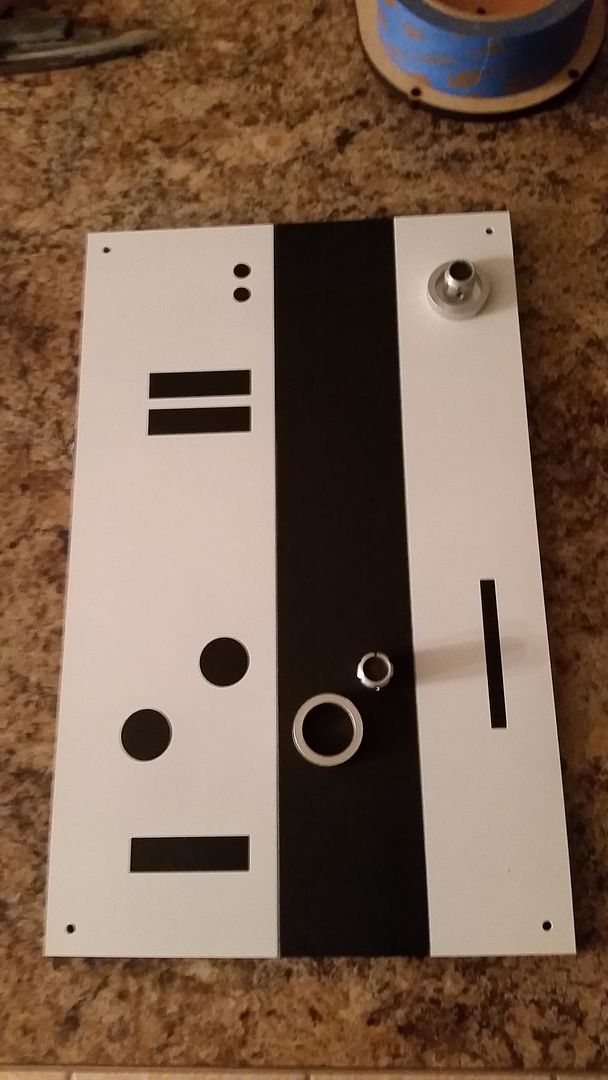
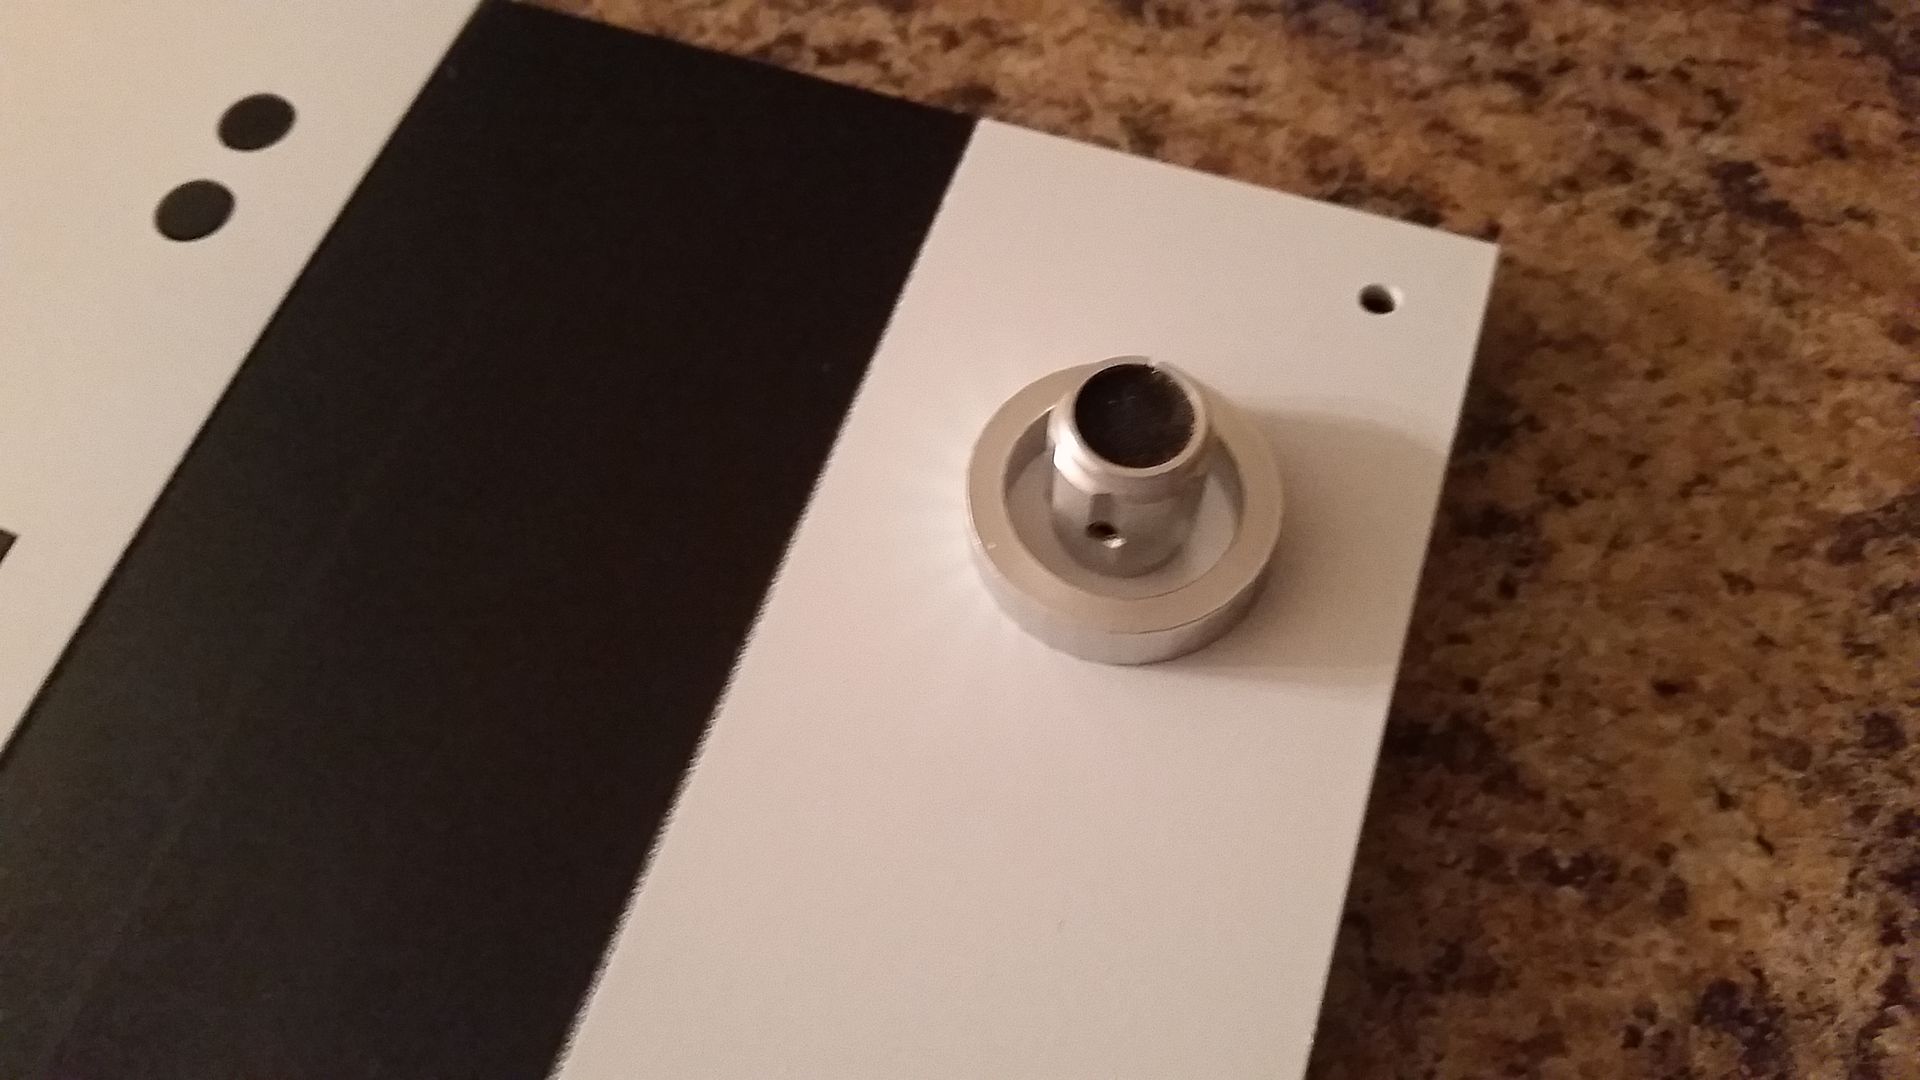
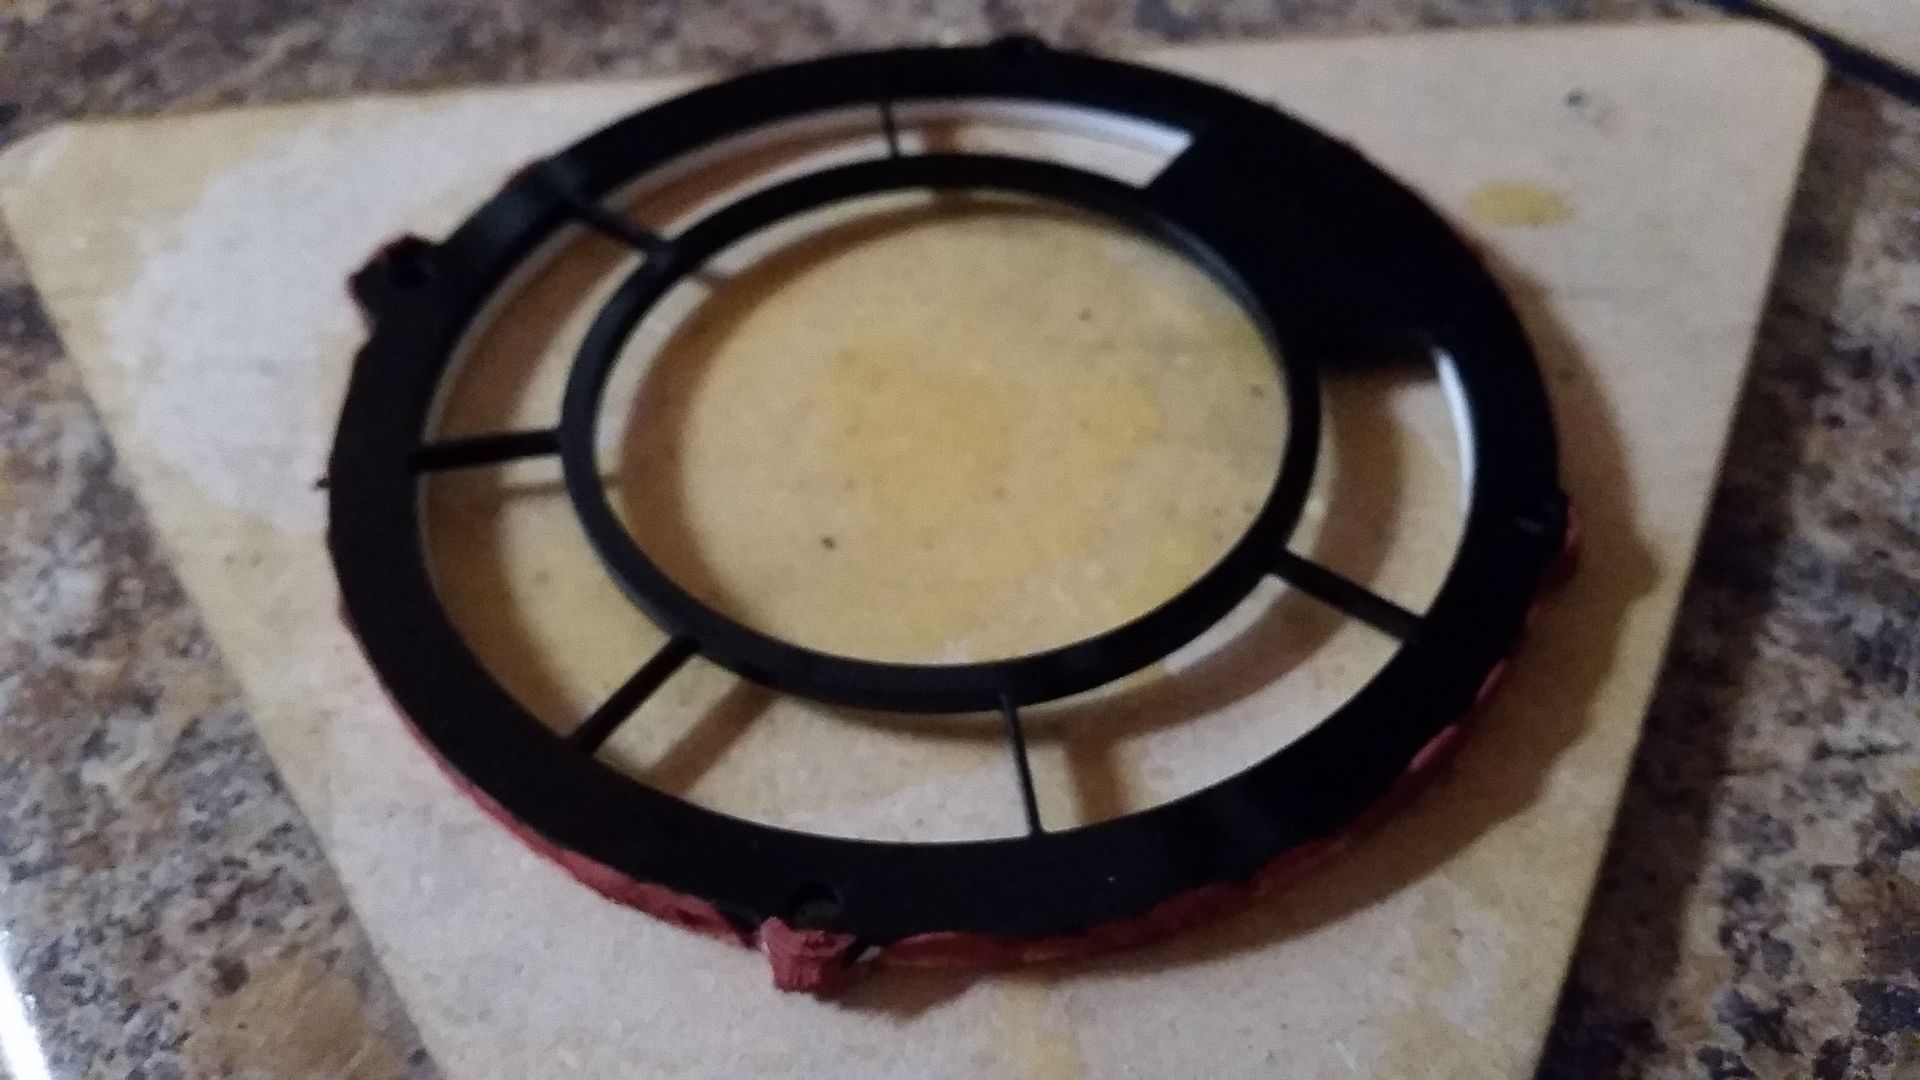
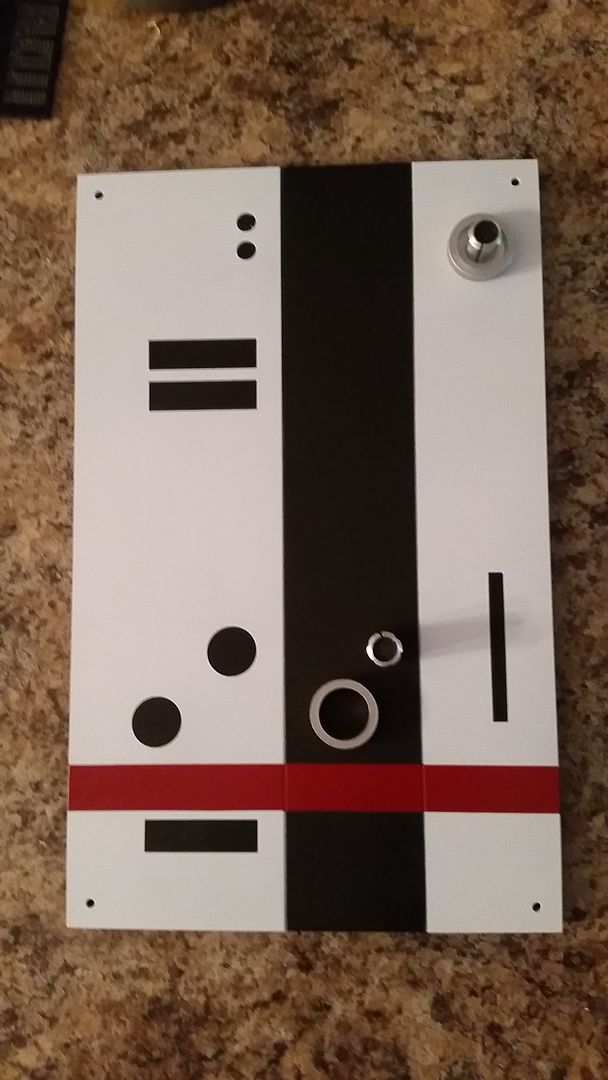
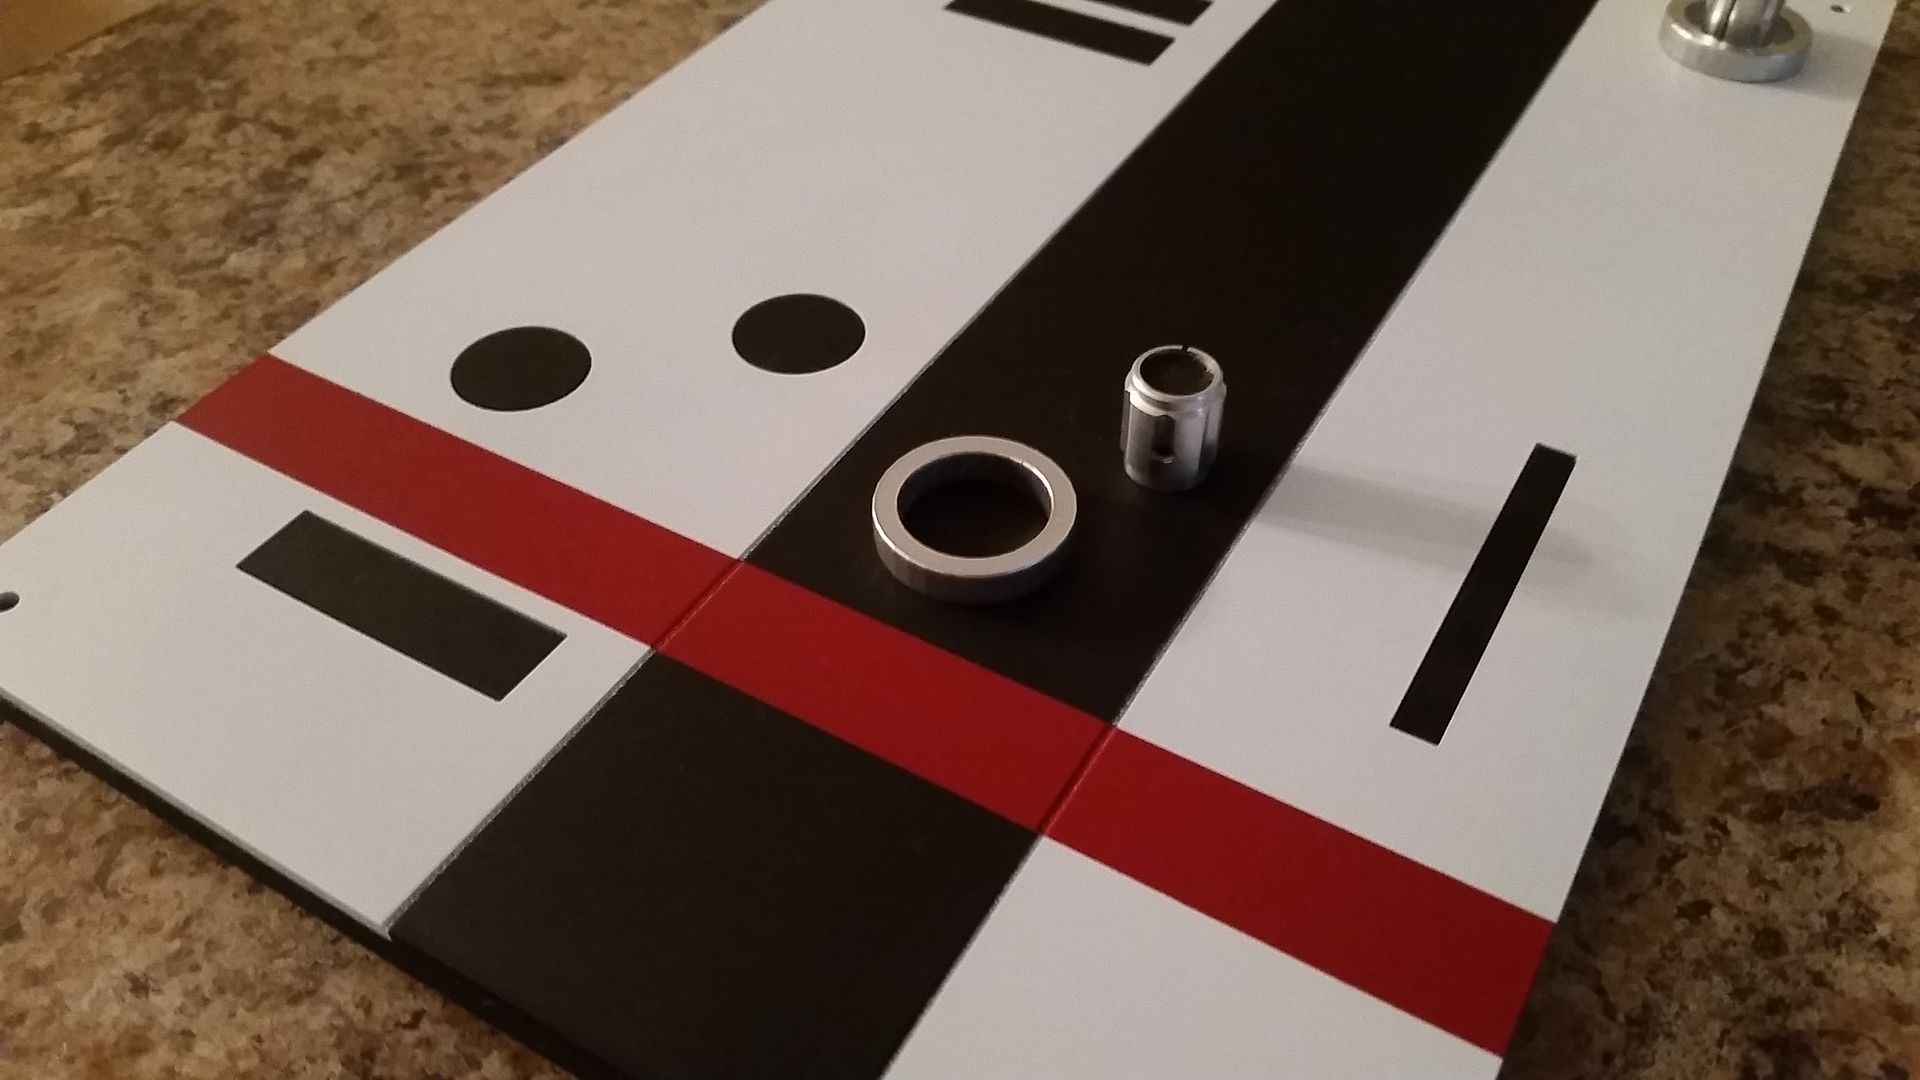
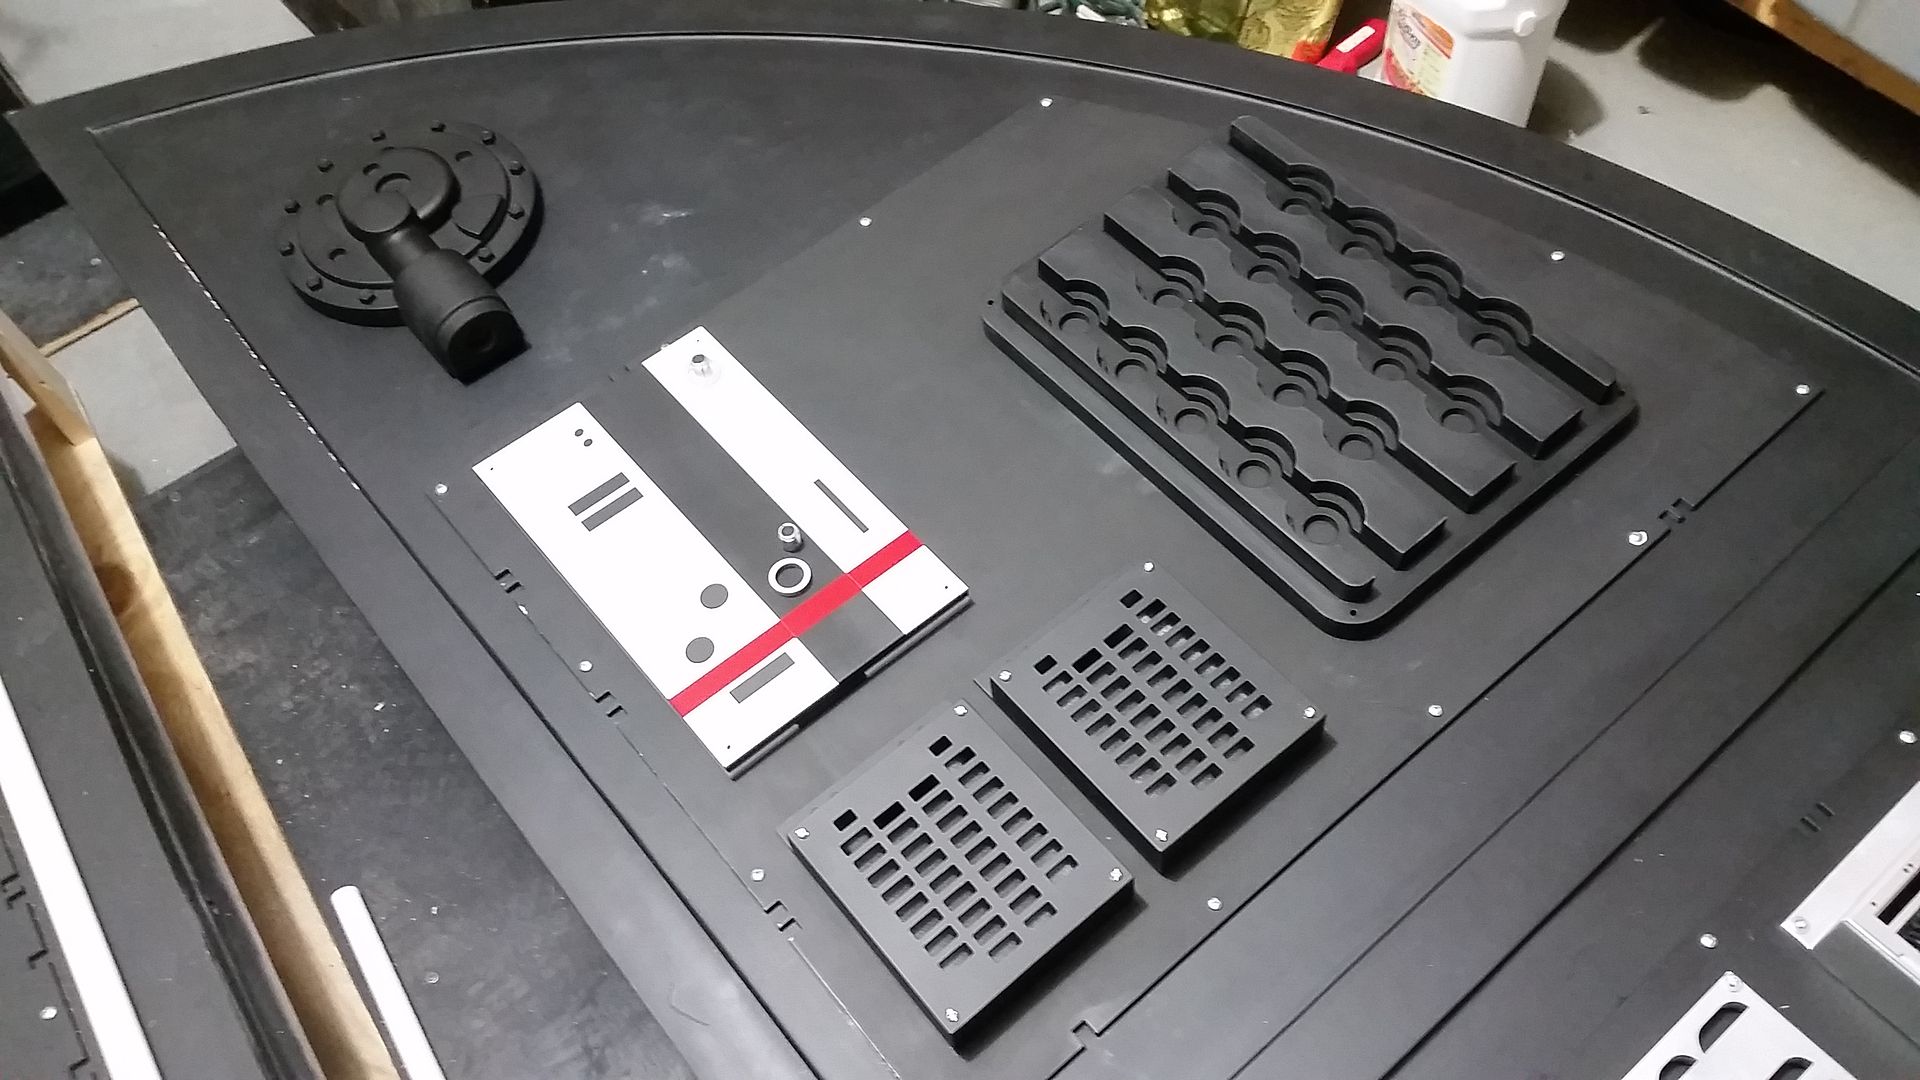
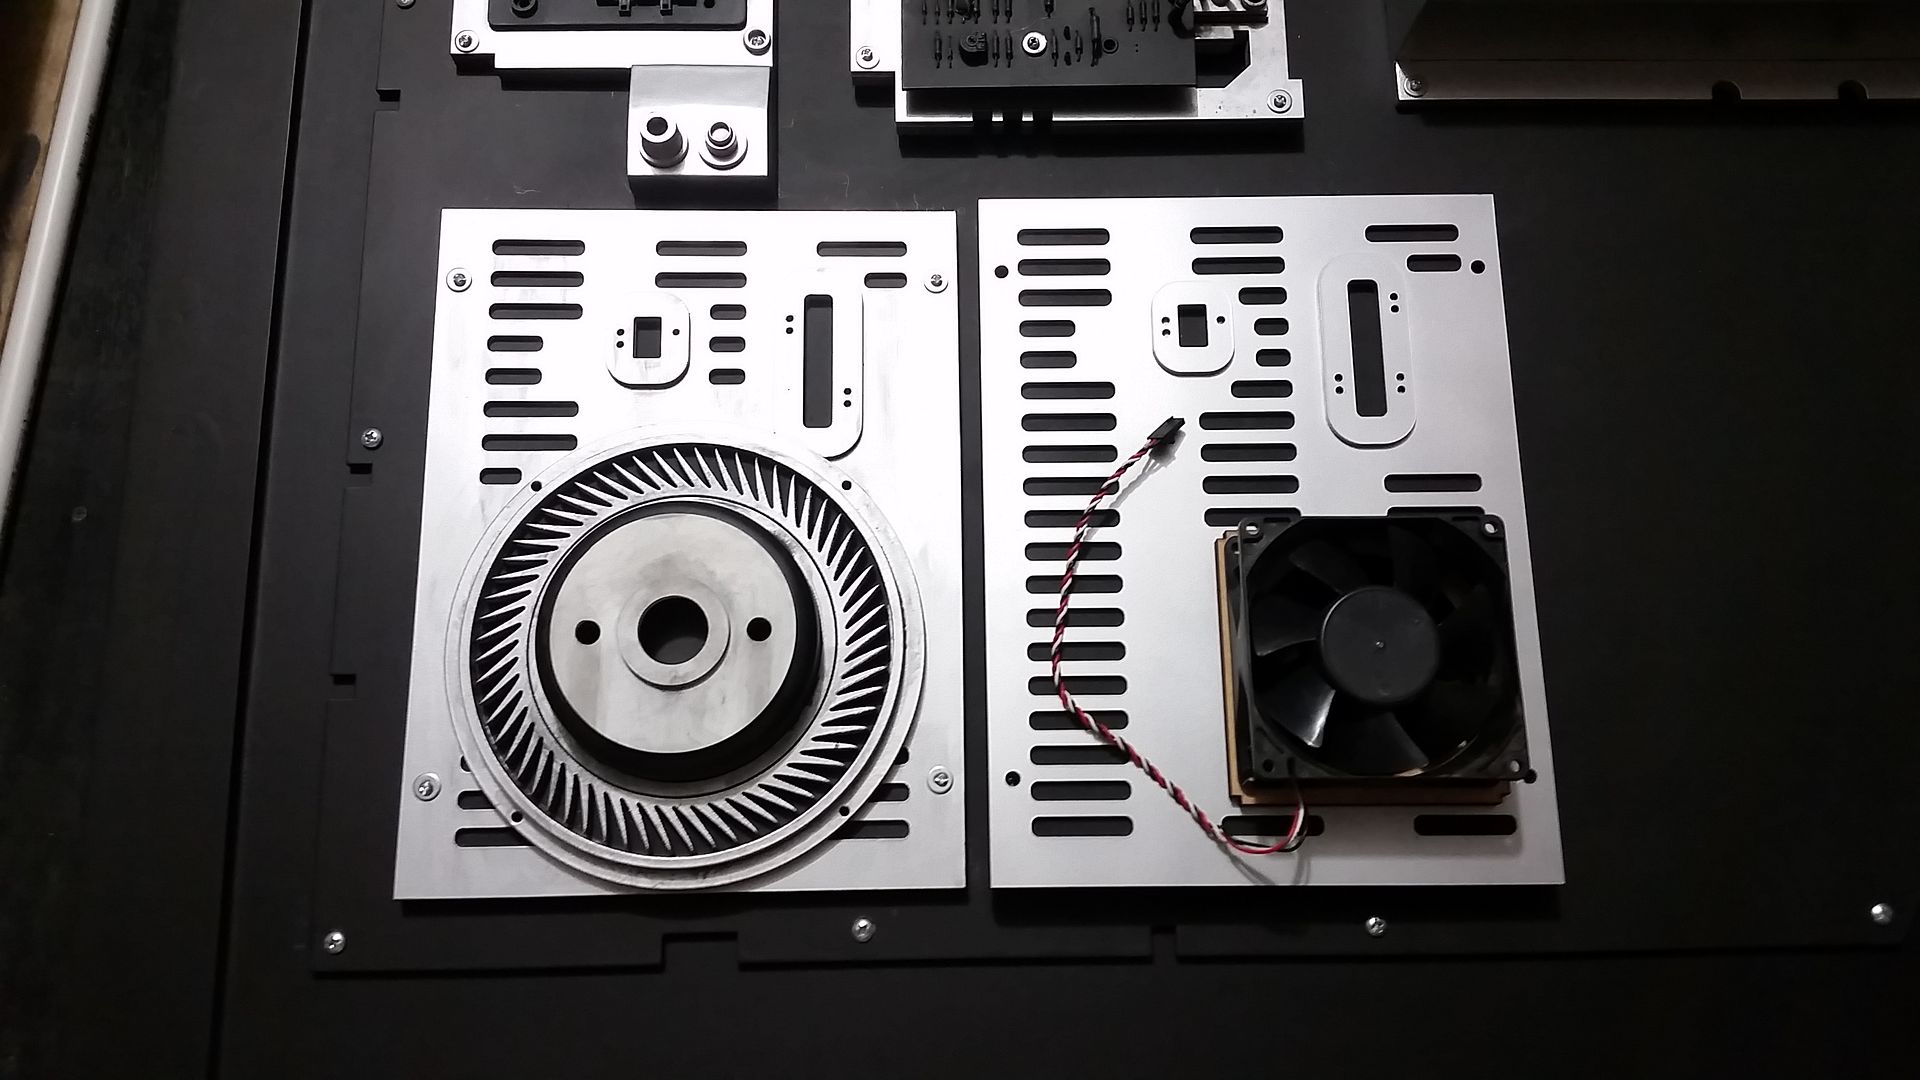
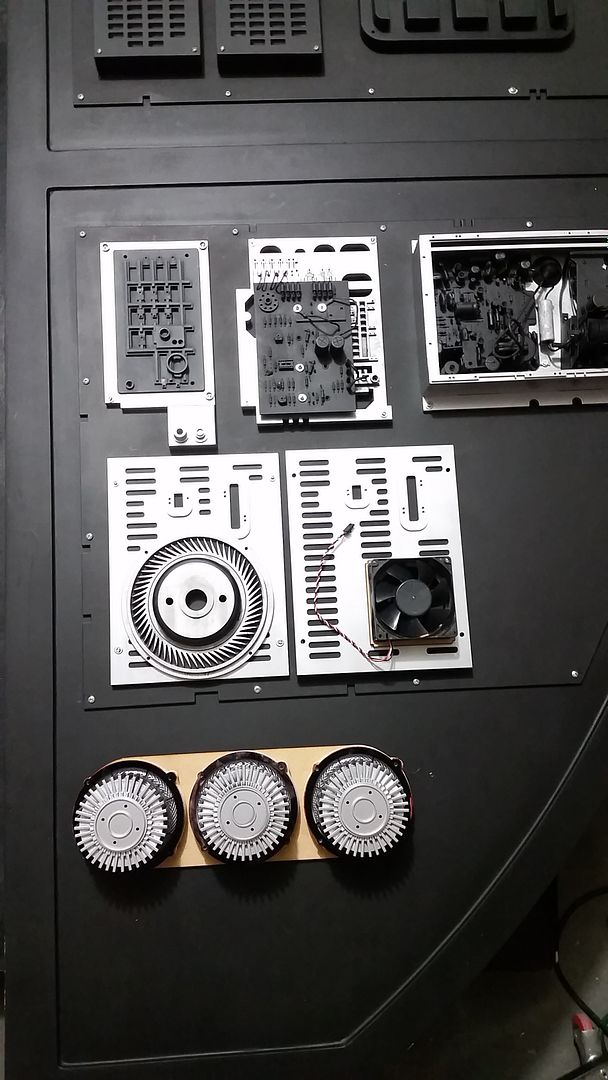
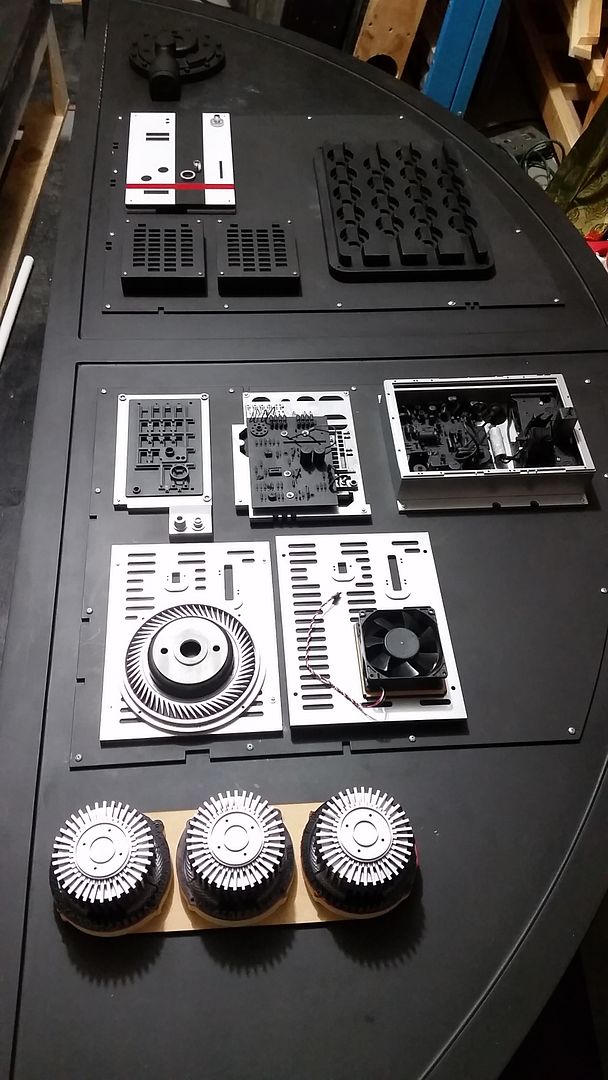
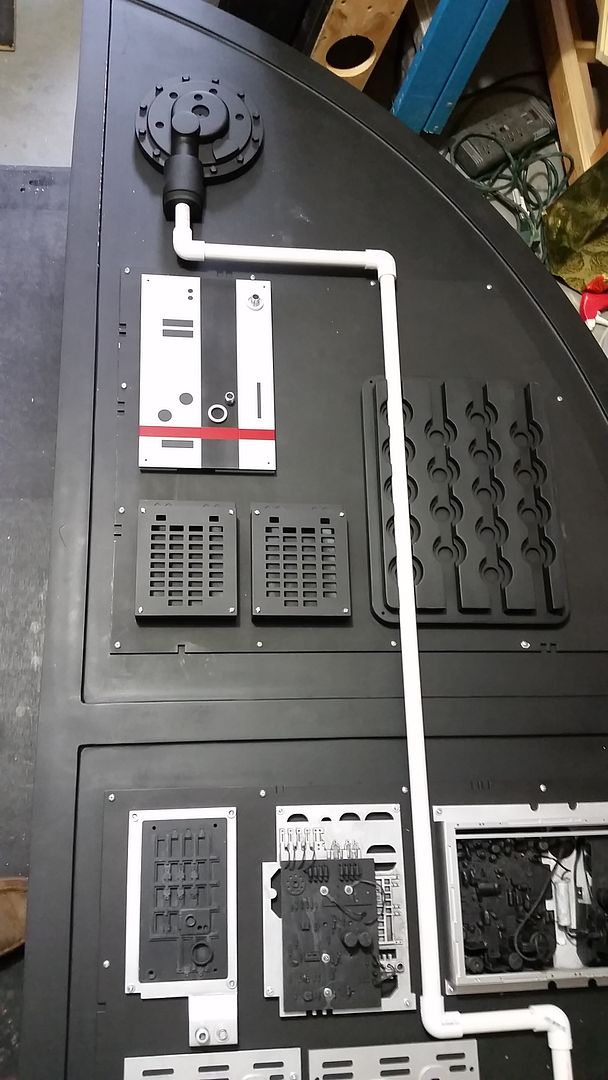
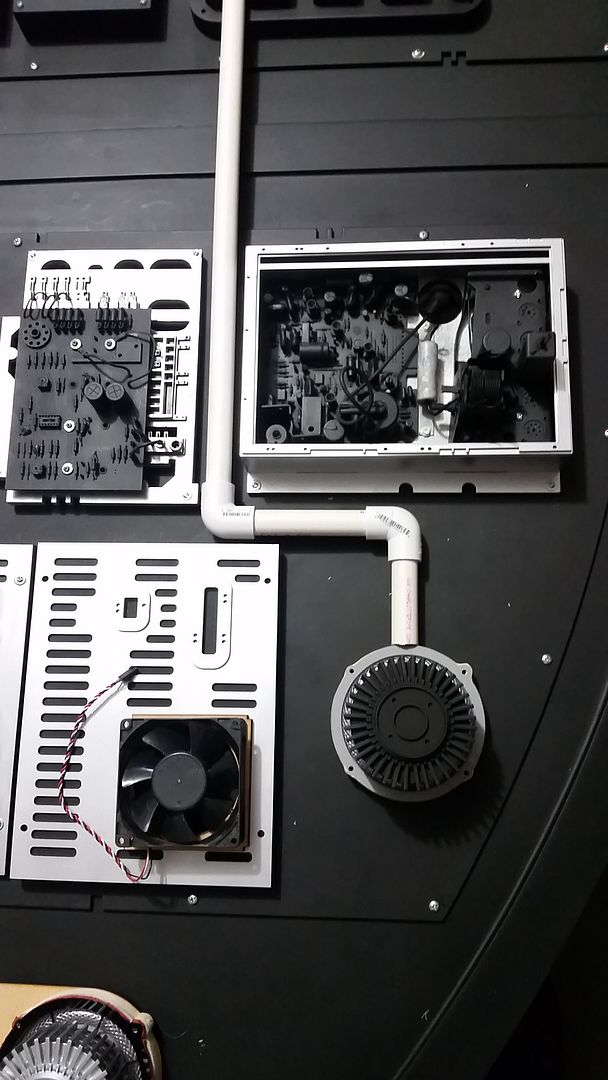
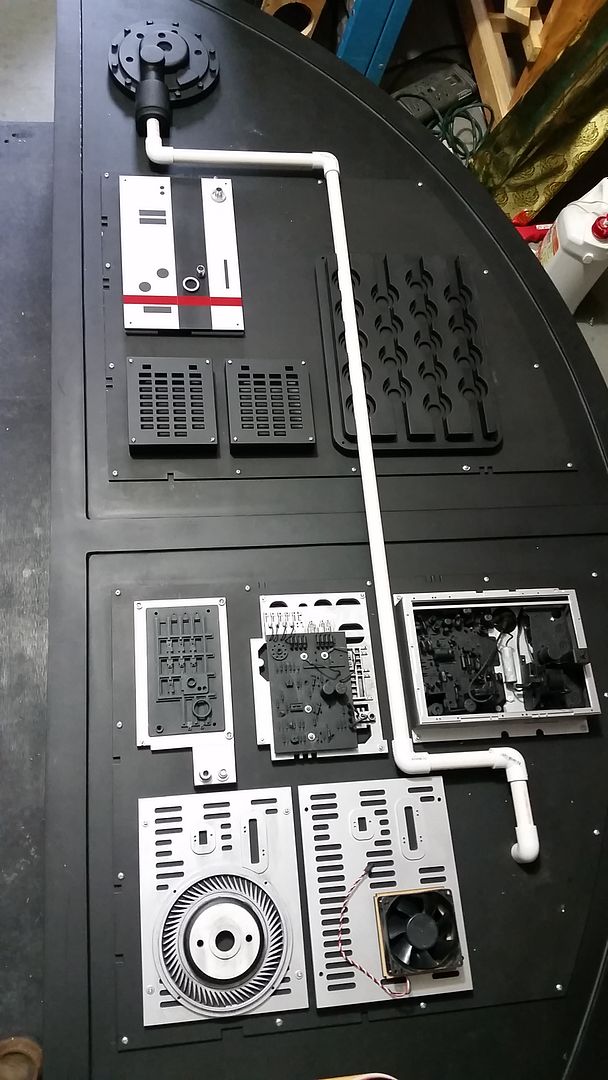
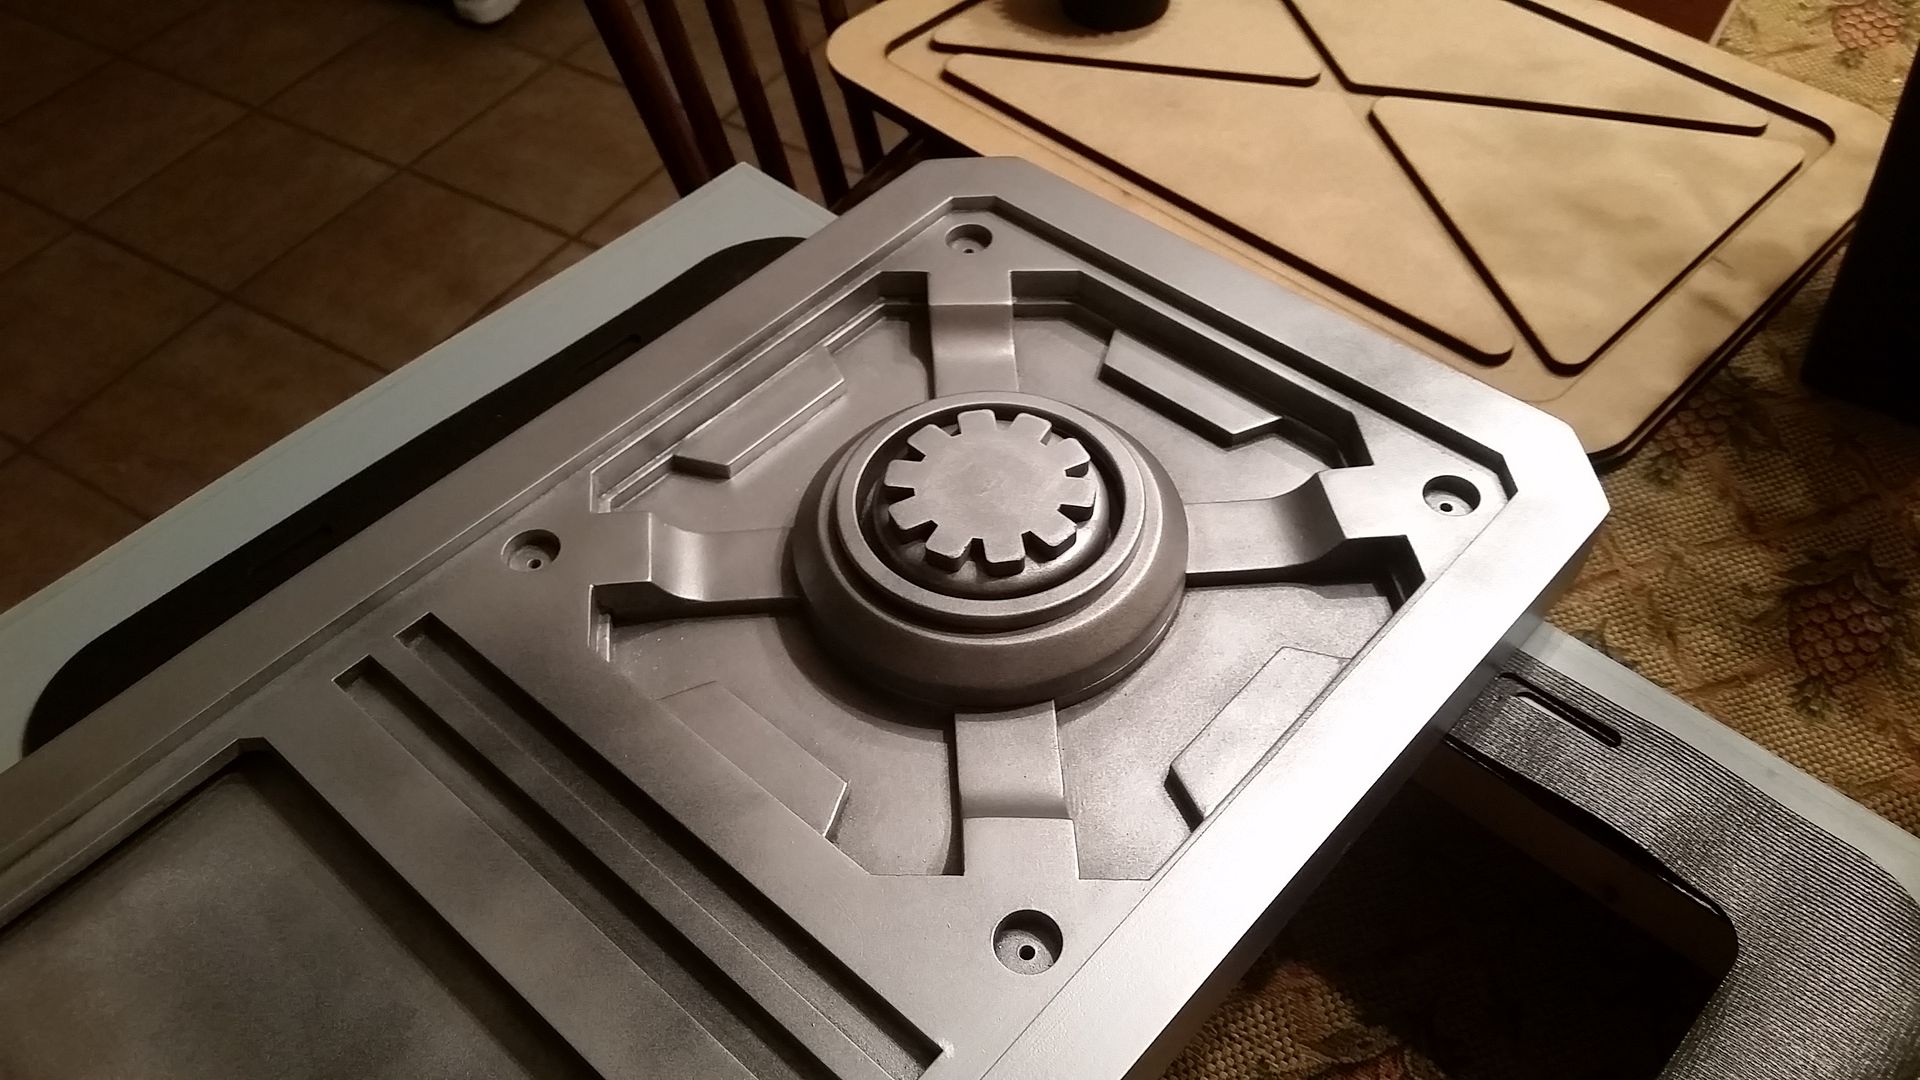
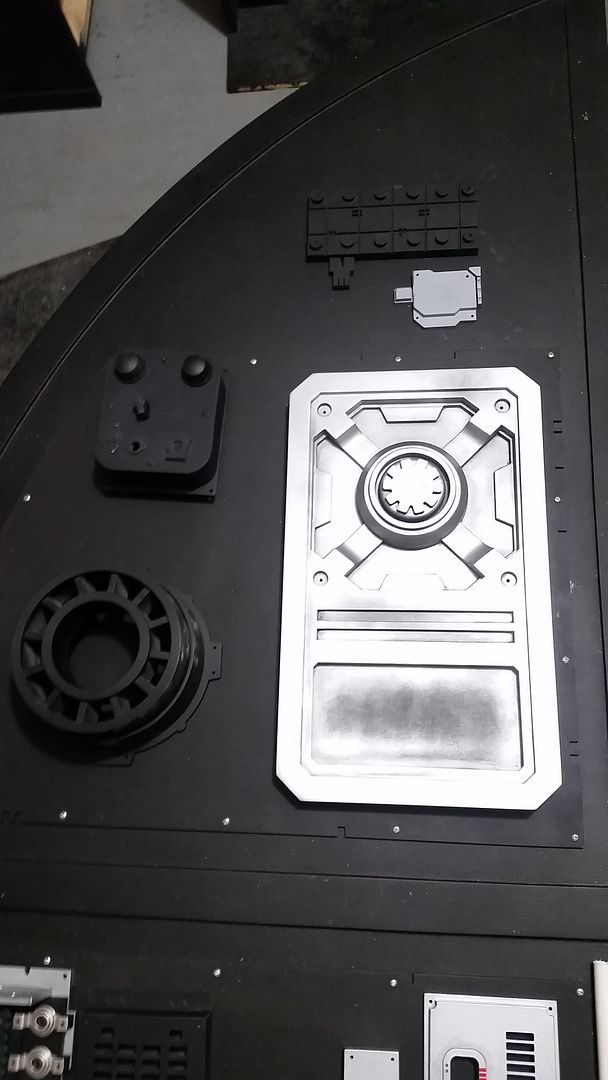
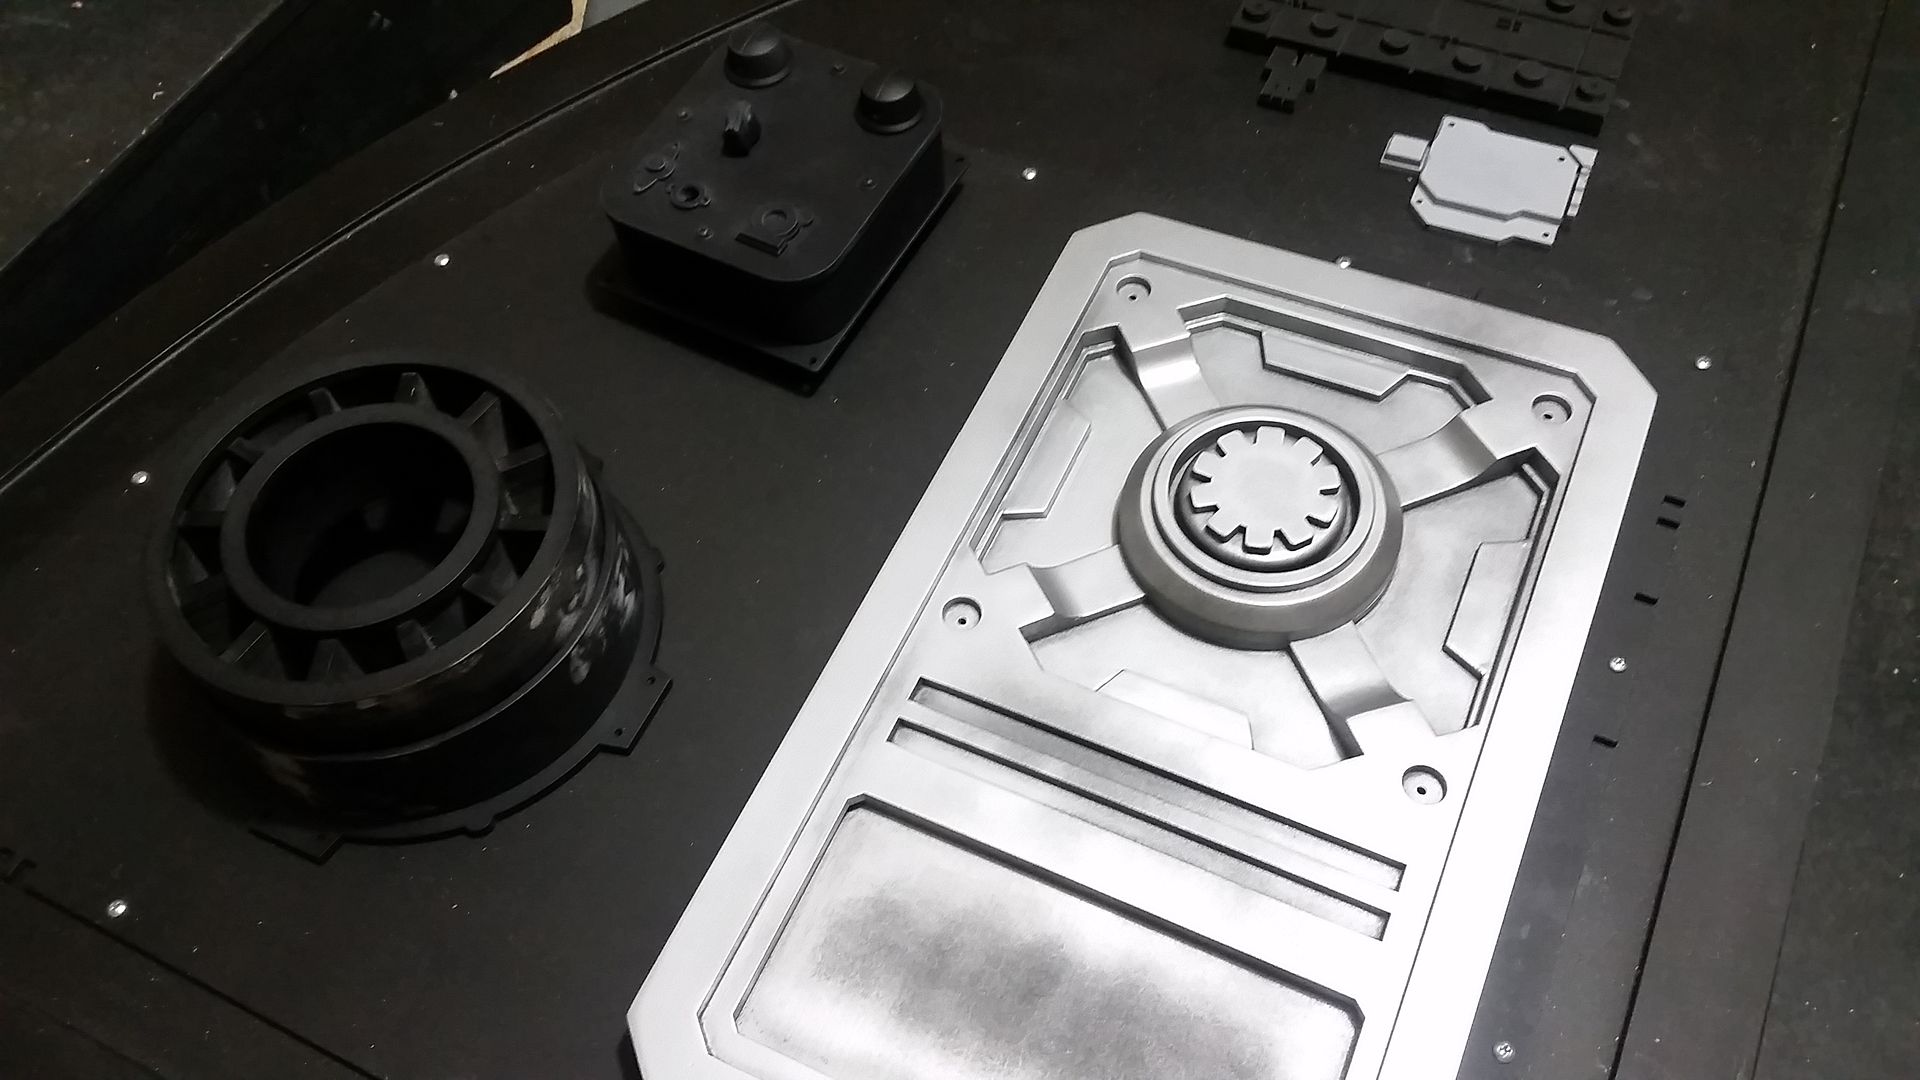
Getting this new panel finished up
This guy is getting closer
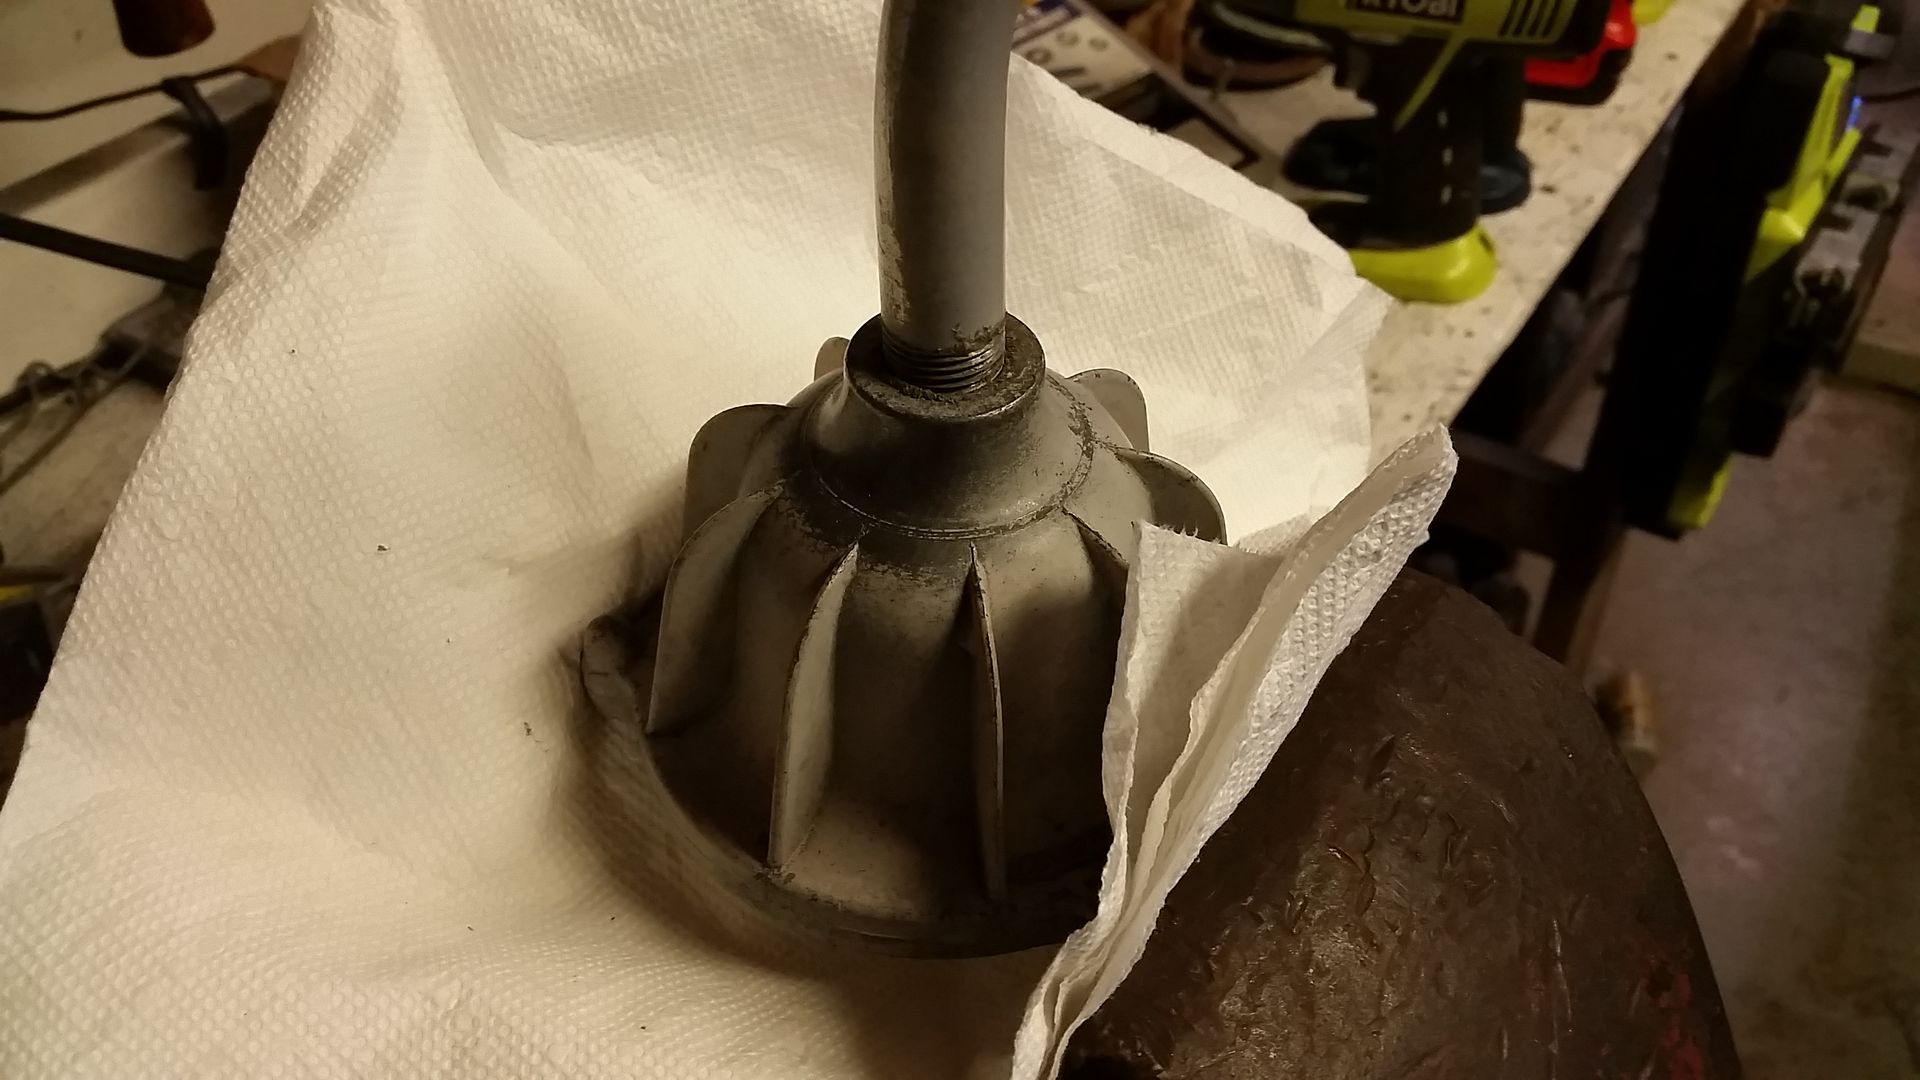
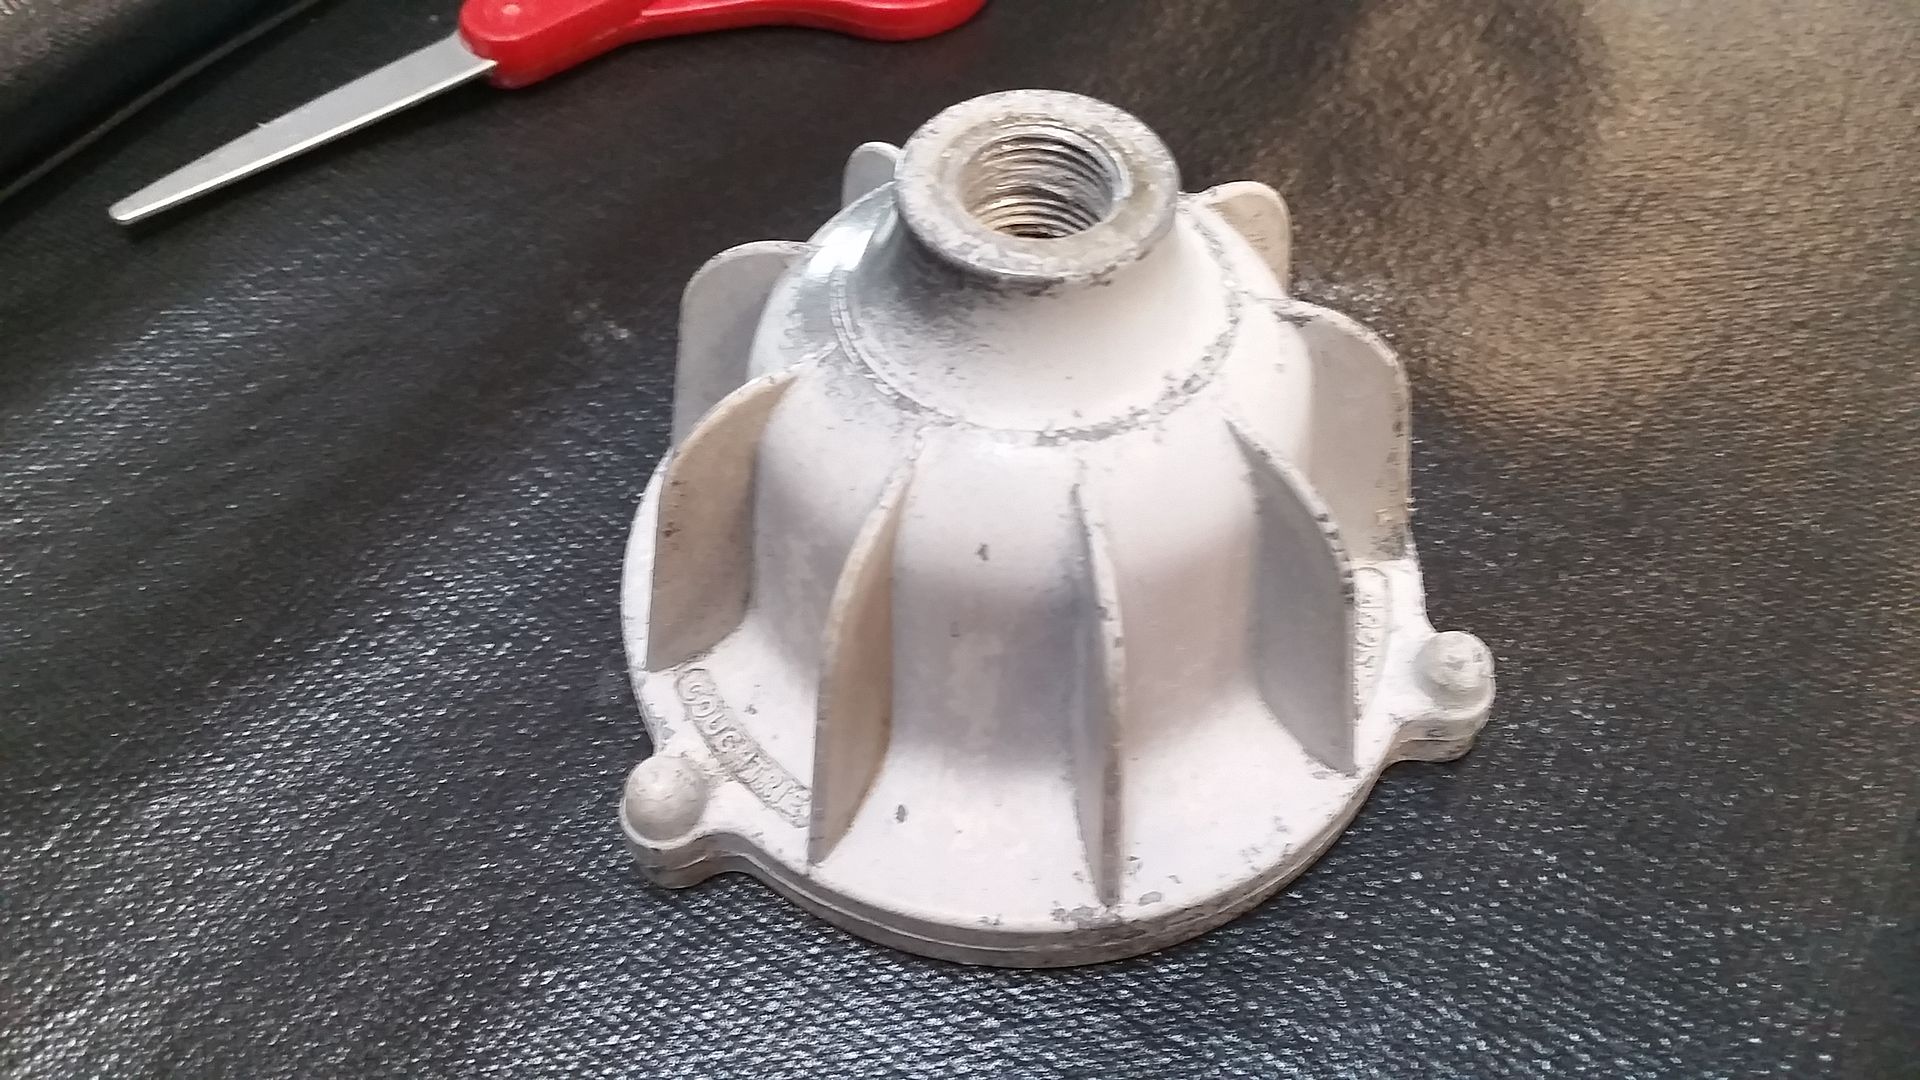
FINALLY removed the neck from the Coughtrie Lamp
Before cleaning
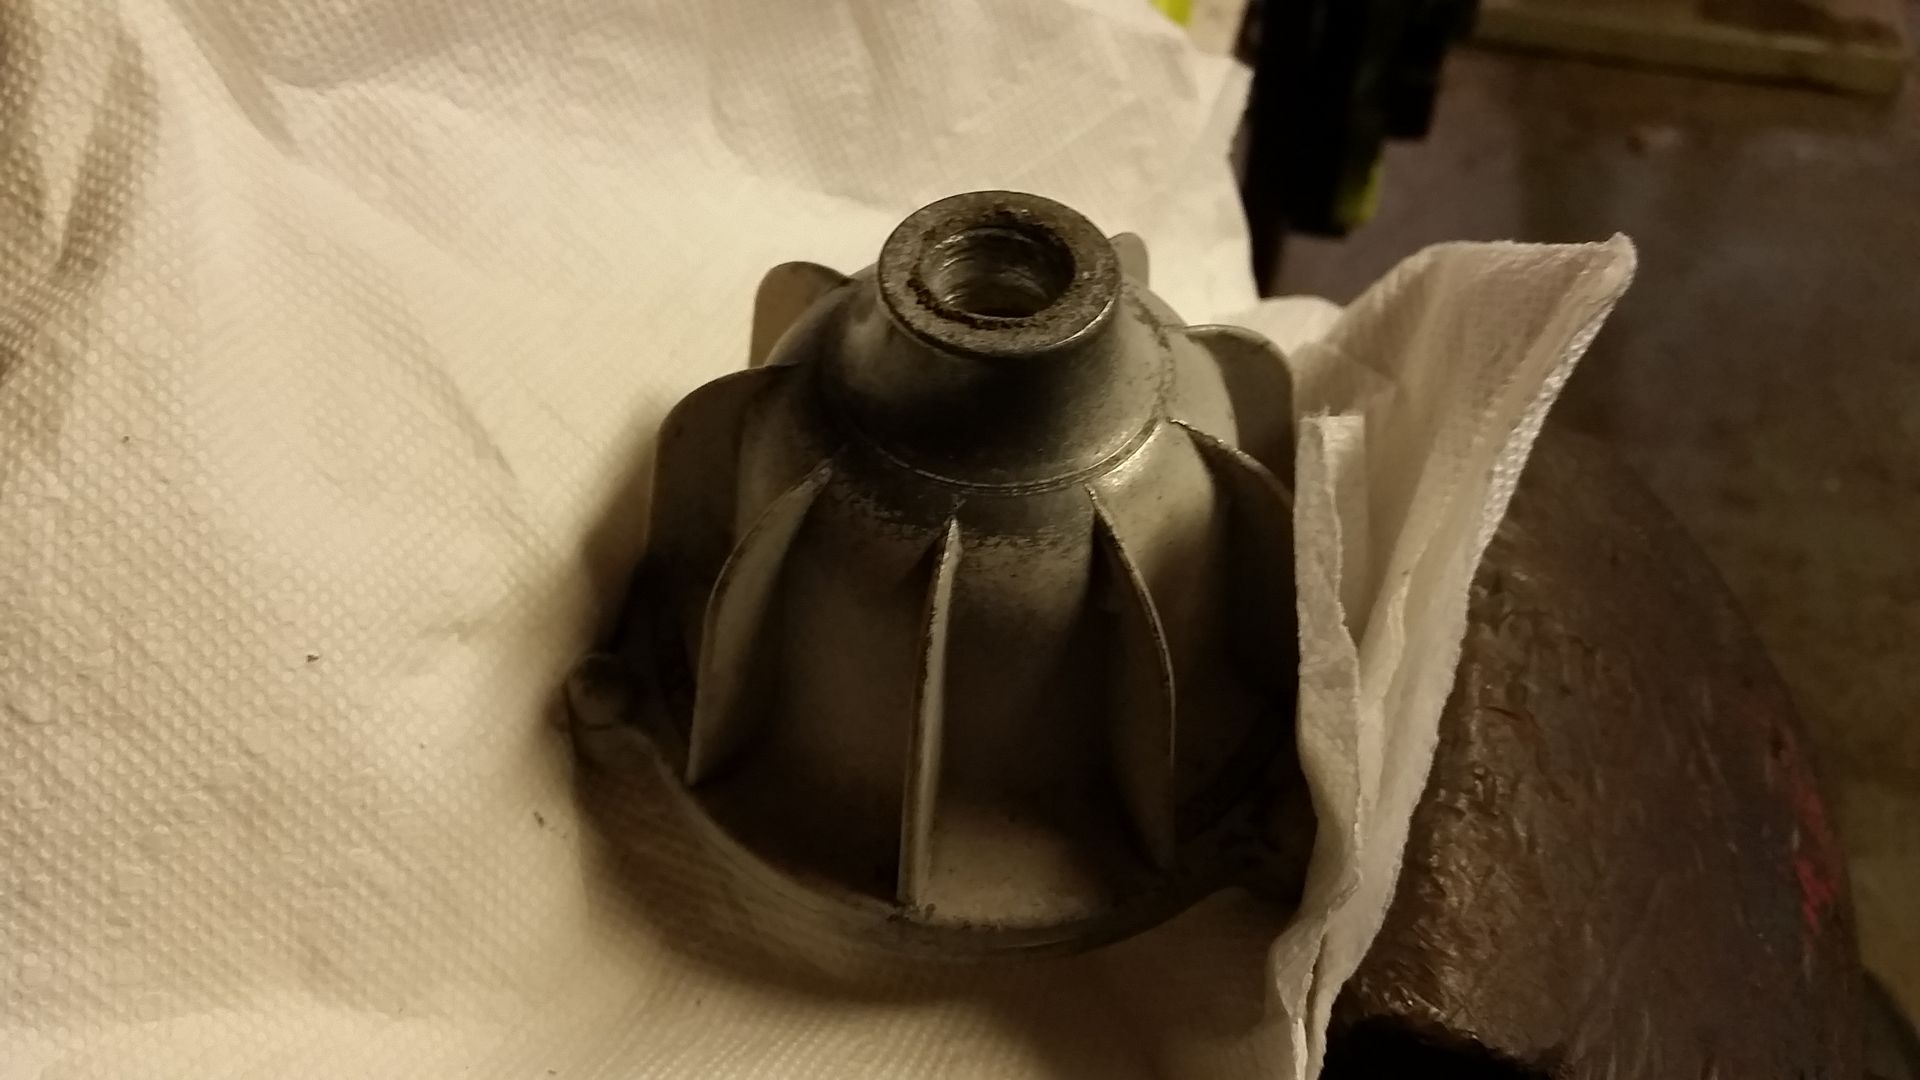
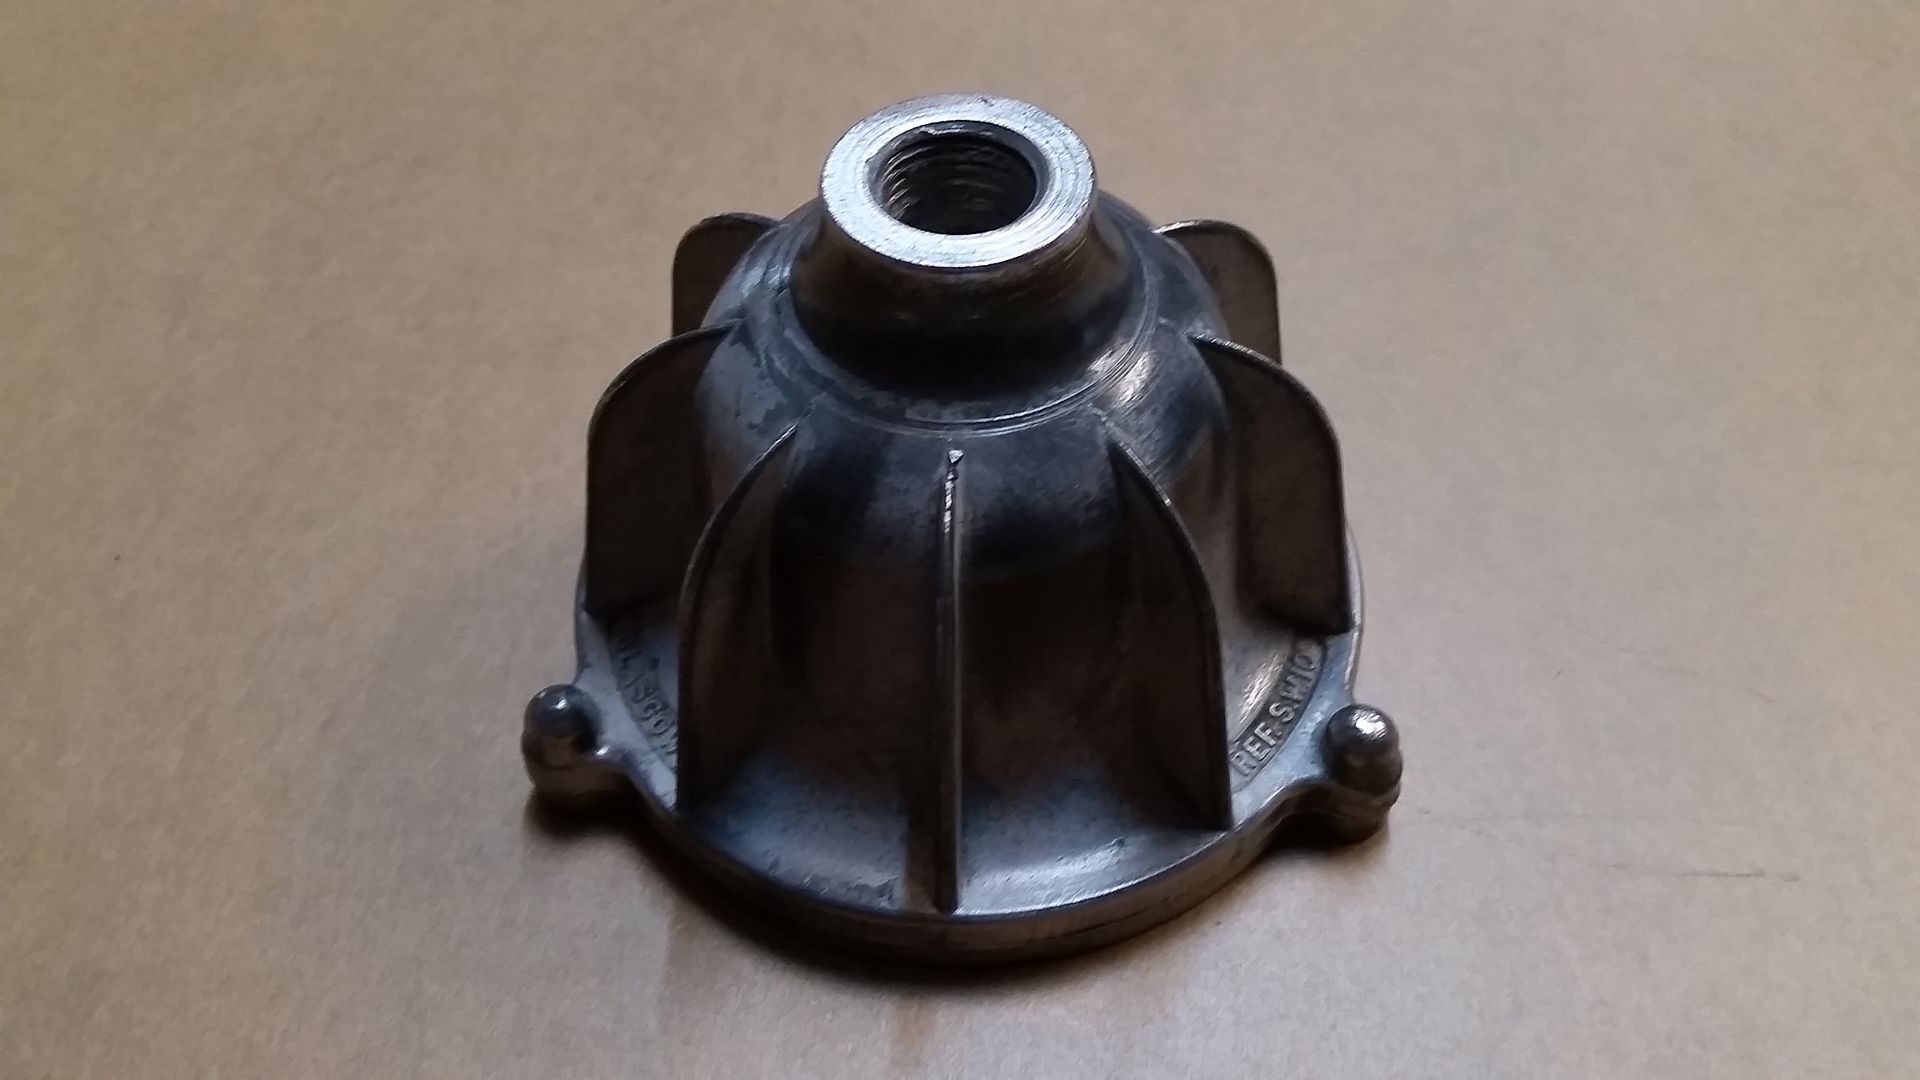
After!
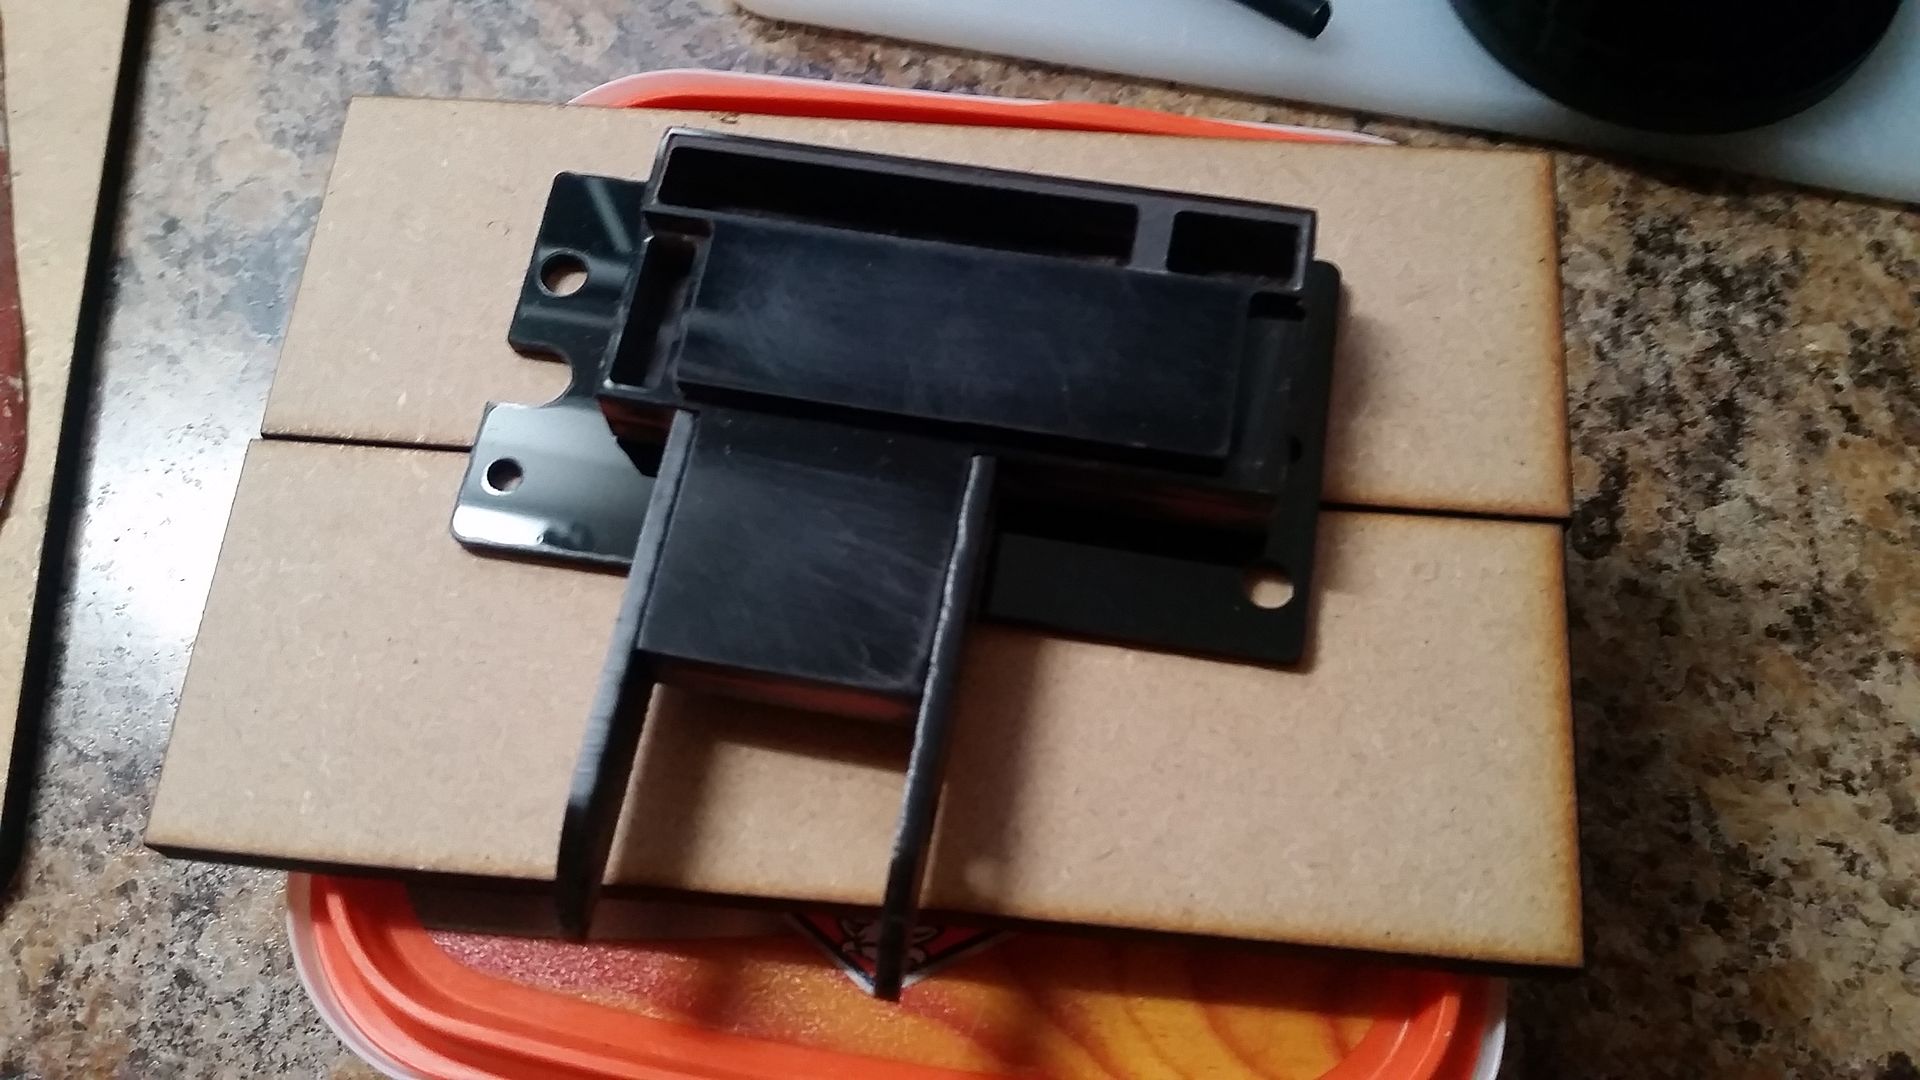
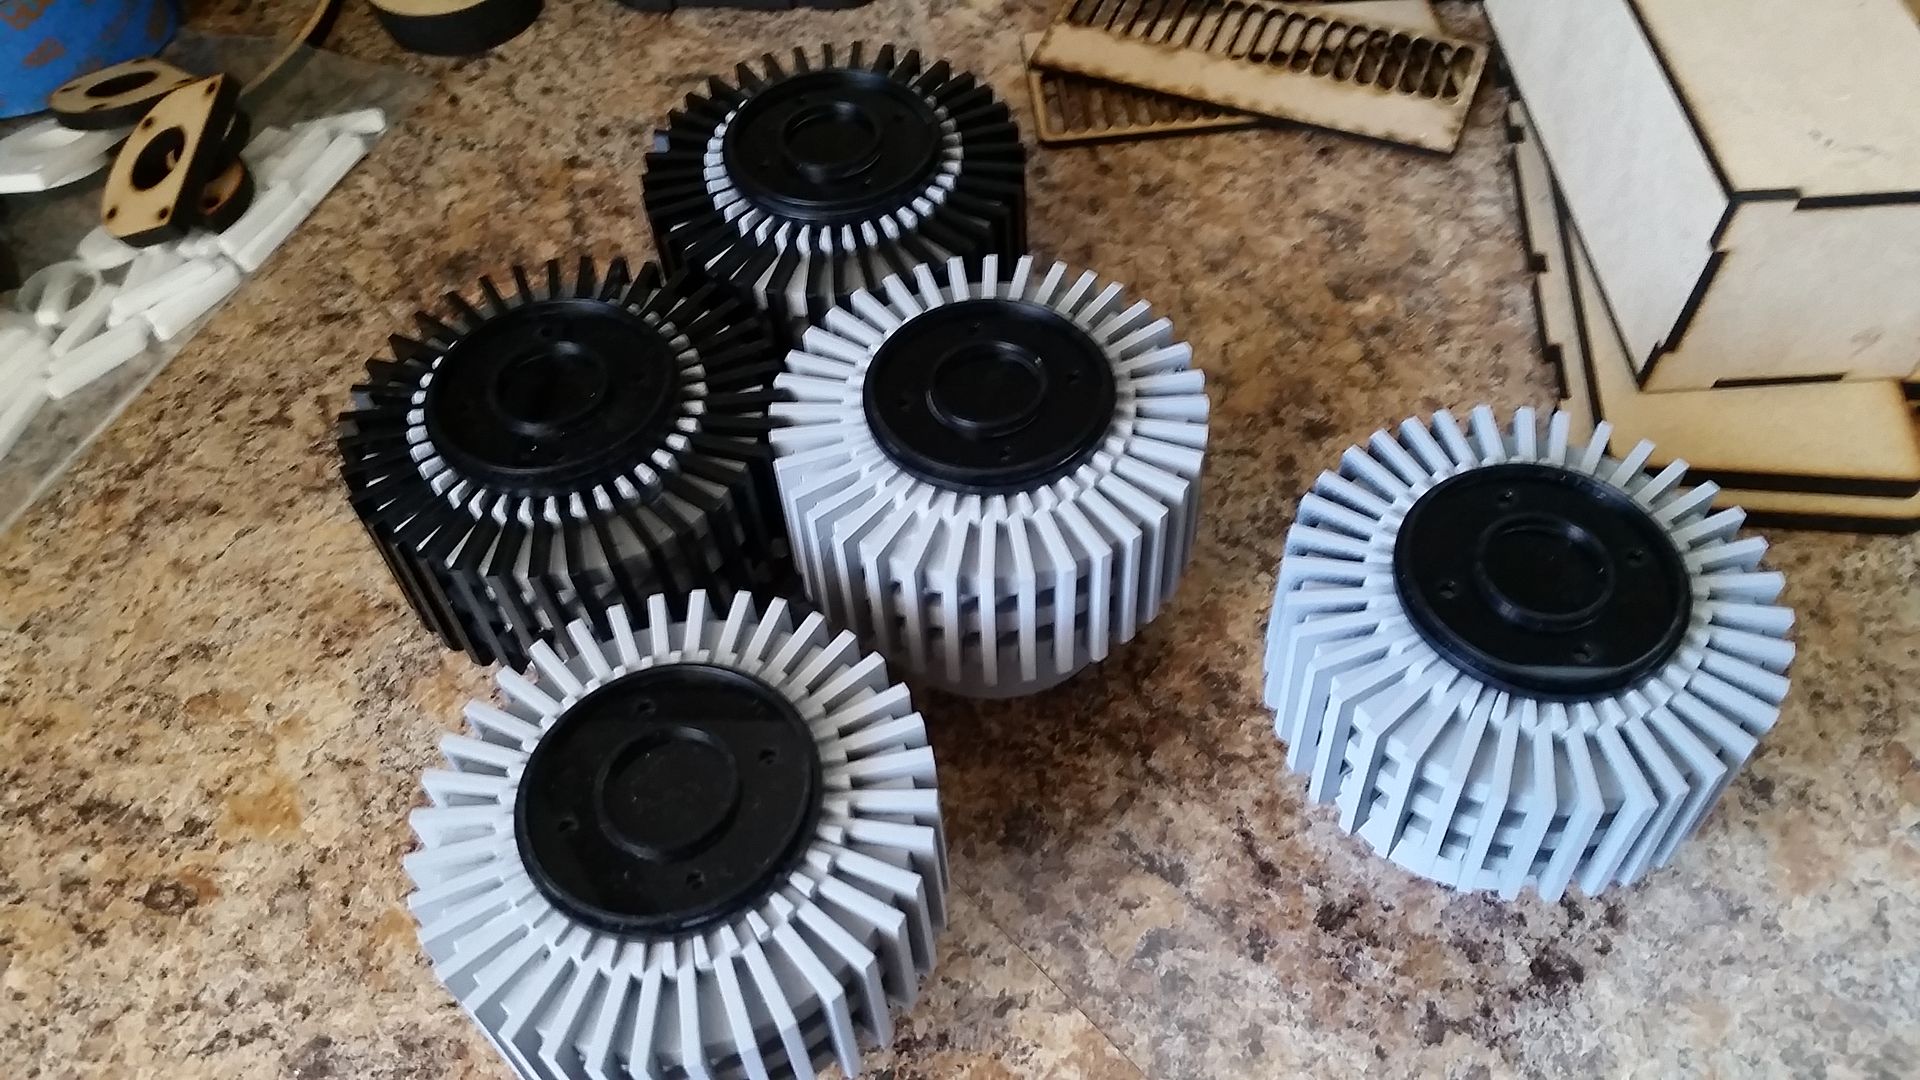
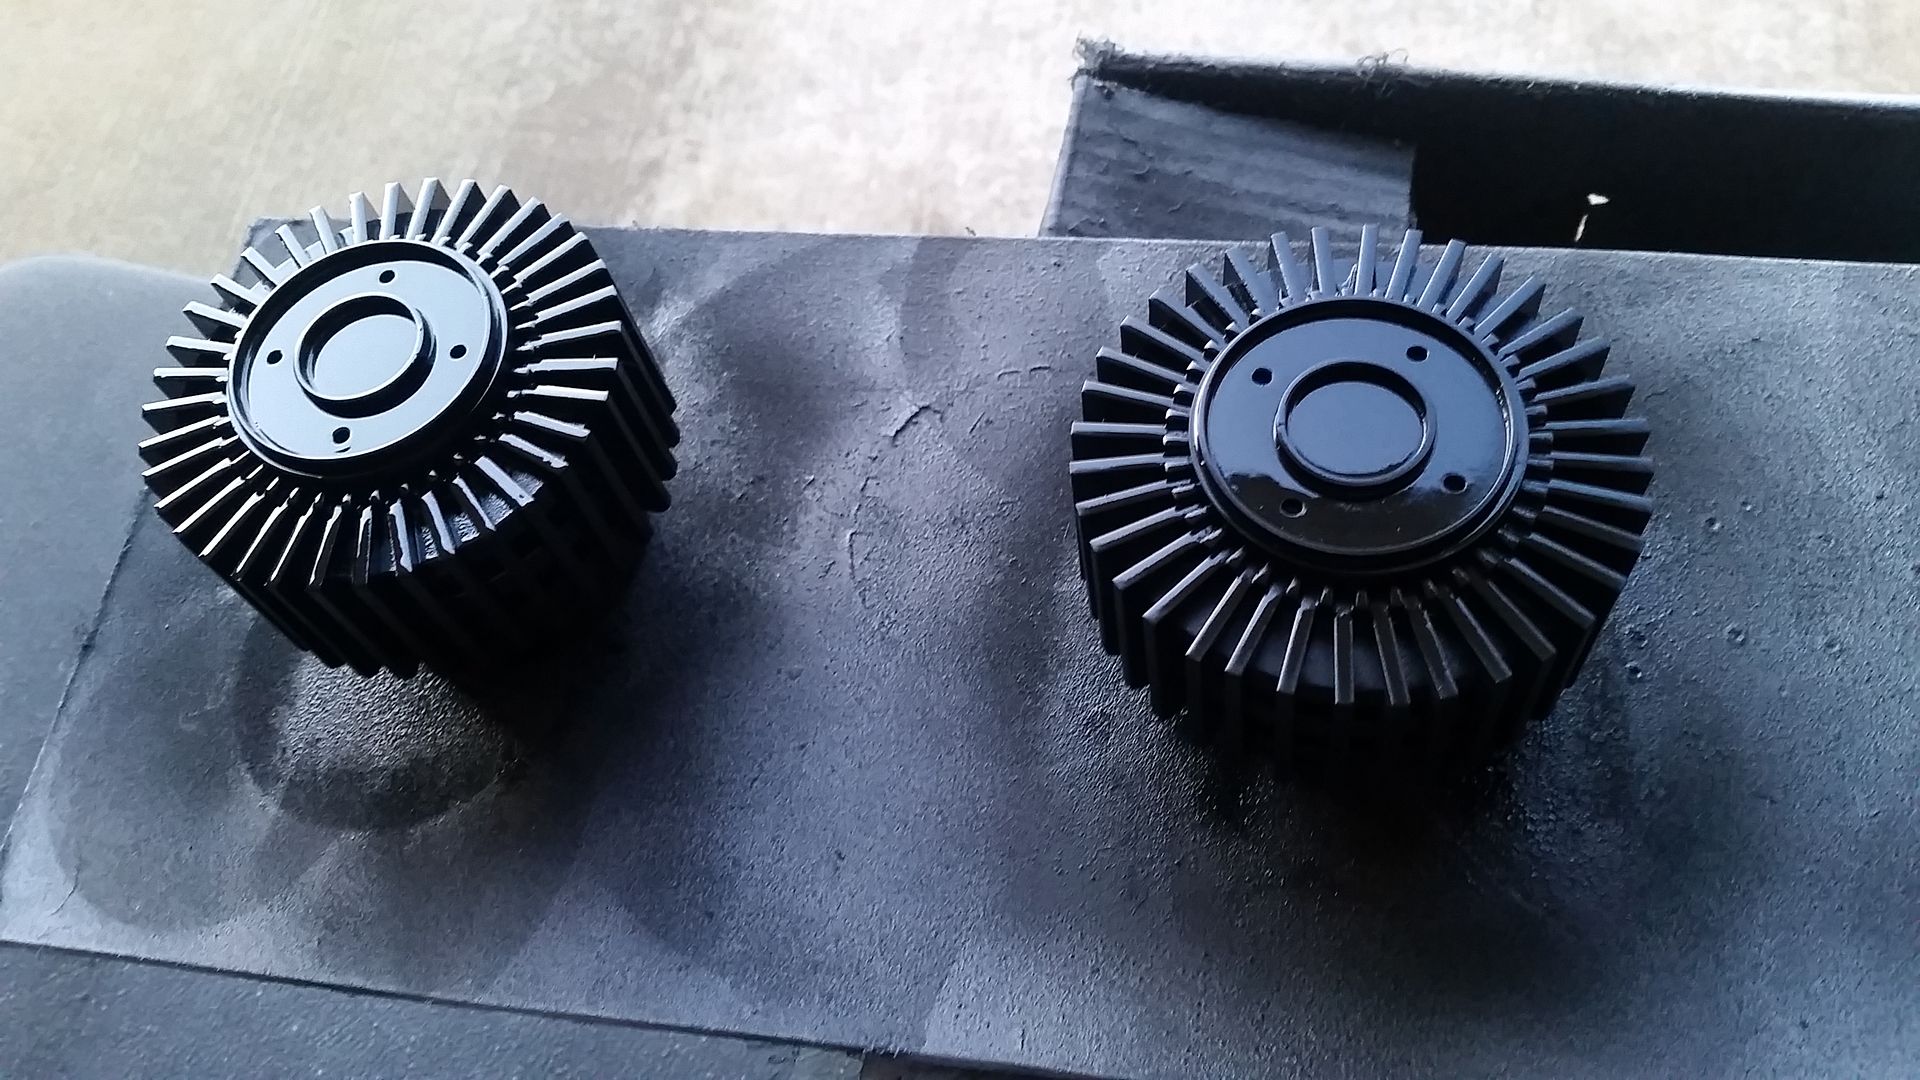
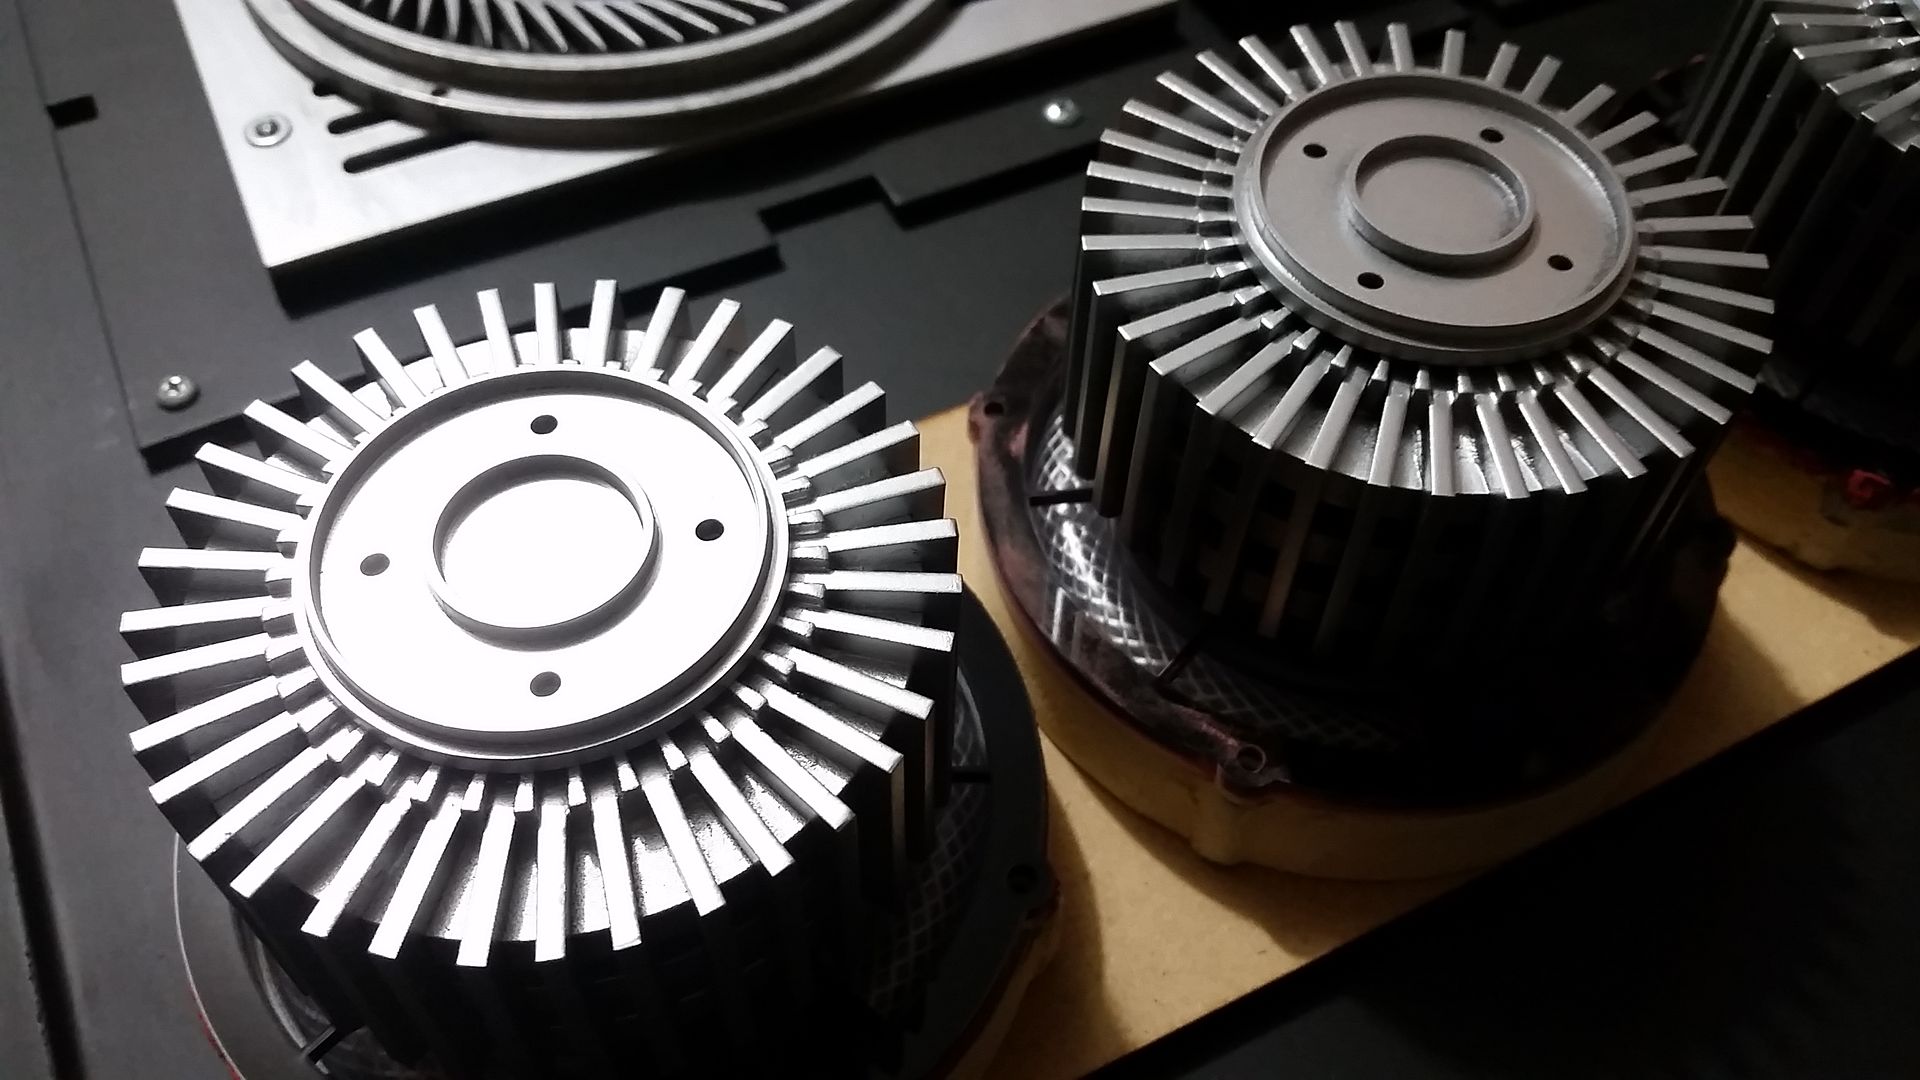
I test cut a new/old greeblie
I then created / laser cut these foam pads for the ext panels access areas
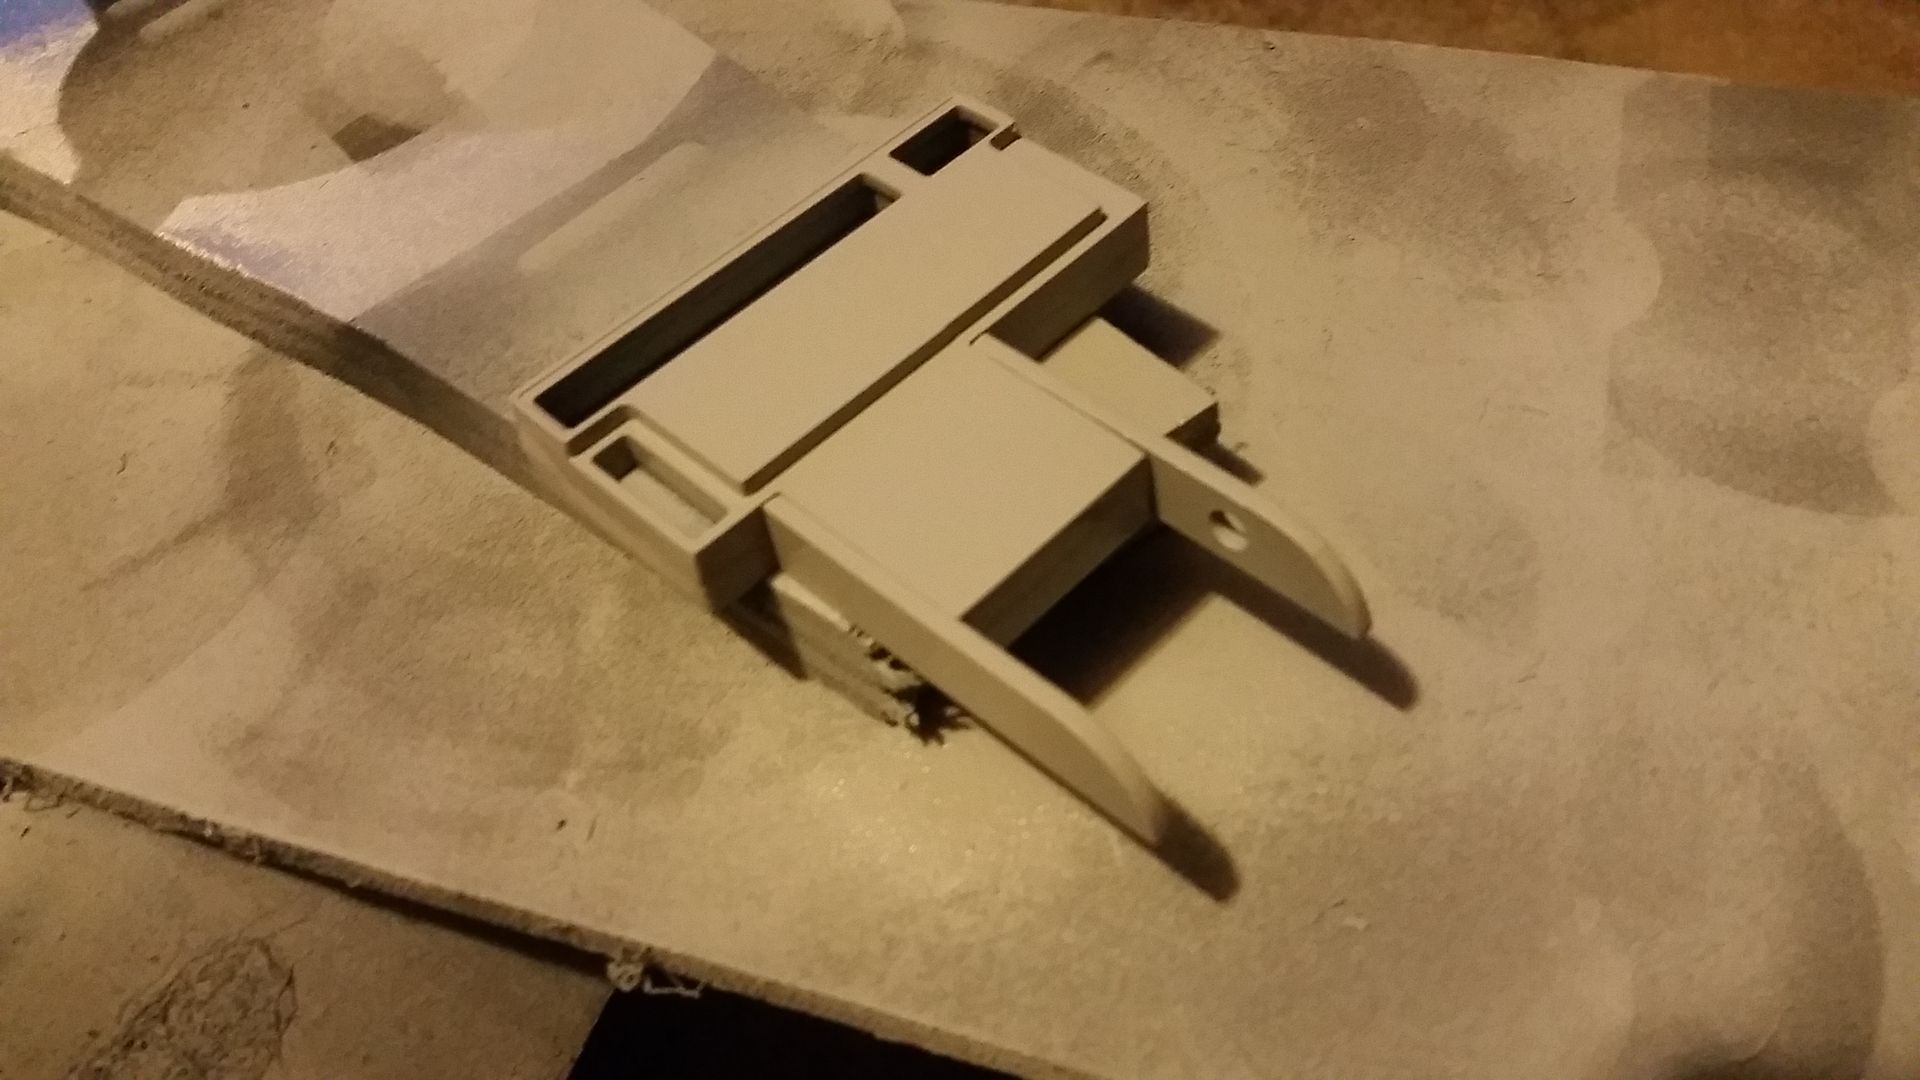
Looks cool but I'm not really happy with the inner cut so I'll redo
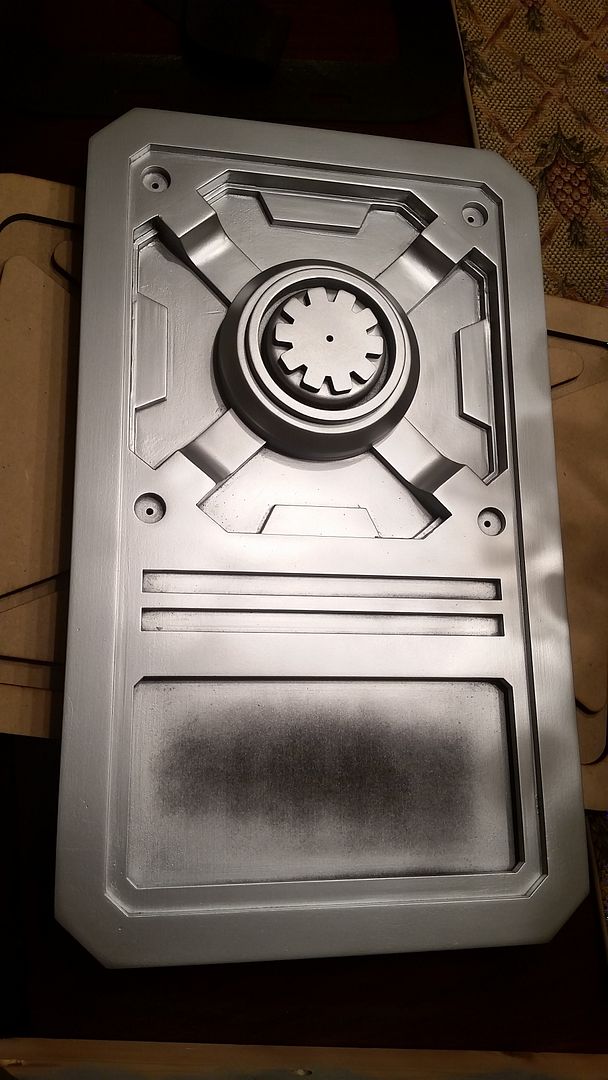
I then created a new cassette style greeblie based on the EPVII 360 PANO which looks very similar to the ESB version
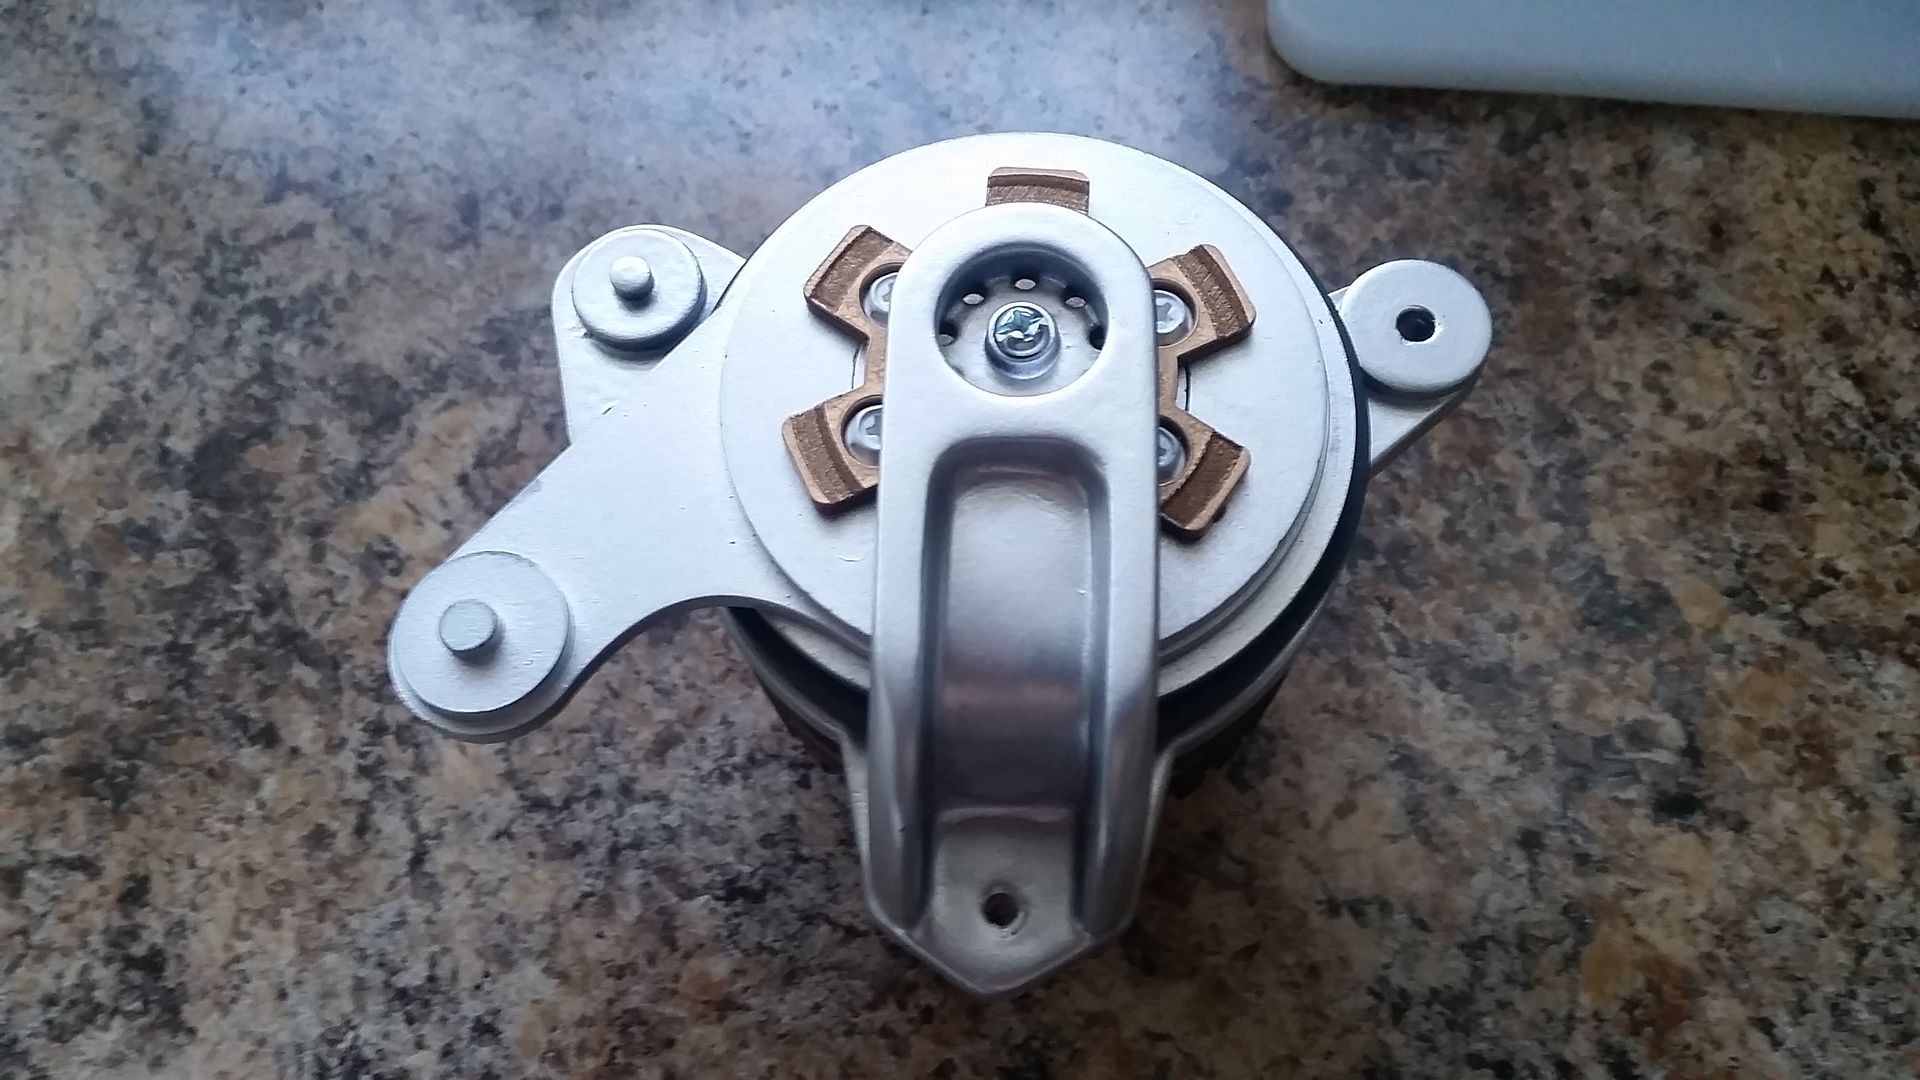
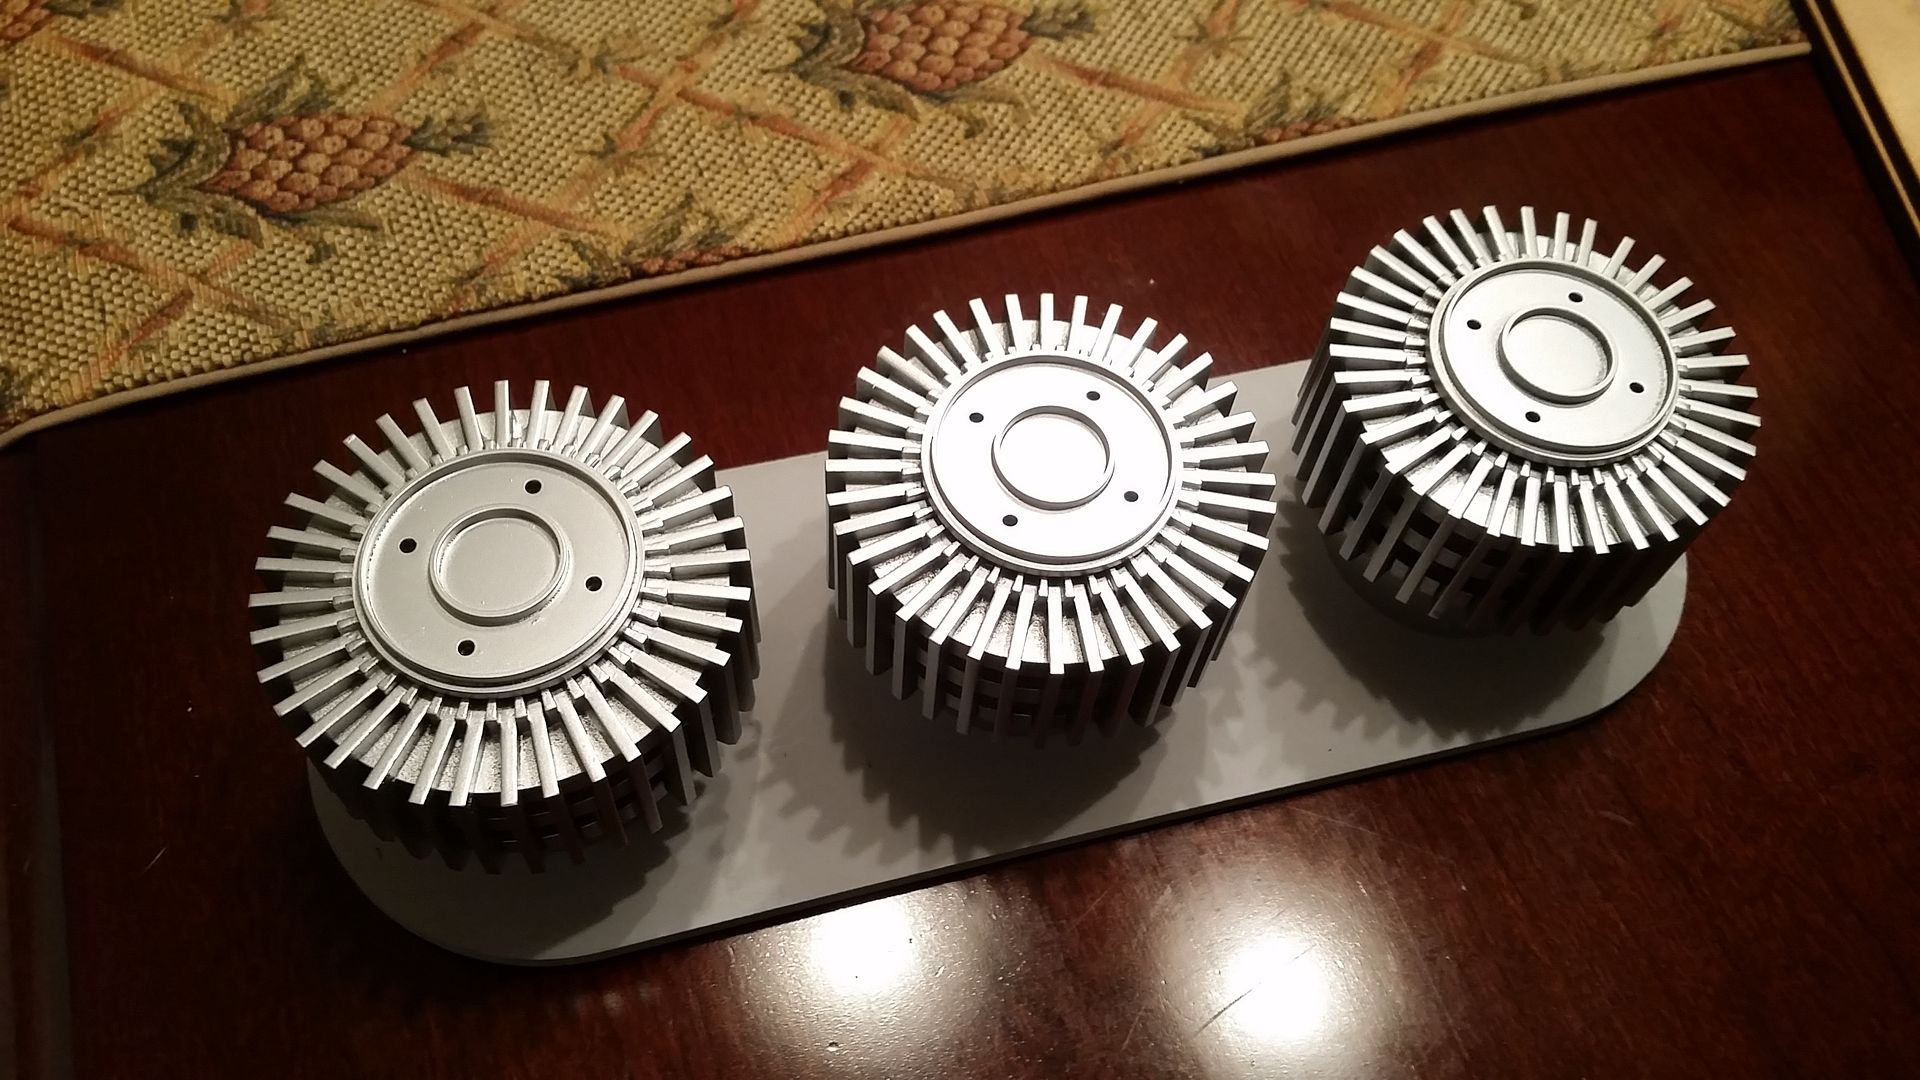
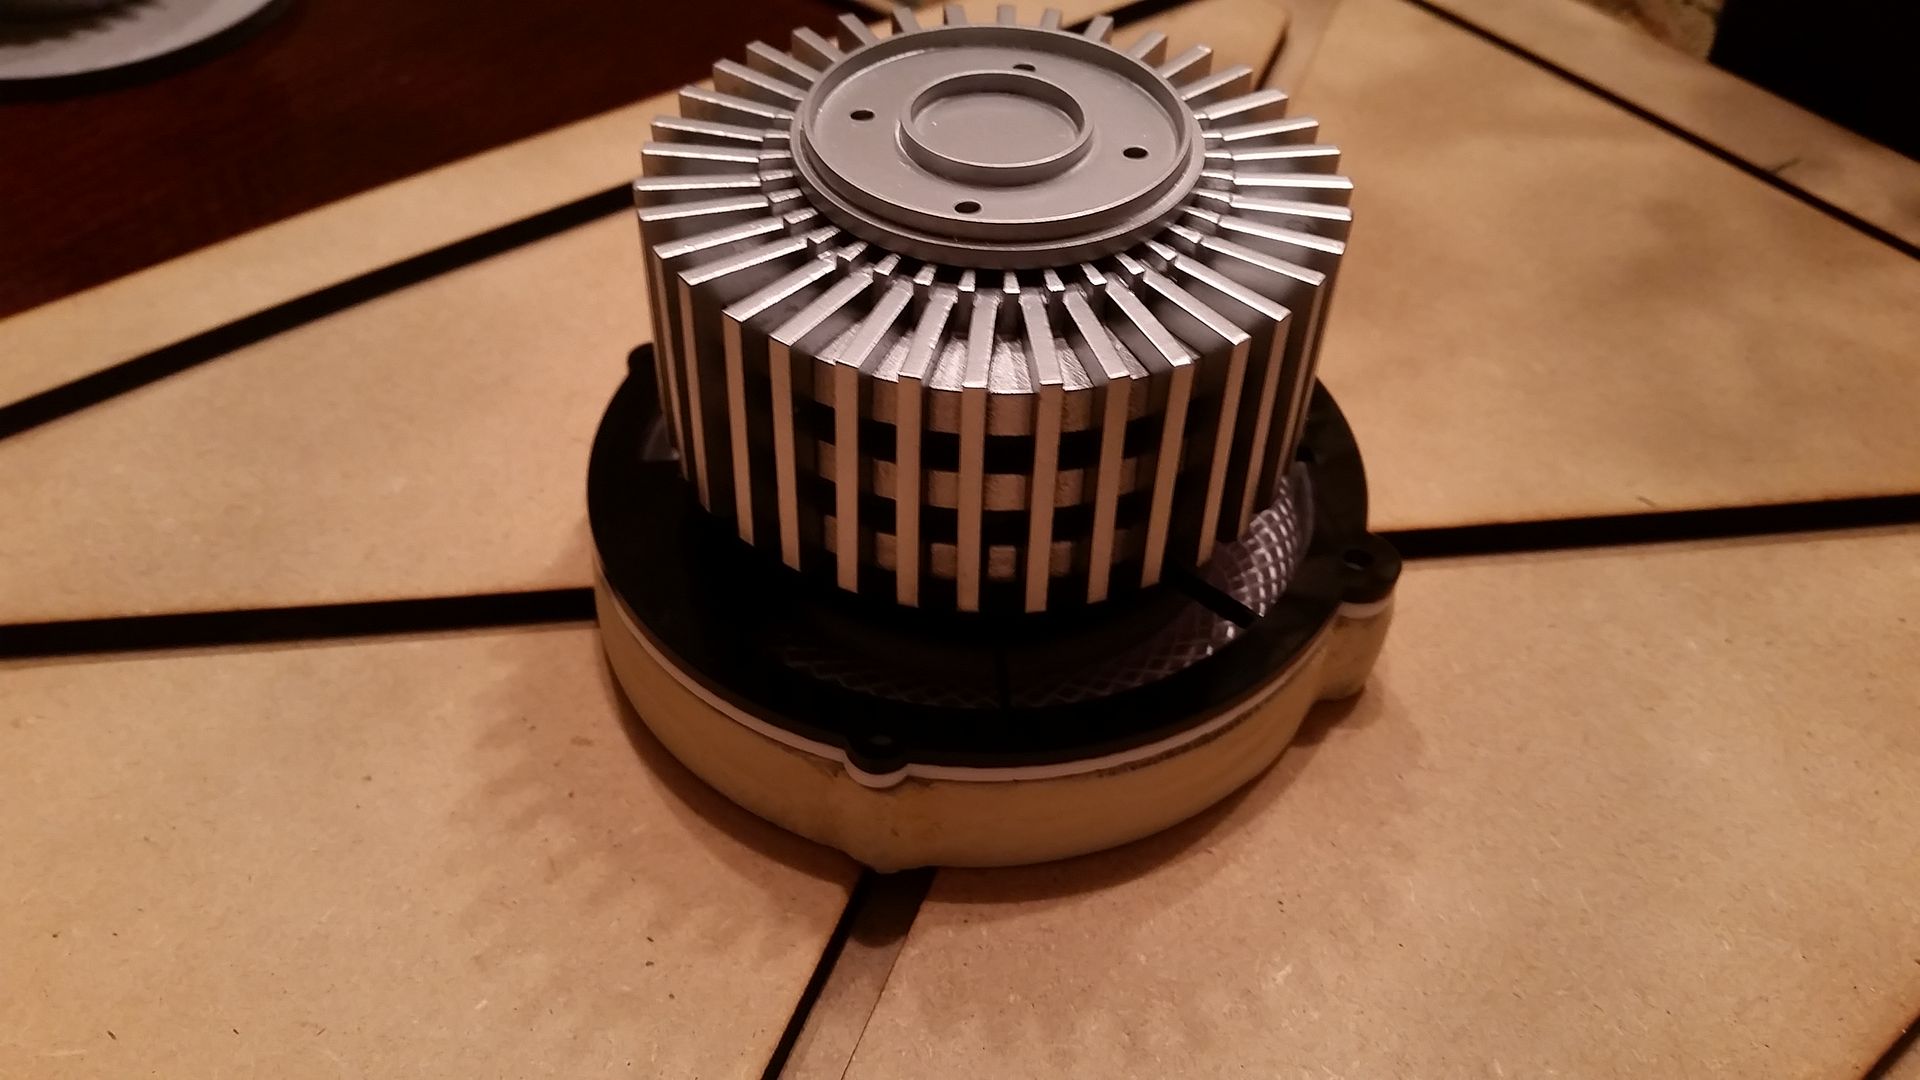
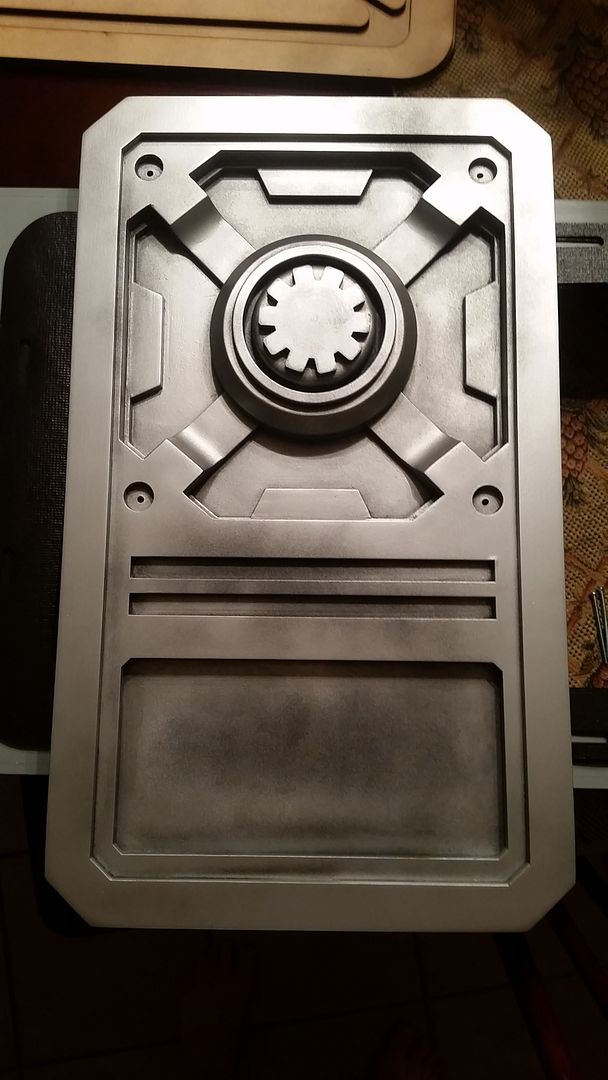
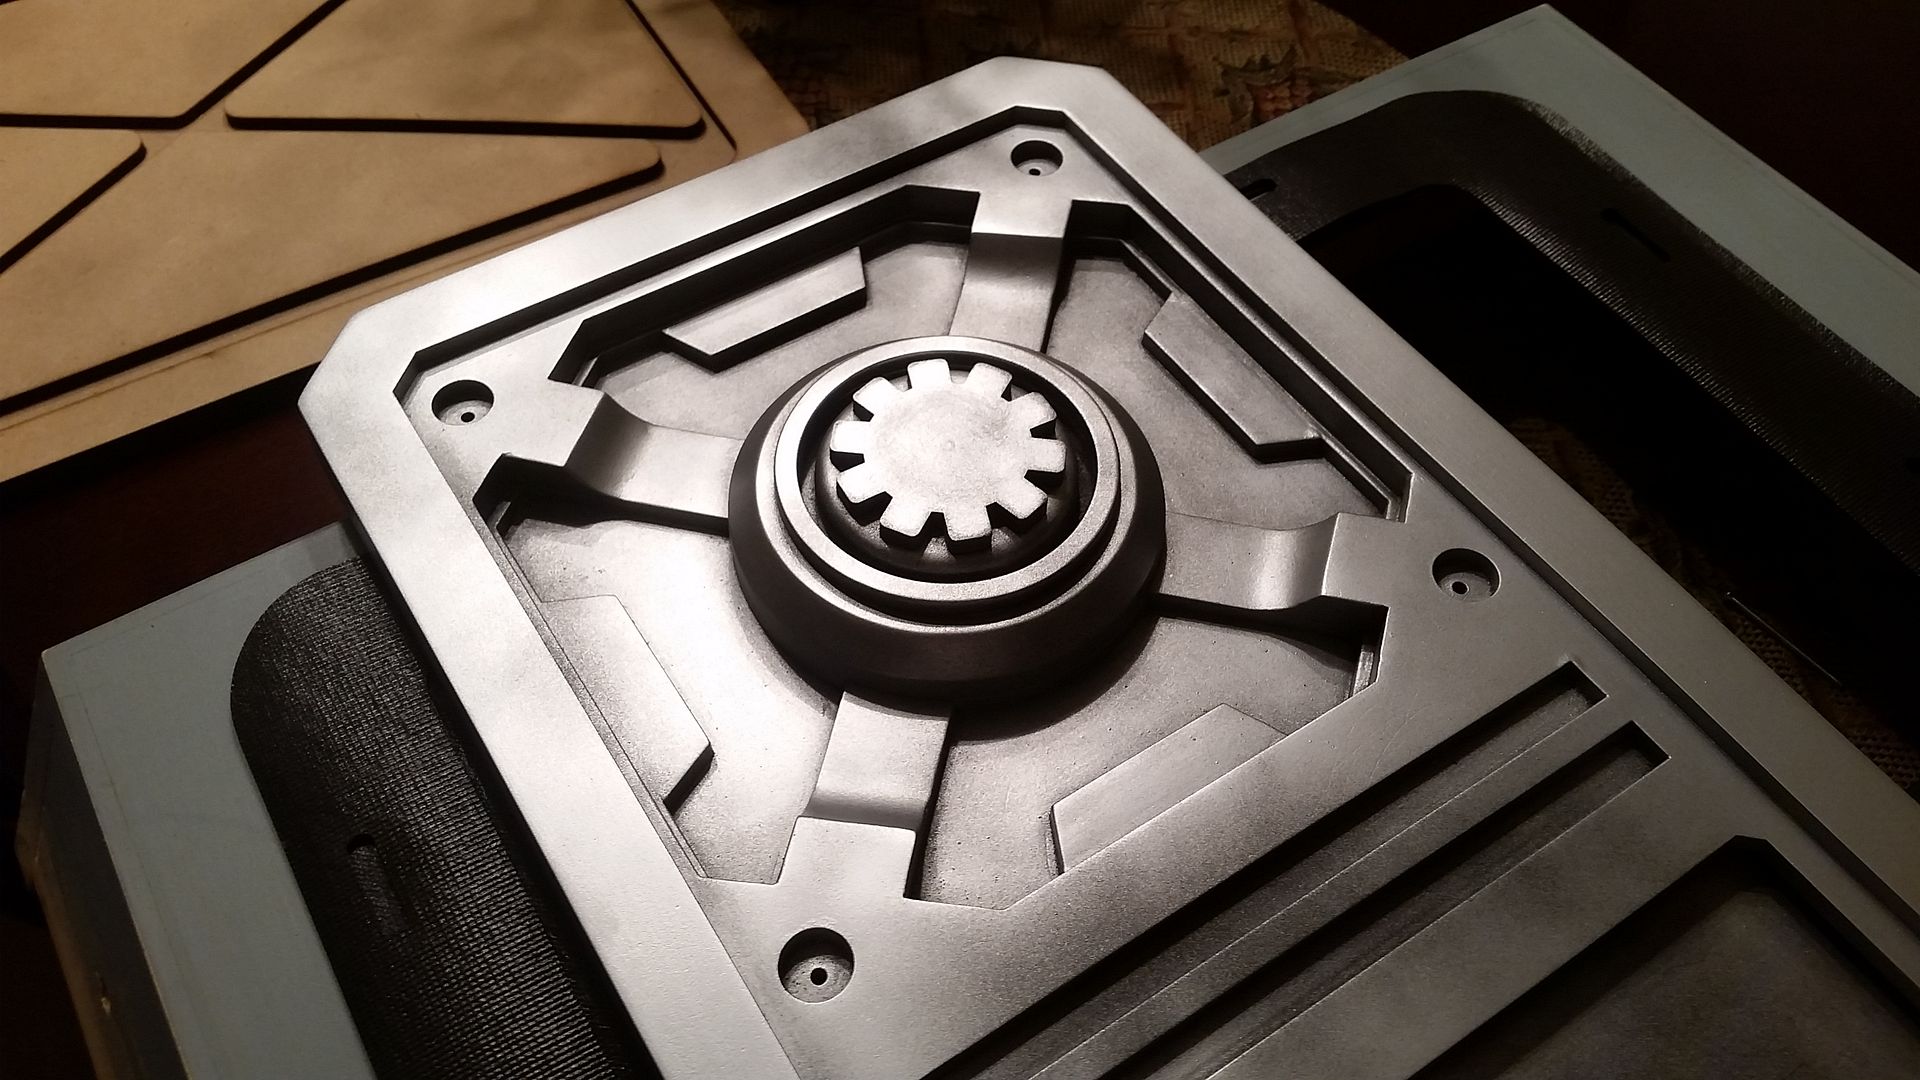
Finally painted this guy silver!
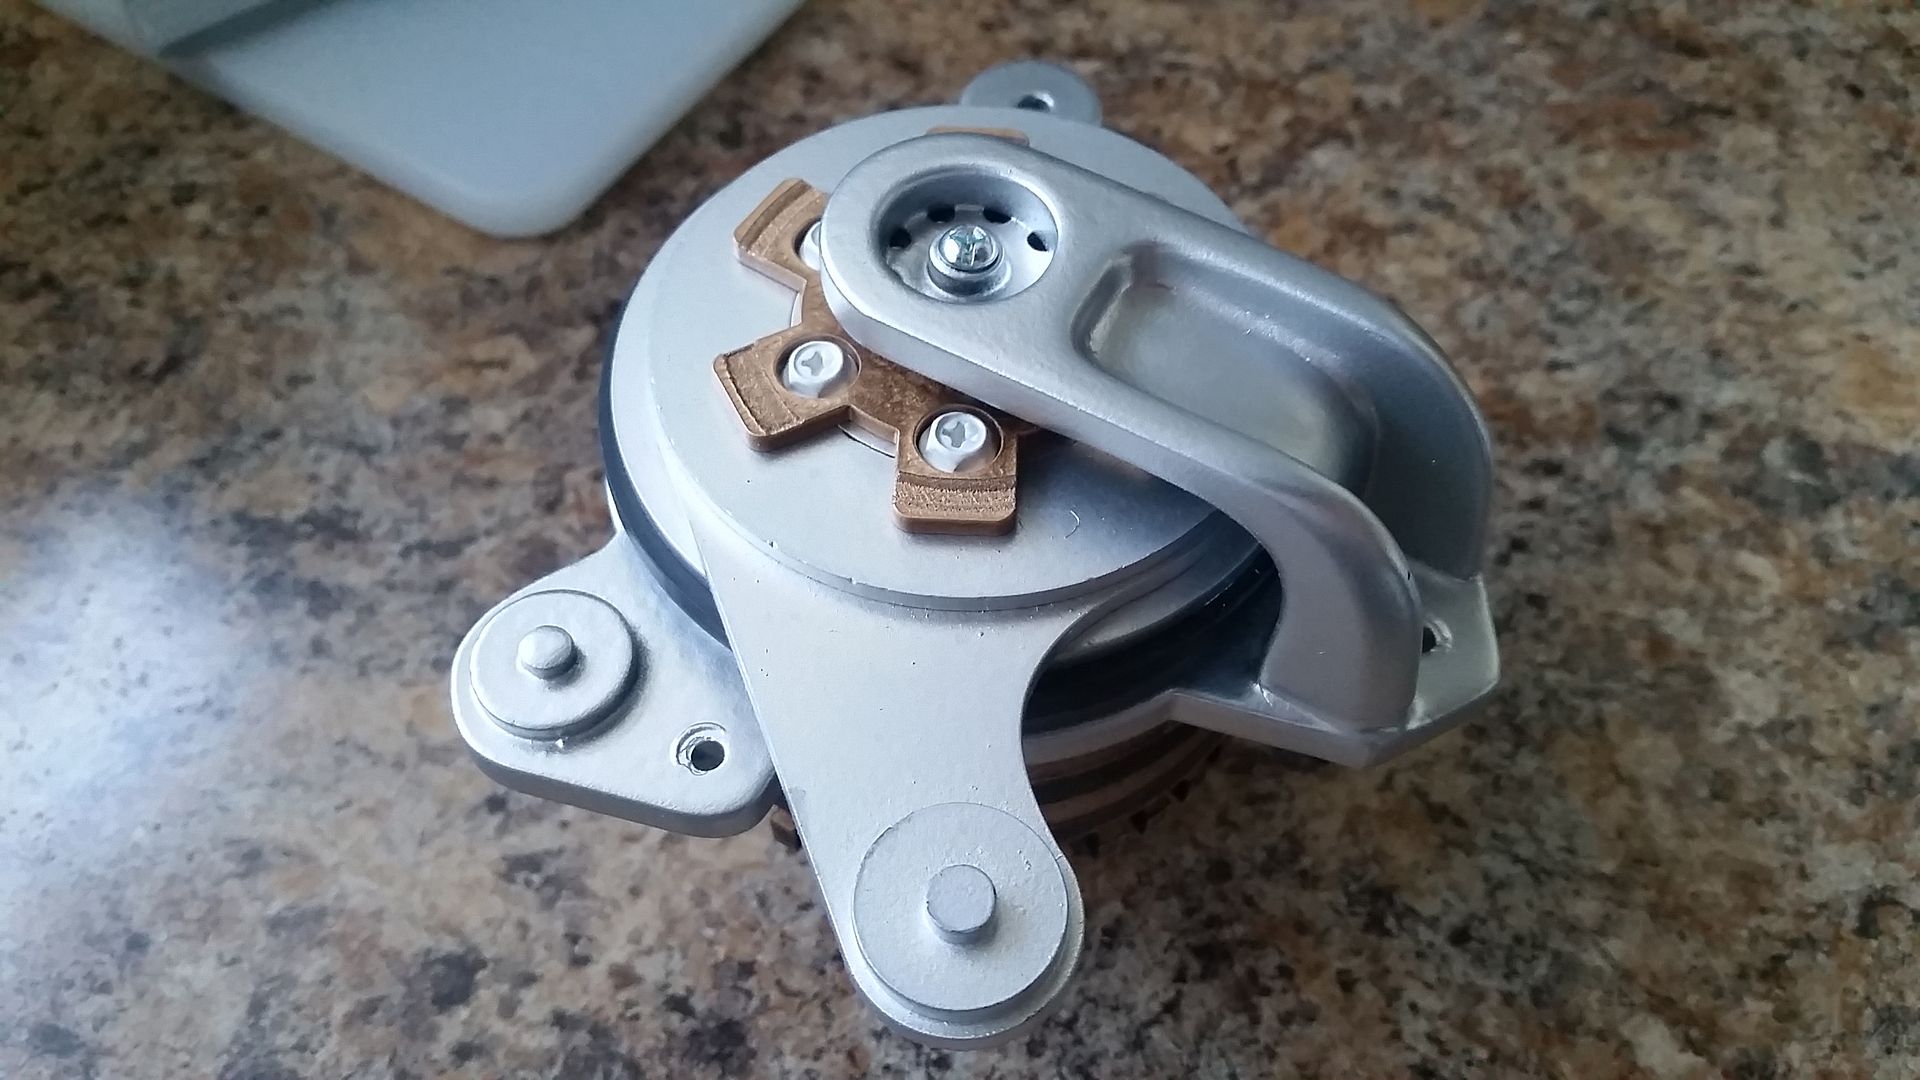
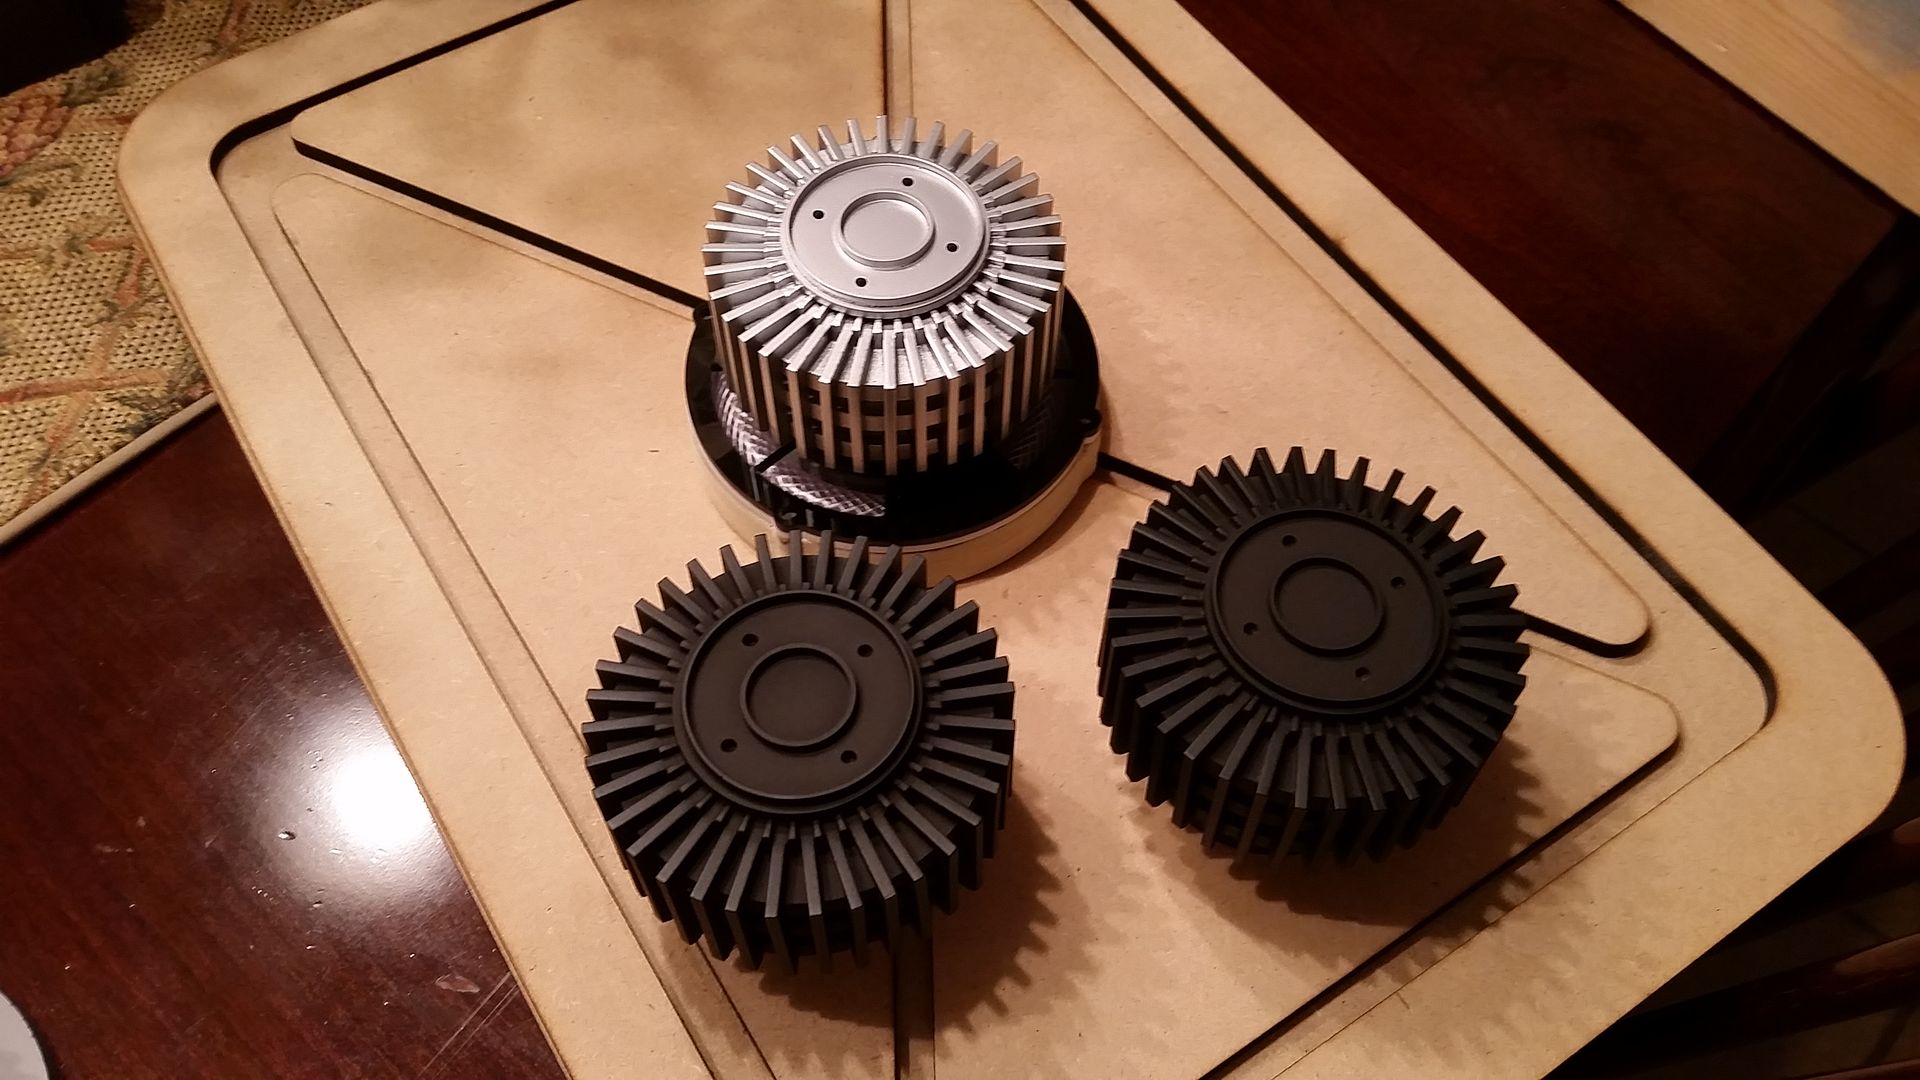
Then weathered! No sure I like the weathering... Going to have to redo.
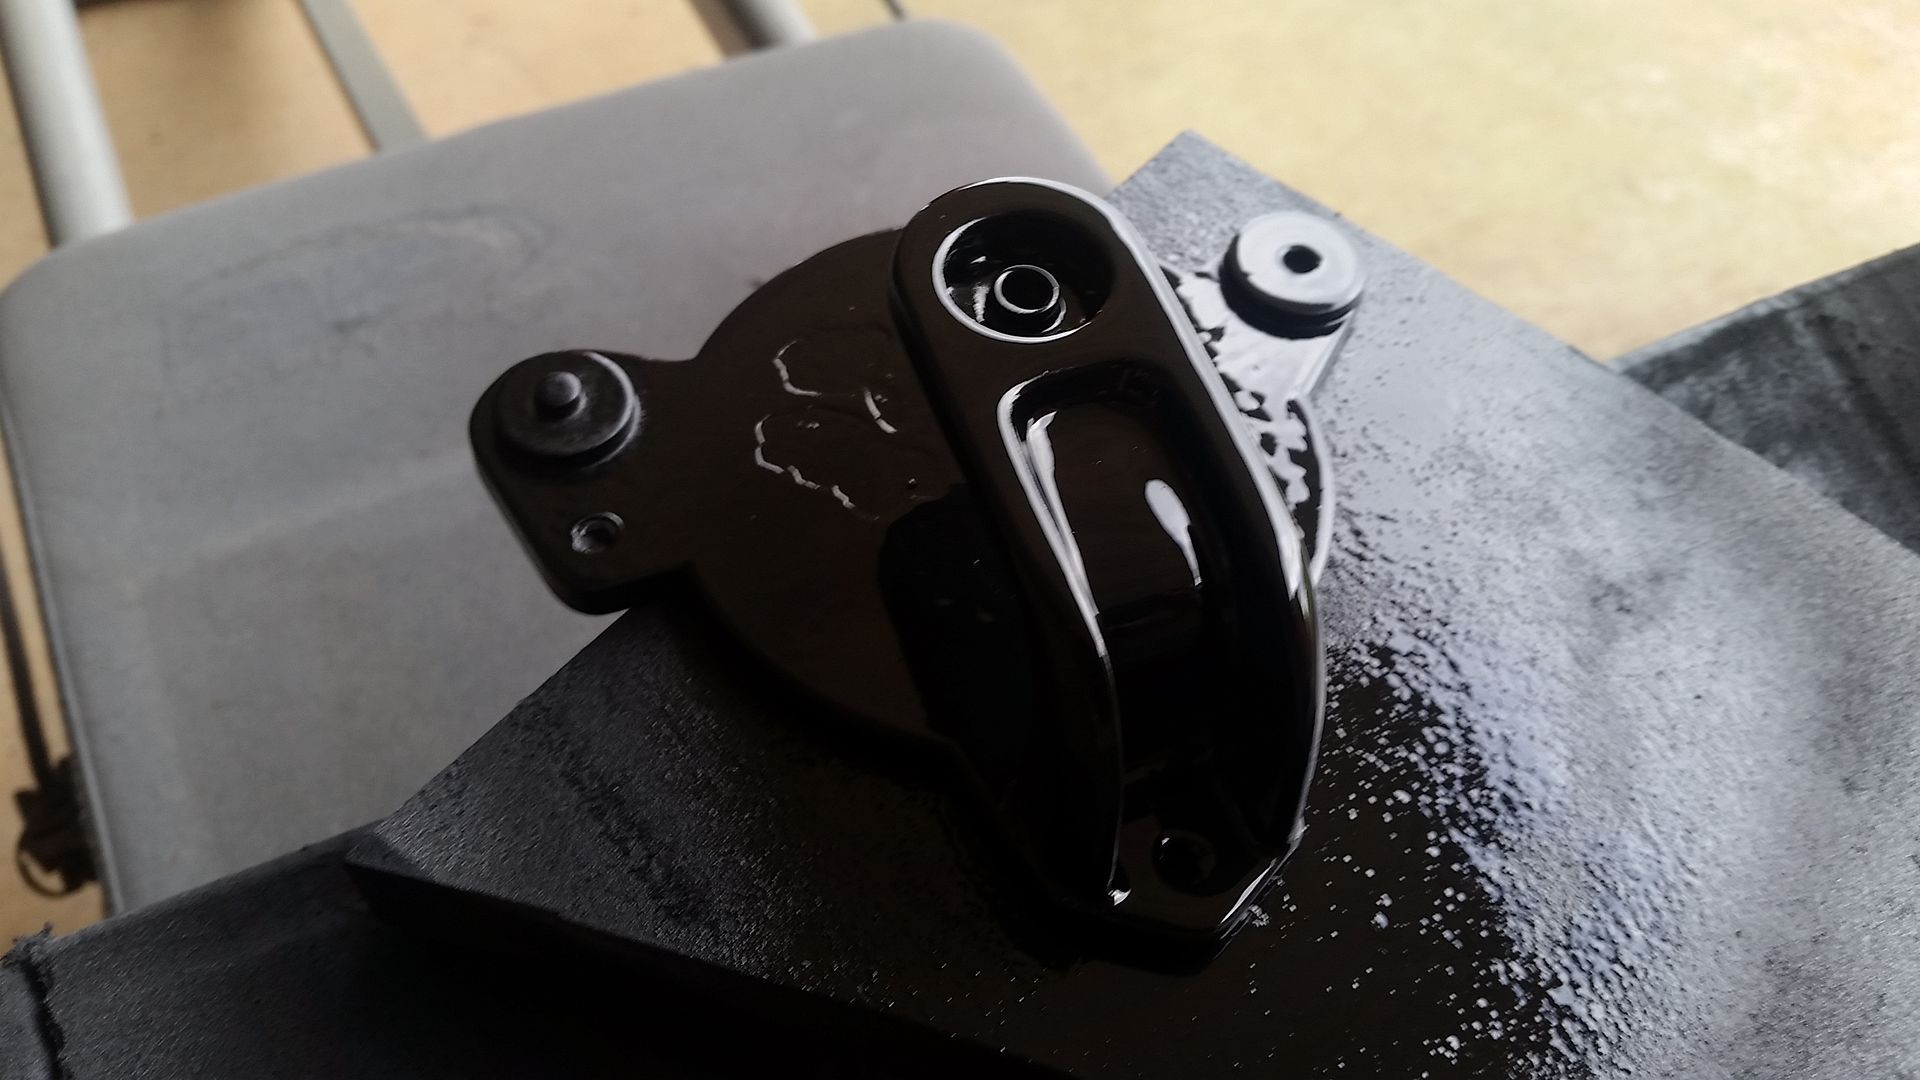
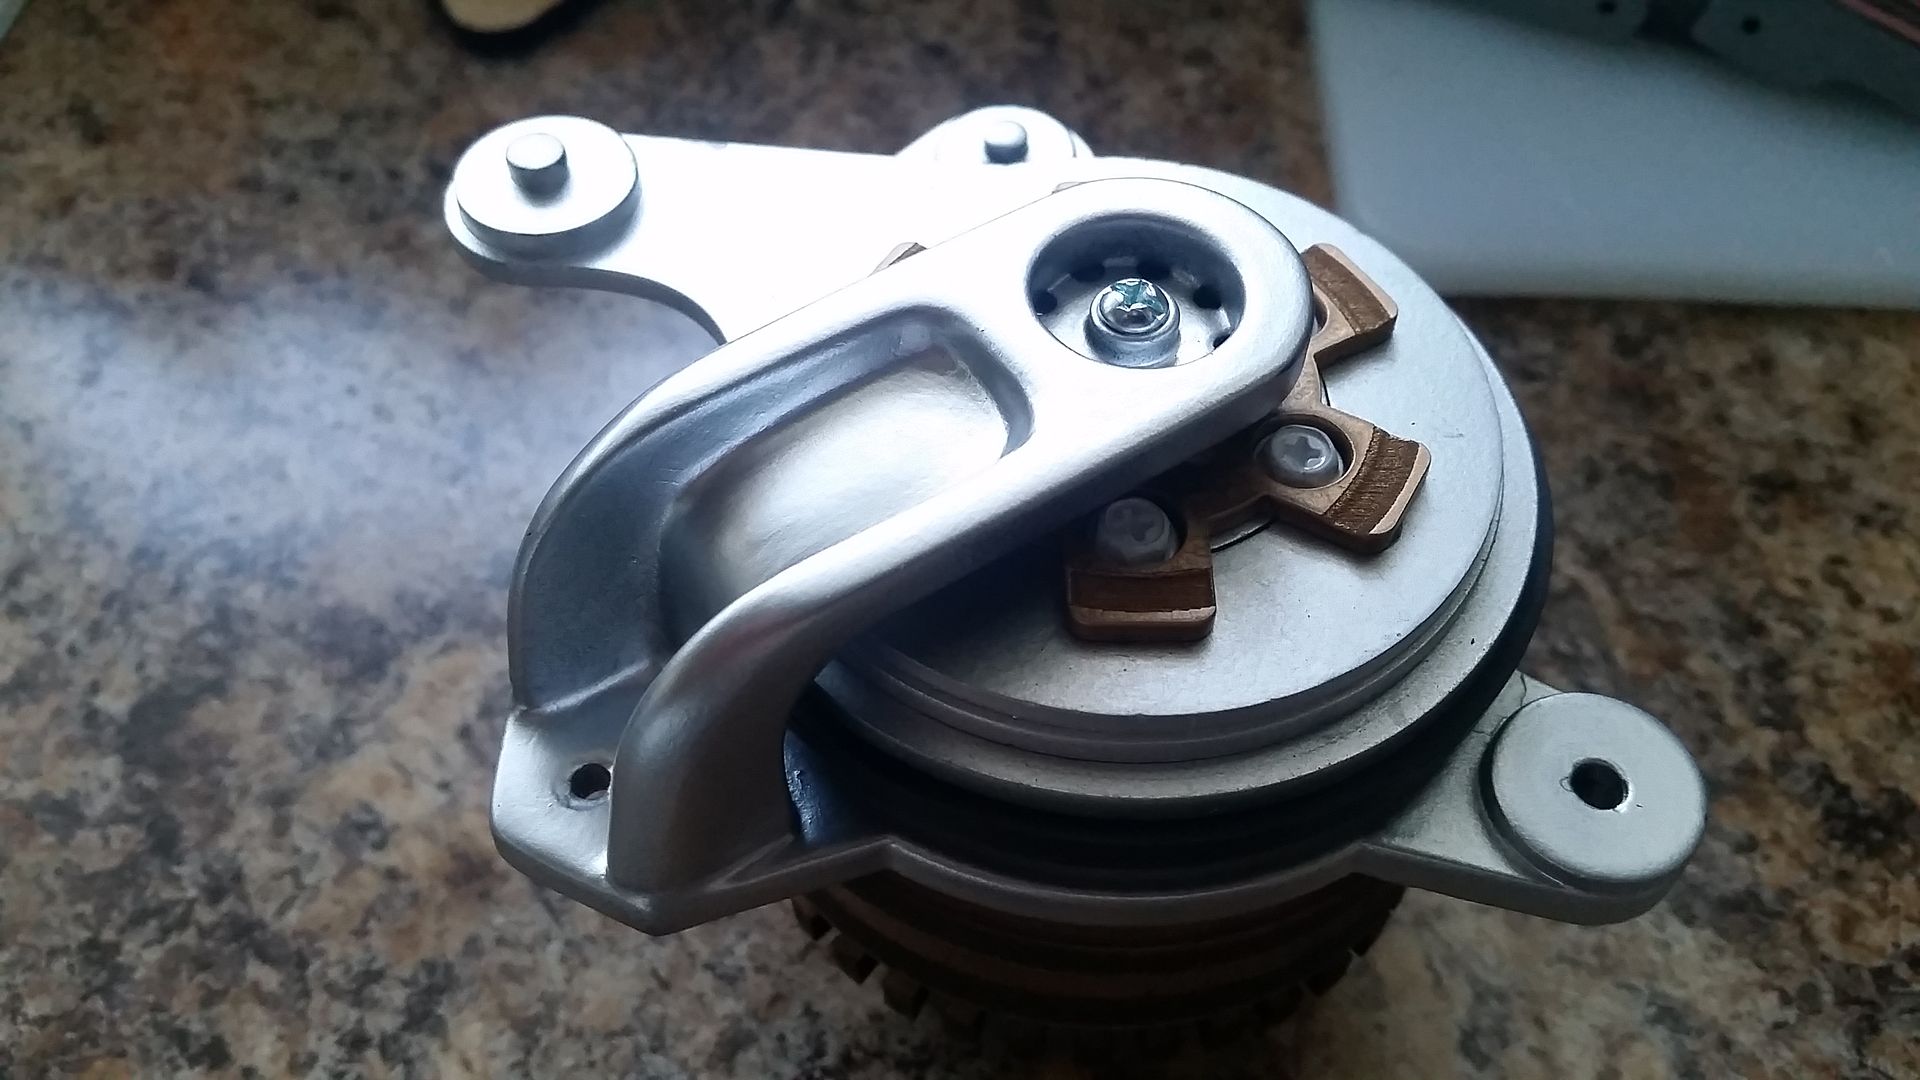
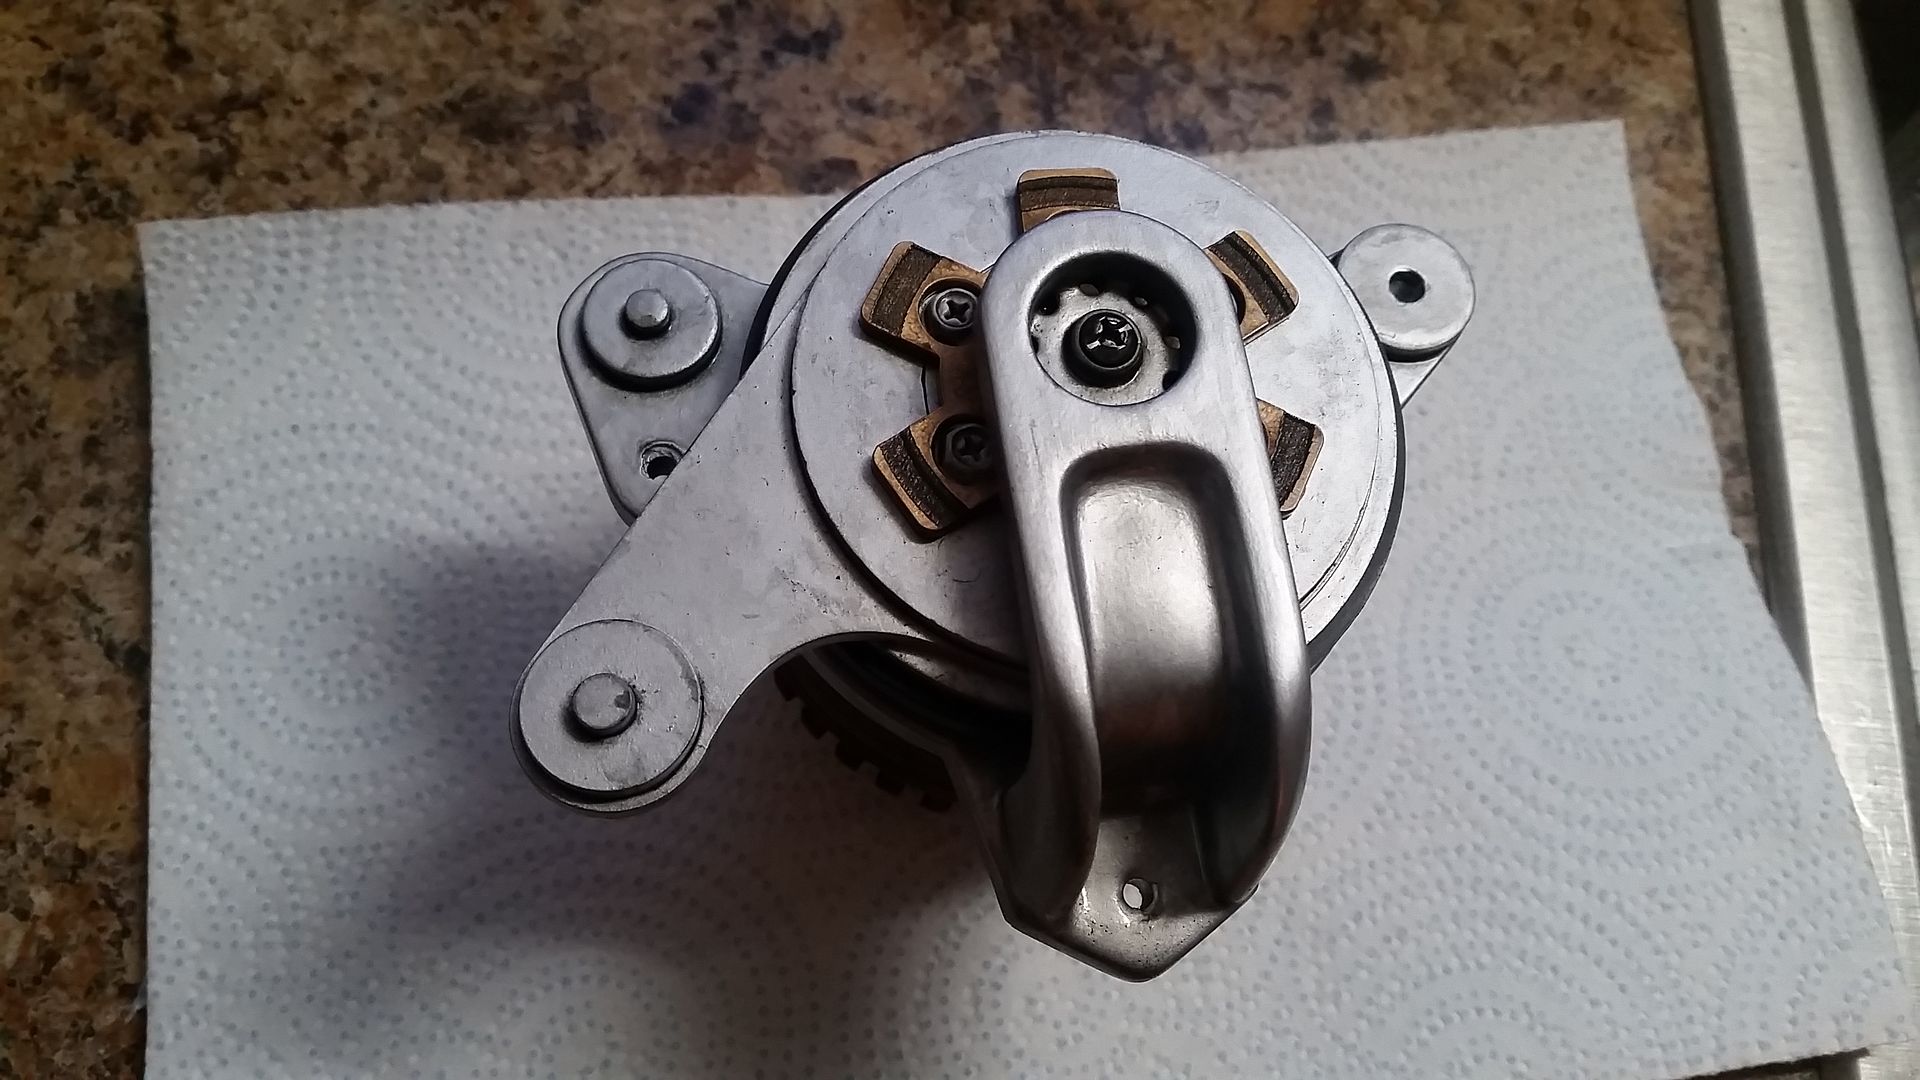
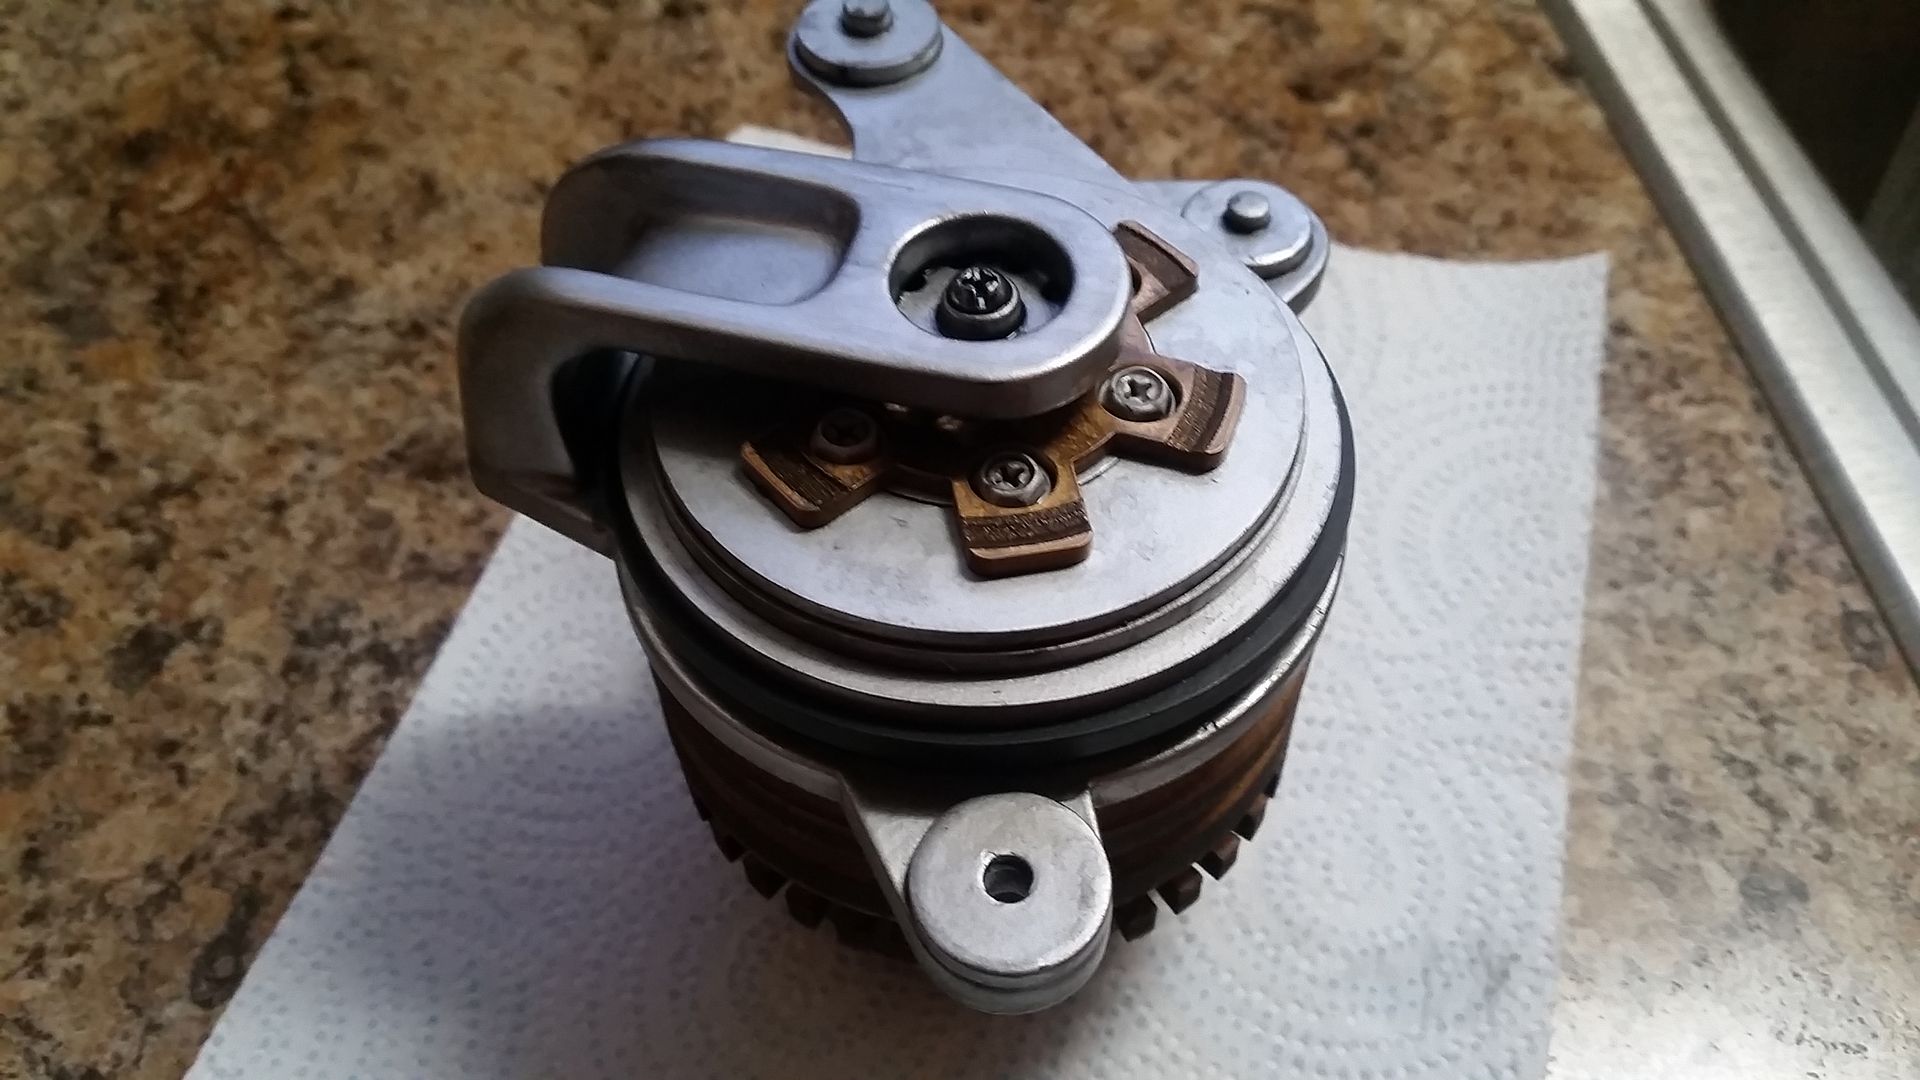
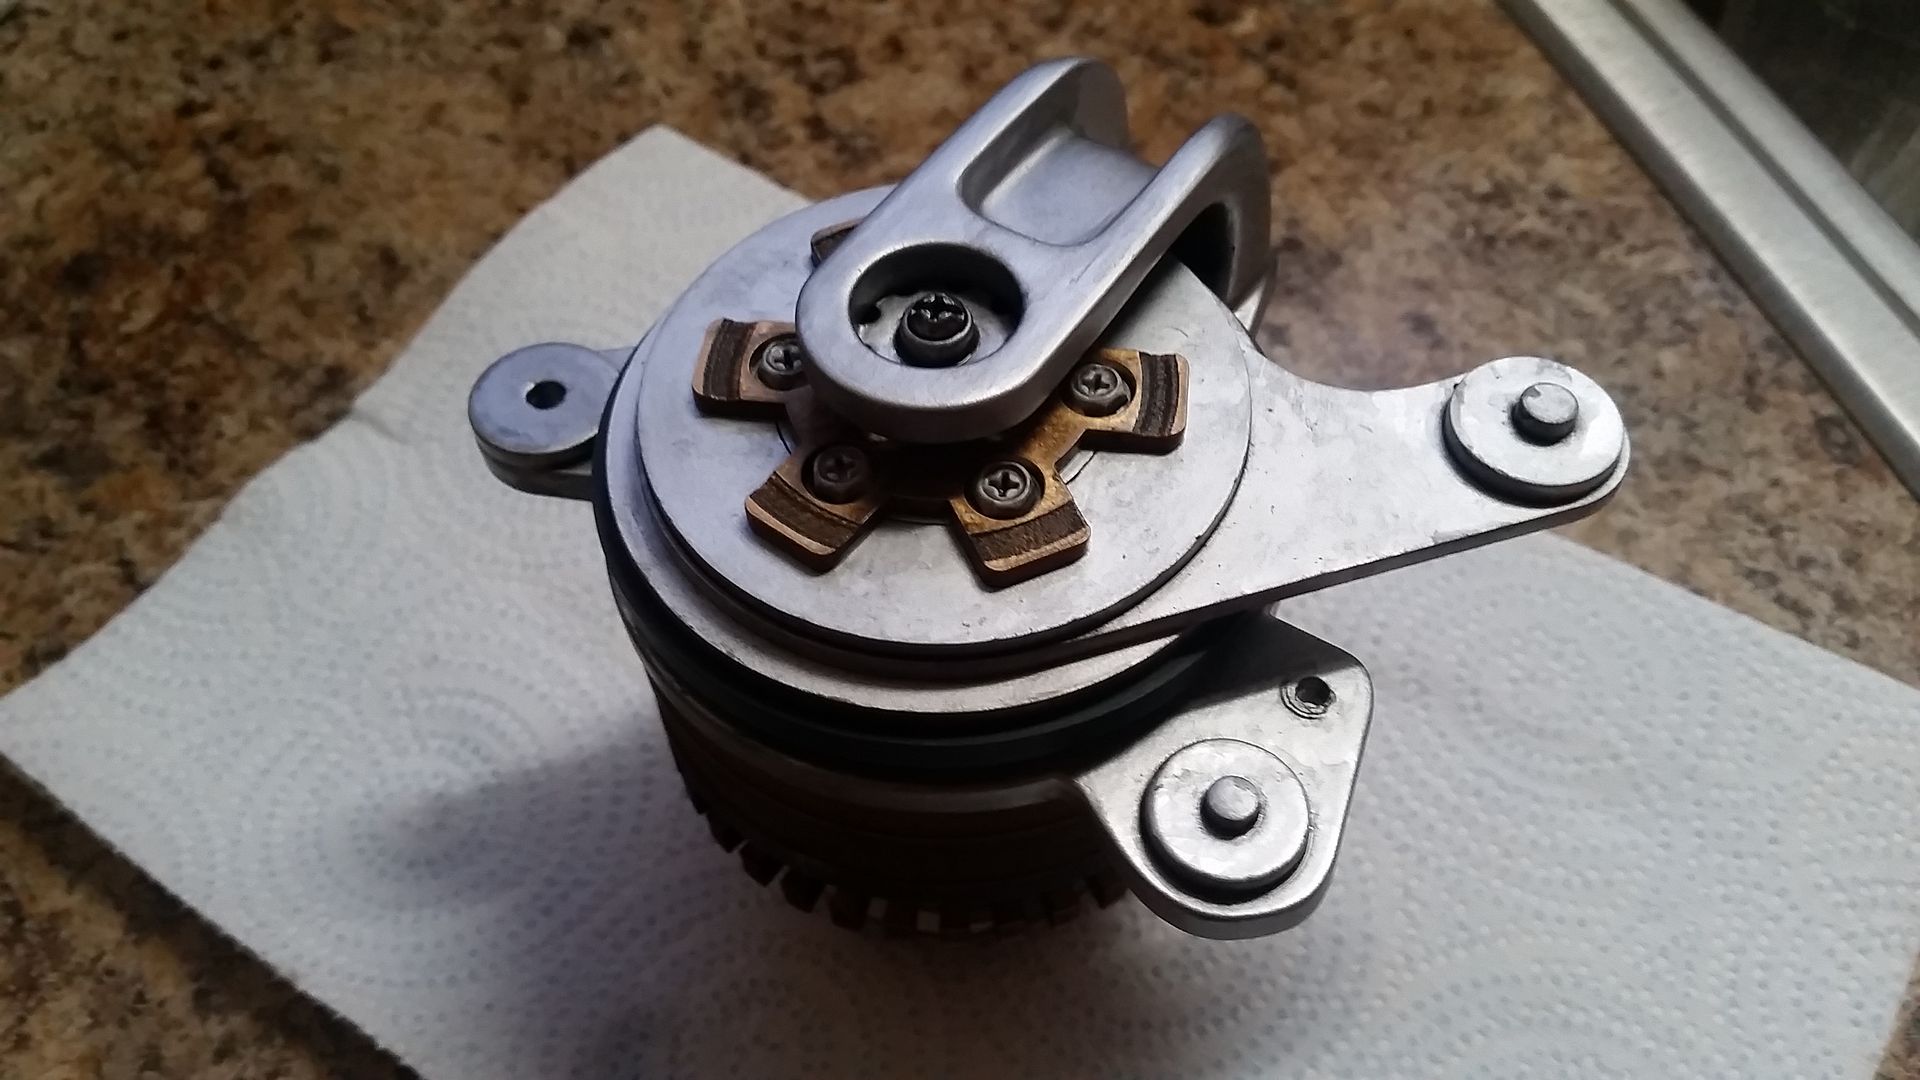
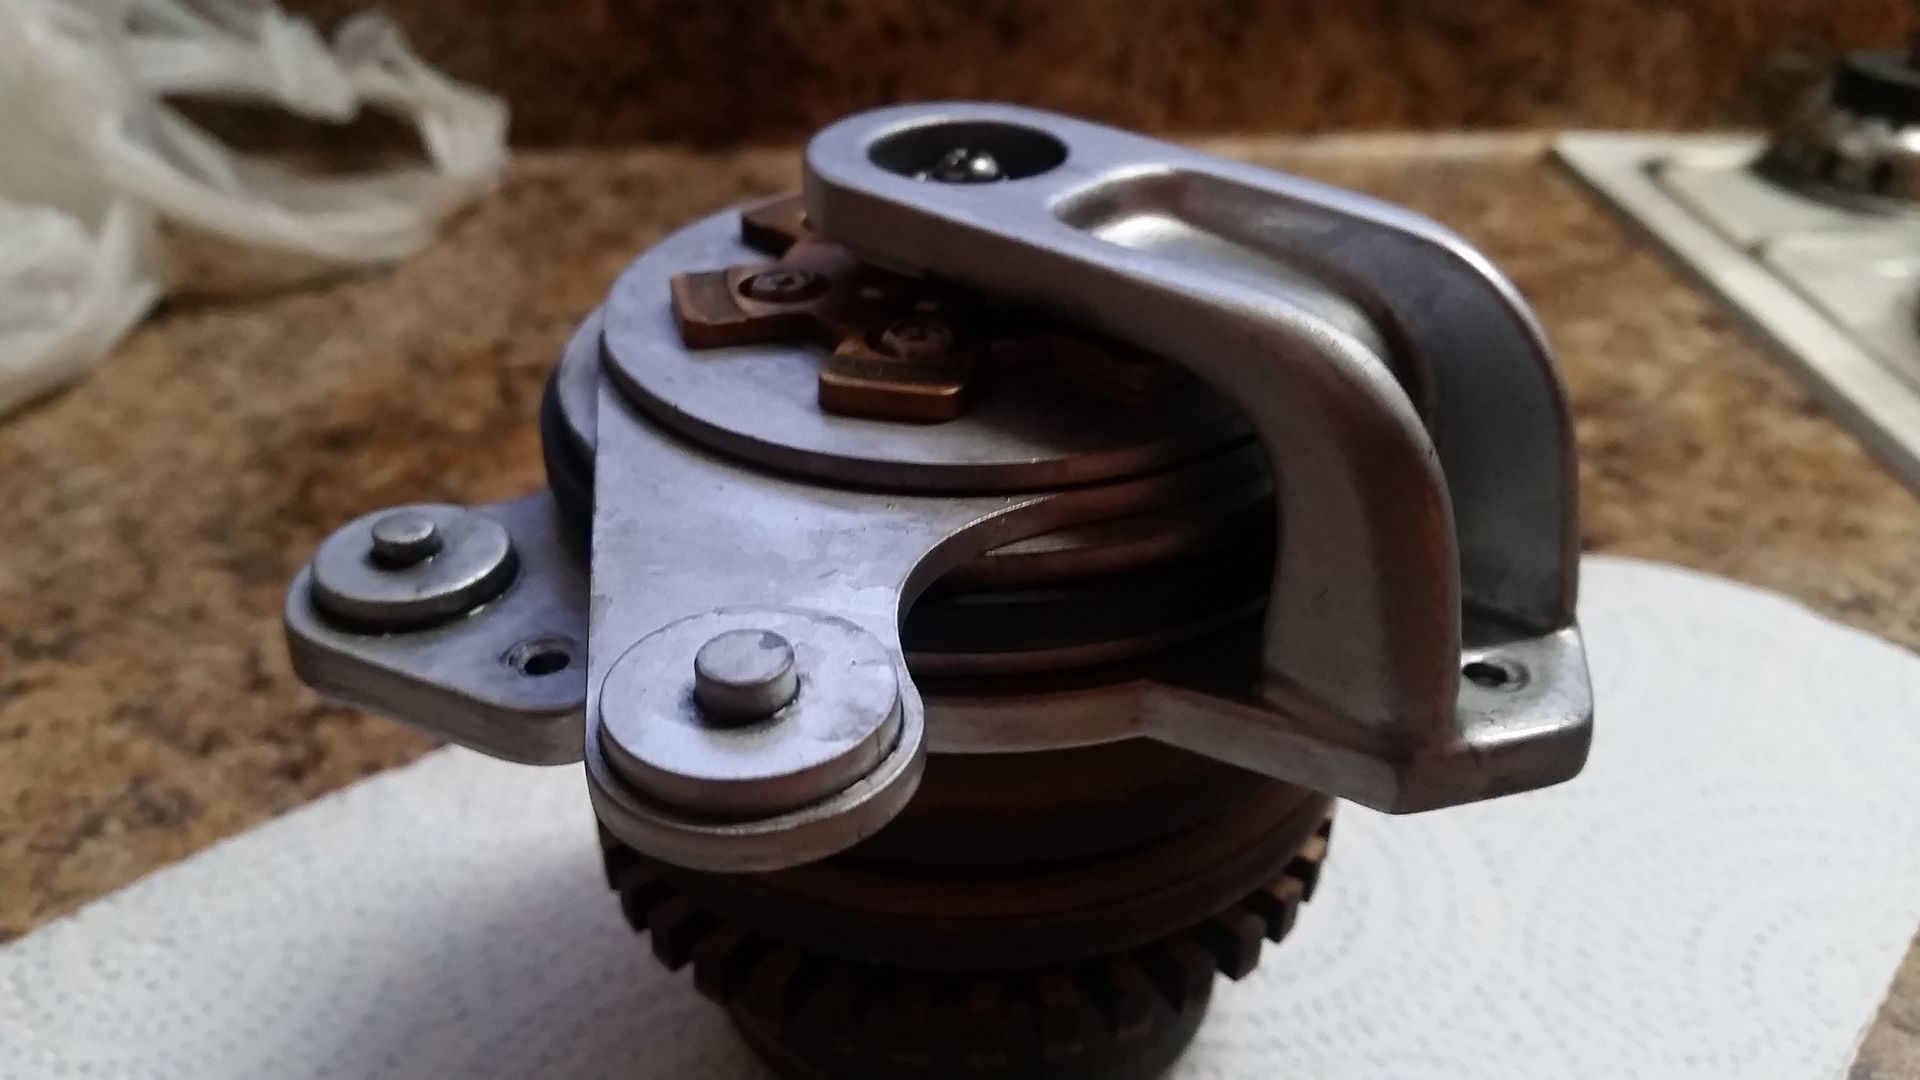
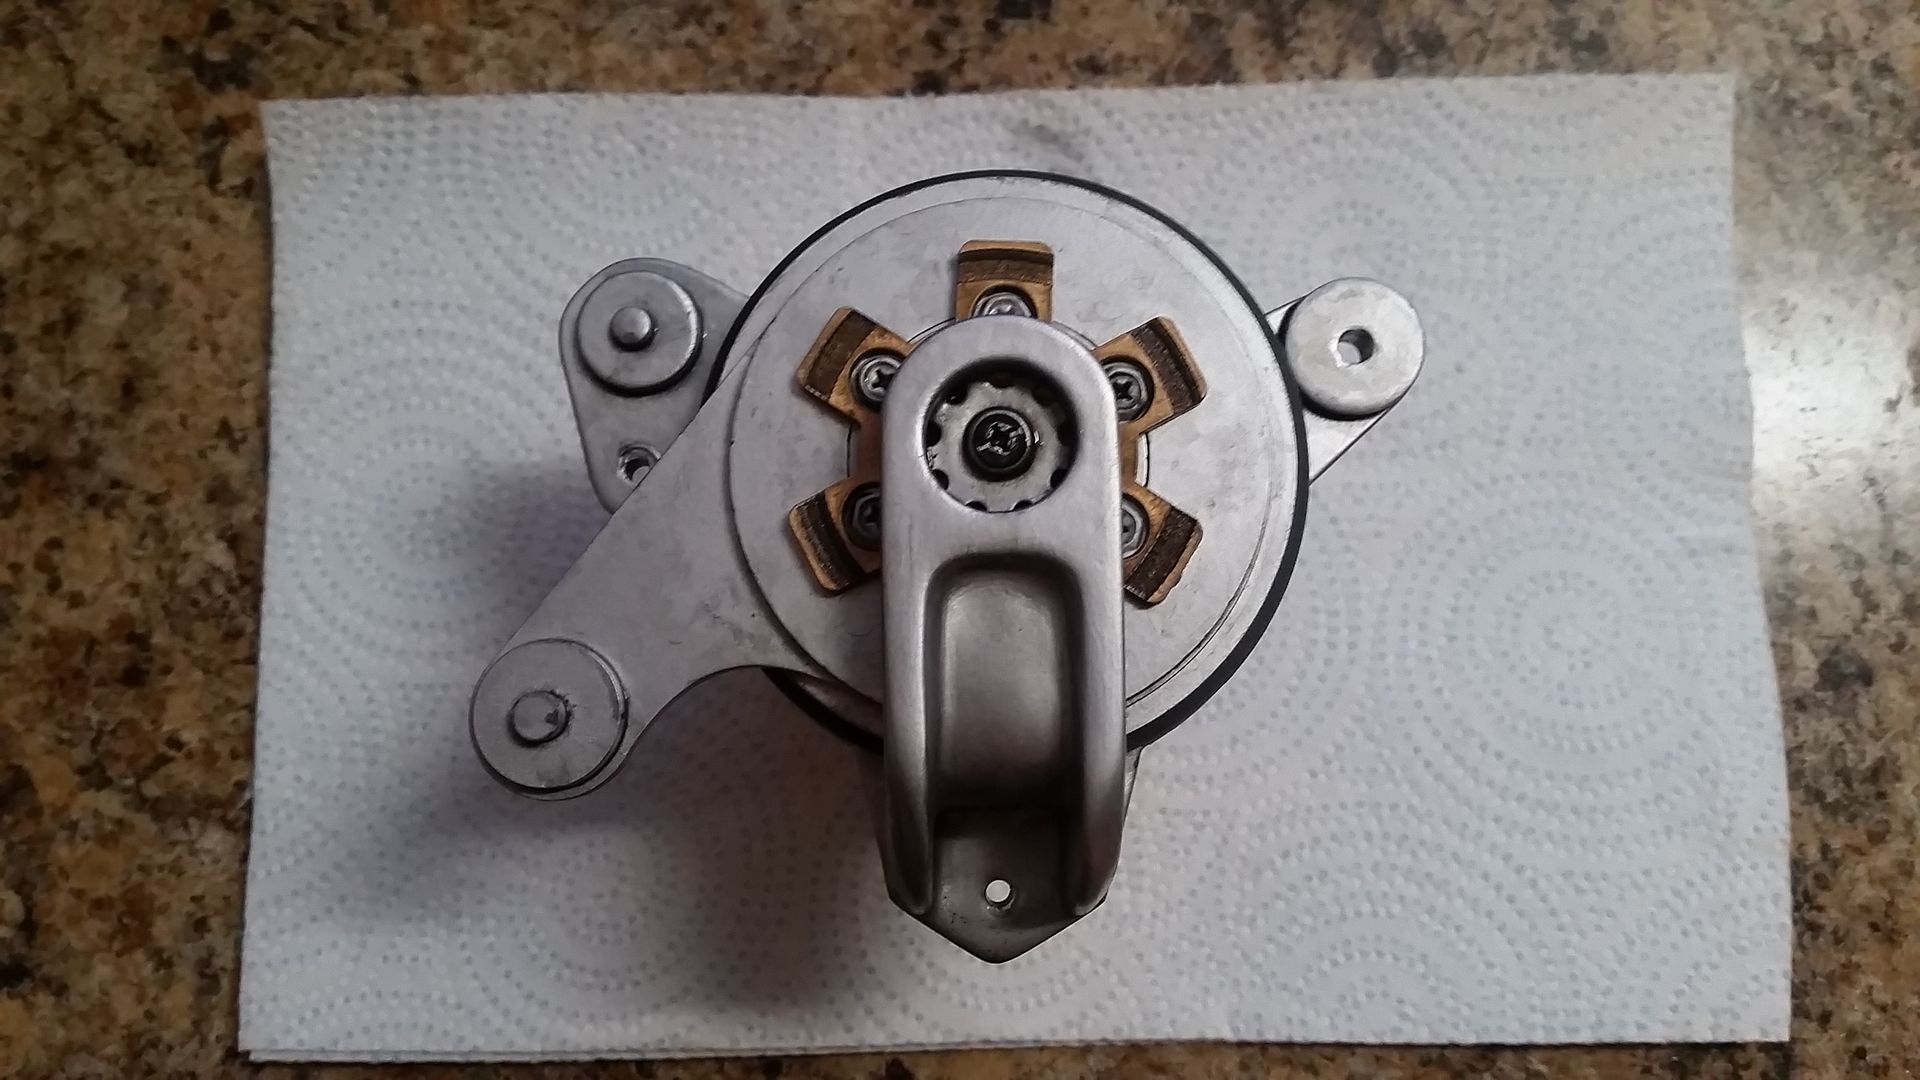
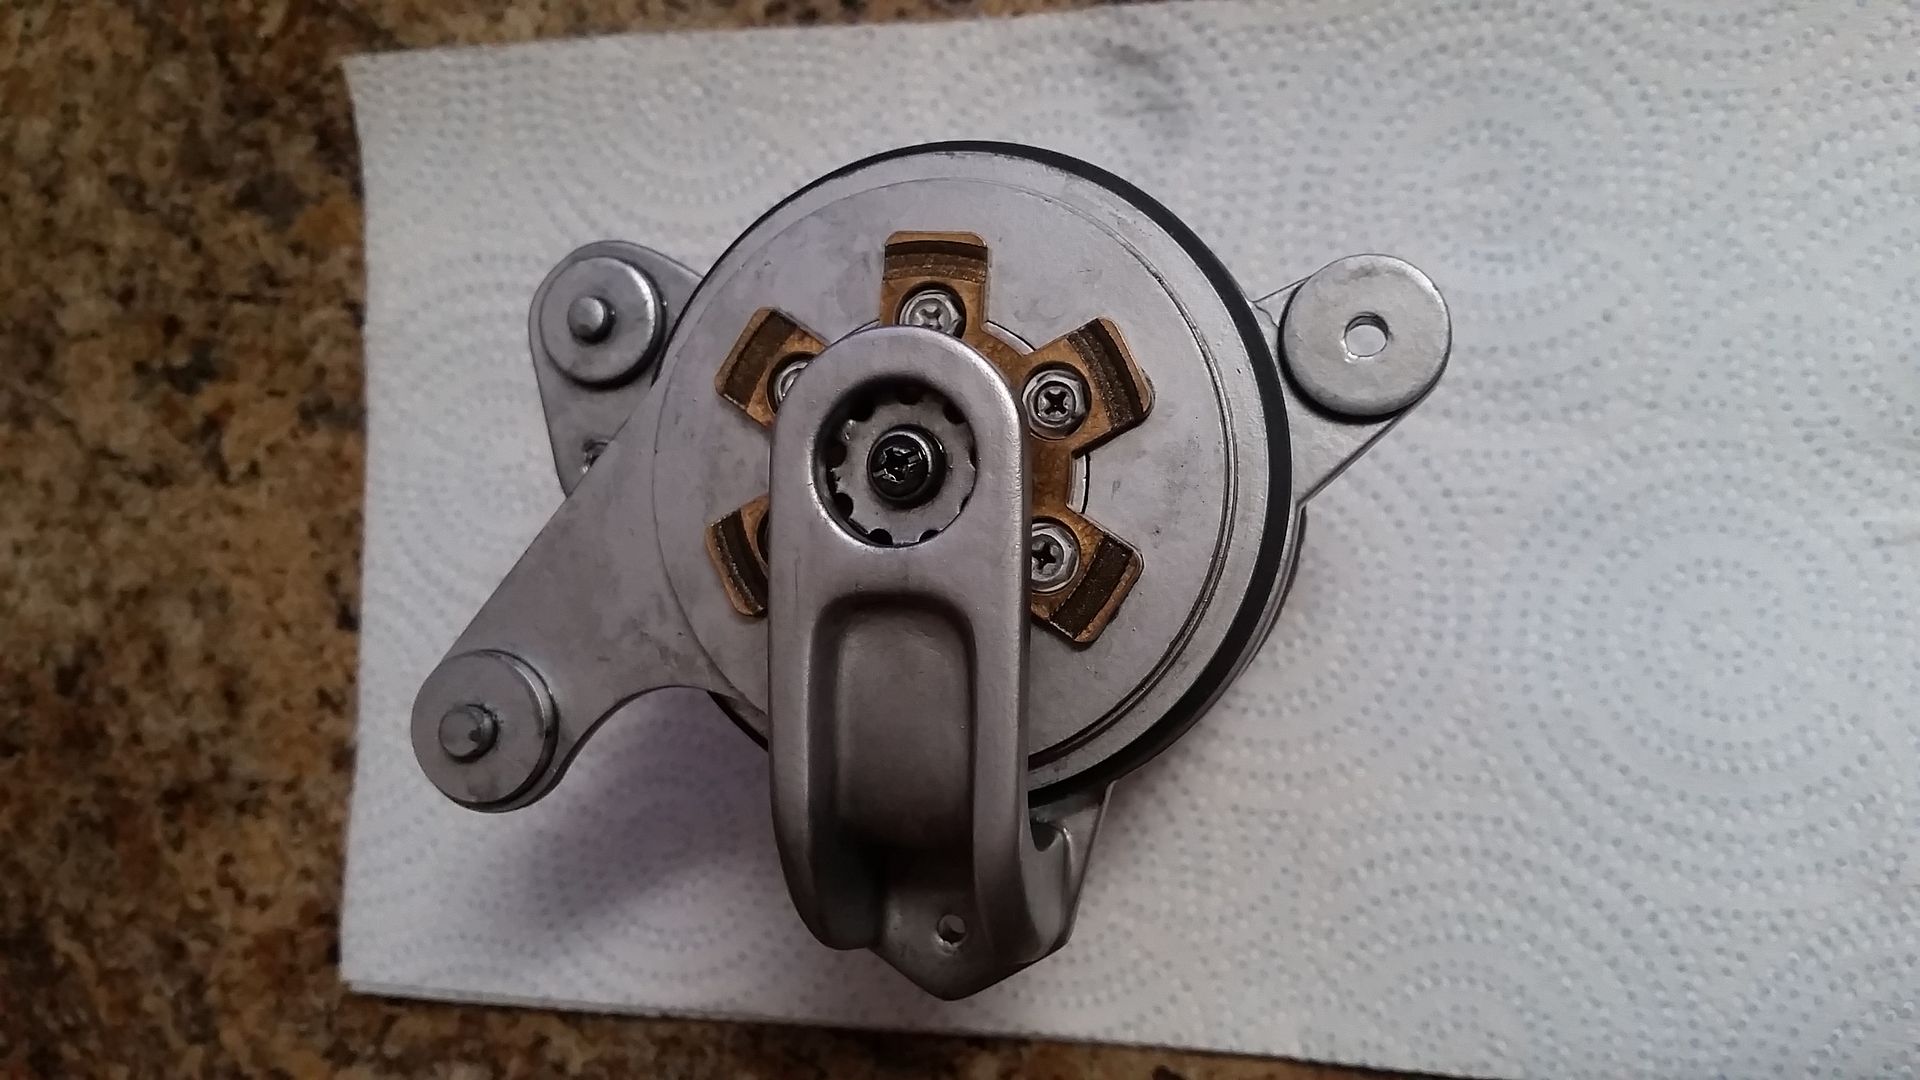
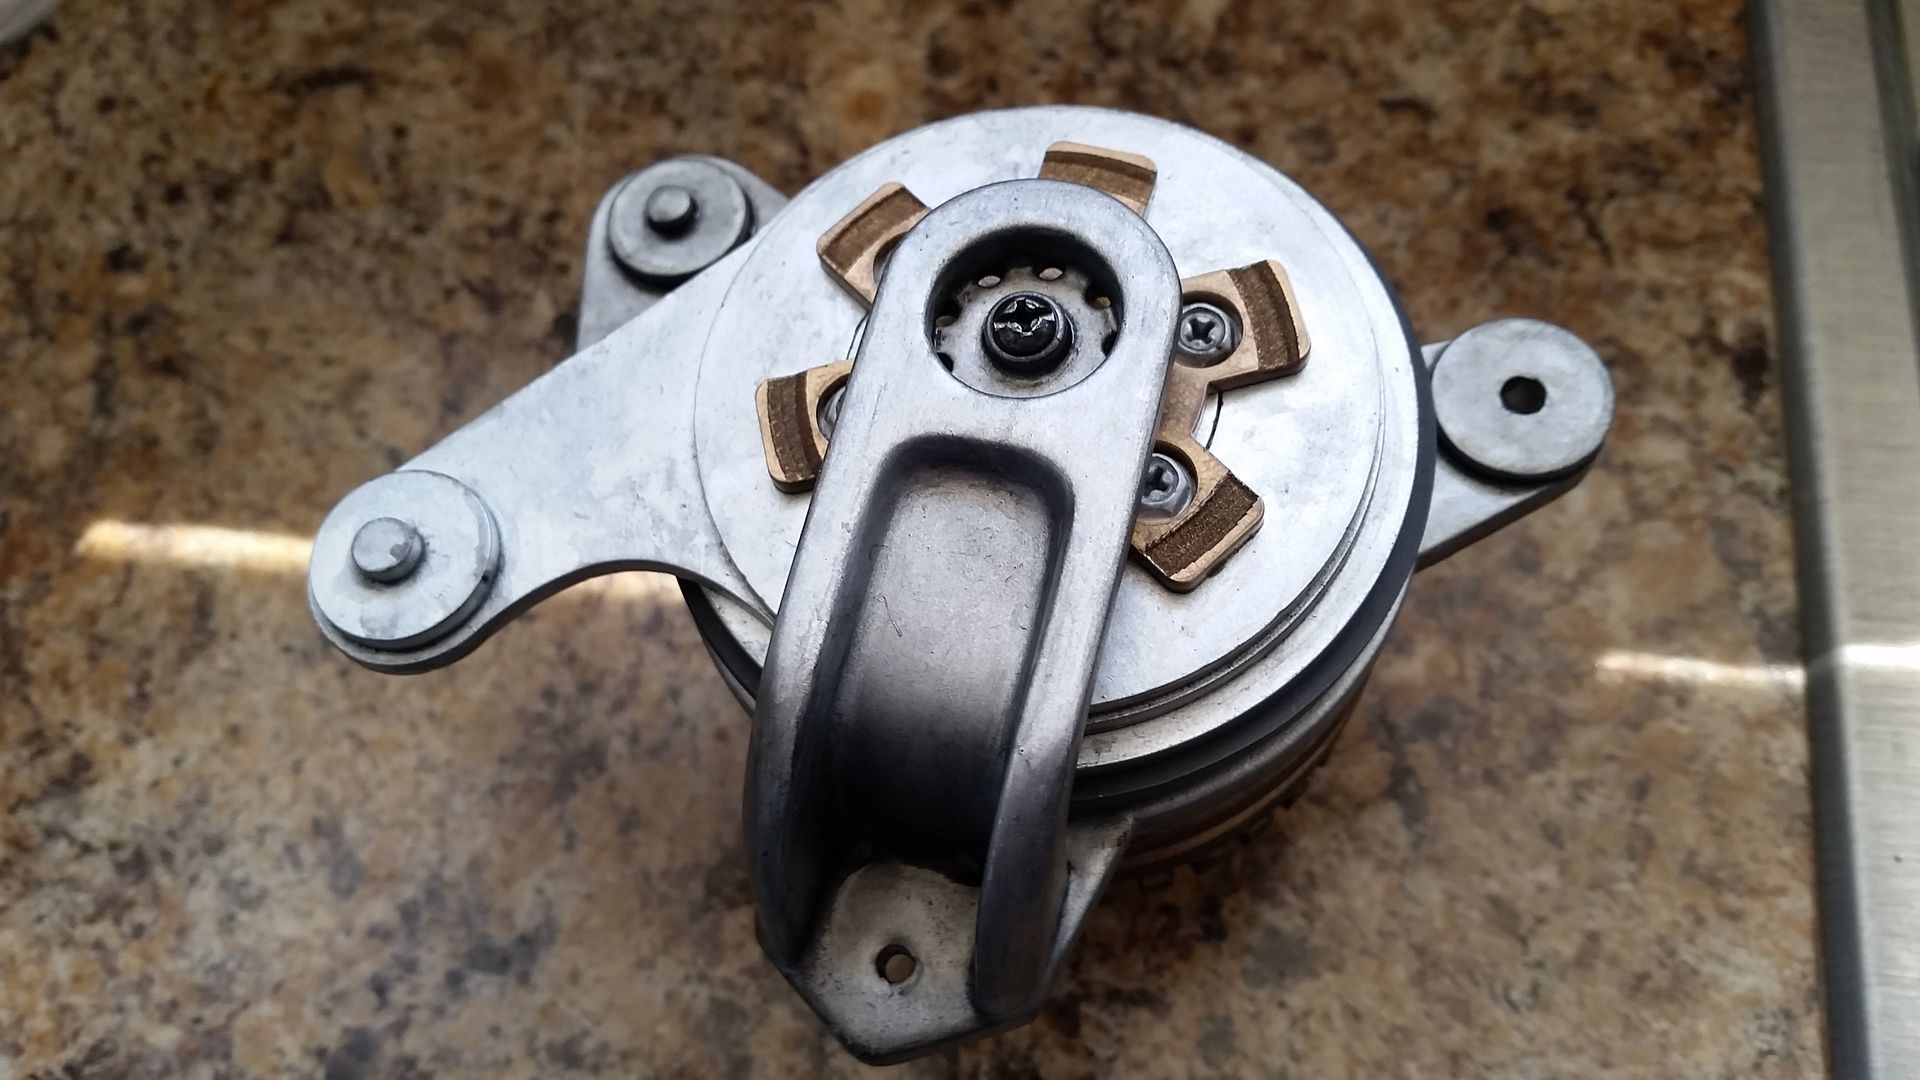
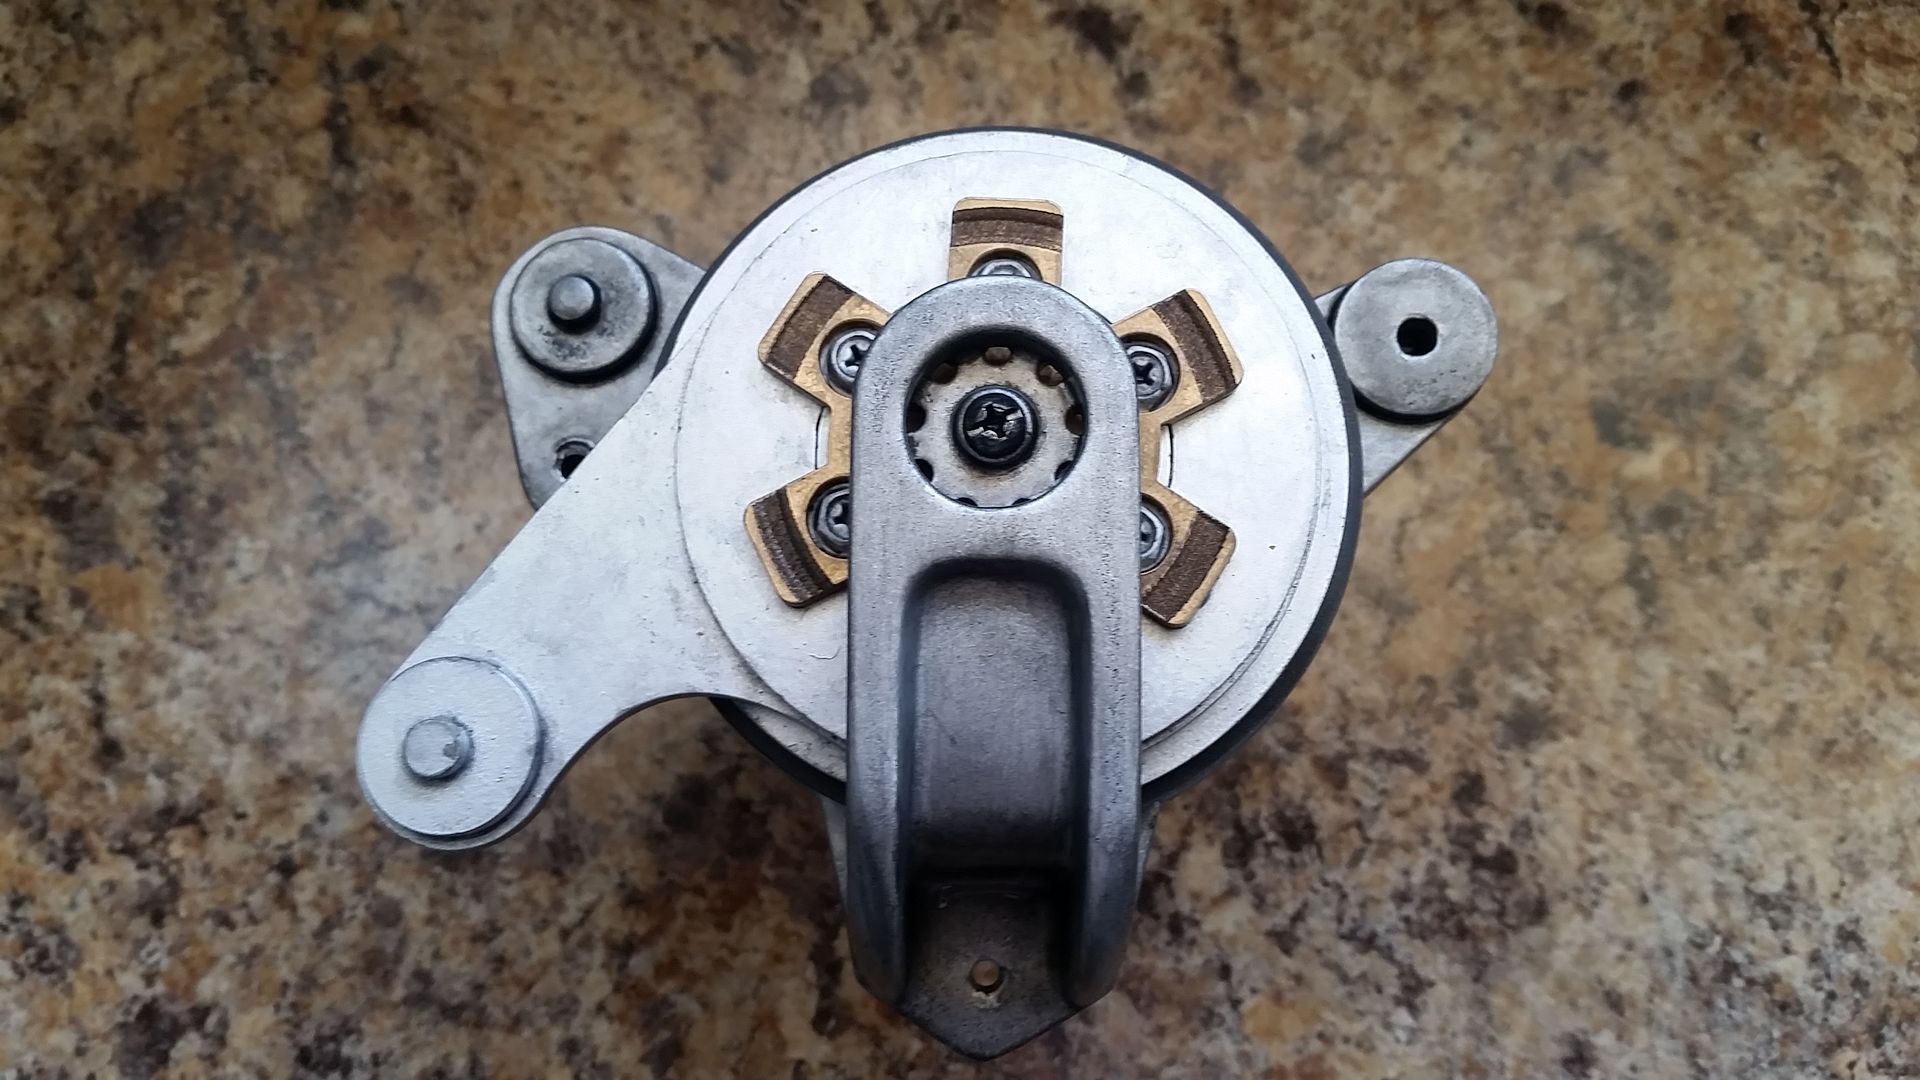
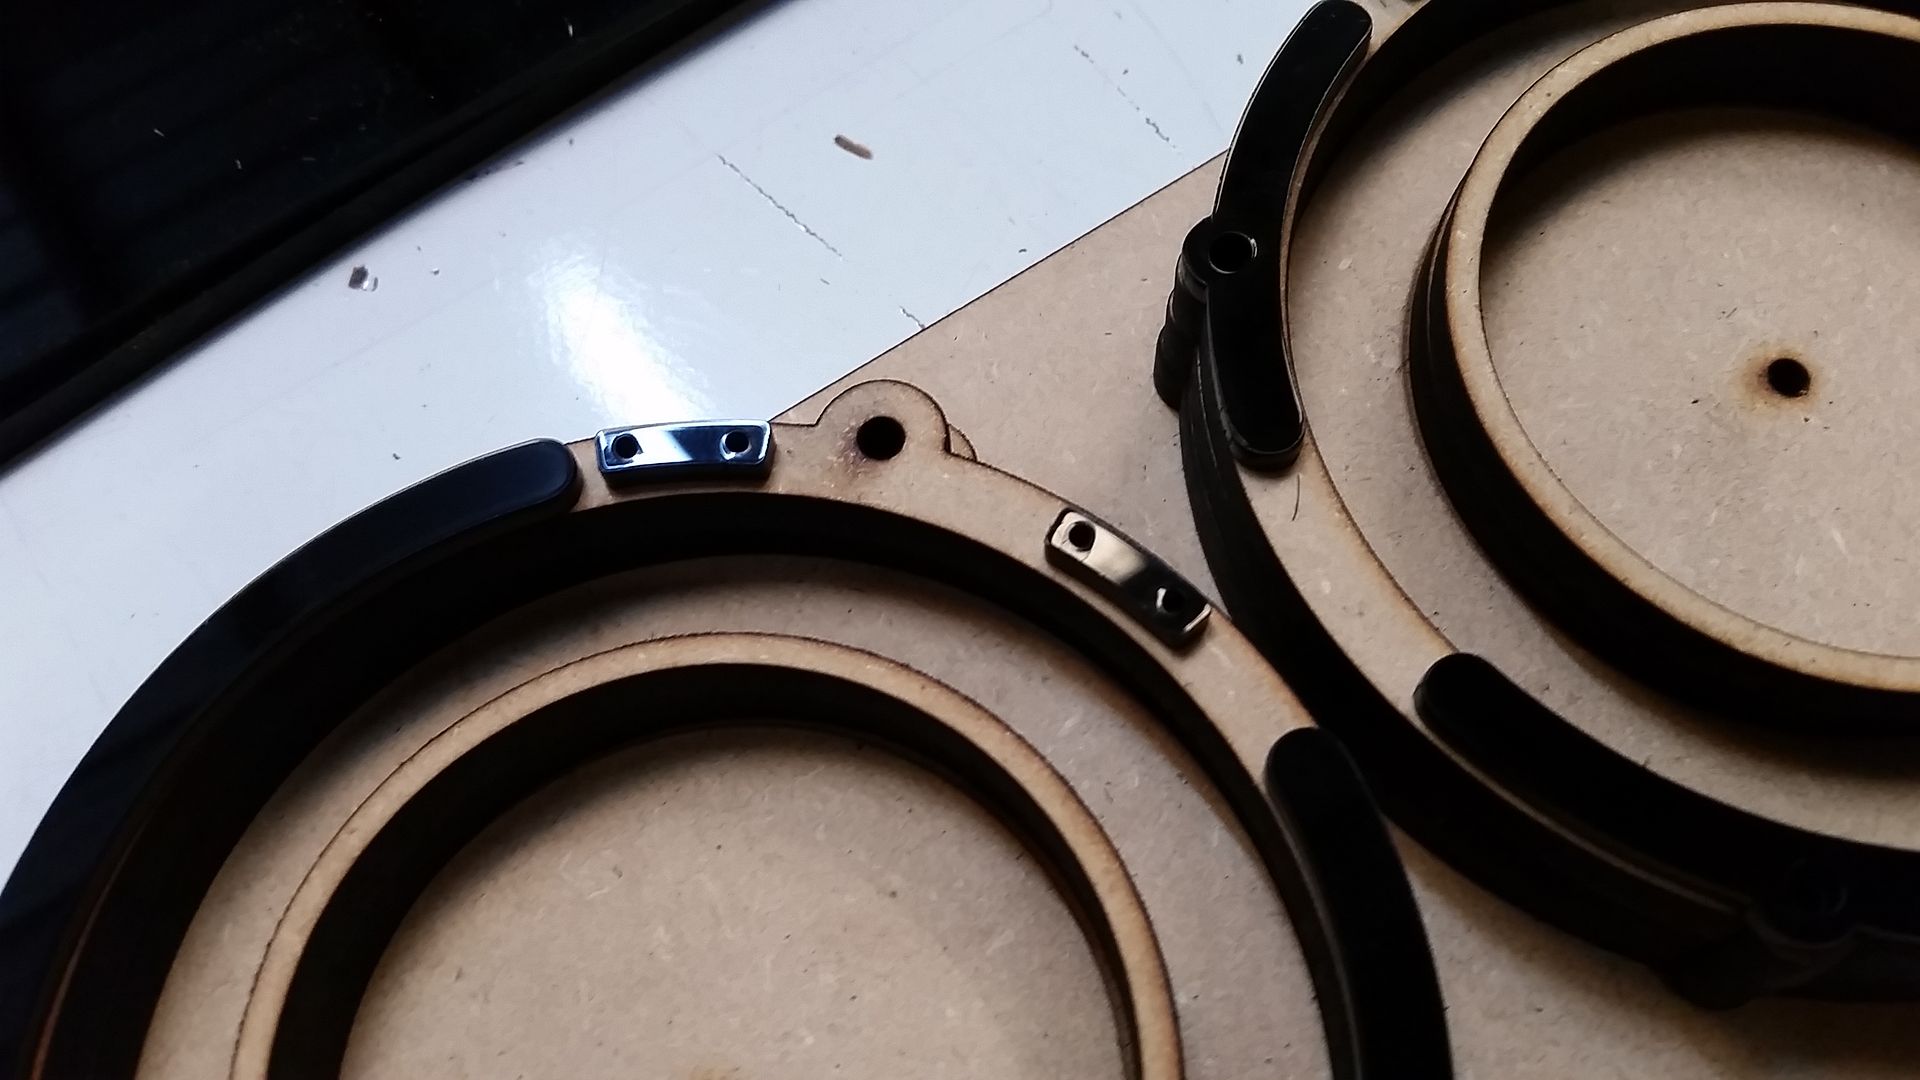
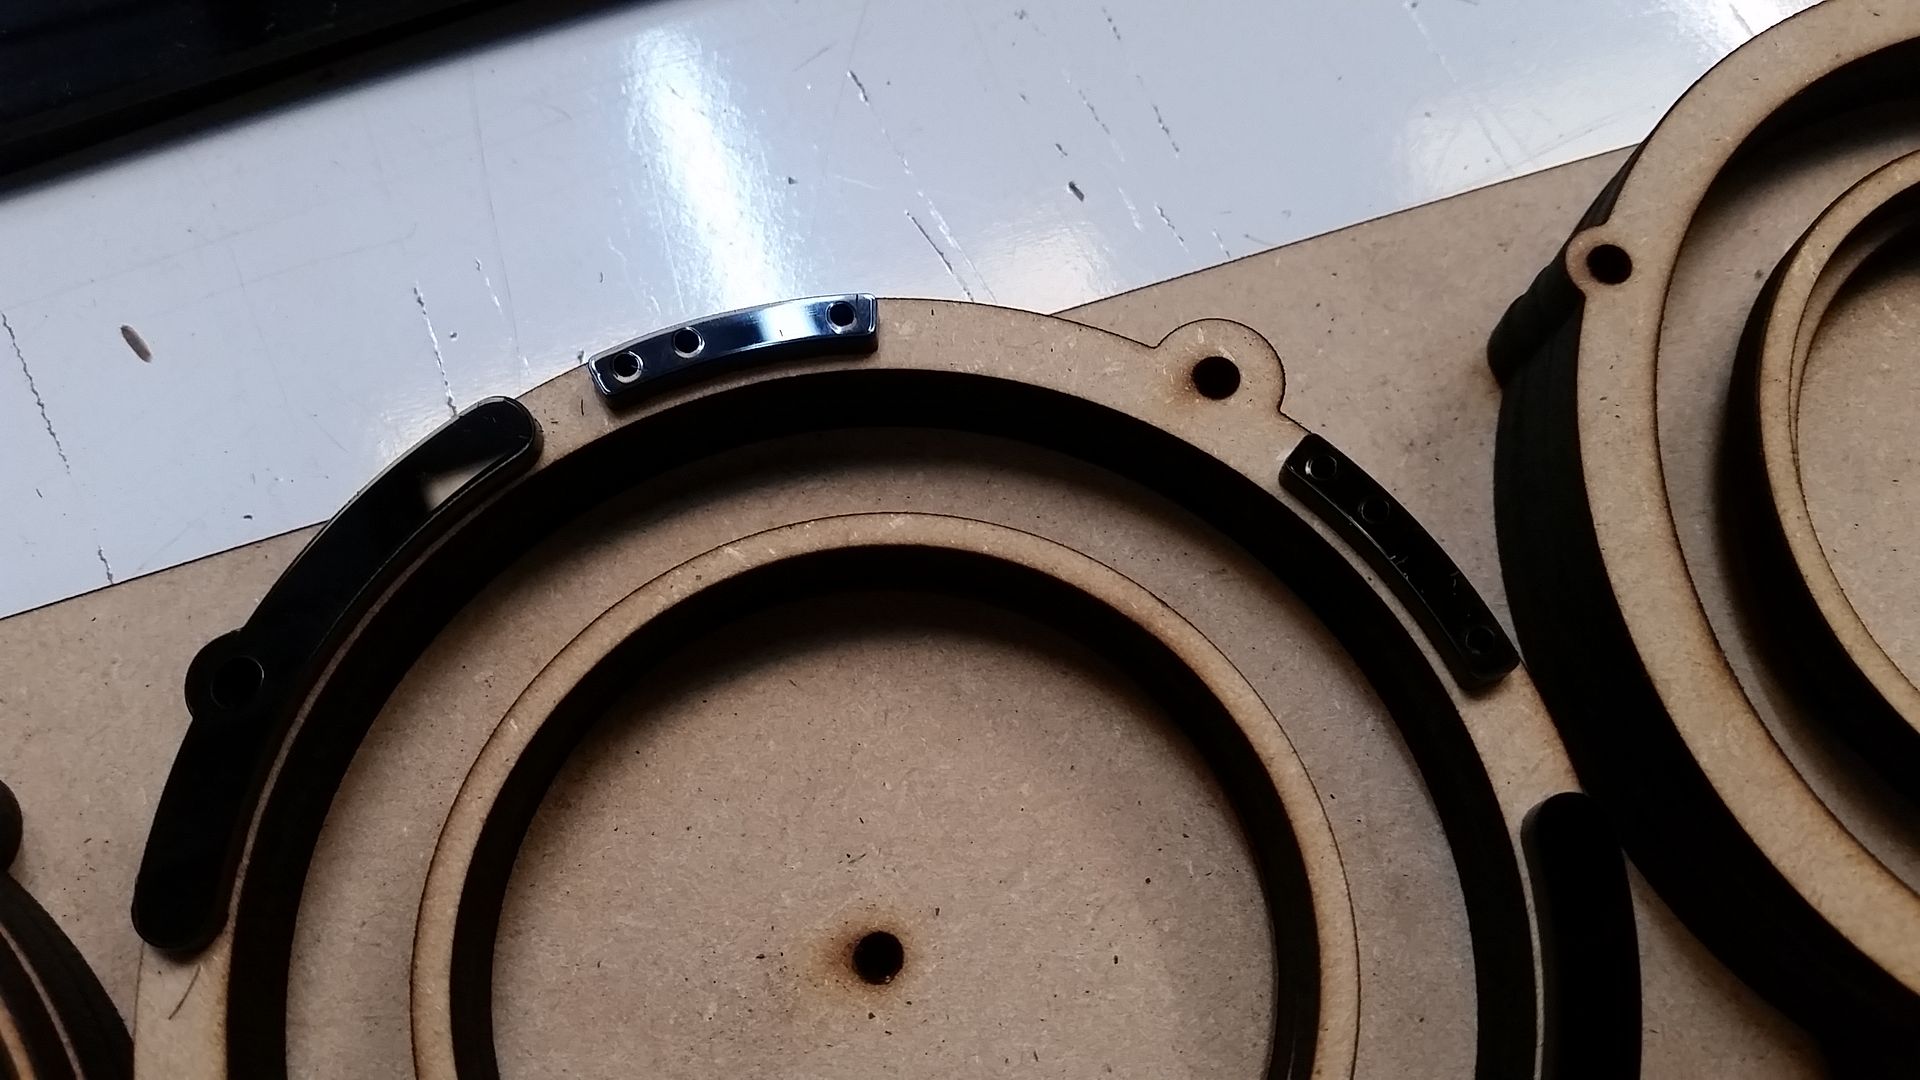
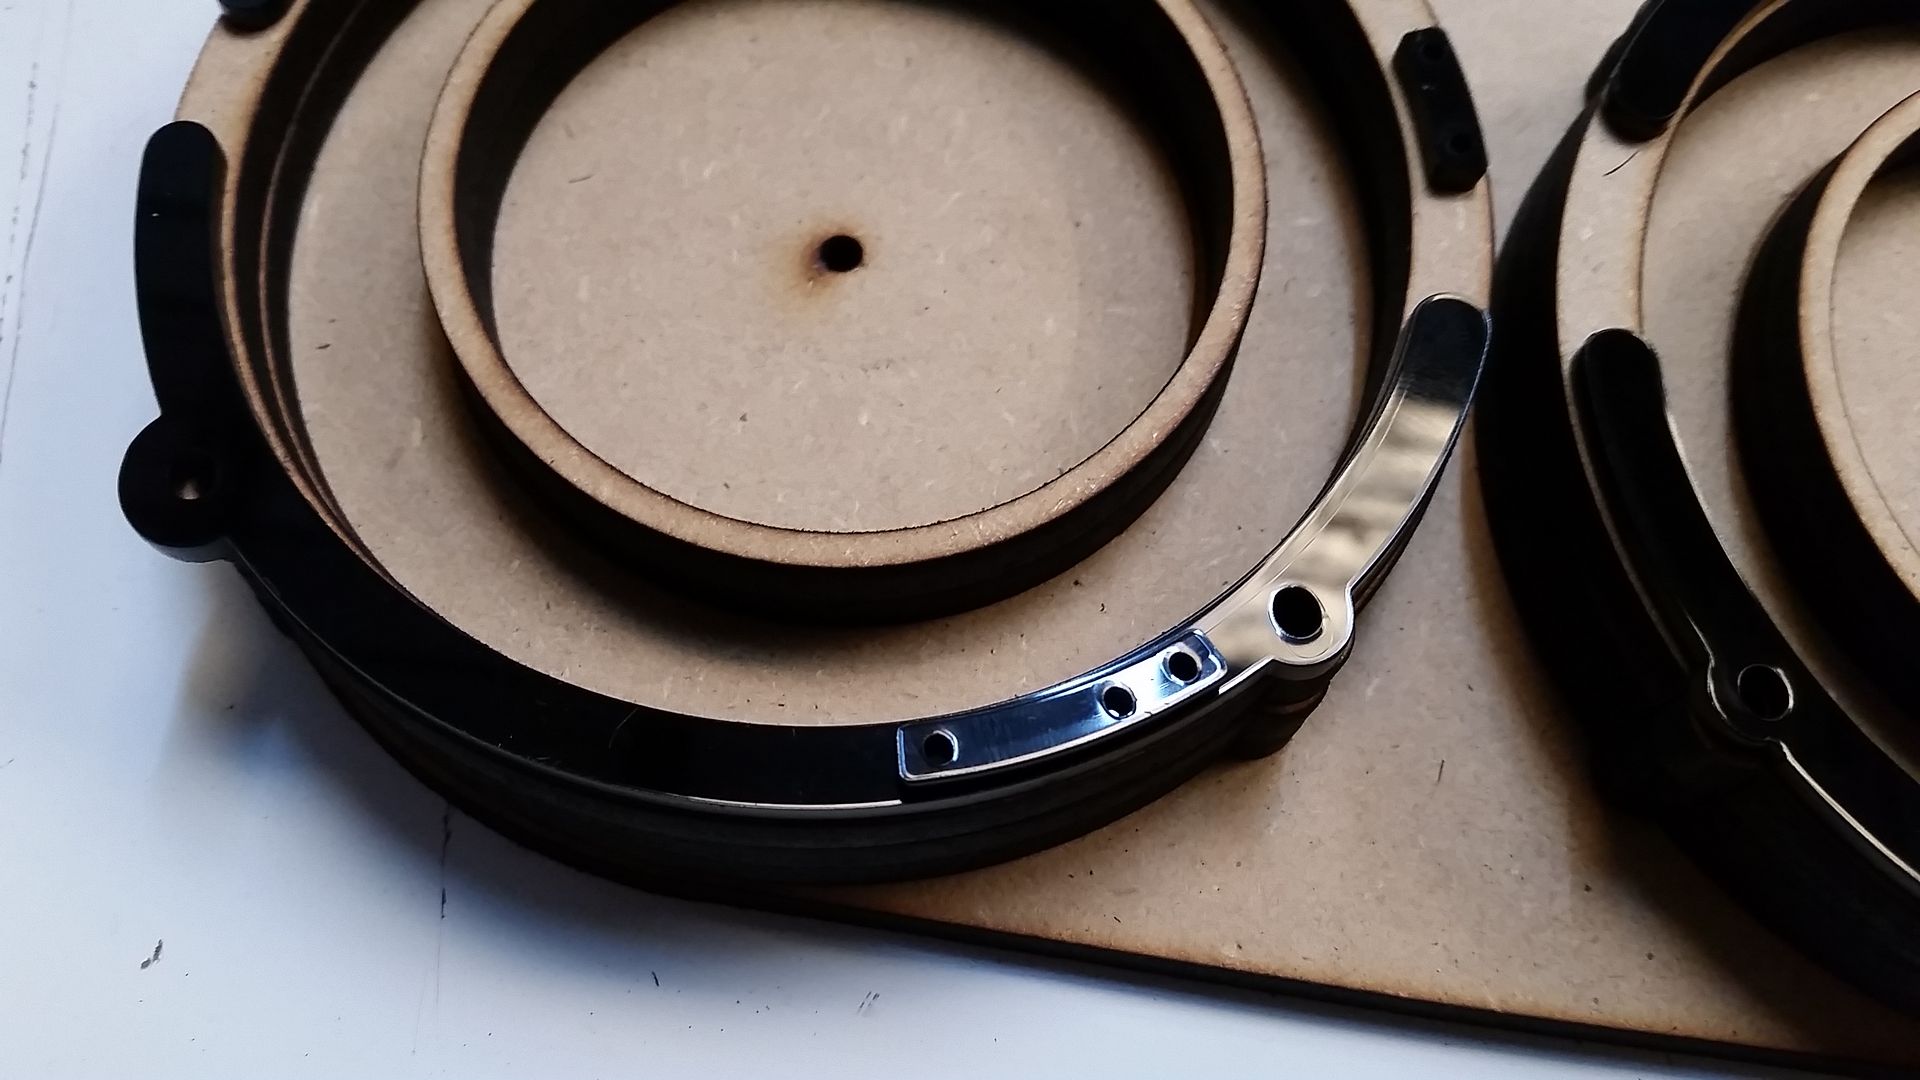
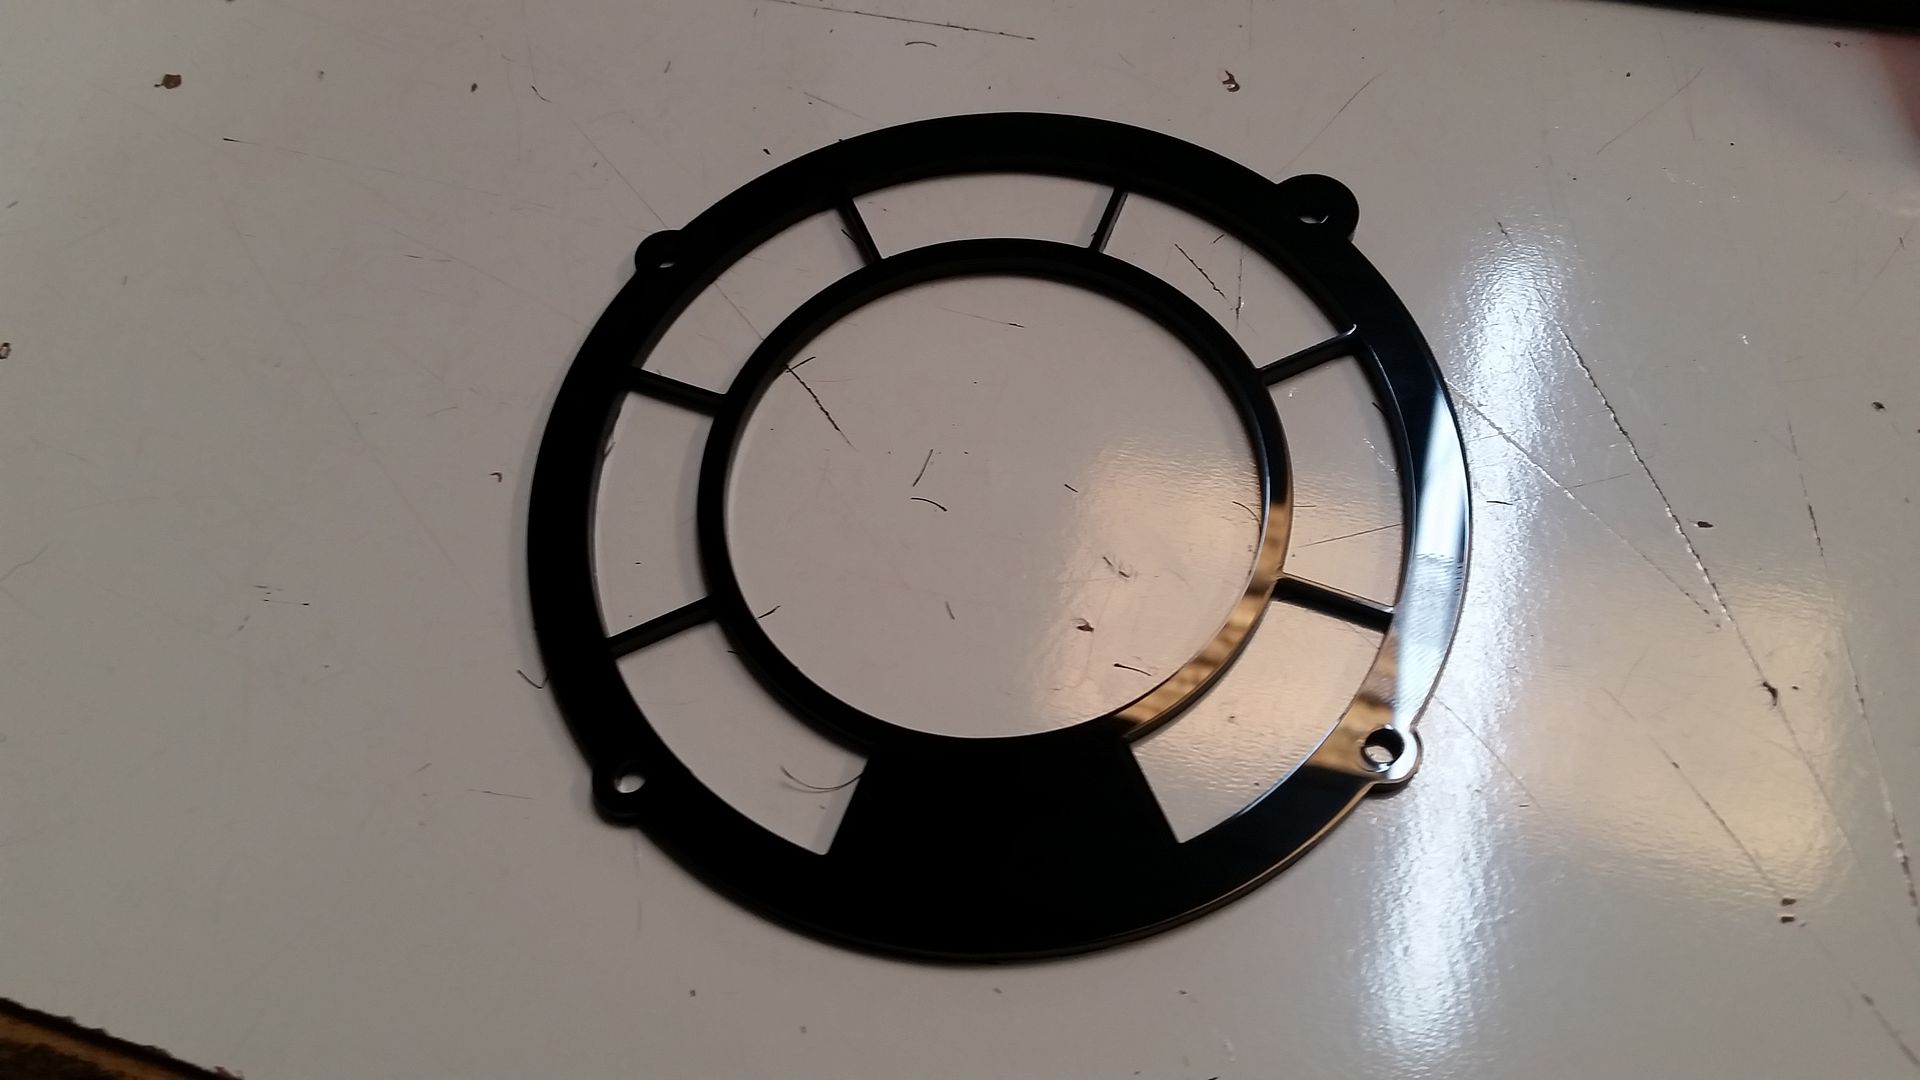
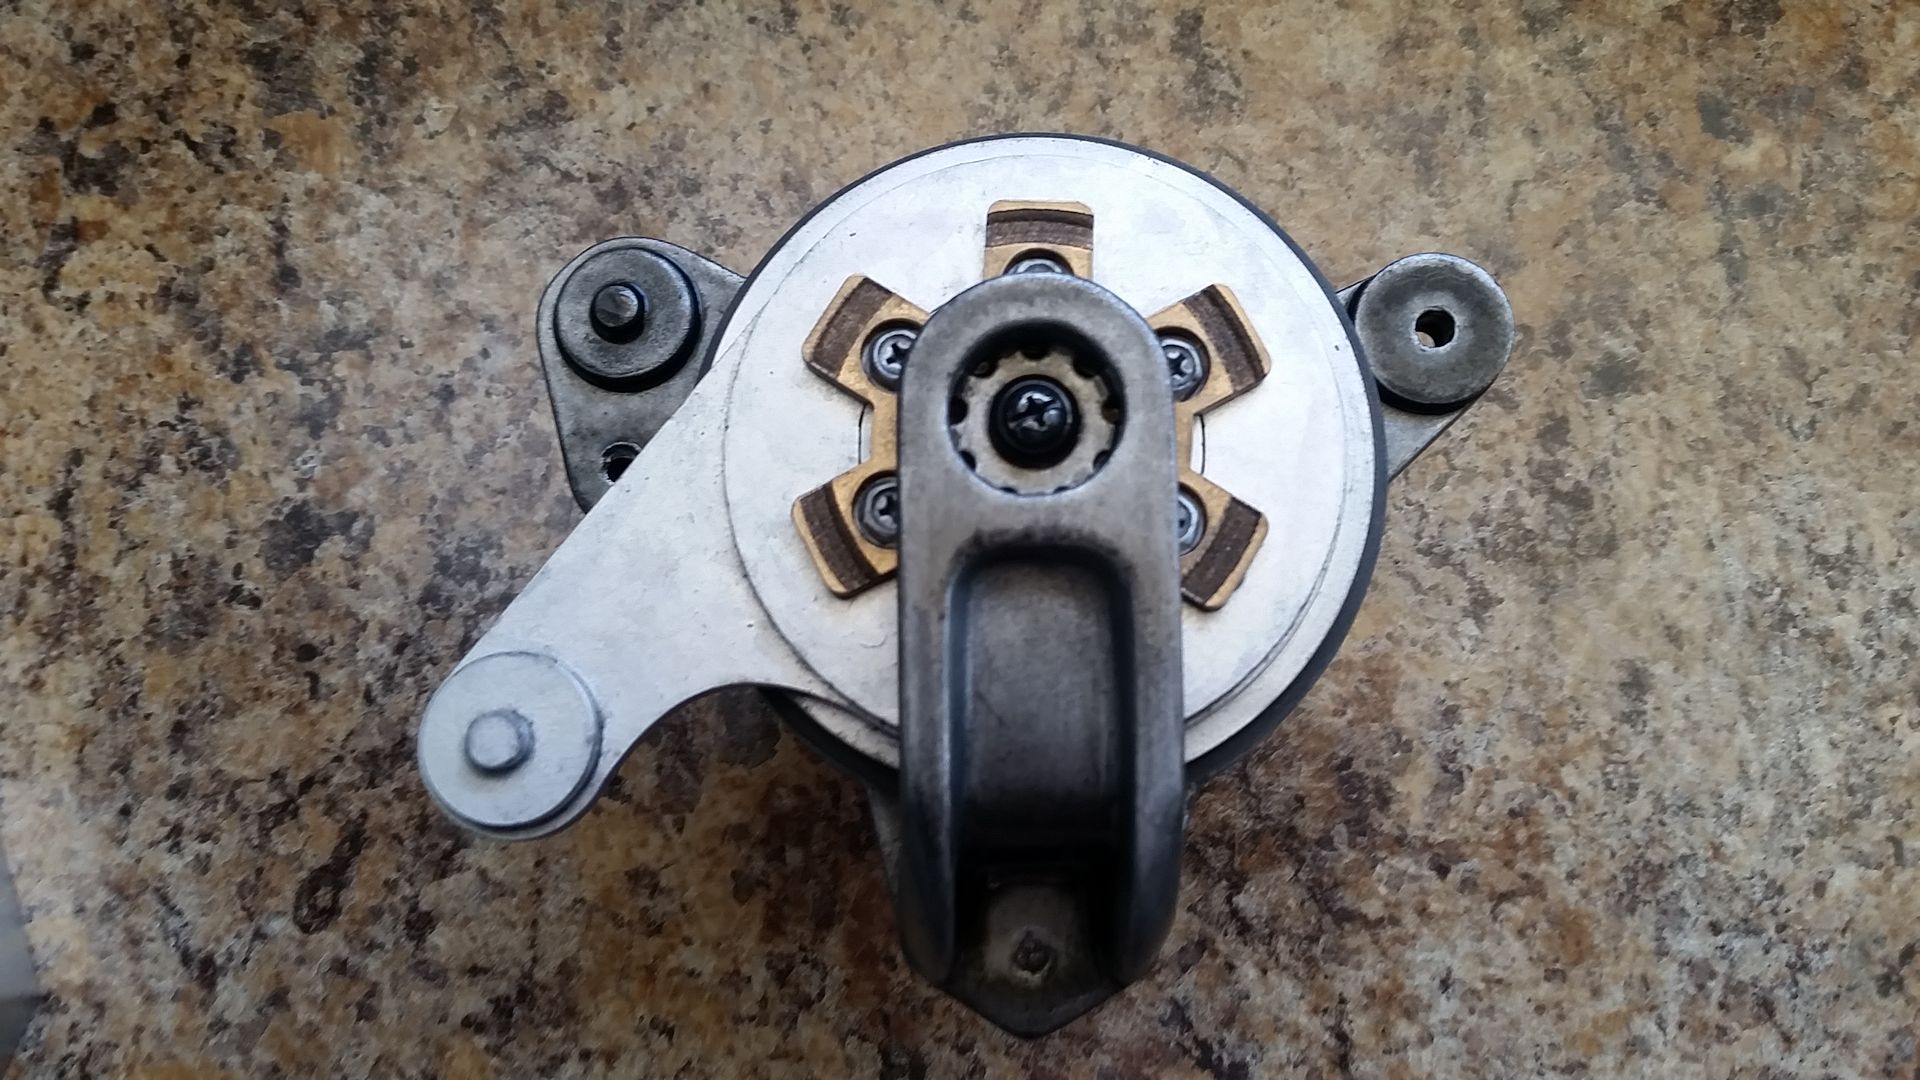
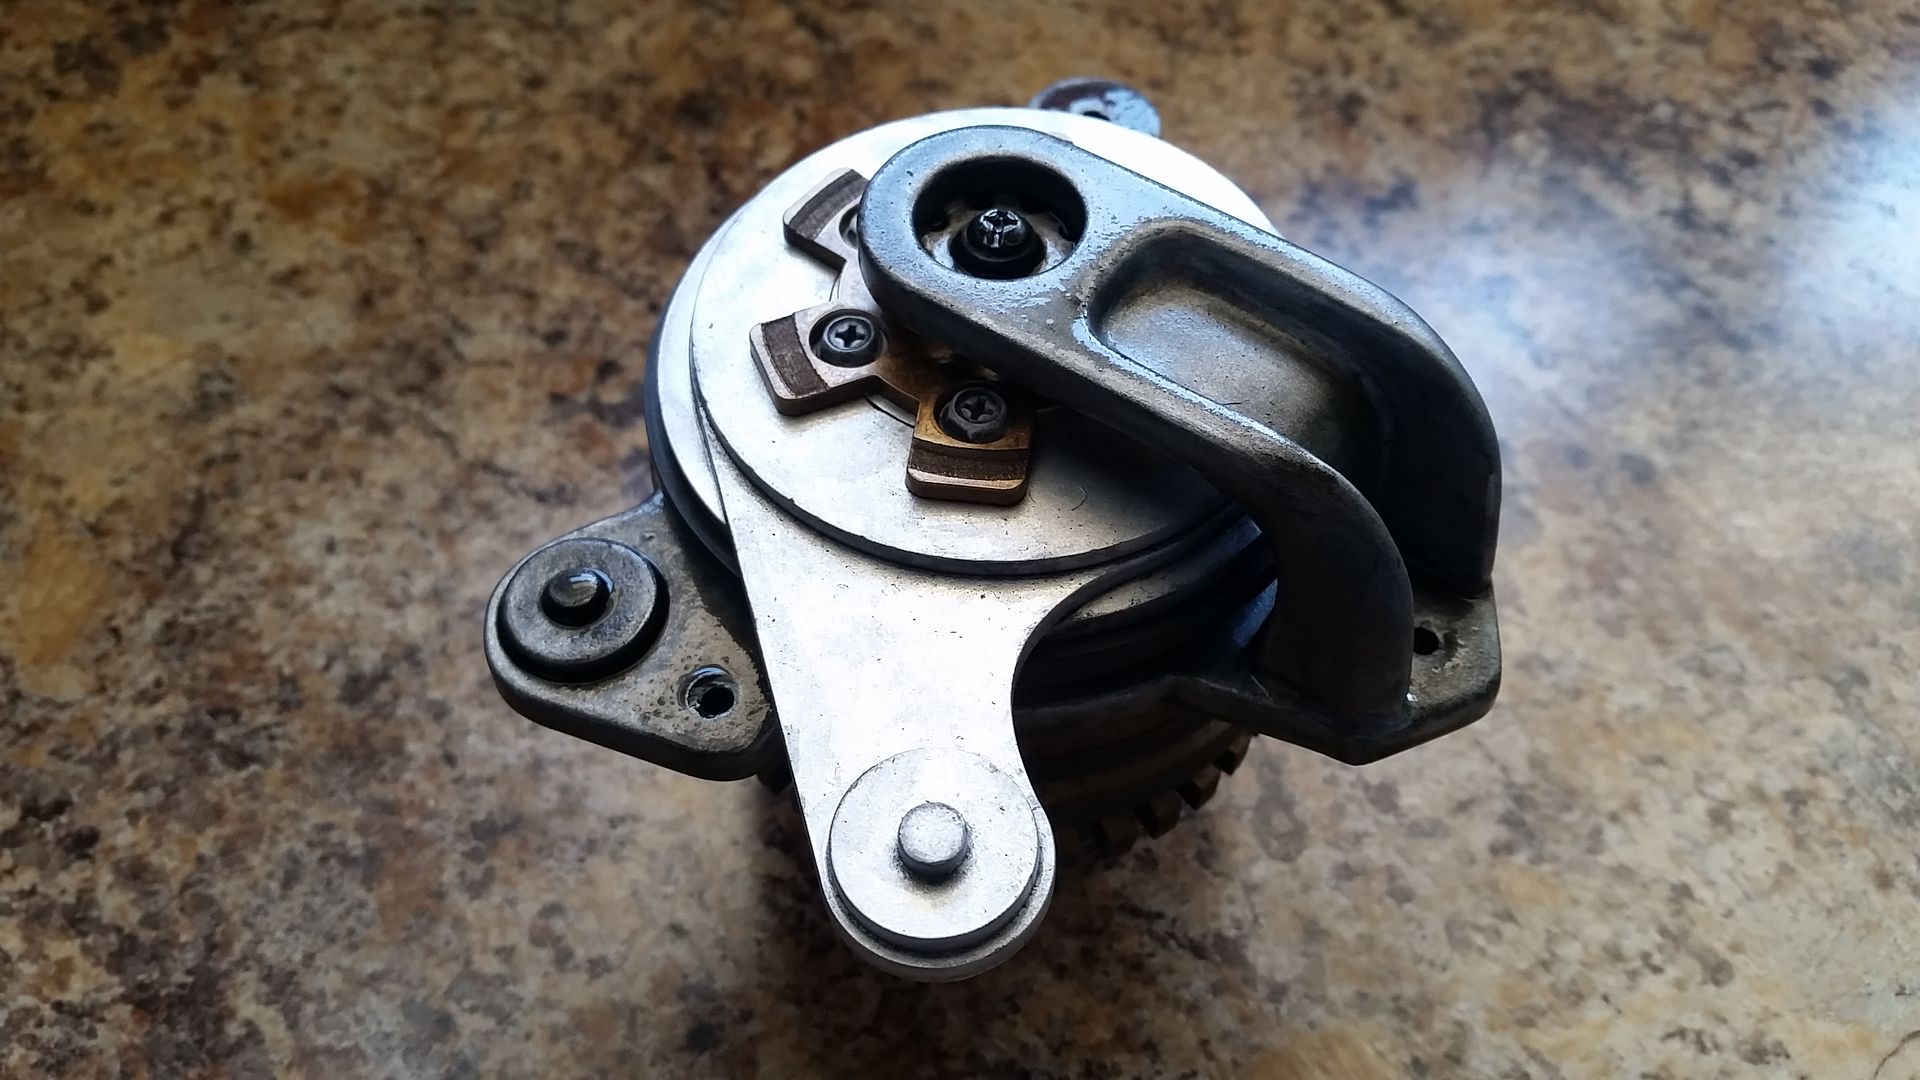
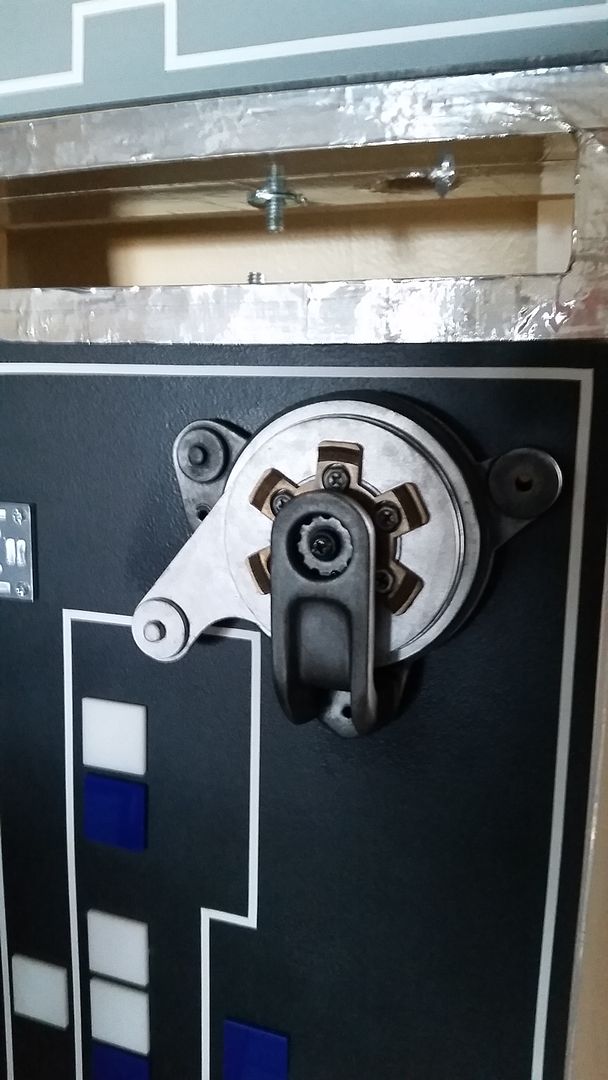
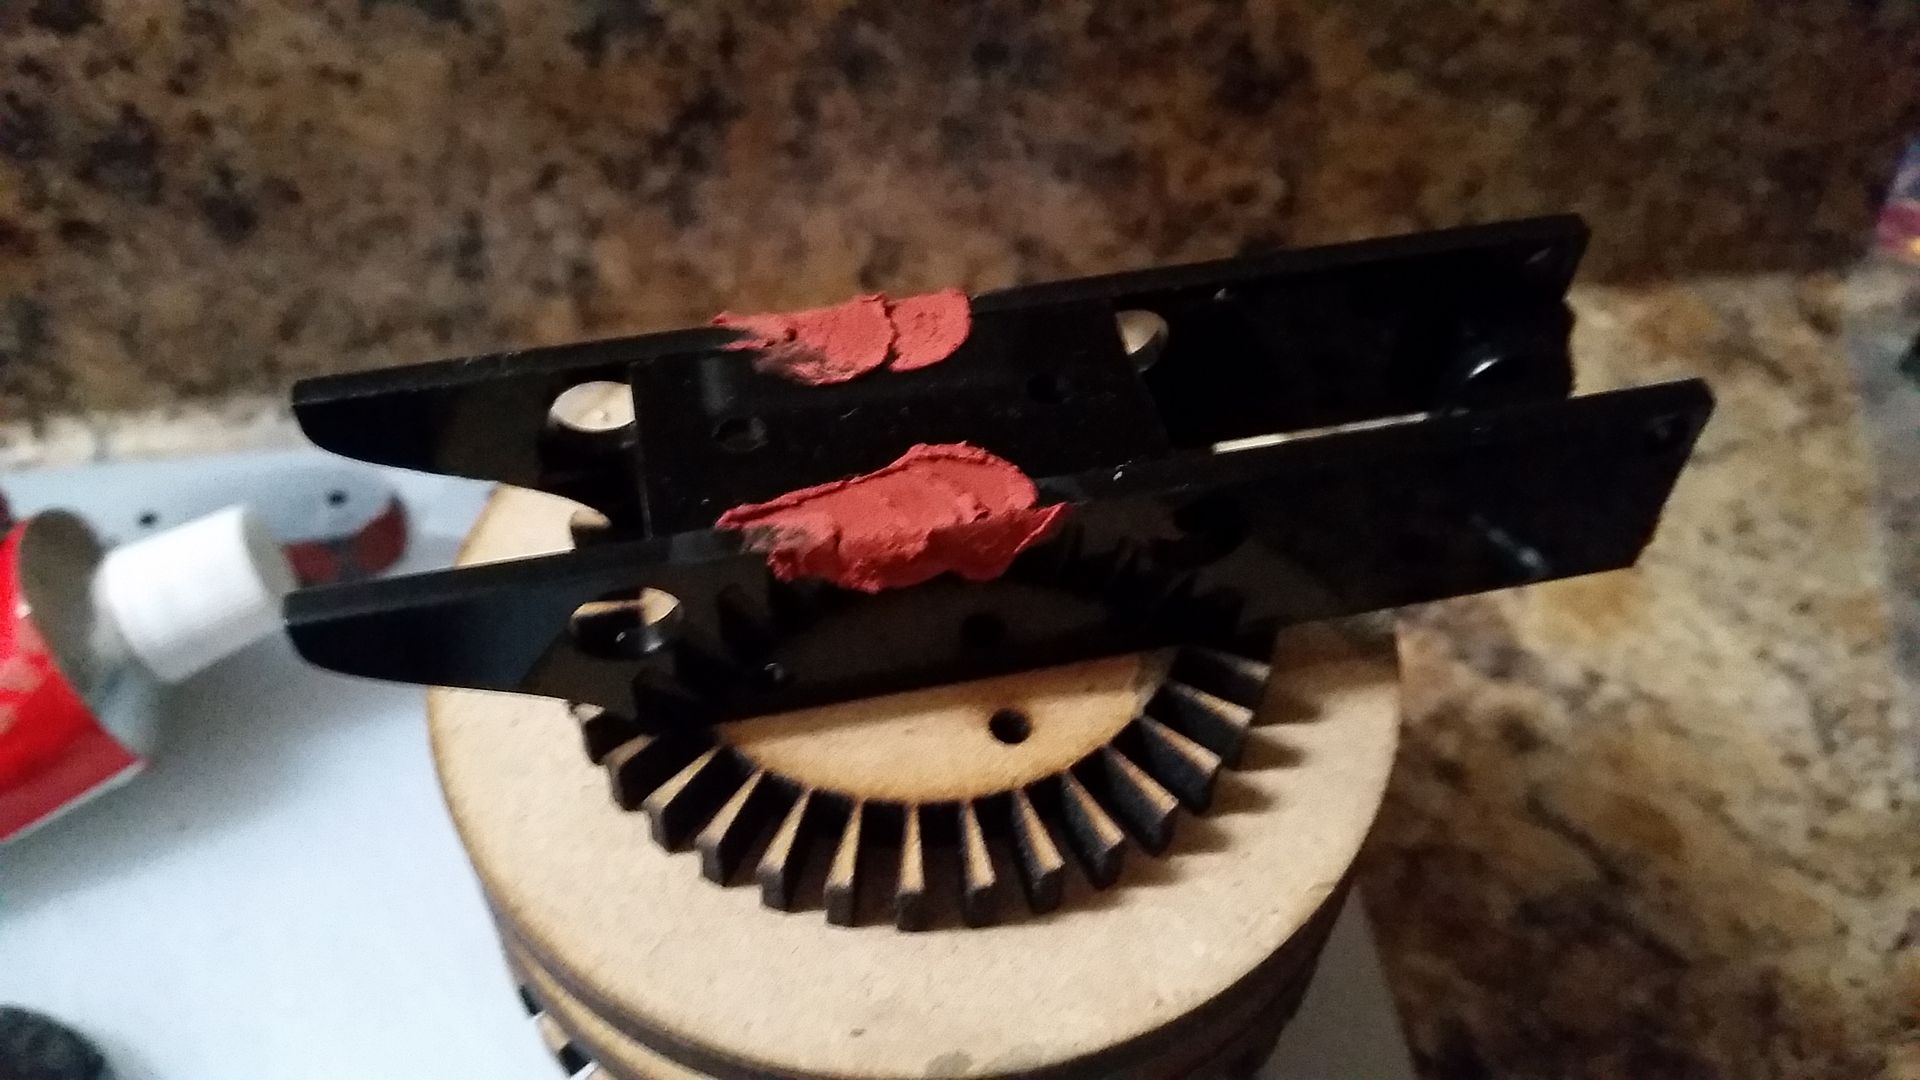
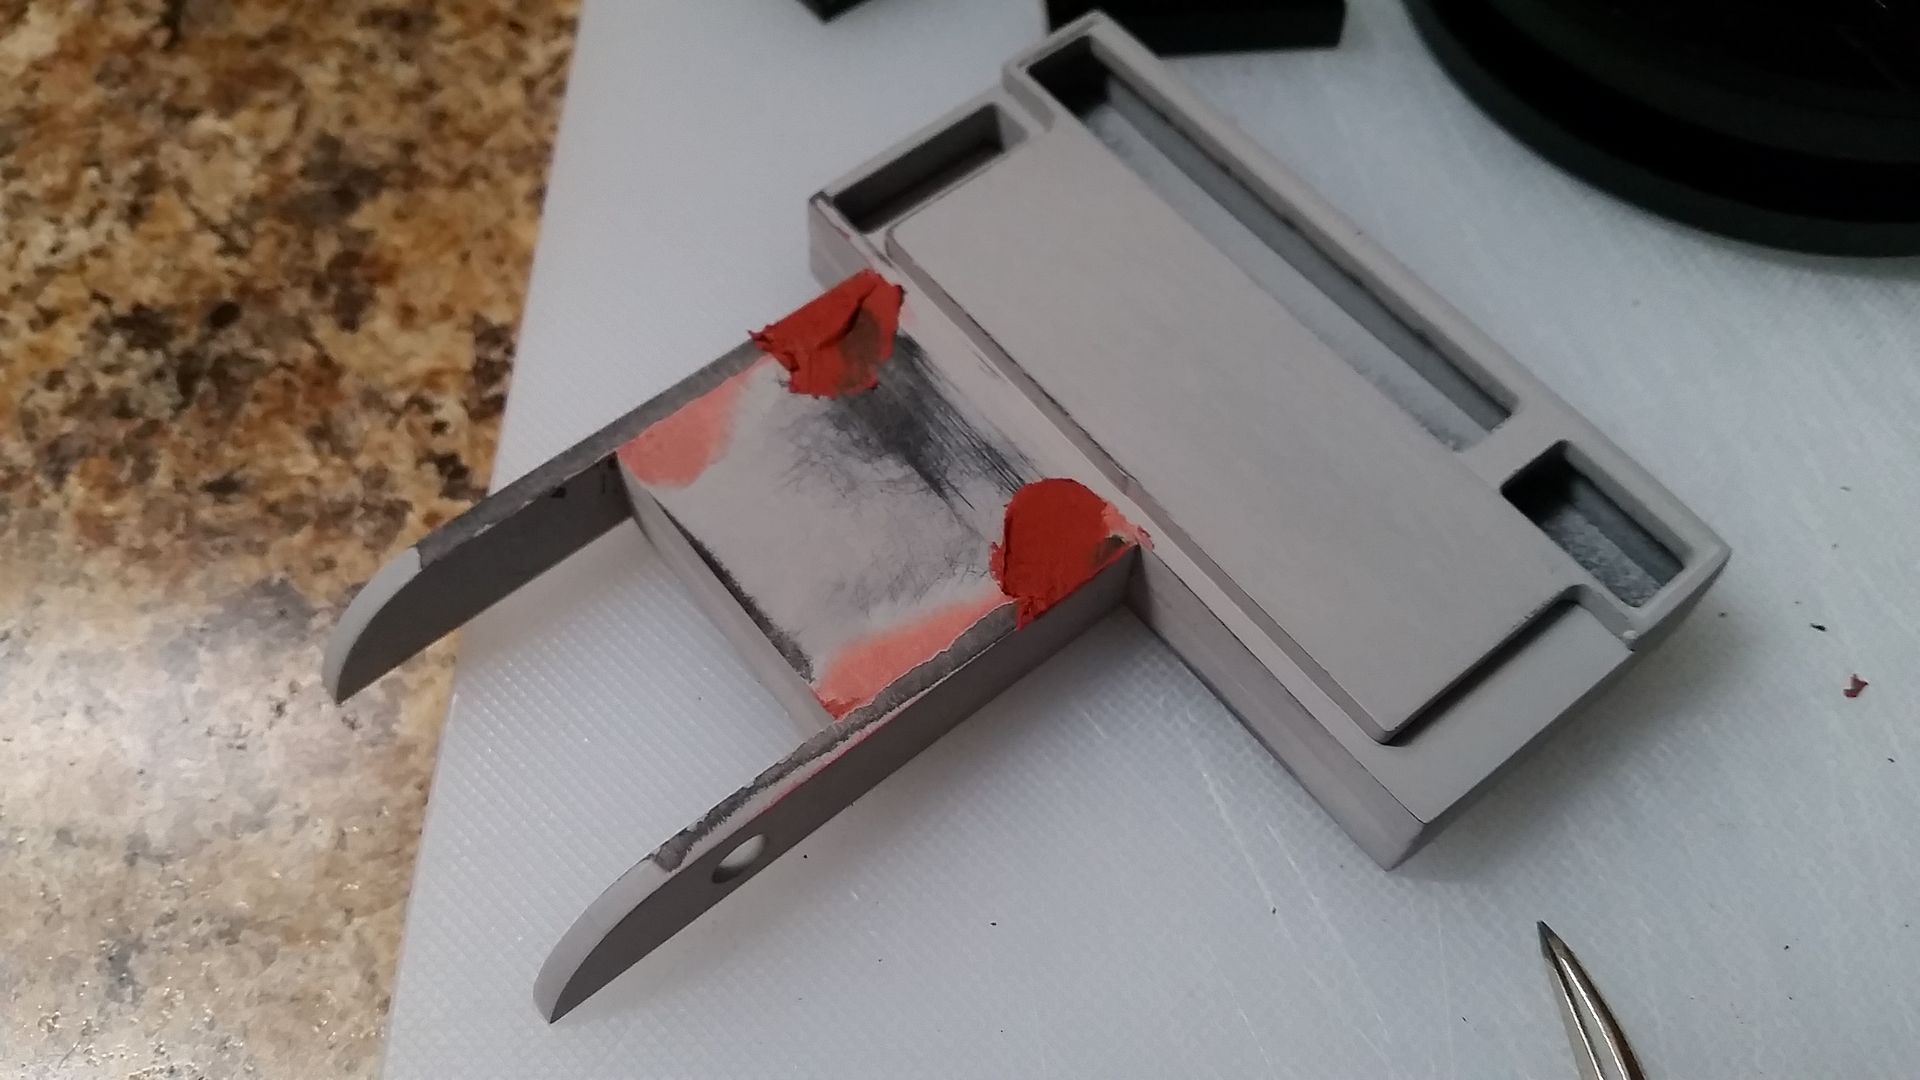
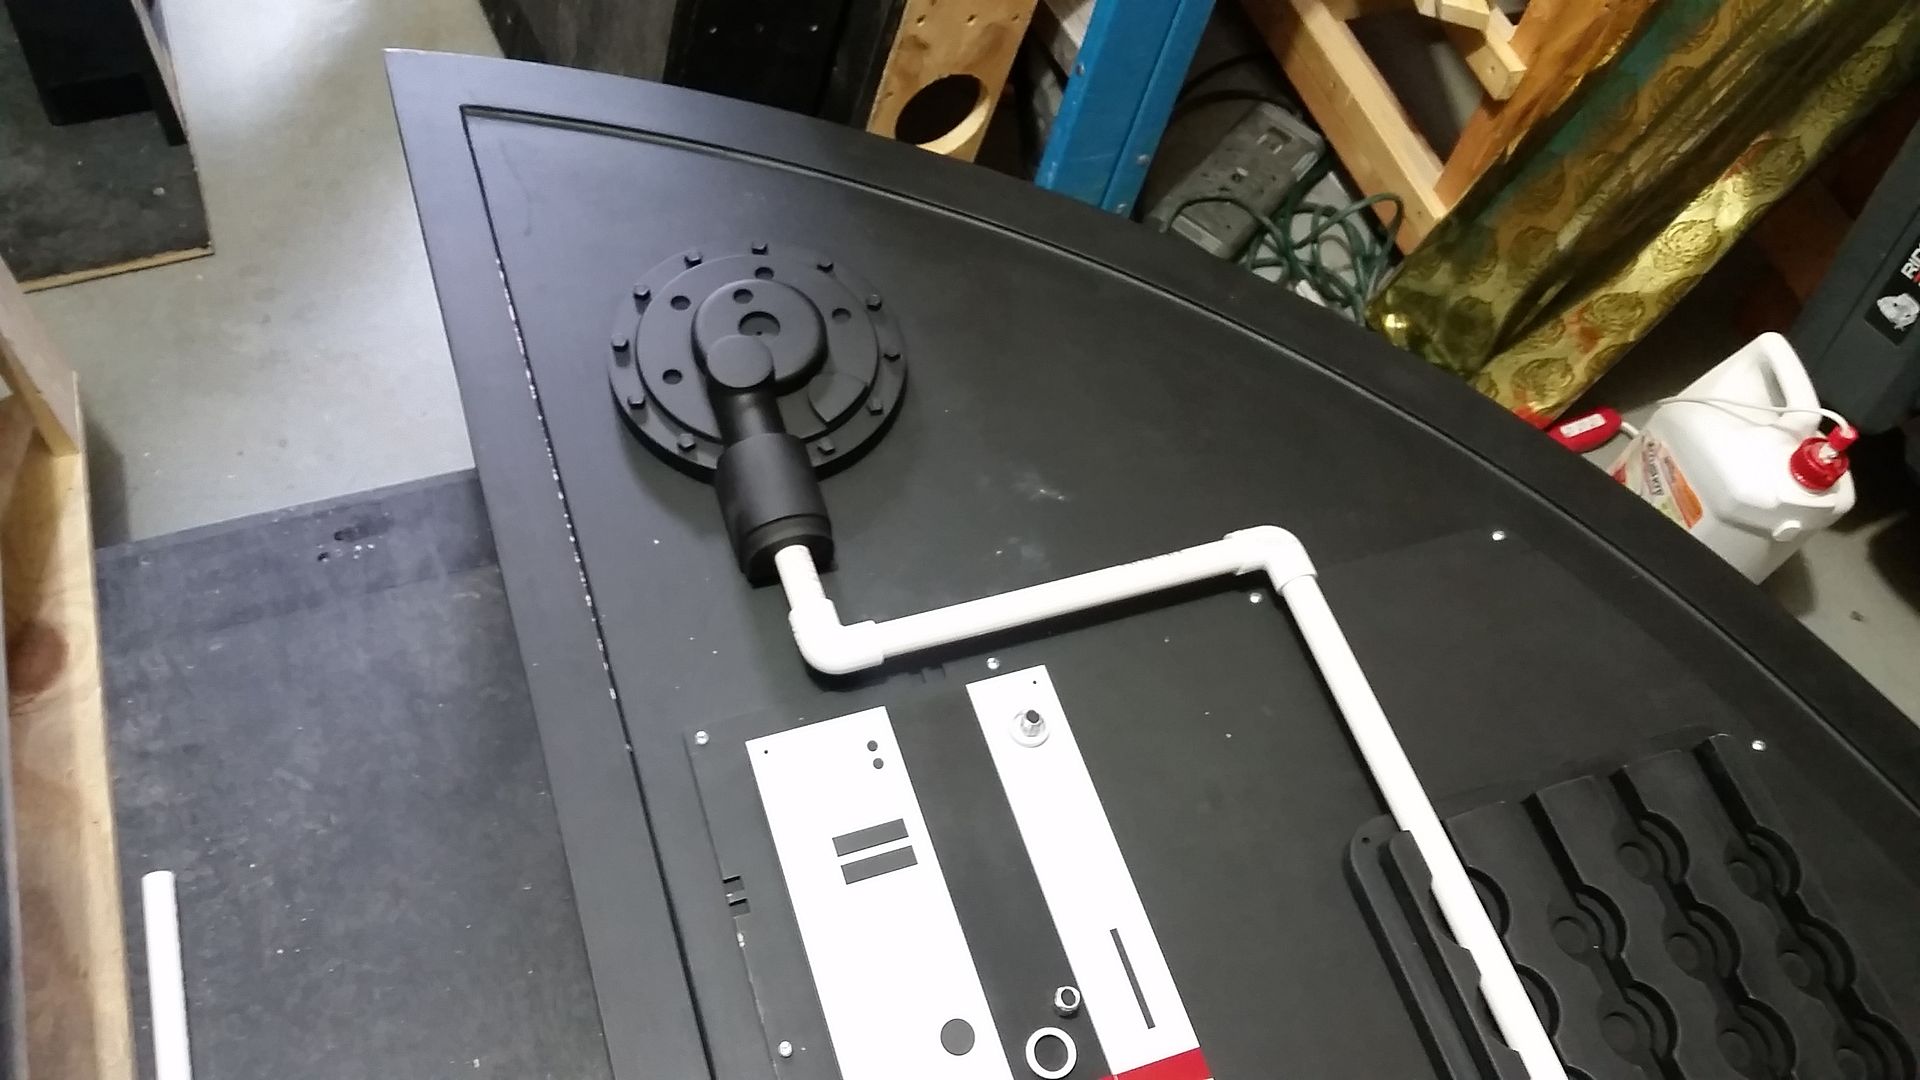
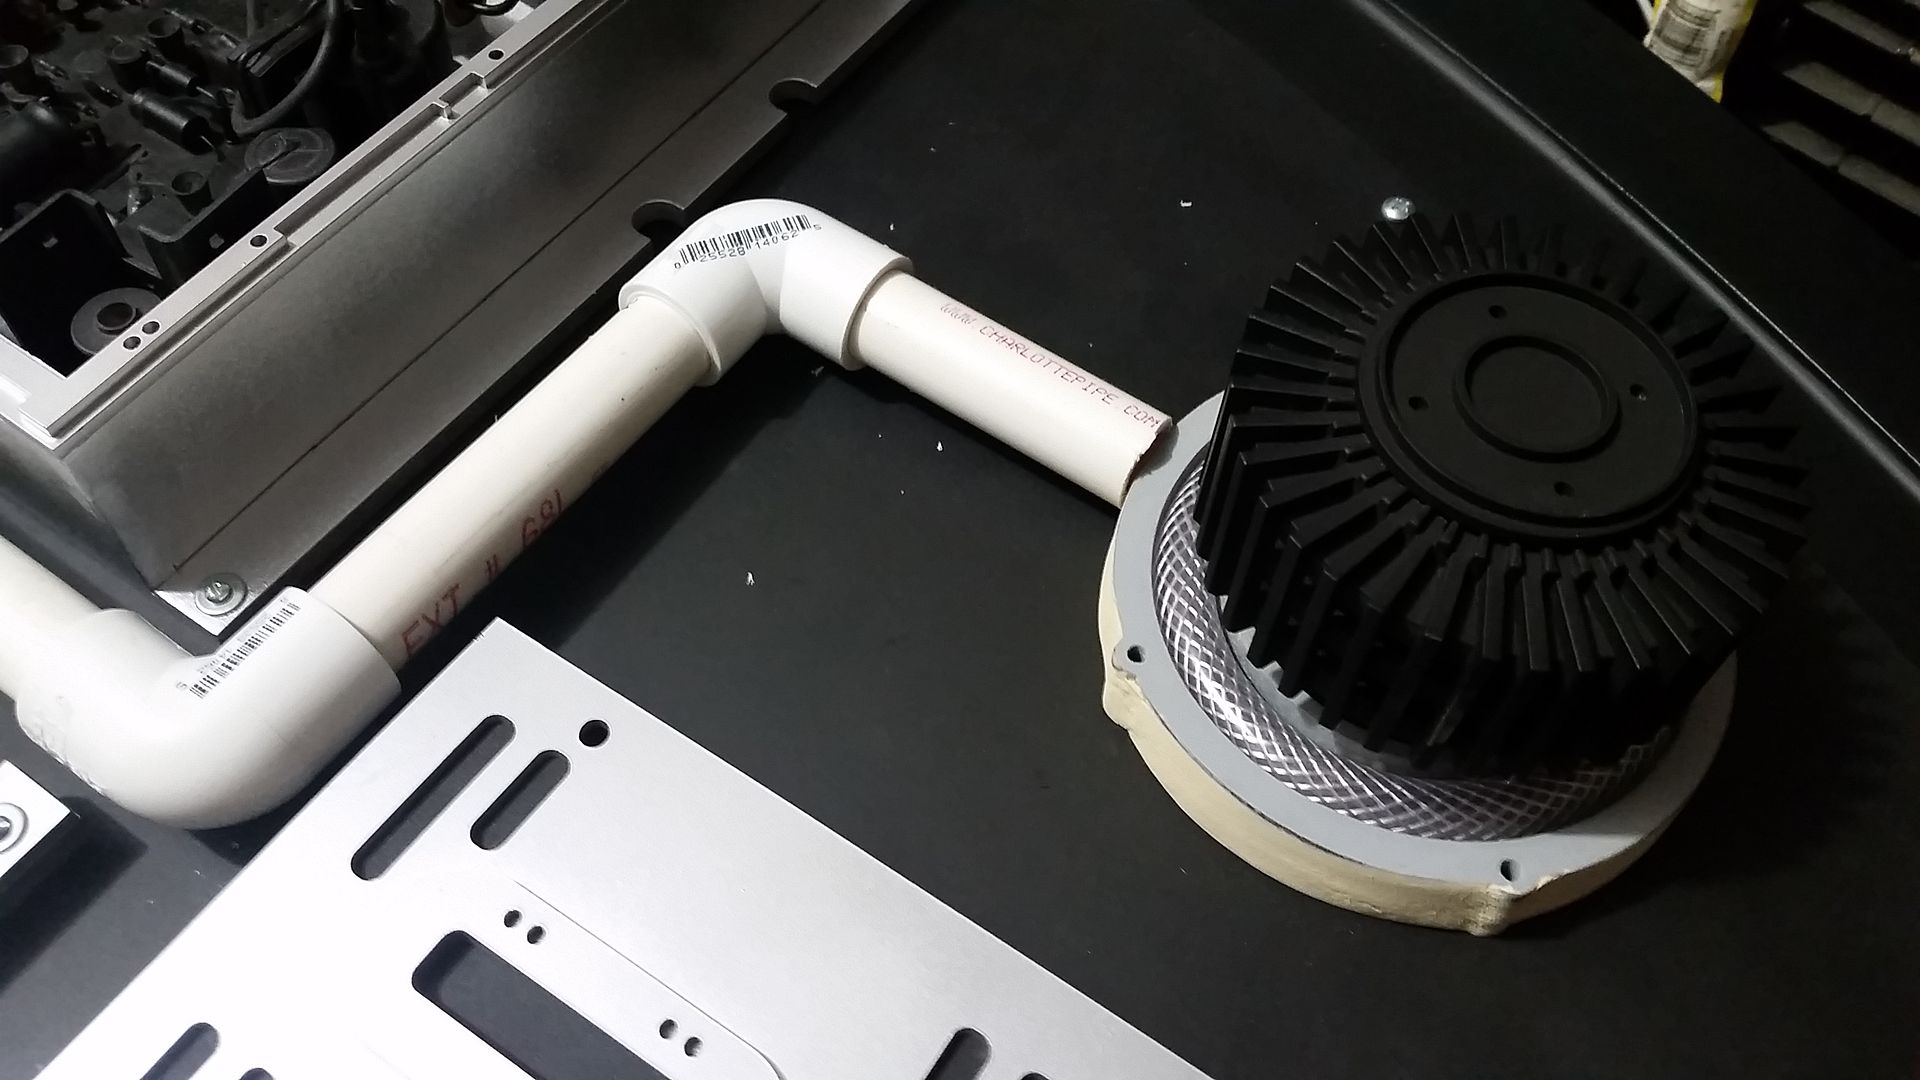
I spent a LOT of time on the auto pilot clutch greeblie!
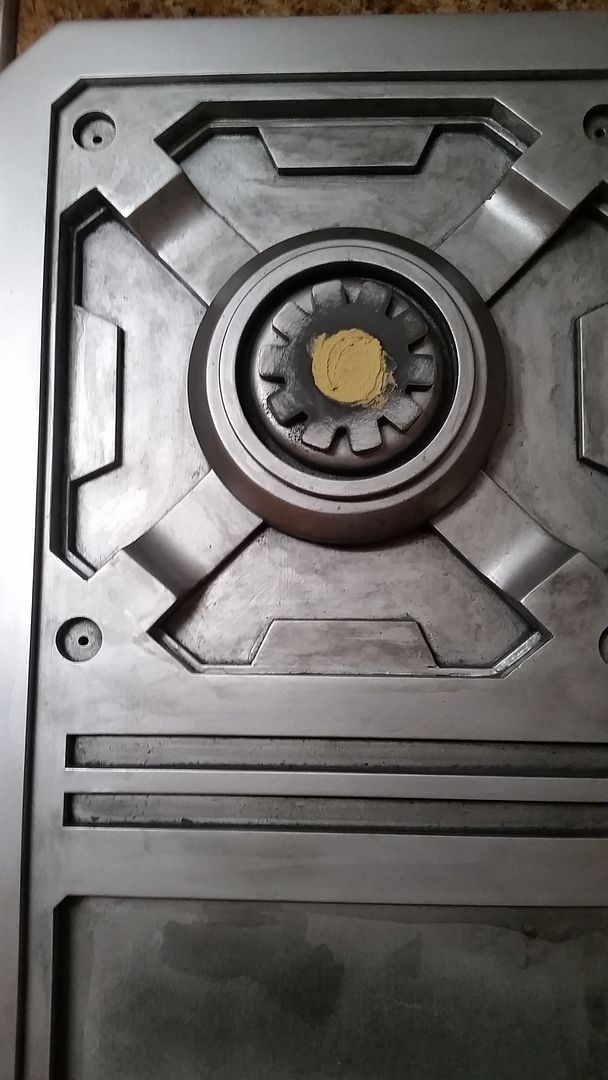
All put back together with new paint
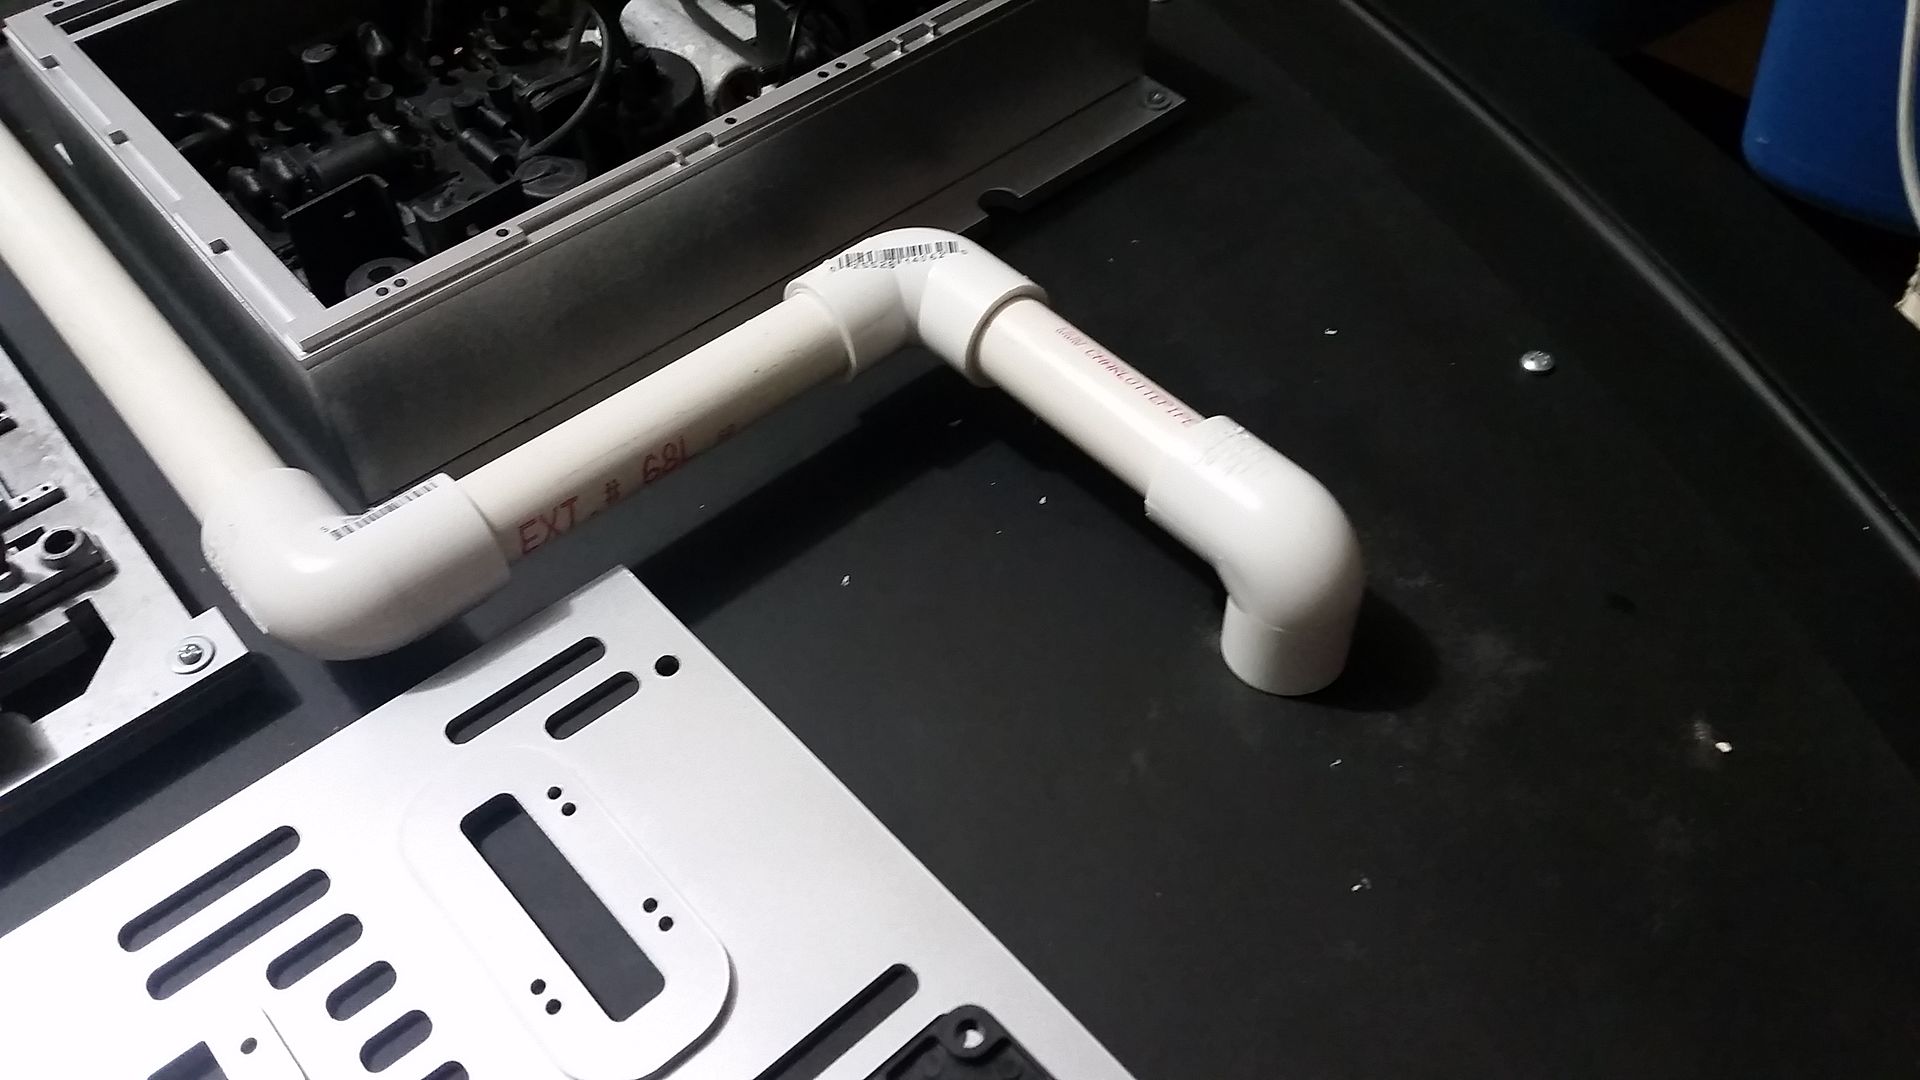
The elbow is now reinforced so it shouldn't break again
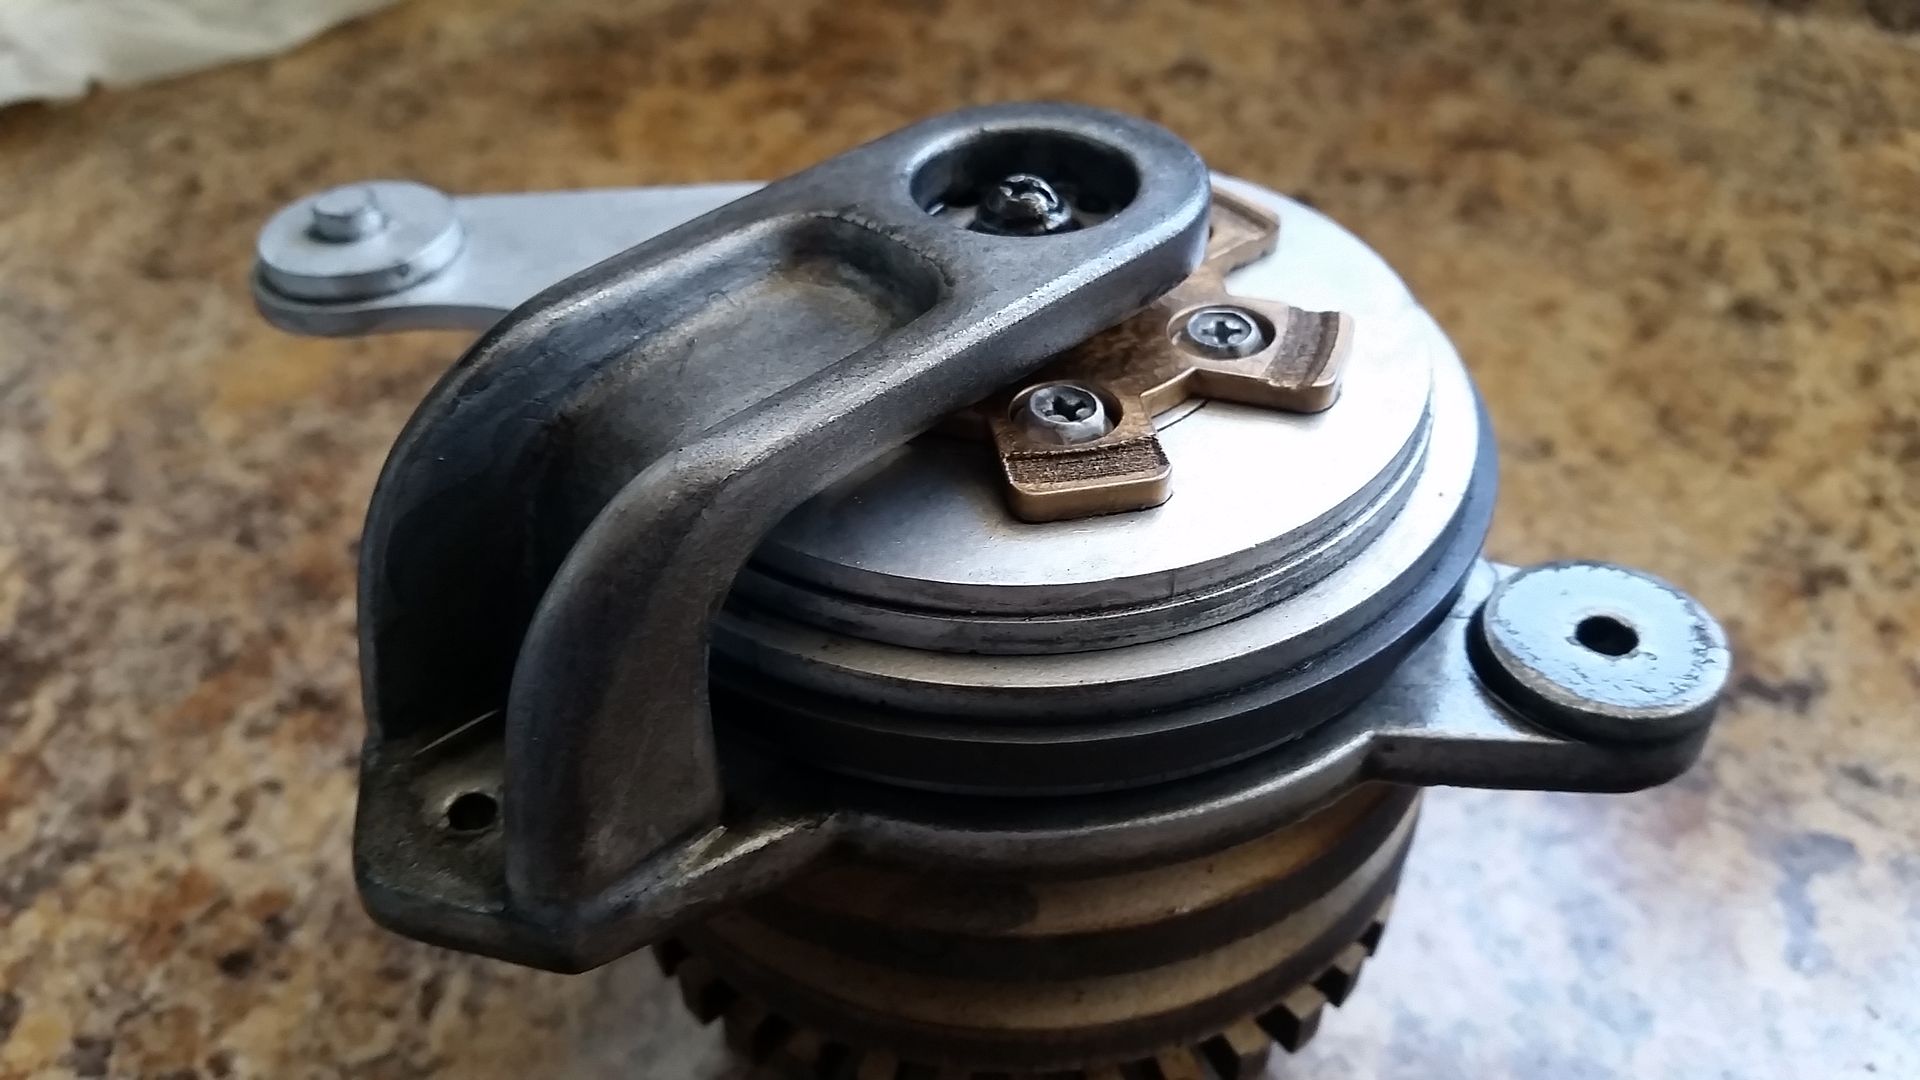
1st coat of weathering
2nd coat of wash
3rd coat of wash
I'm layering up the wash on the main elbow and back plate to give it some contrast and match the original - 4th coat of wash
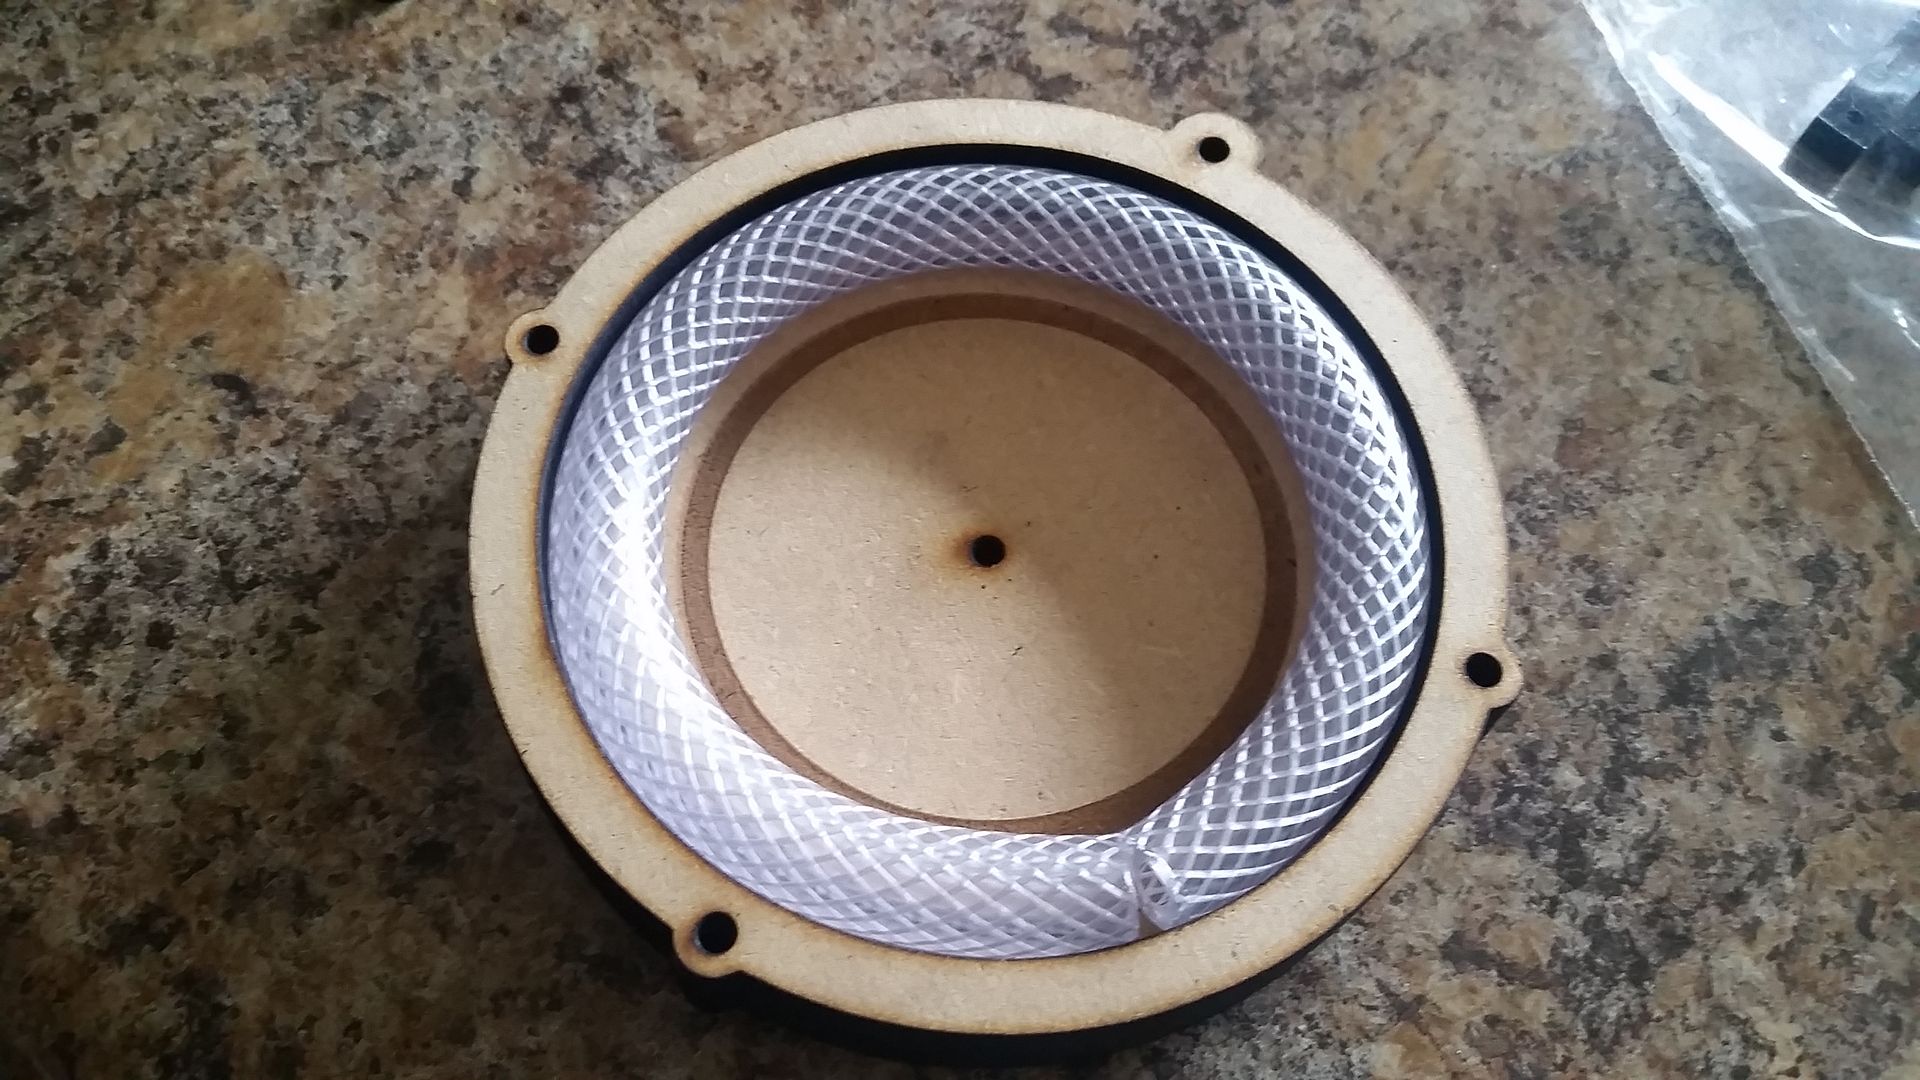
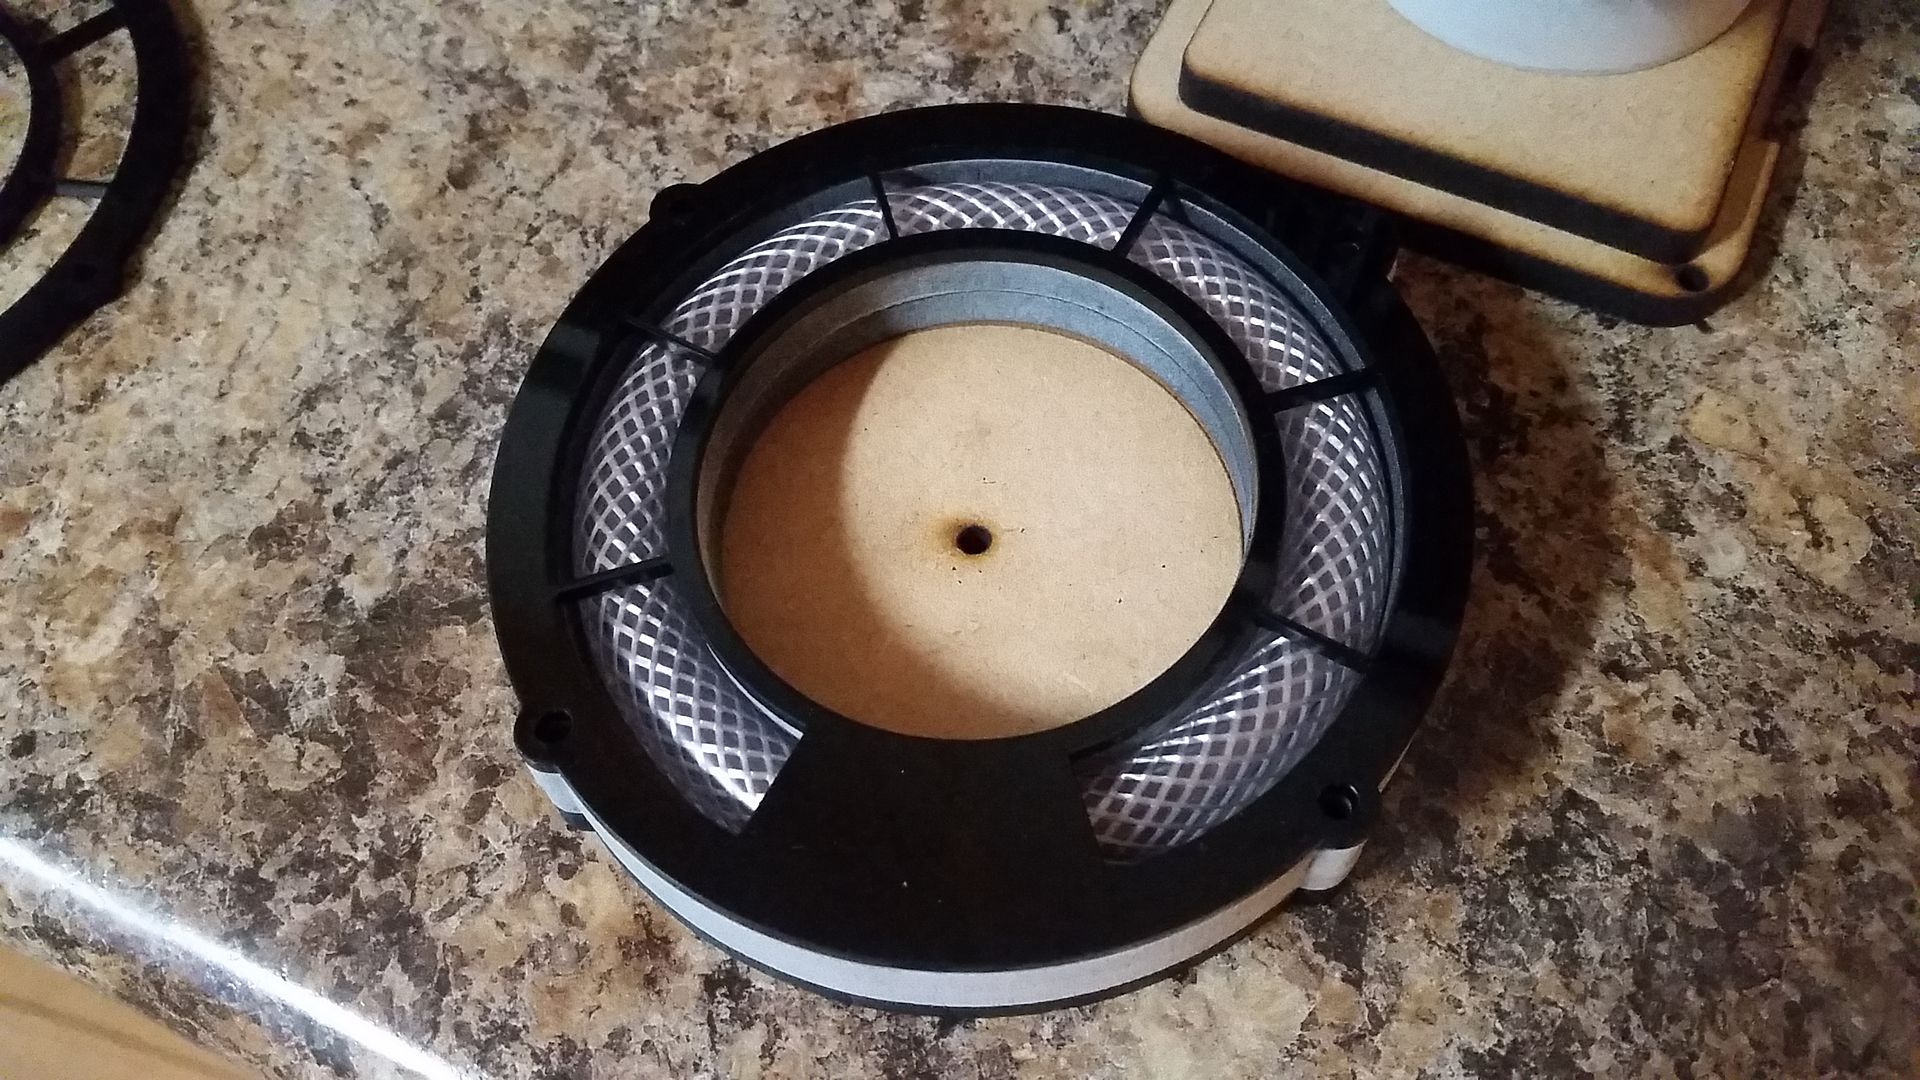
I purchased some this braided tubing at the local home improvement store. I had an idea for the "Coil" greeblie base. I hope you guys like it!
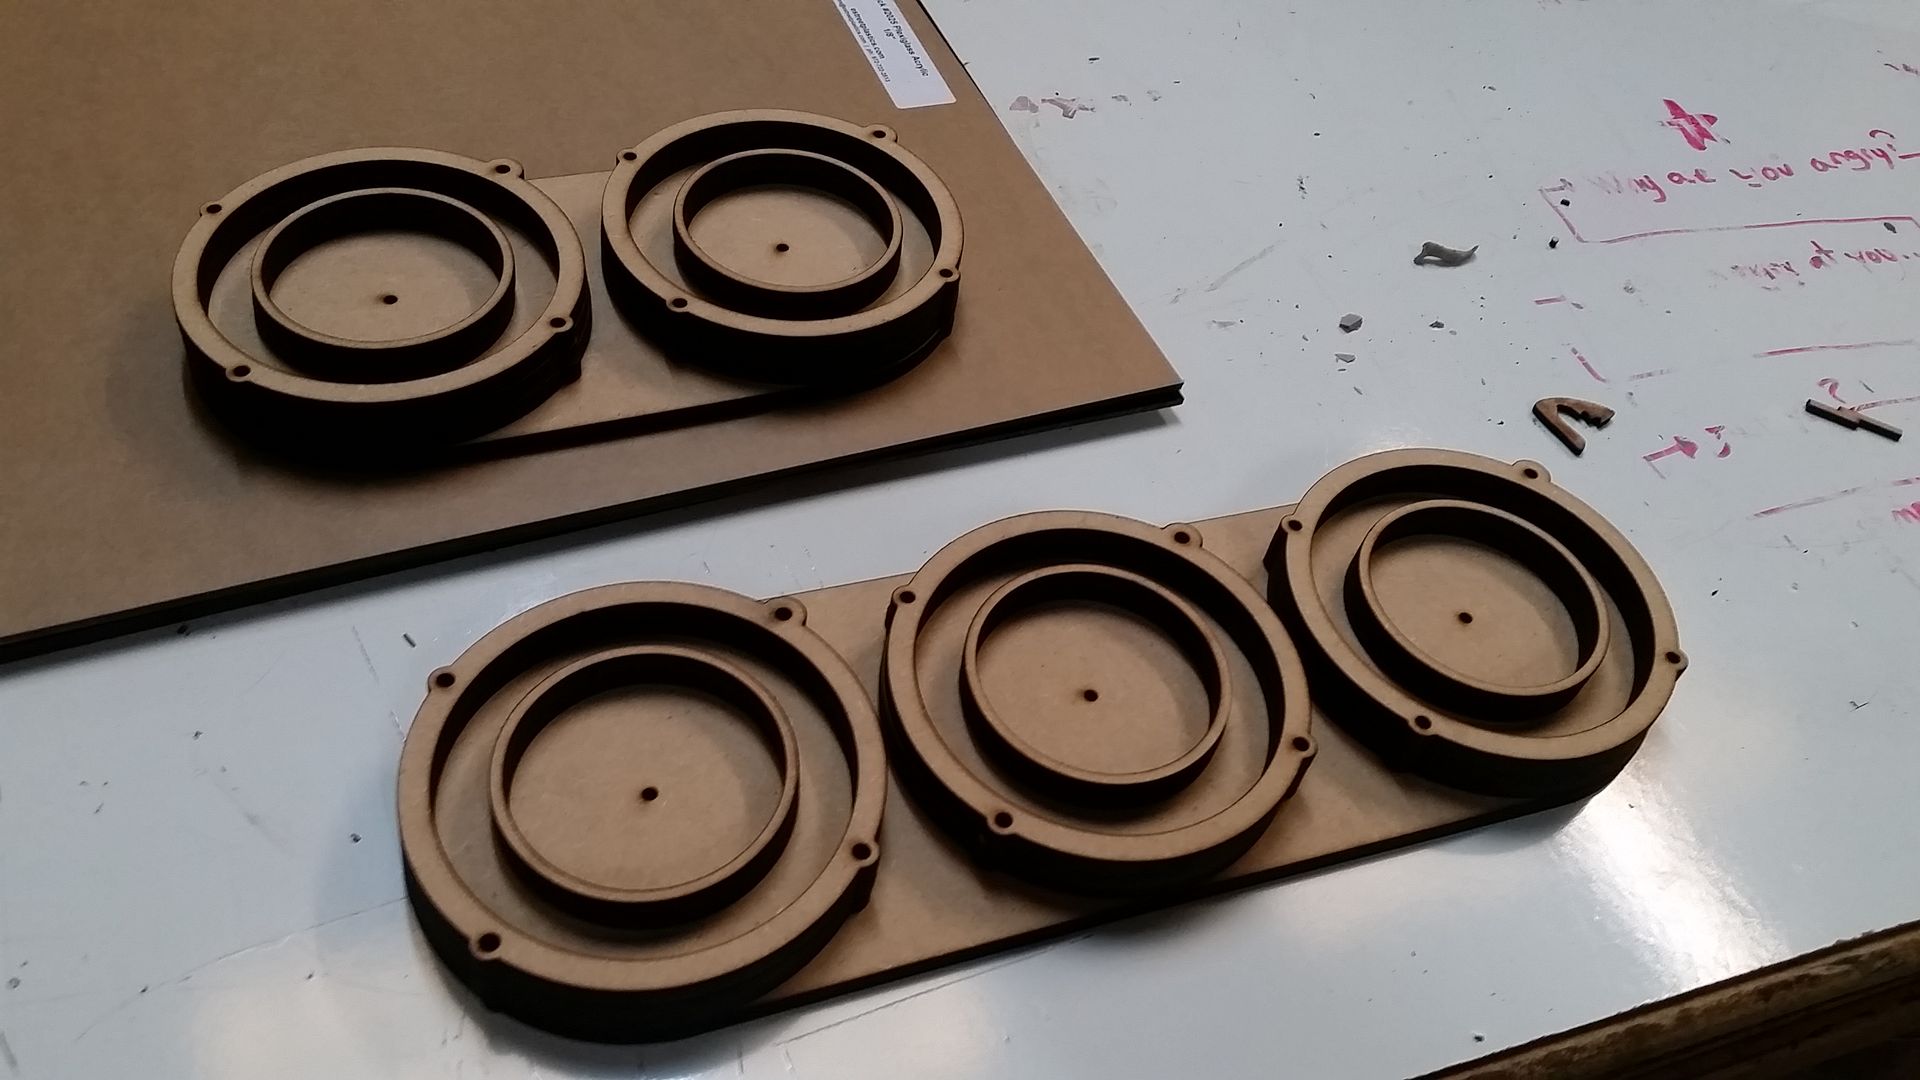
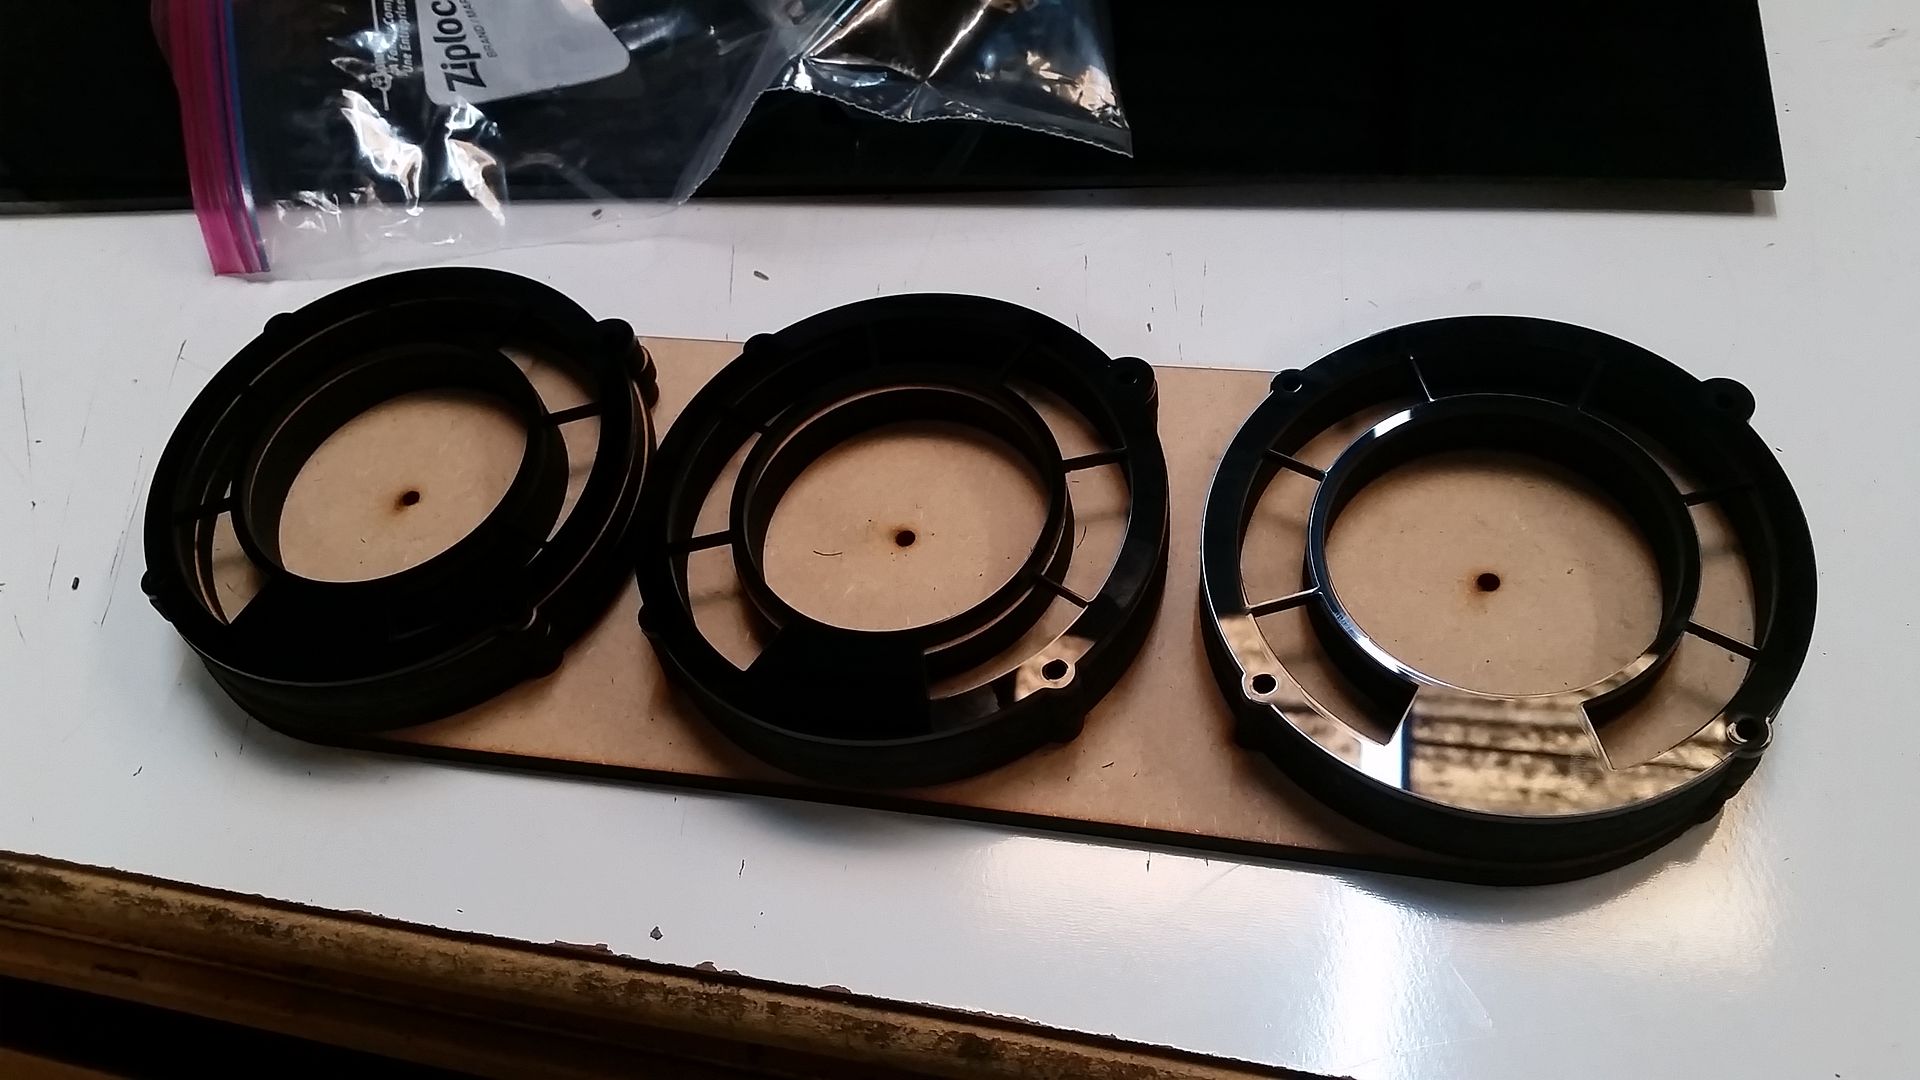
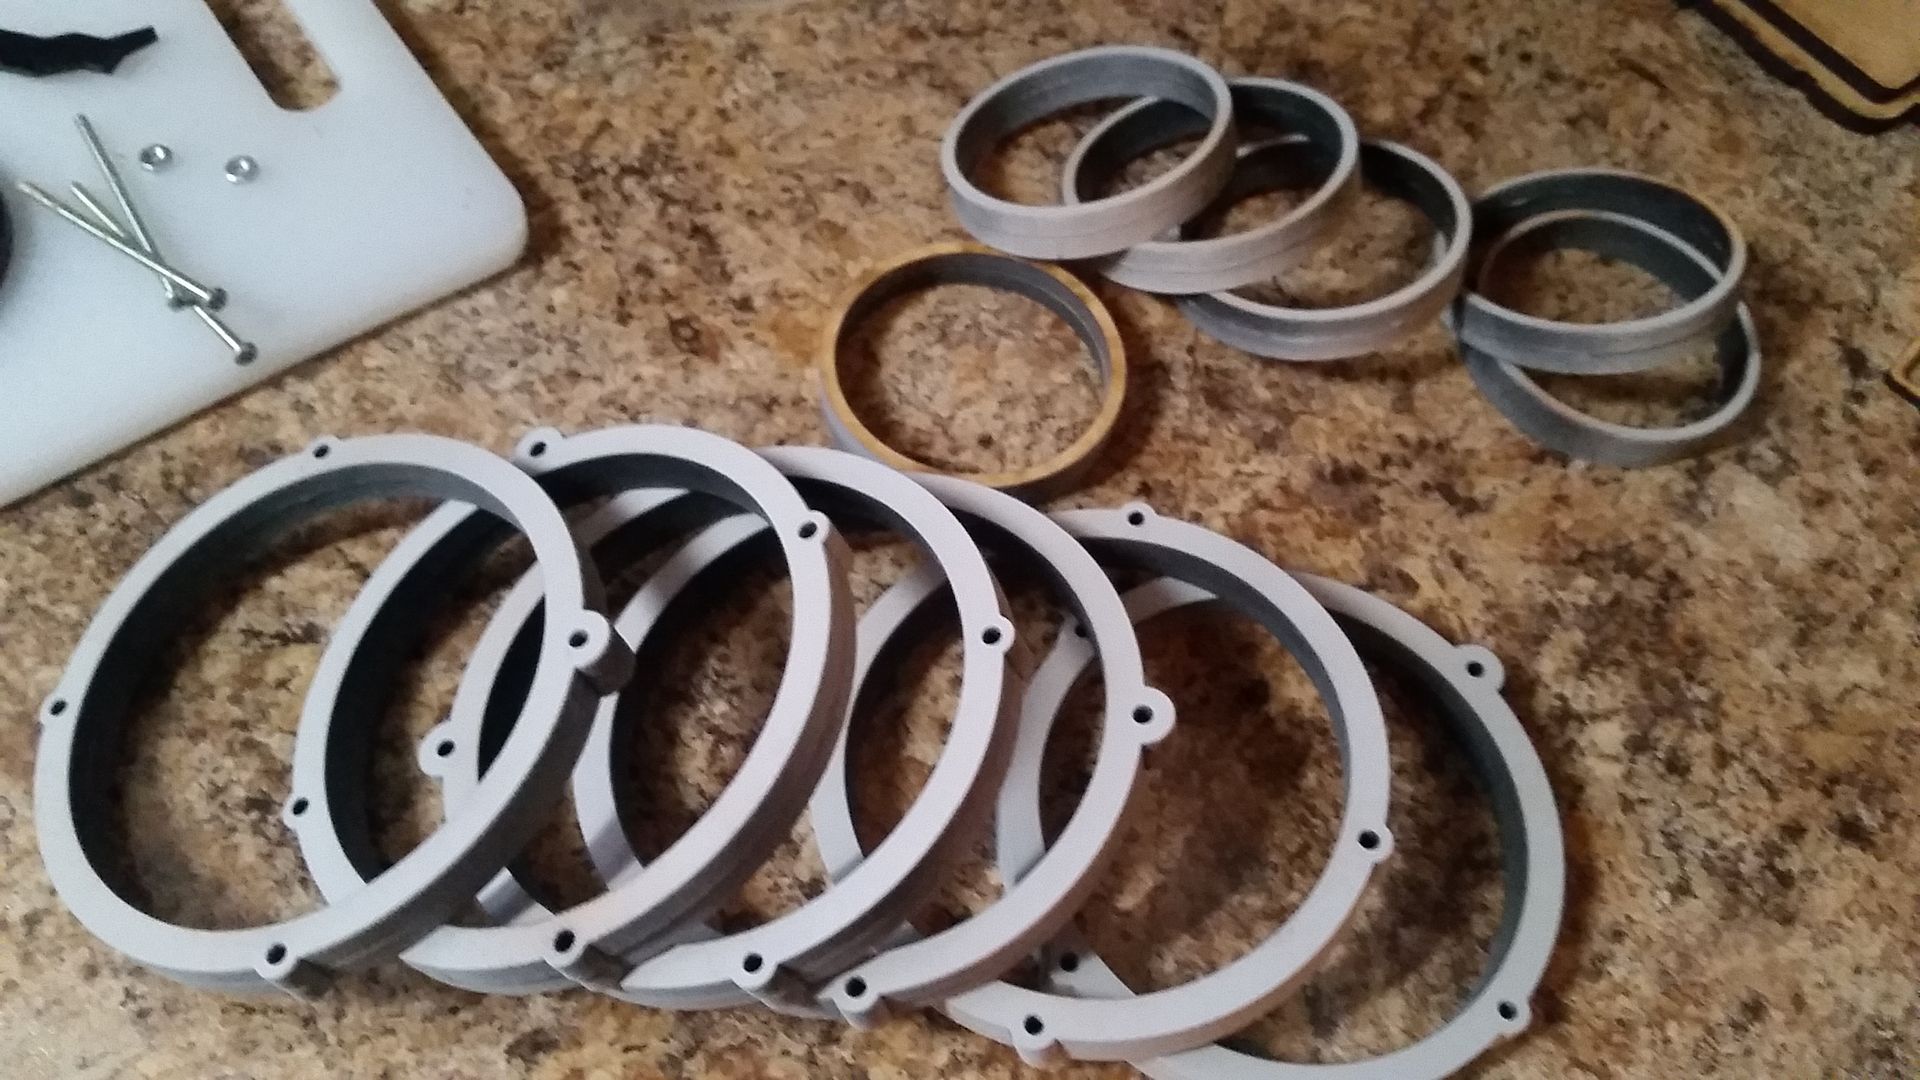
Spent a good portion of Saturday morning with the laser cutter and cut these new coil greeblies - 7 hours waiting and waiting and waiting
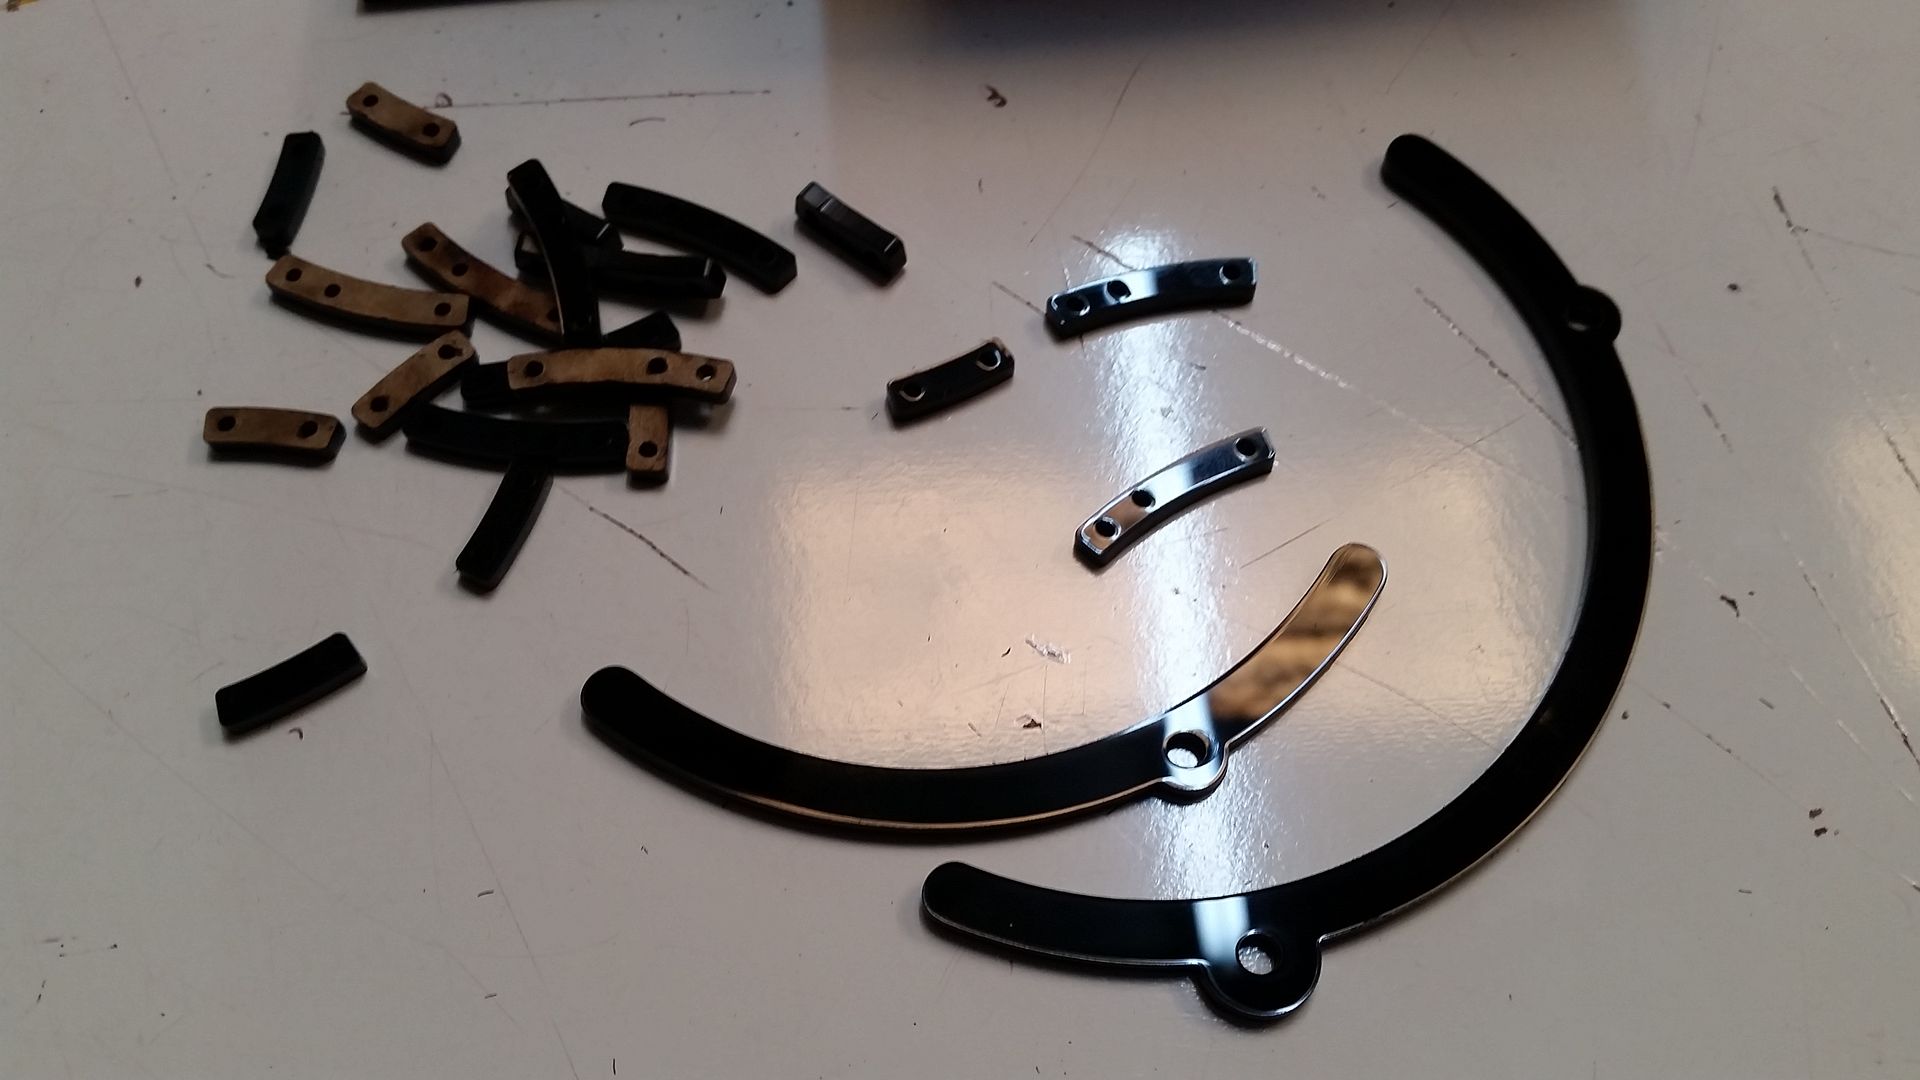
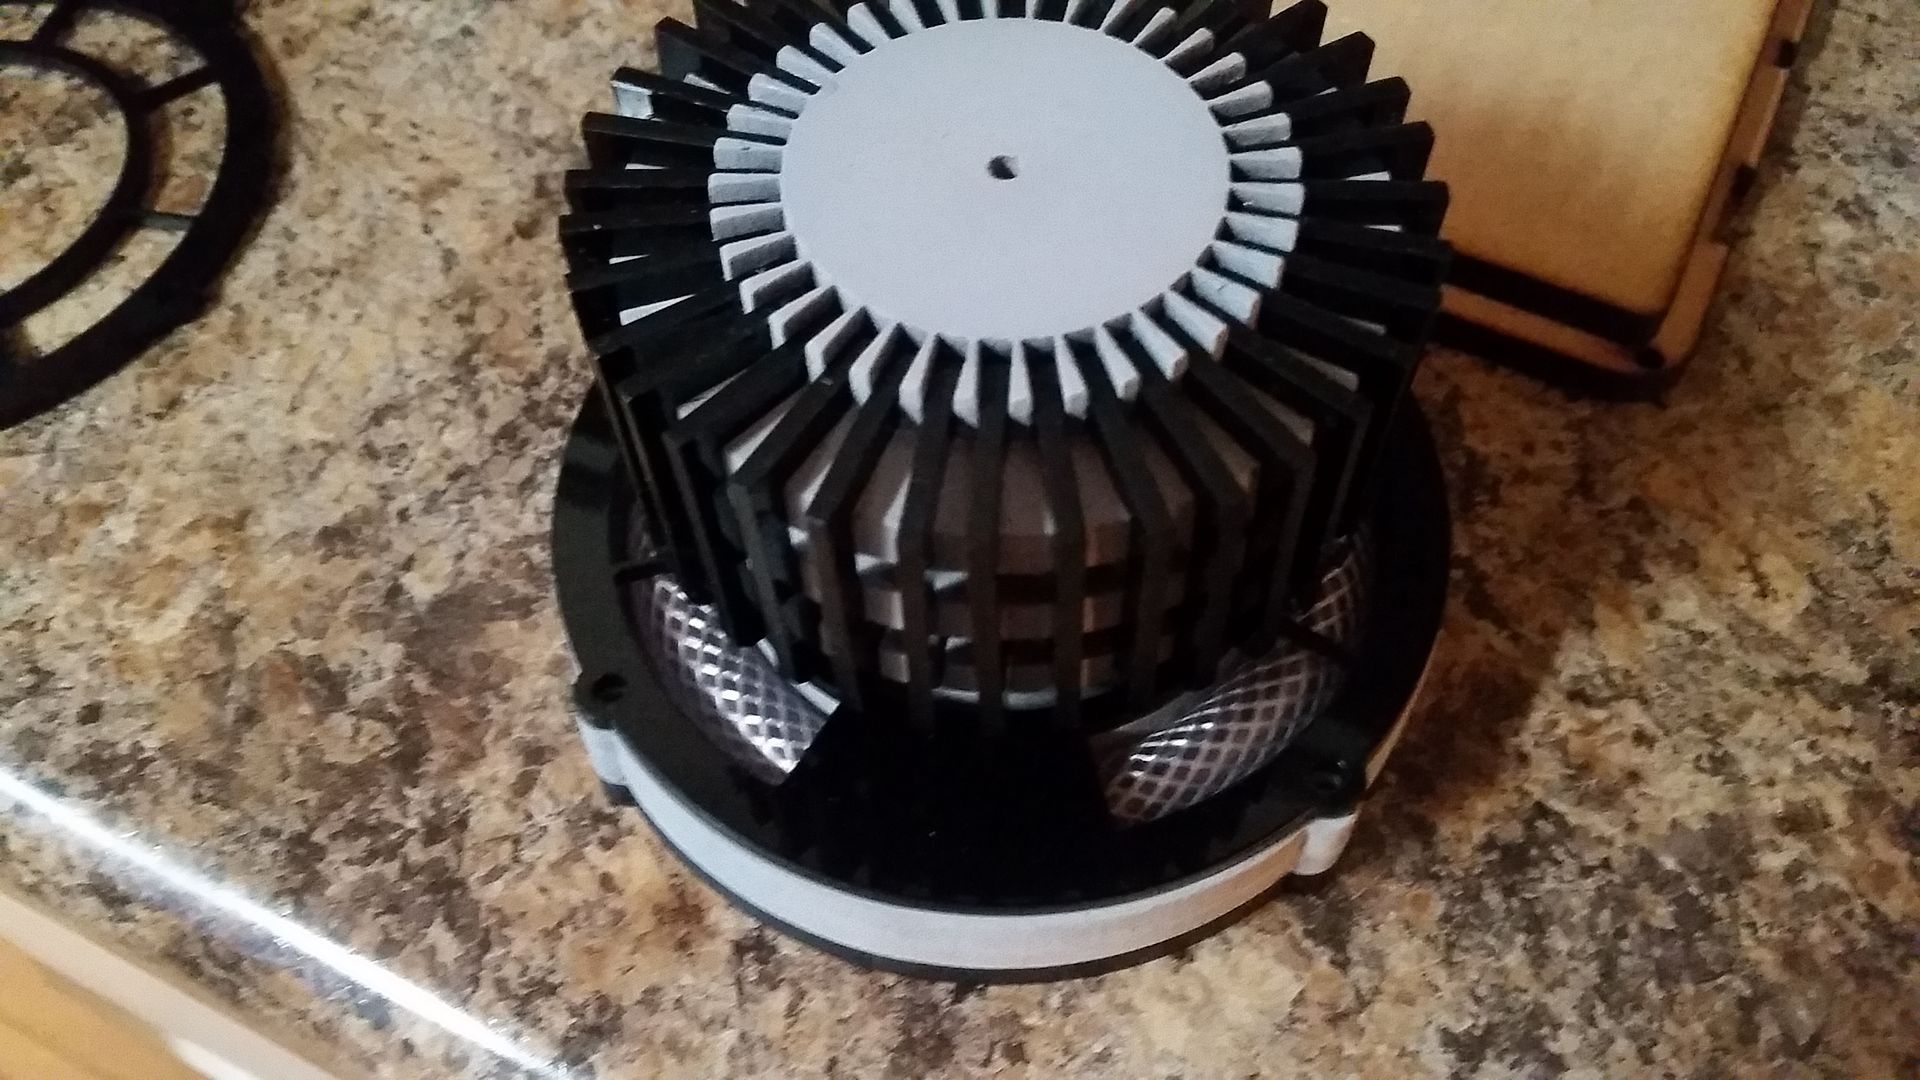
Riser pieces - these will add some visual interest to these low hanging greeblies
Tough to see
More little details
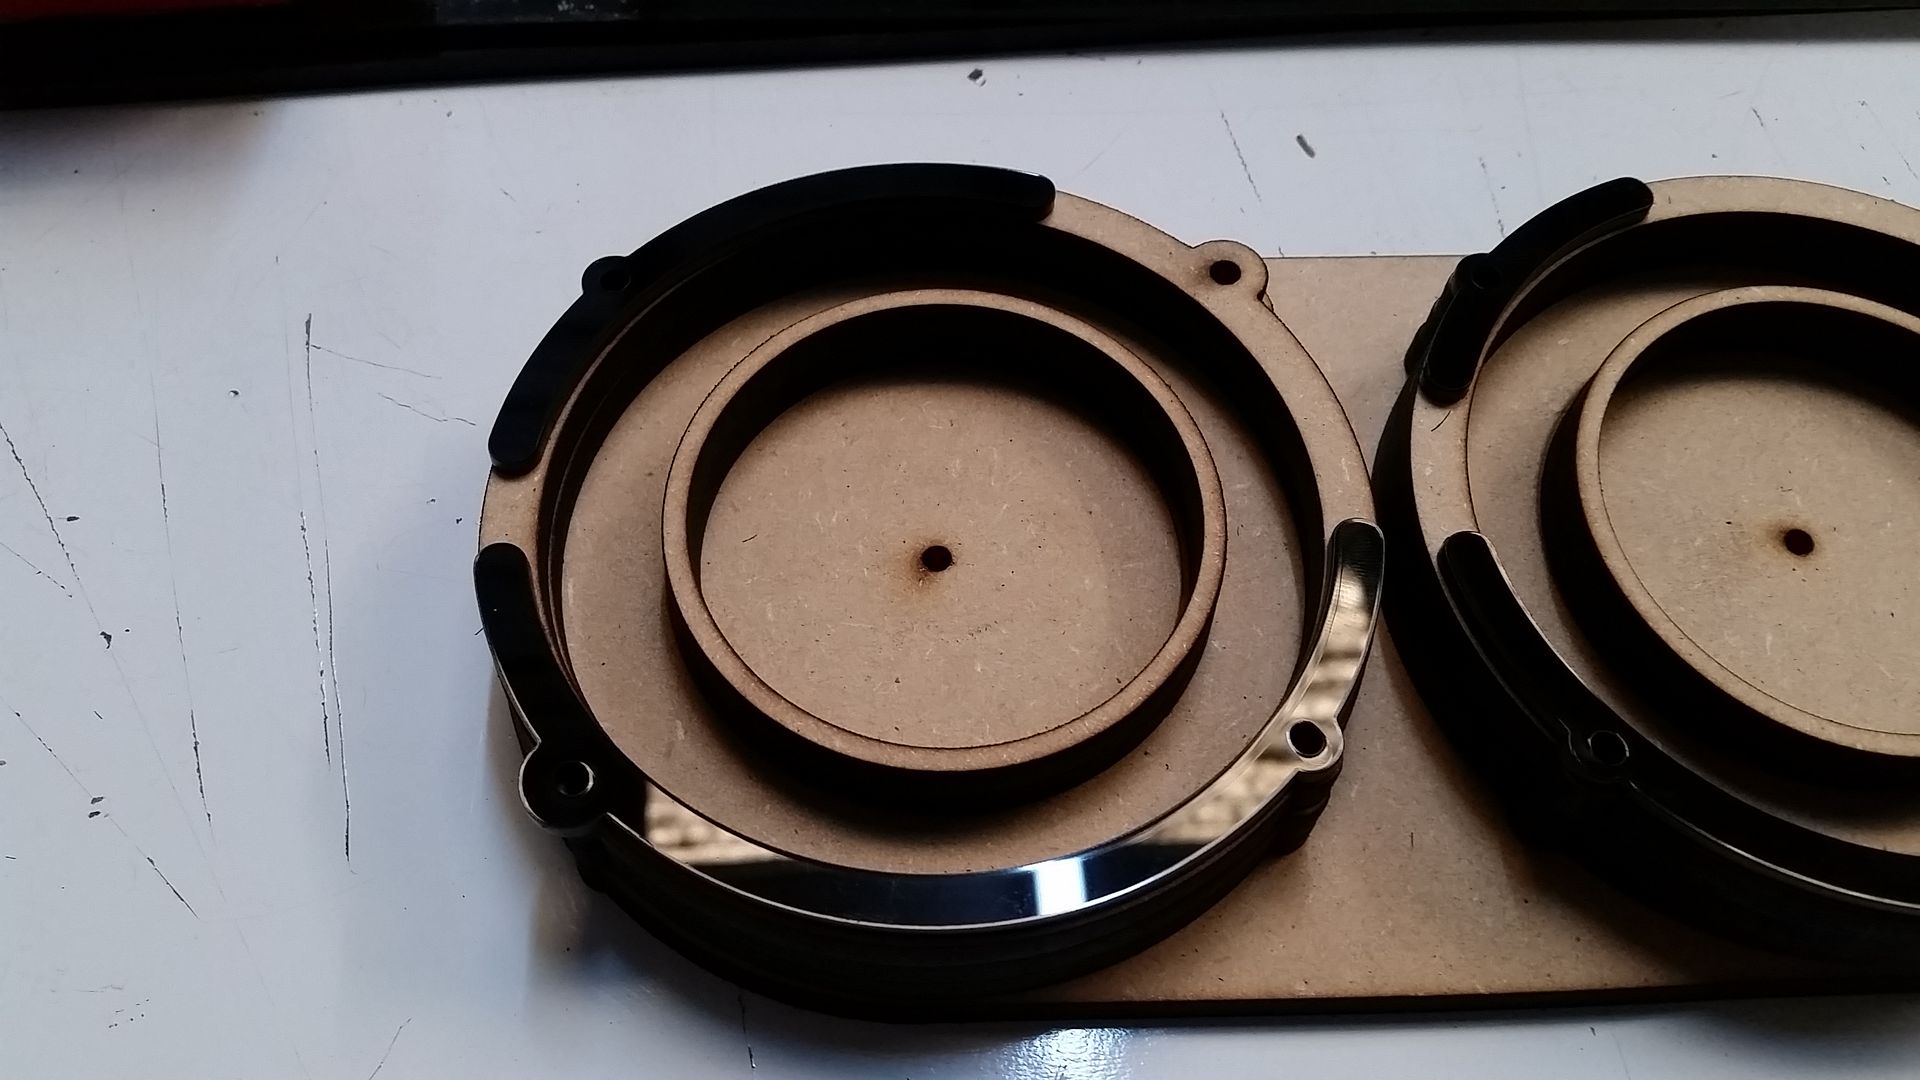
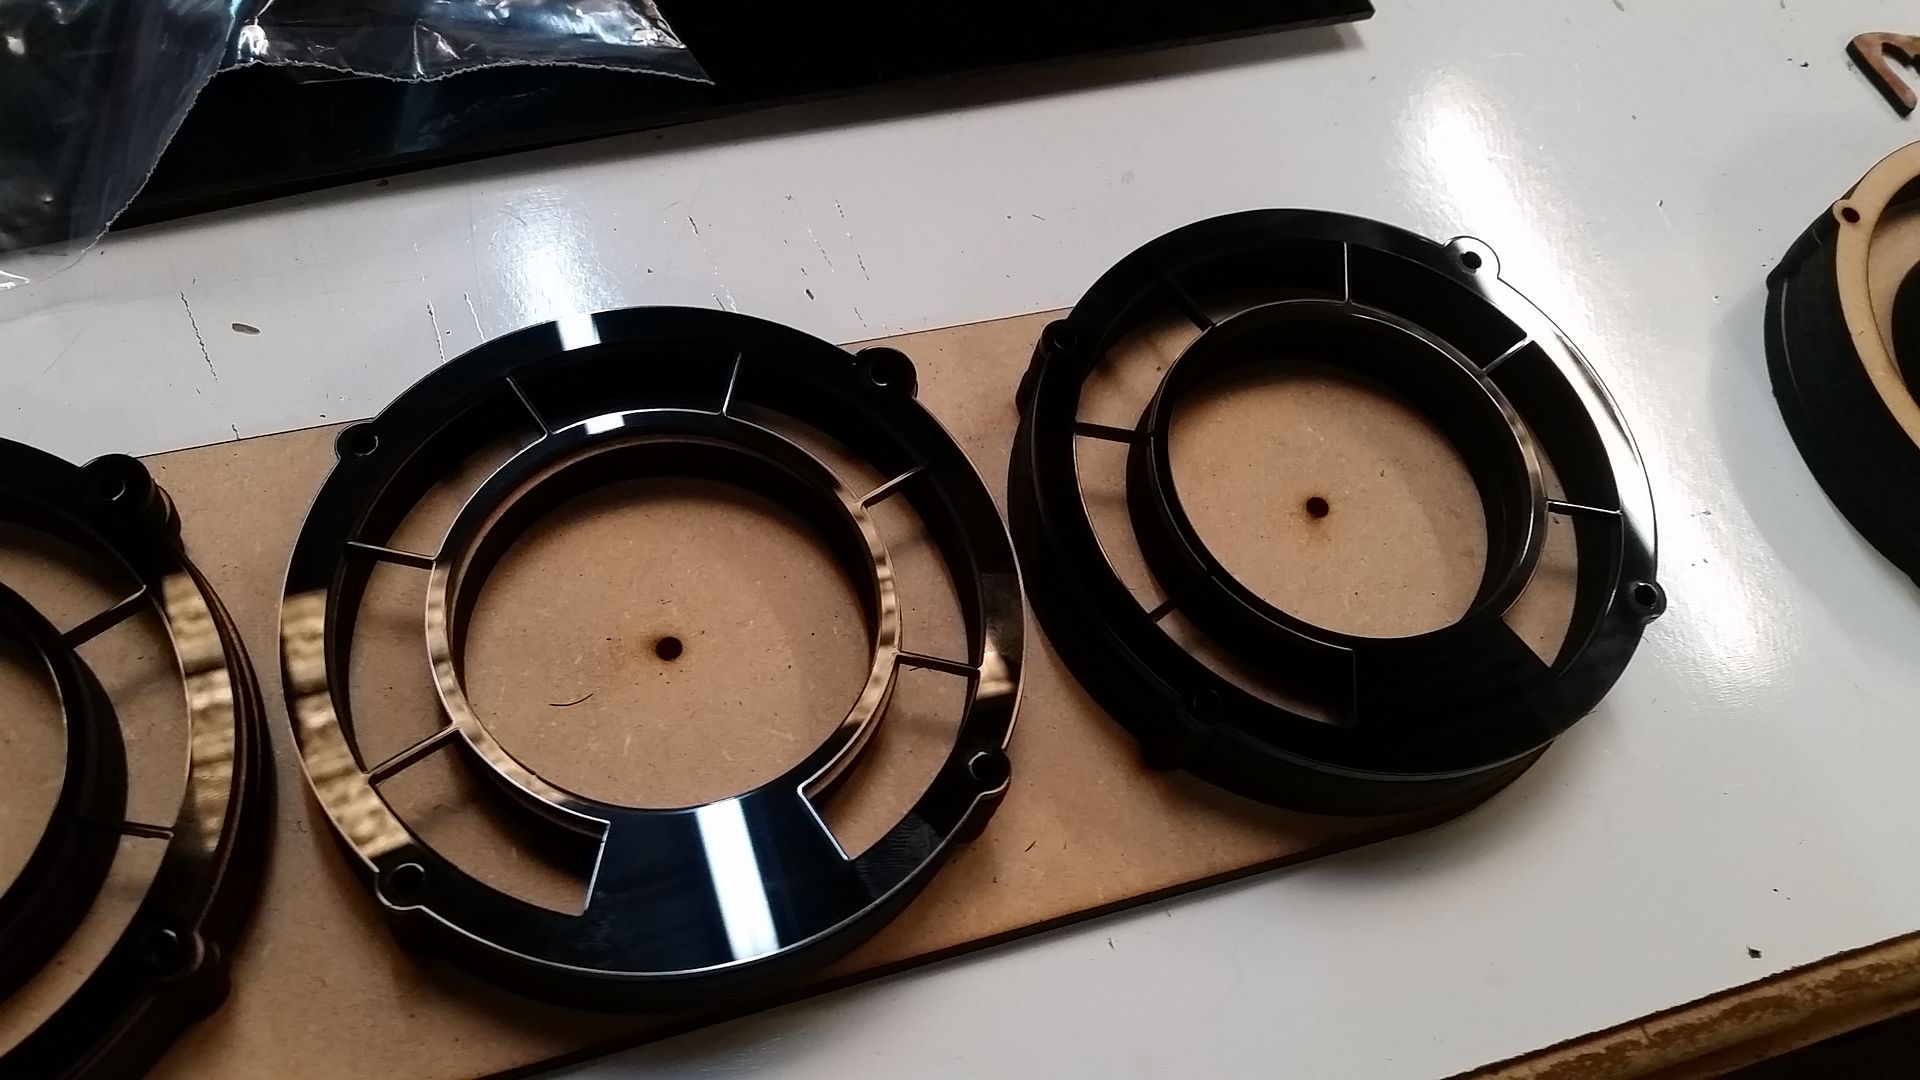
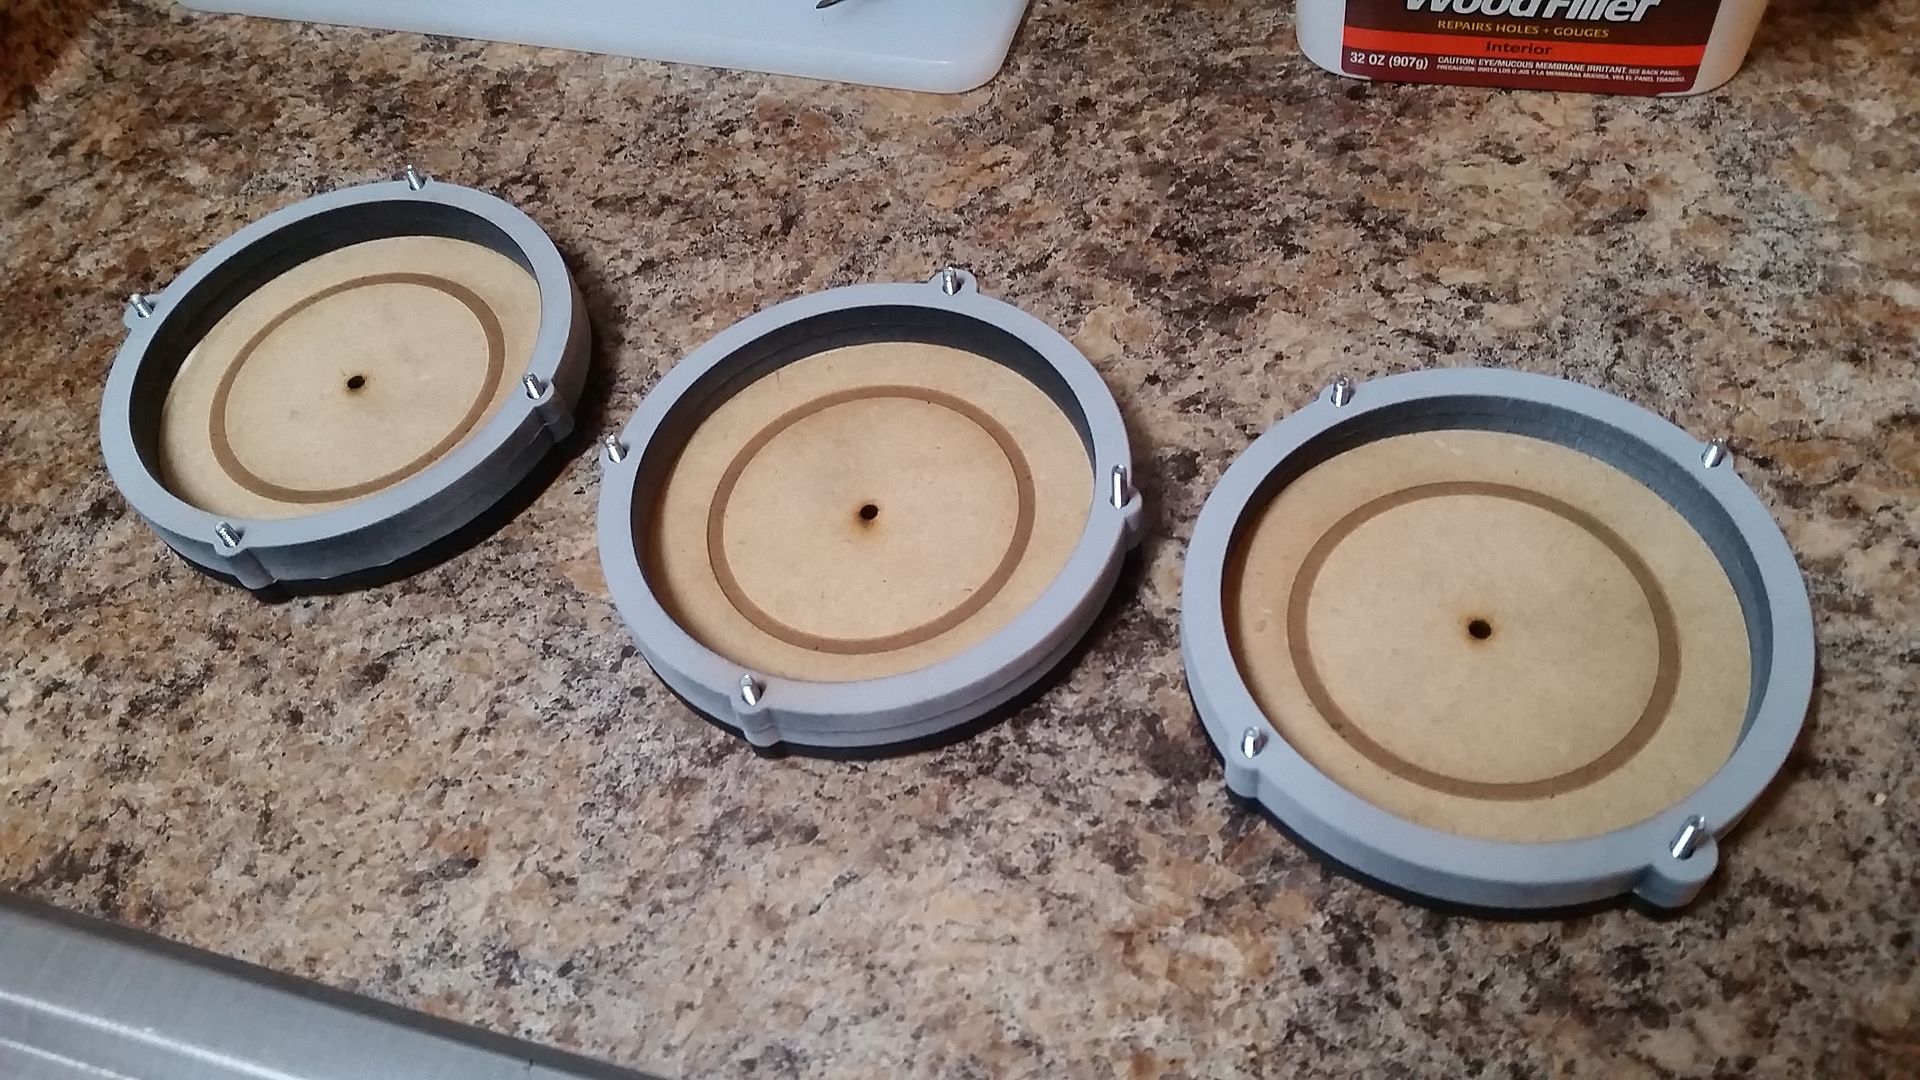
I then cut the cover(s) - looks like a familiar shape!
")
Should give you an idea of where I'm headed
Cut the braided hose to length and...
With the cover plate
And coil in place
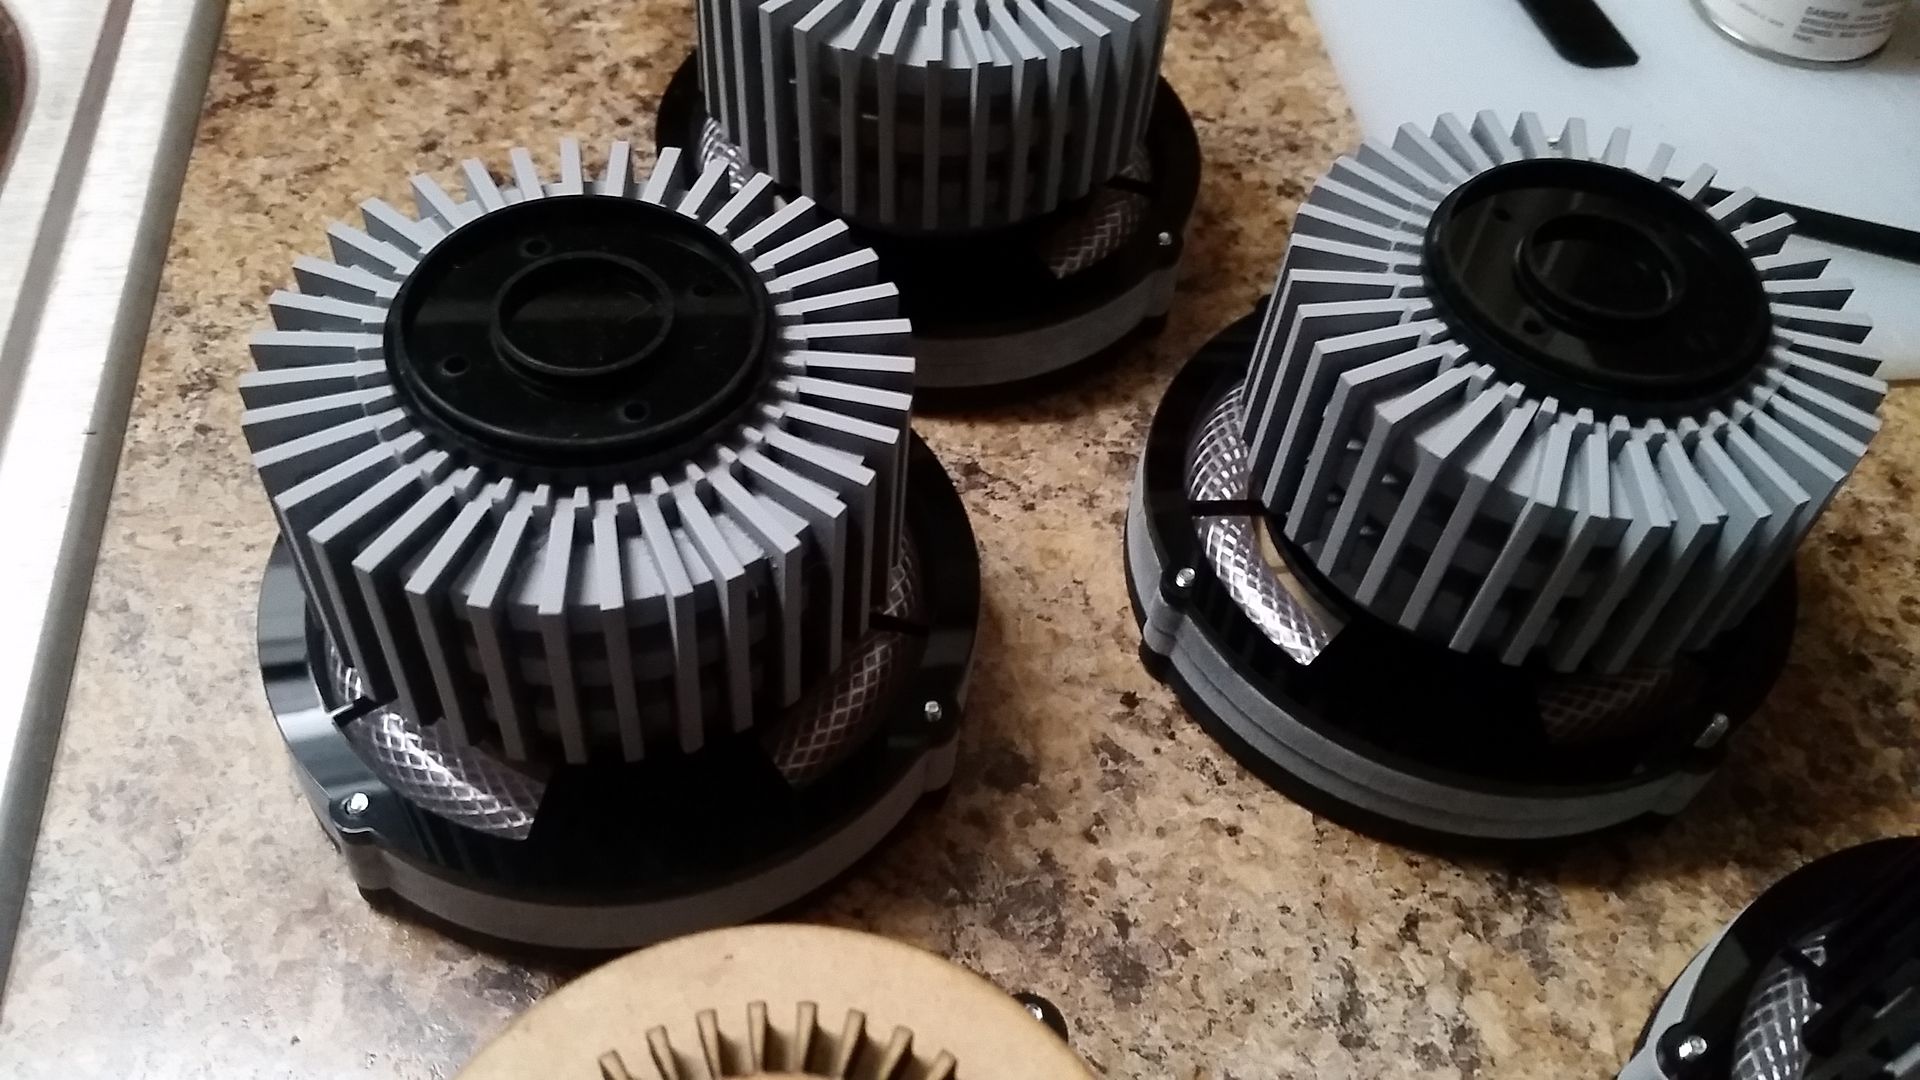
I hope it works out!
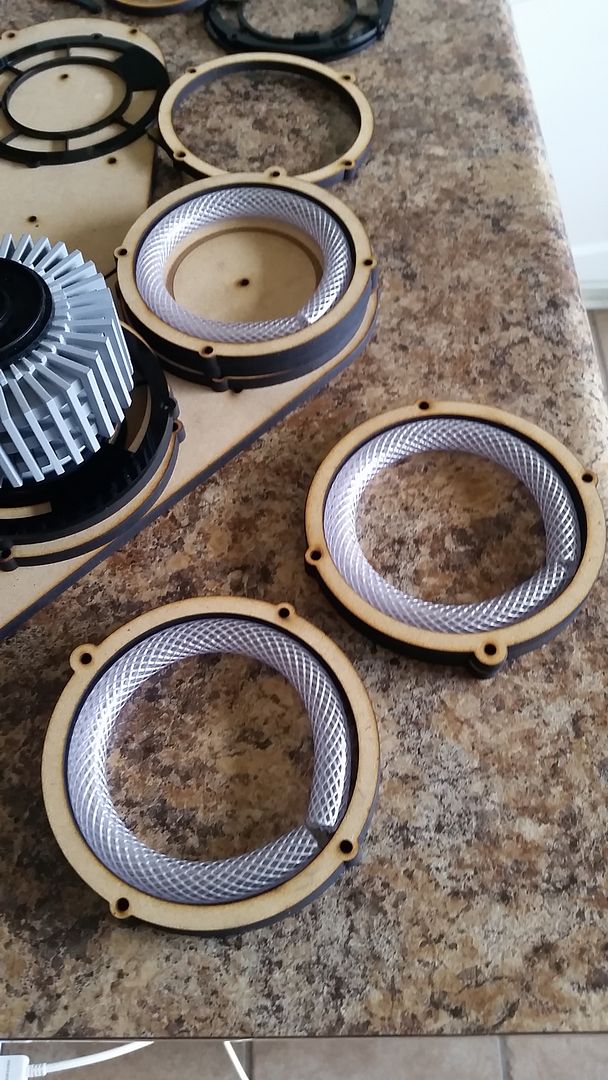
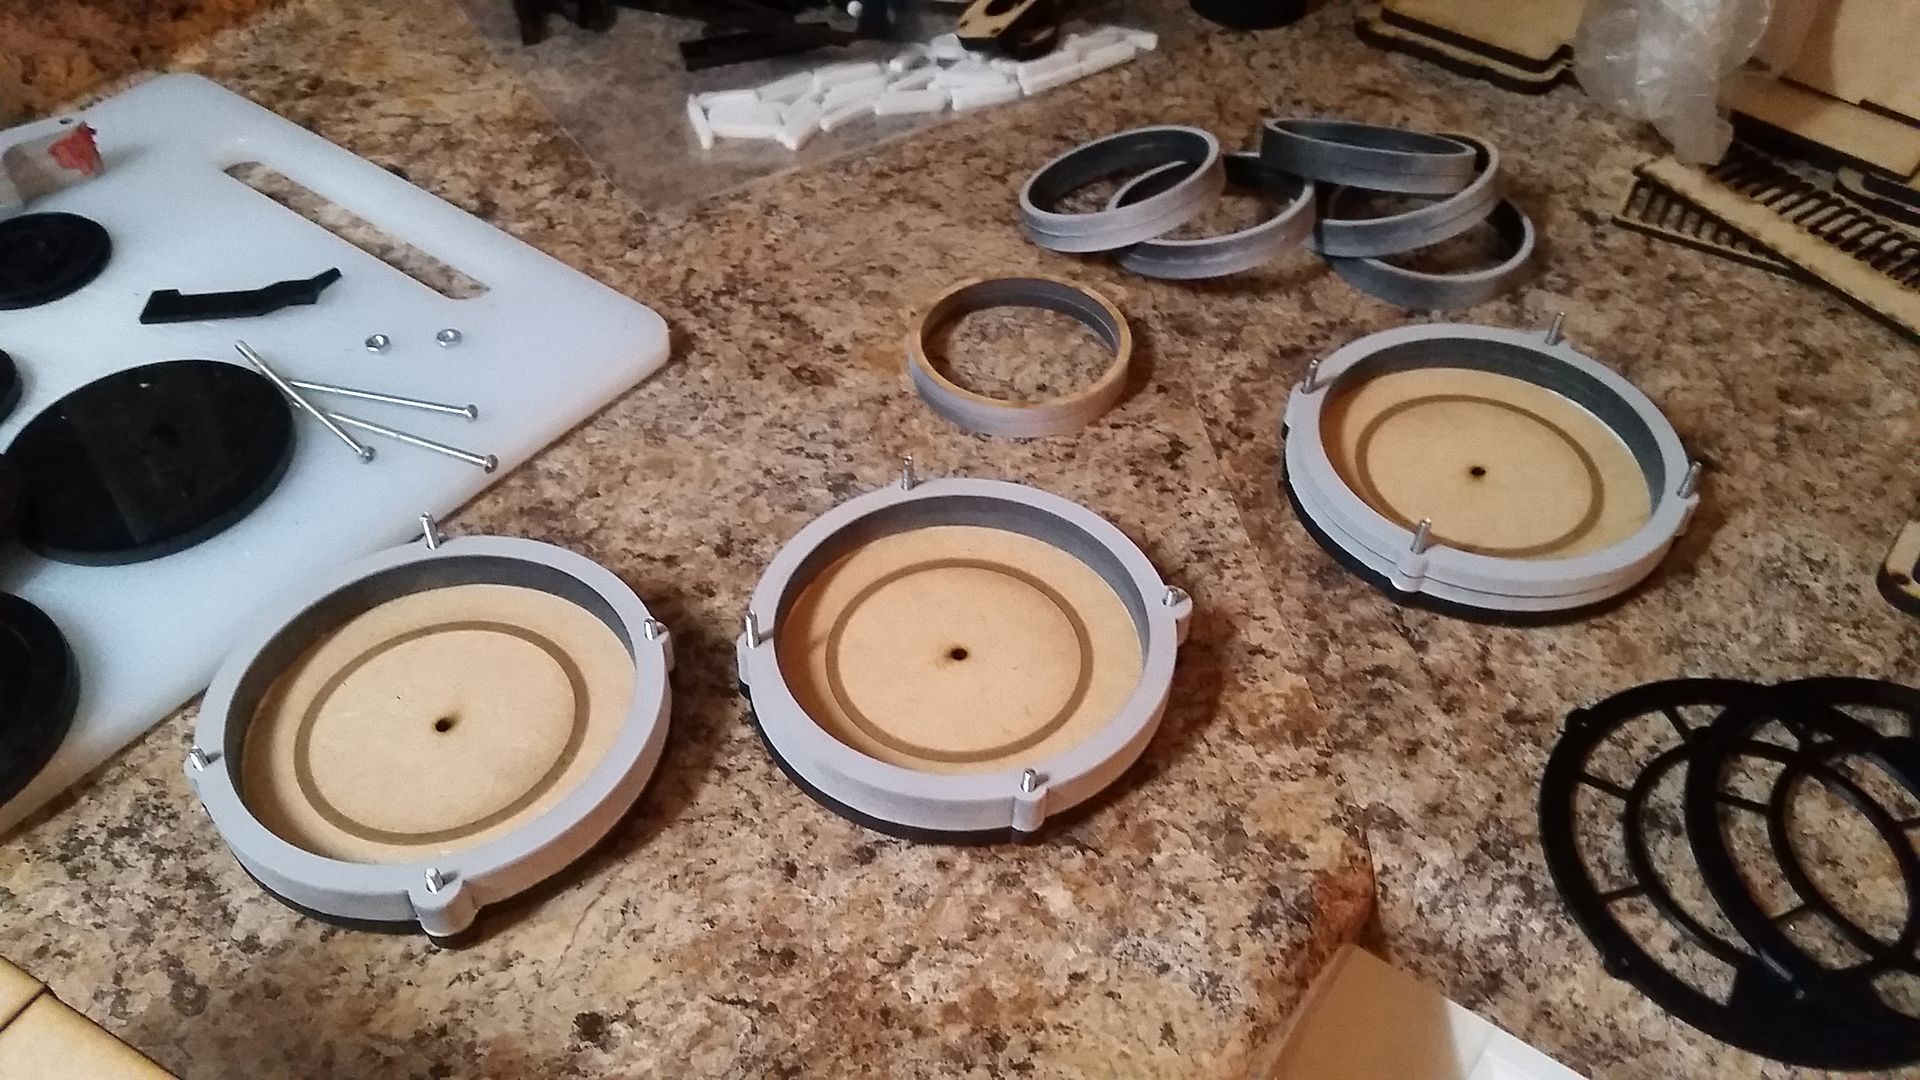
Now I gotta adhere all these pieces together
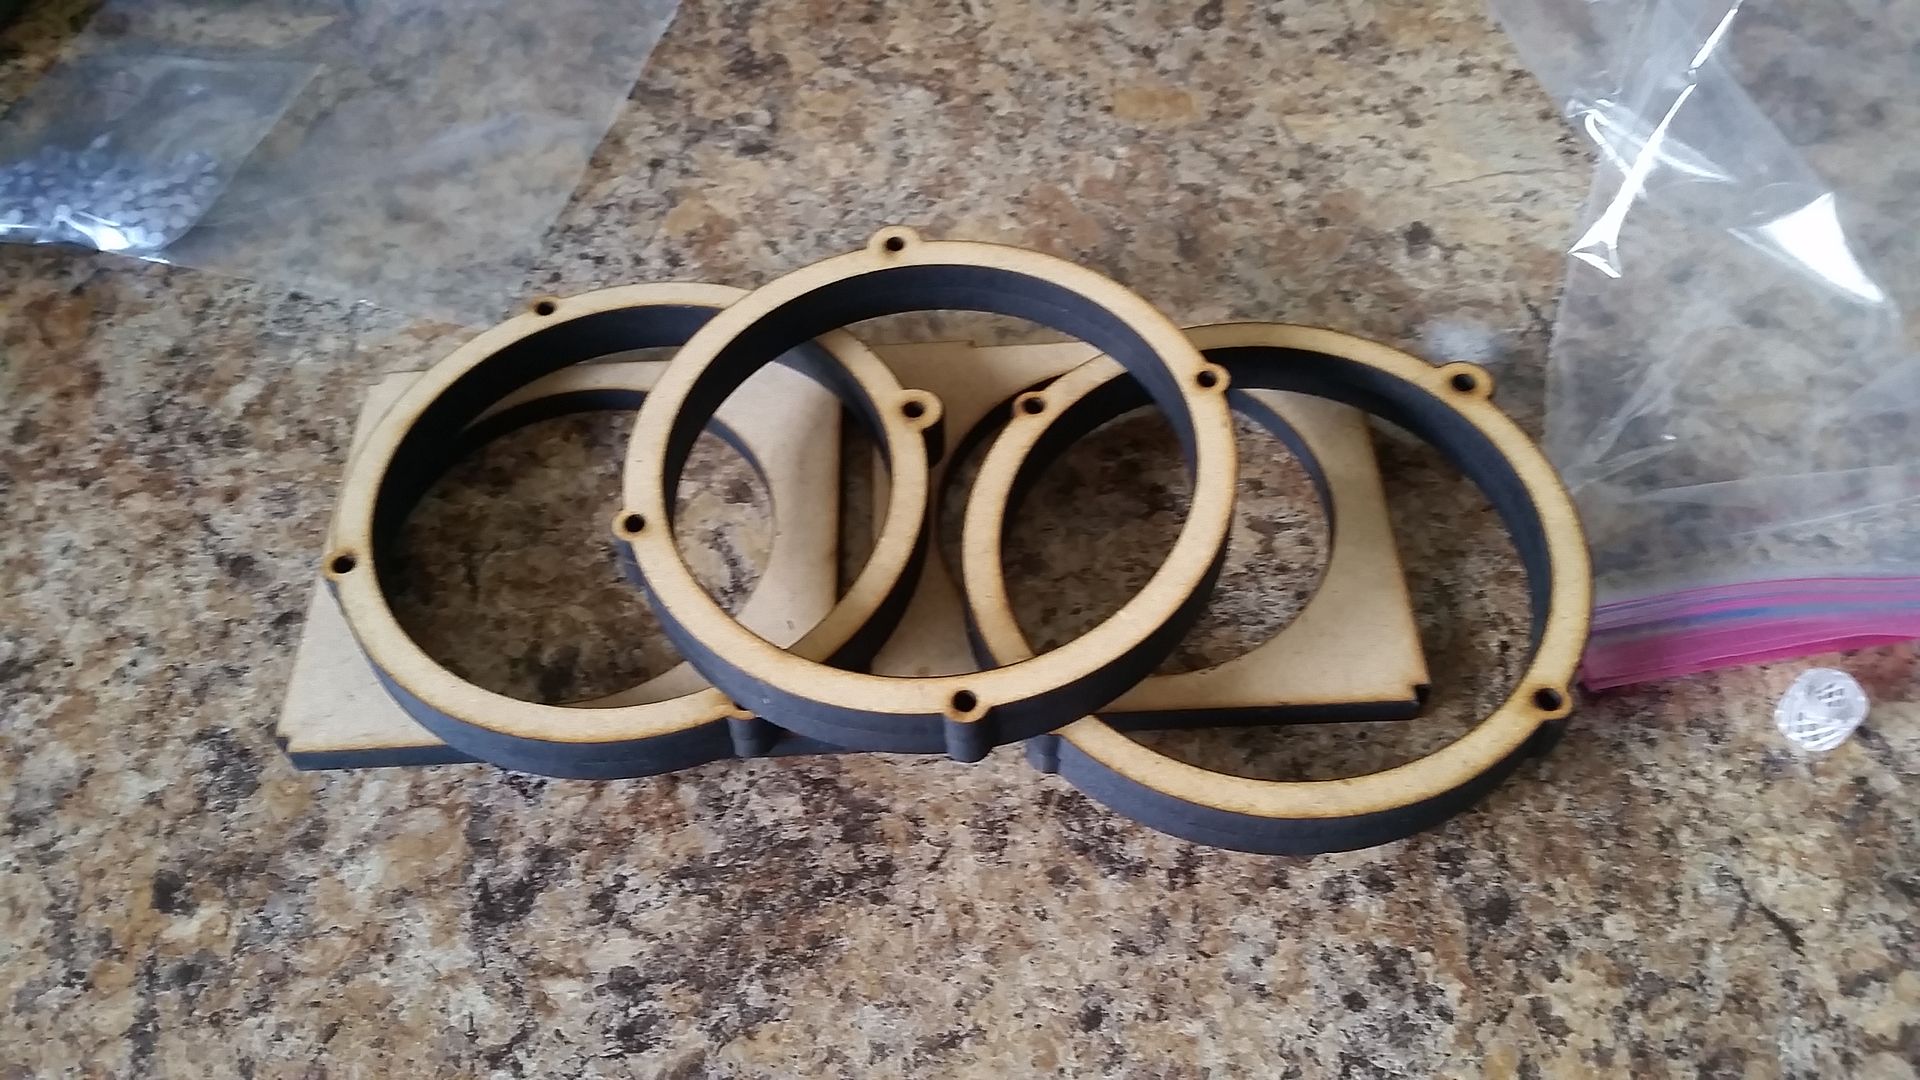
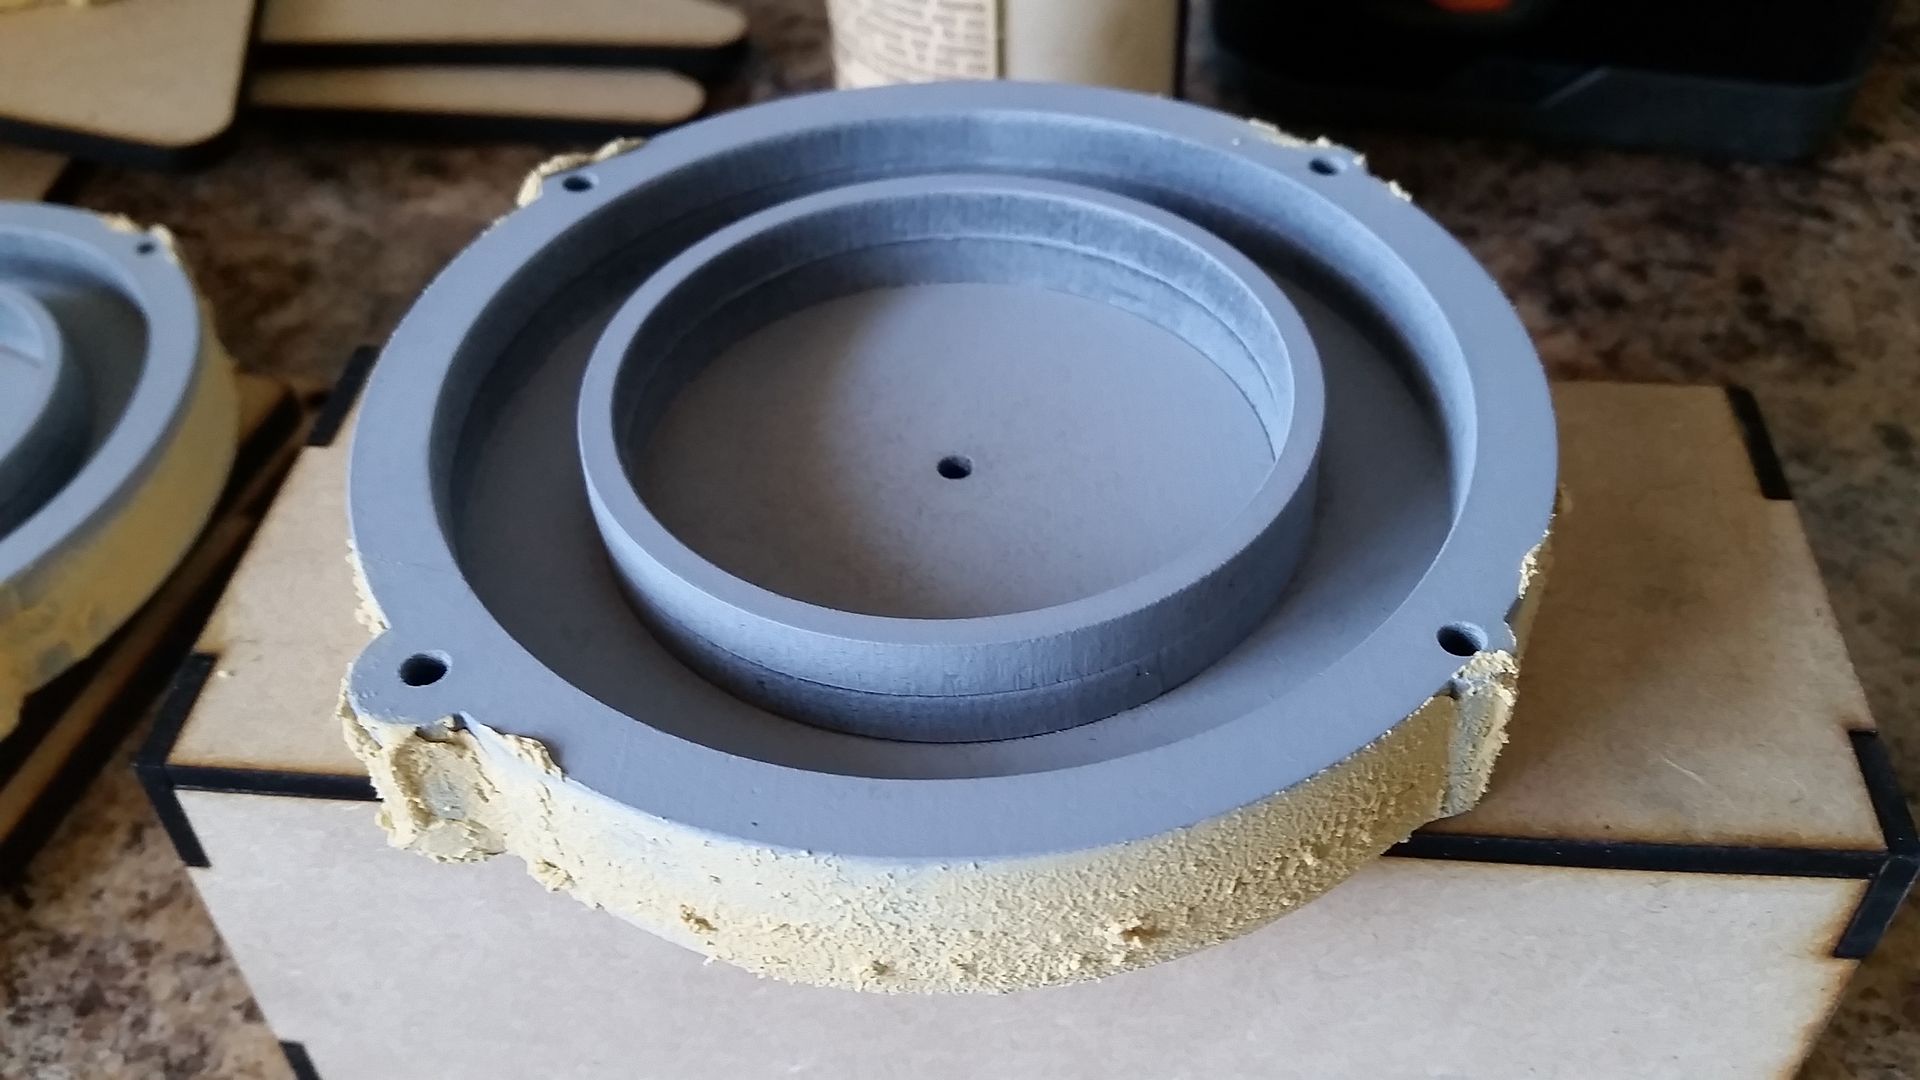
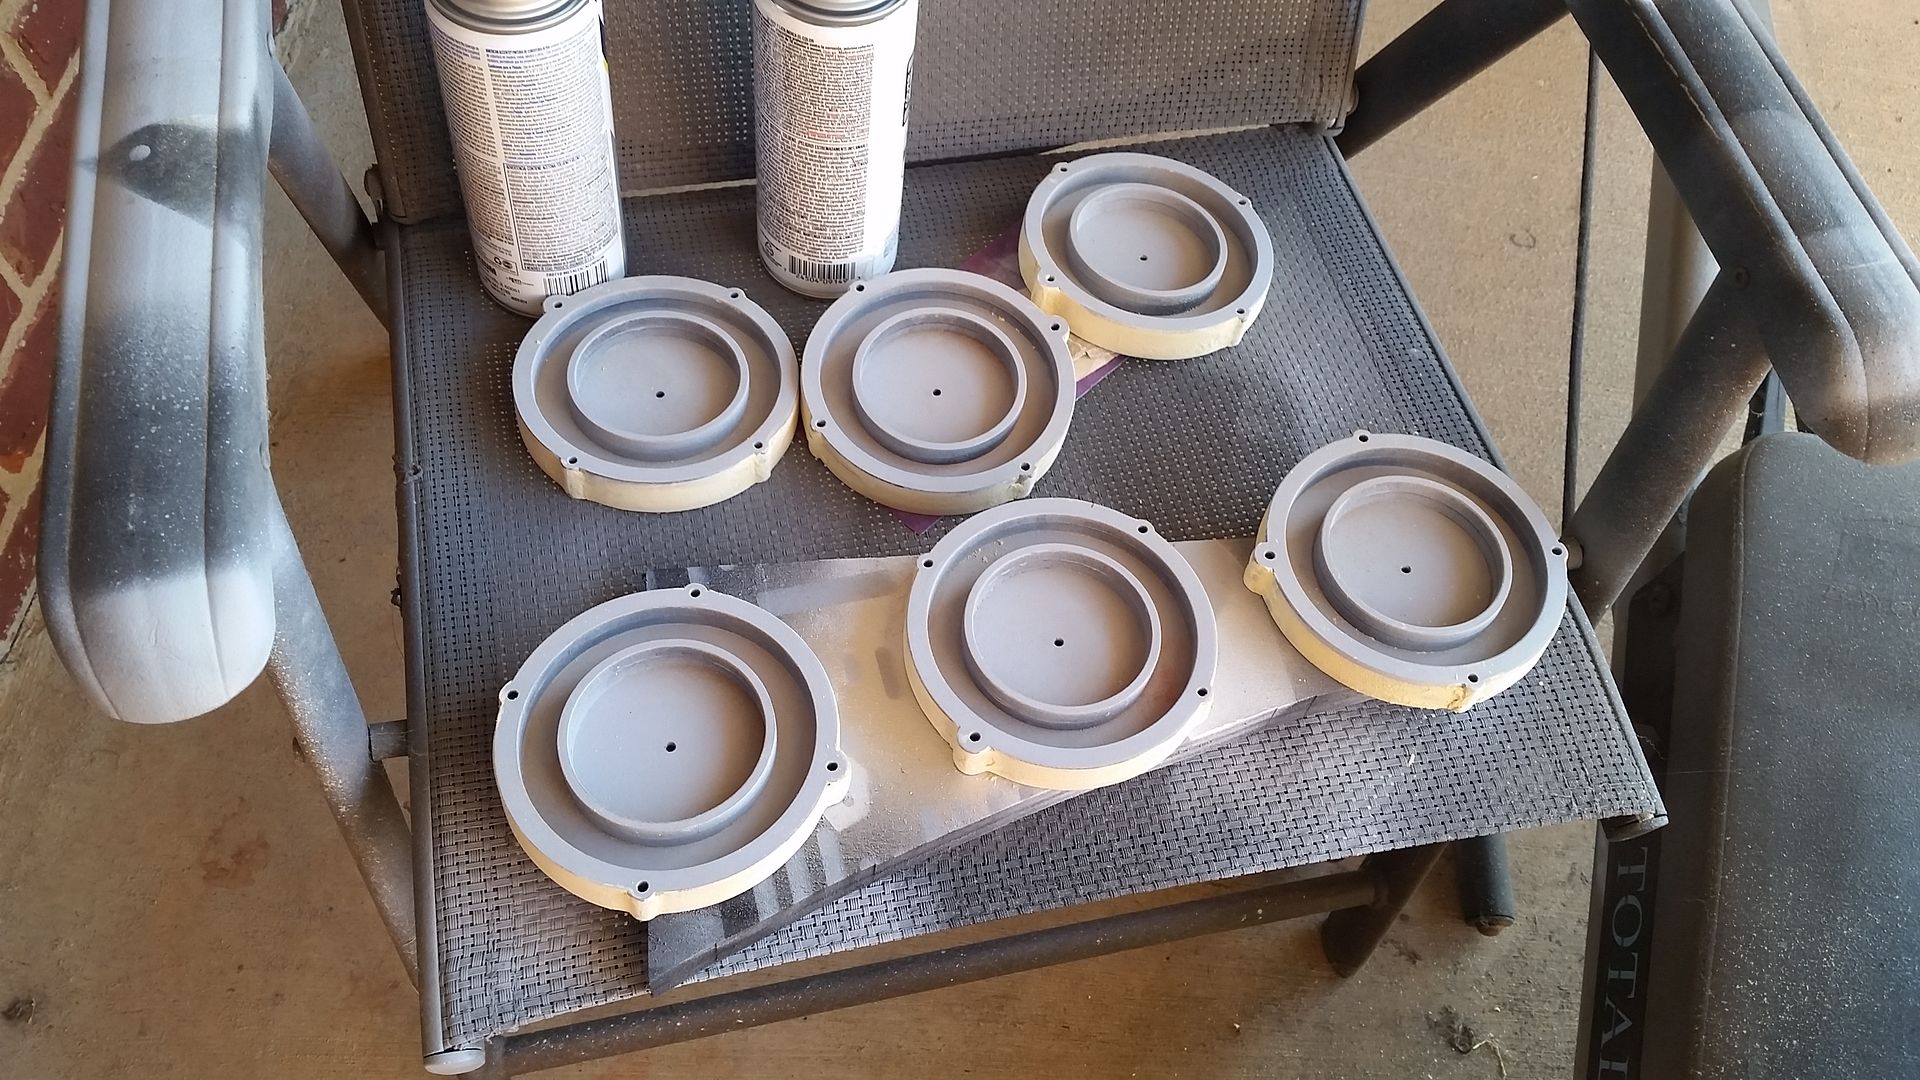
Inner rings
Adhered and primered and awaiting filler
Adhered to base
Adding filler and primer
Some BIG BIG BIG news to announce in the next few days! So as always... Stay Tuned! More to Follow!