Hi Gang,
Finally... the end of the long weekend and time for an update. Unfortunately, the heat and humidity came back with a fiery determination to keep fall / winter away so I had to cut the day short. The humidity was overwhelming! But enough about that!
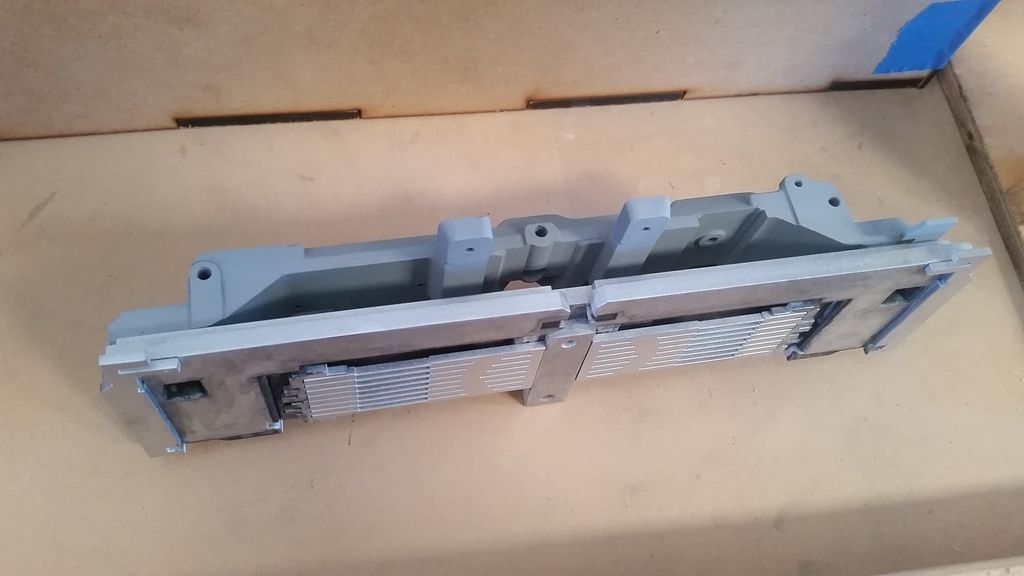
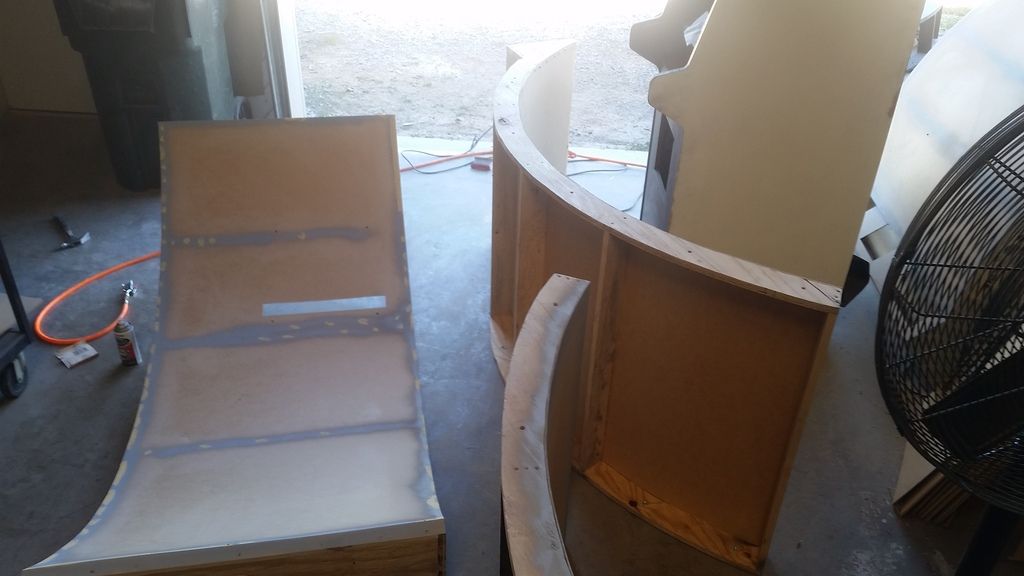
With the laser cutter still down, ugh, it forced me to change gears and knock out all the little annoyances that have been in my rear view for quite some time. I also made few mod's to the main frame... Away we go!
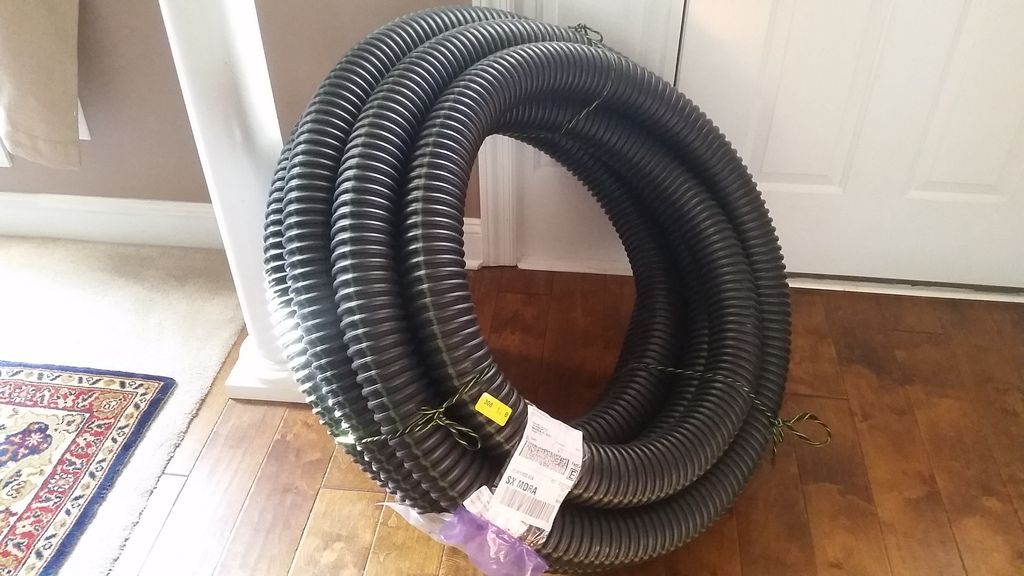
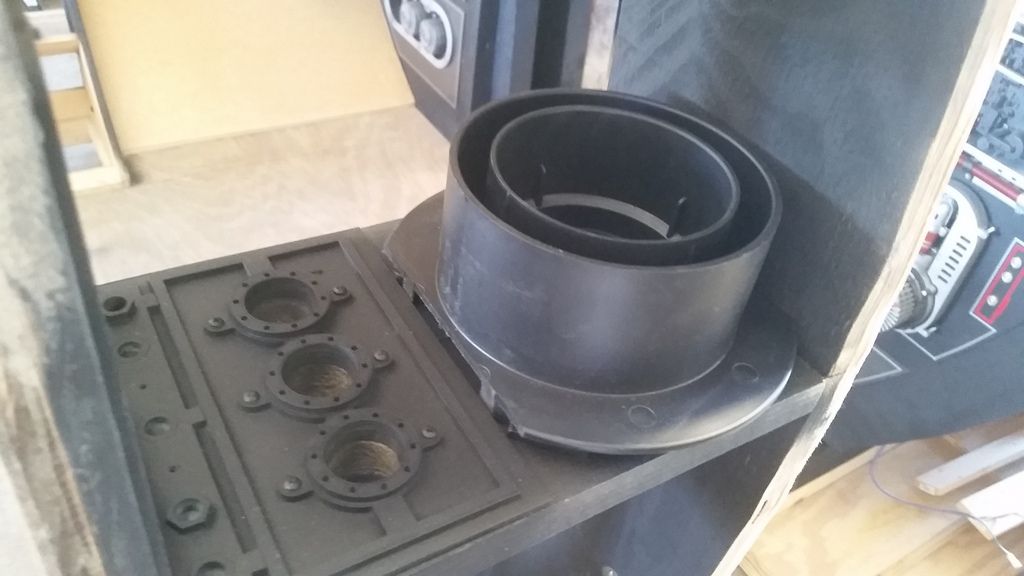
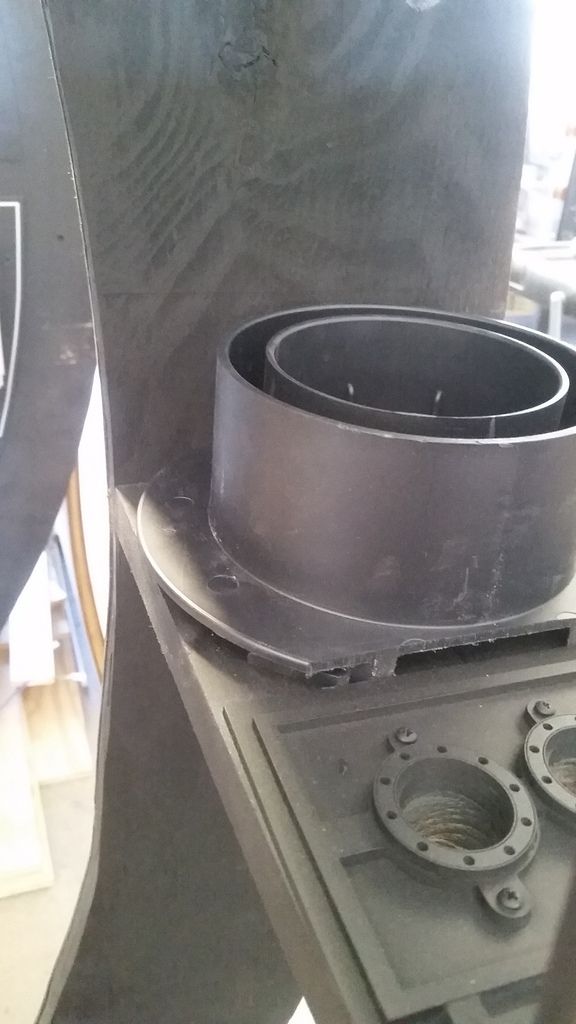
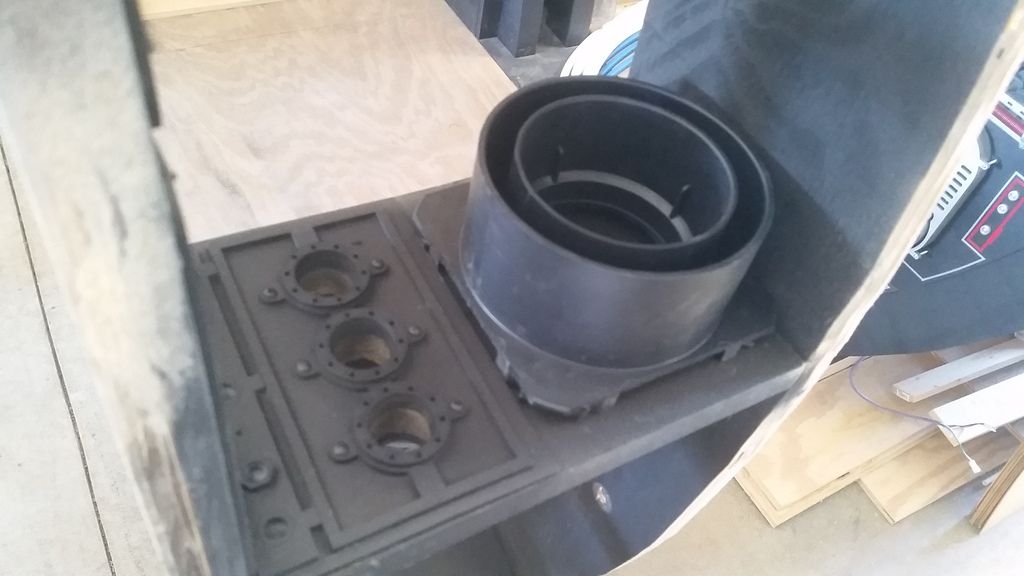
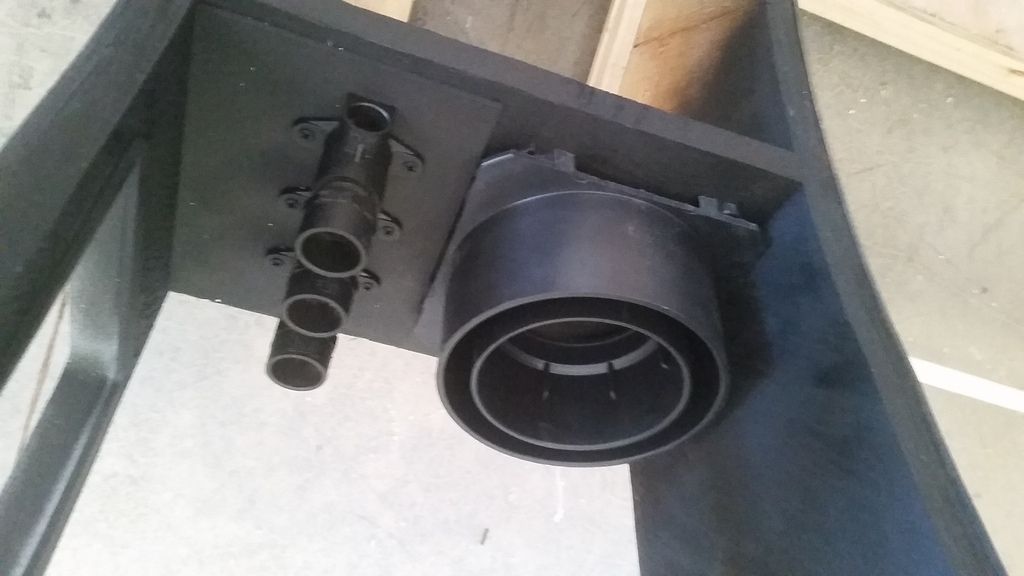
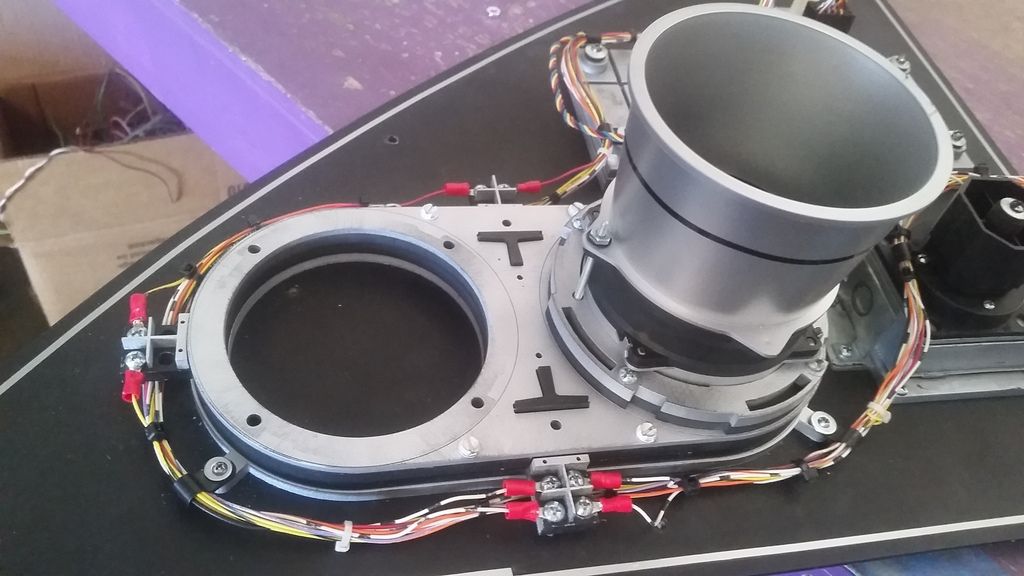
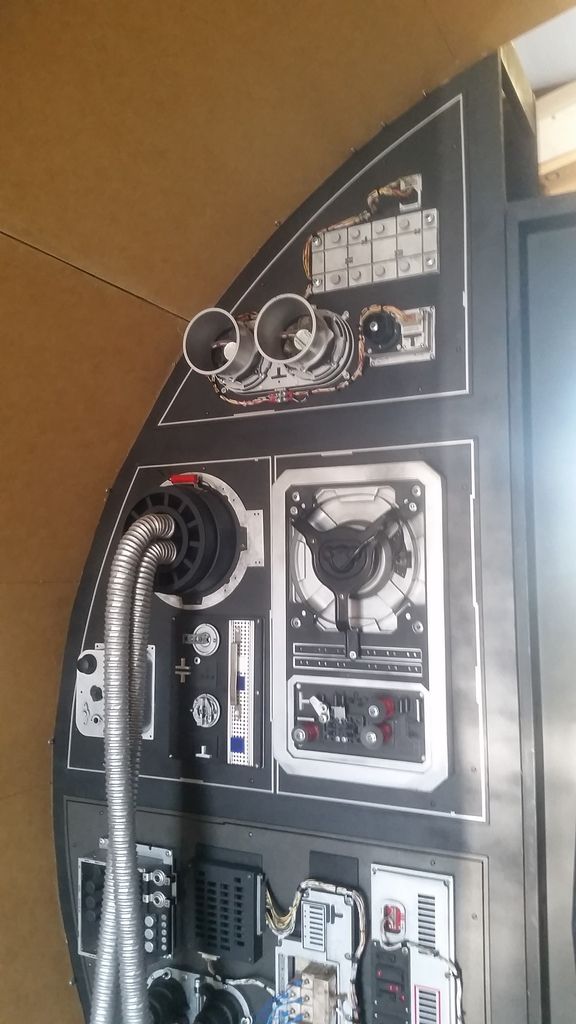
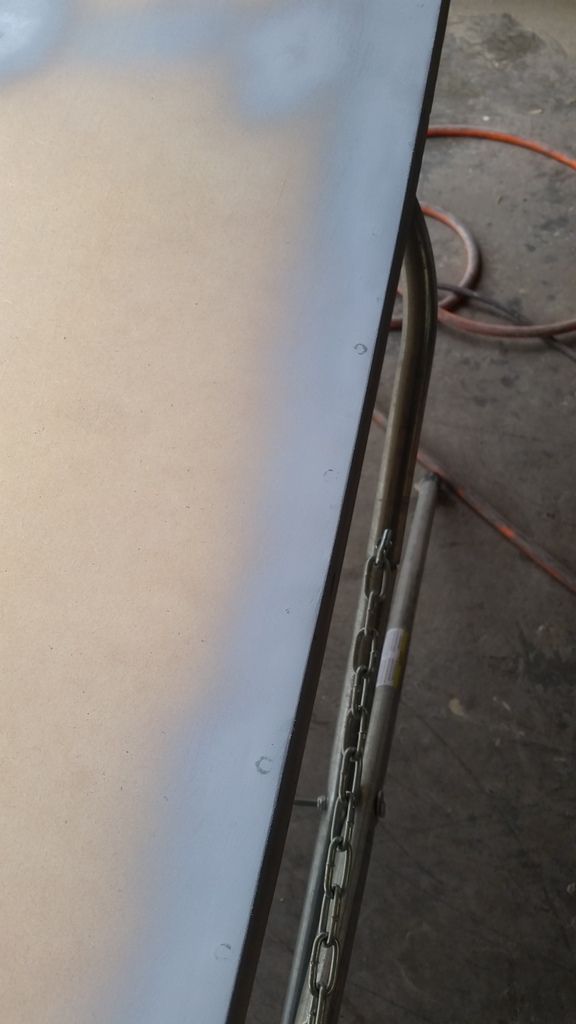
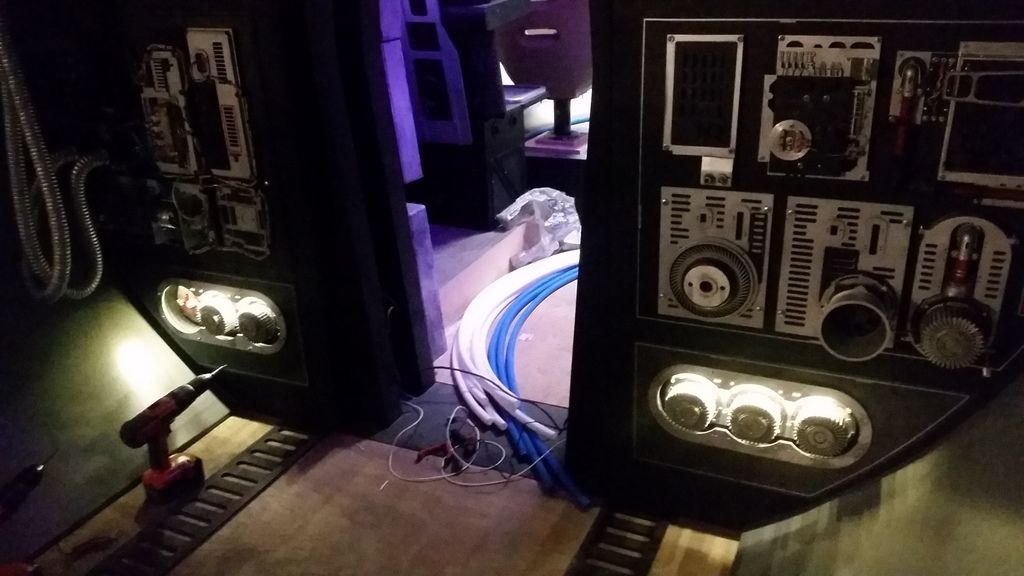
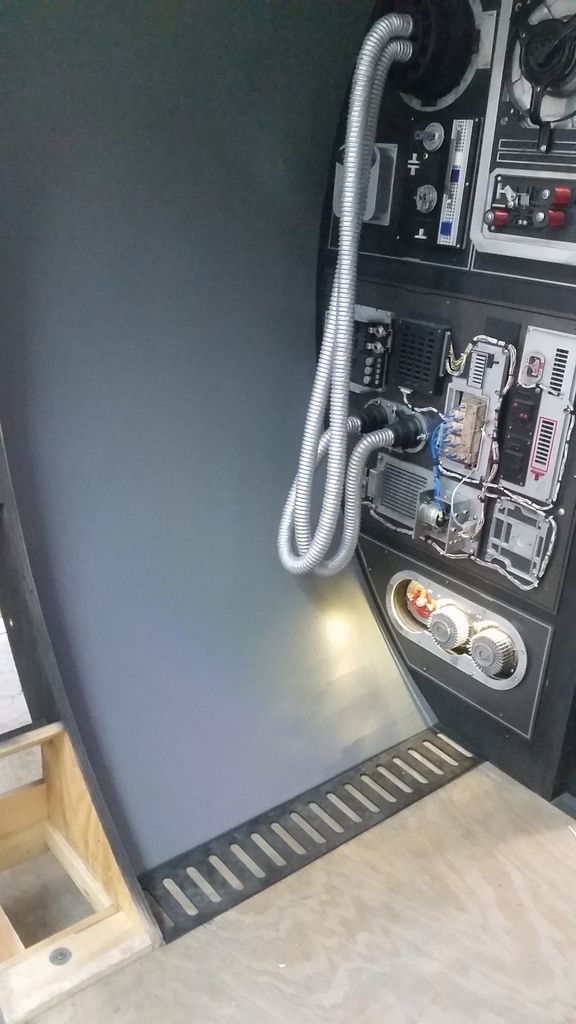
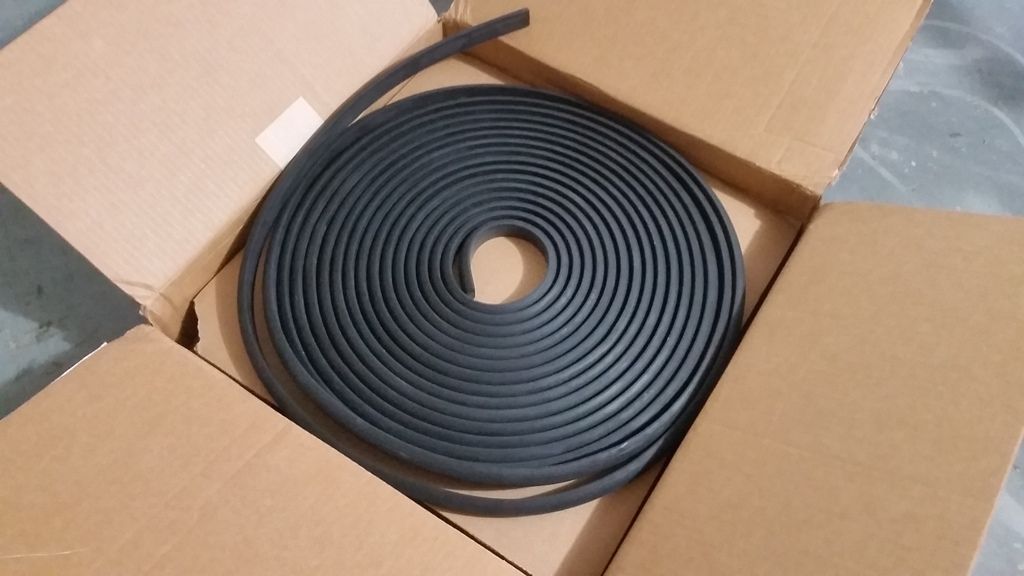
Let's start with new greeblies and misc items! I picked up a 3" corrugated pipe to insert into the corridor ring
Along with the pipe I picked up a few connectors as well
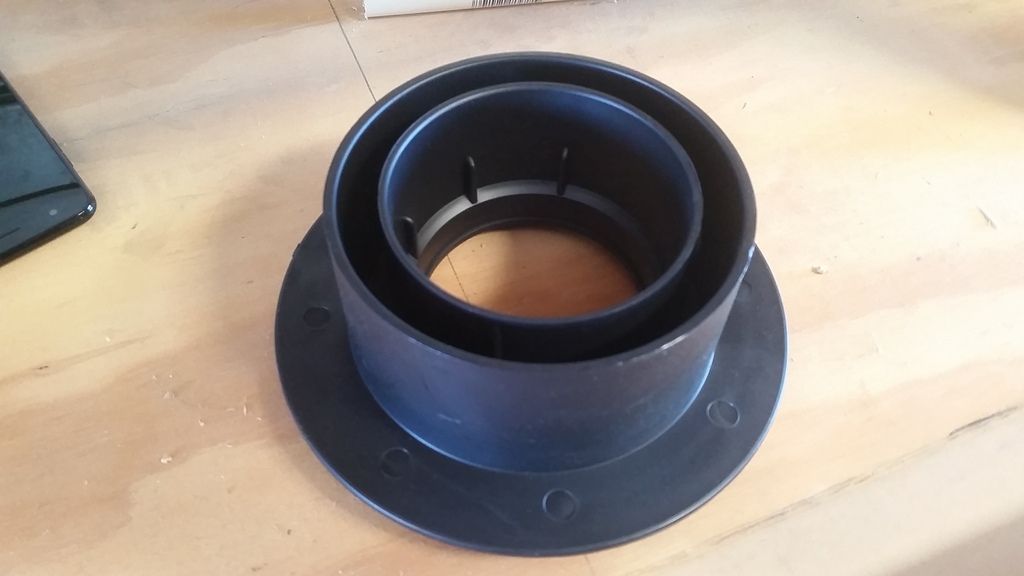
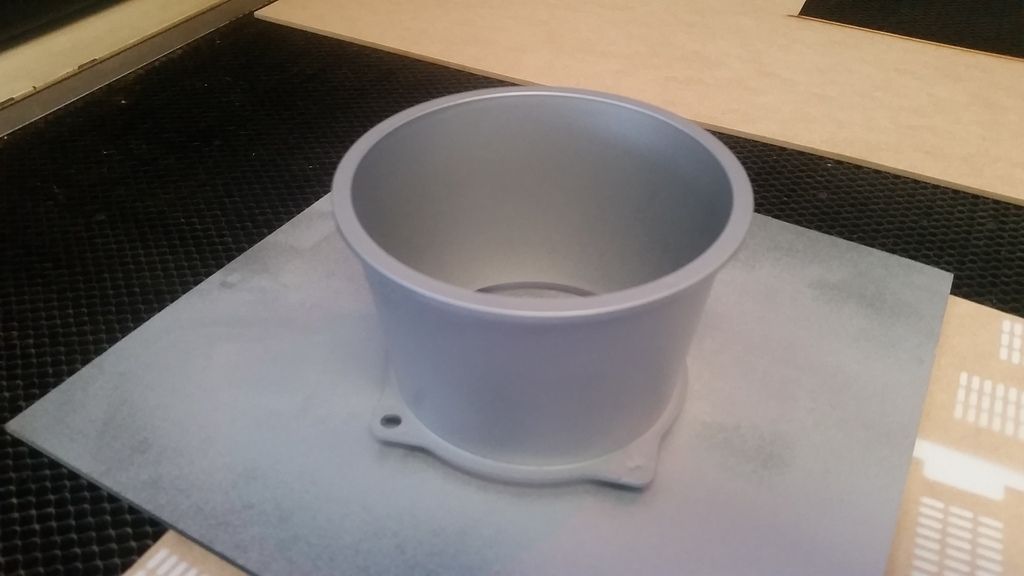
They will screw into place and help keep the pipe in place - whoops that's a bit too big
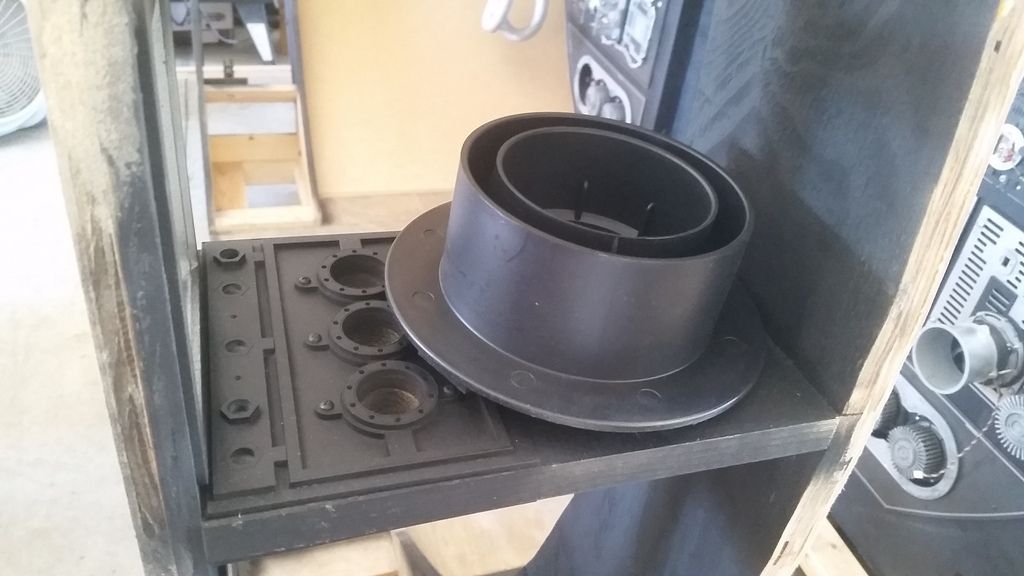
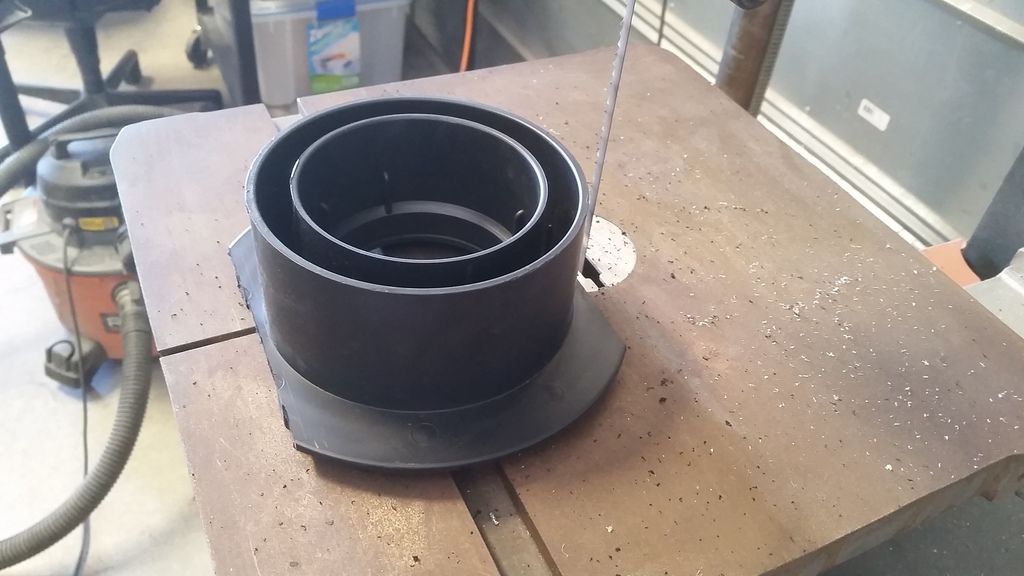
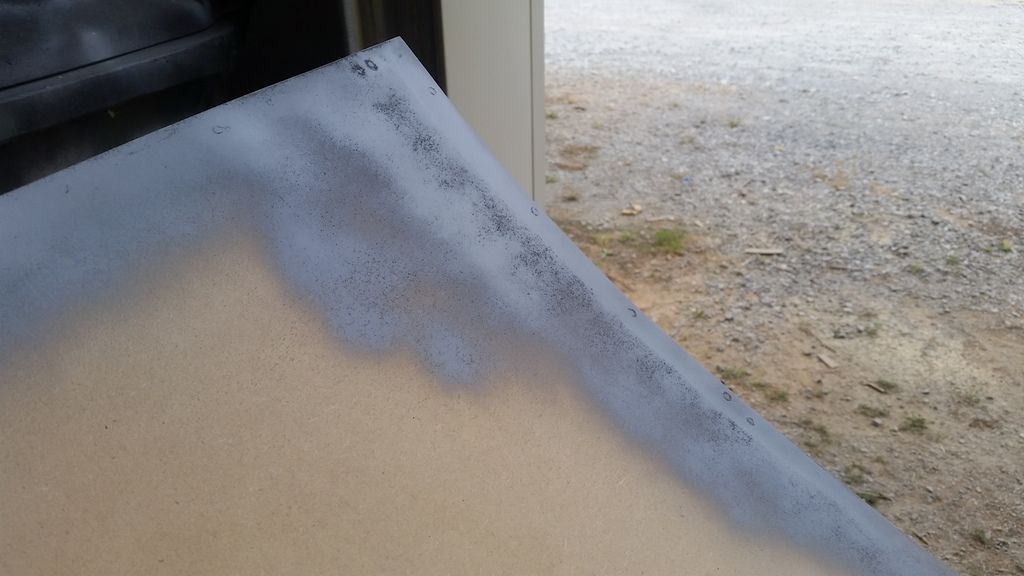
I made some measurements (this is when I wish the laser cutter was working) and cut the sides down
Still too big
I have a few extras for this exact reason! When the laser cutter works I'll design a cut and hole guide so each is close to perfect
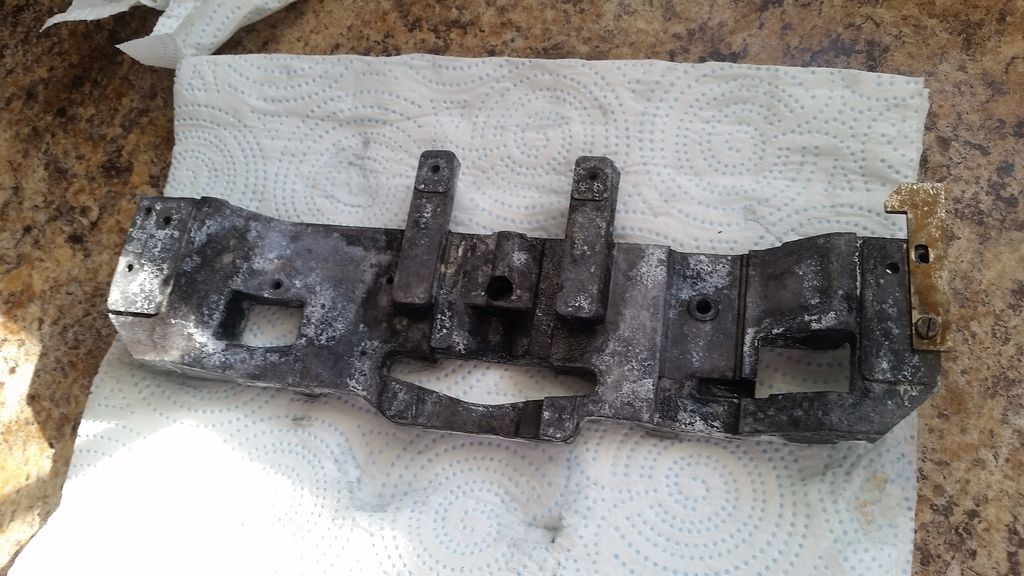
I'm always searching the net for greeblies. This old typewriter part jumped out at me because of its familiar shape
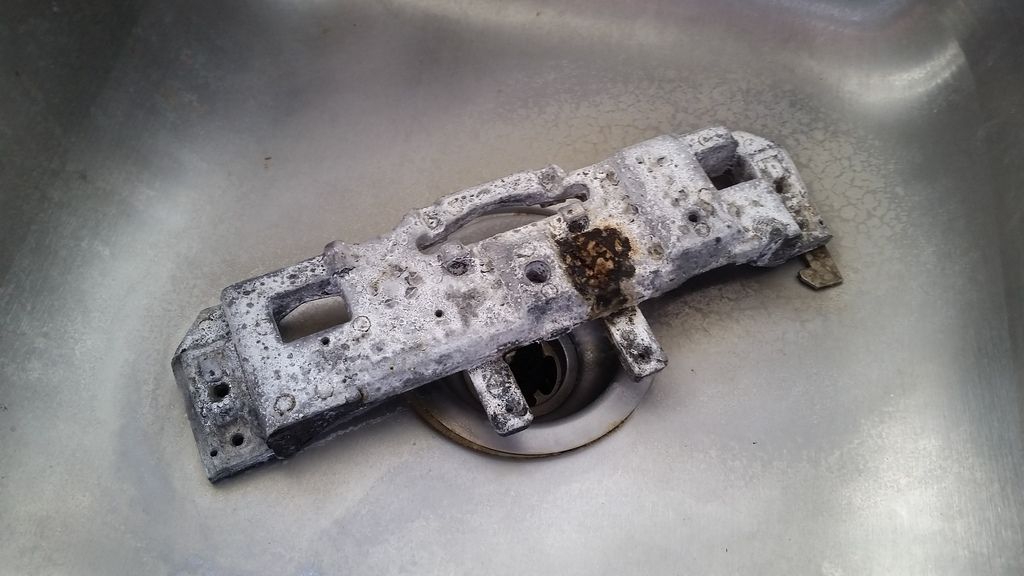
Sprayed some oven cleaner to remove all the grease
Cleaned up the greeblie
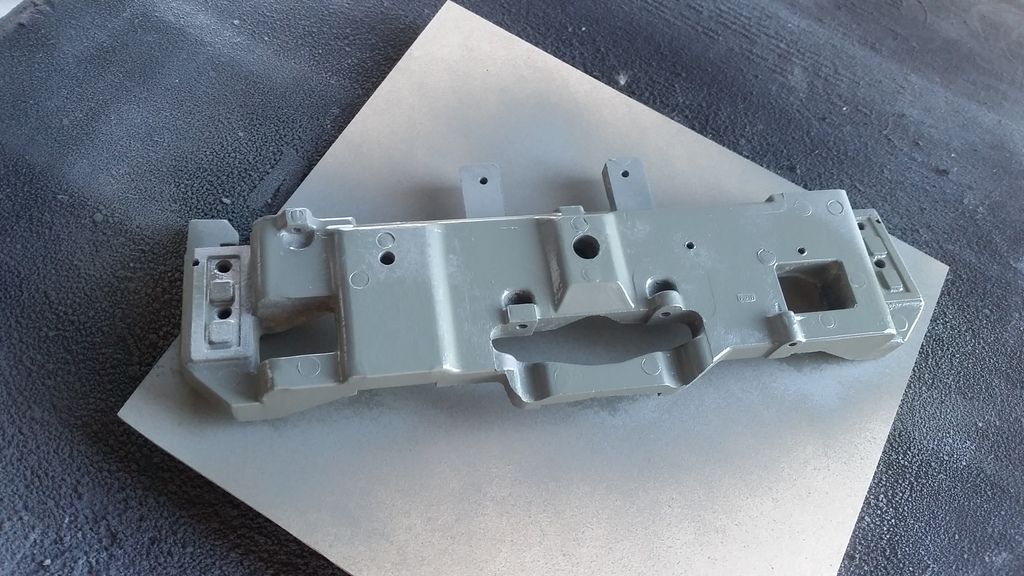
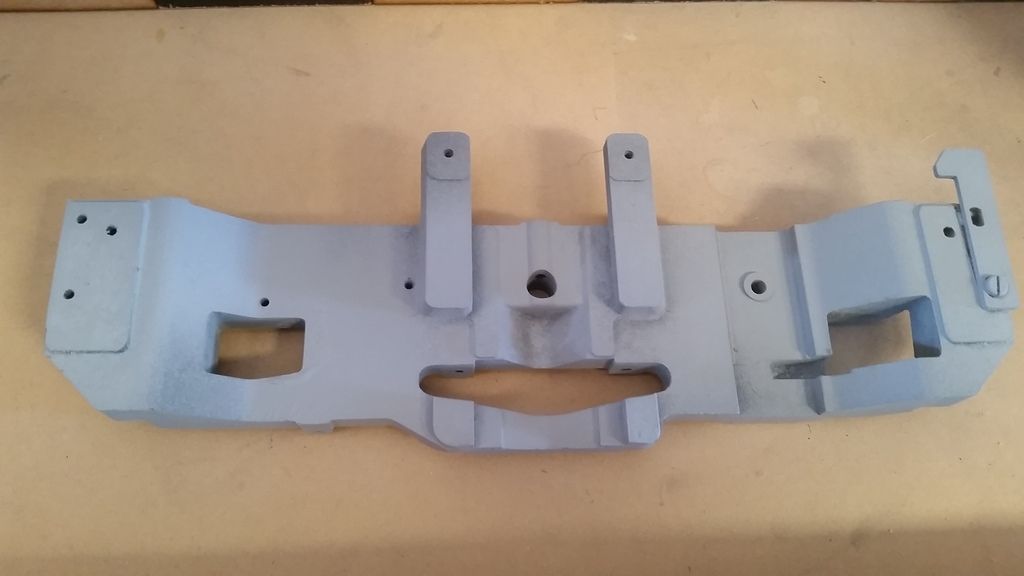
Primer
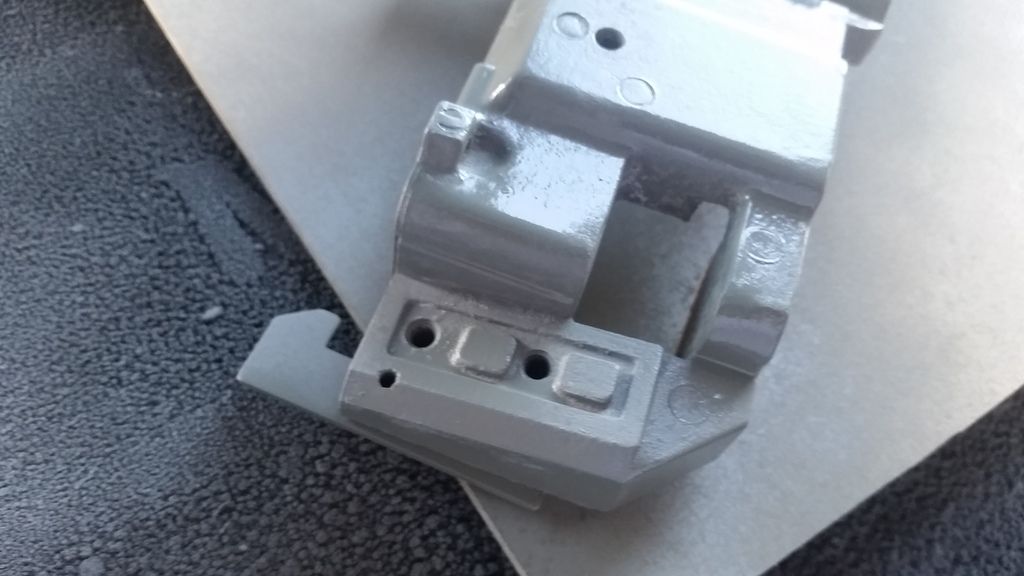
Again... this typewriter part looks VERY familiar
Those who have been following the build and know the cockpit, knows this piece sits behind the nav chair on Han's side
Here are the two pieces for comparo
VERY similar
Even the length is close! I'm going to dig some more and see if I can find THE part!
")
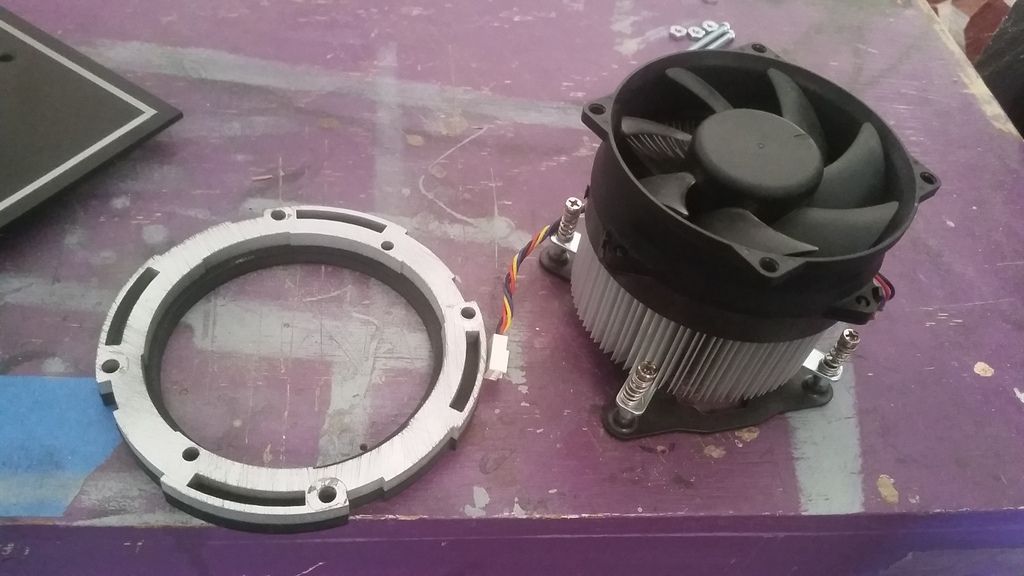
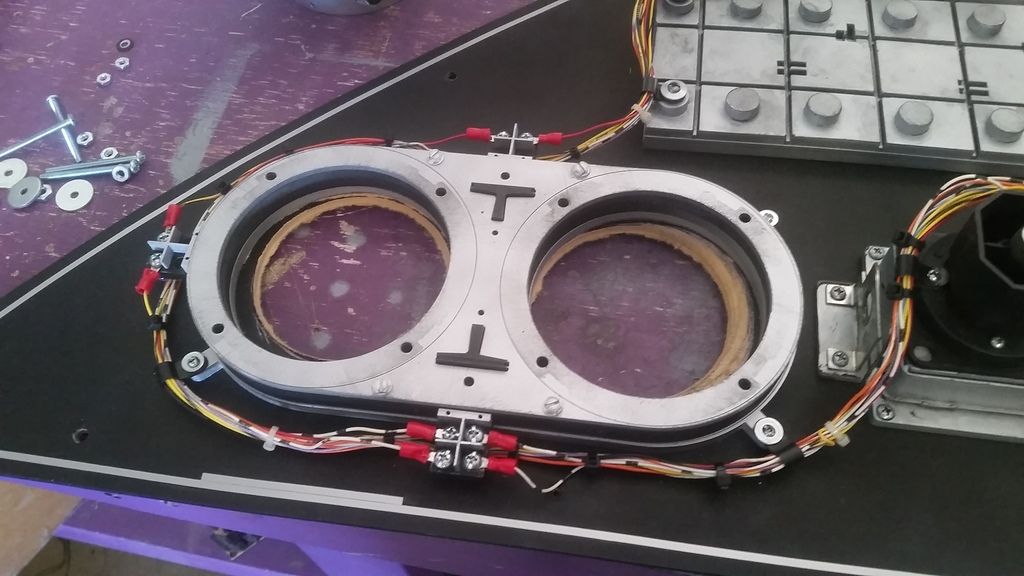
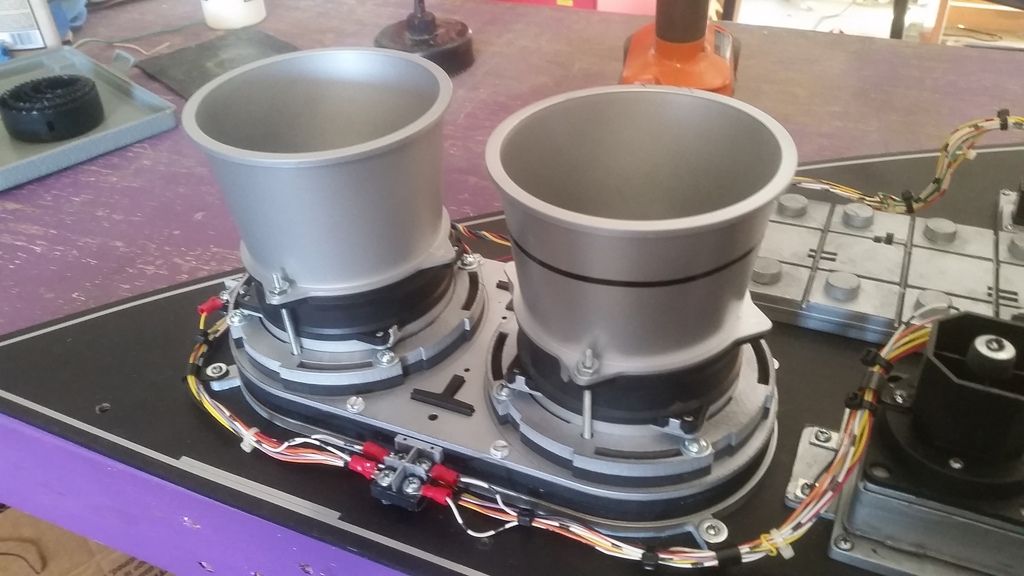
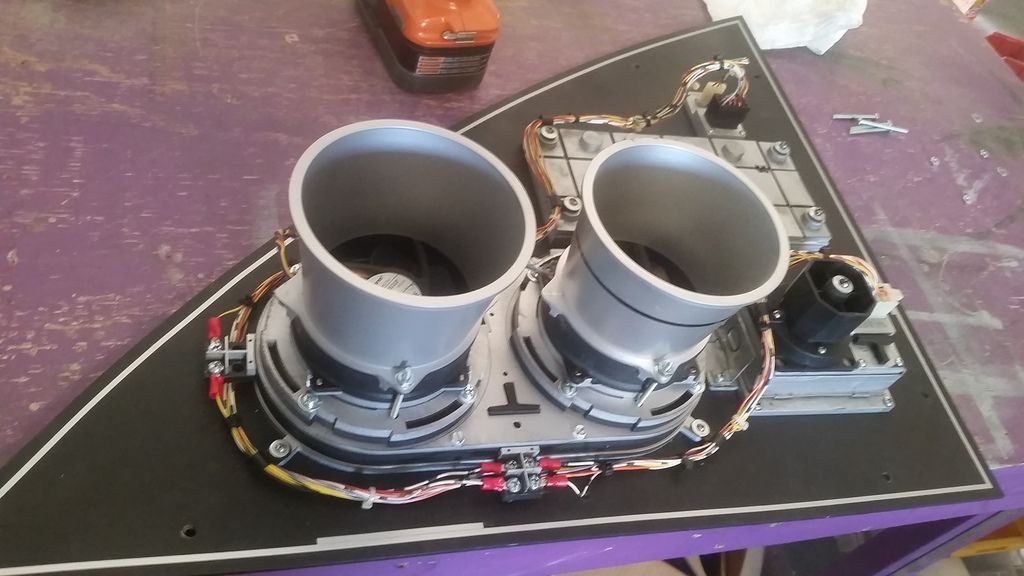
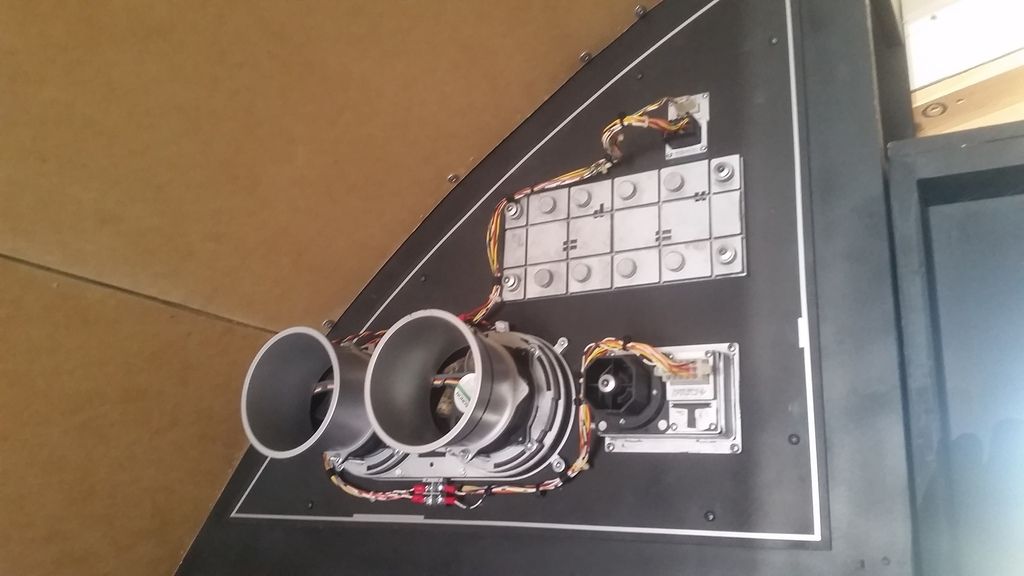
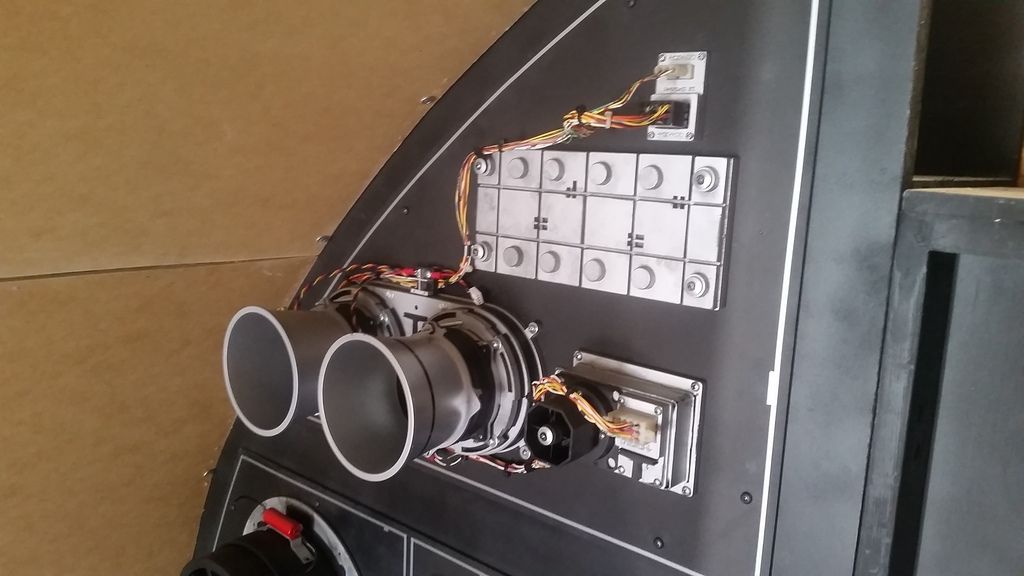
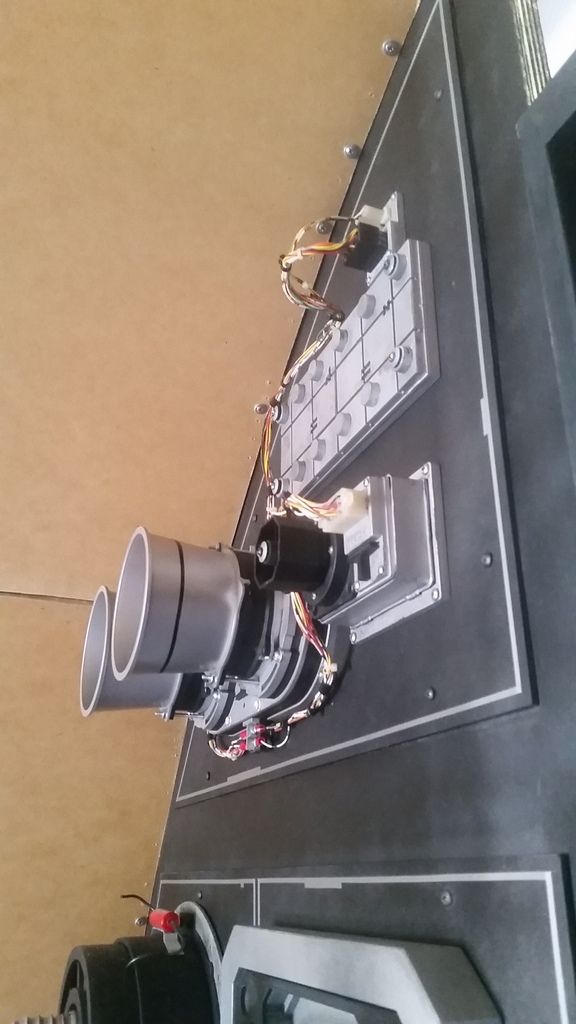
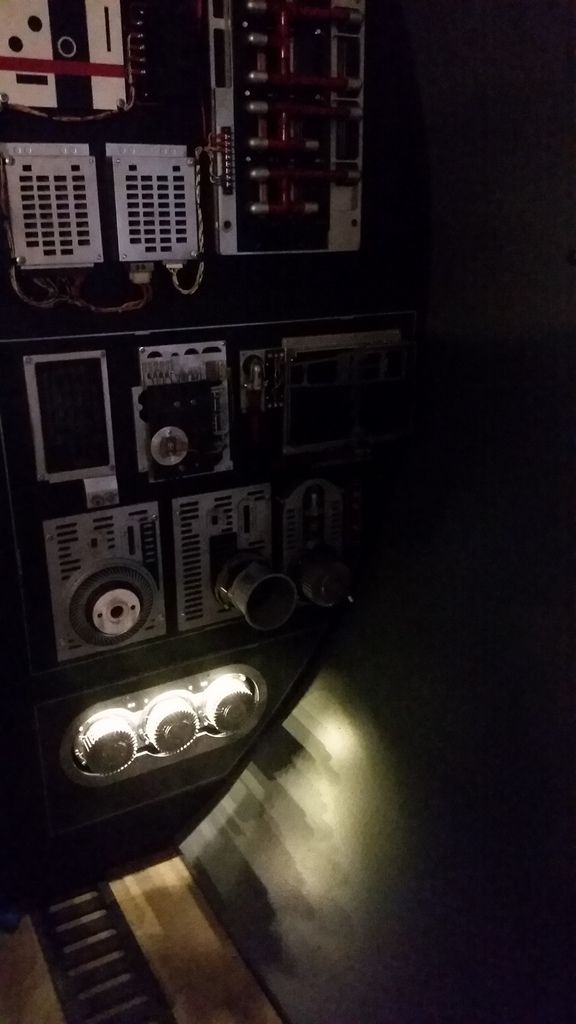
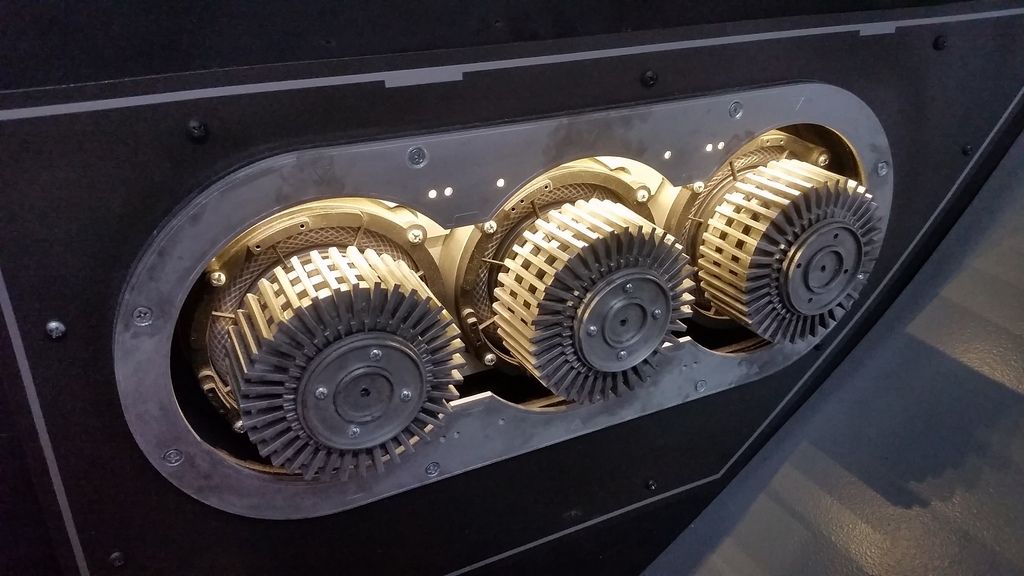
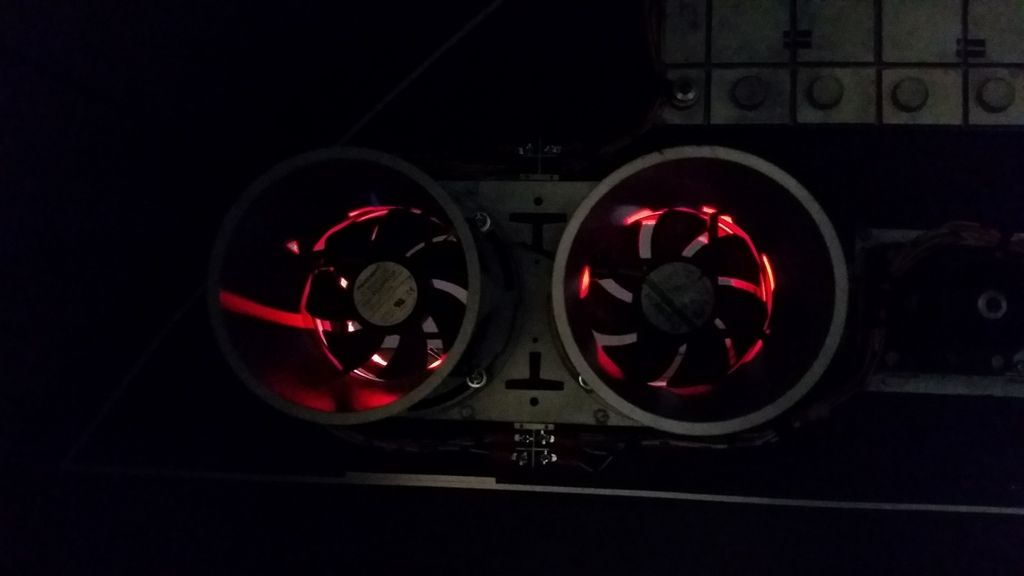
Another greeblie that arrived was the final CPU cooling fan with cone!
Time to finally fill this blank spot
Painted the cone
Cut the holes
Installed!
Still have to add more pinstripes and other little cone details
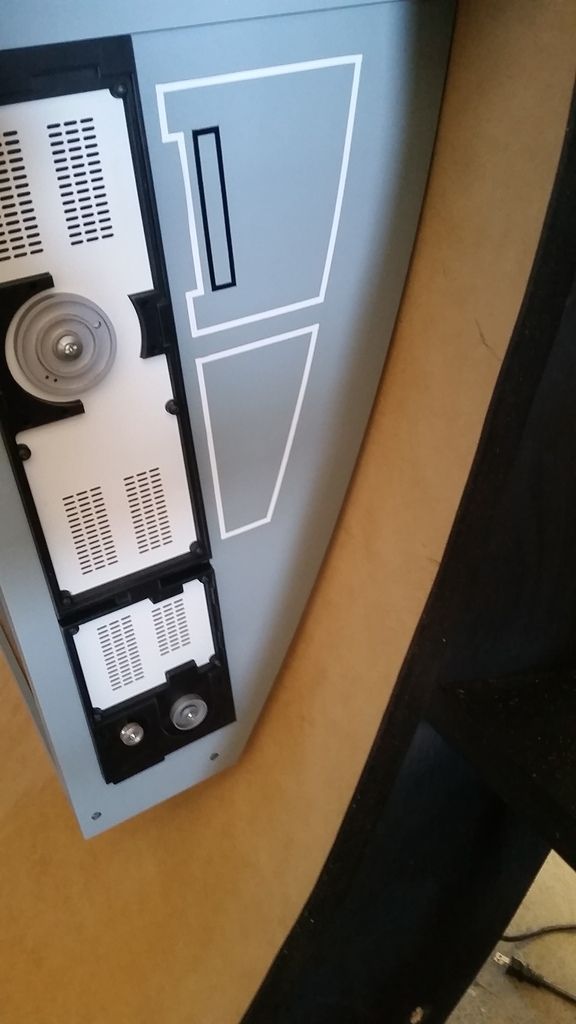
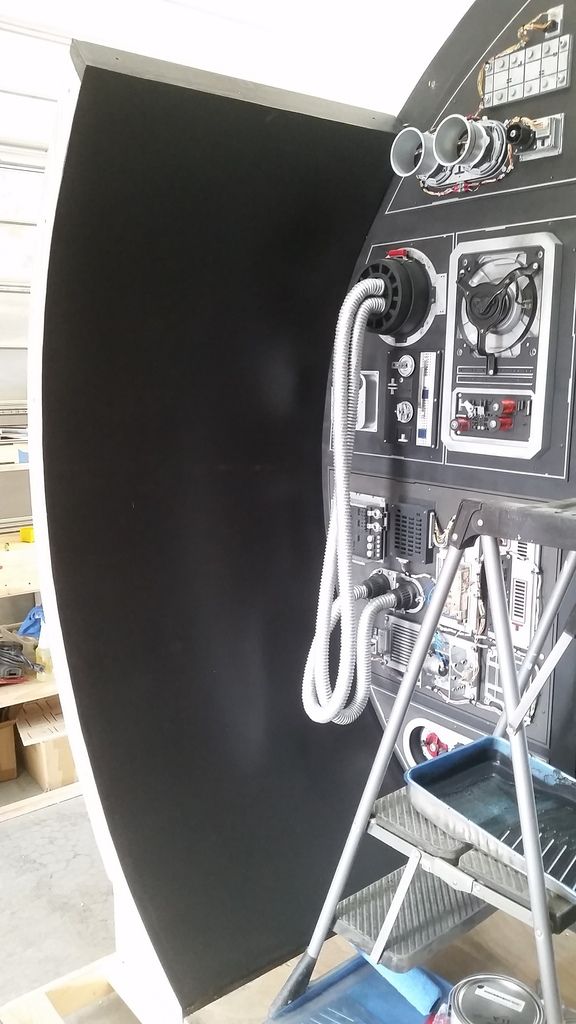
I finished wiring this area
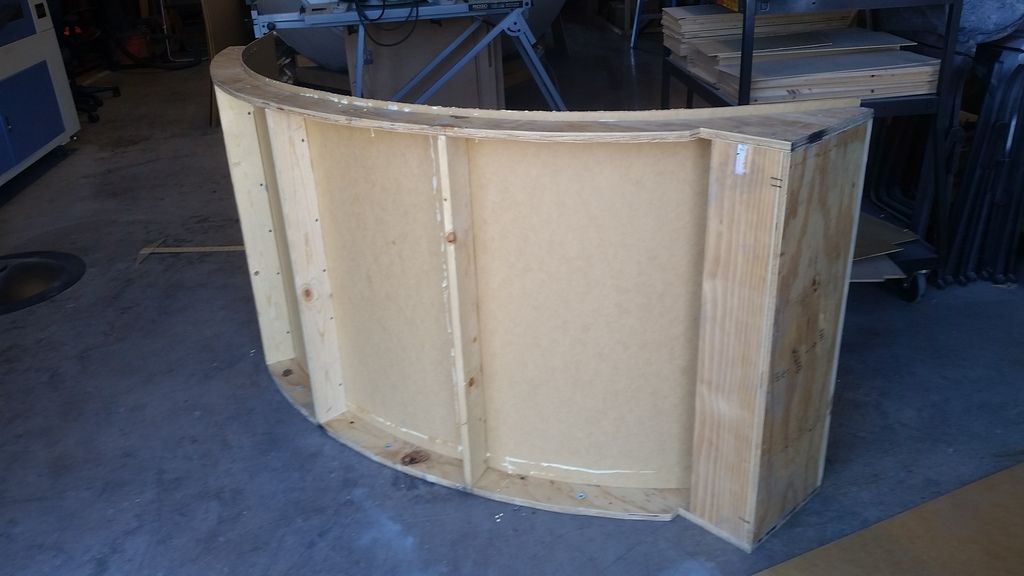
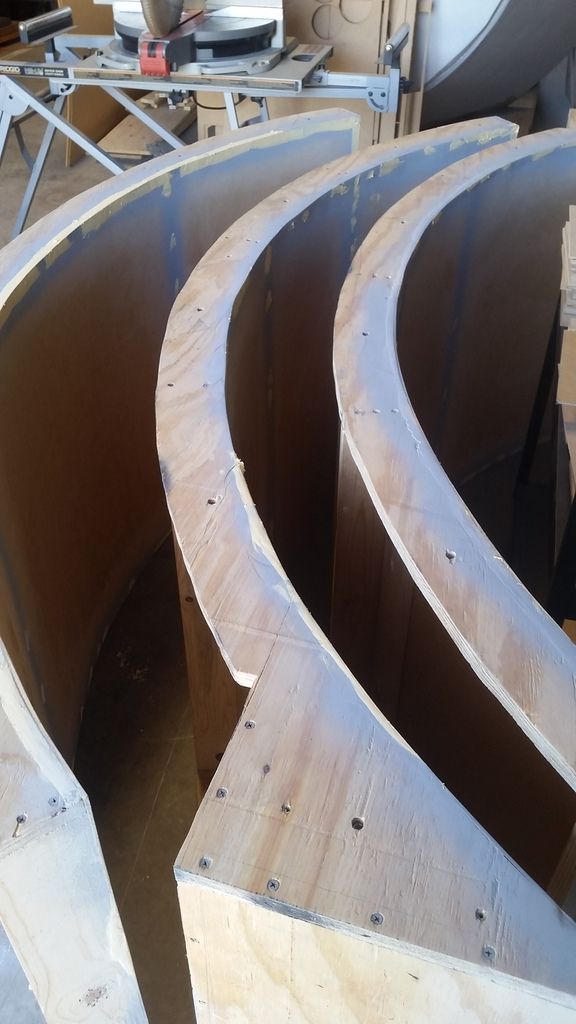
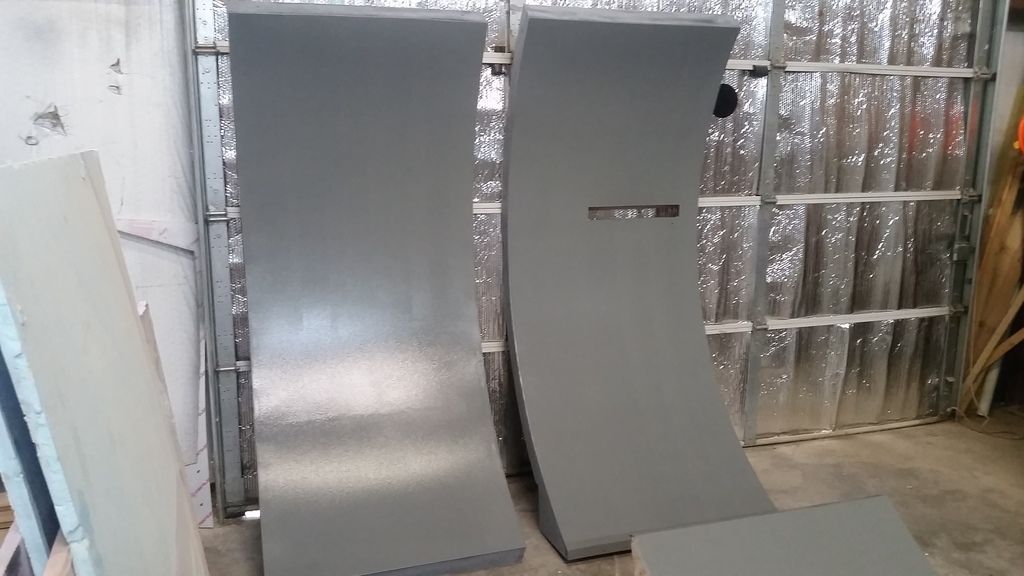
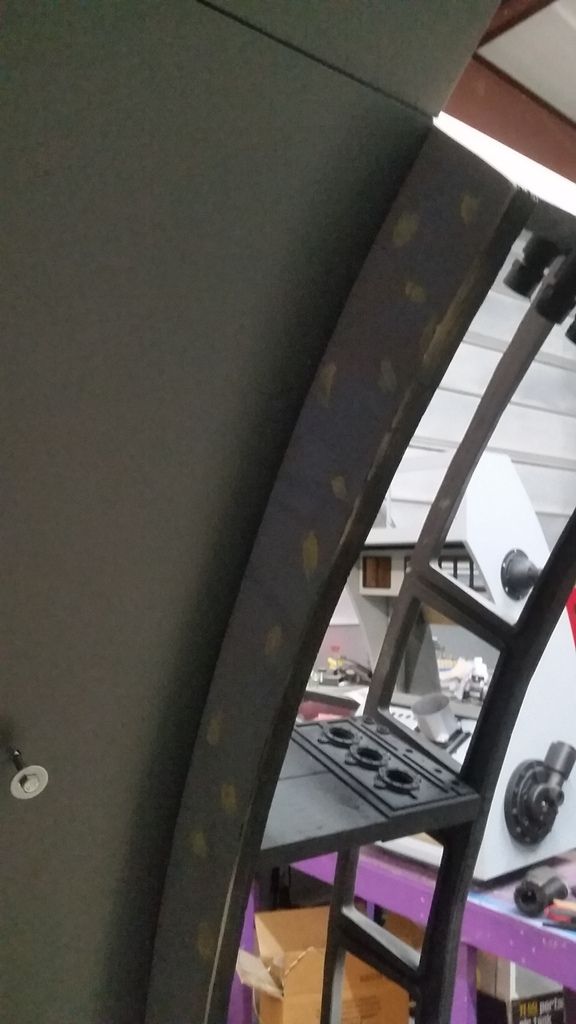
I then removed all the corridor panels
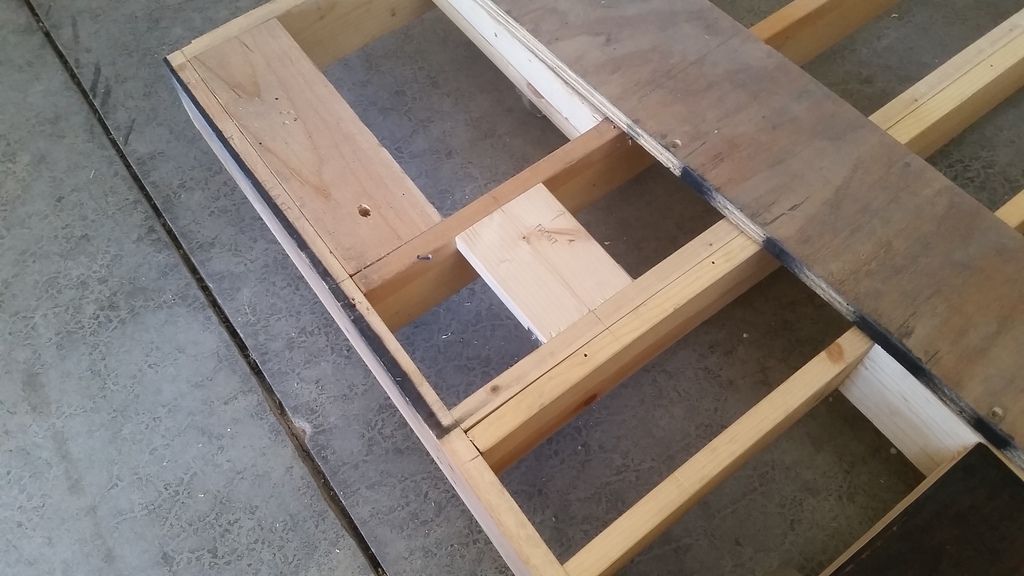
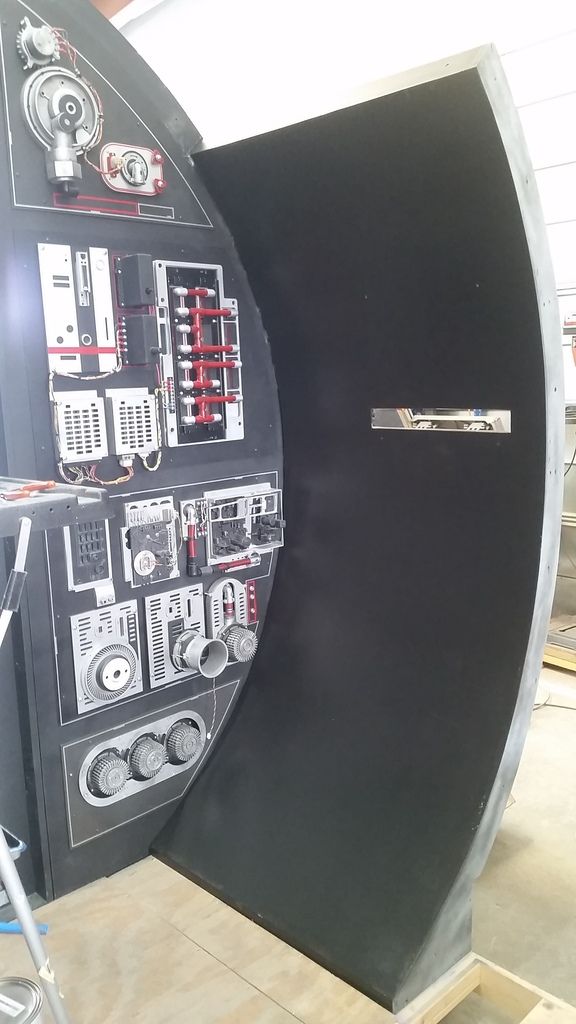
This section of the corridor panel needed some work before I could add the skin
Much better!
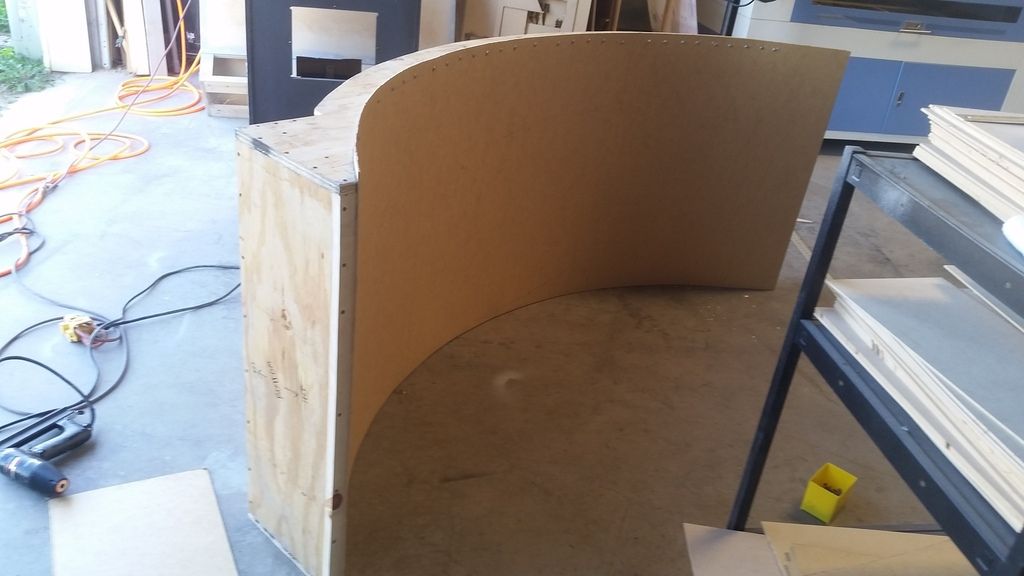
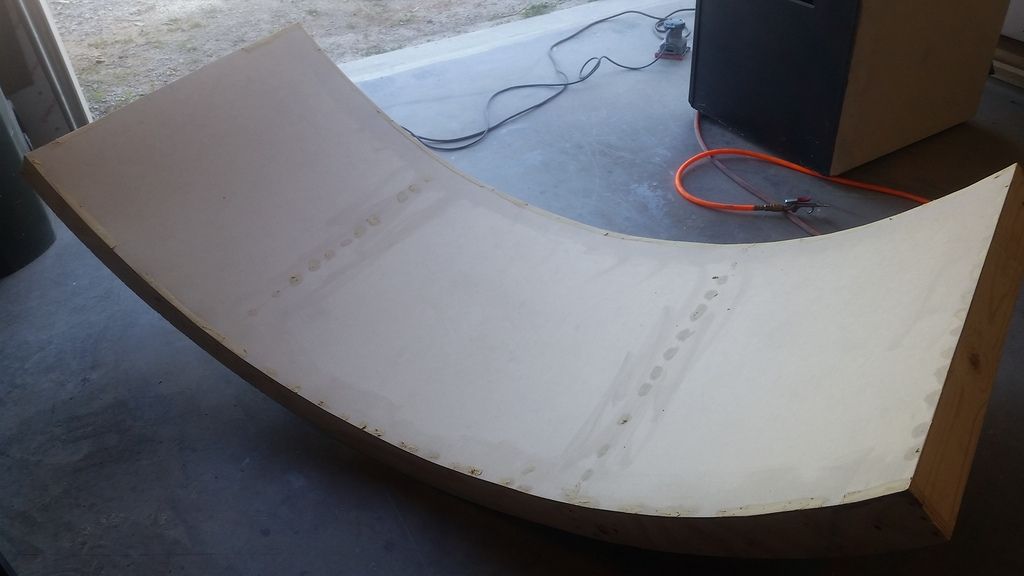
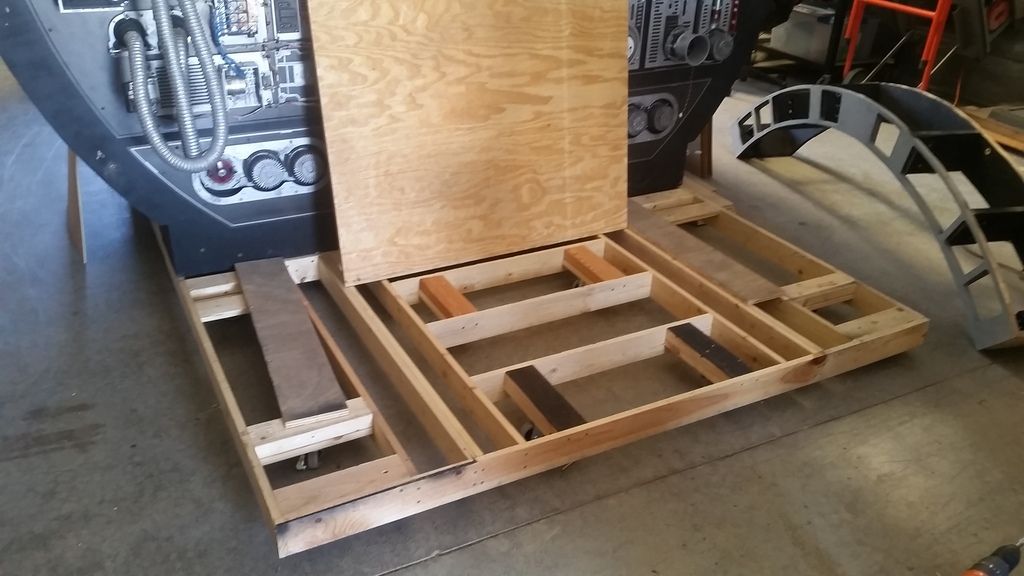
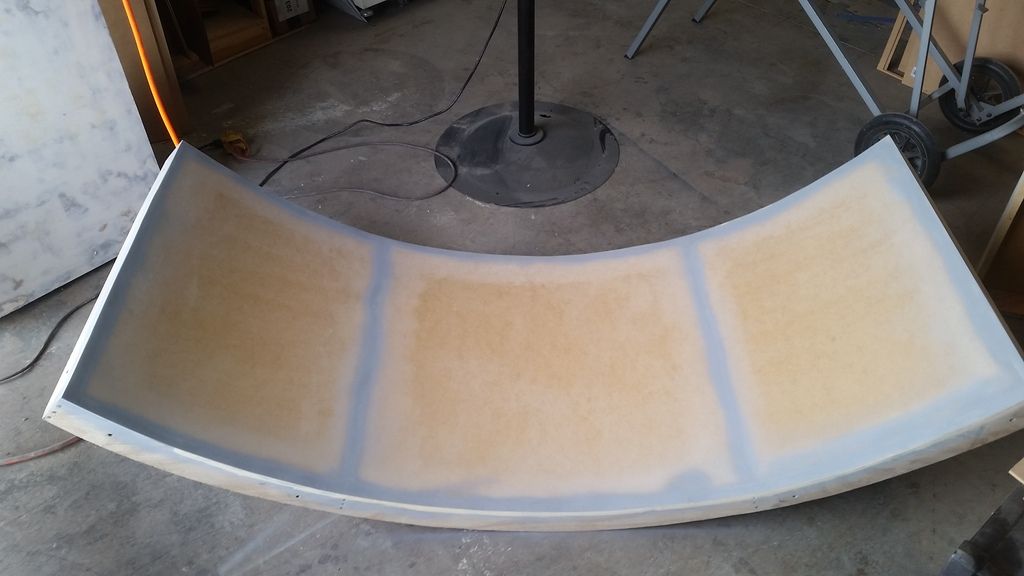
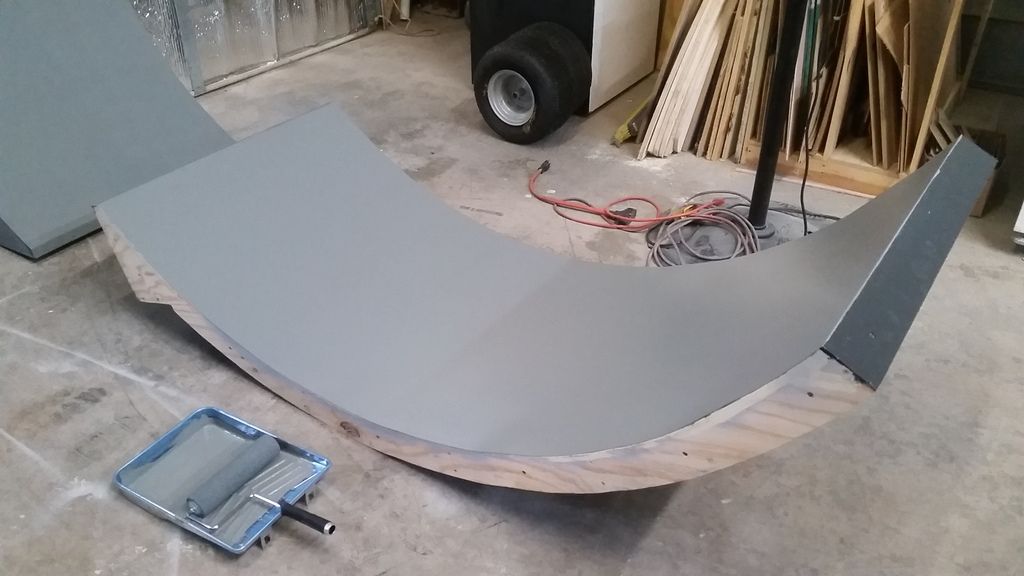
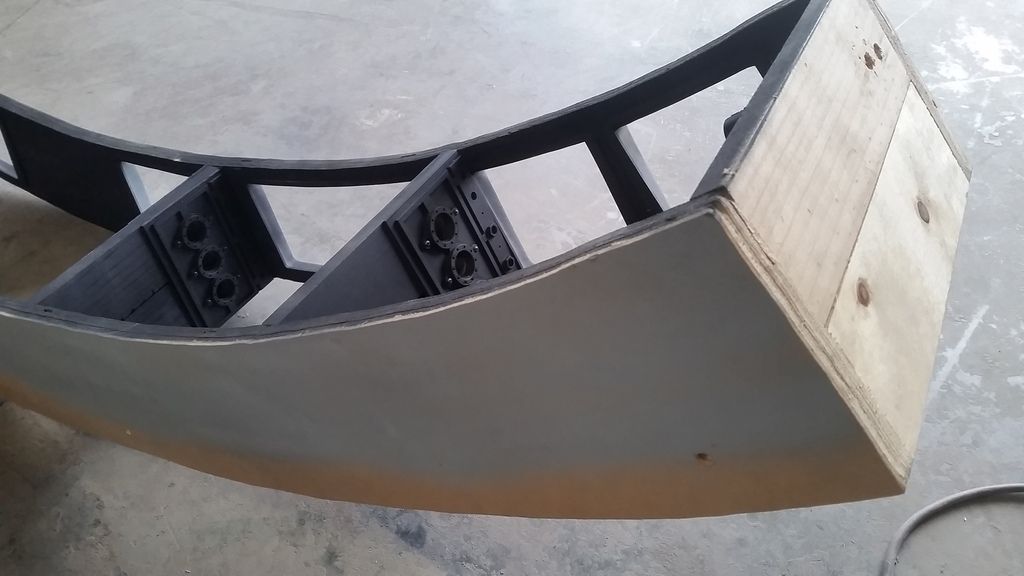
Ready for a skin!
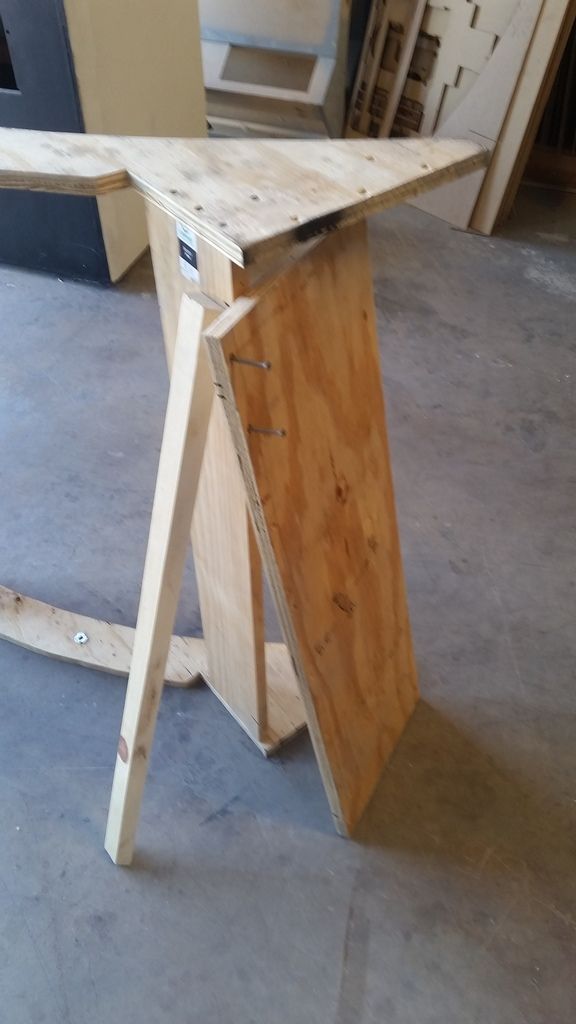
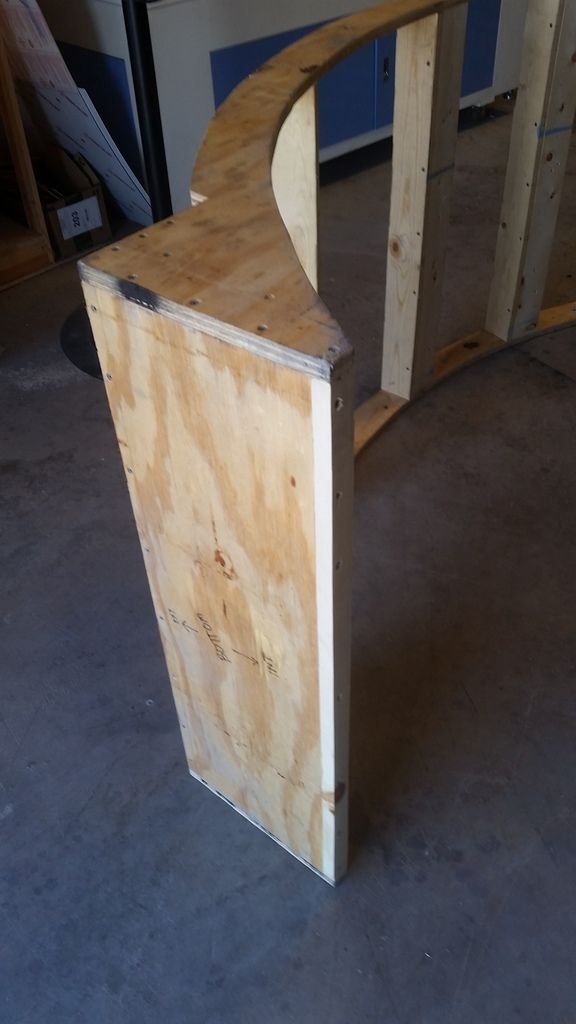
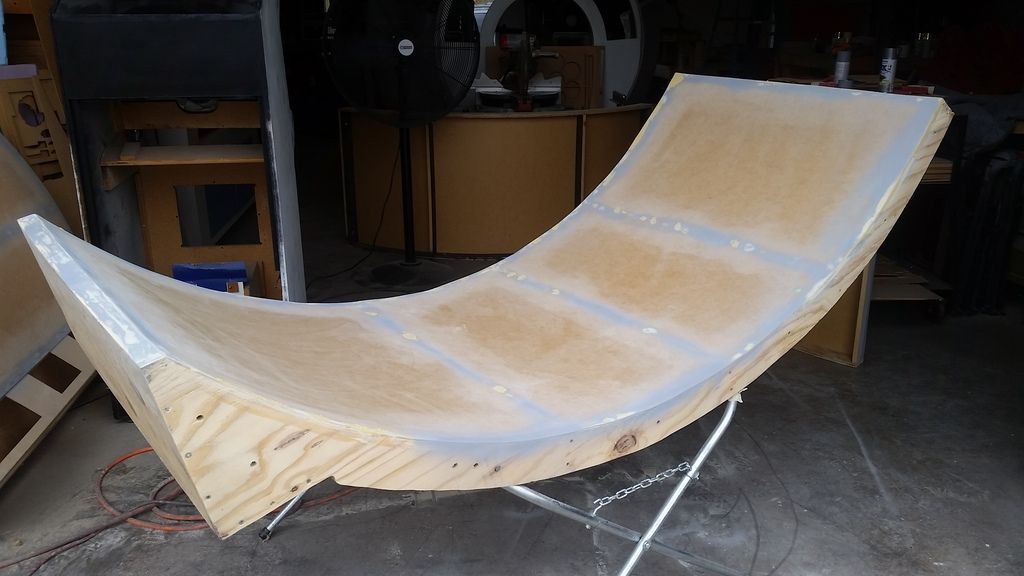
I took the time to set the MDF on top of the main body for a few days so it took the basic shape of the corridor - that really helped
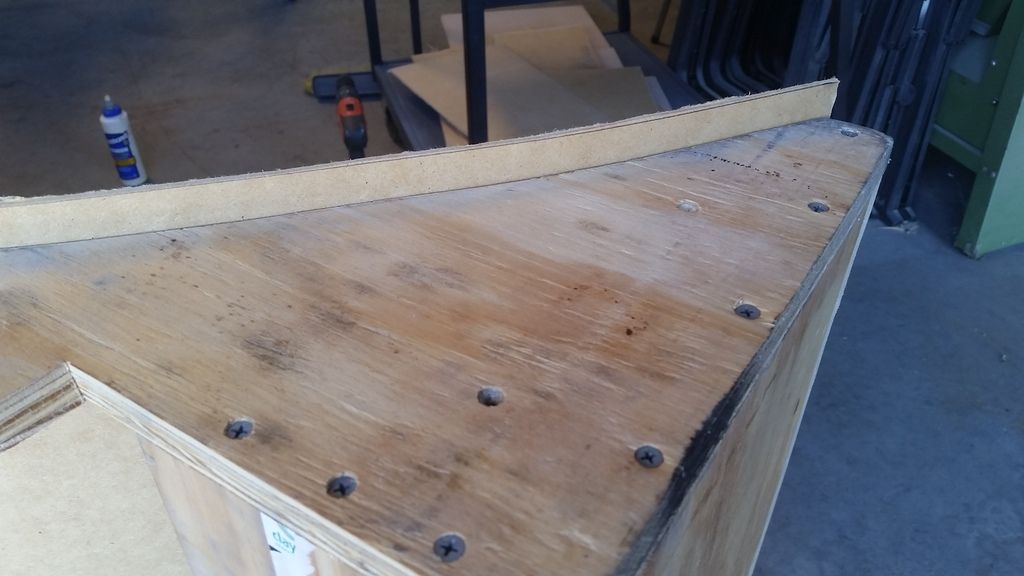
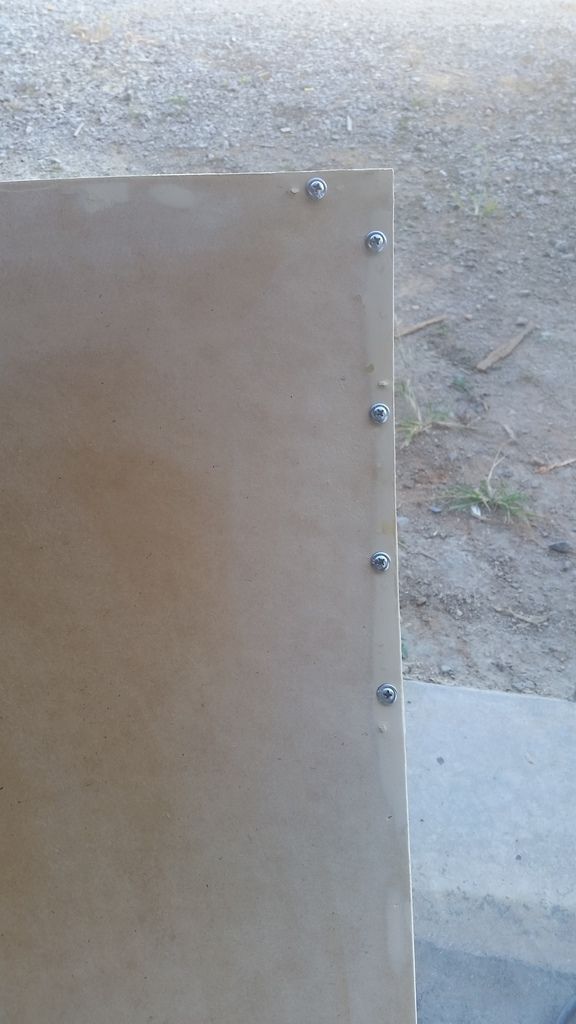
Have to cut all the excess away
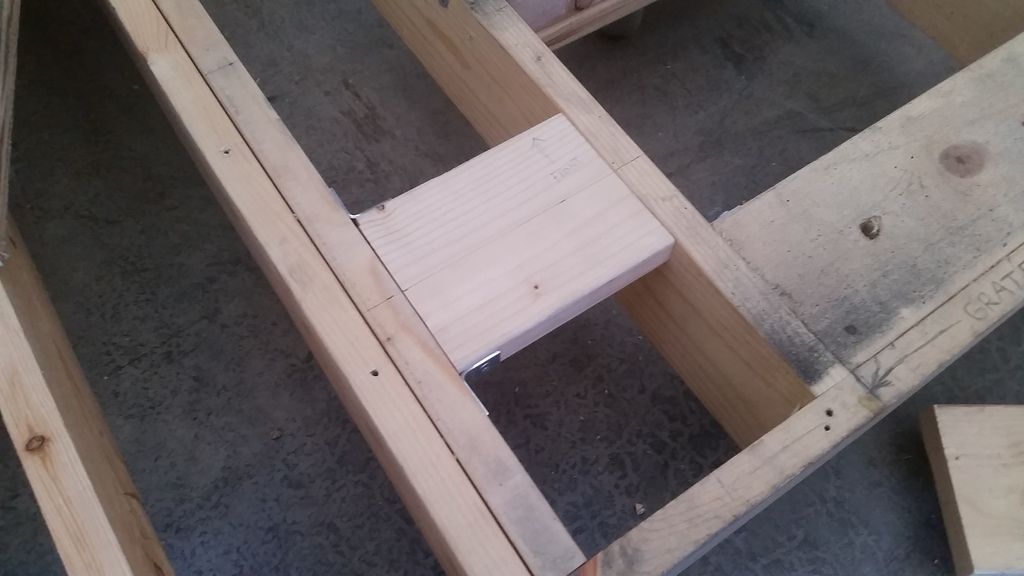
There is always one side that requires 1 or 2 screws!
Finally!
From the back
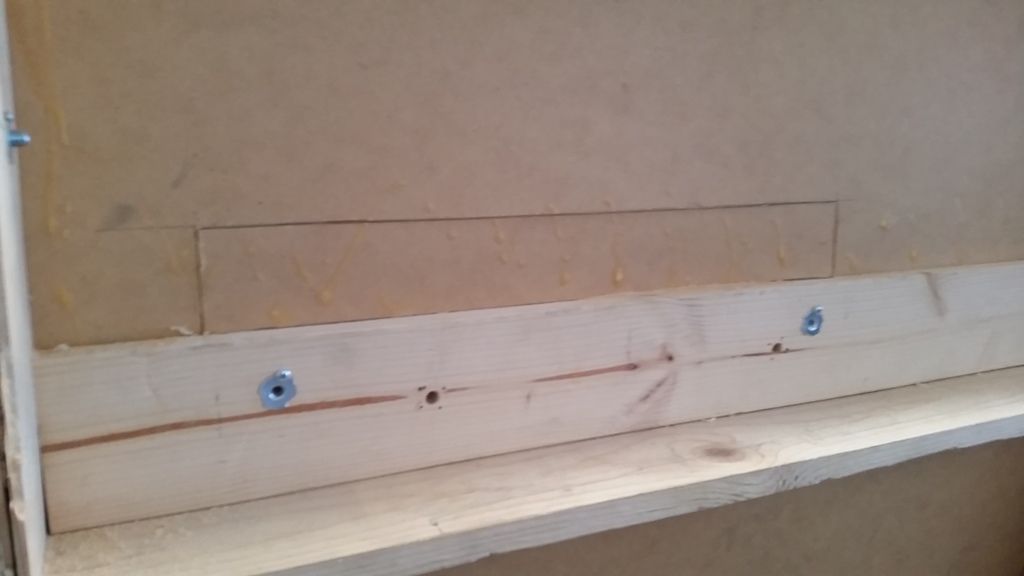
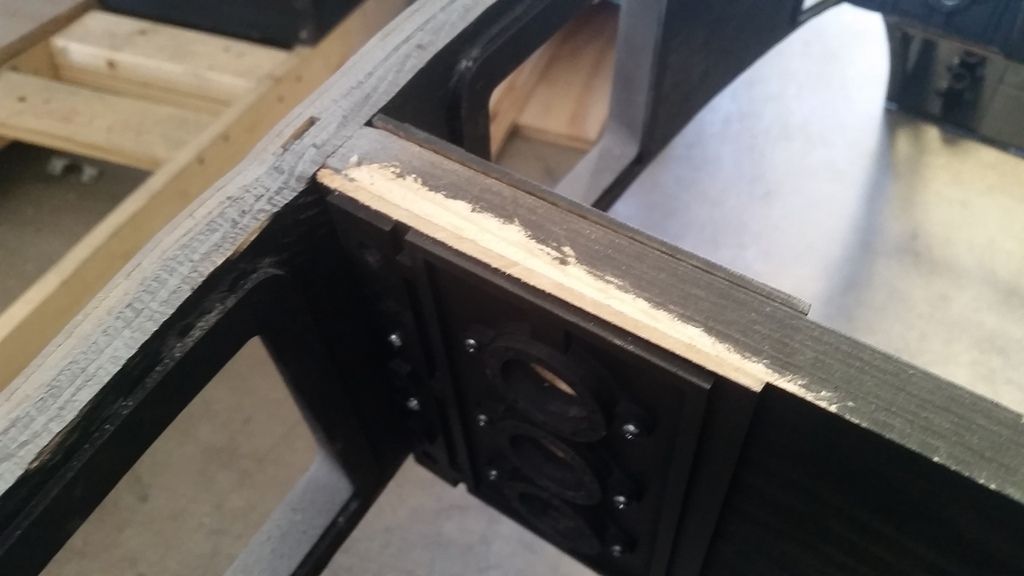
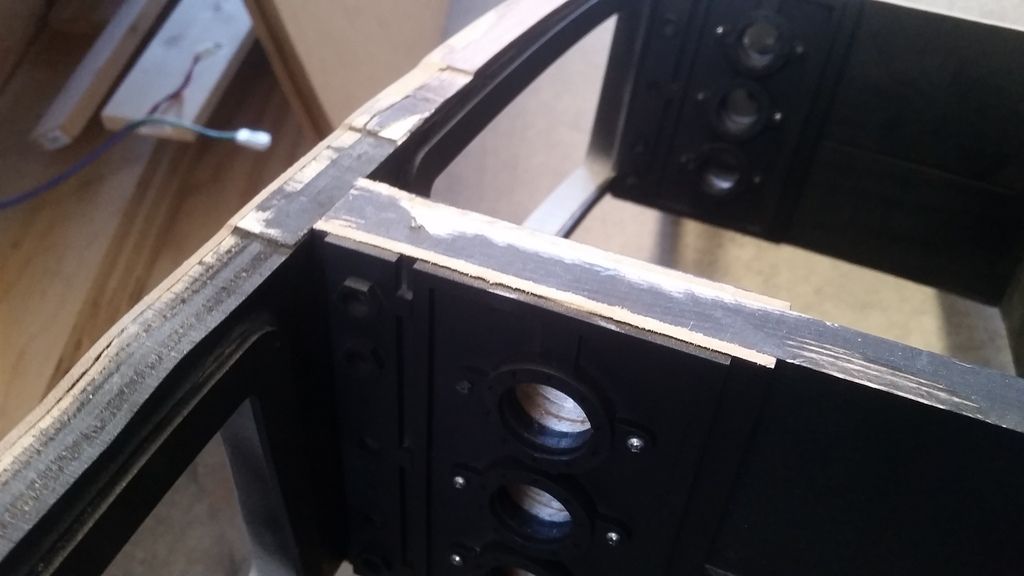
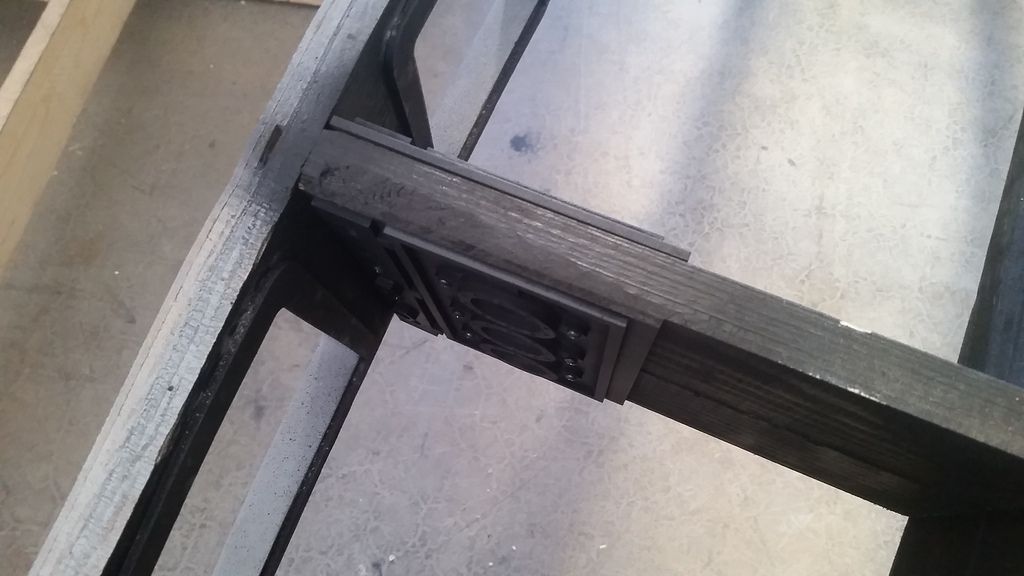
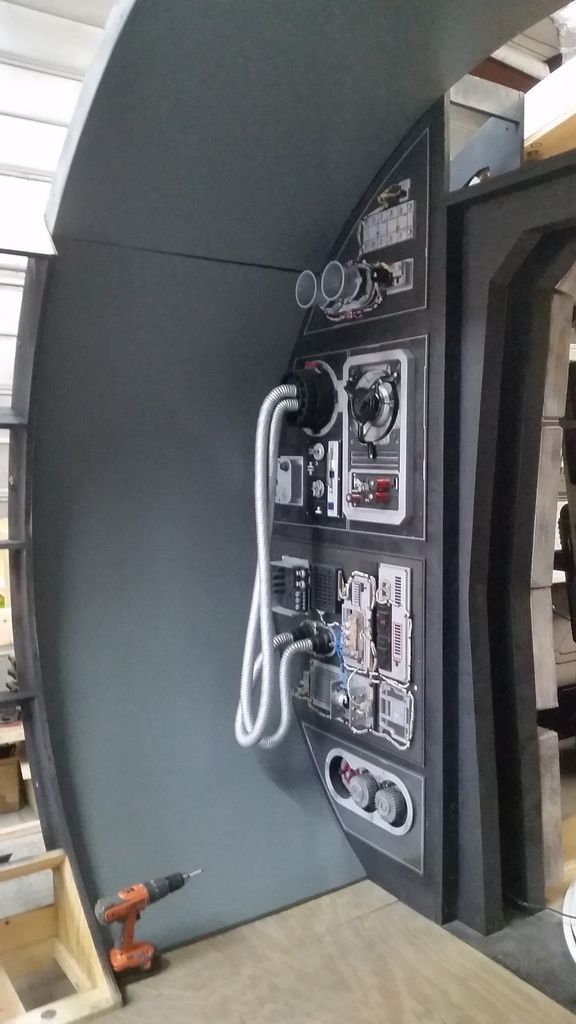
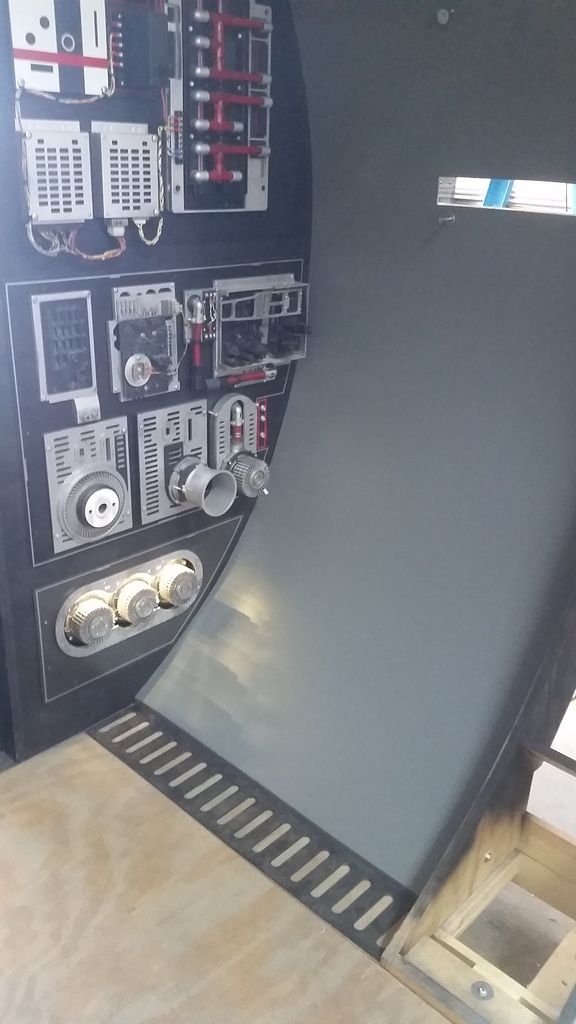
I have to cut holes for the new maint console to mount
I added lip to the back side of the console to help keep in place when screwing in the bolts so I had to cut away for the lip to slide through
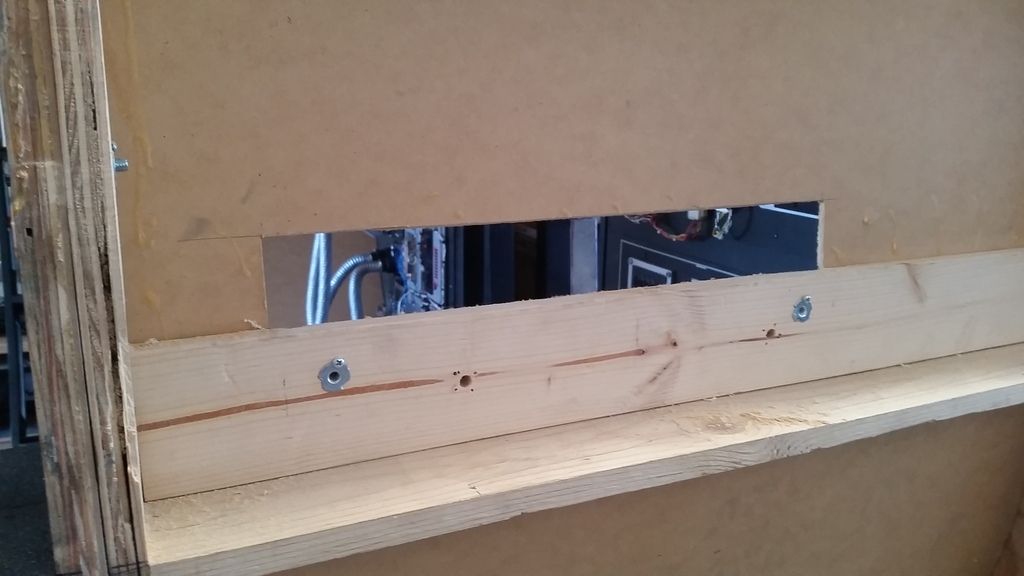
Console now in place!
Slight gap... oh well
I might widen the lower panel - not sure yet
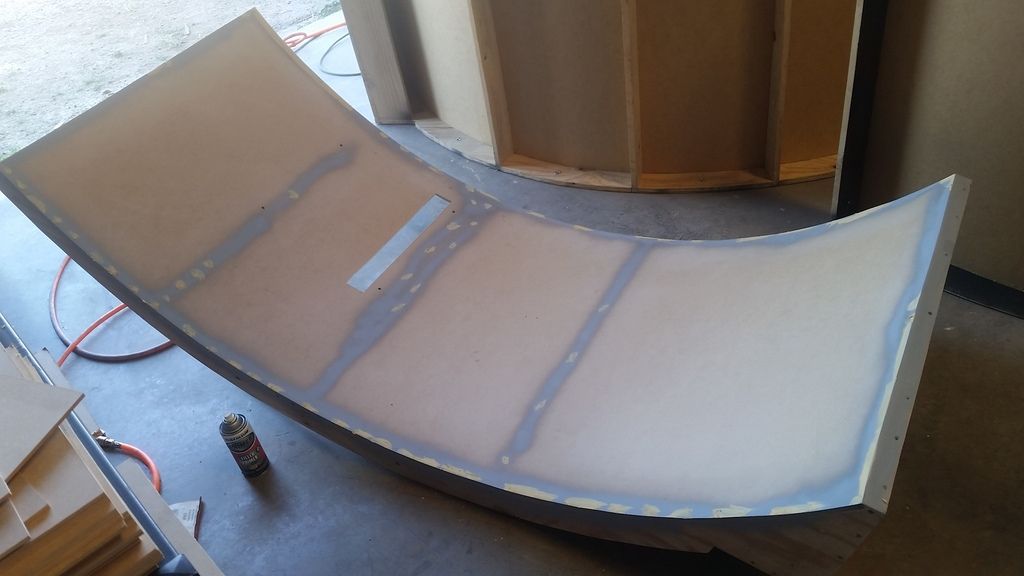
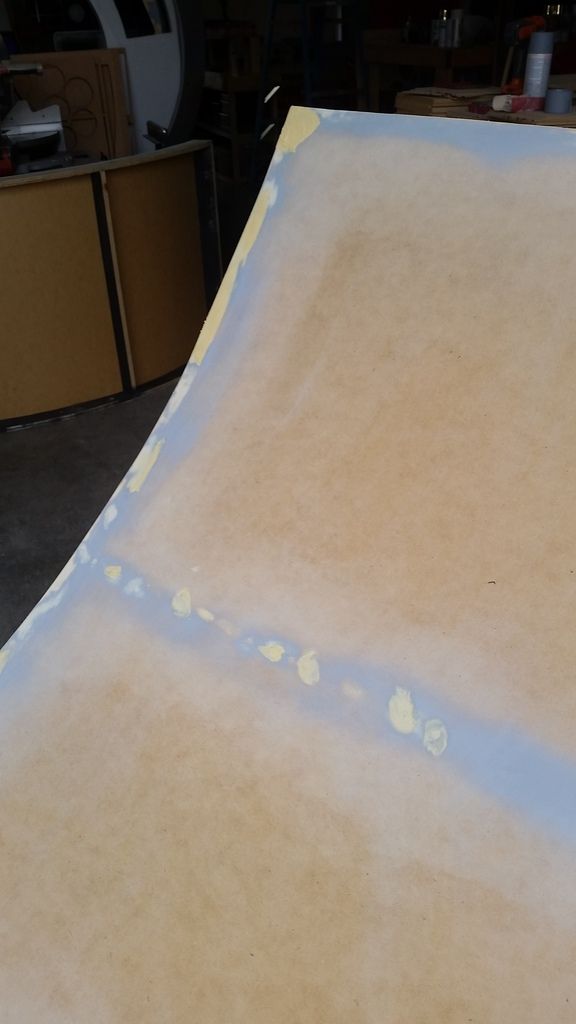
I then took each panel and filled in ALL the holes from the brads and the screws
Some areas needed a little extra attention and adhesive
In all... 5 rounds of sanding, filling, priming
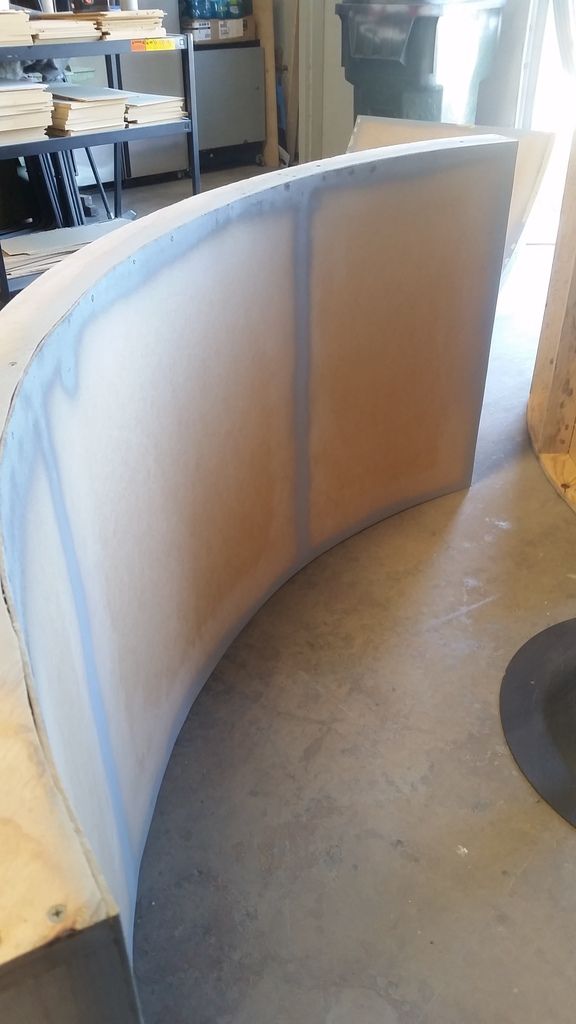
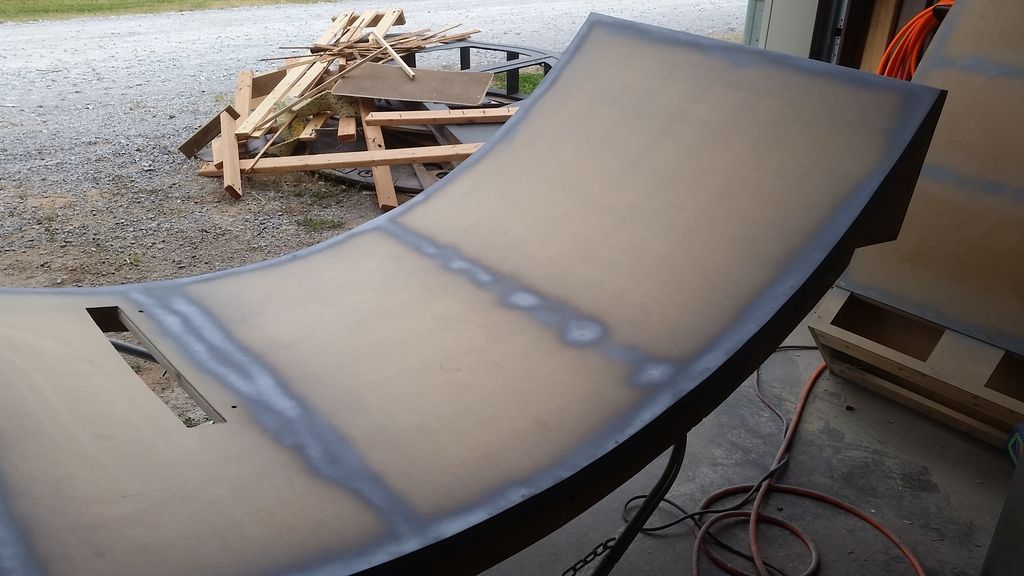
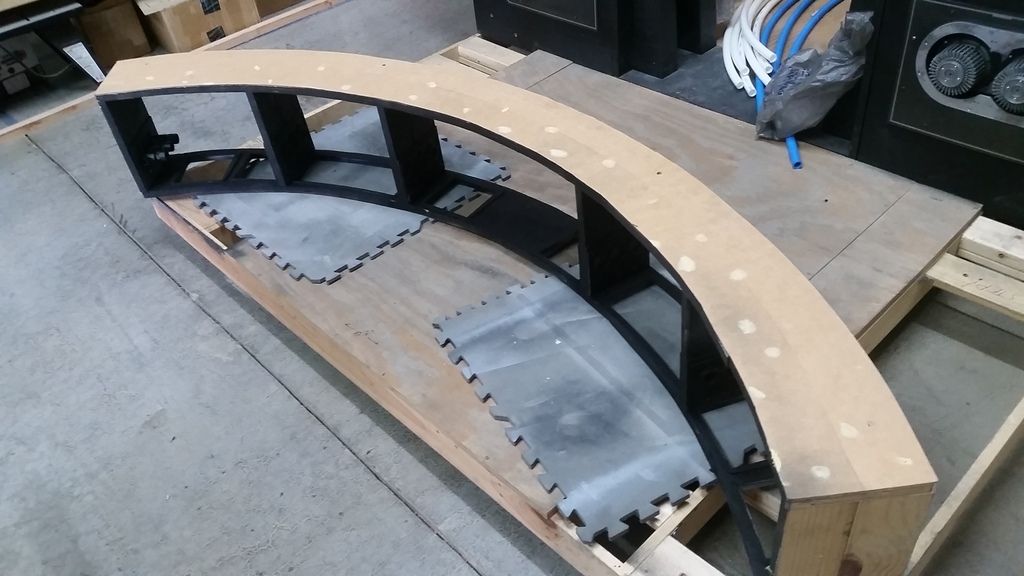
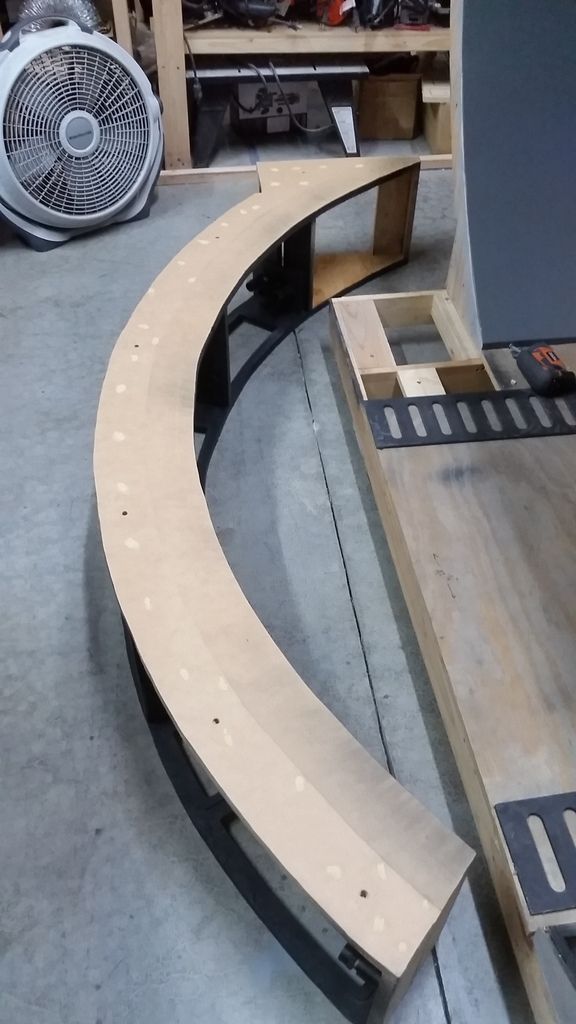
While all that filler dried and removed more excess from other parts of the ring
Sanding, Sanding, Sanding
This is what was giving me all sorts of grief!
I wound up having to use a ball peen hammer to knock down the screws holes and then fill with more filler
With the corridor spread all over the shop I removed the floor to add another bolt point for the corridor ring to mount
The last of the sanding
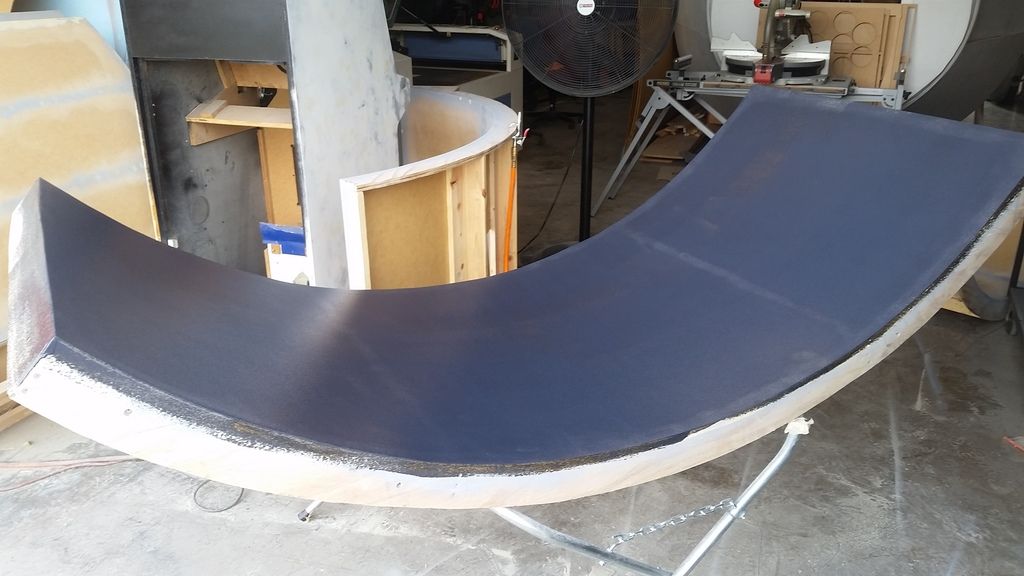
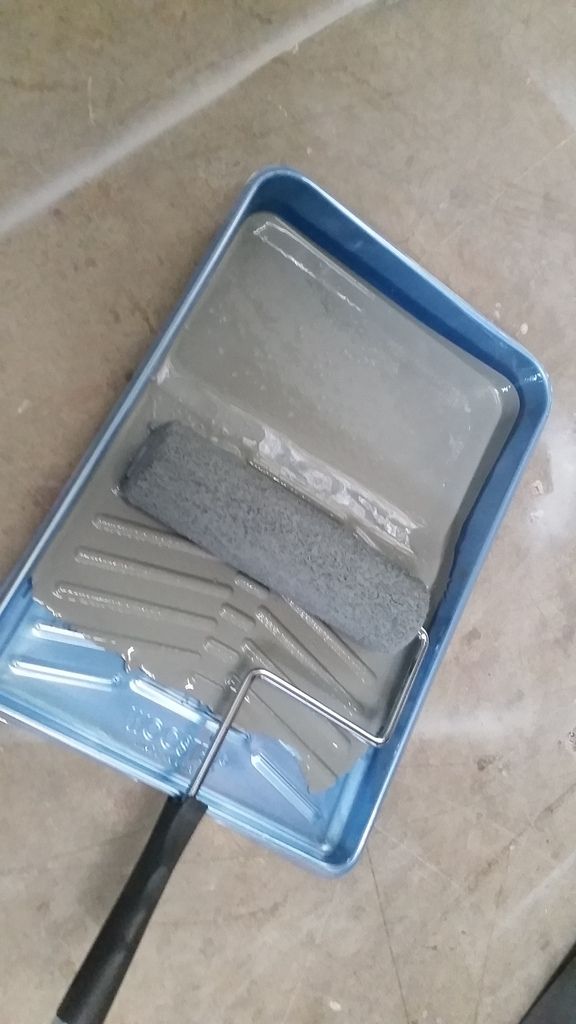
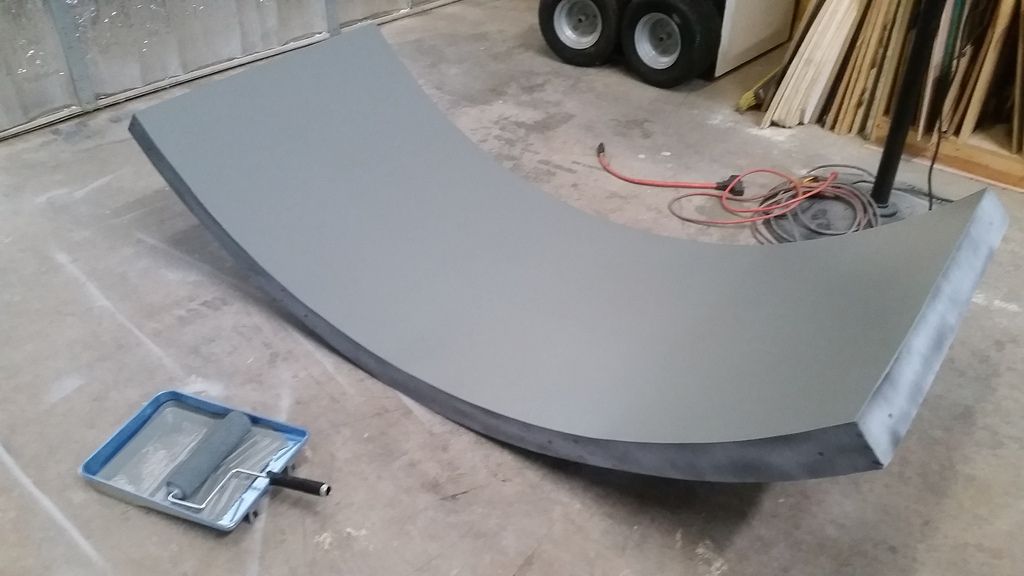
Lead to painting the panels!
But something was wrong...
UGH... the paint was too dark!
The code on the paint can was a later version of the color I originally had mixed years ago!
So I went back to the home improvement store and they were nice enough to exchange the custom color for a lighter shade
Before
After
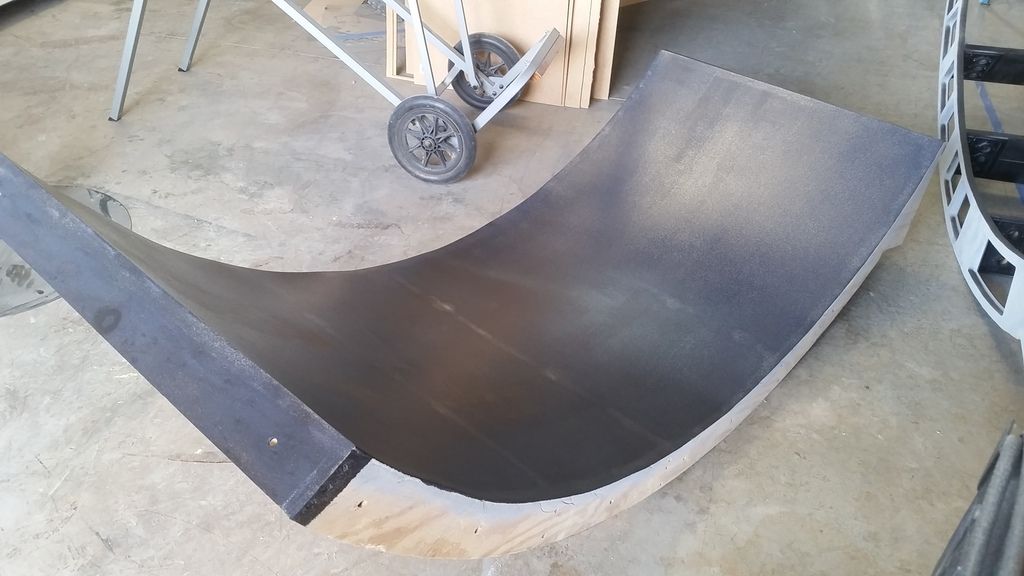
MUCH better and it dried a little bit darker
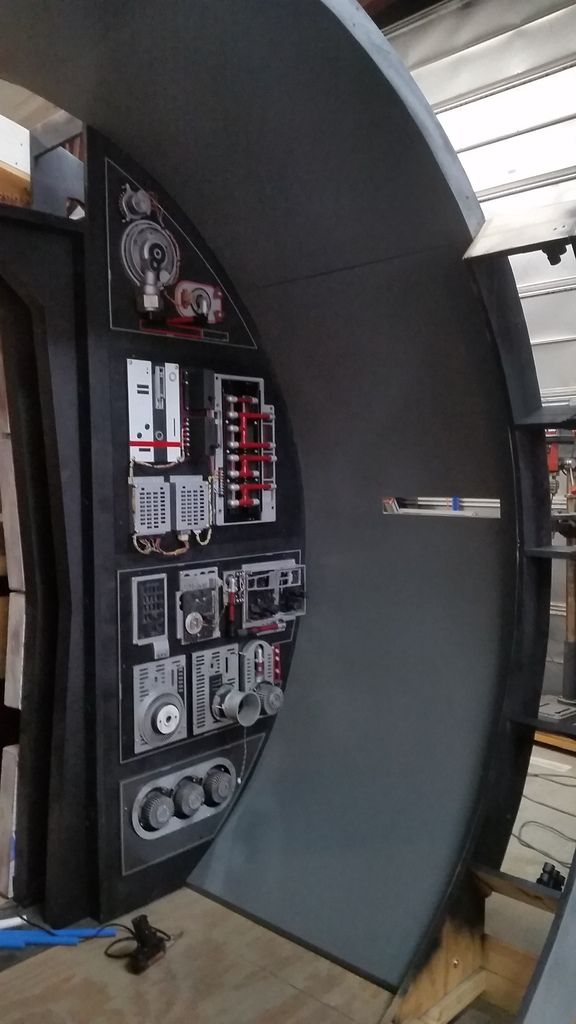
Time to address the corridor ring brad holes
More primer filler
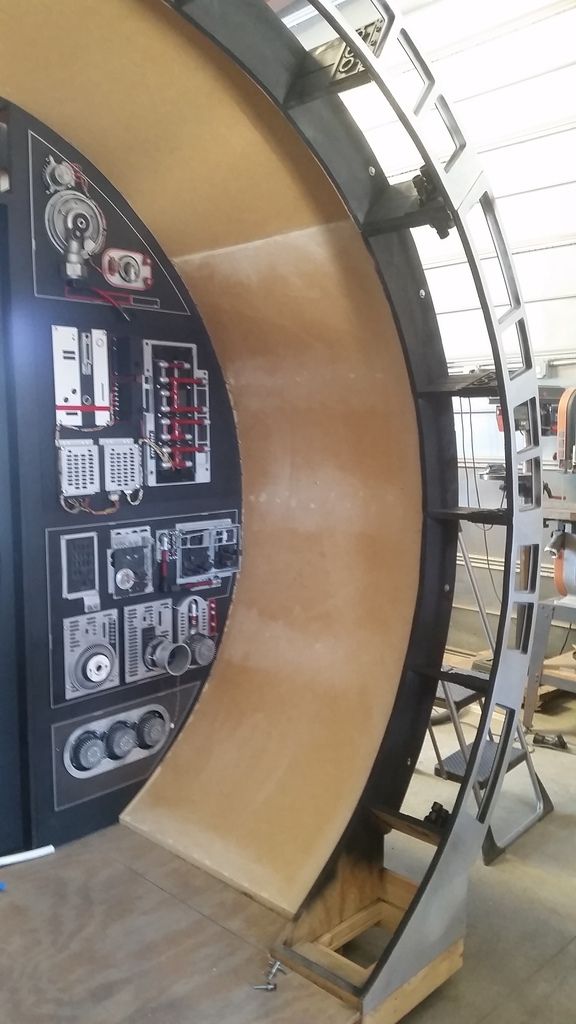
Panels installed
Love it!
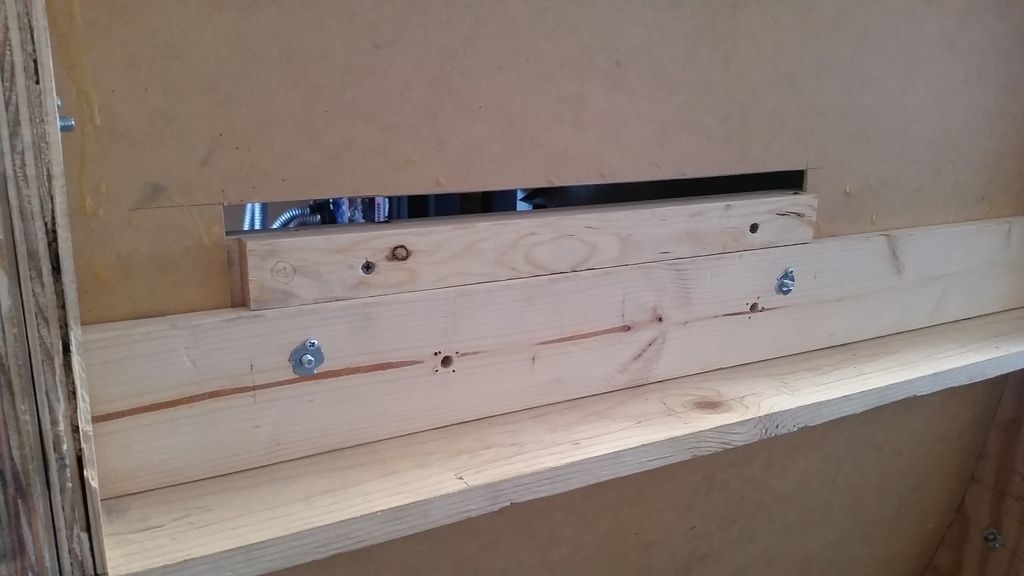
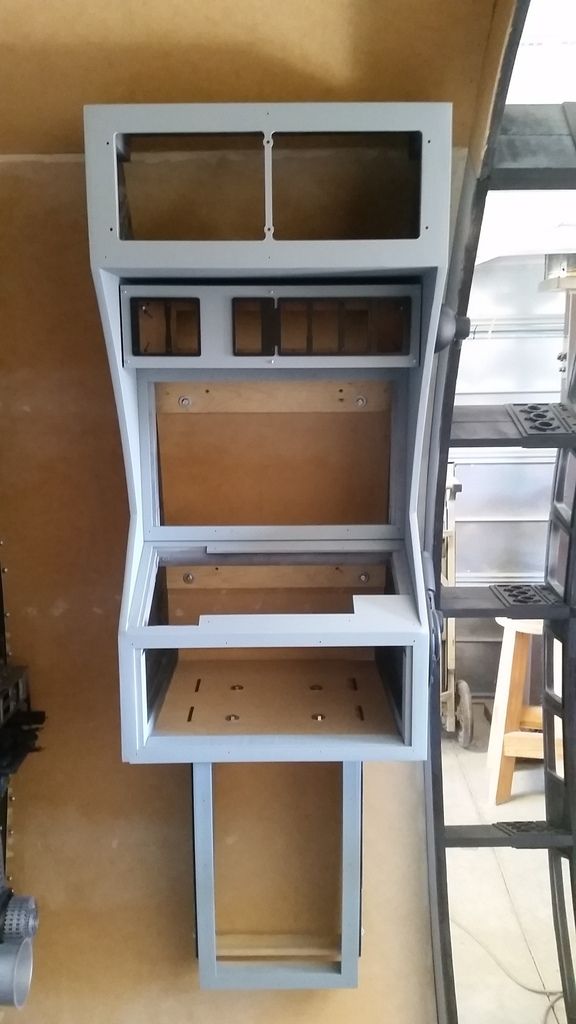
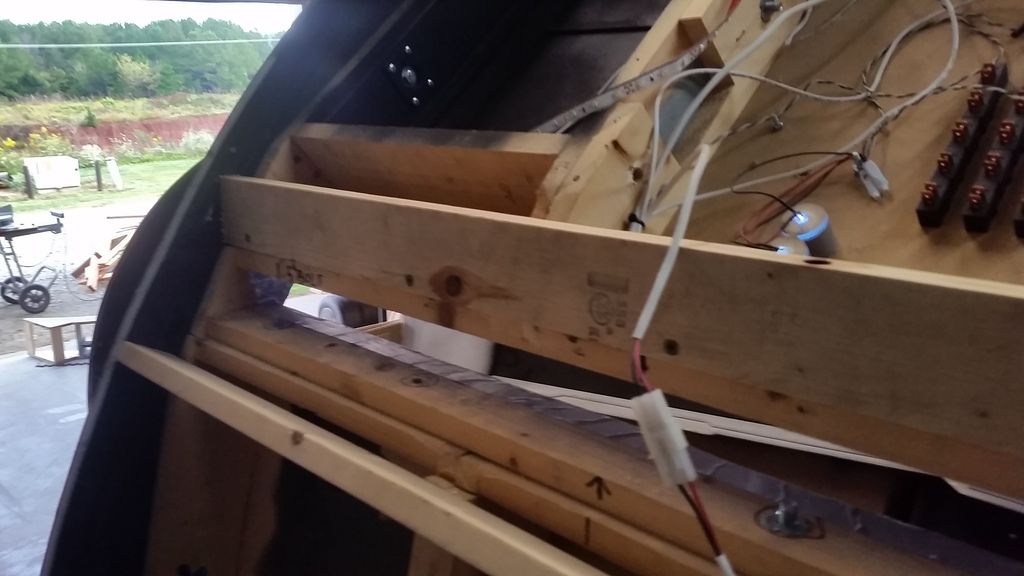
For years the light bars have been a source of GREAT pain! When I finally boxed in the main body panels this rendered the light bar housing virtually useless and gives us lots of space to now figure out how we're going to move forward
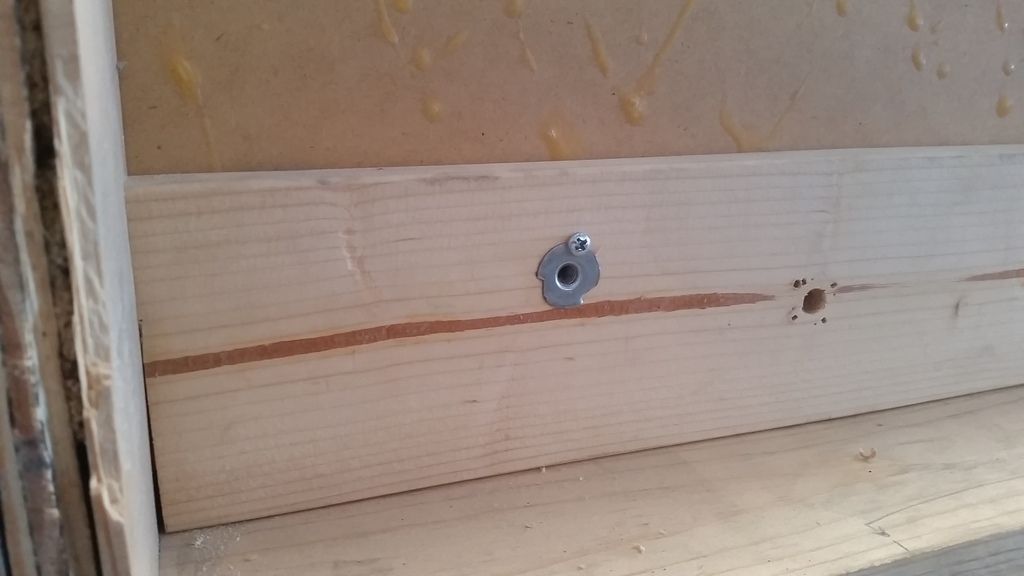
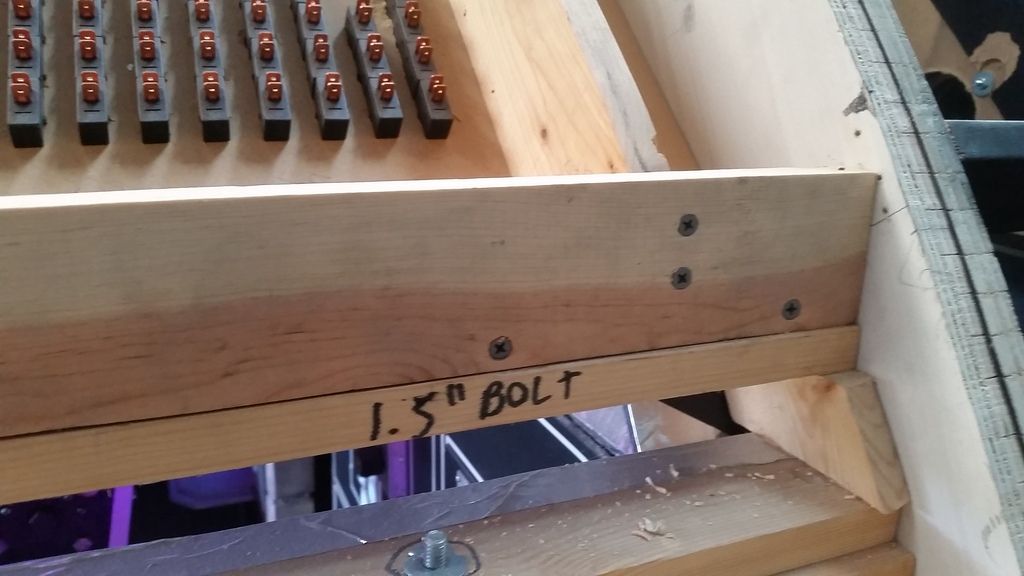
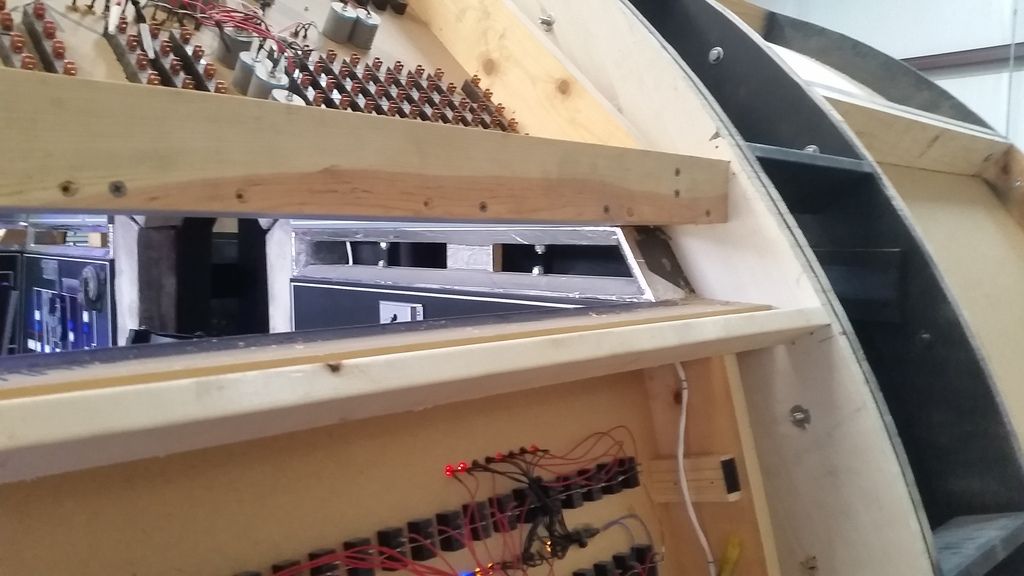
With the light bar still in place I added a horizontal beam and screwed it into the panel above the light bar
That new piece carries a LOT of the weight and the light bar is now removed (when the body is finally taken apart I have to screw in the beam from the backside)
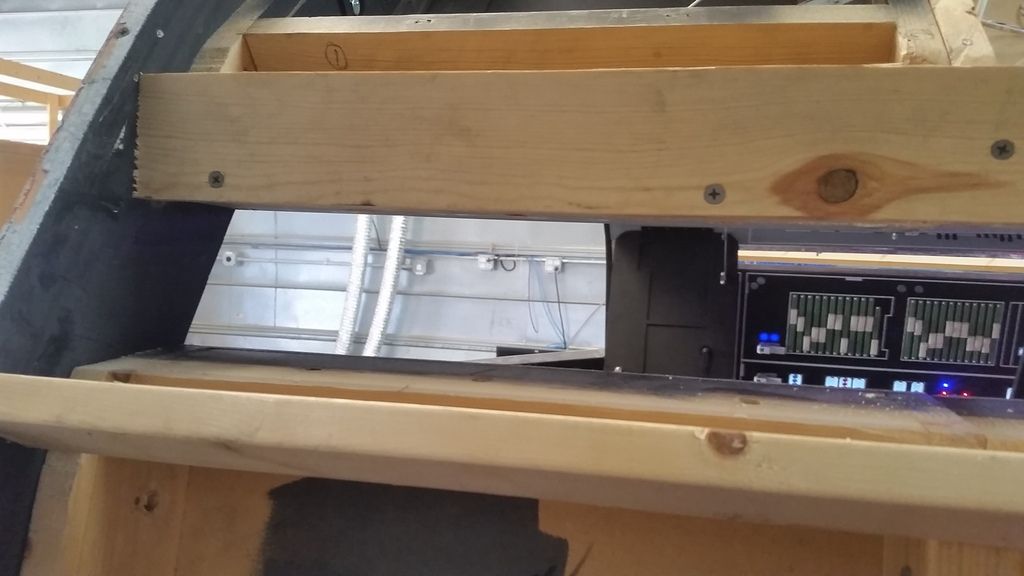
From inside
I then removed the light bar from Chewie's side - the small piece you see is mounted to the box/frame and needs to be lowered just a bit
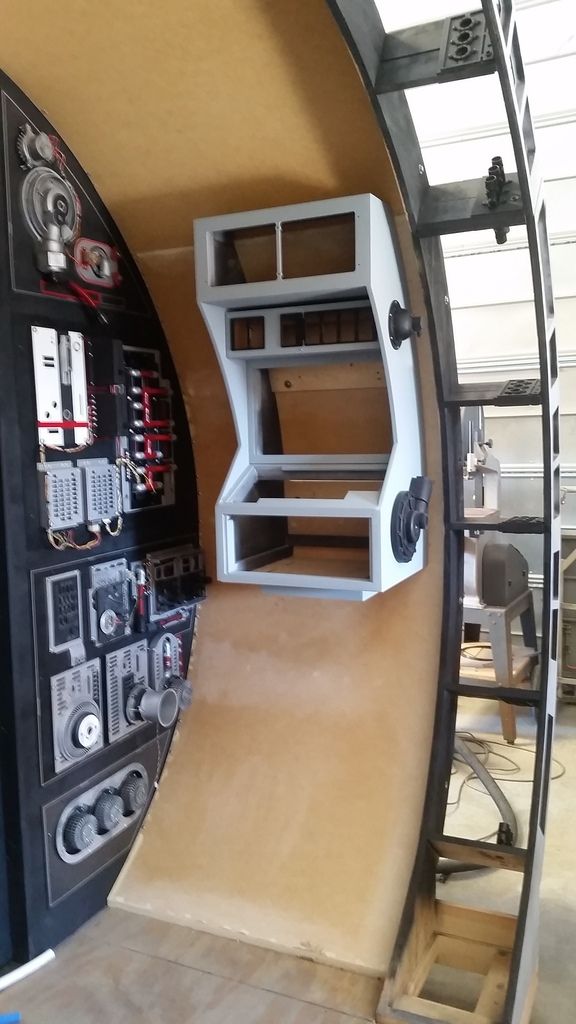
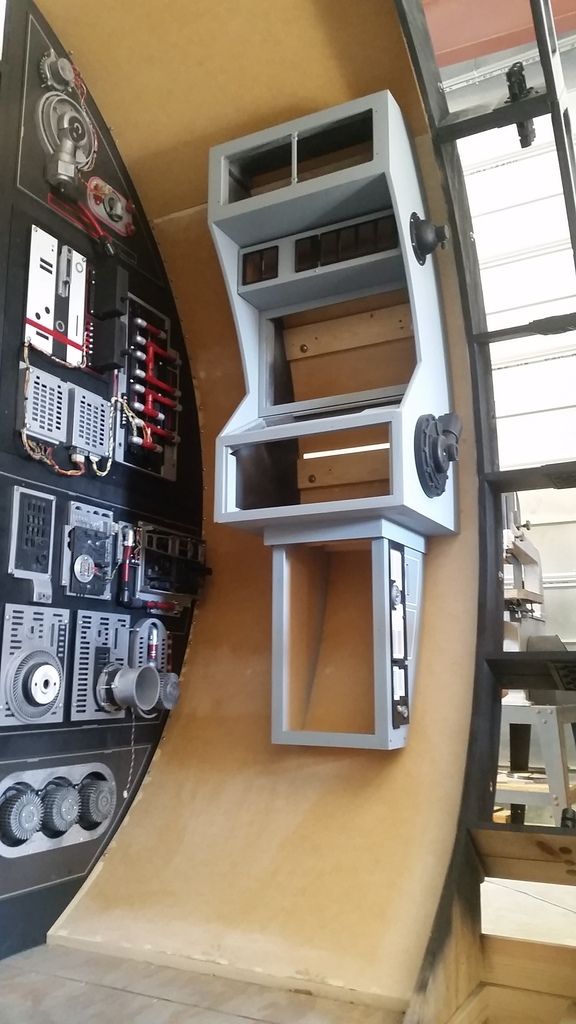
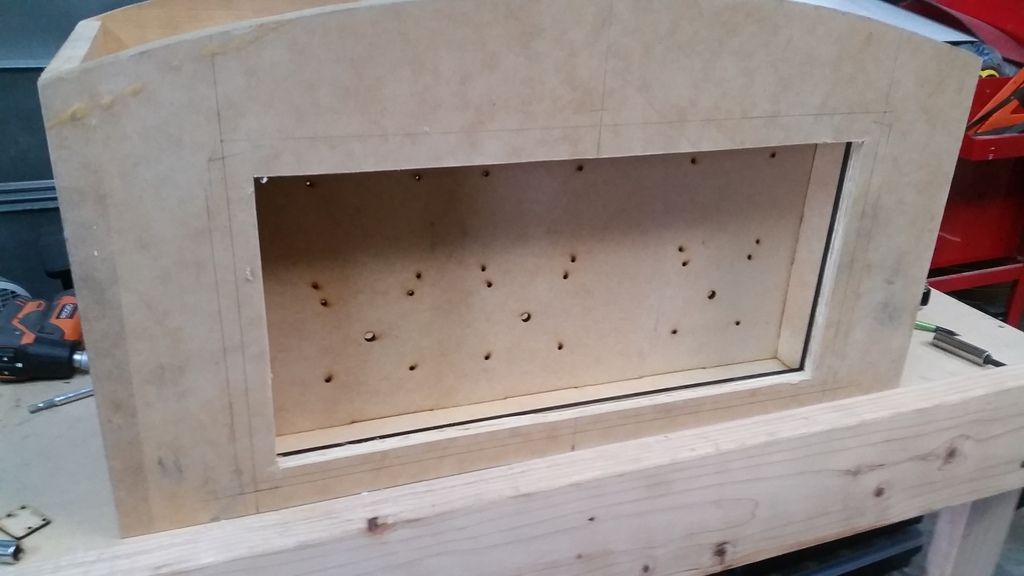
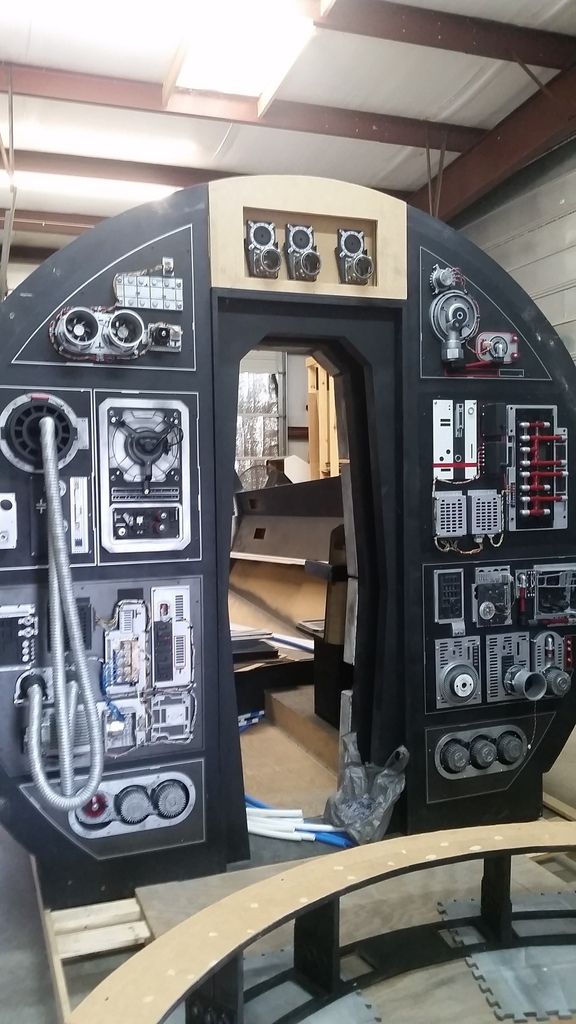
I then worked on the cockpit entrance capstone panel
Took measurements to mount the recessed box
Screwed into place
LOTS of work to do to clean this up
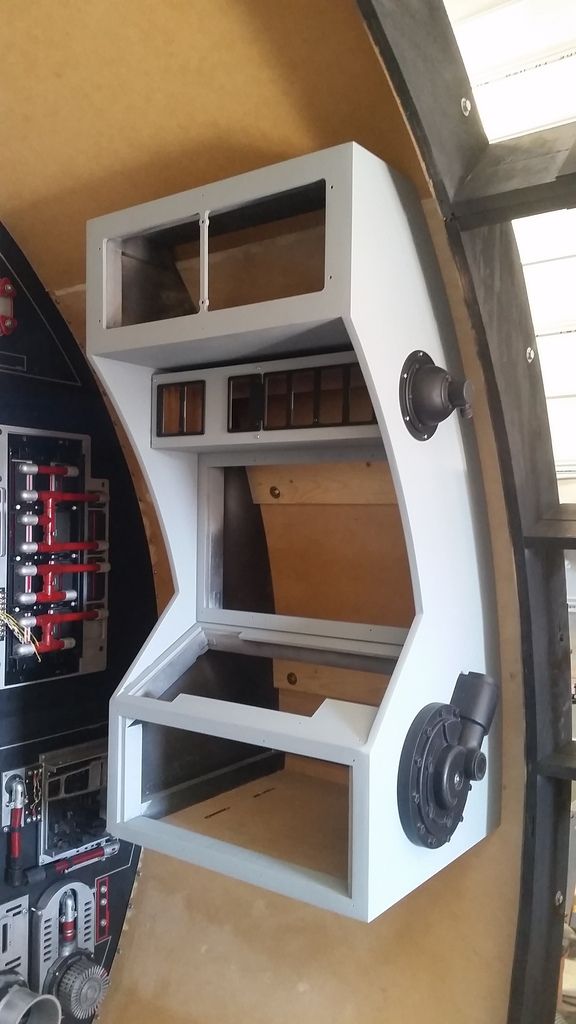
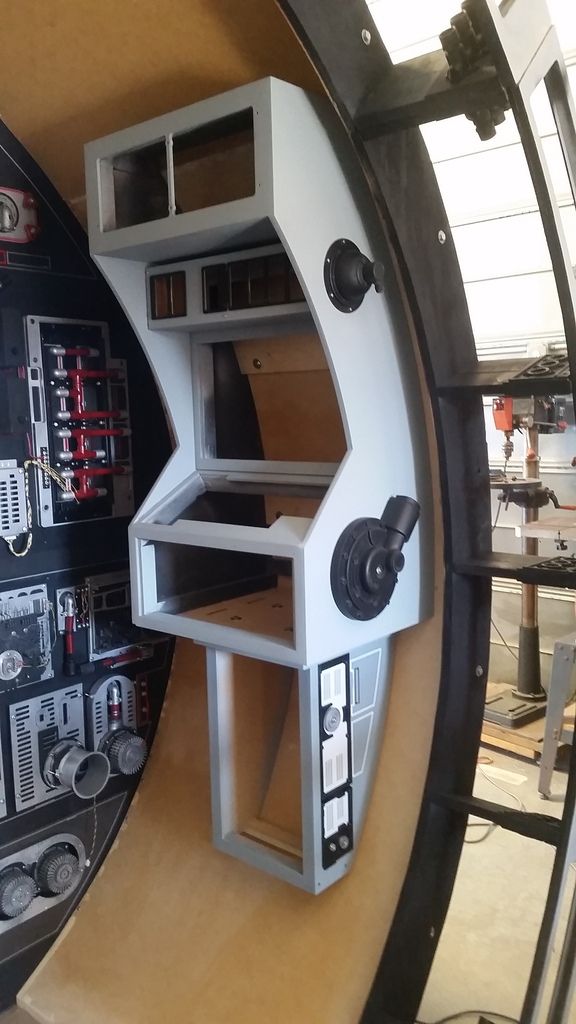
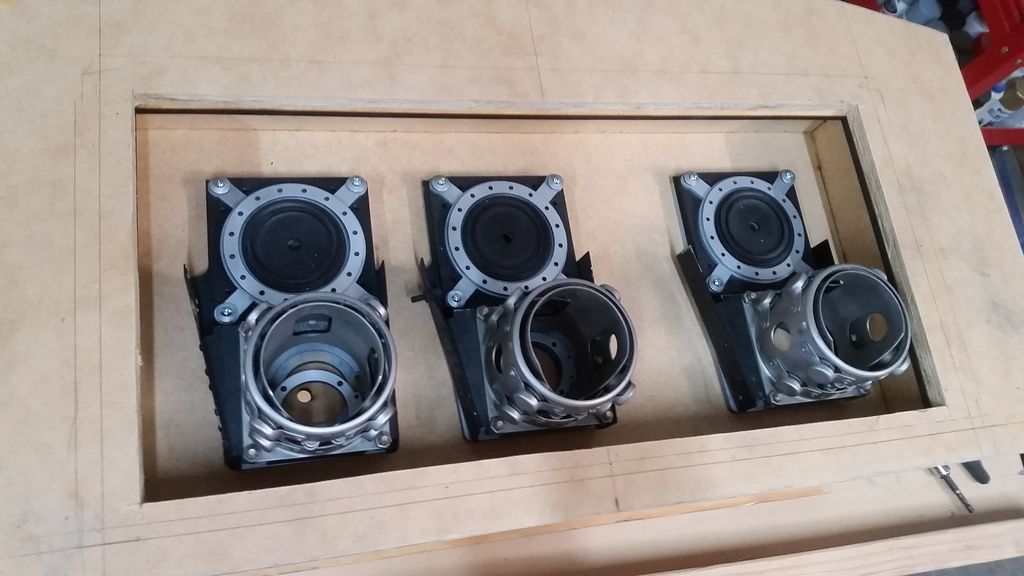
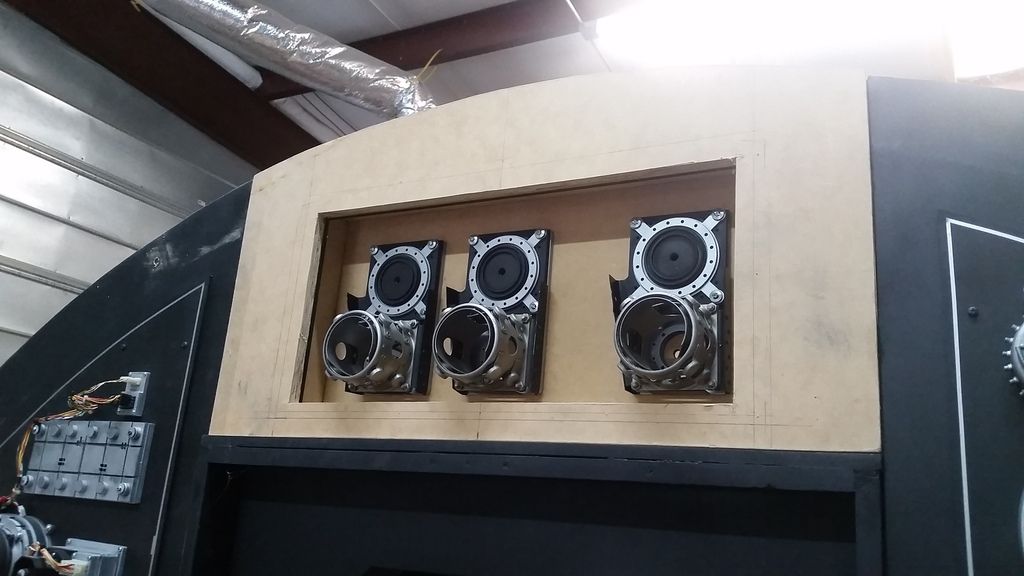
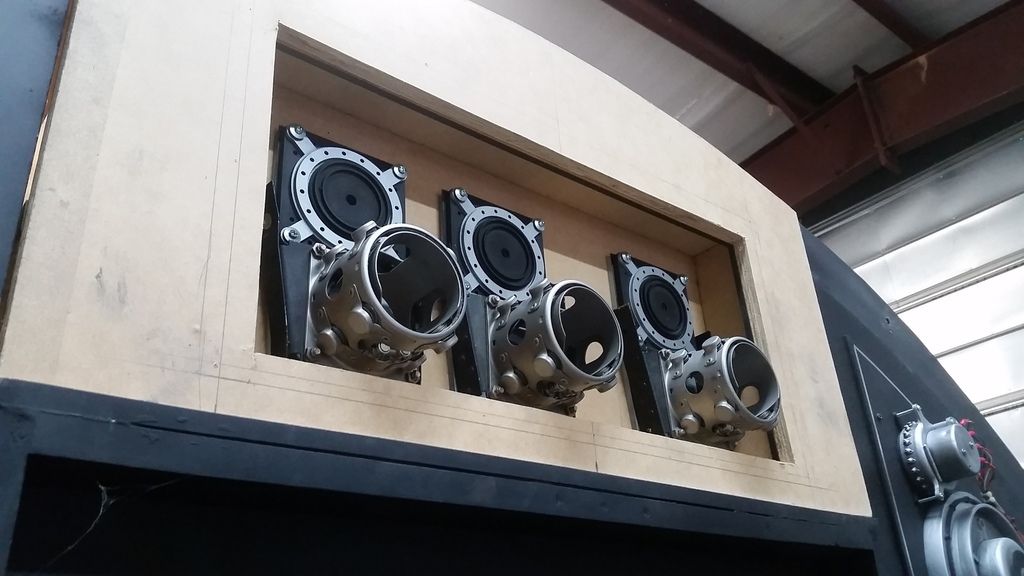
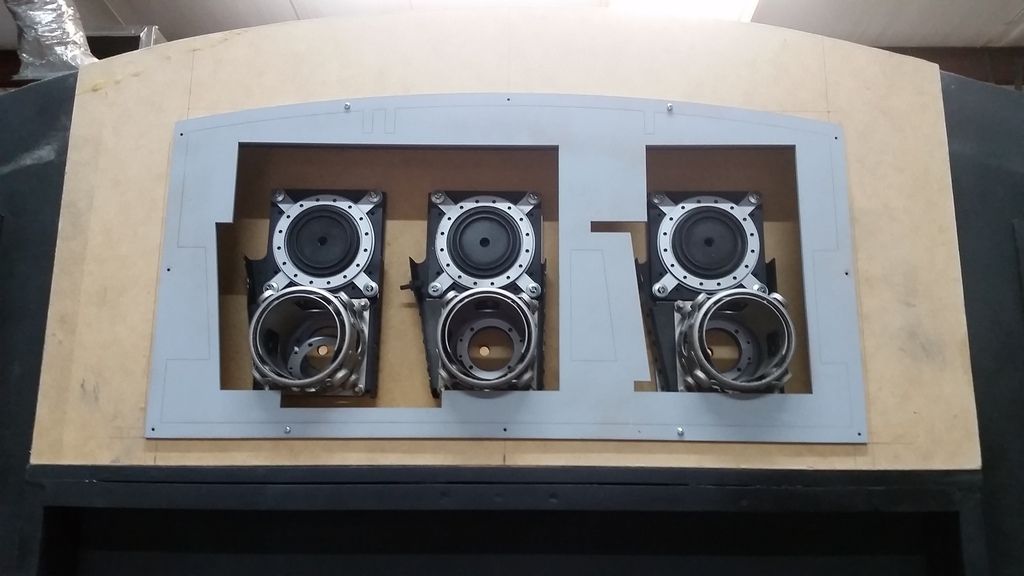
The greeblies are mounted but are WAY too low. They have to be re-positioned
In place
DEF too low
I LOVE those greeblies
You can see how low the greeblies are with the trim plate in place
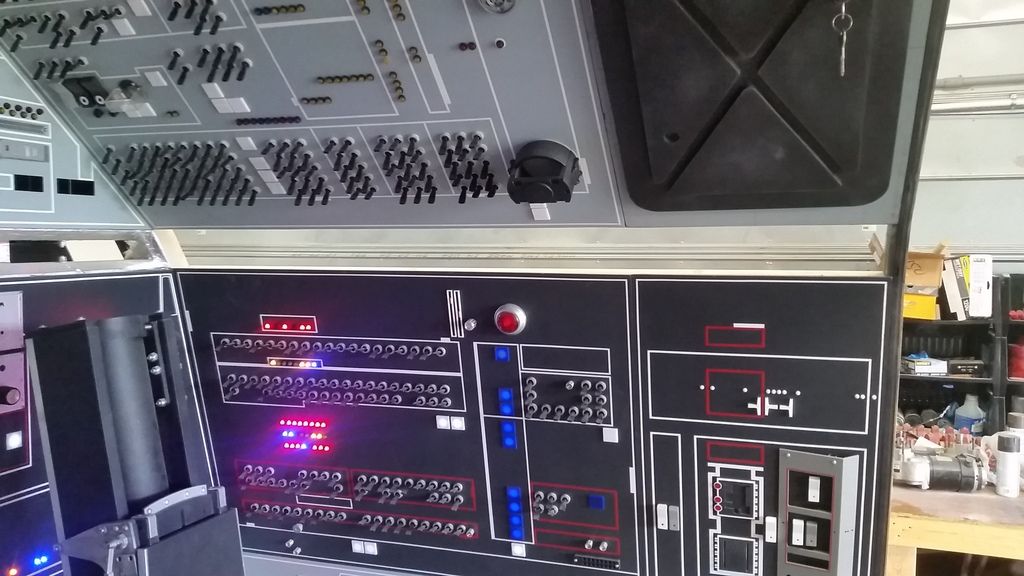
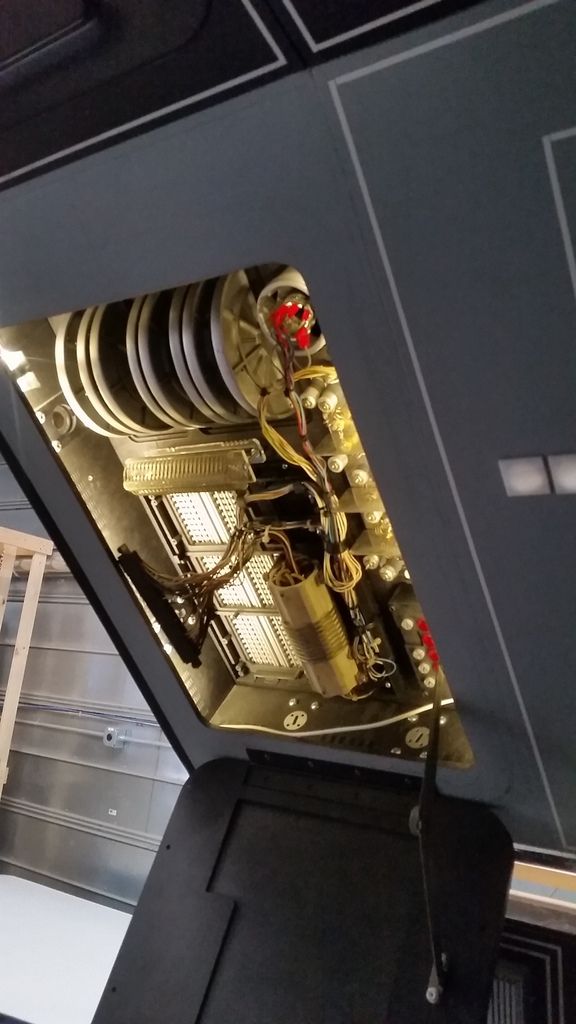
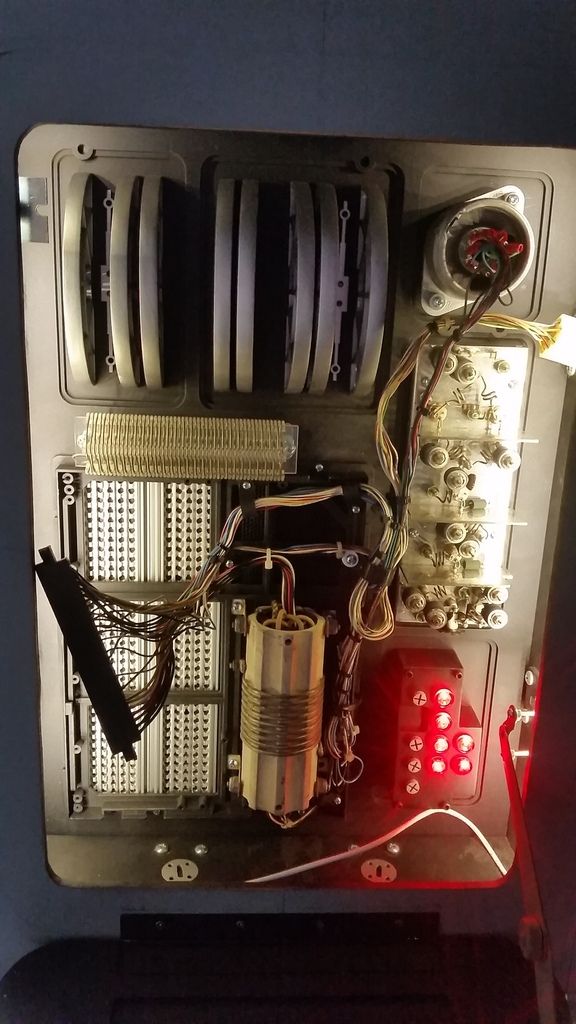
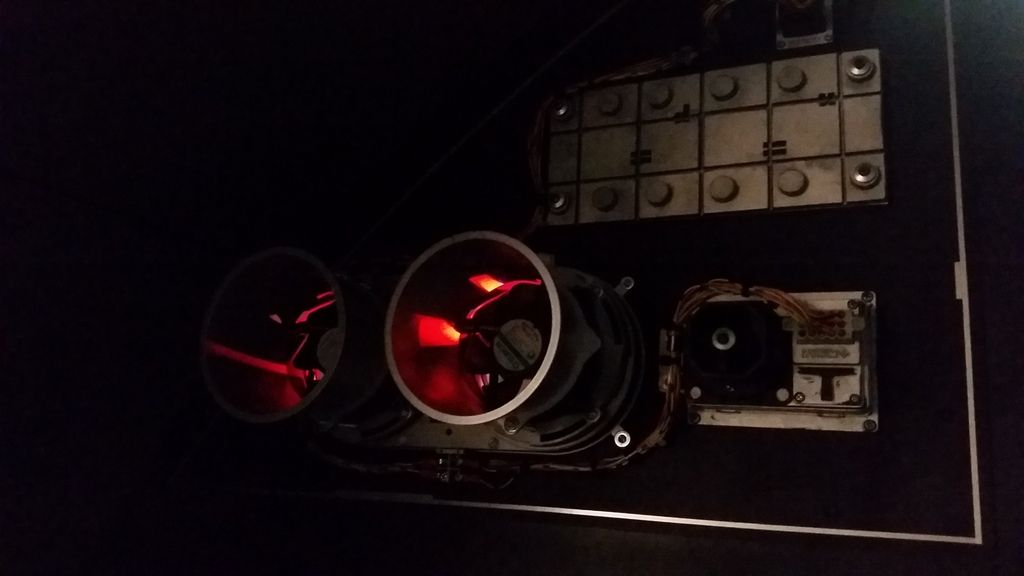
Now for the FUN STUFF! Daniel is back! Not full time (not yet) but he got started on lighting the new extension panel boxes
So pretty!
The red LEDs are temp lit
The red LEDs will DEF have some sort of flash pattern
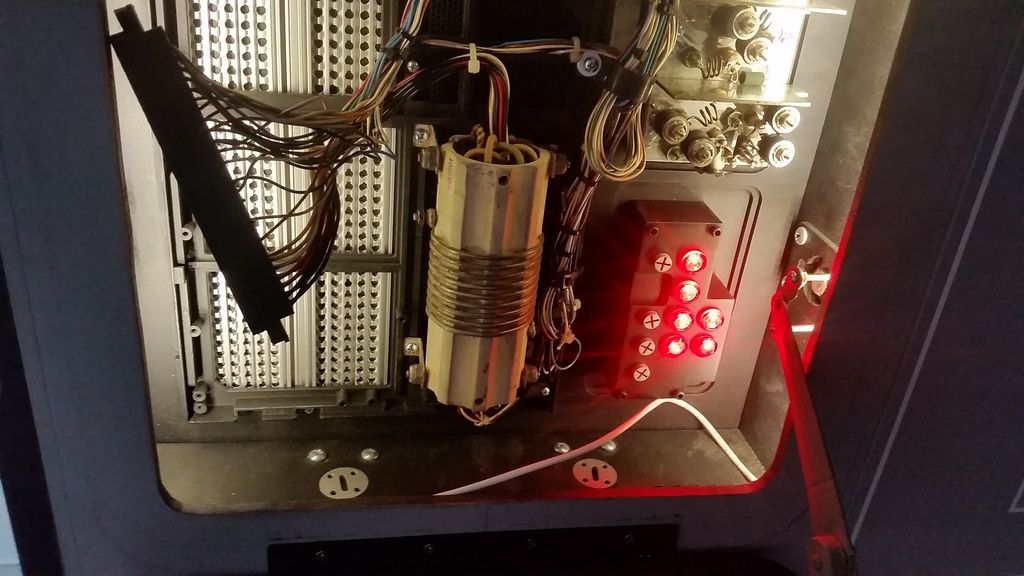
He then added some LEDs to the coil housing(s)
These will have a dimmer switch so we don't drown out the light that will be inserted into the braided hoses
We might add some light behind the fans
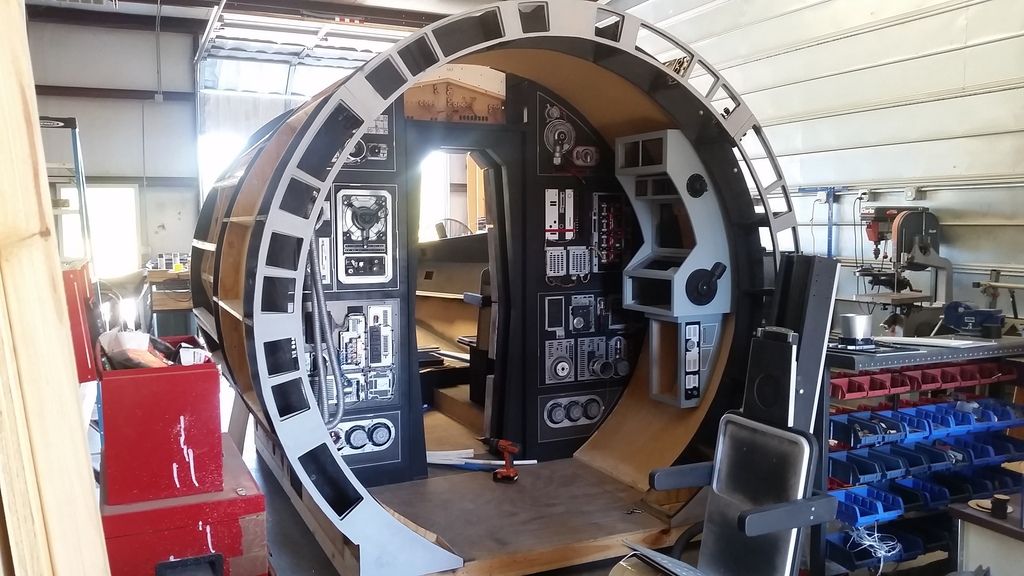
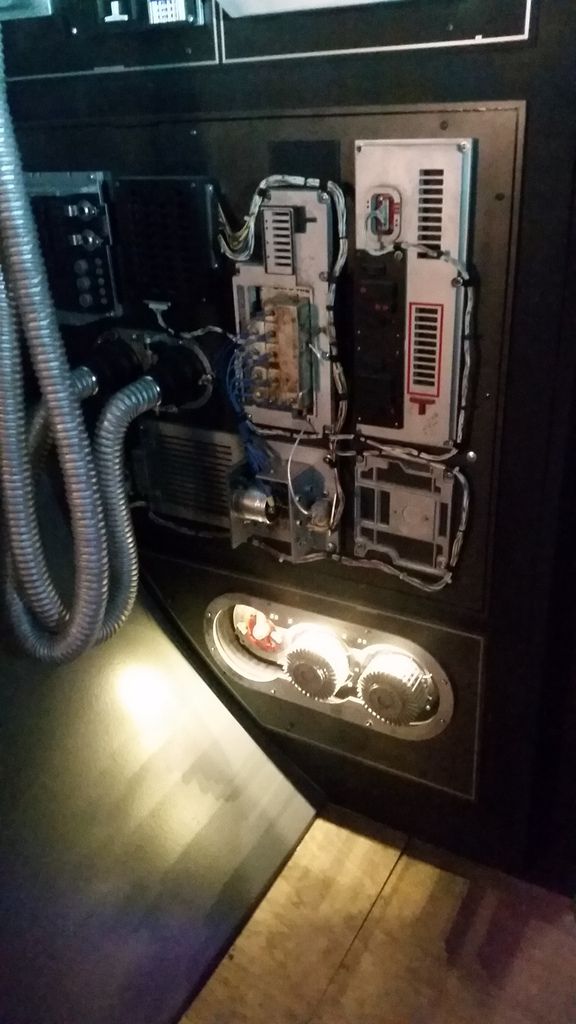
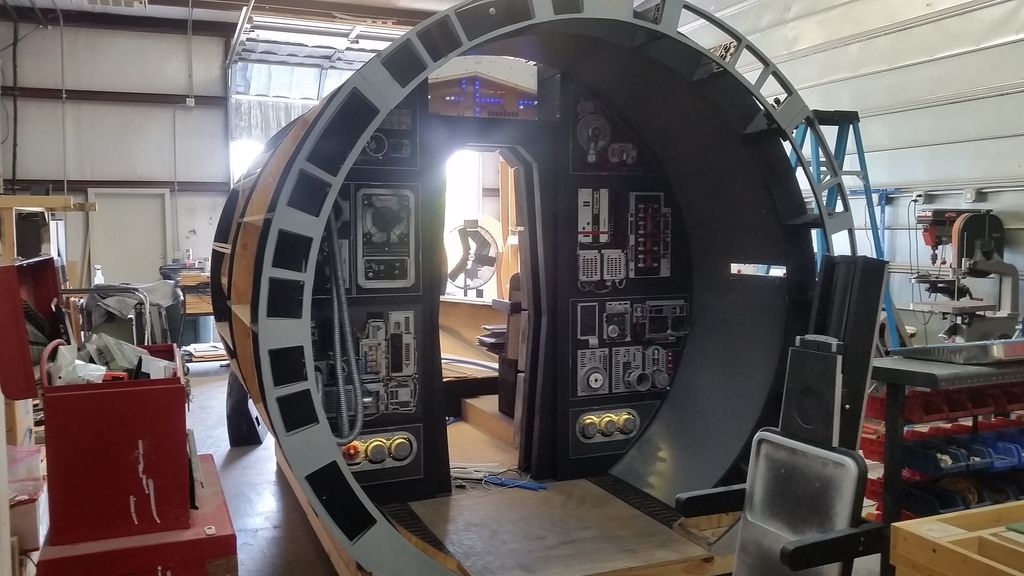
The floor grating is coming next!
And this...
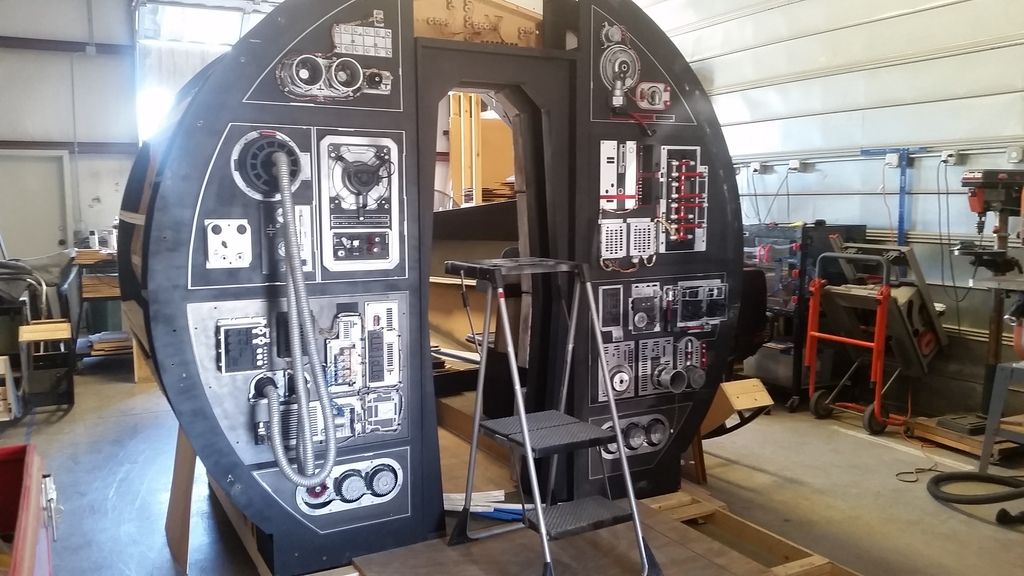
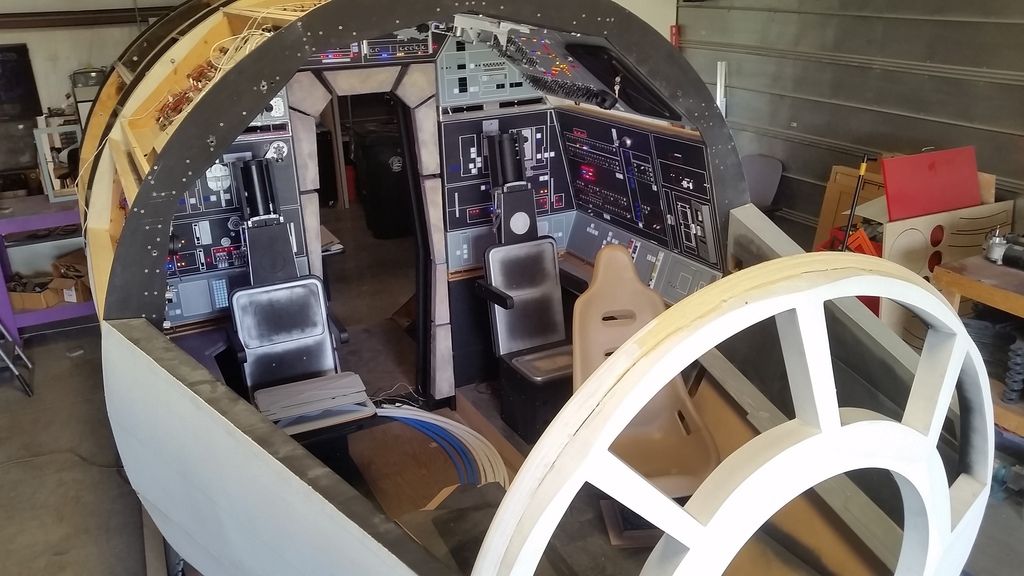
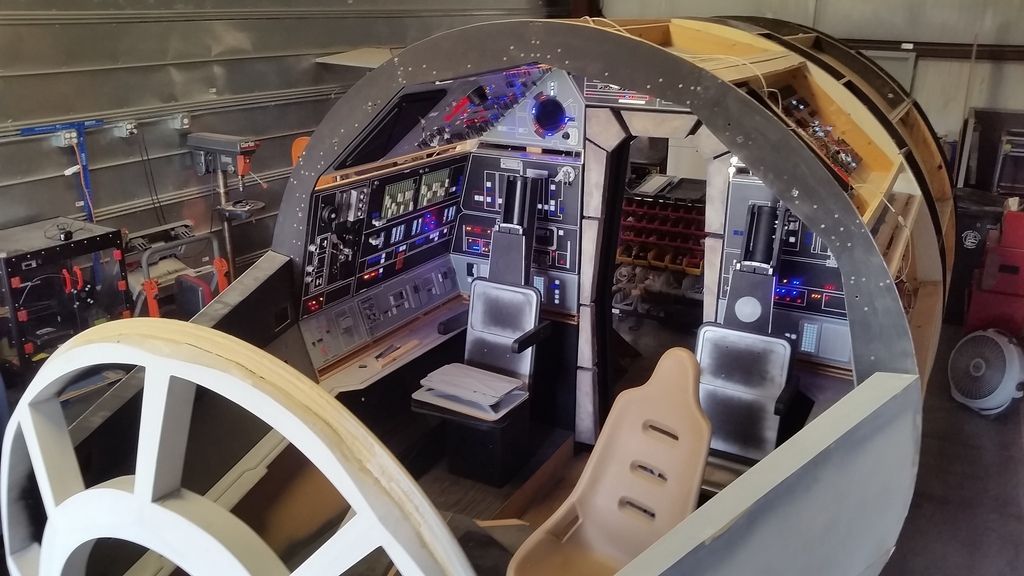
Is where we are!
WHEW! I've ordered lots of good stuff so PLEASE stay tuned for more MAJOR updates!
Cool stuff to follow!
EDIT: Head on over to the Facebook page! Daniel posted a vid of the illuminated ext panel!