sithfire30
Active Member
Re: THE NOSTROMO - 1:18 Scaled Interiors
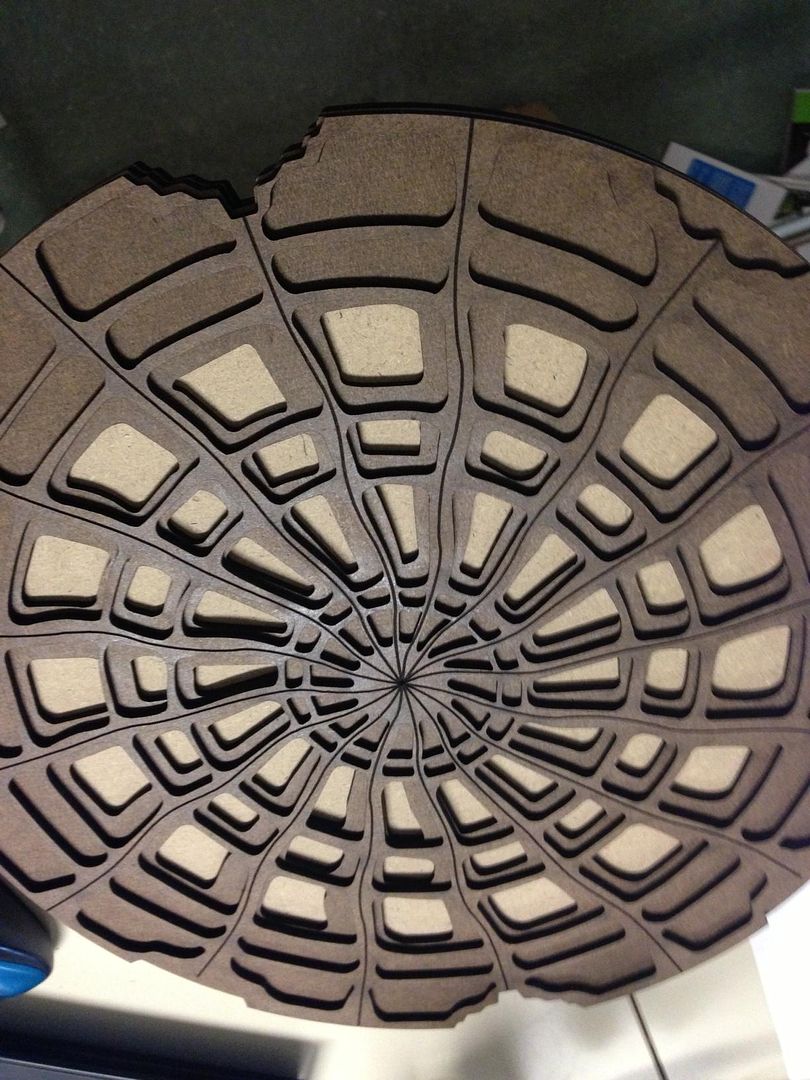
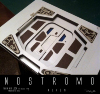
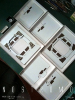
I'm building my corridors using mainly sheet styrene and sculptural pieces, along with many similar parts you have used. I am also laser cutting parts that require a more precise line. Once a corridor section is built, I make a mold of the section and cast it in resin to give me a clean copy to paint and detail. Right now I'm simply building the sections one piece at a time - eventually I will have modular sections created and can begin painting and detailing.
- - - Updated - - -
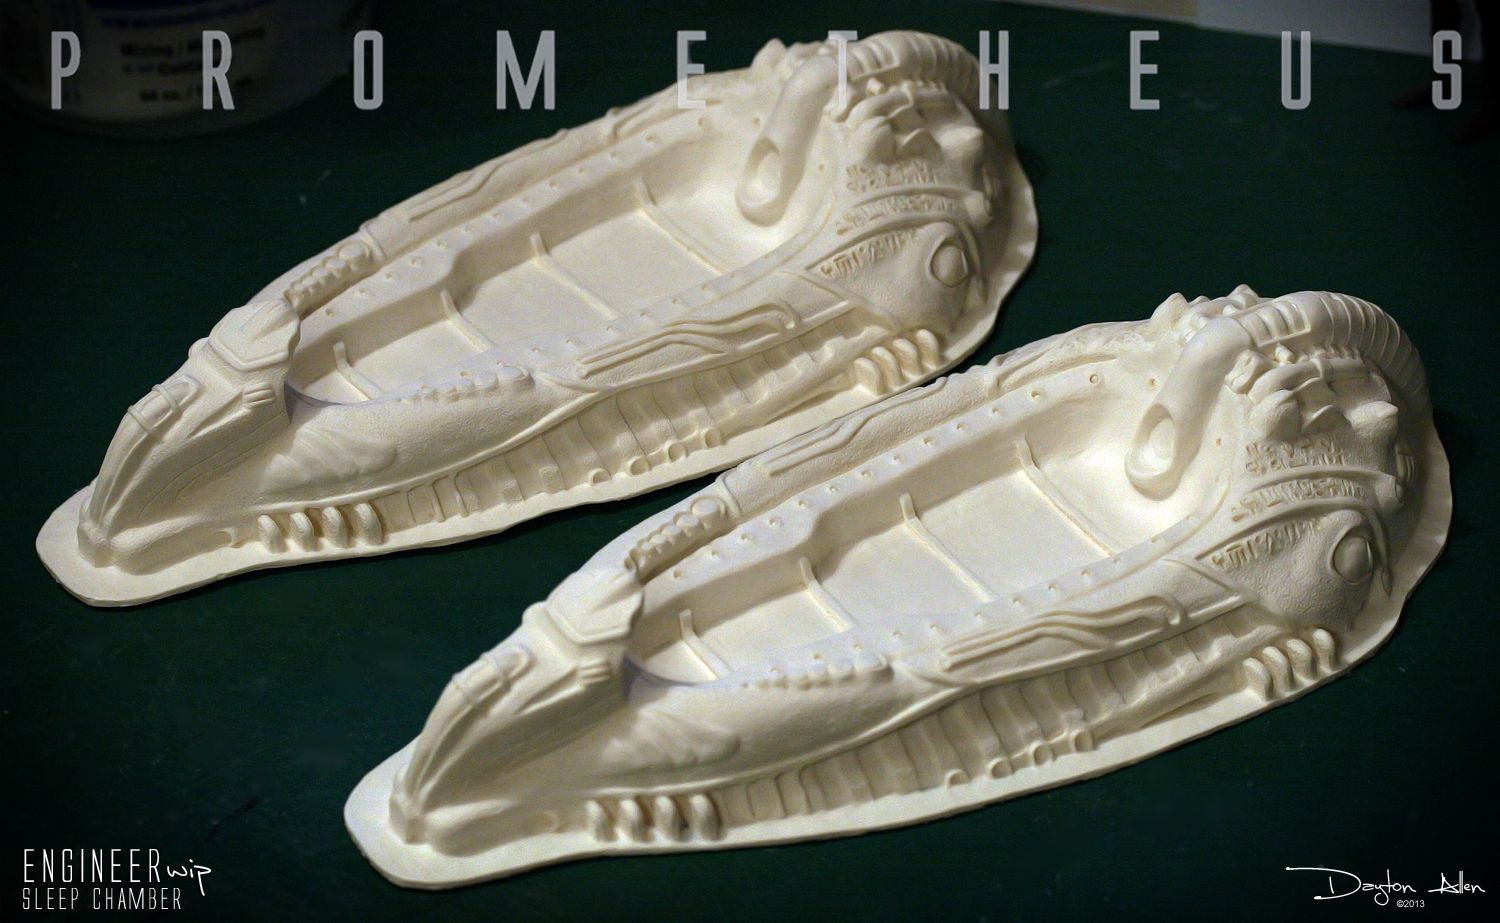
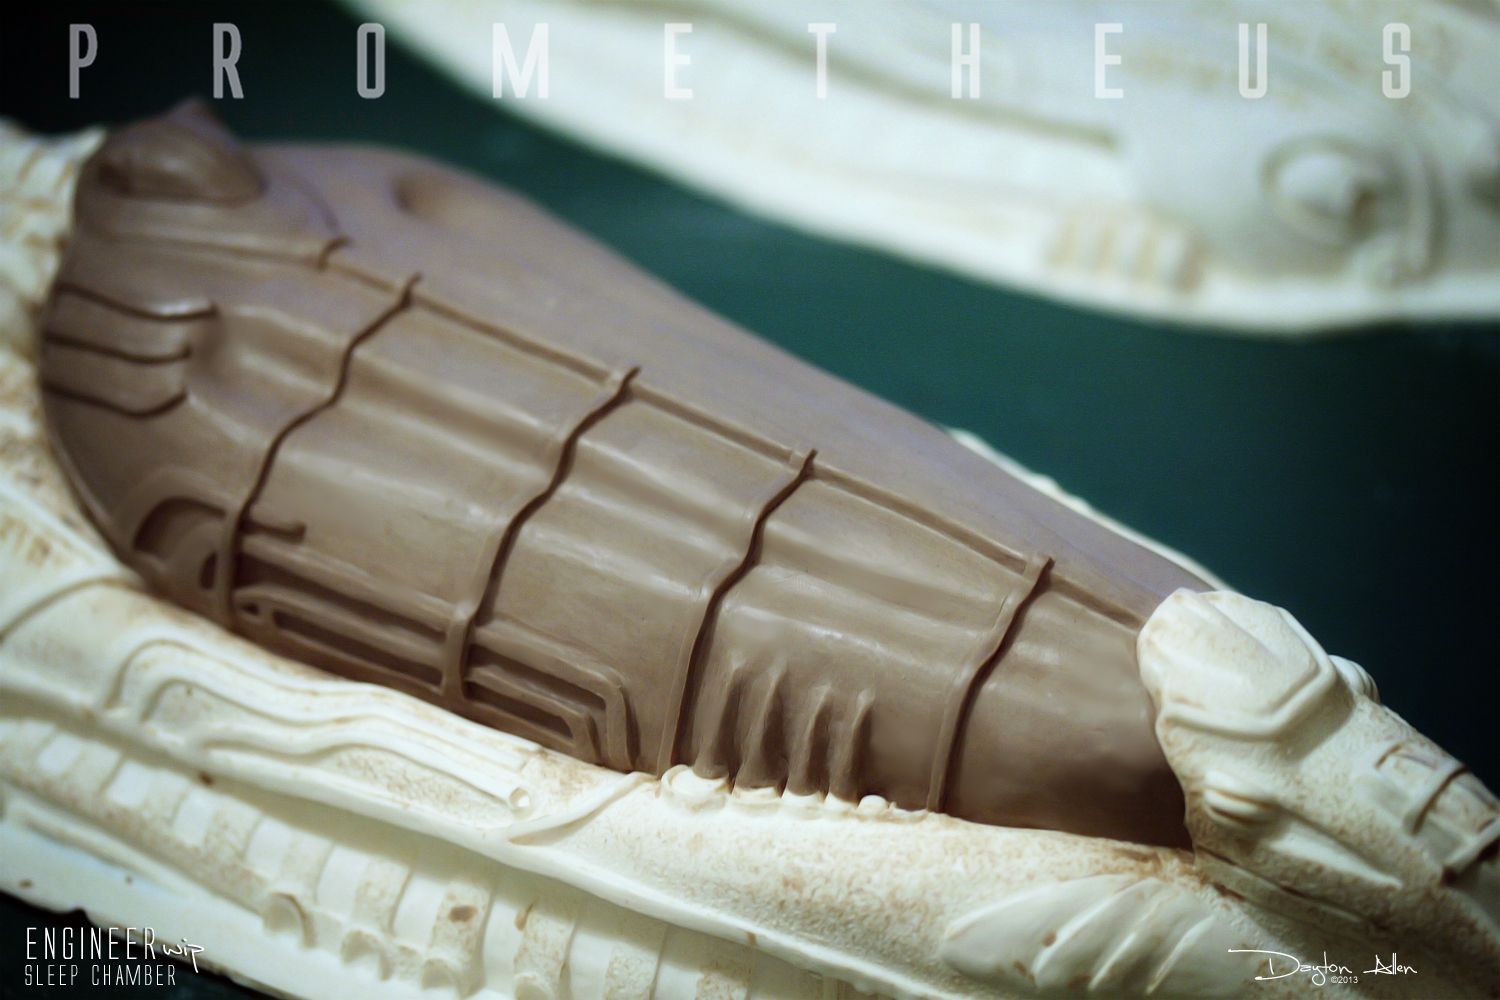
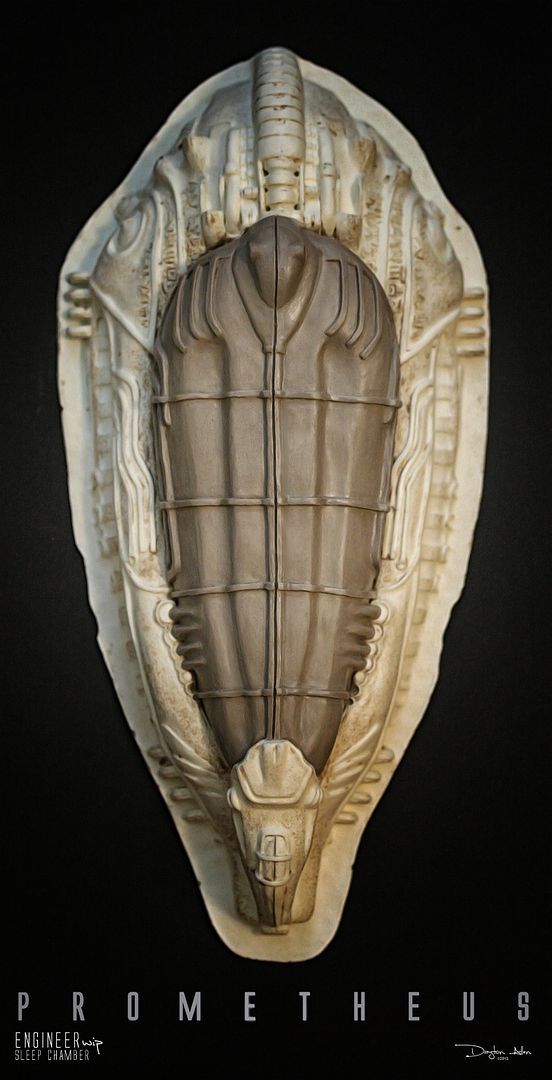
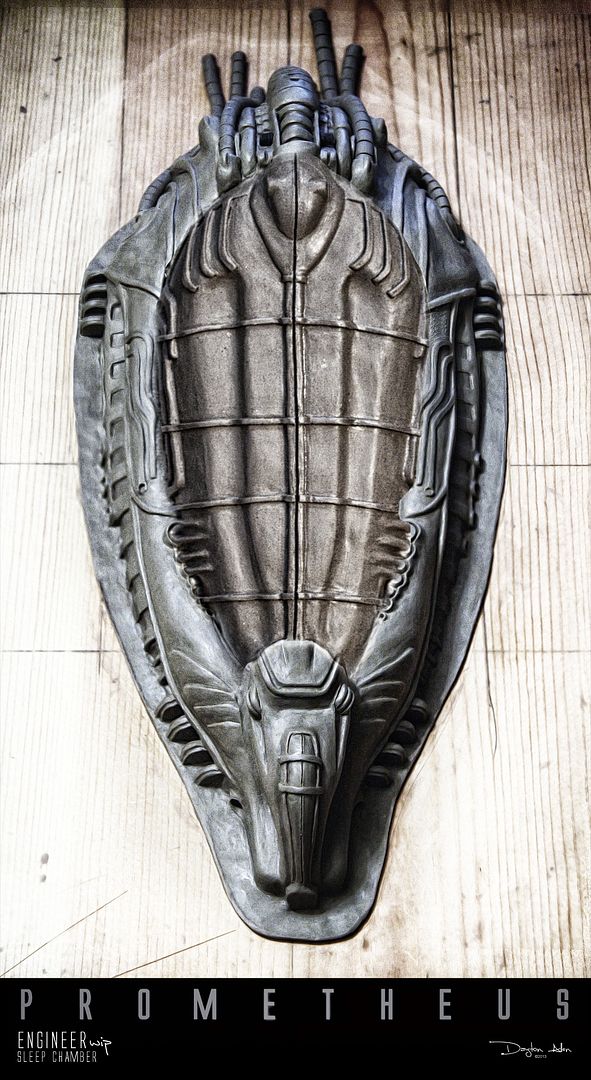
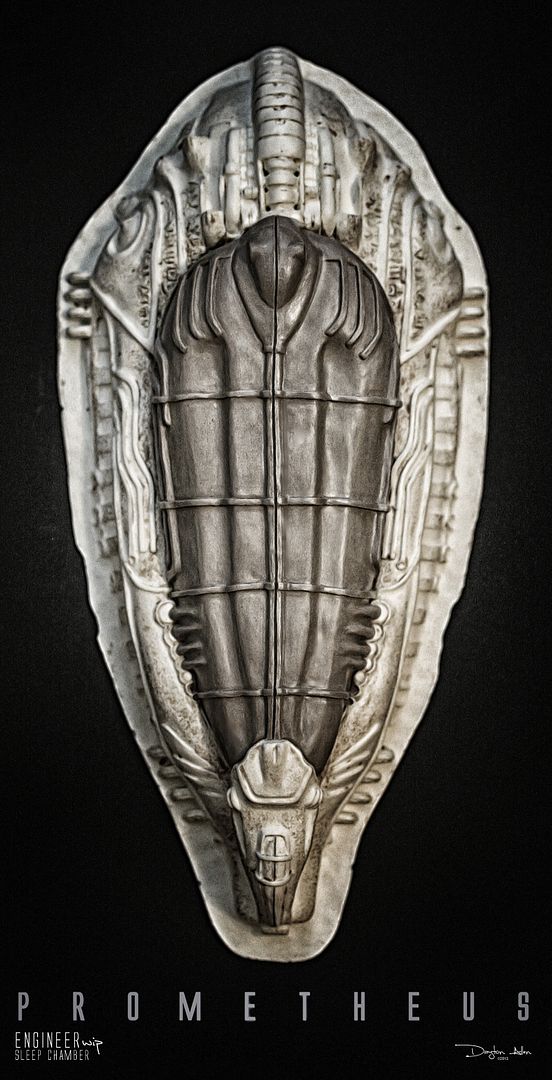
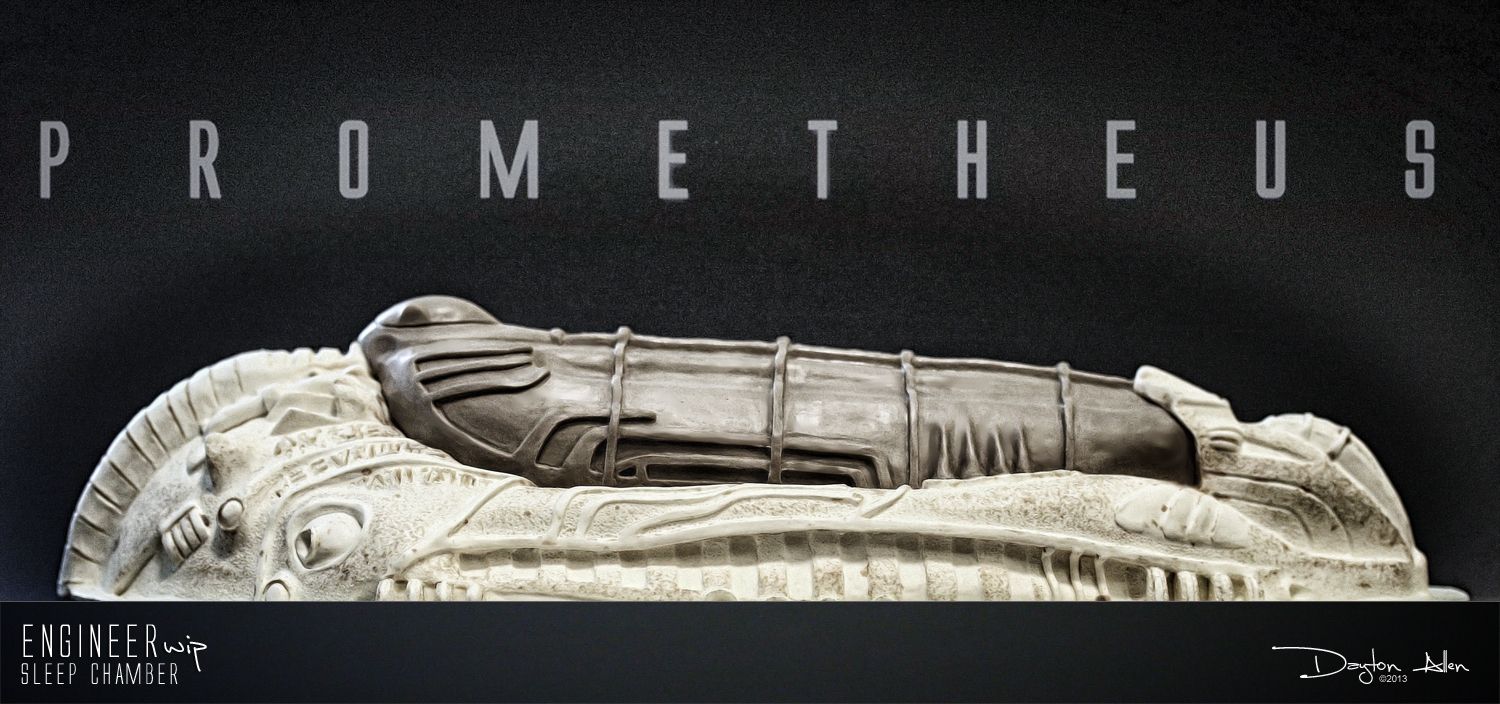
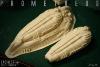
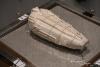
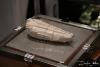
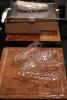
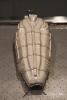
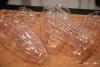
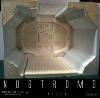
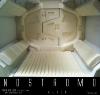
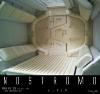
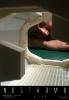
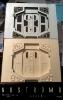
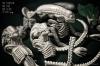
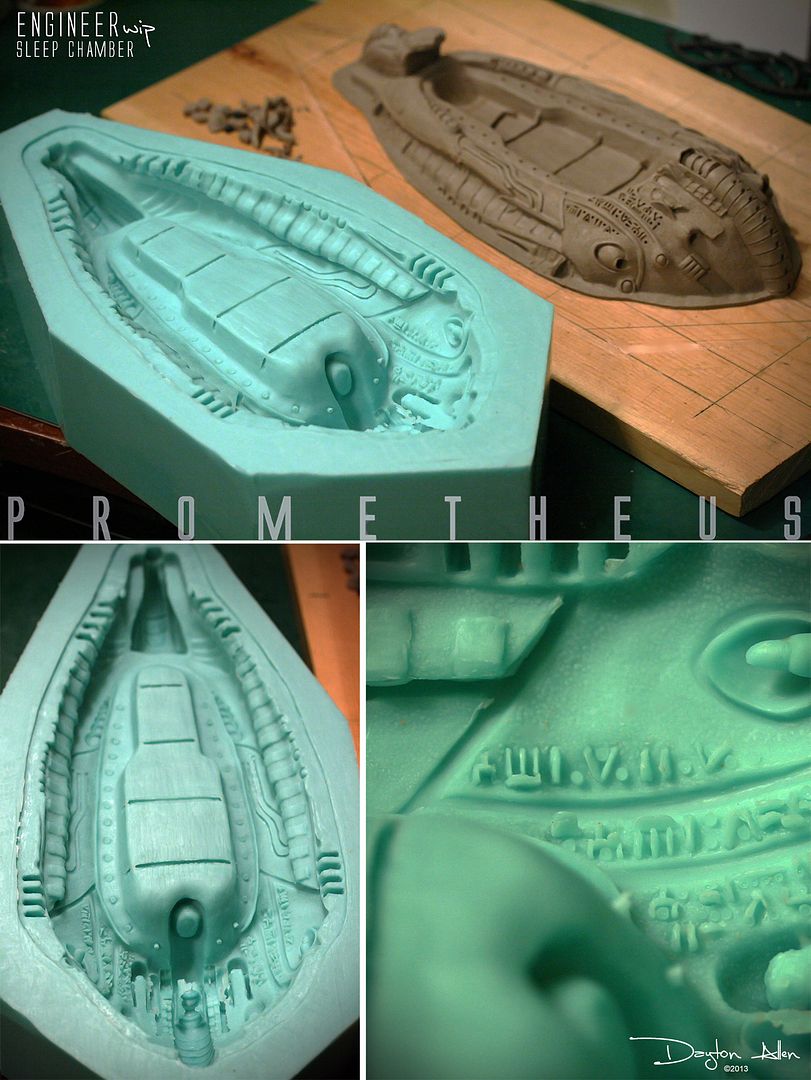
Created a mold for the first phase in building the Engineer Hypersleep Chamber! Came out great! Very clean and limited damage to the master sculpt. Tonight I will cast a couple copies to continue on to the second phase - the chamber's canopy.
Thank you very much Mr Slithfire, that's very kind of you to say so. C Deck is my favourite part of the Nostromo in the movie; being a railway engineer, corridors filled with machinery is right up my streetHow did you make your passageway sections, some kind of vacuum-forming?
I'm building my corridors using mainly sheet styrene and sculptural pieces, along with many similar parts you have used. I am also laser cutting parts that require a more precise line. Once a corridor section is built, I make a mold of the section and cast it in resin to give me a clean copy to paint and detail. Right now I'm simply building the sections one piece at a time - eventually I will have modular sections created and can begin painting and detailing.
- - - Updated - - -
Created a mold for the first phase in building the Engineer Hypersleep Chamber! Came out great! Very clean and limited damage to the master sculpt. Tonight I will cast a couple copies to continue on to the second phase - the chamber's canopy.