Yoda VD lightsaber discussion

Nice! Sounds a lot easier than my method... Had my father-in-law machine away the black on my Bosley cap and then ADD knurling.

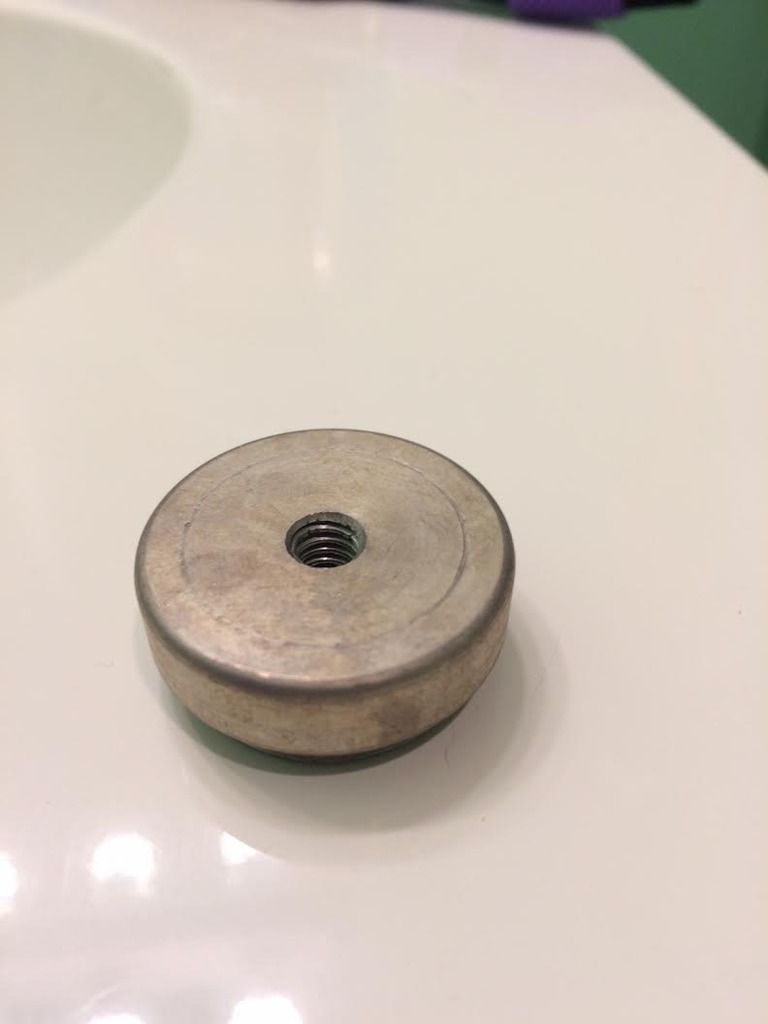
ok so, i got home super late today but there was still sunlight out. my praco has the black knurled cap. it has knurling all the way around, it doesn't have the holes drilled. but it is anodized black.. so its the right looking cap except its black instead of raw aluminum

i was reading all night last night that oven clean removes it, so since there was some daylight left i decided to give it a go. i usually take plenty of pictures but i was in a rush to beat sundown.

i went to the recycling bin and grabbed a tin can ( corn ) i washed it out and put it on my work area outside. then i tied a string to the spring on the end of the praco cap. so now the praco end cap is dangling by a string. i got a milk jug and cut the top off and filled it with warm soapy water, and grabbed a rag along with rubber gloves and a wire brush.

i sprayed the oven clean inside the clean corn can until there was about 1" of foam. i then dropped the cap in it holding the string so i can pull it up and check how much anodize is left. to my surprise it was like instant the second the cap touched the foam! i would dunk the cap in the oven clean foam, then dunk in the warm water. i did this roughly 10 times. in all honesty it was less then 1 minute of dunking. this i timed because i didnt want to burn the aluminum like i purposely did on the V2 to show age

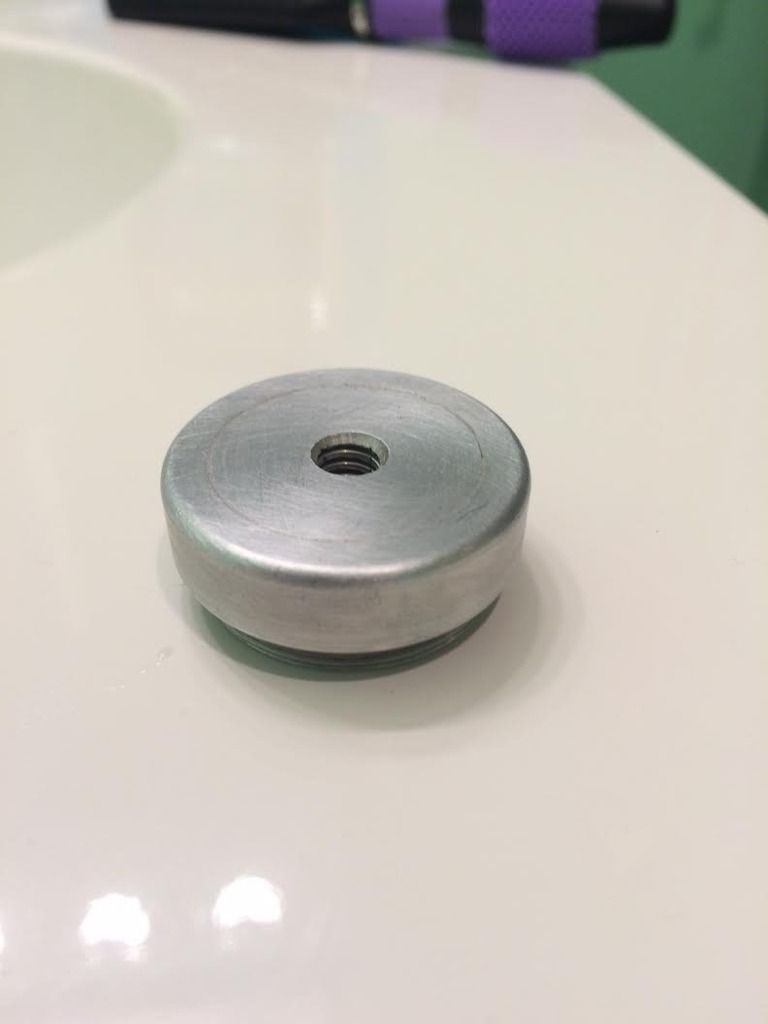
during these dunkings towards the end the black anodize was still inside some of the knurling, not to much but enough to be noticeable. i just hit it with the wire brush and done. like i said no more then a minute. it looked alittle dull, but i think it was just the age of the aluminum, so i then brought it inside and filled the sink with warm soapy water and hit it with scotchbite. brought it right back to life. i will post a finished picture tomorrow

i just wanted to share with everyone if you see a praco in the future with the black knurled cap its not the end of the world, that black anodize falls right off with oven clean!

good luck
 
Nice! Sounds a lot easier than my method... Had my father-in-law machine away the black on my Bosley cap and then ADD knurling.

see I knew it could be done!!! my machinist friend didn't want to try it on my no knurled cap! he was afraid it would warp it

I knew there was enough material there to be safe!

if your brother in law is willing, I bet a bunch of guys would want their caps knurled!
 
LOL. As hopeful as that sounds, it didn't turn out that great... :\ The aluminum is so soft it ended up chattering while cutting the knurl. So it ended up looking a bit messed up unfortunately. Maybe one day when I have a small lathe, i'll tackle trying to get some better knurling out of these Bosley endcaps.


aww shucks, I'm sorry to hear.. :( maybe just try and fabricate the hole cap from scratch? you could always buy a bolsey with the knurled cap with brass prongs, and bring that to a machinist. see how much it would cost to fabricate it without the holes machined for the brass prongs
 
whats up yoda saber gang!

so tonight i organized my new workbench and dug out all my yoda saber stuff I've been hiding. now with the clean cap I'm ready to start moving forward. my praco doesn't have the brass slide rivet on it.

attachment.php


Andy had a extra bosley so i grabbed one from him and it has the brass slide rivet but its on the opposite side of the flash compared to this picture above. (which came out to 1.325") so i was going to transfer the slide rivet form the bolsey to the praco. but now i have begun to worry... i measured the distance of the rivet hole to the top of the bolsey flash after i removed it. BUT i now have some butterflies... is the praco the same measurement from the top? if i drill too high i will have a ugly hole drilled into the praco..

does anyone know the exact measurement of the rivet above? from the top of the flash tube to the rivet (not the top of the wheel)

i also came on here looking for measurements of grip locations and stuff but i can't seem to find them anymore? i know i had saved it on my old PC but that thing is destroyed now:(

any advice for finding the location of where to put the brass slide rivet?

i appreciate it gang! as always have a good night!

danny
 
whats up yoda saber gang!

so tonight i organized my new workbench and dug out all my yoda saber stuff I've been hiding. now with the clean cap I'm ready to start moving forward. my praco doesn't have the brass slide rivet on it.

http://www.therpf.com/attachment.php?attachmentid=285780&d=1392314290&thumb=1

Andy had a extra bosley so i grabbed one from him and it has the brass slide rivet but its on the opposite side of the flash compared to this picture above. (which came out to 1.325") so i was going to transfer the slide rivet form the bolsey to the praco. but now i have begun to worry... i measured the distance of the rivet hole to the top of the bolsey flash after i removed it. BUT i now have some butterflies... is the praco the same measurement from the top? if i drill too high i will have a ugly hole drilled into the praco..

does anyone know the exact measurement of the rivet above? from the top of the flash tube to the rivet (not the top of the wheel)

i also came on here looking for measurements of grip locations and stuff but i can't seem to find them anymore? i know i had saved it on my old PC but that thing is destroyed now:(

any advice for finding the location of where to put the brass slide rivet?

i appreciate it gang! as always have a good night!

danny

When I created my Yoda saber based on my Bosley flash I left the brass rivet on the "incorrect side". This will cause my saber to be mirrored from the real Praco version. I didn't mind this much for my build, as muggles won't know any better...

When it came to assembling components and adding the grips, I referenced this below blueprint from the VD as well as pictures of original Praco version people have posted here. Between the two sources I came up with my own representation.

yoda_blueprint.jpg
 
When I created my Yoda saber based on my Bosley flash I left the brass rivet on the "incorrect side". This will cause my saber to be mirrored from the real Praco version. I didn't mind this much for my build, as muggles won't know any better...

When it came to assembling components and adding the grips, I referenced this below blueprint from the VD as well as pictures of original Praco version people have posted here. Between the two sources I came up with my own representation.

View attachment 624098

this is exactly what I was talking about!! thank you very much!

I think with all these measurements I can find the right spot to drill now, thank you!!
 
Ok guys, its been a long day. my plan was to have my girlfriend hold the camcorder she got me for xmas and show a detailed video on how to remove the anodize. but she was forced into a double shift, i explained to her that i needed her today and explained the above. thats when she told me ".... duuuh thats why i got you the tripod!" LOL i totally forgot about that! so i set it up in the back yard and made this little video showing you how I removed the anodize with simple house hold oven cleaner.

i used the bolsey cap for a example, honestly the bolsey cap had a thicker coat of anodize then the knurled praco, but you will see how i handled it. hope this video helps!!

https://youtu.be/bdkrYgCARlw


This is how the cap looks after that soaking it got in the video. it doesn't take long before the oven clean ages the metal surface. no worries, just fill the sink with warm soapy water and rub it with some scotchbrite under the water.

cap1.jpg


here is 30 seconds of scotchbrite rub down. you can always polish this back up if you want

cap2.jpg
 
Good news everyone! What do we think of this first attempt? I need to increase the height of the lowest cylinder on the bottom. But besides that, I think it's pretty close.

1. I did not include the valve stem from original. (too small to print correctly, plus this can help identify my version)

2. I designed this version with the hole already there for mounting the emitter. No need to drill thru the complicated hub round on original.

3. Already colored black, just need to slightly clean and spray another layer of black of your choice.

4. I do not have the correct mounting screw right now so it's being barely held by the original Bosley.

Wheel_1.JPGWheel_2.JPGWheel_3.jpgWheel_4.jpg
 
Thanks guys. I'm pretty impressed by the quality of this high-definition acrylate. The print lines are very crisp and clean. Looks damn good the way it came, and after a thin layer of paint I'm thinking it will look even better. Overall I think this first attempt turned out pretty great. I will be fine-tuning some areas soon and then I will have an updated one made. If everything turns out good, I'll order a small batch of these to sell here for everyone.
 
So the original wheel does have the valve stem? I just ordered a model off the Bay for under $30, but the wheels were chromed and the stem kinda threw me a bit. The model number looked correct so here is hoping. Now I need to get ahold of sjanish for the oilpan and maybe grips. Any car parts store would/should have the carb jet right? Dunno what I'll do about the nut yet
 
Well, my model came in! The only problem is that it was mostly assembled so now I need something to dissolve model glue. The odd part was is that the correct shorter wheels were in the rear with the larger tires and the taller wheels in the front. Another thing I noticed was the spare has a slightly smaller diameter than the correct wheel.
IMG_3197.jpg


Also, I've only got Bolsey's for this which doesn't bother me at all but I did notice a difference in the top discs.

This one only has one slot for the shroud:
IMG_3359.jpg


This one has two slots:
IMG_9963.jpg
 
Did you ever get this off the ground? I'm in need of a wheel!

Thanks guys. I'm pretty impressed by the quality of this high-definition acrylate. The print lines are very crisp and clean. Looks damn good the way it came, and after a thin layer of paint I'm thinking it will look even better. Overall I think this first attempt turned out pretty great. I will be fine-tuning some areas soon and then I will have an updated one made. If everything turns out good, I'll order a small batch of these to sell here for everyone.
 
I was actually about to post on here soon.I had a second prototype made that I'm pretty happy with. But I've been super busy with work and school these last few months to get a bigger order made of these.

Did you ever get this off the ground? I'm in need of a wheel!
 
Here are some pics of the actual wheel, the first proto, and the second proto.

What's everyone's thoughts? I think I have a couple minor changes to do still, but I feel it's pretty close. Note some wall thicknesses like the bottom nub are thicker than the actual wheel because the thickness is too small to print properly, even using high definition. One of my updates will be to try to make that bottom nub have a thinner wall, closer to the real one.

Wheels_2.JPGWheels_3.JPGWheels.JPG

After I get a final prototype back that I am happy with I plan on ordering a small batch. Afterwards I'll have to setup my Premium Membership in order to create a Selling Thread.
 
Here are some pics of the actual wheel, the first proto, and the second proto.

What's everyone's thoughts? I think I have a couple minor changes to do still, but I feel it's pretty close. Note some wall thicknesses like the bottom nub are thicker than the actual wheel because the thickness is too small to print properly, even using high definition. One of my updates will be to try to make that bottom nub have a thinner wall, closer to the real one.

View attachment 652174View attachment 652175View attachment 652176

After I get a final prototype back that I am happy with I plan on ordering a small batch. Afterwards I'll have to setup my Premium Membership in order to create a Selling Thread.

talk about progress!! very very nice!!
 

Your message may be considered spam for the following reasons:

If you wish to reply despite these issues, check the box below before replying.
Be aware that malicious compliance may result in more severe penalties.
Back
Top