trekriffic
Sr Member
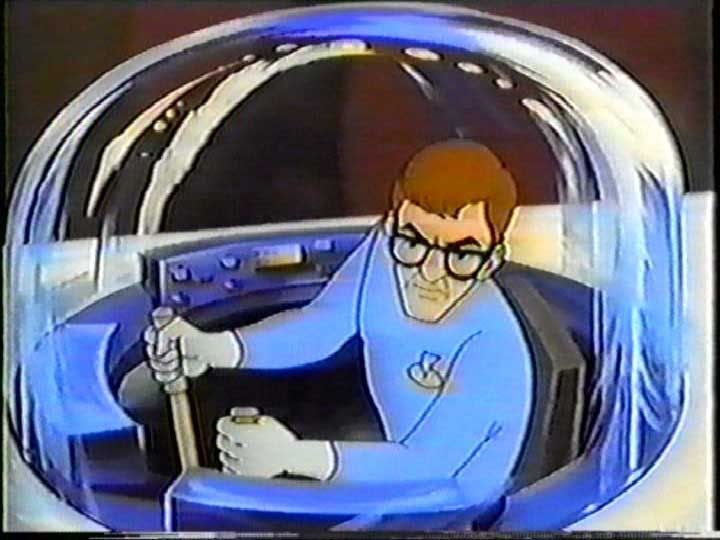
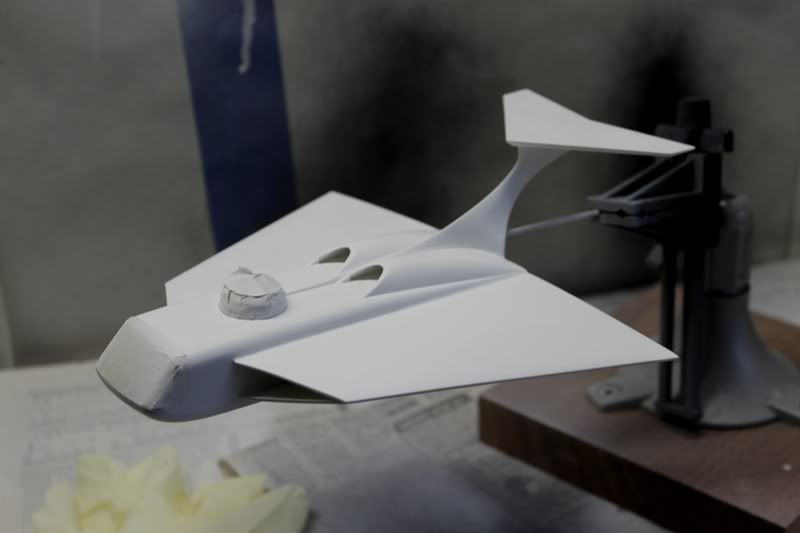
This is my build of the Voyager flying submarine from the cartoon, Fantastic Voyage...
Cartoon Intro on youtube with Ted Knight's voice:
Fantastic Voyage (1968) - OPENING - YouTube
Box Art:
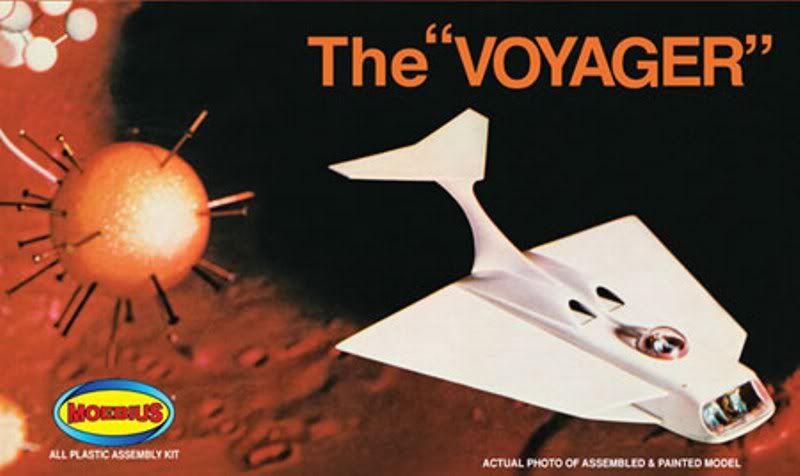
I originally built this kit back as a kid when Aurora first issued it.
When I heard Moebius was re-issuing it I had to have it!
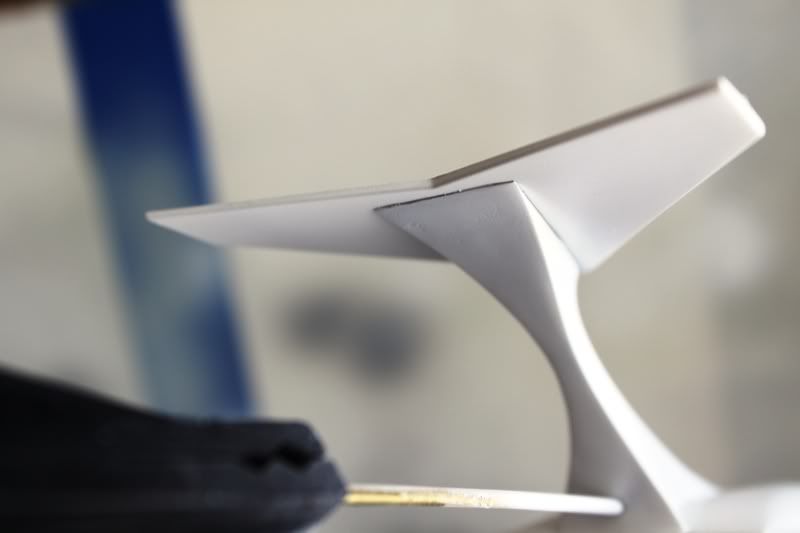
Then and now, I have always loved the design of this ship although how the thing could be steered was a mystery as it had no perceivable rudder or flaps.
This never bothered me as a kid though, if any model was made for zooming around the house this was it!
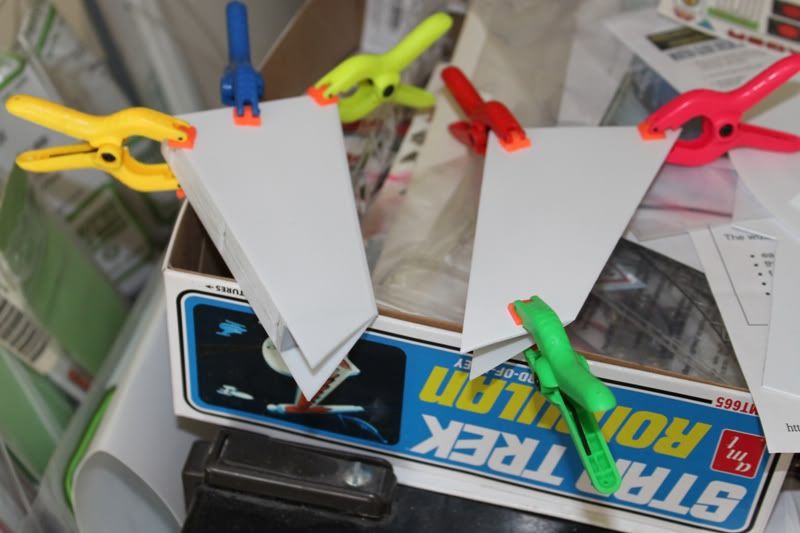
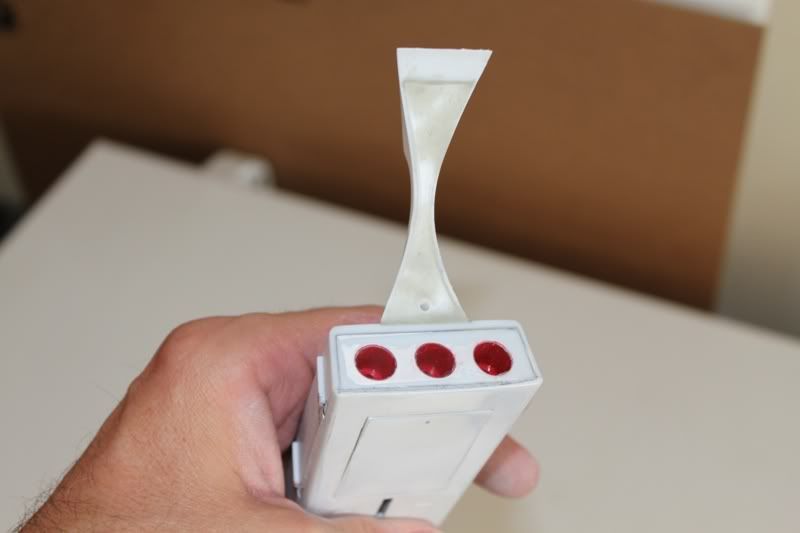
Anyway, here are some pics of my build progress...
Instructions:
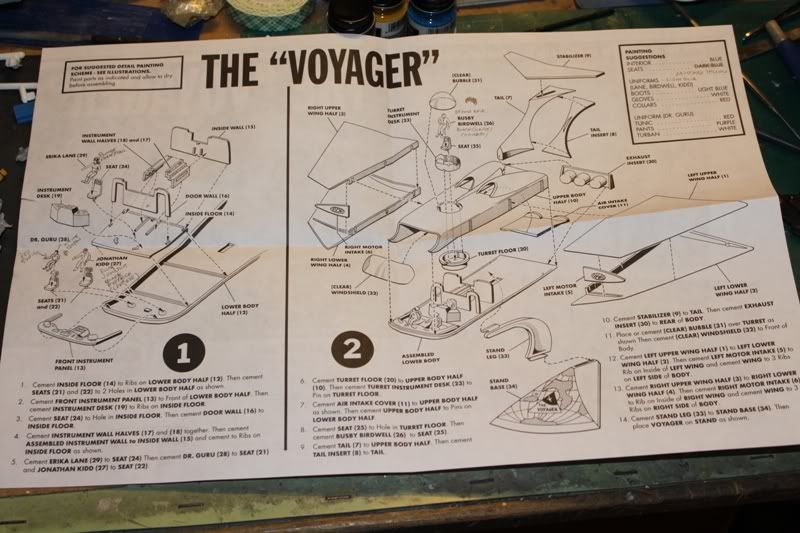
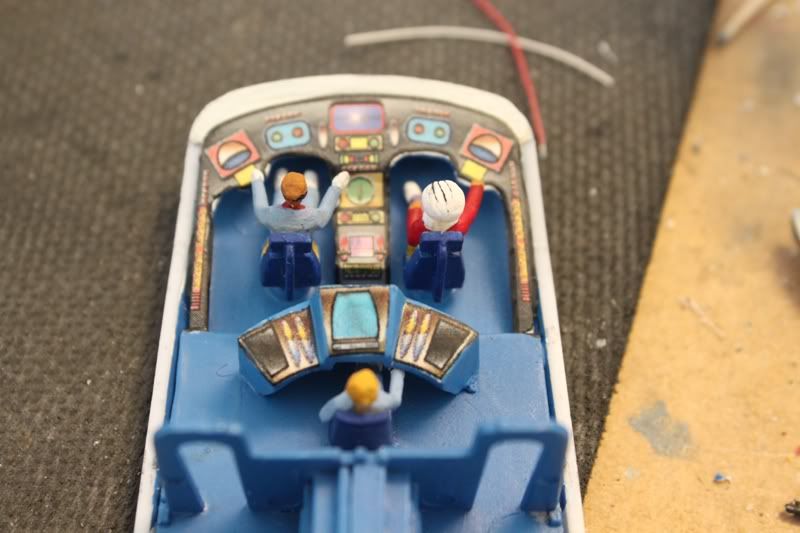
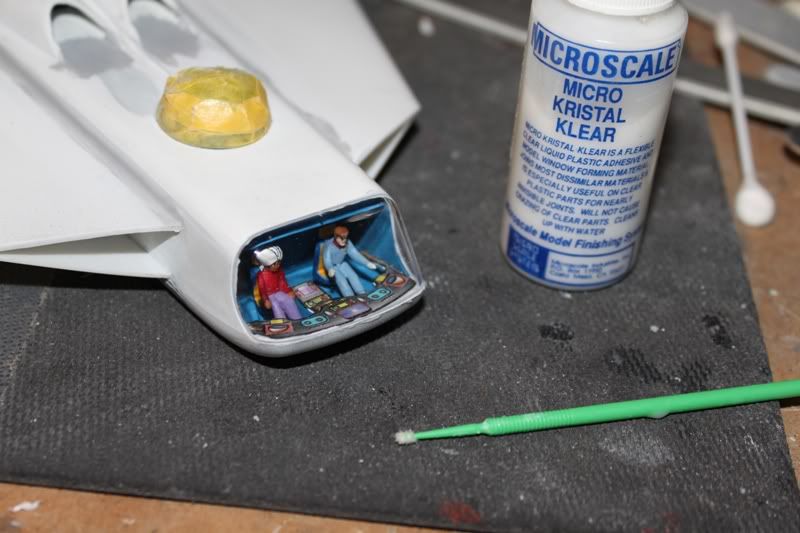
Pretty straightforward although it recommends gluing the turret floor to the upper hull ceiling before gluing in the instrument desk and clear bubble.
Test fitting proved to me that the desk and bubble need to be glued to the floor first (along with Busby Birdwell in his seat) and then the whole assembly can be glued to the upper hull opening.
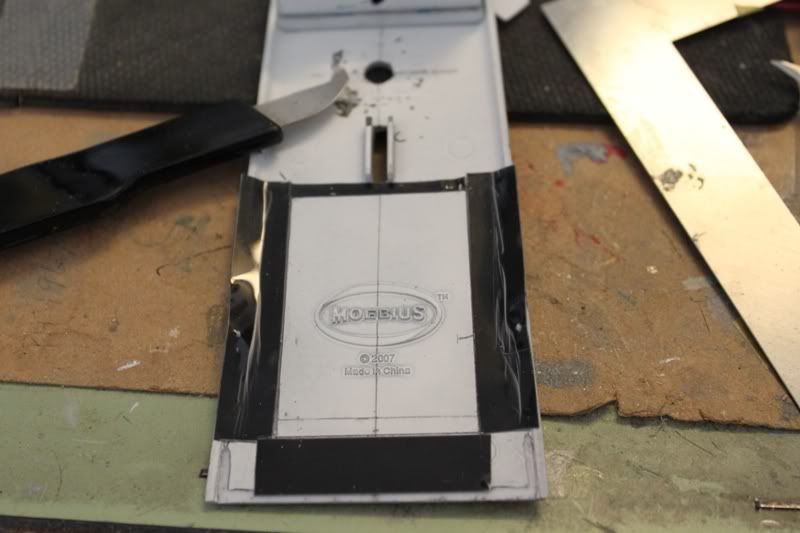
TSDS Decals:
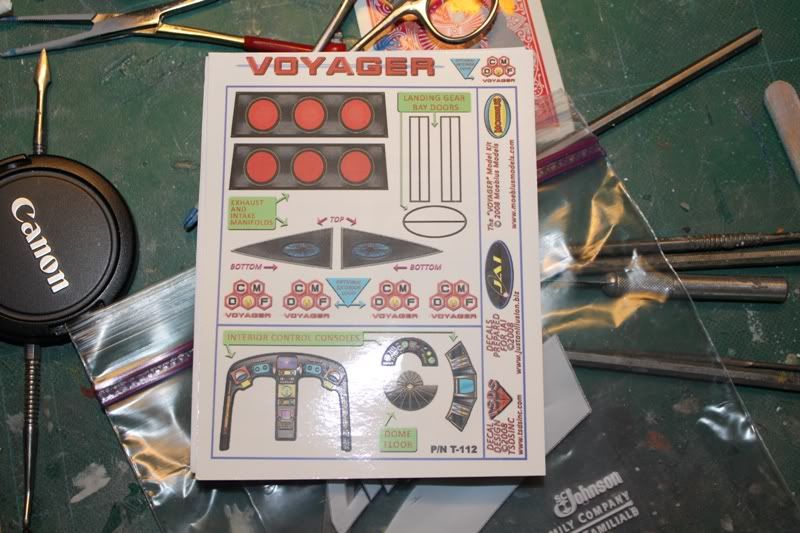
I got these from TSDS for the instrument panels mostly.
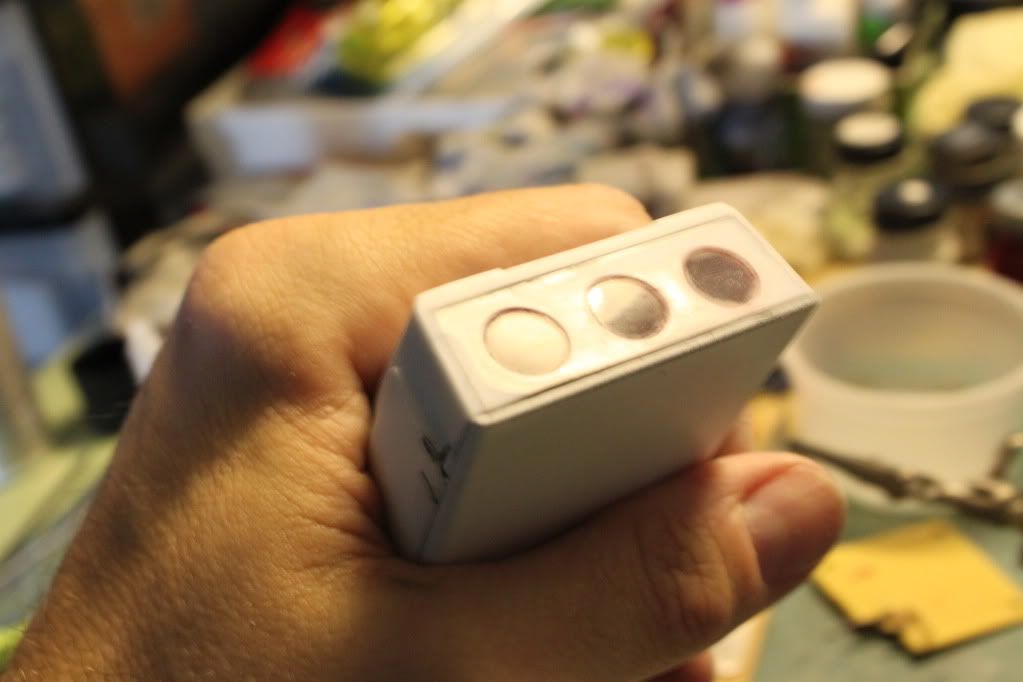
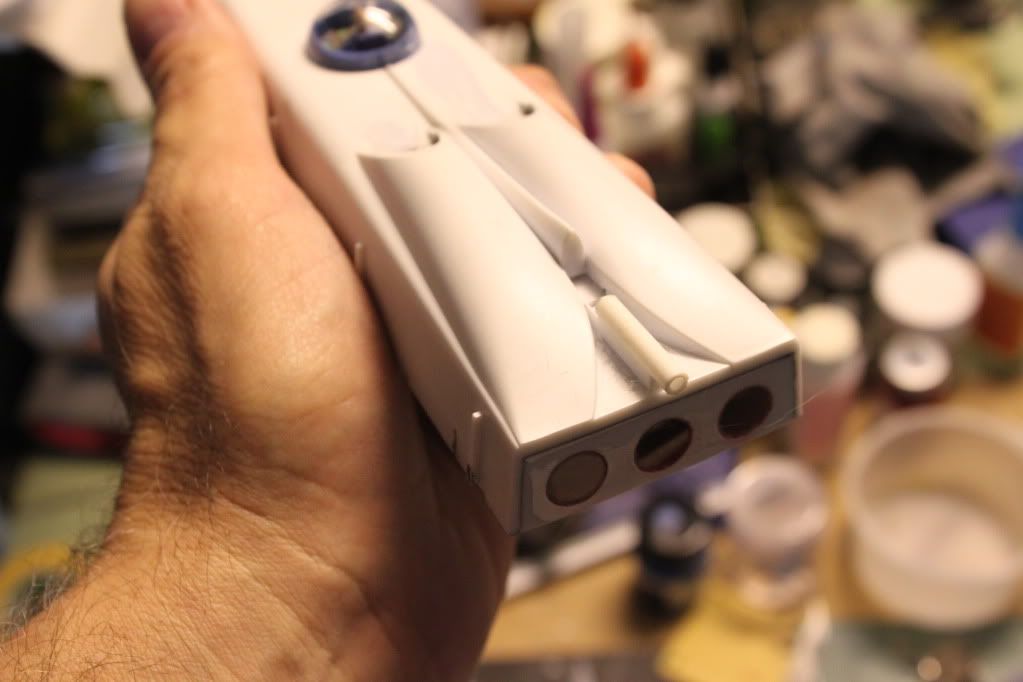
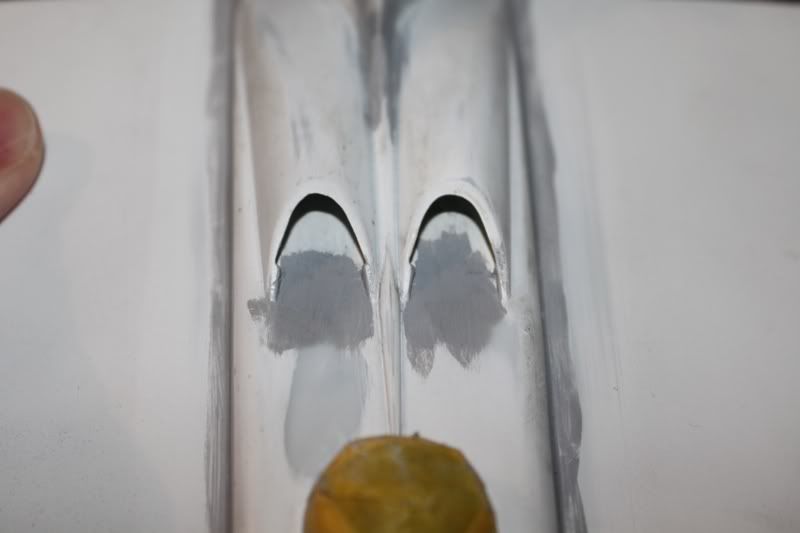
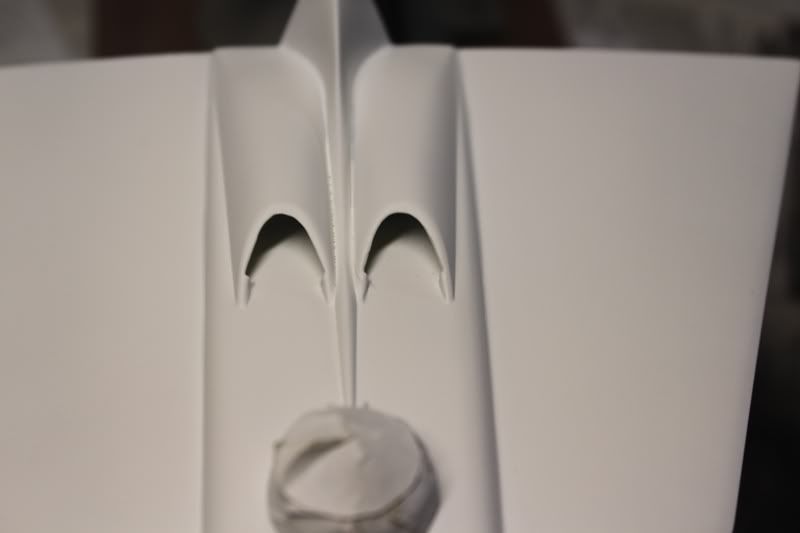
Now I've decided to use the ones included for the motor intakes and exhaust ports.
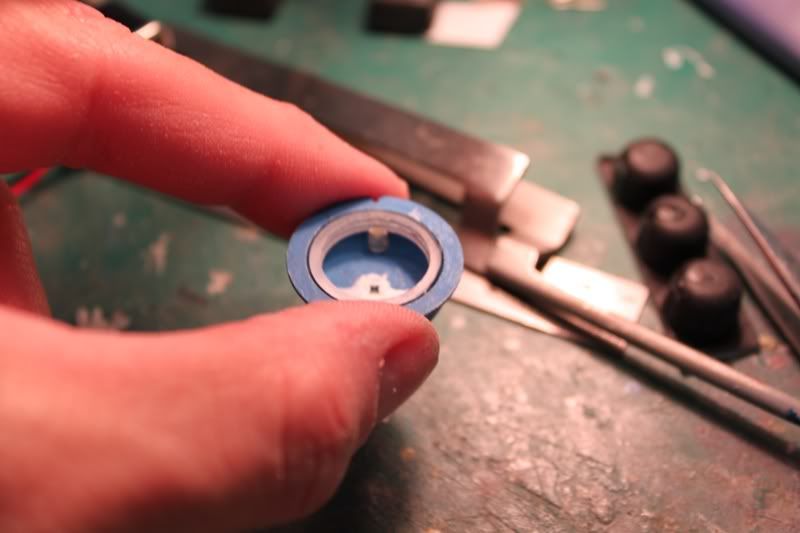
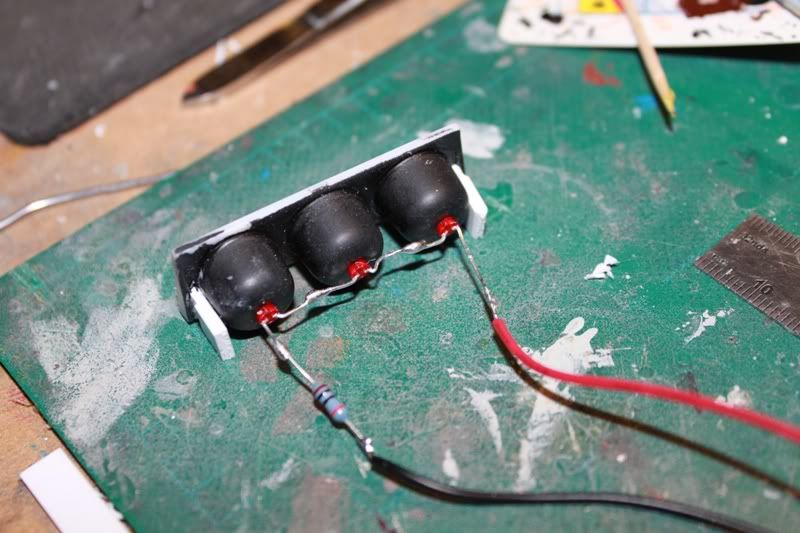
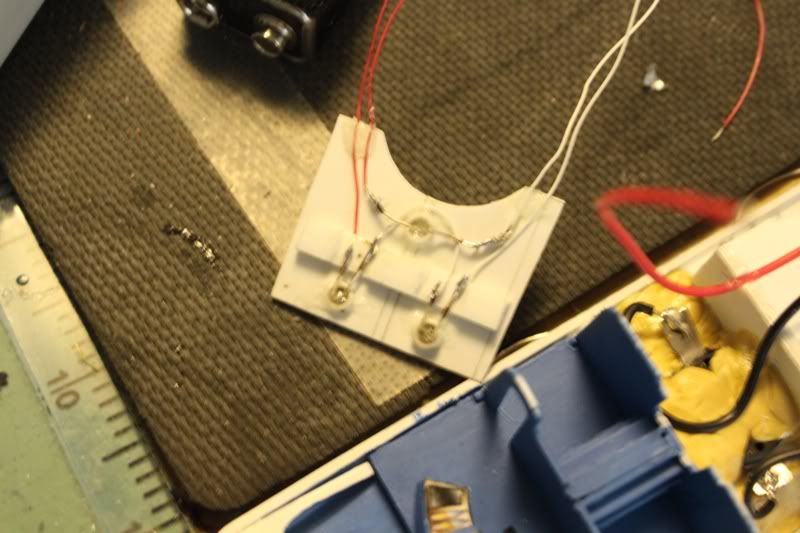
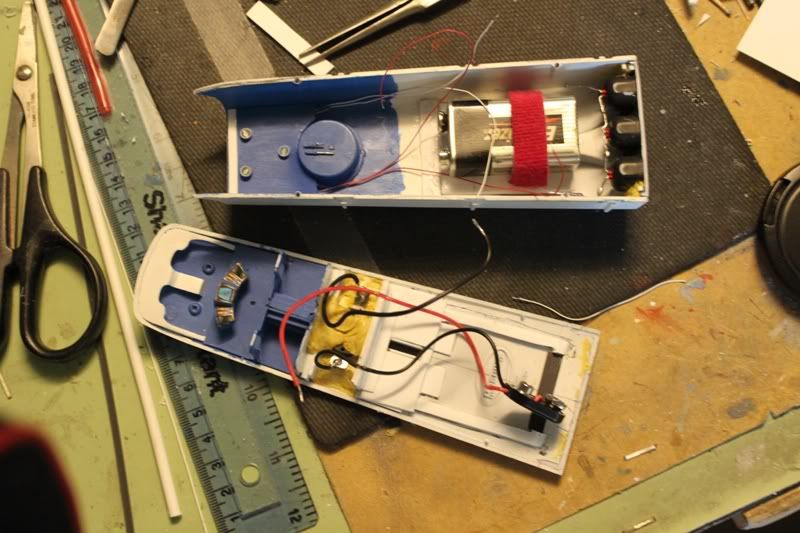
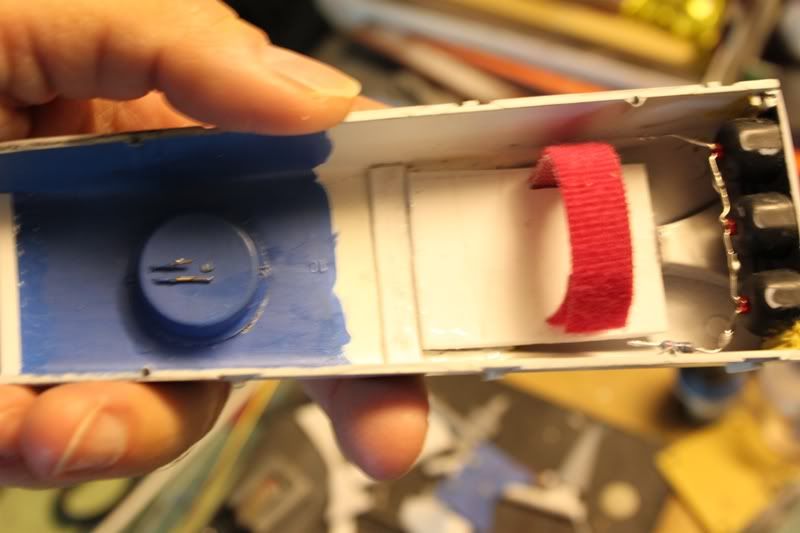
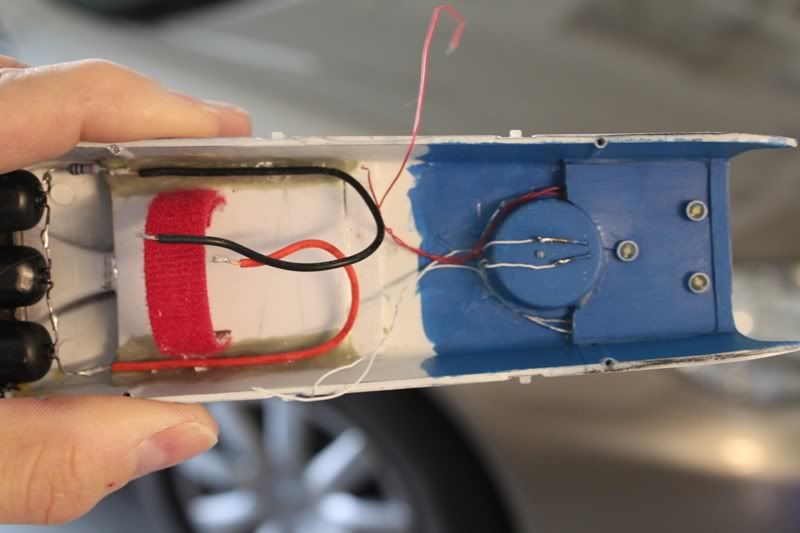
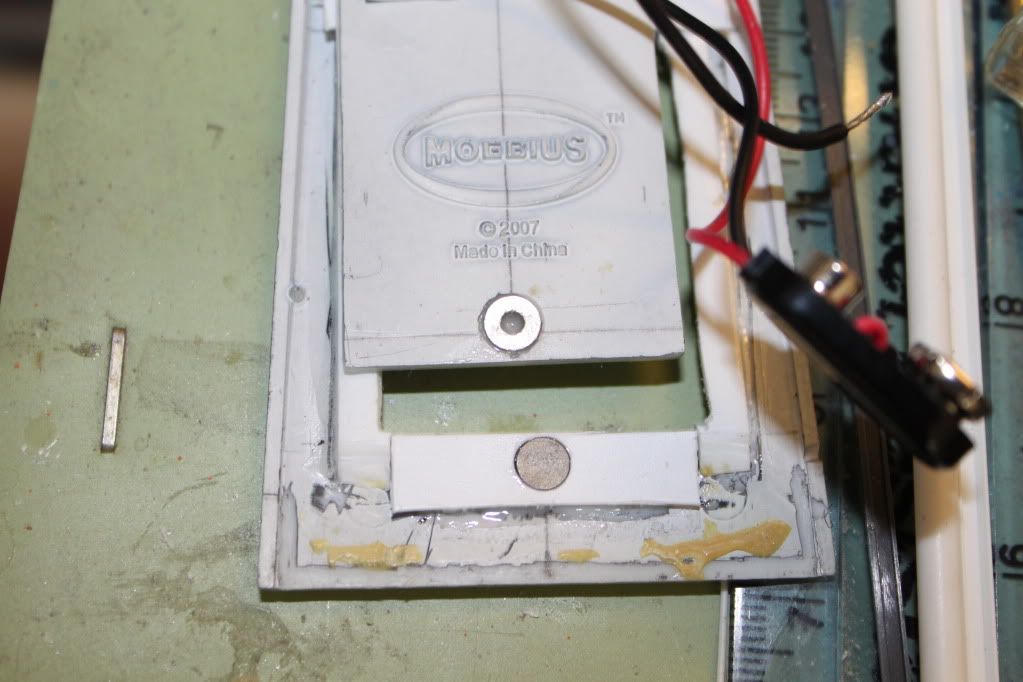
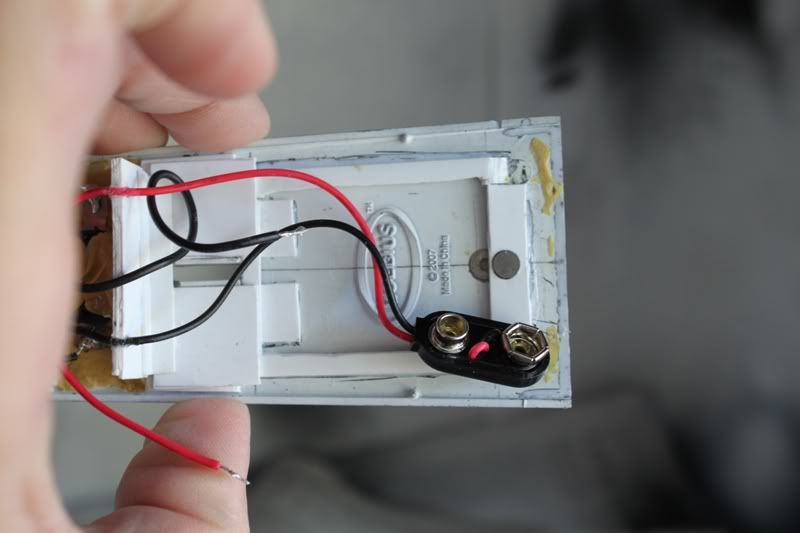
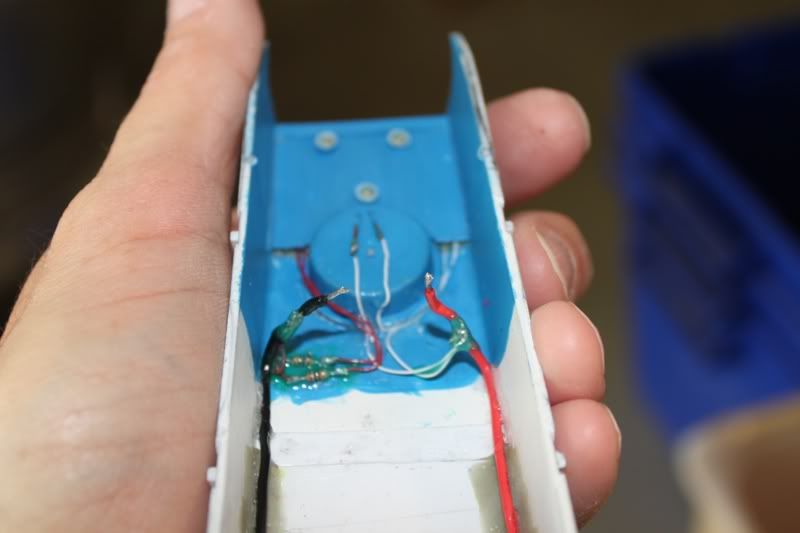
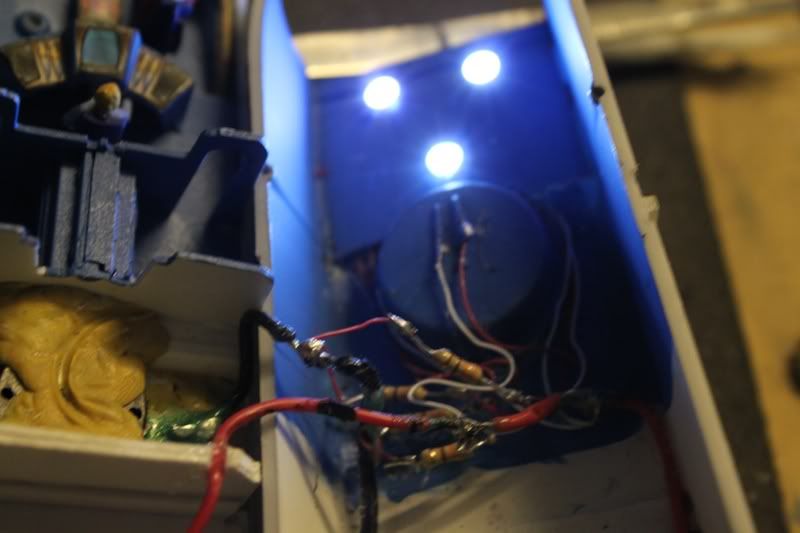
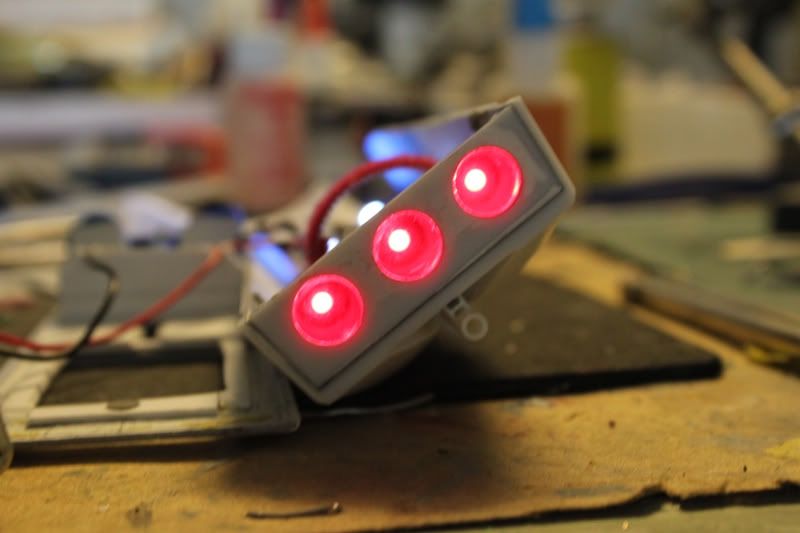
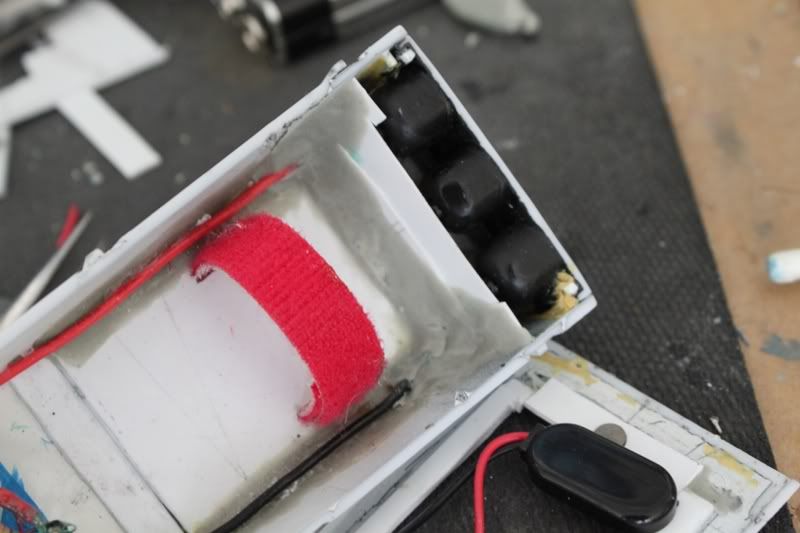
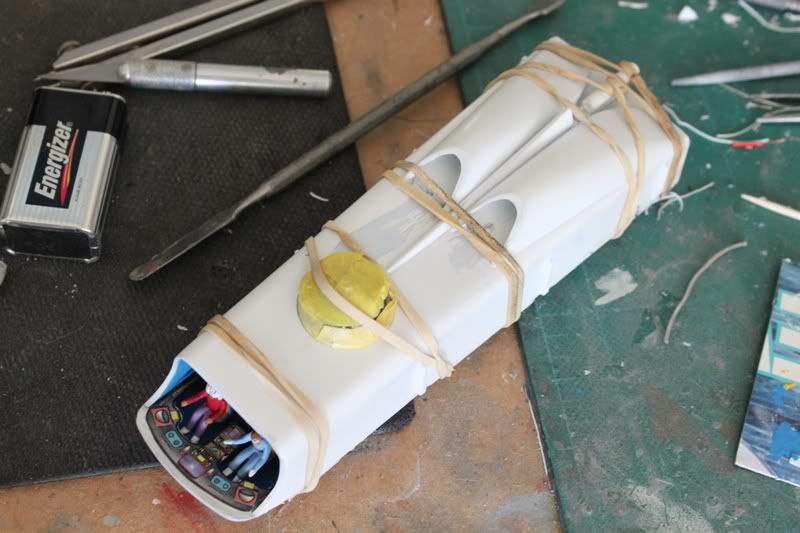
I plan to install a 9V battery and light up the interior and the bubble.
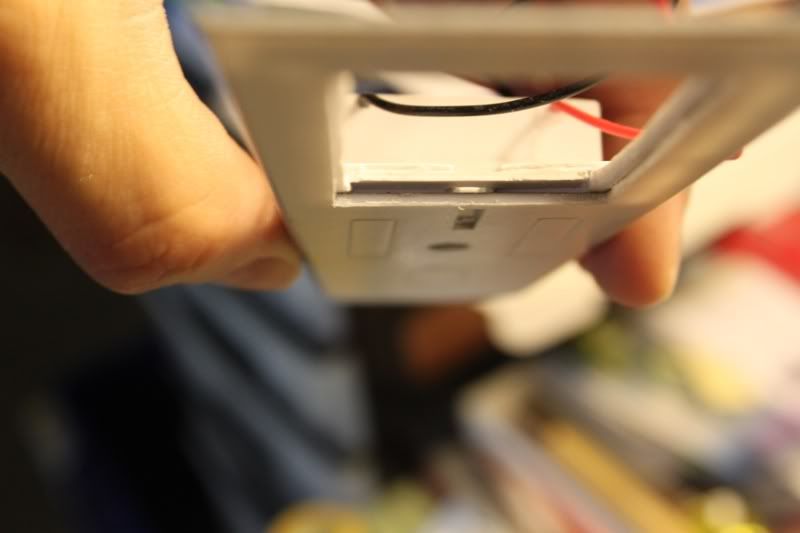
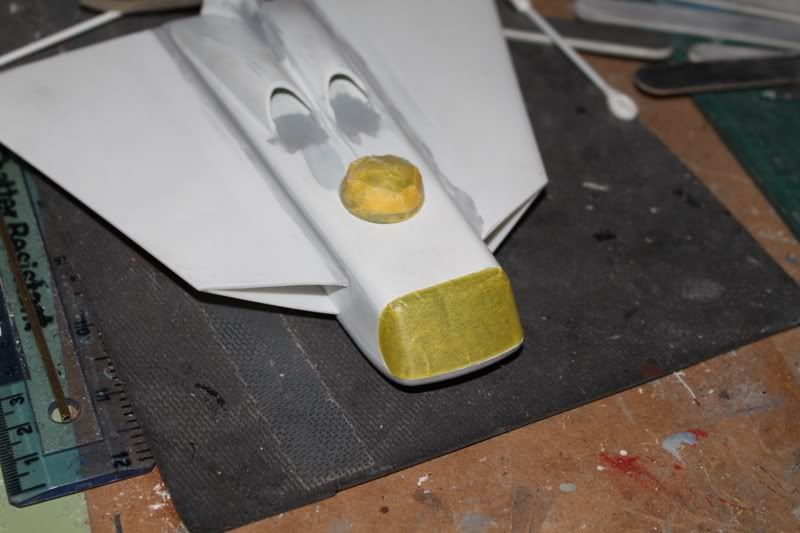
The exhaust ports will be lit as well but first I'll either have to fill the ports with resin or cover them over with clear styrene discs as the decal needs to go on over a flat surface.
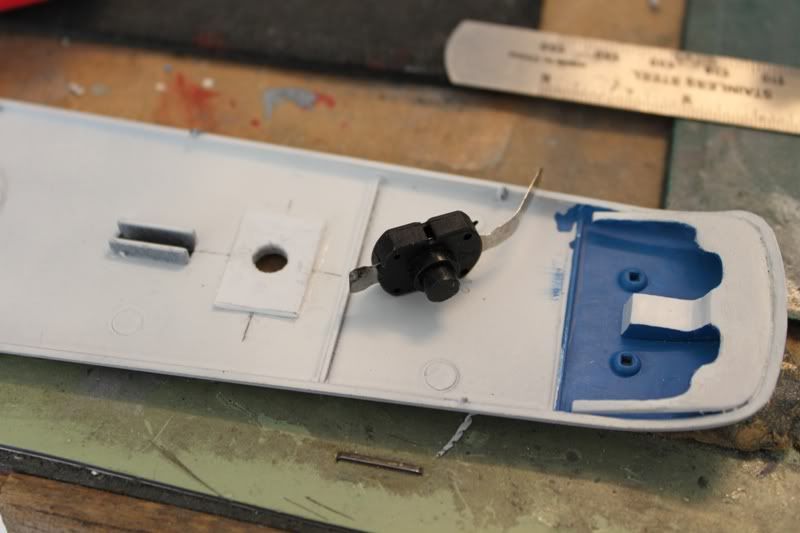
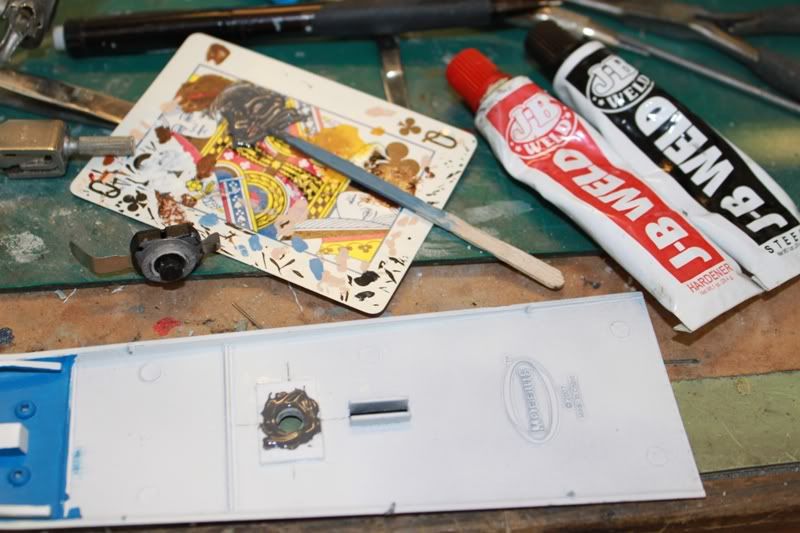
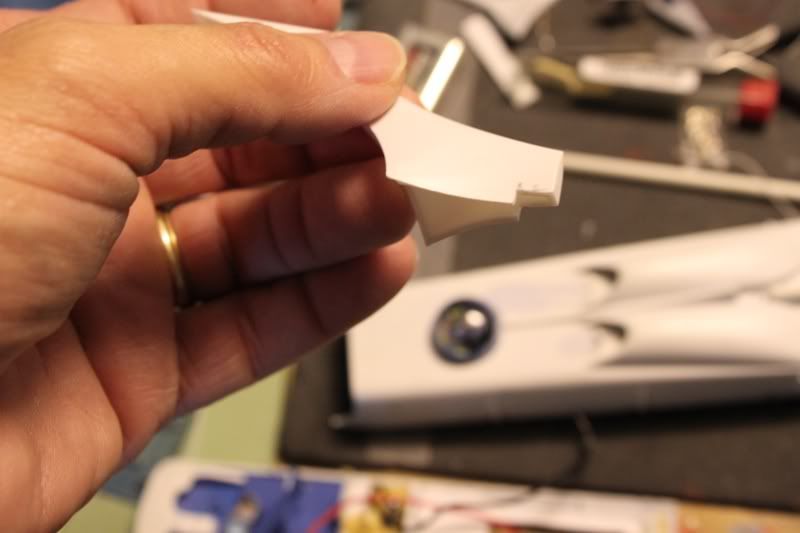
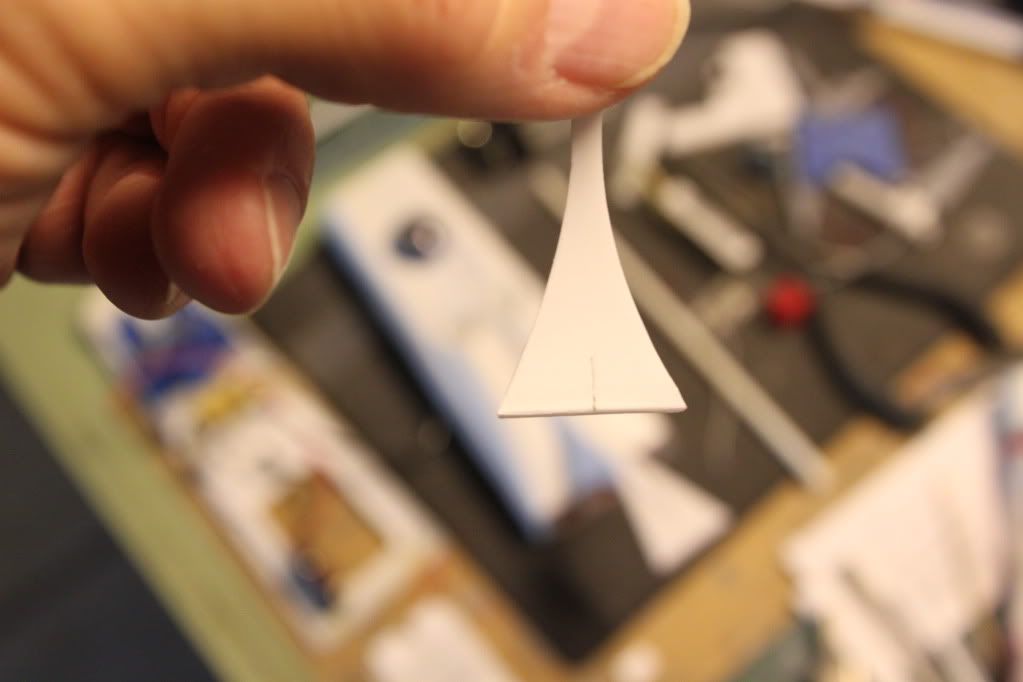
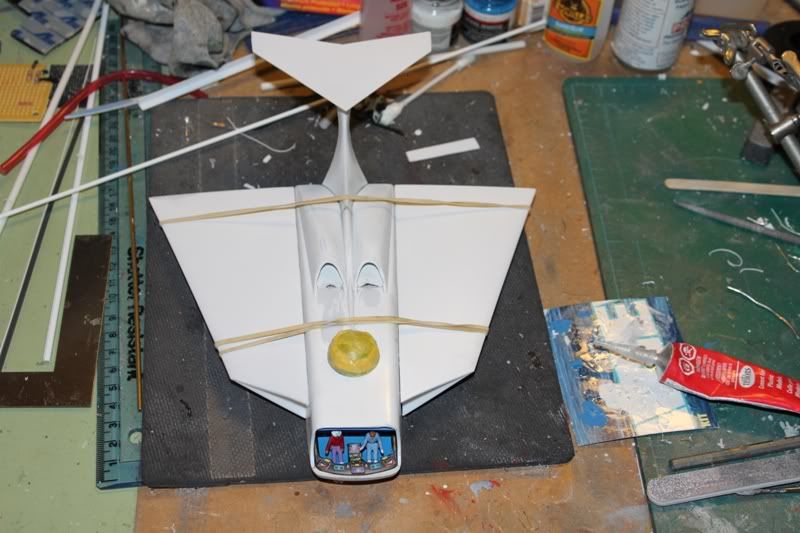
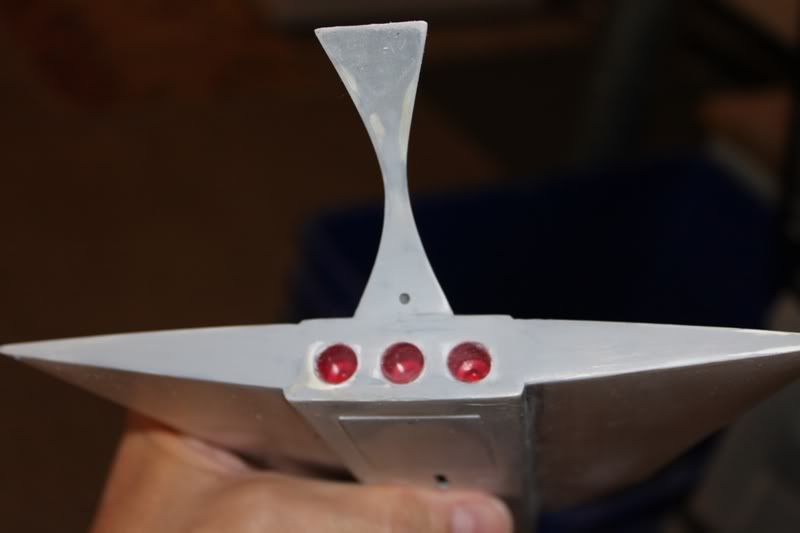
Painted parts:
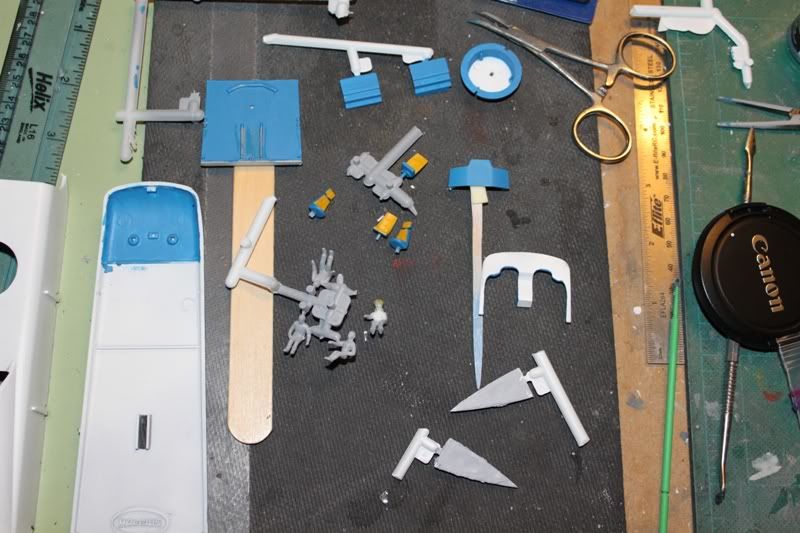
Lower hull and Seats:

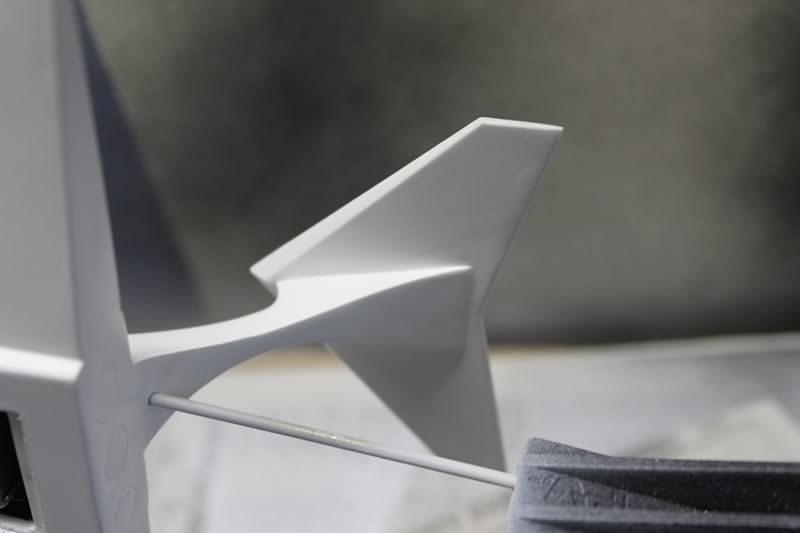
Upper hull:
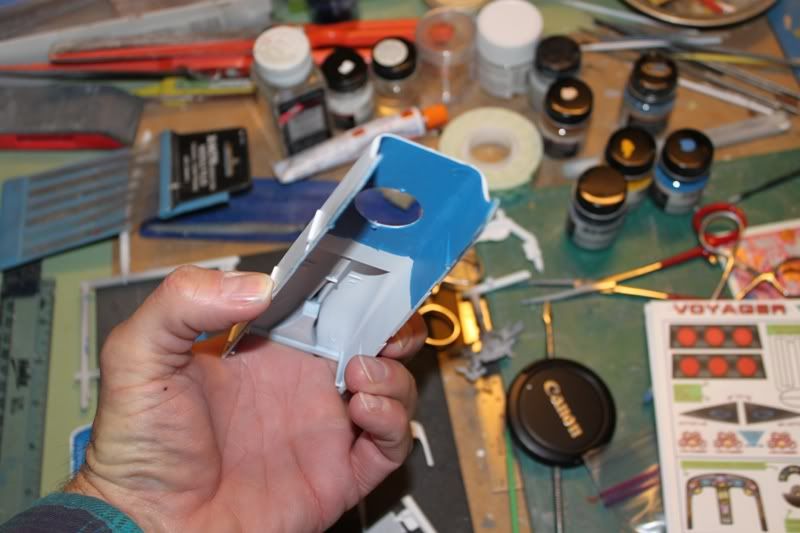
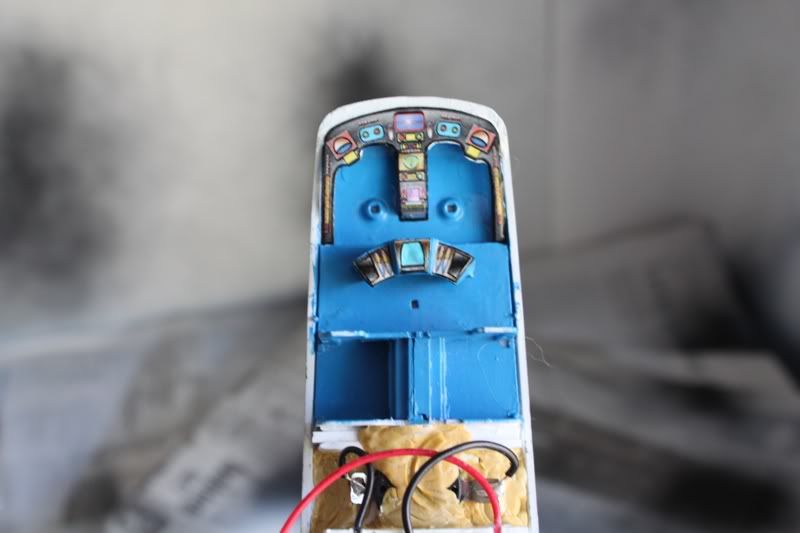
All surfaces were primed with Tamiya white Fine Surface Primer.
I used MM Bright Blue for the interior surfaces and walls.
The seats are Insignia Yellow on top and will get a coat of Testors Dark Blue for the undersides.
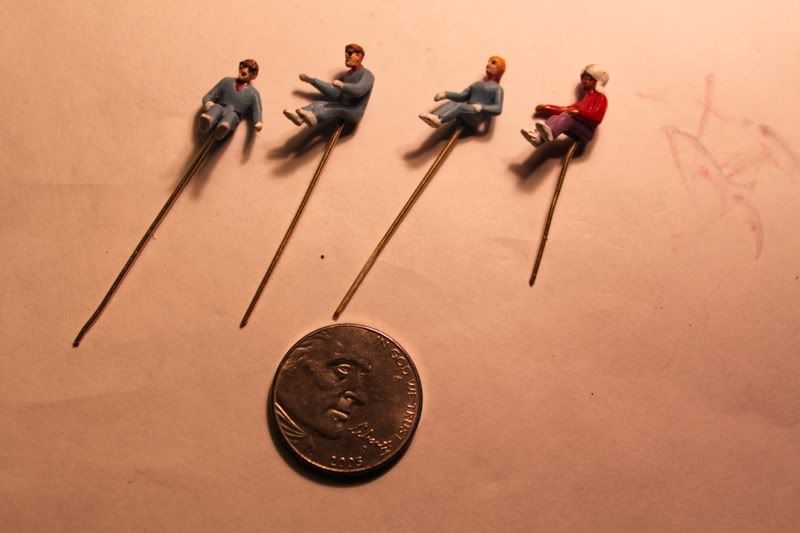
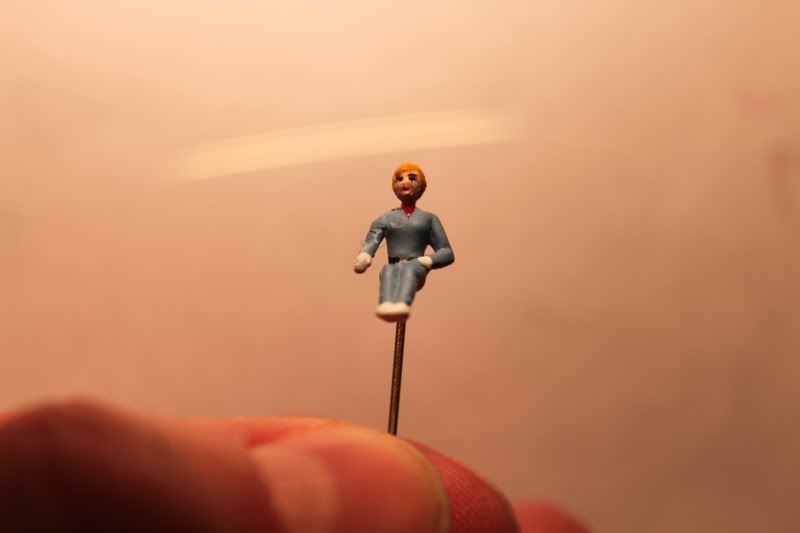
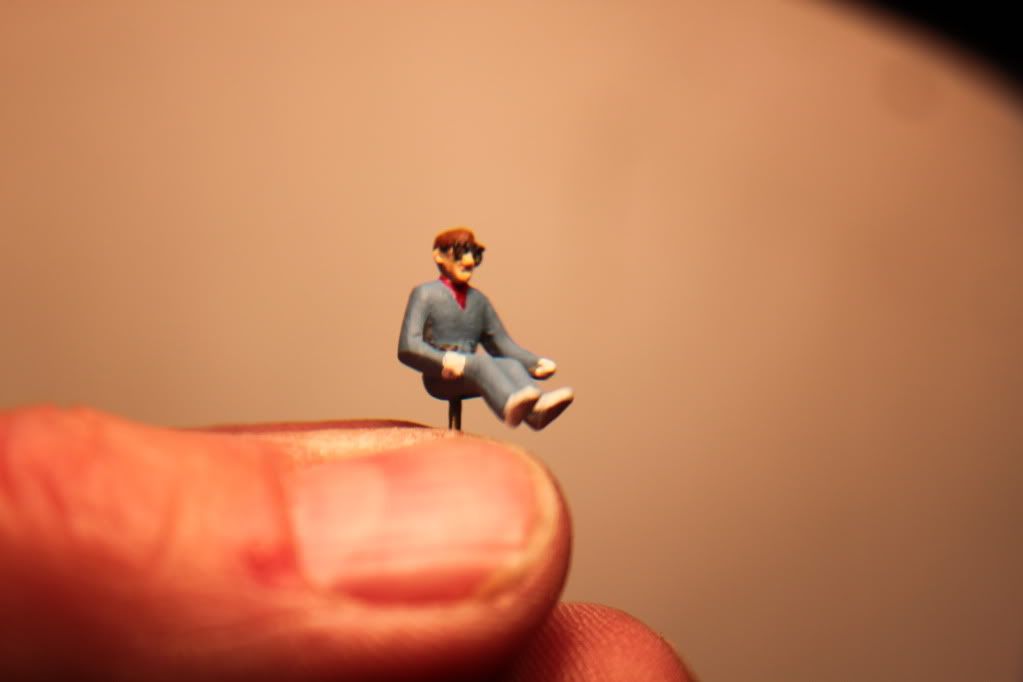
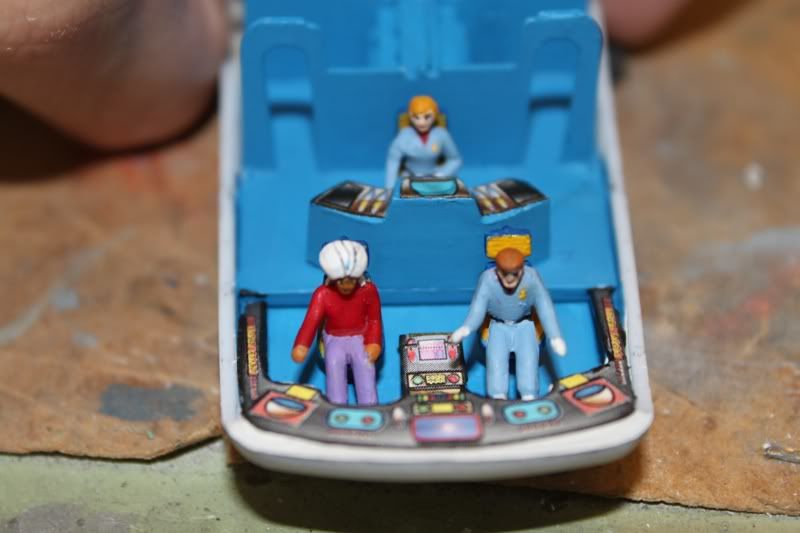
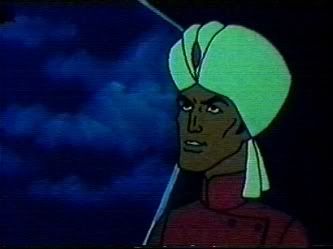
I'm going to do some work on the figures to make them resemble the cartoon characters more.
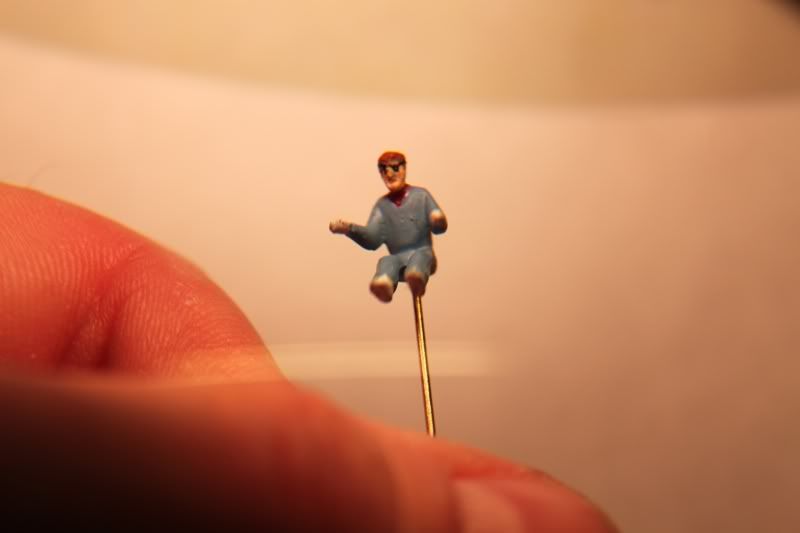
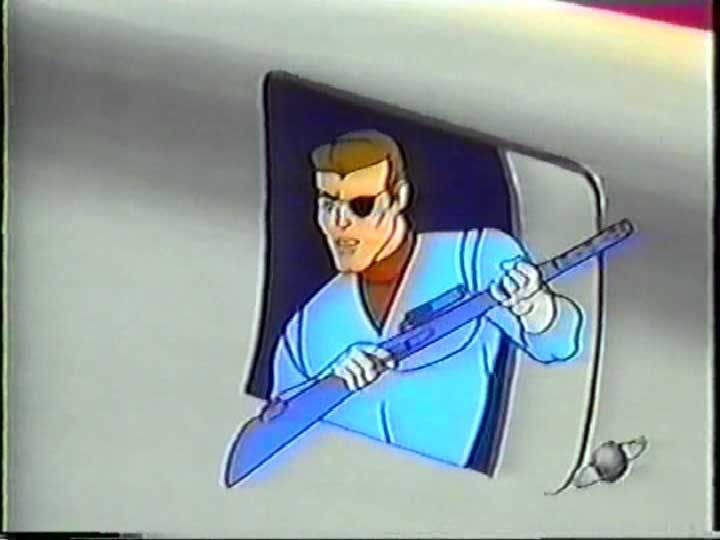
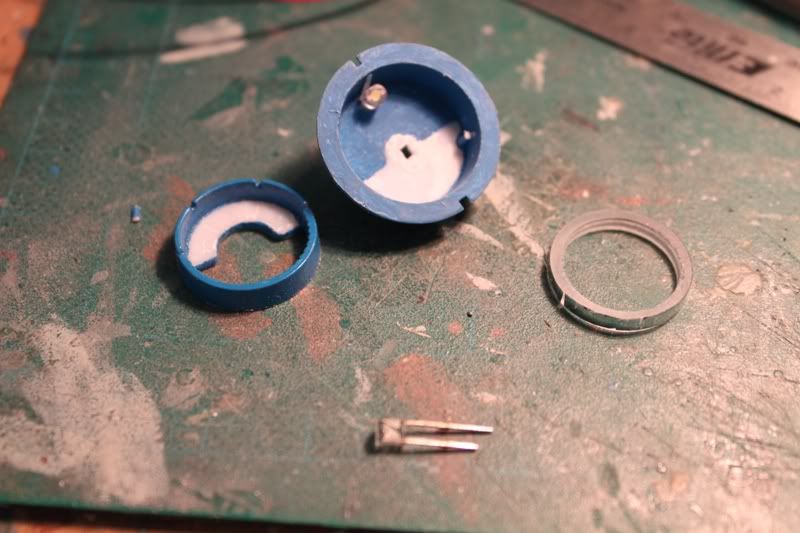
First up is Guru, the man of "mystical powers"...
The kit figure after I worked on it a little:
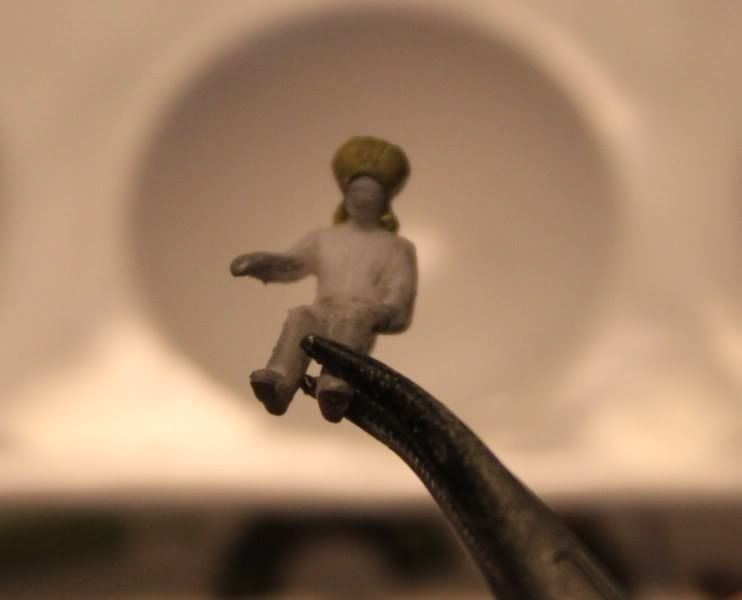
I used epoxy putty to give him a turban.
He's just about ready for paint.
Still need to do more work on his face though, mainly I want to give him a little more chin.
Anyway, that's all for now.
Hope you guys enjoyed the narrative and the pics.
Cartoon Intro on youtube with Ted Knight's voice:
Fantastic Voyage (1968) - OPENING - YouTube
Box Art:
I originally built this kit back as a kid when Aurora first issued it.
When I heard Moebius was re-issuing it I had to have it!
Then and now, I have always loved the design of this ship although how the thing could be steered was a mystery as it had no perceivable rudder or flaps.
This never bothered me as a kid though, if any model was made for zooming around the house this was it!
Anyway, here are some pics of my build progress...
Instructions:
Pretty straightforward although it recommends gluing the turret floor to the upper hull ceiling before gluing in the instrument desk and clear bubble.
Test fitting proved to me that the desk and bubble need to be glued to the floor first (along with Busby Birdwell in his seat) and then the whole assembly can be glued to the upper hull opening.
TSDS Decals:
I got these from TSDS for the instrument panels mostly.
Now I've decided to use the ones included for the motor intakes and exhaust ports.
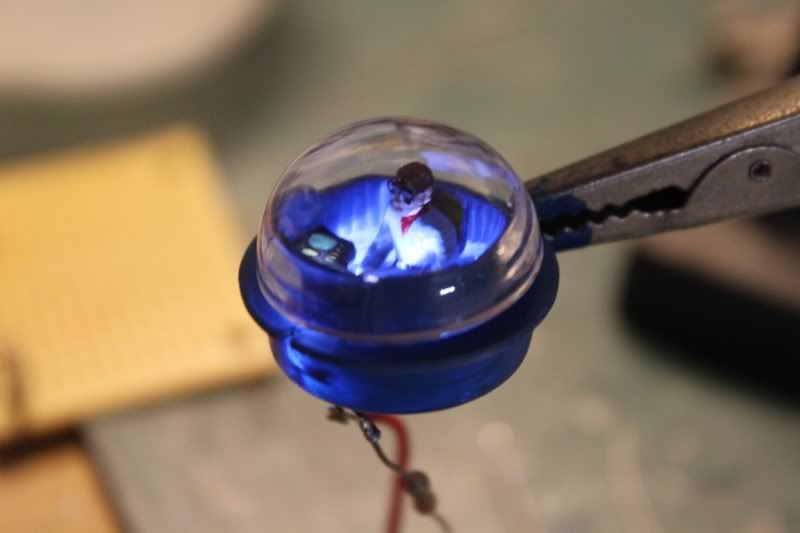
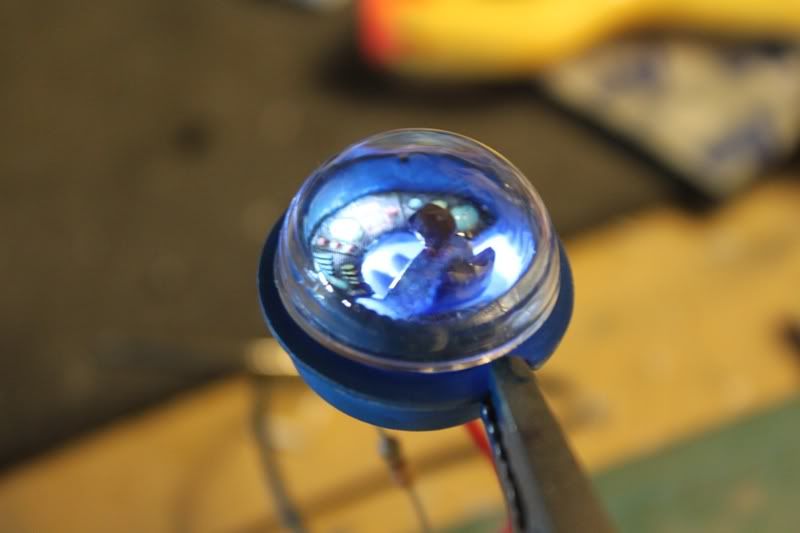
I plan to install a 9V battery and light up the interior and the bubble.
The exhaust ports will be lit as well but first I'll either have to fill the ports with resin or cover them over with clear styrene discs as the decal needs to go on over a flat surface.
Painted parts:
Lower hull and Seats:
Upper hull:
All surfaces were primed with Tamiya white Fine Surface Primer.
I used MM Bright Blue for the interior surfaces and walls.
The seats are Insignia Yellow on top and will get a coat of Testors Dark Blue for the undersides.
I'm going to do some work on the figures to make them resemble the cartoon characters more.
First up is Guru, the man of "mystical powers"...
The kit figure after I worked on it a little:
I used epoxy putty to give him a turban.
He's just about ready for paint.
Still need to do more work on his face though, mainly I want to give him a little more chin.
Anyway, that's all for now.
Hope you guys enjoyed the narrative and the pics.
Last edited: