omel
Sr Member
thought i'd give Pep a try, apologies to Vader purists here since this is obviously nowhere near the quality of what you guys make. just wanted to see if i can make something distinguishable at a first glance as Vader...kindly excuse the noticeable inaccurracies (anyway i dont know if this can pass as ANH or ESB or ROTJ, definitely not ROTS because the symmetry is way off, hehe)...as usual this is a budget build
here it goes....
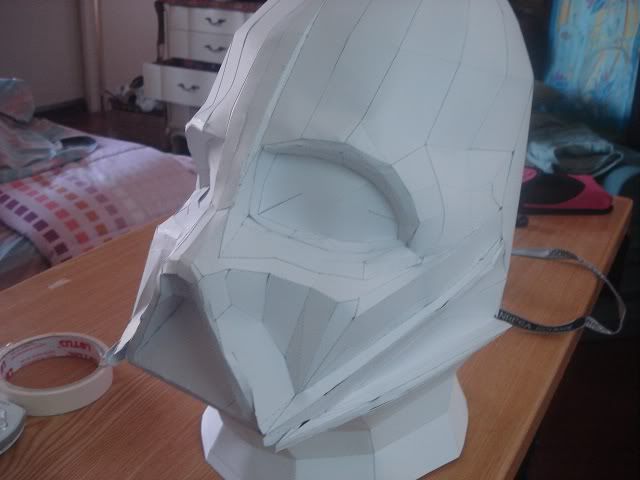
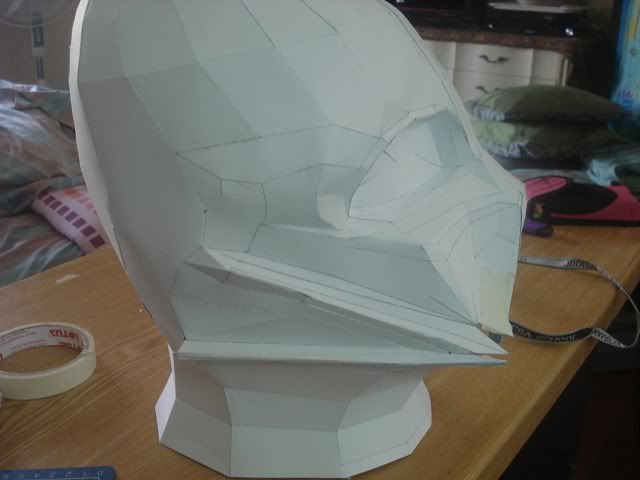
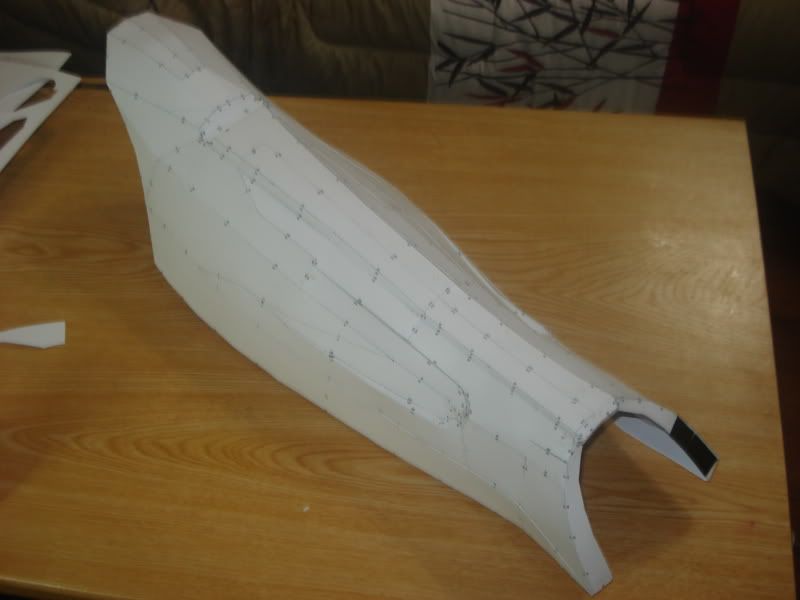
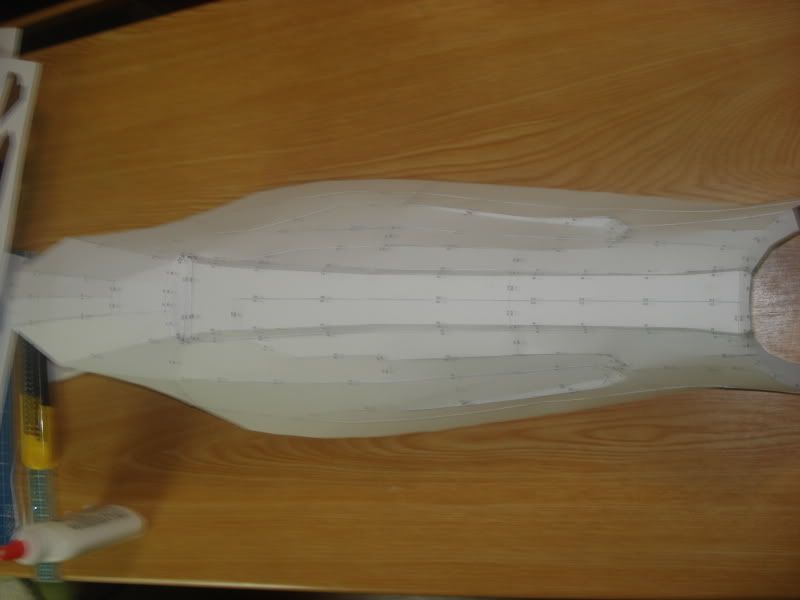
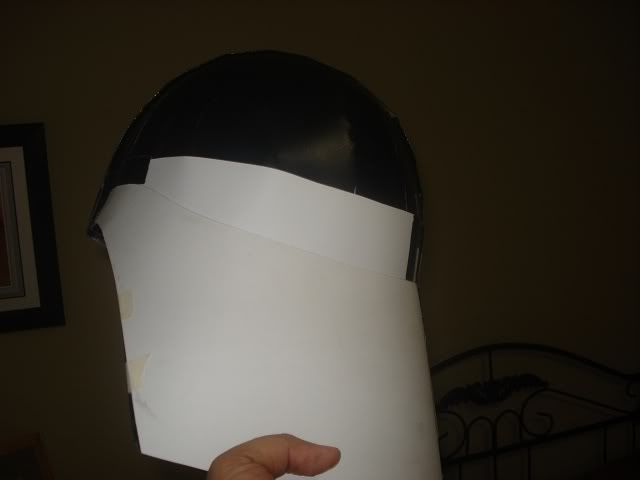
when i got the pep for the head partially completed i really thought that it was way too big... but decided to go on and build the dome as well...
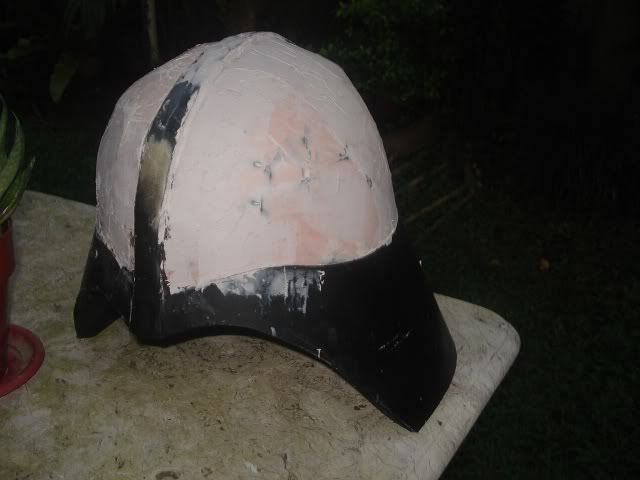
the flare of the dome was kinda flat so i cut up a big piece of cardboard and did this..
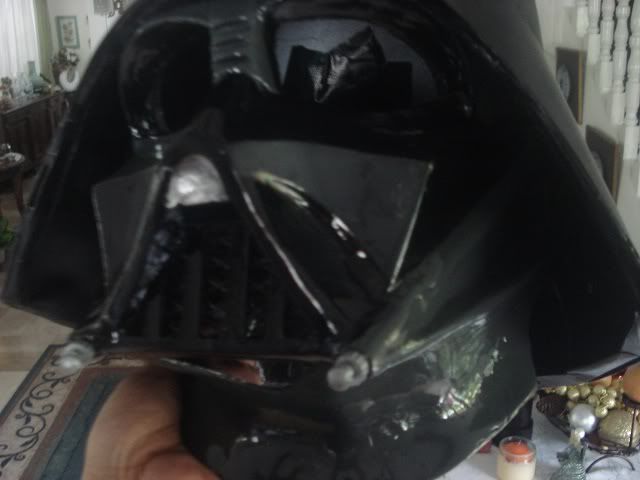
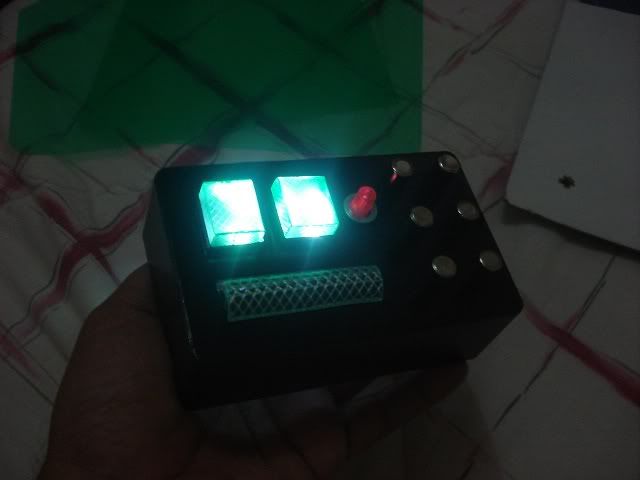
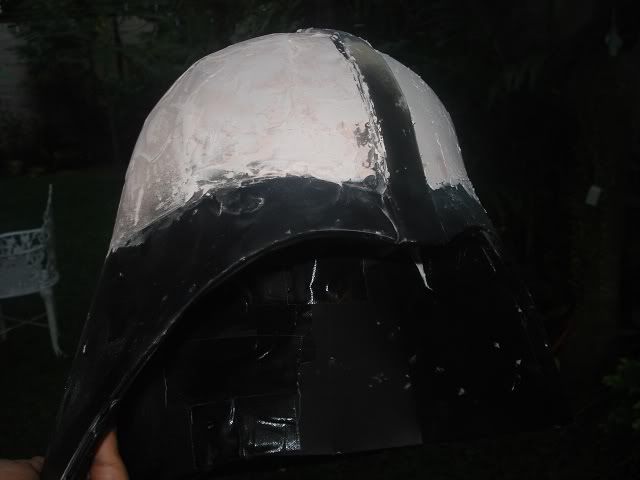
test spray paint just to see what it looks like..
with flash..
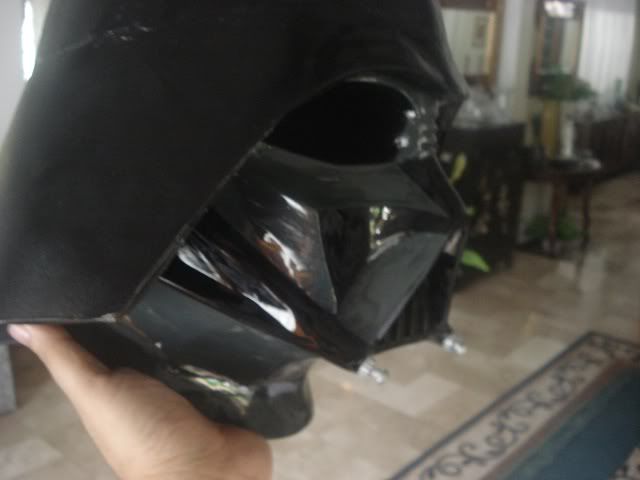
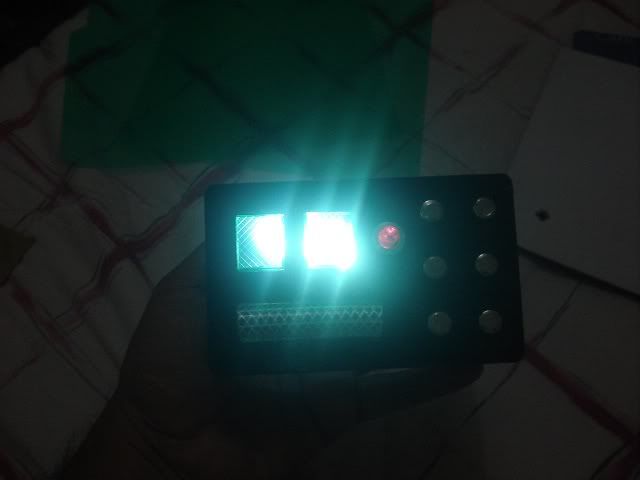
w/o flash...
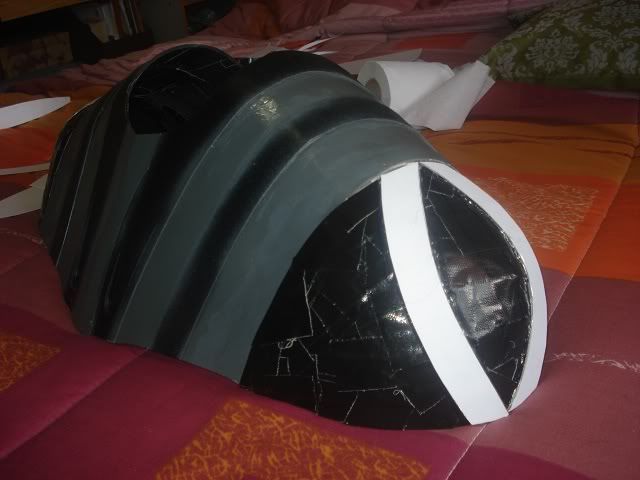
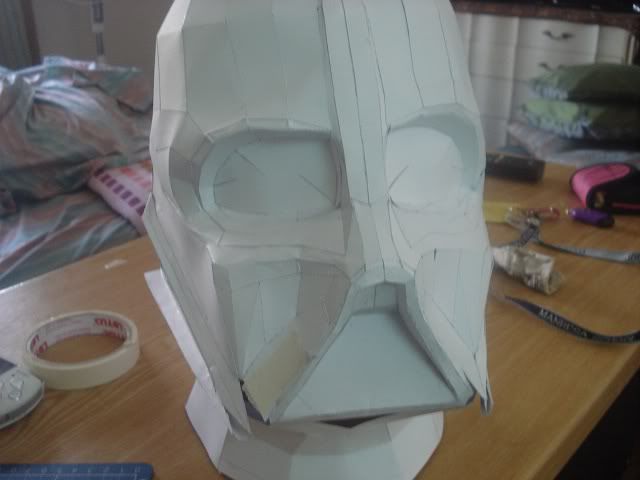
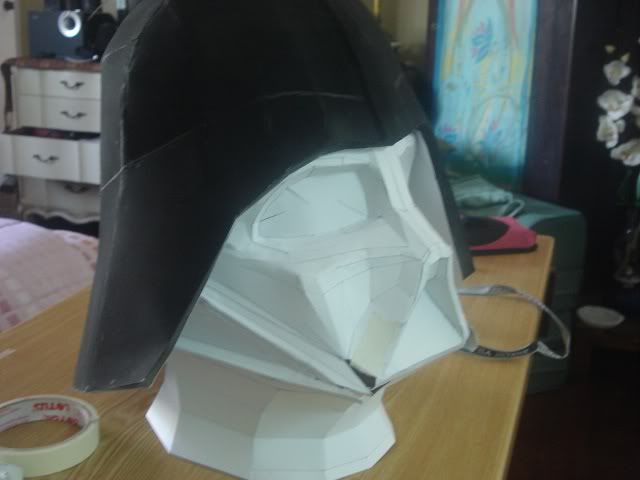
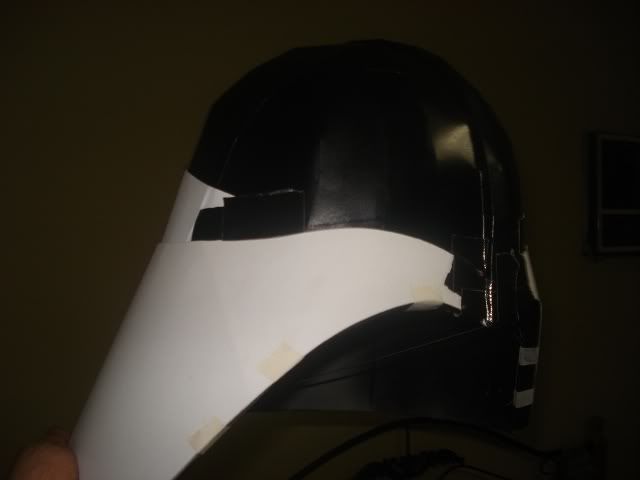
i cut up some more pieces of cardstock to define the cheek area..
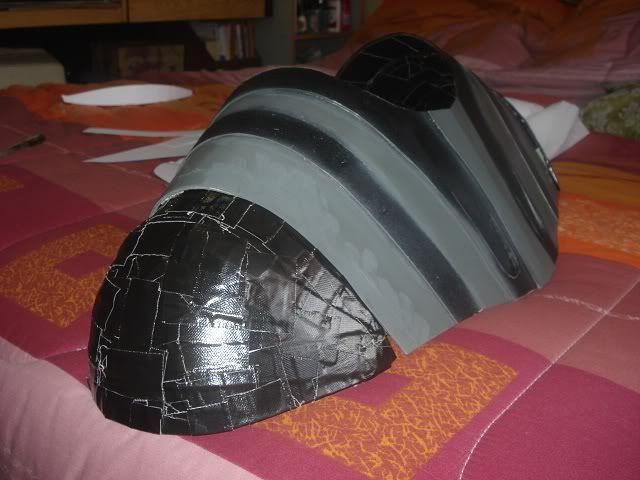
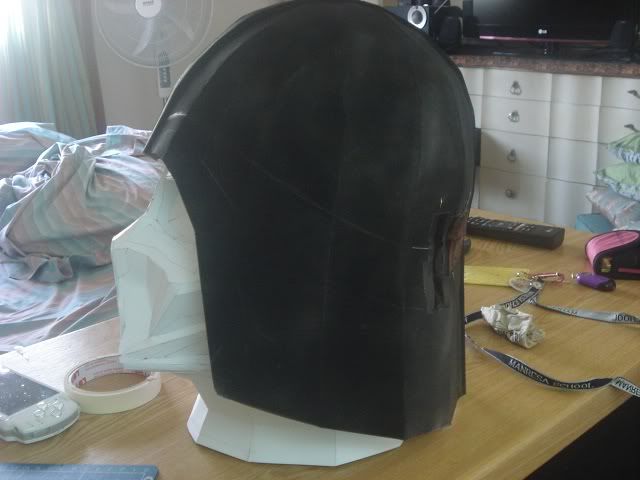
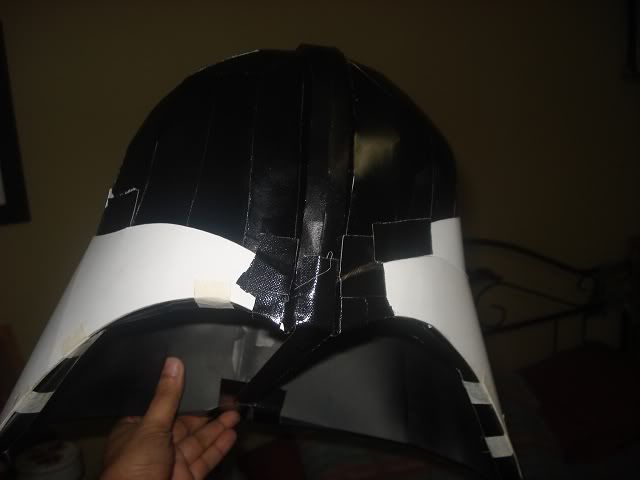
thought the next step was to resin the interior but since i have no knowledge of how to go about it, except what i've viewed on tutorials on the net, i decide to forego it and just use duct tape to make the pep a bit firm...and then...
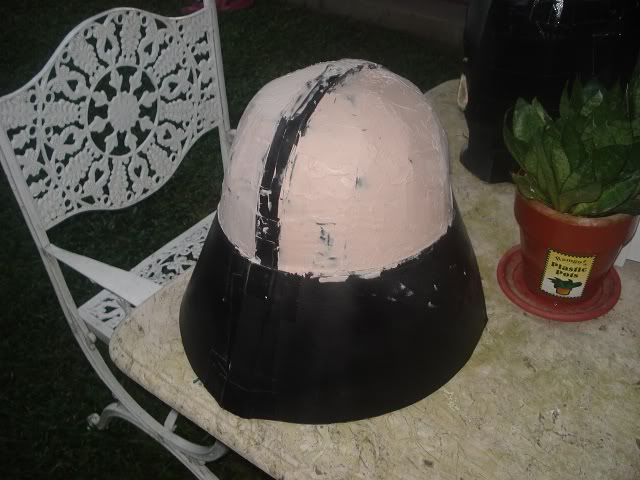
surprise,surprise...it held up against bondoing...hehehe
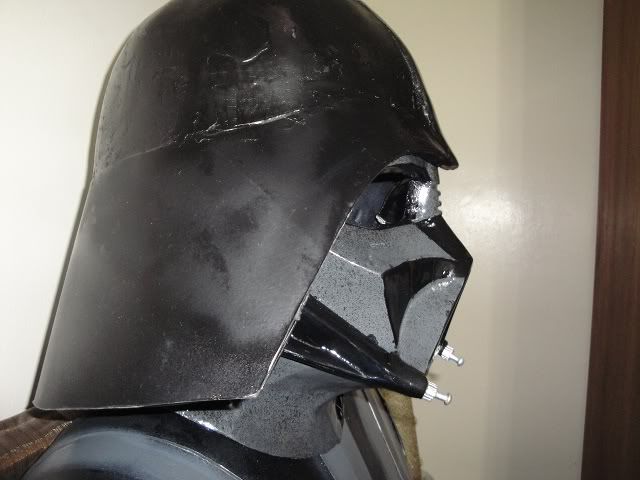
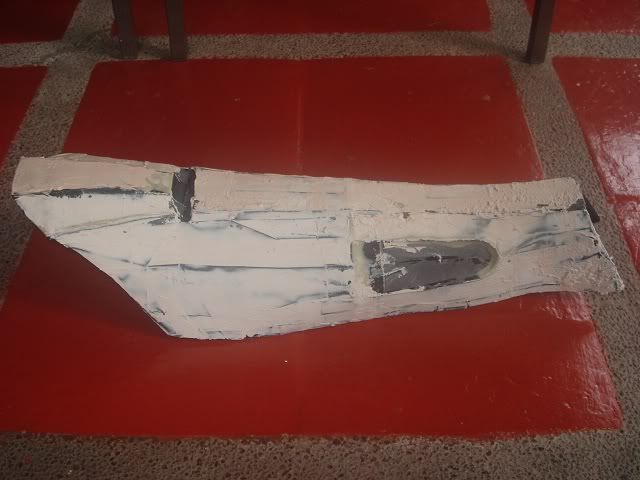
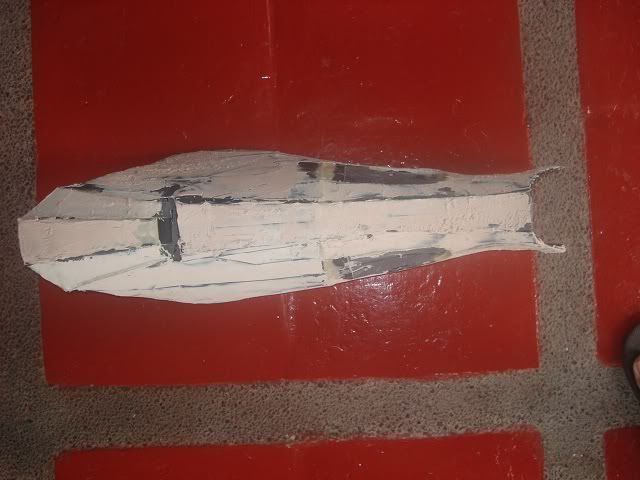
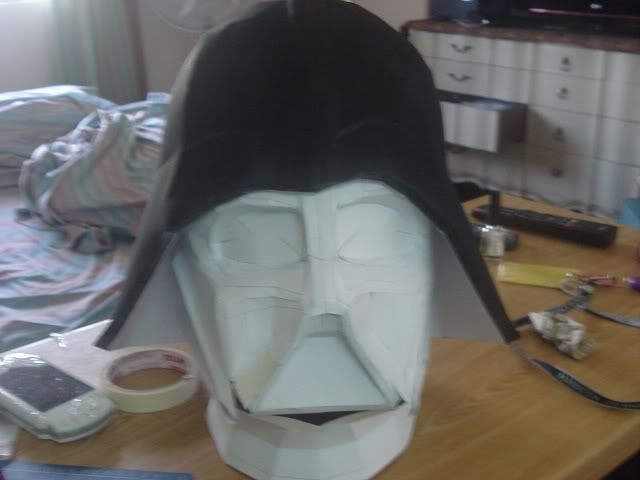
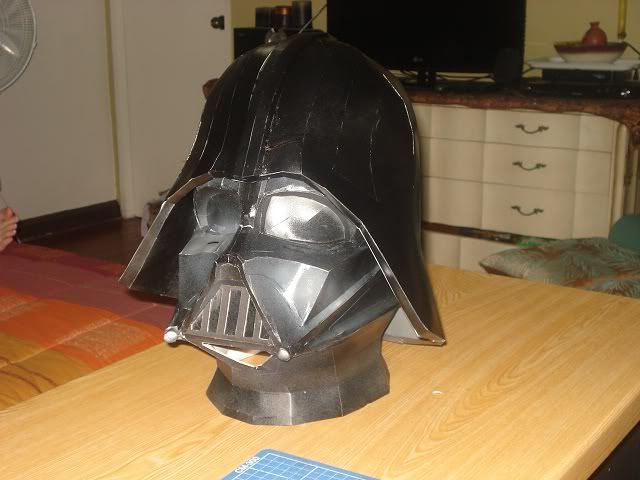
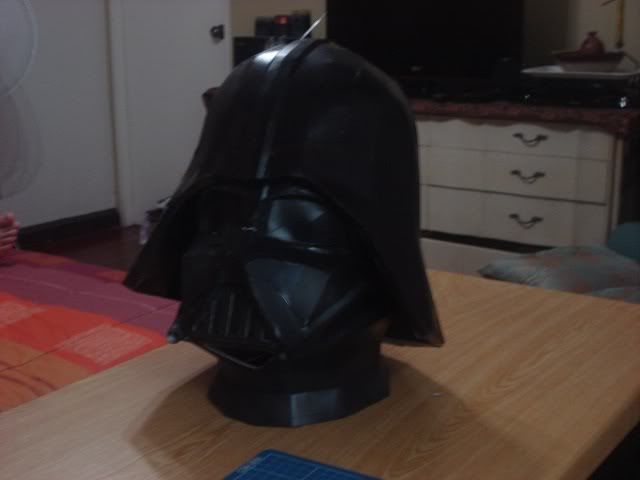
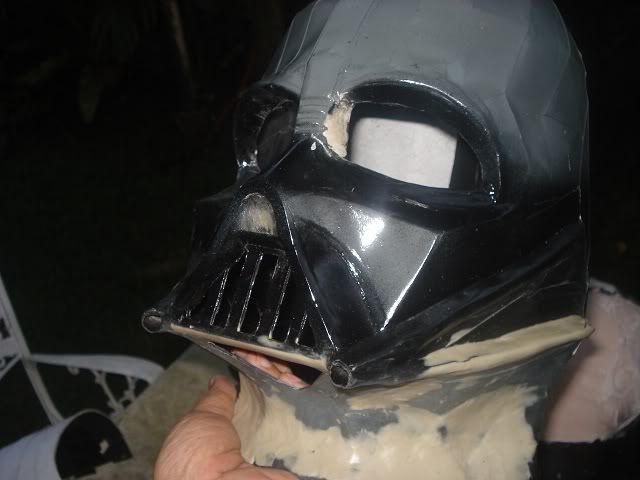
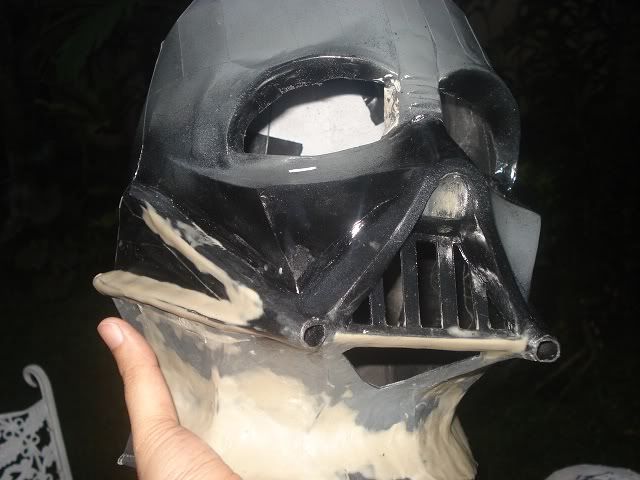
so i thought i'd do the same to the face and neck...using plumbers putty this time...
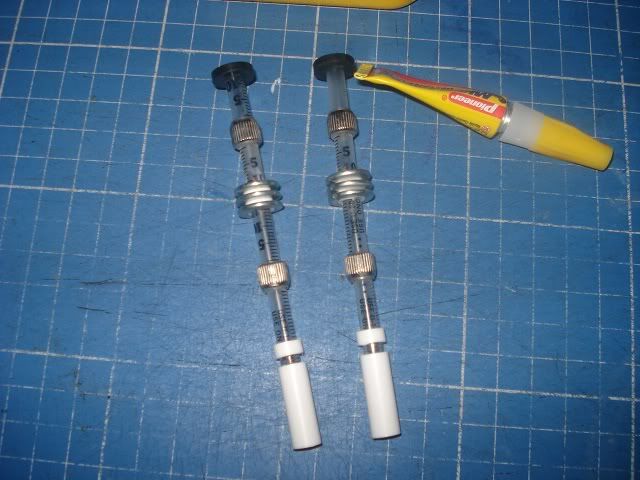
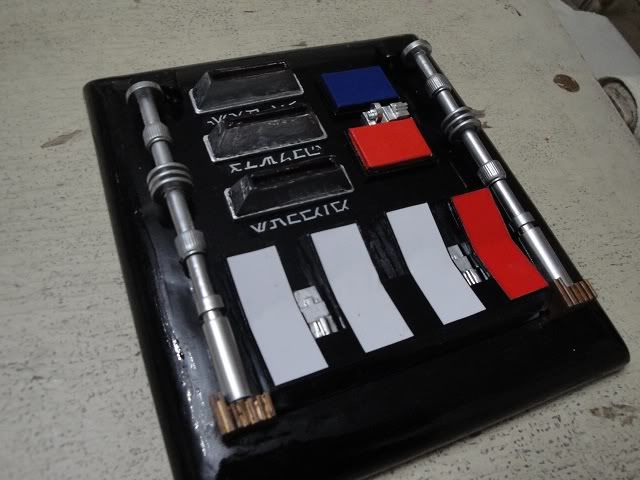
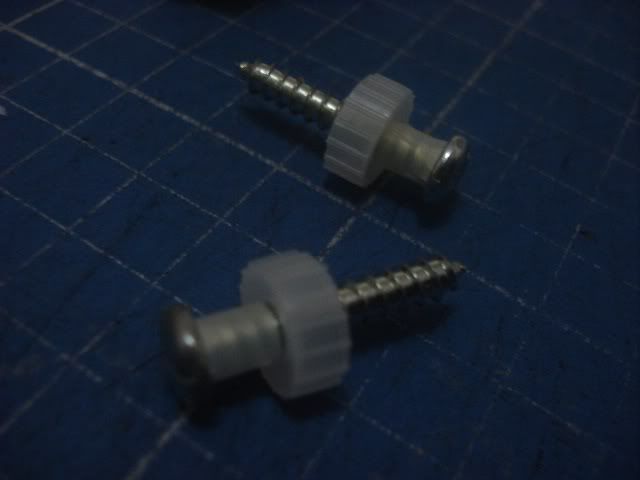
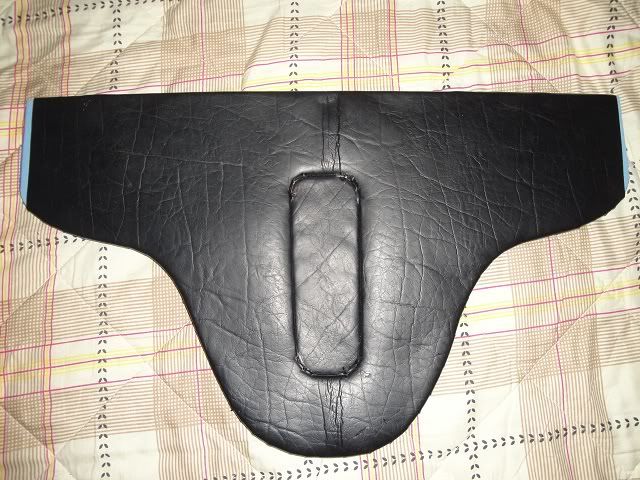
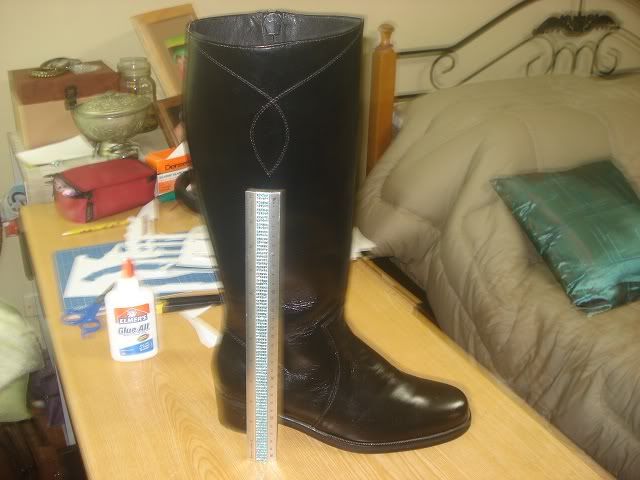
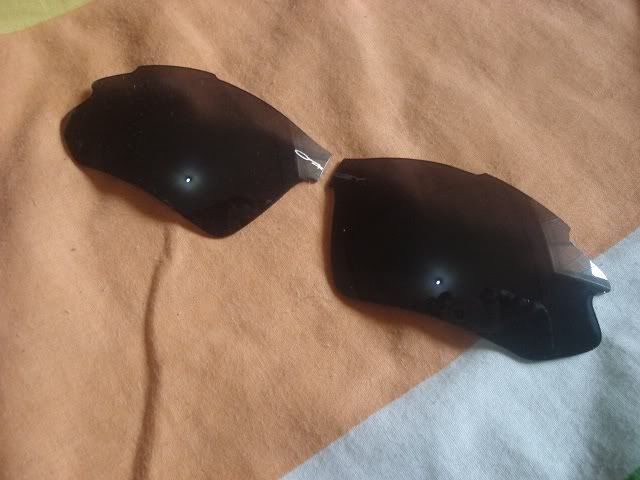
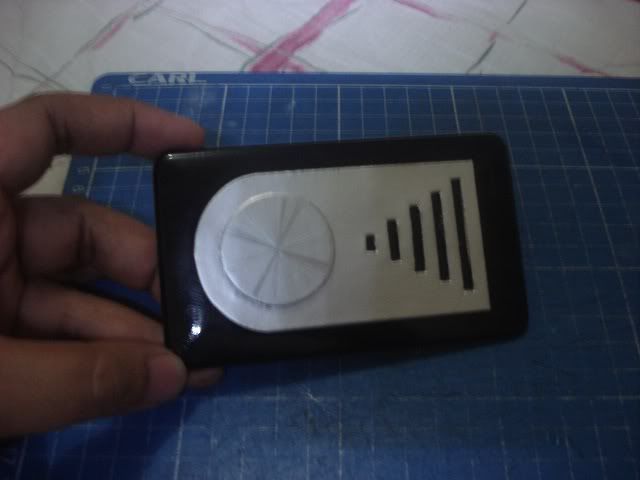
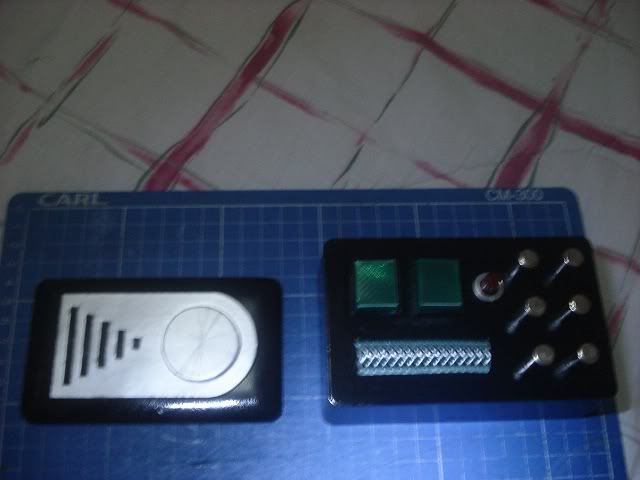
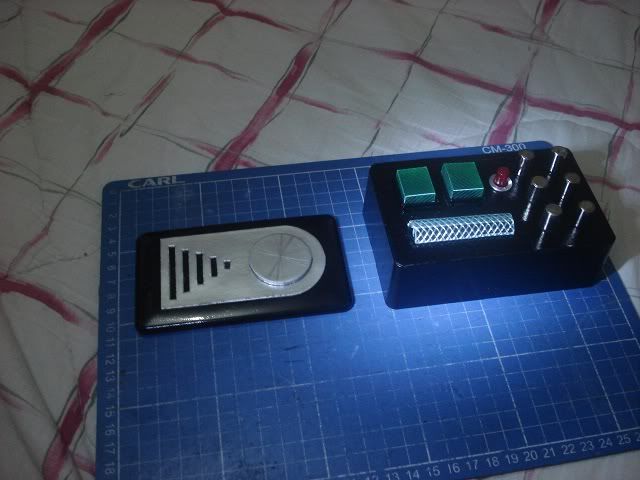
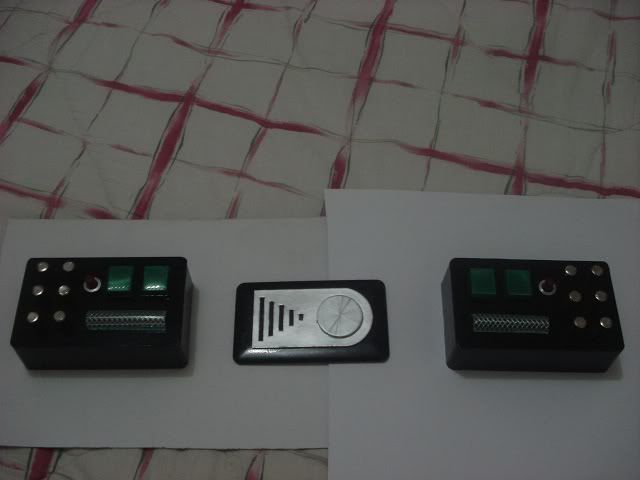
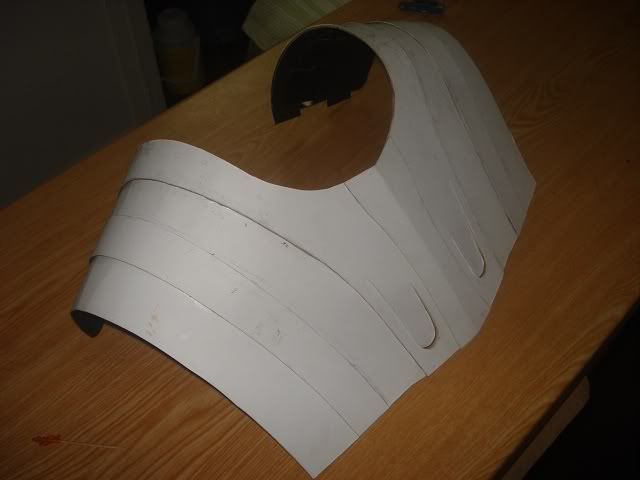
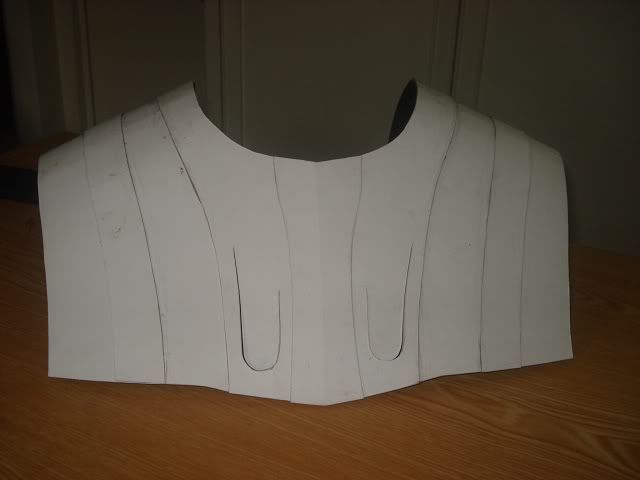
while i was waiting for the bondo to cure properly i tried to do this.. (not a pep just eyeballed some reference photos)
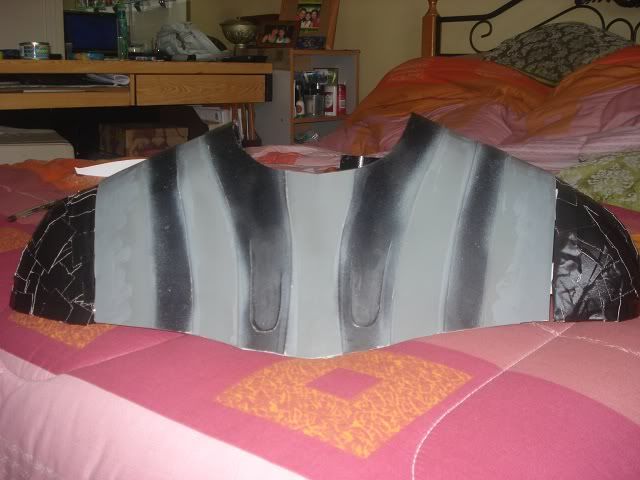
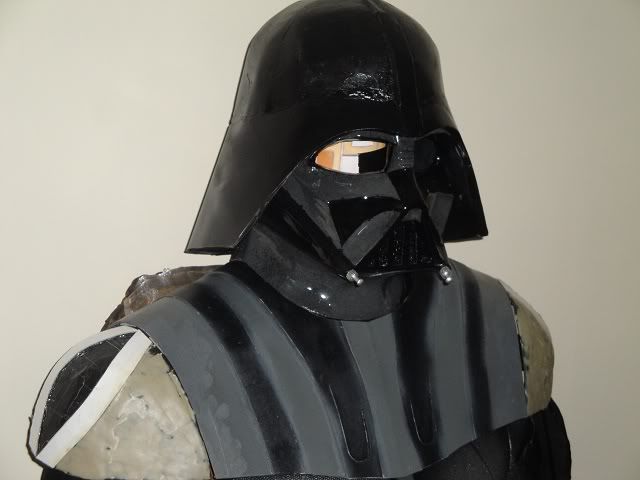
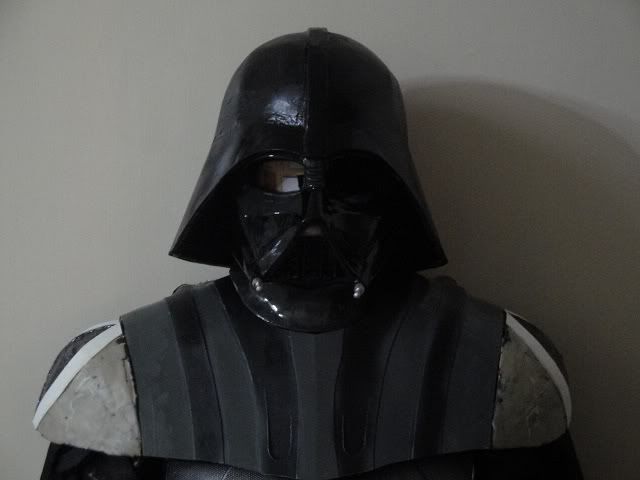
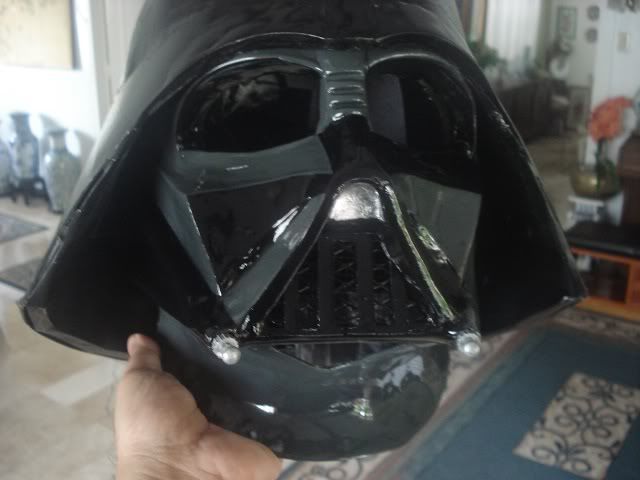
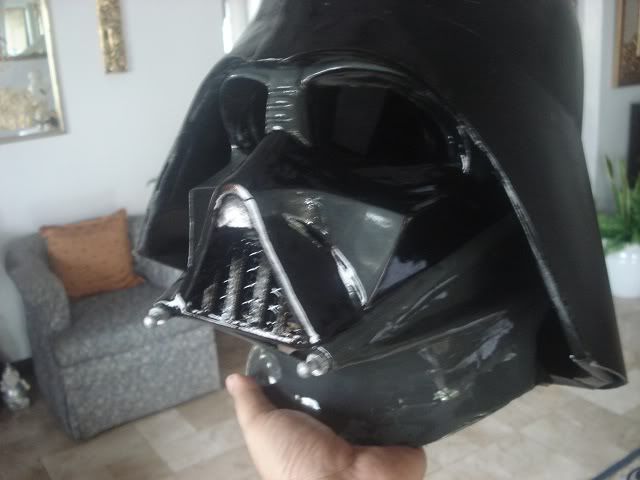
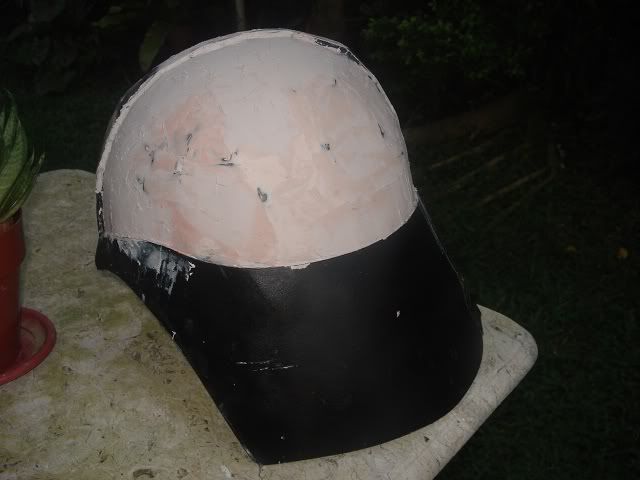
i've did some more refinements to the face,dome and chest armor since these shots and although its a rough version it is looking acceptable so far ( at least from my point of view). will post more progress pics when i have done a little more to show..
so far i've learned that.....sanding is such a *%:cry$#:angry@*!!! :lol
big thanks to Fierfek for the pep file!!!
thanks goes out as well to projectearth and quovadis for the suggestions about resin, what it is and where to source it, thanks bros
comments?suggestions?
thanks for looking")
here it goes....
when i got the pep for the head partially completed i really thought that it was way too big... but decided to go on and build the dome as well...
the flare of the dome was kinda flat so i cut up a big piece of cardboard and did this..
test spray paint just to see what it looks like..
with flash..
w/o flash...
i cut up some more pieces of cardstock to define the cheek area..
thought the next step was to resin the interior but since i have no knowledge of how to go about it, except what i've viewed on tutorials on the net, i decide to forego it and just use duct tape to make the pep a bit firm...and then...
surprise,surprise...it held up against bondoing...hehehe
so i thought i'd do the same to the face and neck...using plumbers putty this time...
while i was waiting for the bondo to cure properly i tried to do this.. (not a pep just eyeballed some reference photos)
i've did some more refinements to the face,dome and chest armor since these shots and although its a rough version it is looking acceptable so far ( at least from my point of view). will post more progress pics when i have done a little more to show..
so far i've learned that.....sanding is such a *%:cry$#:angry@*!!! :lol
big thanks to Fierfek for the pep file!!!
thanks goes out as well to projectearth and quovadis for the suggestions about resin, what it is and where to source it, thanks bros
comments?suggestions?
thanks for looking
Last edited: