TPM Obi Saber: A Mess in Progress

TridCloudwalker

Sr Member
RPF PREMIUM MEMBER
I have always wanted a TPM Obi Saber, but being ridiculously poor, I can only dream of owning a Larbel, Master Replicas, or the holy grail: a Z-Saber. This is why I've scoured eBay, and finally came across a gentleman who produces resin cast replicas. I've no idea of their origin, and I sincerely hope it isn't a recast of someone's saber from here.

At any rate, back to the being poor part, I couldn't even aford a decent resin saber. Luckily for me, this seller was offering one that got a tad bungled up during the casting process at an amazing starting price of $5, and a buy it now for $15. Unfortunately, someone put a bid for $5 in before I could hit the buy it now option, and thus started the bidding war. I e-mailed the seller to see if he had any others to offer, and he responded that all he had were good castings and those started at $40 in auction. Well, the bungled up saber climbed to $37 and I snagged it a minute before the auction ended because I figured if a messed up one went for that much, I'd never afford the good one he was selling.

The good one sold for $30. :angry

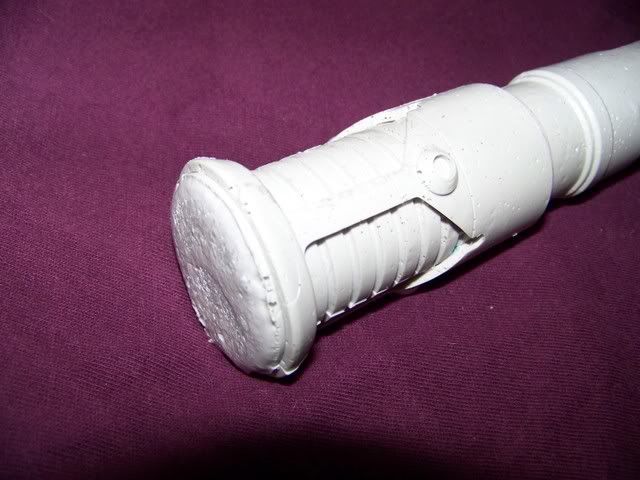
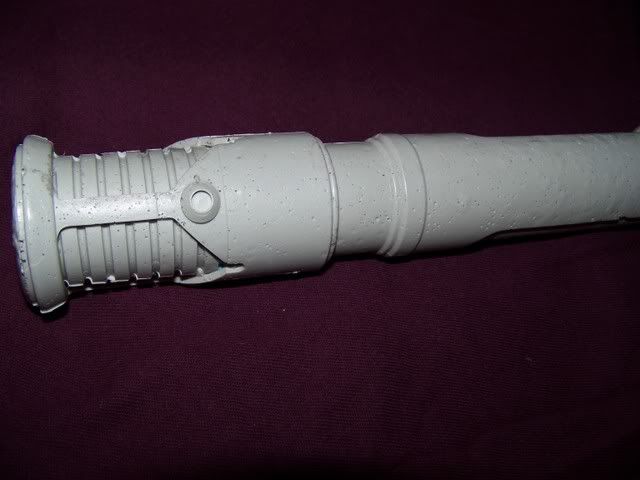
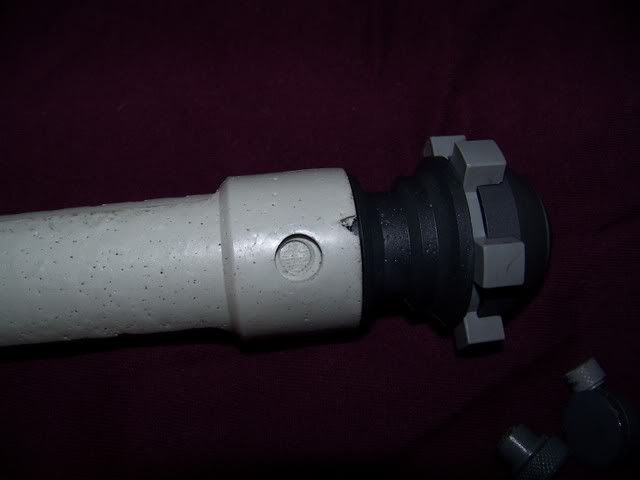
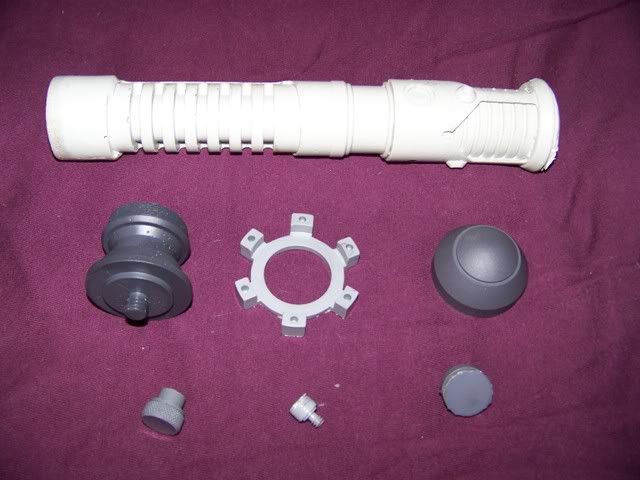
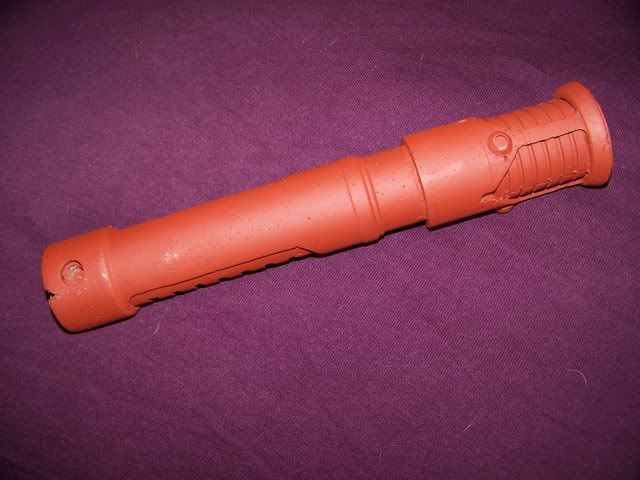
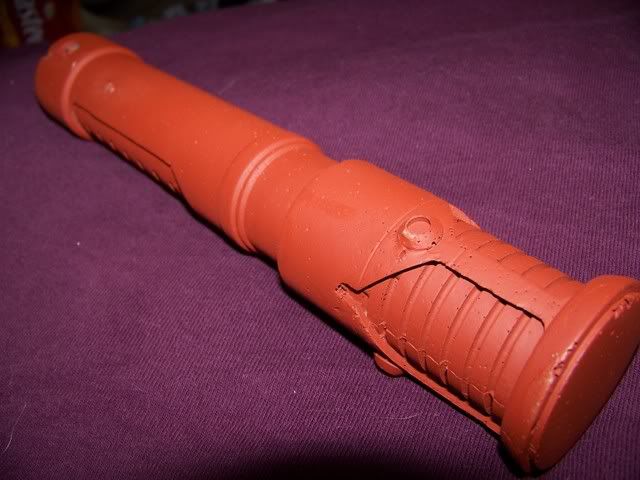
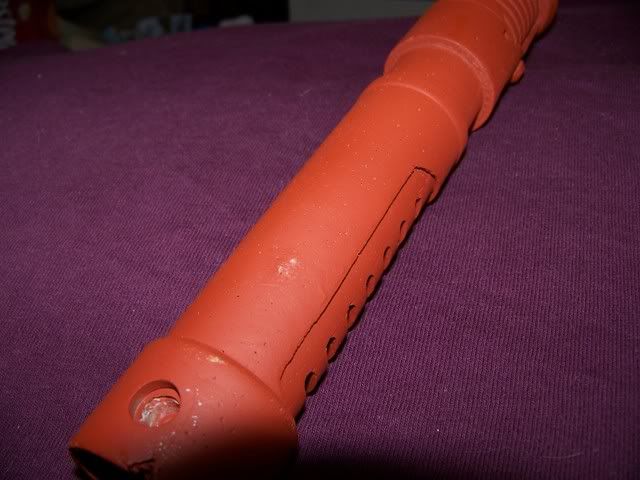
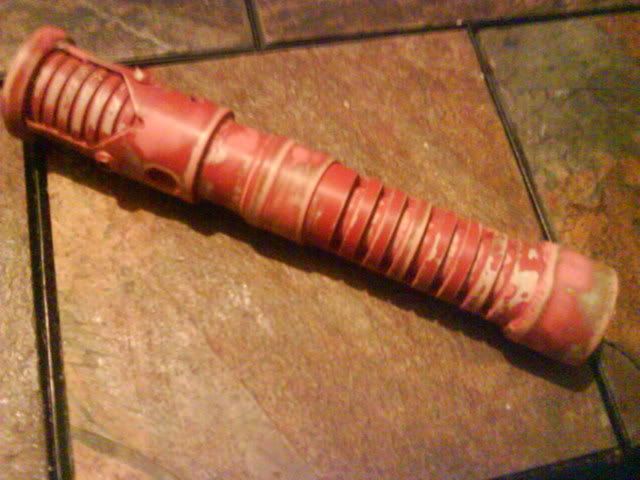
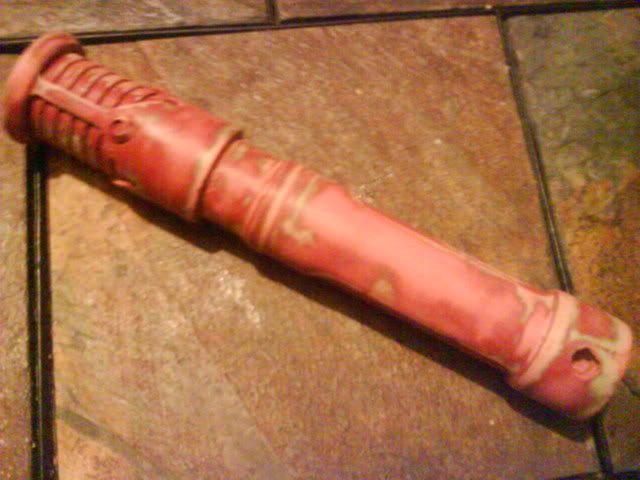
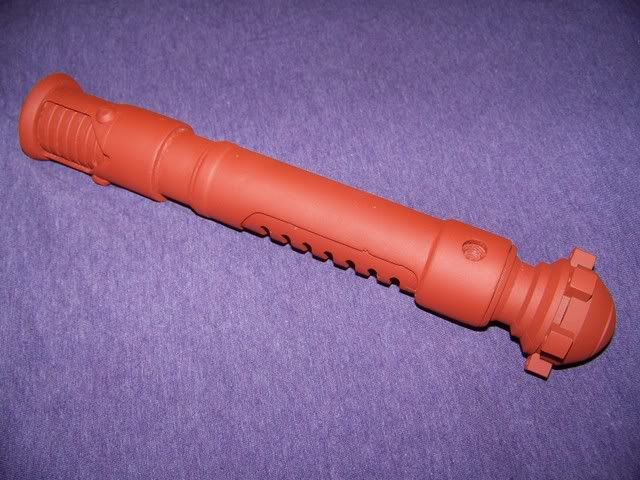
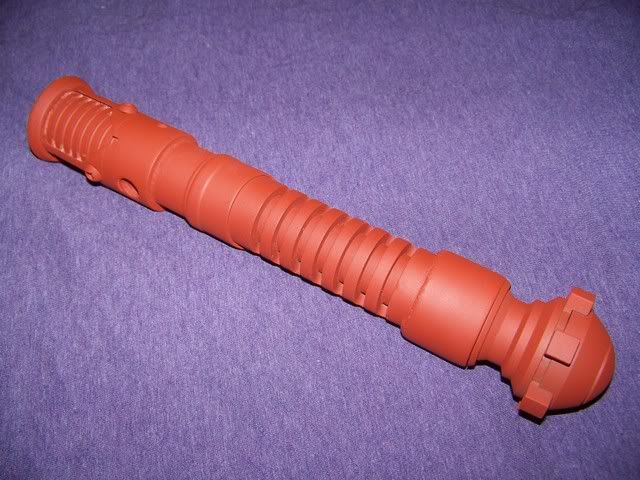
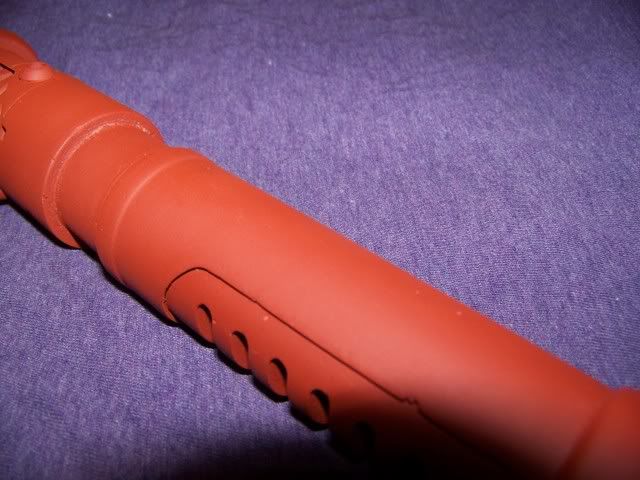
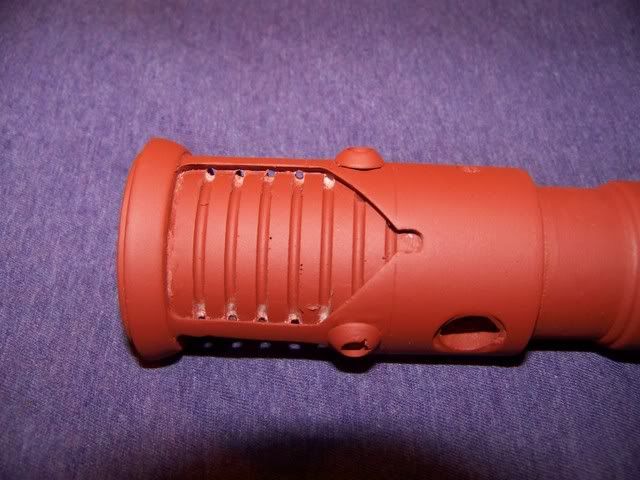
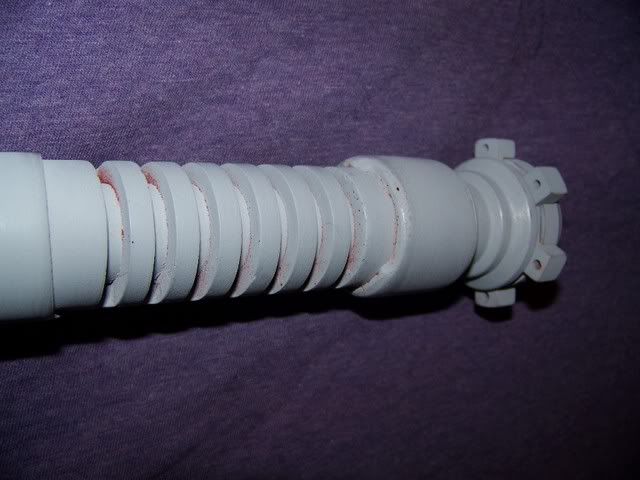
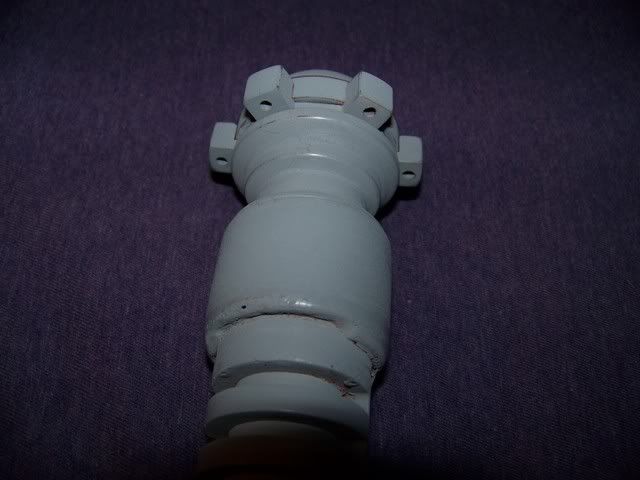
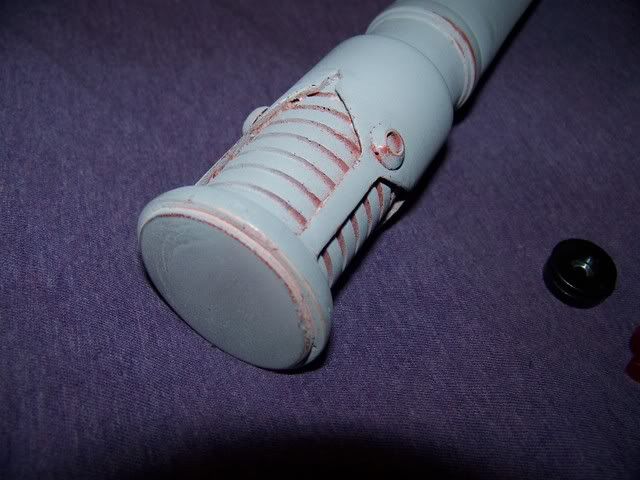
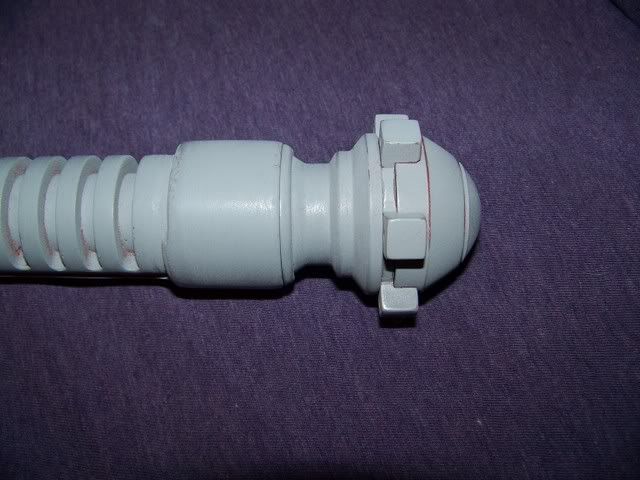
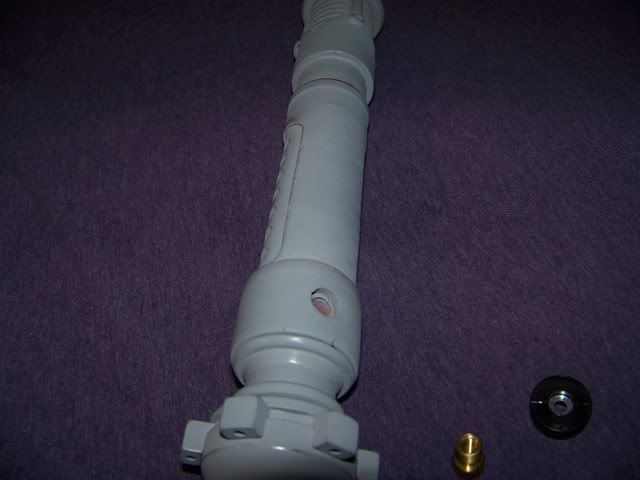
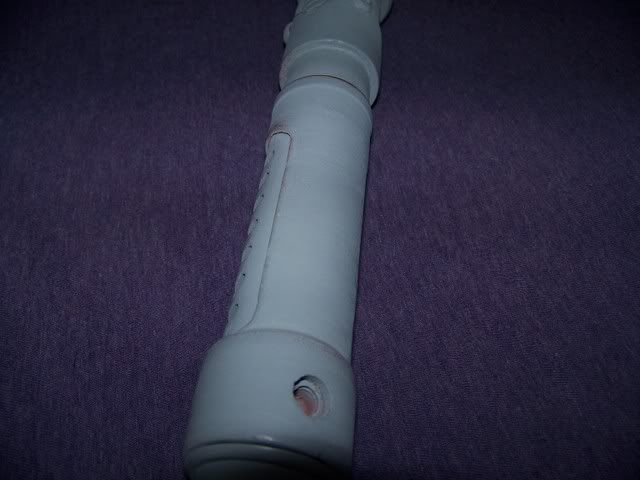
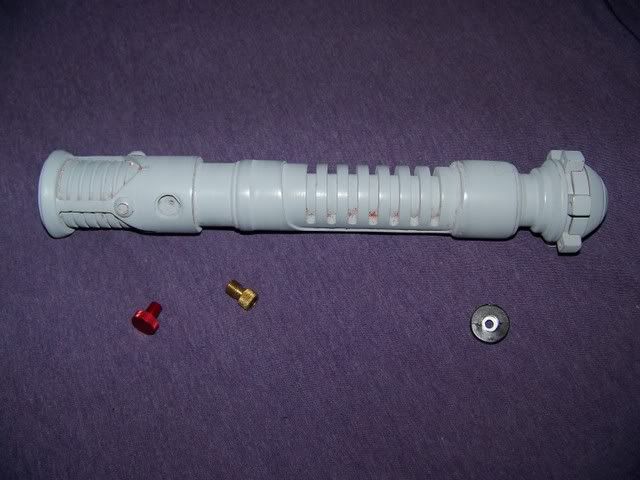
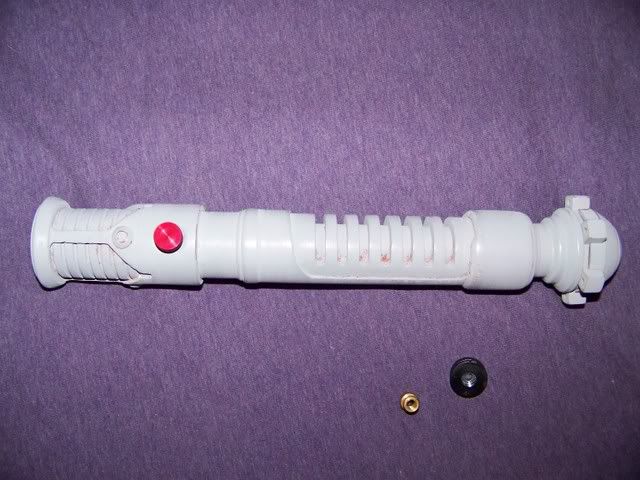
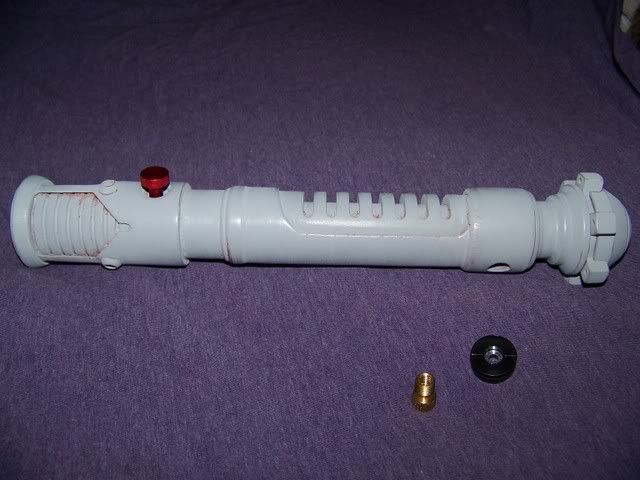
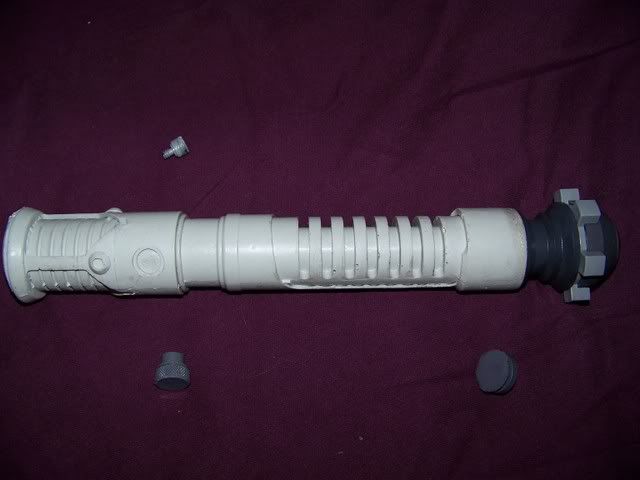
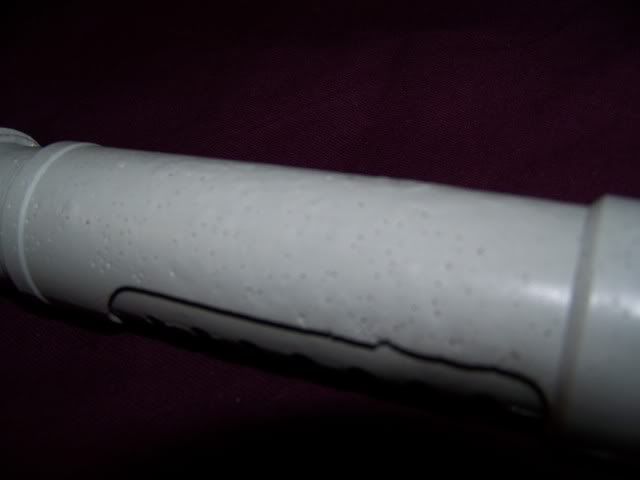
Oh well, I get more joy out of building props then I do having them on display, so I'm not upset in the least with getting a fixer upper, even if I did pay too much for it. Here are some pics of how I received it today:
100_7772.jpg

100_7773.jpg

100_7774.jpg

100_7775.jpg

100_7776.jpg

100_7780.jpg


Yes, I know I have my work cut out for me. I looks like this was poured with the last foamy bit of resin at the bottom of the bucket. I start the filling and sanding tonight. I'll post my progress as it happens.

Also, I found a local guy who said he can vacu-plate the saber for me for $75. Is that a decent price? I'm not even sure I want to spend that much cash on a $40 saber, but it would make it look real nice, and I may be able to sell it to help fund getting a metal one.
 
Nice grab! I picked one of these up on eBay with the intention of making the necessary mods then having it chromed or vacu-plated to make an Obi AOTC. Like you, I have some filling to do first! Looking forward to seeing your work on this.
 
I unfortunately had to work late today, so progress didn't get too far before my eyes and brain gave out. I managed to remove all the warped and rippled resin off the main body. Obviously, I still have an ocean of pin holes to fill, but at least the hilt no longer looks like it was made of cottage cheese. I've upgraded to swiss! I washed the parts in some greased lightning and water, then hit it with a coat of self etching primer, then two coats of filling primer. It's slowly getting there. Hopefully I'll have some better updates tomorrow.

100_7782.jpg

100_7783.jpg

100_7784.jpg


Oh, I also removed the molded on rubber O-ring. I have a whole box of real O-rings. I might as well use 'em.
 
I'm getting closer to a smooth flawless finish. I ended up just slathering the entire saber in glazing putty. I've also started clearing out the resin boogers in the nooks and crannies. I also yanked some blue silicone out of them too. Looks like the person to get one of these next will have more dremel out.

DSC00410.jpg

DSC00409.jpg

100_7785.jpg

100_7786.jpg

100_7787.jpg

100_7789.jpg


I know this update isn't all that fascinating, but compare the surface to the first and last updates. The cool stuff is coming soon. I'm just waiting for some goodies in the mail, and I need to pick up some Alclad at the local hobby store down the street.
 
Still working on smoothing the surface, but I'm just about finished. I won't bother with photos because it really doesn't look much different.

A question for everyone out there though: Does anyone know if the correct bezels have been found, and if so, does anyone have a few extras they'd be willing to let go of or know where I could find some?

Also, does anyone know the correct size of the washer that goes on the emitter, specifically the size of the inner hole?
 
The correct bezels were found years ago but are no longer in production, as far as I'm aware. Most people now have to custom machine them.

Not sure what you mean about the washer on the emitter, you mean this bit?

o3.jpg
 
The inner hole is 1/4" if I remember rightly, but then there's another piece of steel inside that. On the originals it was a steel rod running all the way through the hilt. On the saber pictured it's just a groove, rather than separate pieces.
 
Update with lots o' photos.

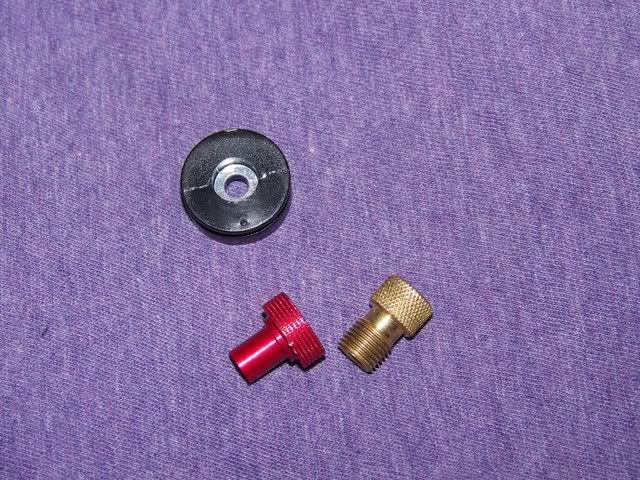
First of all, due to a very very very generous member on the board here (I'll let him chime in if he wants), I received these in the mail the other day:

100_7847.jpg


As far as I know, the Brass valve and Covertec knob are found/authentic pieces. The red button I believe was made by Luuke or Lukke or something (I can't remember who he said it was). It's a tad smaller than the screenused one, but it's still going to look worlds better than the foamy resin one I got with the kit.

And speaking of foamy resin:

100_7853.jpg

100_7851.jpg

100_7850.jpg

100_7849.jpg

100_7848.jpg

100_7846.jpg

100_7844.jpg

100_7843.jpg


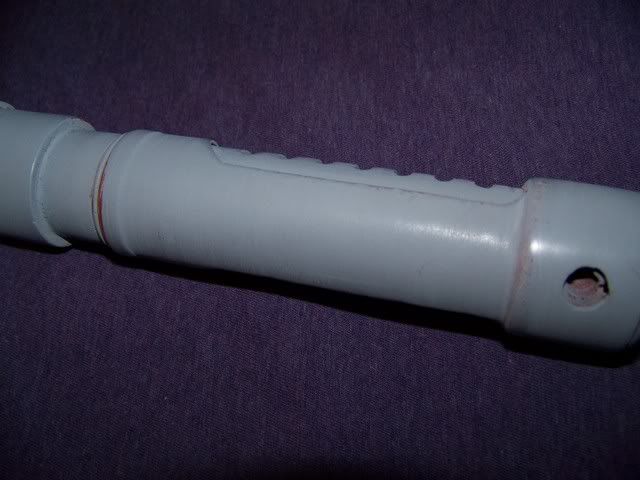
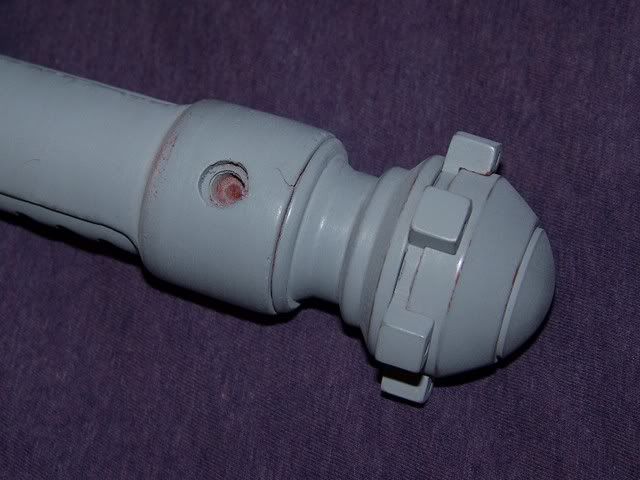
As you can see, there are still a few little pin holes here and there that I missed. The grey primer really helped highlight those. I think I'm going to have to tackle these last stuborn ones with the talc/CA trick. The rest of the body though has a wonderful smooth glossy shine to it after some wet sanding. Gloss black will be going on next once I finish with the pin holes, and then some Alclad later down the line.....though, I have been toying with the idea of ordering some of that metallic buffing powder that a couple members here have used to "plate" their Indy Idols with. We'll see. Gotta perfect my entire surface first.

100_7840.jpg

100_7841.jpg

100_7842.jpg
 
No new updates yet. My hobby shop had to order the Alclad for me, as the bottle that's been sitting untouched on the shelf for two years got sold the other day. That's probably for the best though. At least I'll have a fresh bottle. I realized I was out of gloss black paint, so I also picked up a small bottle of Testors Gloss Black for the base coat. Does anyone know how much I need to thin it to run it through the airbrush? I've never airbrushed Testors paints before.
 
Okay, here's a new update finally.

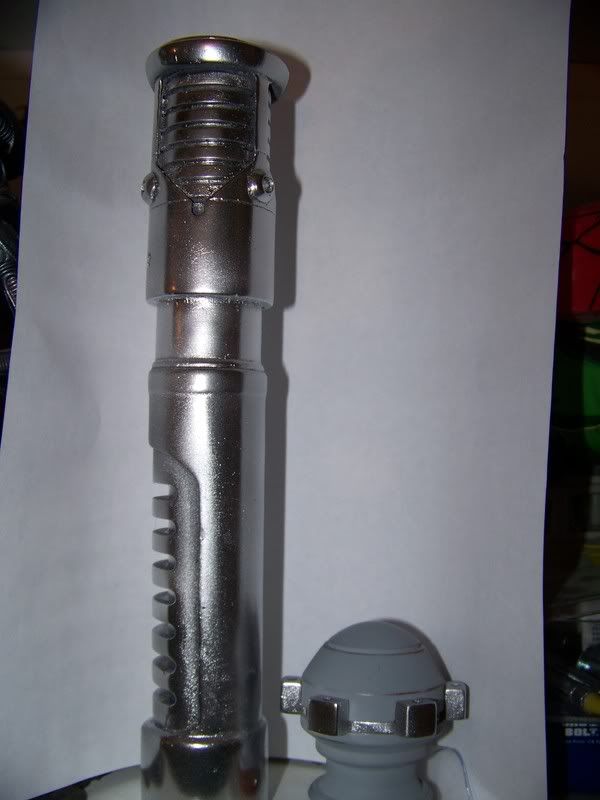
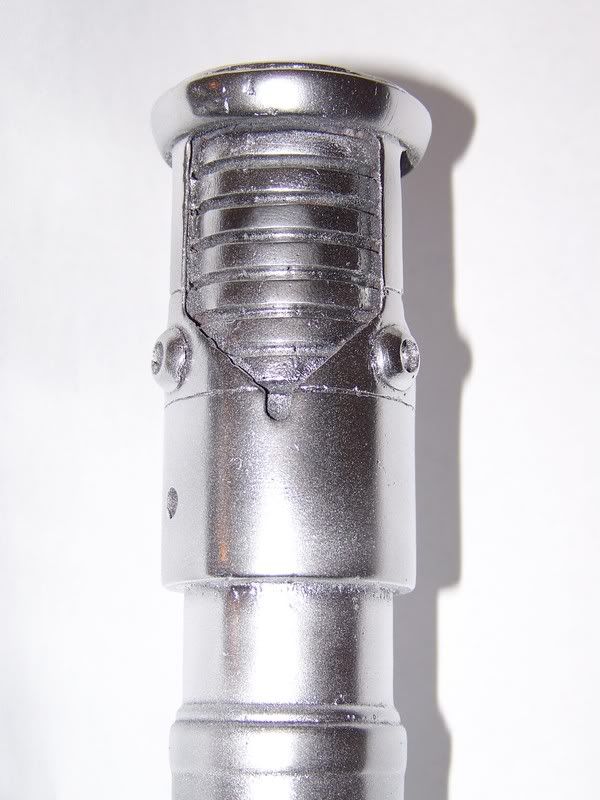
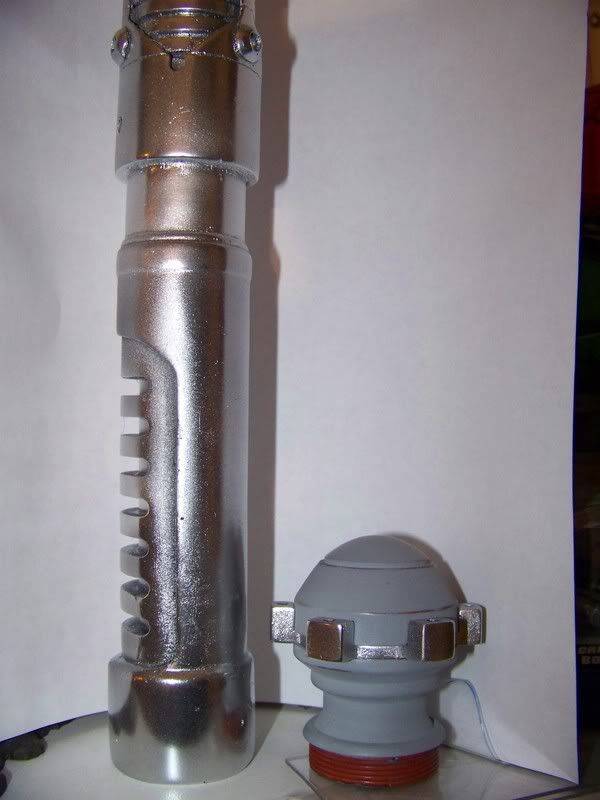
I got the saber body as smooth as I could without going insane. If I had been buiding this for someone else, I would have made it flawless. I'd say another 3 coats of primer and wet sanding would have done it, but my workshop is about to be torn up for a few weeks to tear out an old iron furnace and put in a new tiny sheet metal one. So I just wanted to get this thing Alcladed and out of the way for a while to dry.

So that's what I did:

100_9956.jpg

100_9957.jpg

100_9959.jpg


So yeah, the finish isn't perfect, but once I have the black potions painted and the knobs put on, it'll look a bit weathered and really nice sitting on the display shelf.

One or two more updates to come.
 
It's shaping up nicely.. I've been meaning to pick one of these up myself.
I can't wait to see it finished :D
 
I haven't abandoned this project. There's just going to be a slight delay. Some retarded contractors doing electrical work on my house managed to let the saber drop to my workshop floor and put a stack of boxes on top of it. :angry :cry

THANKFULLY, the saber itself didn't sustain any damage, but the Alclad paintjob was completely destroyed. Now I have to order a new bottle (which is fine, as I was going to anyway for a Terminator commission painting job I'll be doing soon). At least this gives me a chance to get that graininess out of the center of the hilt you could see in the photos. It eventually did start to bug me.

So in a way, I'll be getting a better finish out of this catastrophe, but :angry :angry :angry :angry those guys pissed me off. That's not the only stupid thing they've done, just the one that hit me the hardest....more so when they almost entombed one of my cats under the floorboards of the second floor.
 
Last edited:
Back
Top