mung
Sr Member
A long time lurker, this is my first post to the RPF. I have a blogsite rcscifi.blogspot.com.au where I very infrequently post my modeling projects, but a forum has more of a community spirit which helps in adding to the motivation to complete projects, so I thought i would have a go at putting up some of my stuff here starting with this.
While I admire greatly the modellers who build the studio scale replicas down to the very last kit part, readers of my blog will know that I prefer to make my own designs. This may well be attributed to laziness but I enjoy the process of designing sci fi vehicles and particularly assembling shapes from disparate parts to make something new, known as kitbashing but more precisely in this case toy bashing.
I have always been a spaceship nut and started in the 1980's building original spaceship models, but before that I was always a Gerry Anderson fan and in particular I loved the ground based vehicles. I also had an interest in Radio Controlled offroad car racing. Some years ago now I thought about combing the two interests and that is what I have been doing in my spare time ever since.
One of the main issues with putting detailed sci fi bodies onto RC chassis's is the greater weight. Most Rc cars only have to support a thin shell of lightweight lexan, whereas in the models I like to build there is a great volume of dense High Impact Styrene (known as HIPS), not to mention PVC parts, kit parts and other detailing paraphernalia. The suspension systems always have to be modified to some extent to compensate. Sometimes this is simply to move the shock positions or to upgrade the springs, but more often than not it is all this and more.
More than a year ago now I was looking at the toys in a discount store that may have interesting plastic shapes and found this rubbish truck toy which was not too expensive.
 A little bit later I purchased a Bruder Toys large tracked dozer thinking It might be fun to try and use the tracks for something. The cool thing about the Bruder range of toys is that they are all at a standard scale of 1/16 and reasonably accurate to the subject at least as far as most toys go. The pain of the Bruder toy range is that they use no screws in the assembly, its all tabs into slots with barbs that make it fiddly if not downright difficult to pull apart. Anyway it sat around in a box in bits for quite some time.


Some months later I found another of the rubbish truck toys for $3.50 at a thrift store or charity shop as its more commonly referred to in Australia.

Many more months later (only last week) I had the idea to see what would happen if I put them all together. Here is the result of that toy bashing.


Its basically the dozer cabin, back to front, joined to the combination of the two back ends of the rubbish trucks joined end to end, split down the middle and widened. A pile of 2mm styrene ties it all together. Parts off the dozer and the truck are re-purposed for detail bits and pieces along with a few kit parts, a small amount of foamed PVC and more styrene and assorted evergreen strips and textured sheet. A few urethane cast parts have also been employed here and there from silicon molds I made in the late 80's. It has a wooden frame underneath for reinforcement.
The wood is superglued to the plastic parts with thick superglue. The plastic is sanded with very coarse sandpaper to roughen the glossy surface so the superglue has something to mechanically bond to. All the PVC and Urethane parts are also superglued with a sanding treatment first. All the styrene parts are glued with Methylene Chloride solvent ( a known carcinogen) from an old EMA dispenser I have had since my professional model making days way back in the early 80's. The original polyethylene bottle eventually went brittle and broke apart but I just happened to have an ink container made from the correct plastic and with the matching thread to screw into the stainless steel dispenser.


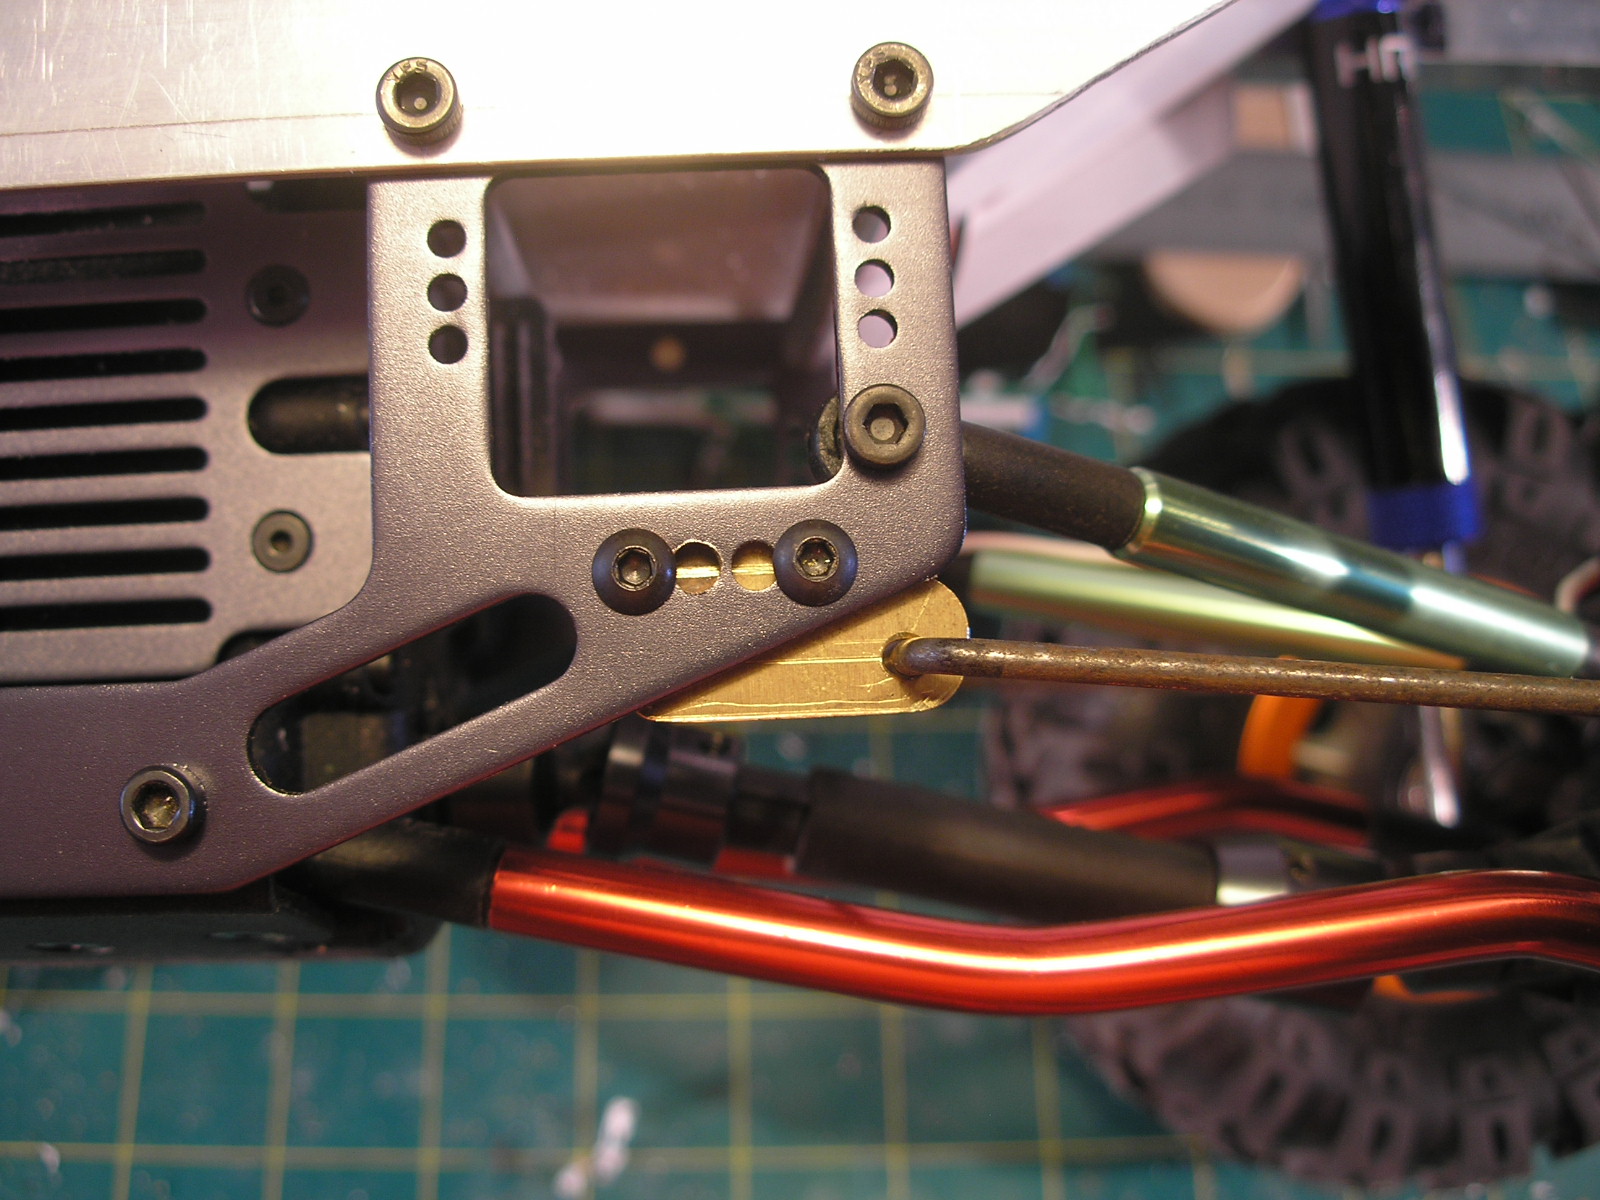
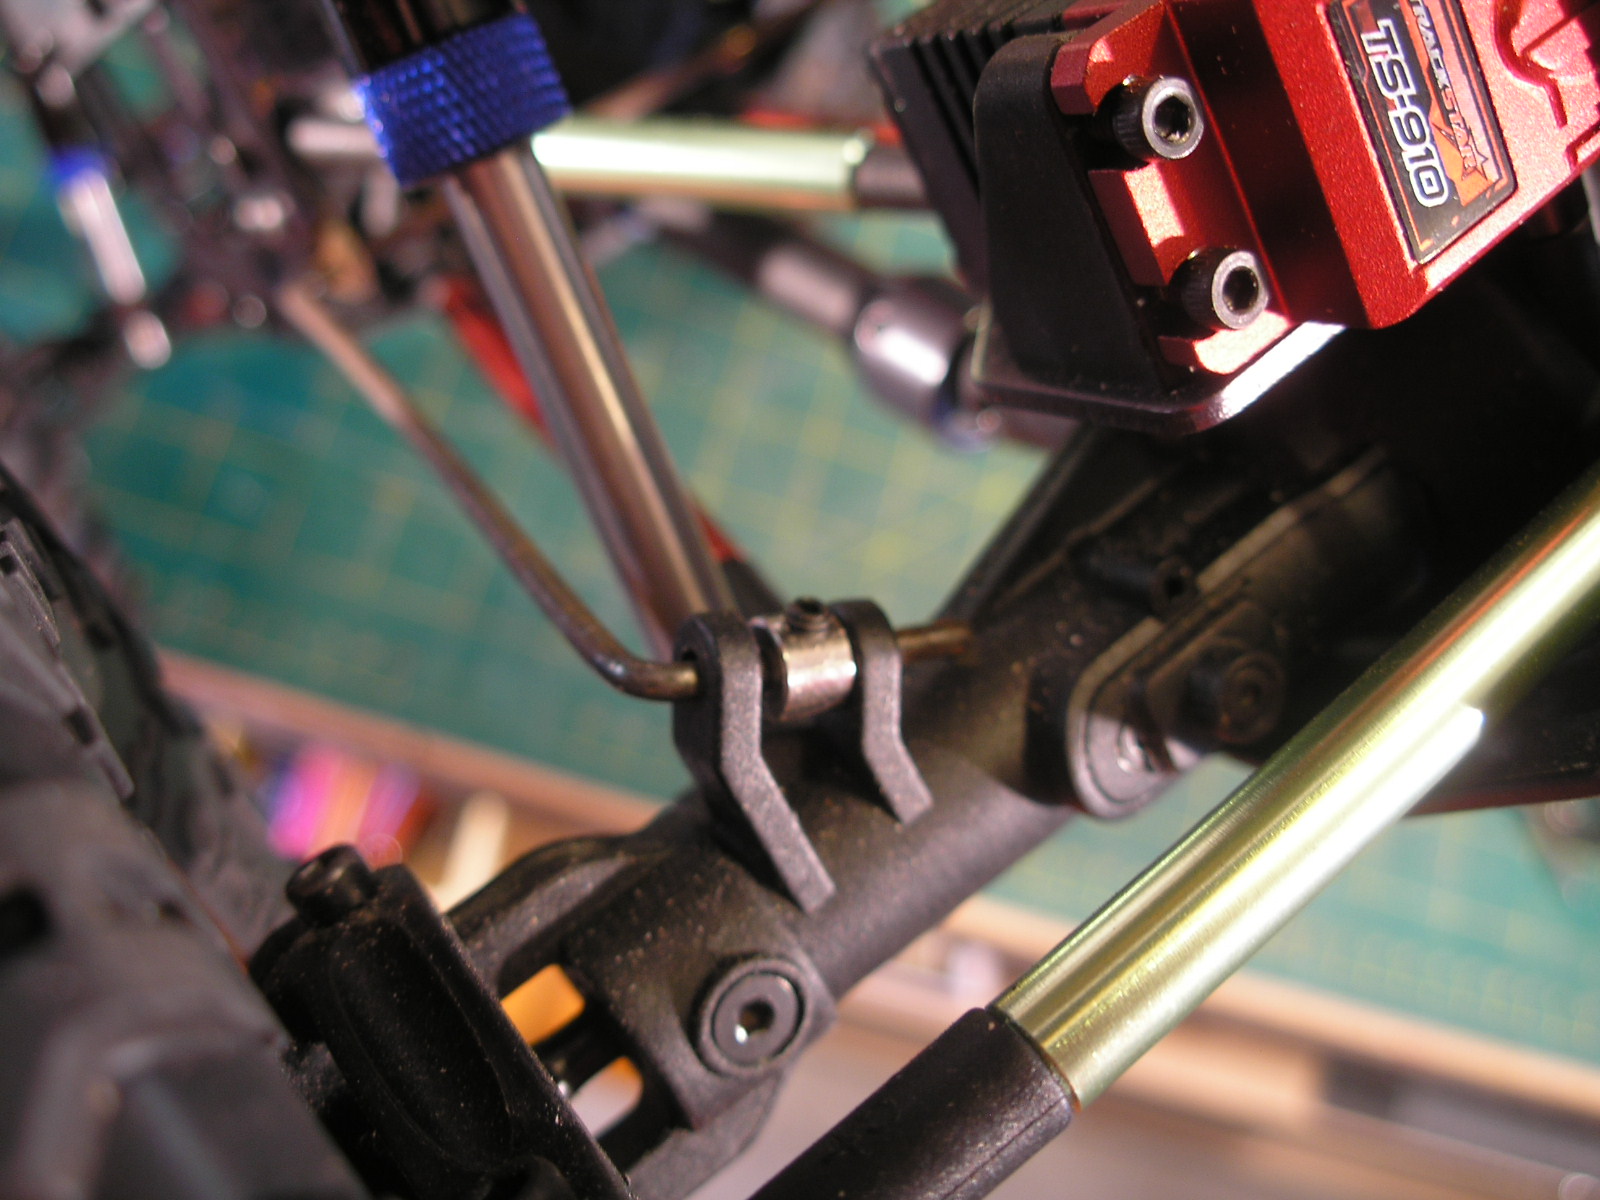
The chassis, which is still to be completed, is based on a Venom Creeper seeing as I had a few parts still left over from another project which is still underway, see Creeper 6X6 project. Readers of my blog would also know I start a lot of projects and have many on the go at the same time. Its finishing them that can be elusive. I find that some times what seems an insurmountable problem on a project becomes very much simpler after you have fiddled about with something else for a while. I also find that sometimes solutions to the more mechanical aspects of RC vehicles can take some time to bubble up and present themselves.
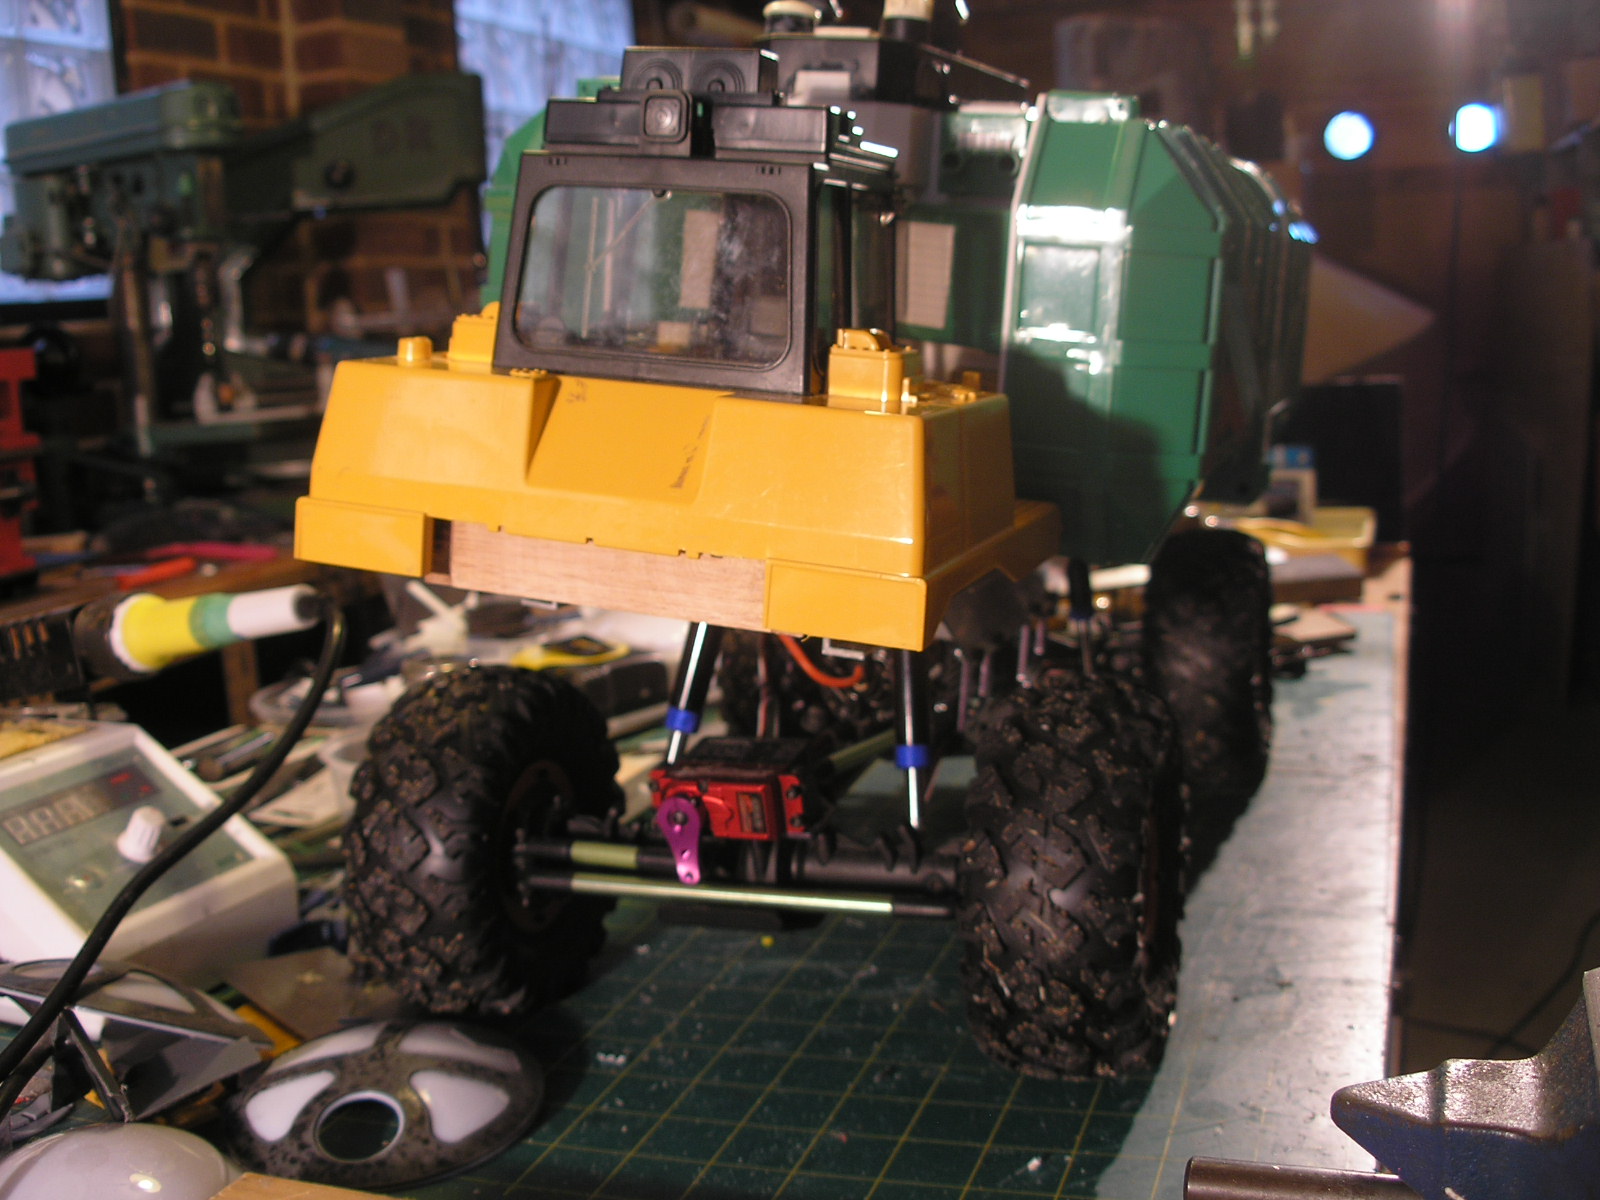
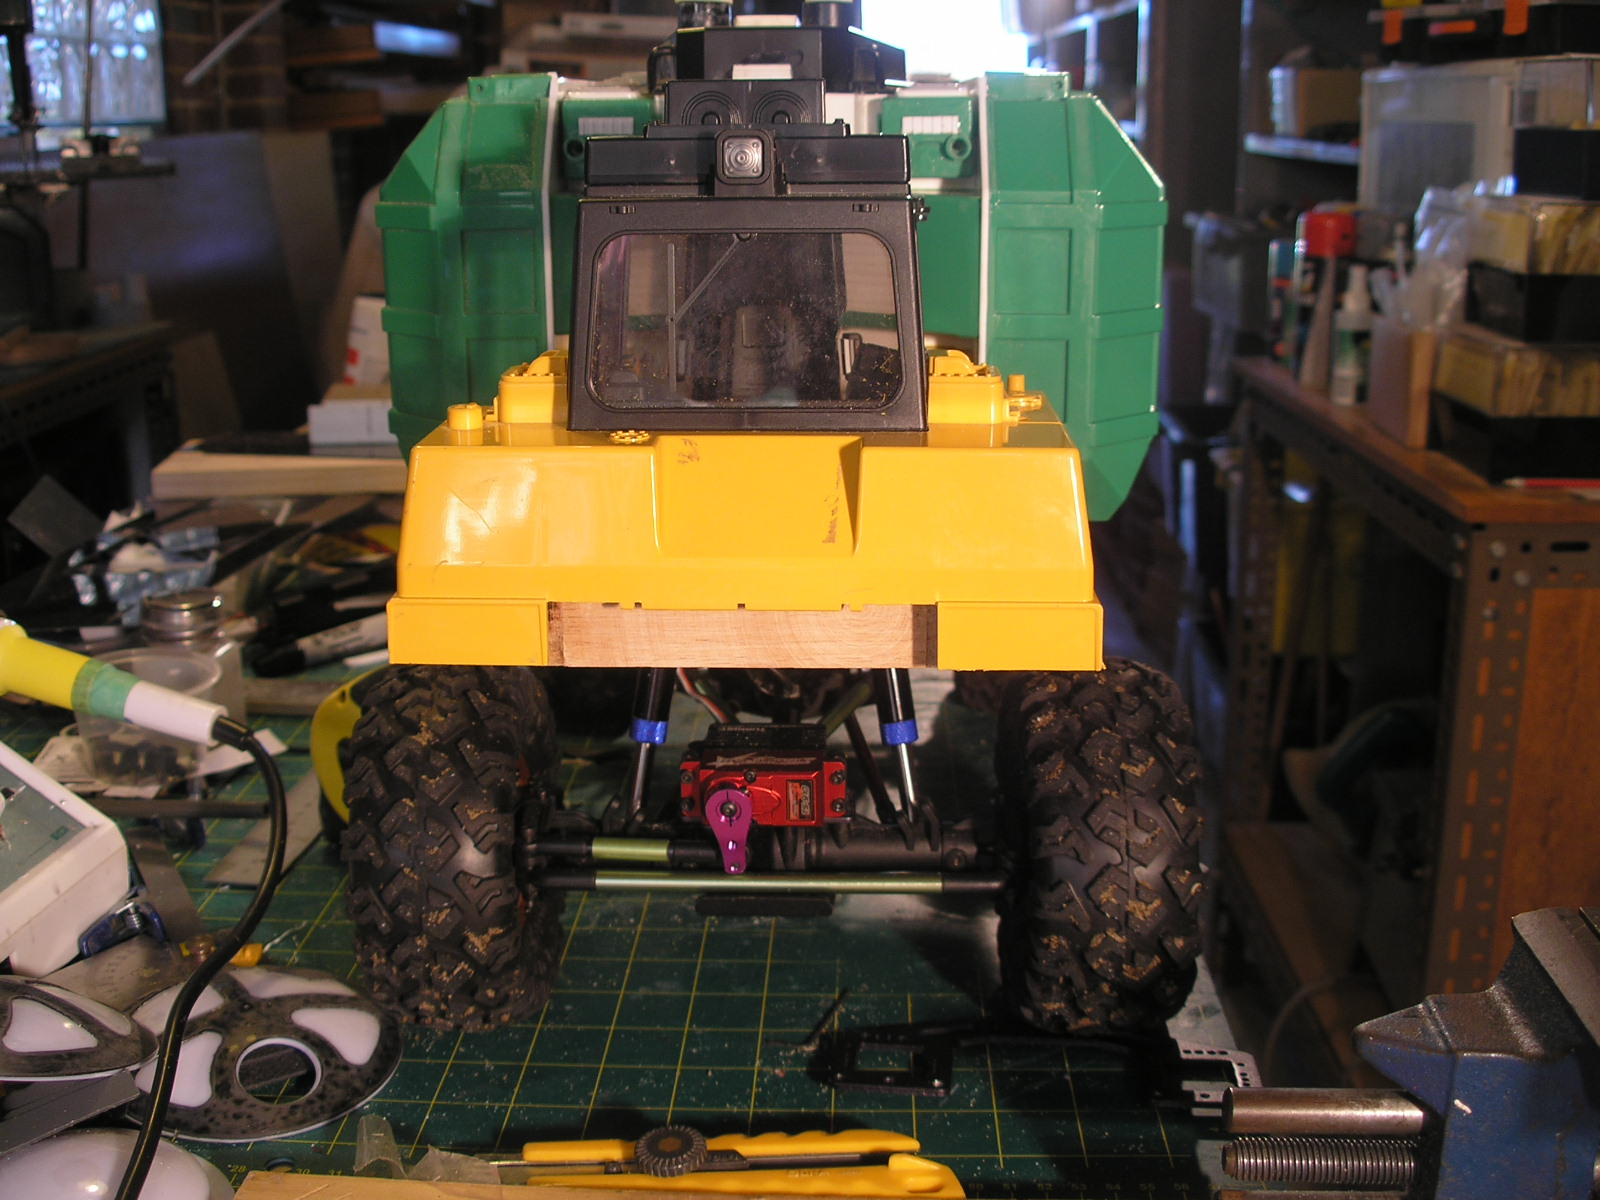
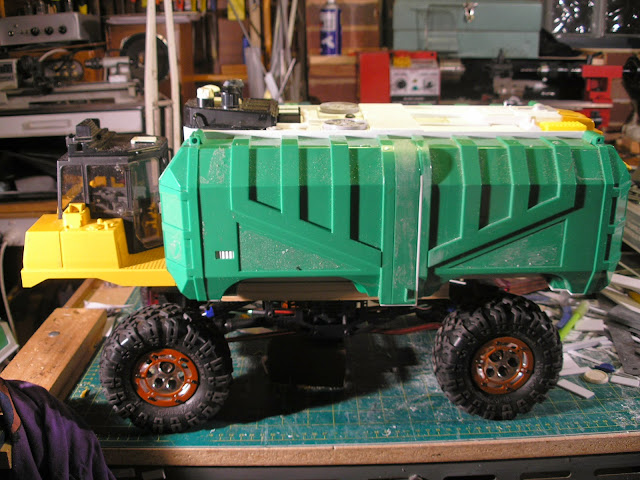
Here is the body work balanced on top of the chassis so far to give a rough idea of the way it will sit.


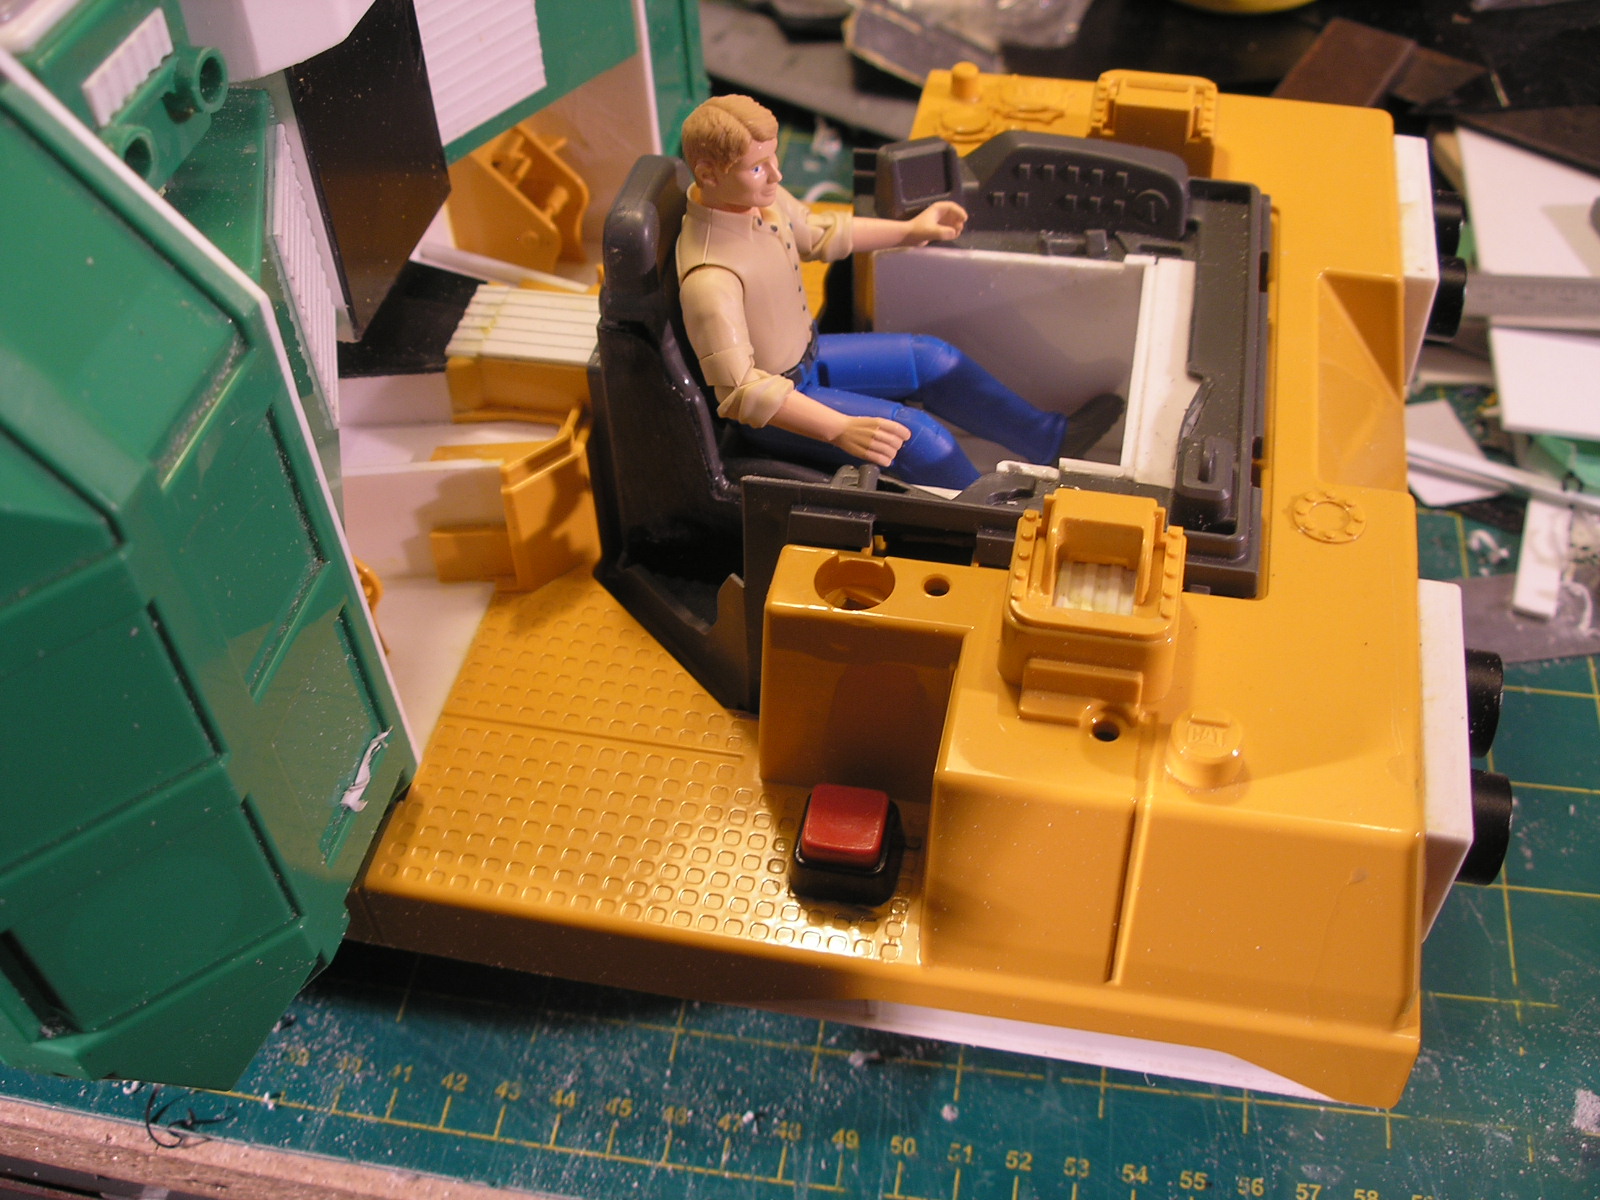
The yellow lump at the back is from the rear of the Bruder dozer. There is some more to do at the back and quite a bit more to do at the front including adding a driver figure and fitting a seat. The original cockpit has been cut up as it faced the other way. I may be able to adapt the existing seat for re-use, its not a simple exercise at it was all molded in one at an angle with the rest of the interior. Much butchery has had to take place to extract it.
The wheels and tires are the old Axial Rockster beadlocks with Rock Lizards which, true to form, I have had sitting in a box for years waiting for a project to come along.
You can see how messy the bench gets with all the butchering and sanding of parts to get them to fit. I think I'll have to have a clean up before going much further.
While I admire greatly the modellers who build the studio scale replicas down to the very last kit part, readers of my blog will know that I prefer to make my own designs. This may well be attributed to laziness but I enjoy the process of designing sci fi vehicles and particularly assembling shapes from disparate parts to make something new, known as kitbashing but more precisely in this case toy bashing.
I have always been a spaceship nut and started in the 1980's building original spaceship models, but before that I was always a Gerry Anderson fan and in particular I loved the ground based vehicles. I also had an interest in Radio Controlled offroad car racing. Some years ago now I thought about combing the two interests and that is what I have been doing in my spare time ever since.
One of the main issues with putting detailed sci fi bodies onto RC chassis's is the greater weight. Most Rc cars only have to support a thin shell of lightweight lexan, whereas in the models I like to build there is a great volume of dense High Impact Styrene (known as HIPS), not to mention PVC parts, kit parts and other detailing paraphernalia. The suspension systems always have to be modified to some extent to compensate. Sometimes this is simply to move the shock positions or to upgrade the springs, but more often than not it is all this and more.
More than a year ago now I was looking at the toys in a discount store that may have interesting plastic shapes and found this rubbish truck toy which was not too expensive.


Some months later I found another of the rubbish truck toys for $3.50 at a thrift store or charity shop as its more commonly referred to in Australia.

Many more months later (only last week) I had the idea to see what would happen if I put them all together. Here is the result of that toy bashing.


Its basically the dozer cabin, back to front, joined to the combination of the two back ends of the rubbish trucks joined end to end, split down the middle and widened. A pile of 2mm styrene ties it all together. Parts off the dozer and the truck are re-purposed for detail bits and pieces along with a few kit parts, a small amount of foamed PVC and more styrene and assorted evergreen strips and textured sheet. A few urethane cast parts have also been employed here and there from silicon molds I made in the late 80's. It has a wooden frame underneath for reinforcement.
The wood is superglued to the plastic parts with thick superglue. The plastic is sanded with very coarse sandpaper to roughen the glossy surface so the superglue has something to mechanically bond to. All the PVC and Urethane parts are also superglued with a sanding treatment first. All the styrene parts are glued with Methylene Chloride solvent ( a known carcinogen) from an old EMA dispenser I have had since my professional model making days way back in the early 80's. The original polyethylene bottle eventually went brittle and broke apart but I just happened to have an ink container made from the correct plastic and with the matching thread to screw into the stainless steel dispenser.


The chassis, which is still to be completed, is based on a Venom Creeper seeing as I had a few parts still left over from another project which is still underway, see Creeper 6X6 project. Readers of my blog would also know I start a lot of projects and have many on the go at the same time. Its finishing them that can be elusive. I find that some times what seems an insurmountable problem on a project becomes very much simpler after you have fiddled about with something else for a while. I also find that sometimes solutions to the more mechanical aspects of RC vehicles can take some time to bubble up and present themselves.
Here is the body work balanced on top of the chassis so far to give a rough idea of the way it will sit.


The yellow lump at the back is from the rear of the Bruder dozer. There is some more to do at the back and quite a bit more to do at the front including adding a driver figure and fitting a seat. The original cockpit has been cut up as it faced the other way. I may be able to adapt the existing seat for re-use, its not a simple exercise at it was all molded in one at an angle with the rest of the interior. Much butchery has had to take place to extract it.
The wheels and tires are the old Axial Rockster beadlocks with Rock Lizards which, true to form, I have had sitting in a box for years waiting for a project to come along.
You can see how messy the bench gets with all the butchering and sanding of parts to get them to fit. I think I'll have to have a clean up before going much further.
Last edited:
")