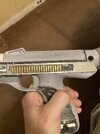
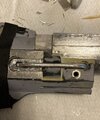
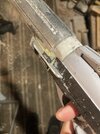
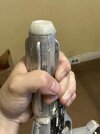
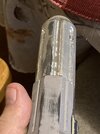
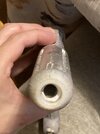
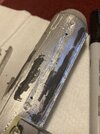
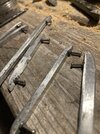
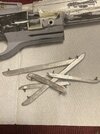
This blaster is kicking my ass. Without a mill these channels were absolutely atrocious.. I drilled holes and used burrs and bits to carve it out. Even cutting the fins was a huge ordeal by hand. I’m counting my losses and using what I make the best way I can. A lot of this gets painted black so u can start glue and JB weld at this point. I used mesh I pulled from some old radio!
Attachments
-
 IMG_7837.jpeg1.7 MB · Views: 38
 -
 IMG_7834.jpeg1.4 MB · Views: 37
 -
 IMG_7831.jpeg1.8 MB · Views: 31
 -
 IMG_7828.jpeg1.5 MB · Views: 28
 -
 IMG_7824.jpeg1.9 MB · Views: 28
 -
 IMG_7821.jpeg1.5 MB · Views: 26
 -
 IMG_7820.jpeg1.2 MB · Views: 26
 -
 IMG_7819.jpeg1.1 MB · Views: 26
 -
 IMG_7818.jpeg1.5 MB · Views: 29
 -
 IMG_7815.jpeg2 MB · Views: 25
 -
 IMG_7816.jpeg1.4 MB · Views: 27
 -
 B14C8452-6336-491B-BC73-B6F26C77D12C.jpeg1.4 MB · Views: 38