TNG Wall Replicator

Eric Ardros

Sr Member
After seeing sulla's 1:1 Trek Wall replicator project thread posted here a few years ago, wherein he generously provided the measurements for his build, I took those measurements and made myself a set of templates to make my own.

Of course, as with many of my other planned projects, other ideas came to mind and it was left on the back burner for a while :p

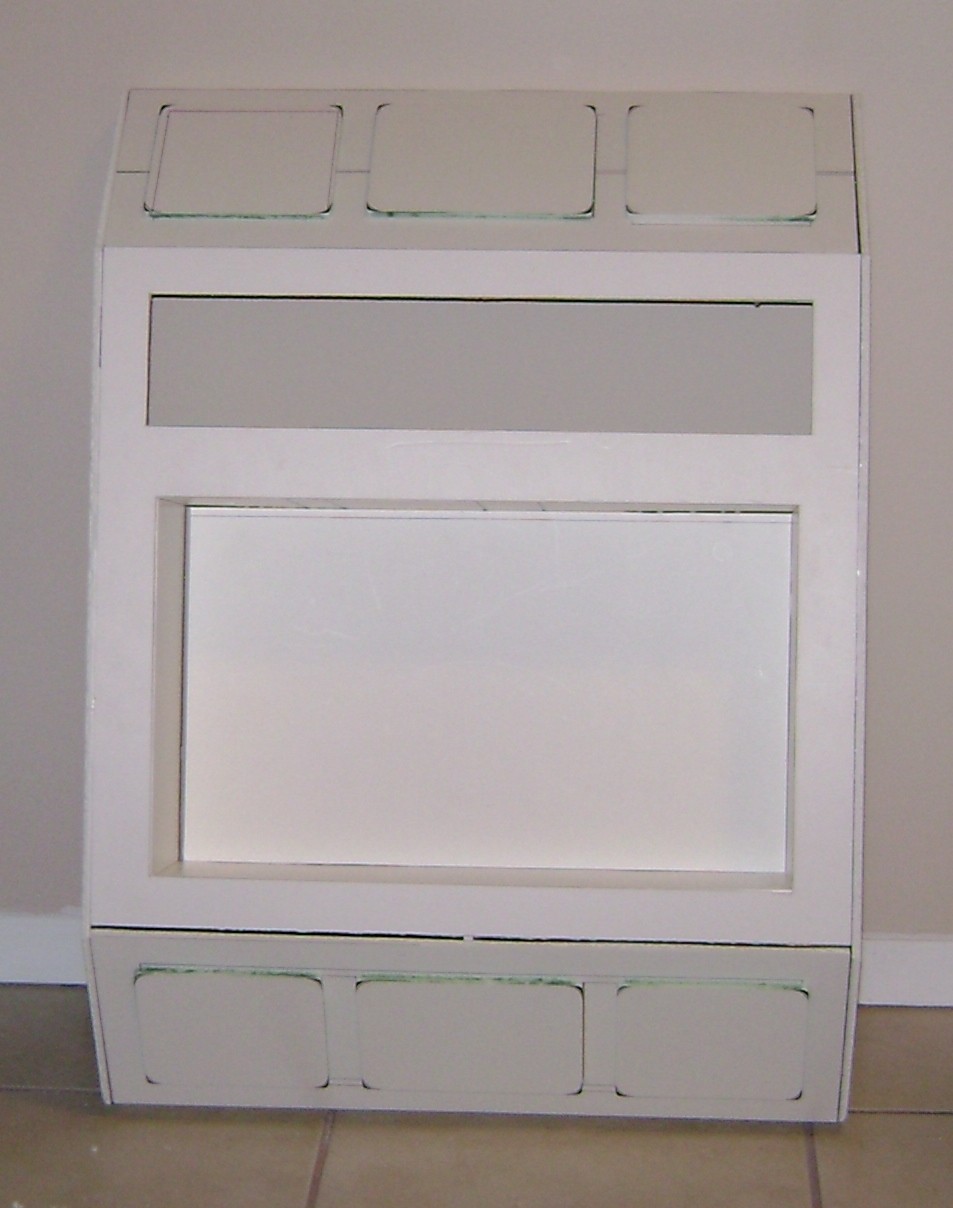
Recently however, I was going through some of the reference material (pics, screen-used dimensions) on my hard drive and came across a 4" x 18.5" LCARS panel for the TNG Replicator, or at least one version of it:

9j4j.jpg


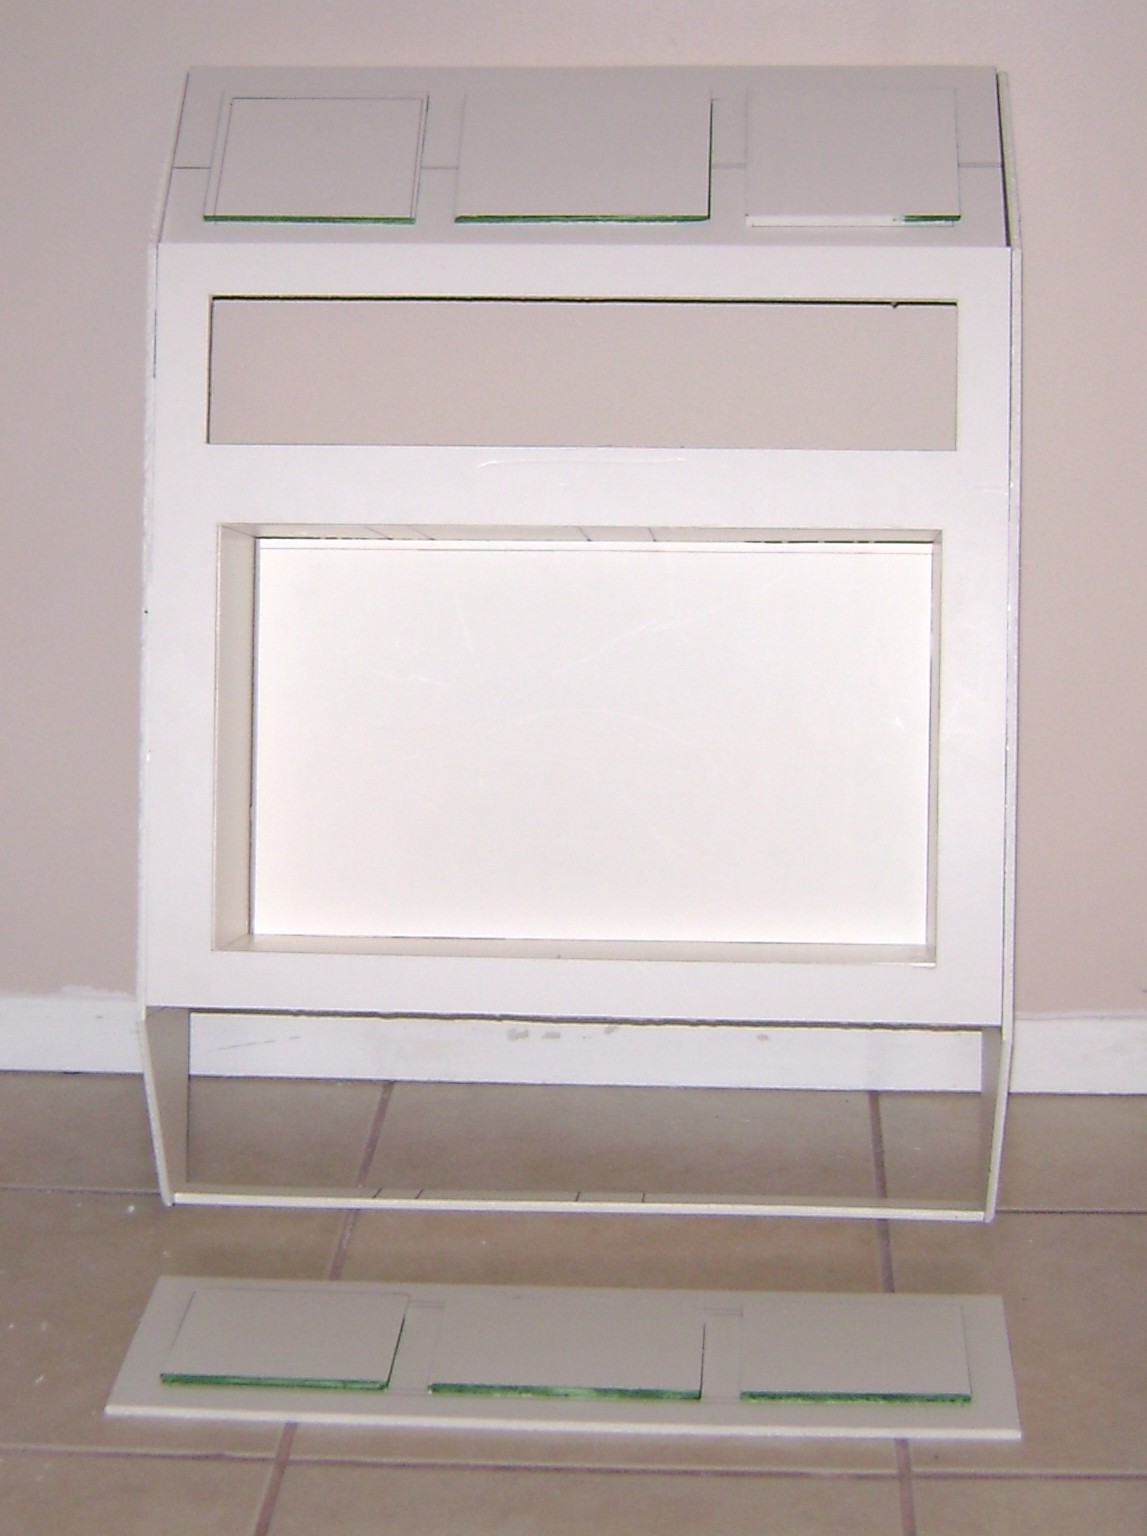
After locating the screen-used dimensions for it in a text file I've been compiling over the years, I came to realize that in order to use that particular graphic I would need to widen my template by another 4 inches to accommodate the LCARS panel (original template is on the right):

jrw2.jpg


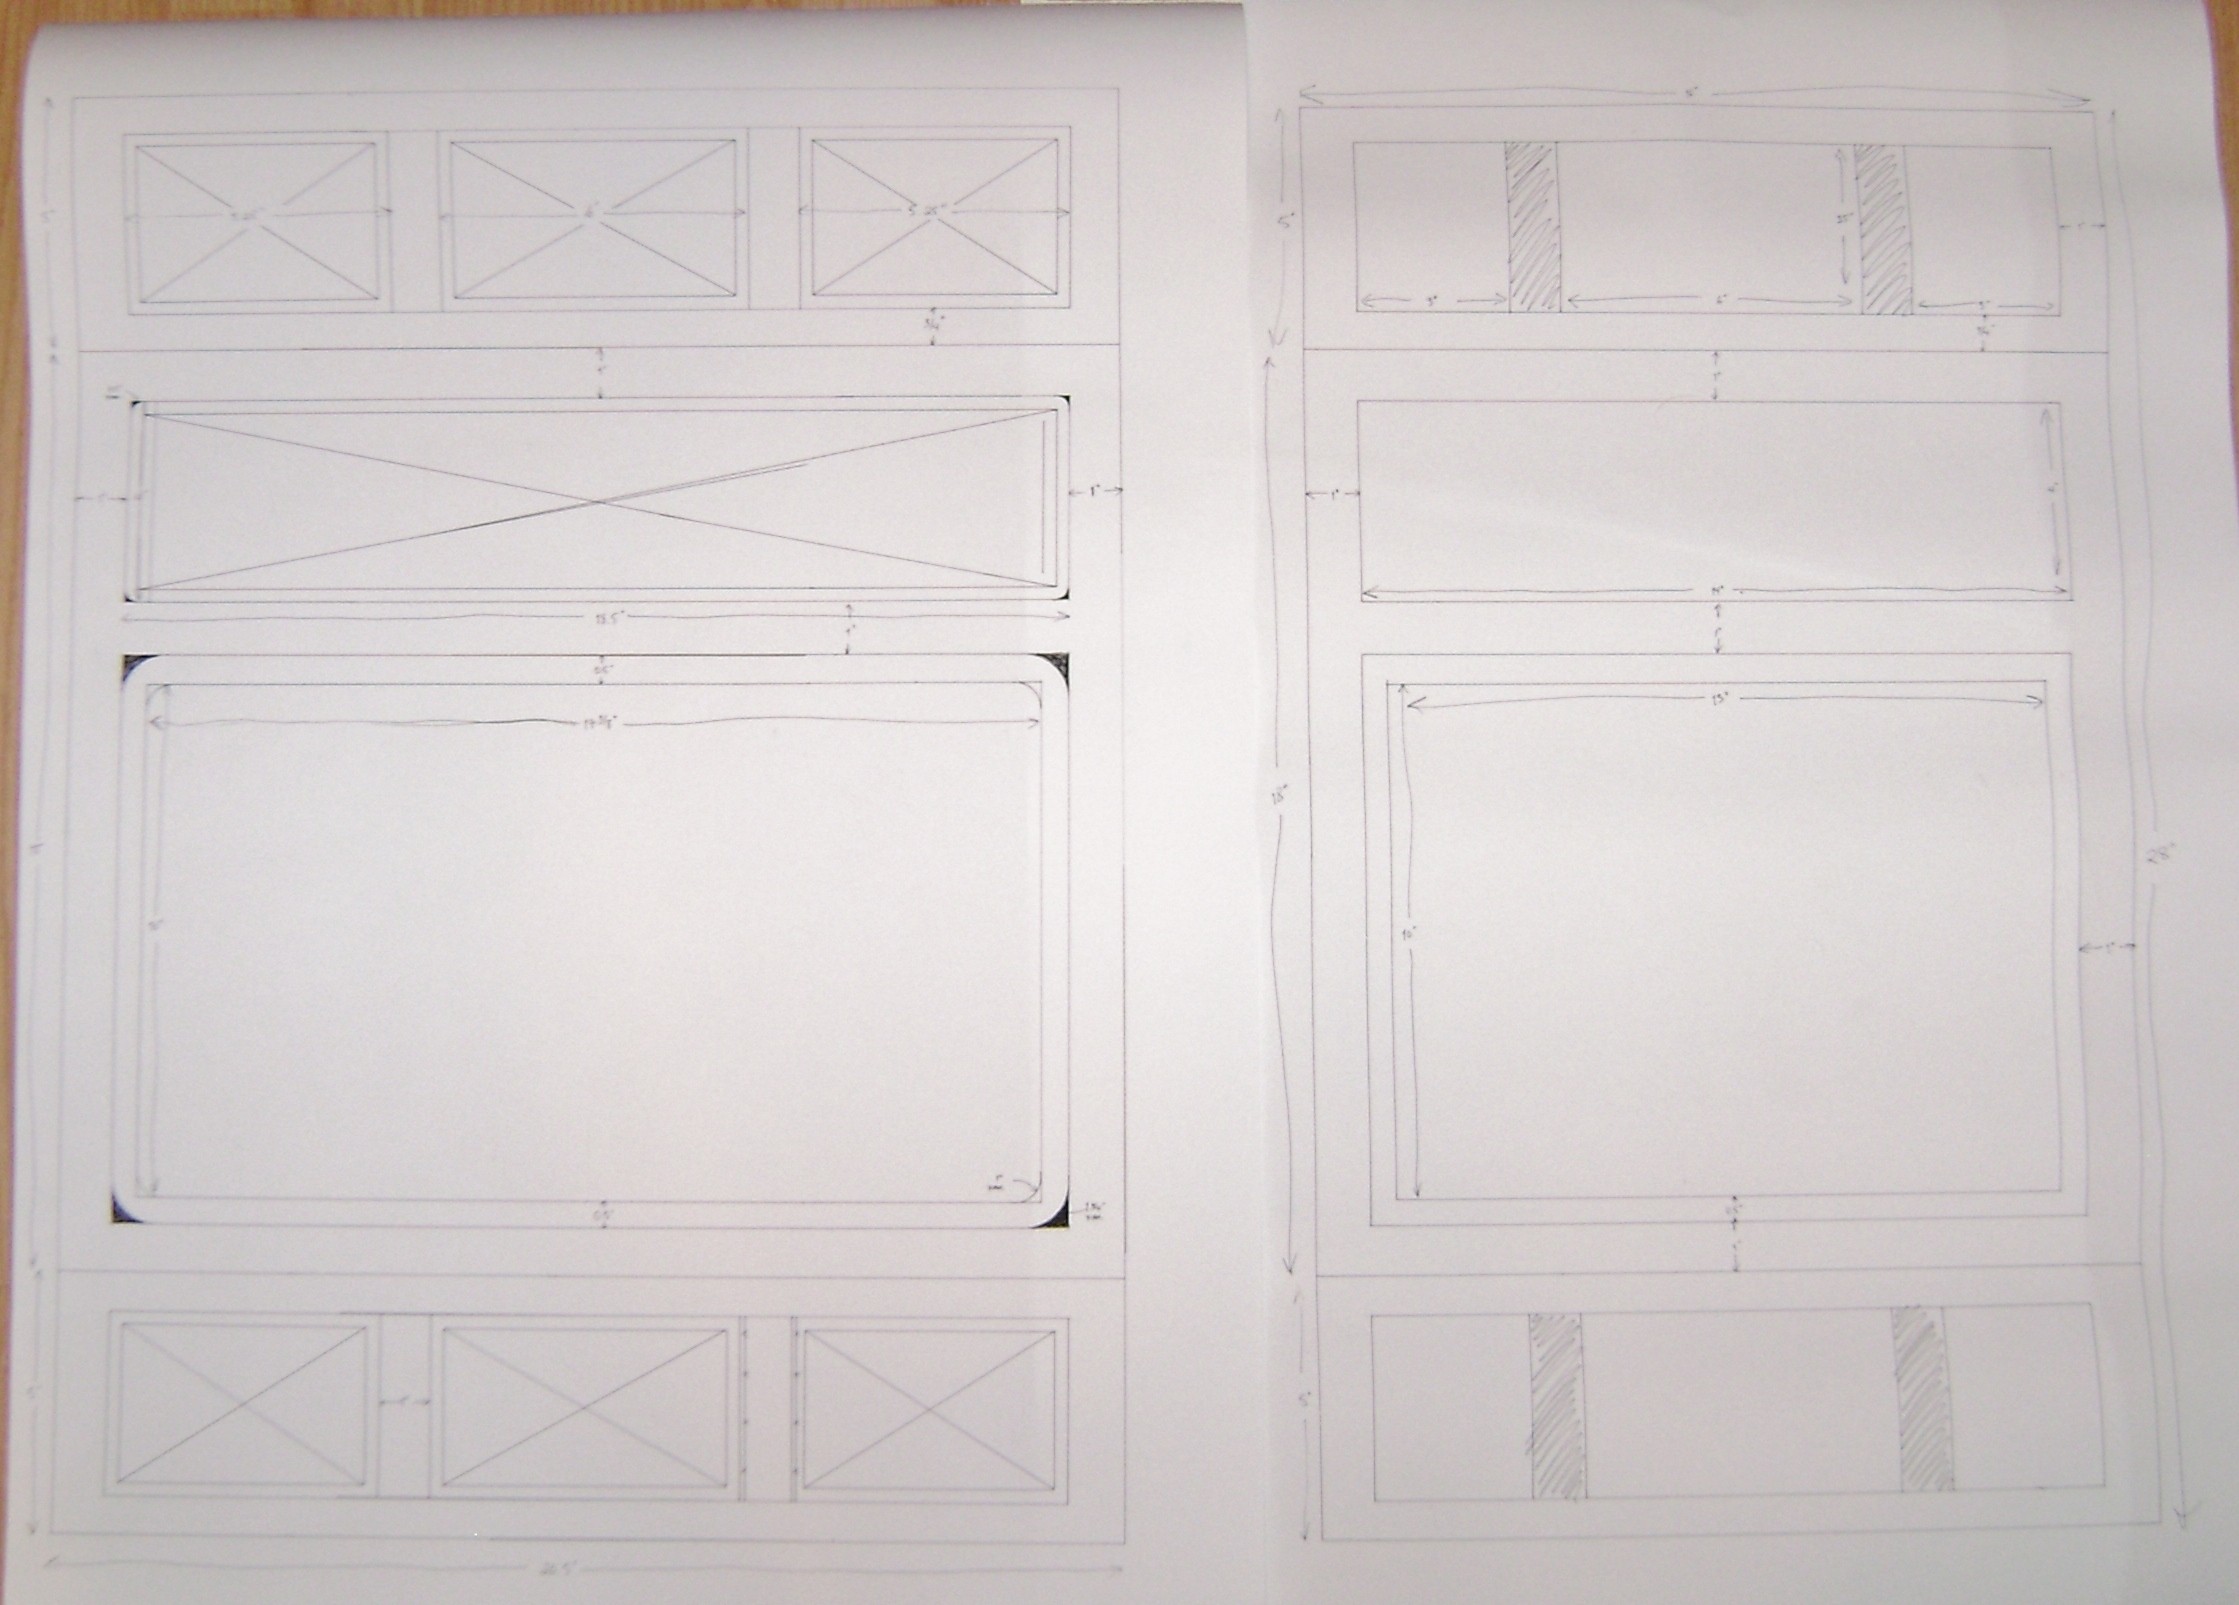
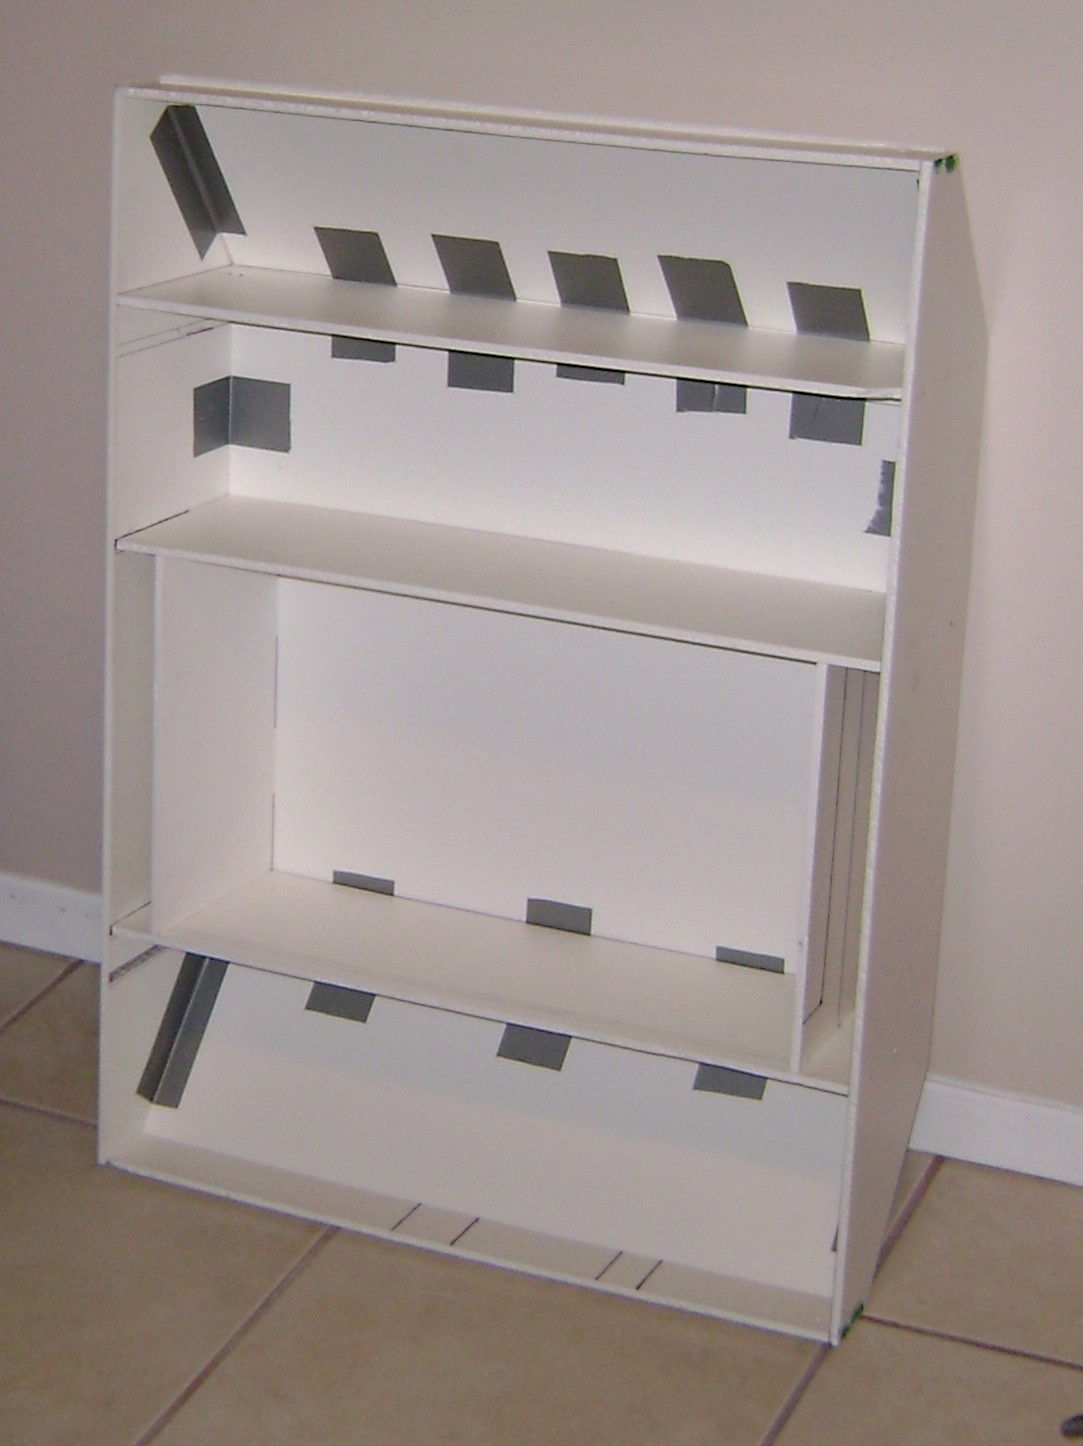
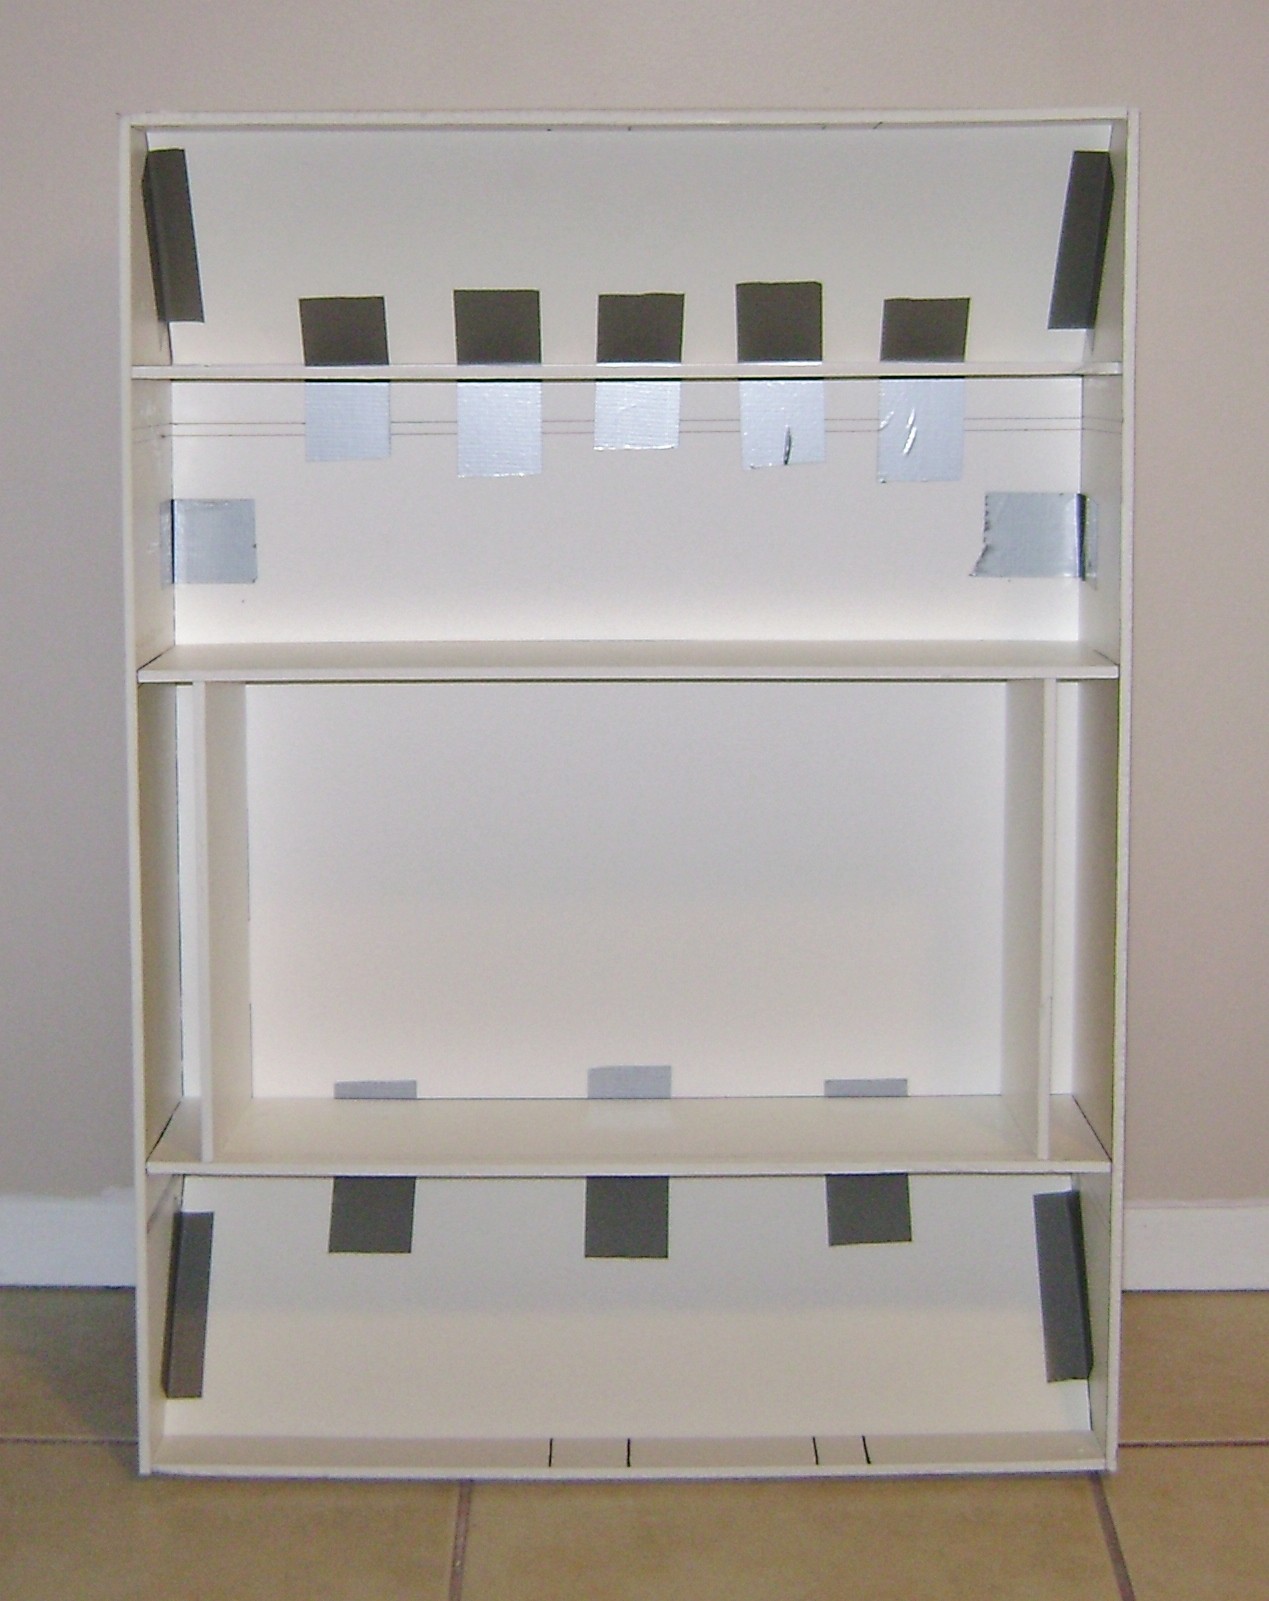
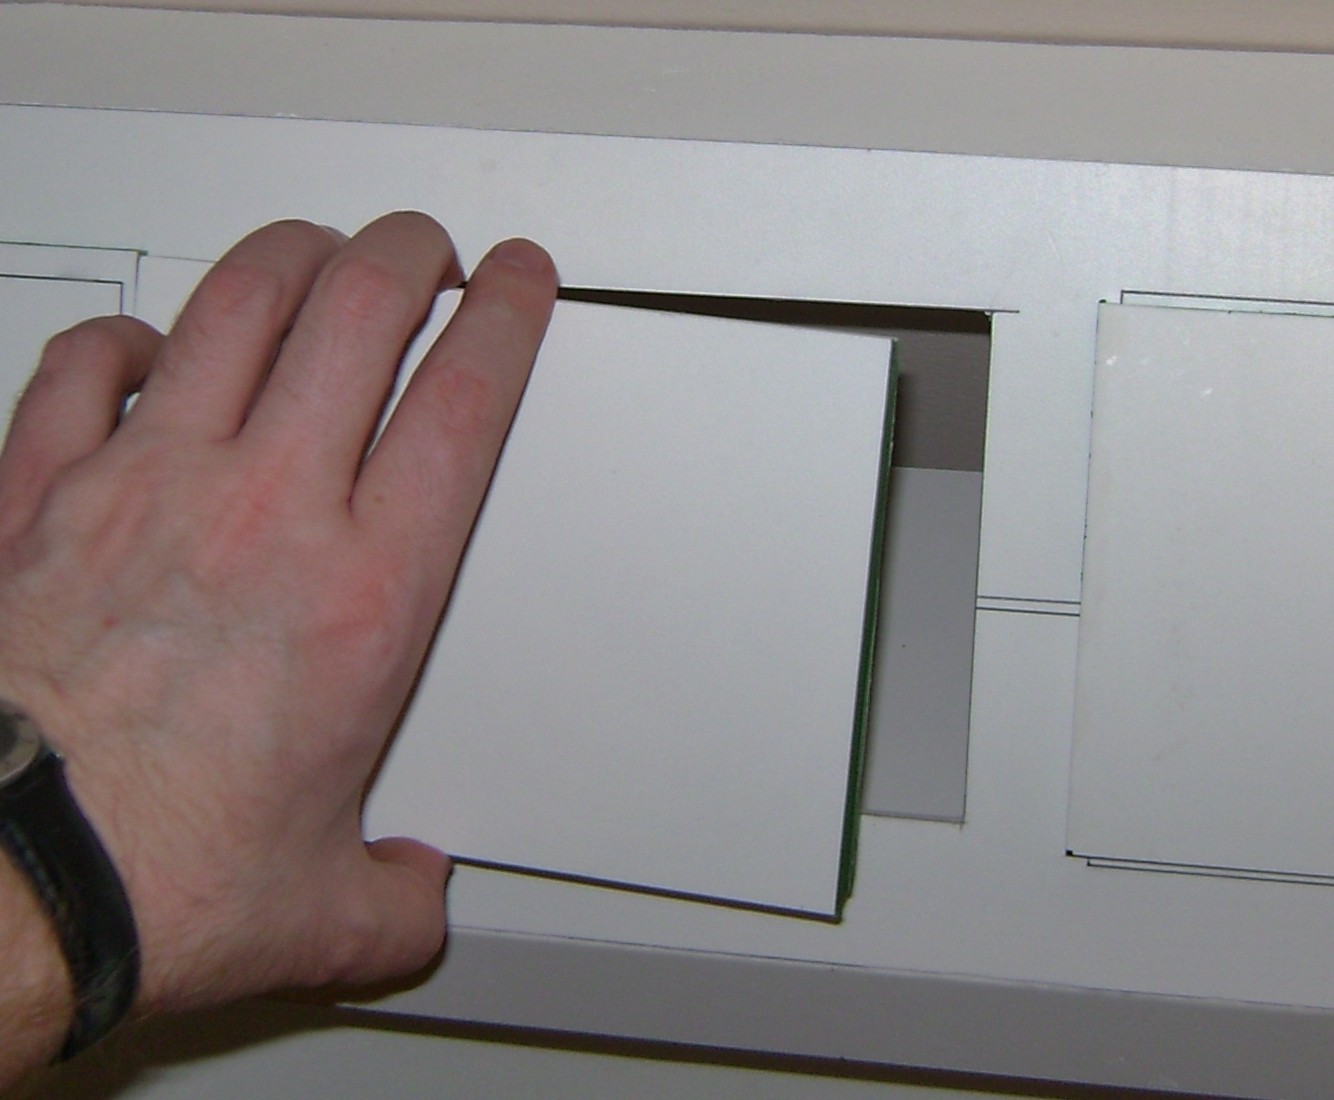
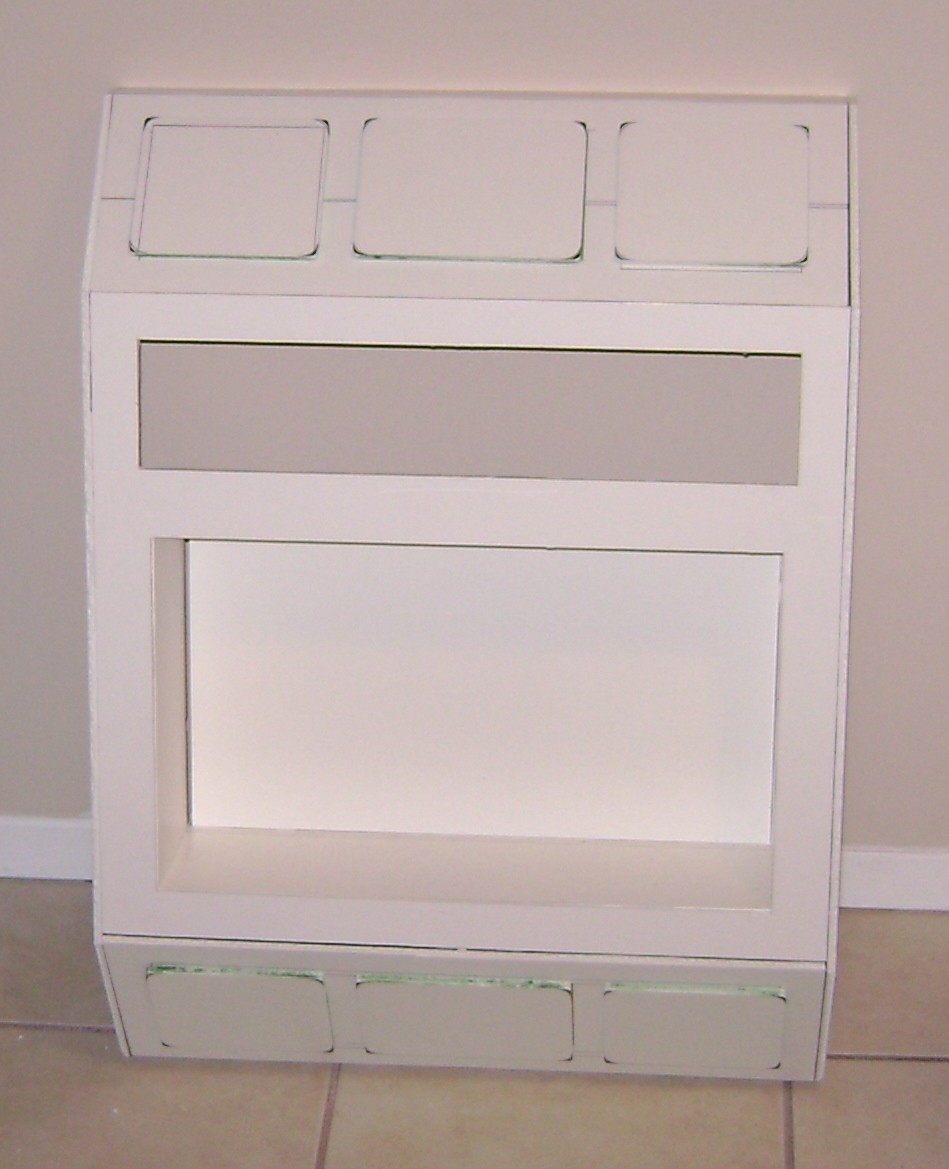
And in the course of a few hours managed to both redraw the template and also cut out the main parts for the physical build (I quickly attached everything together with some duct tape for a quick mock-up):

7g0r.jpg

txvv.jpg


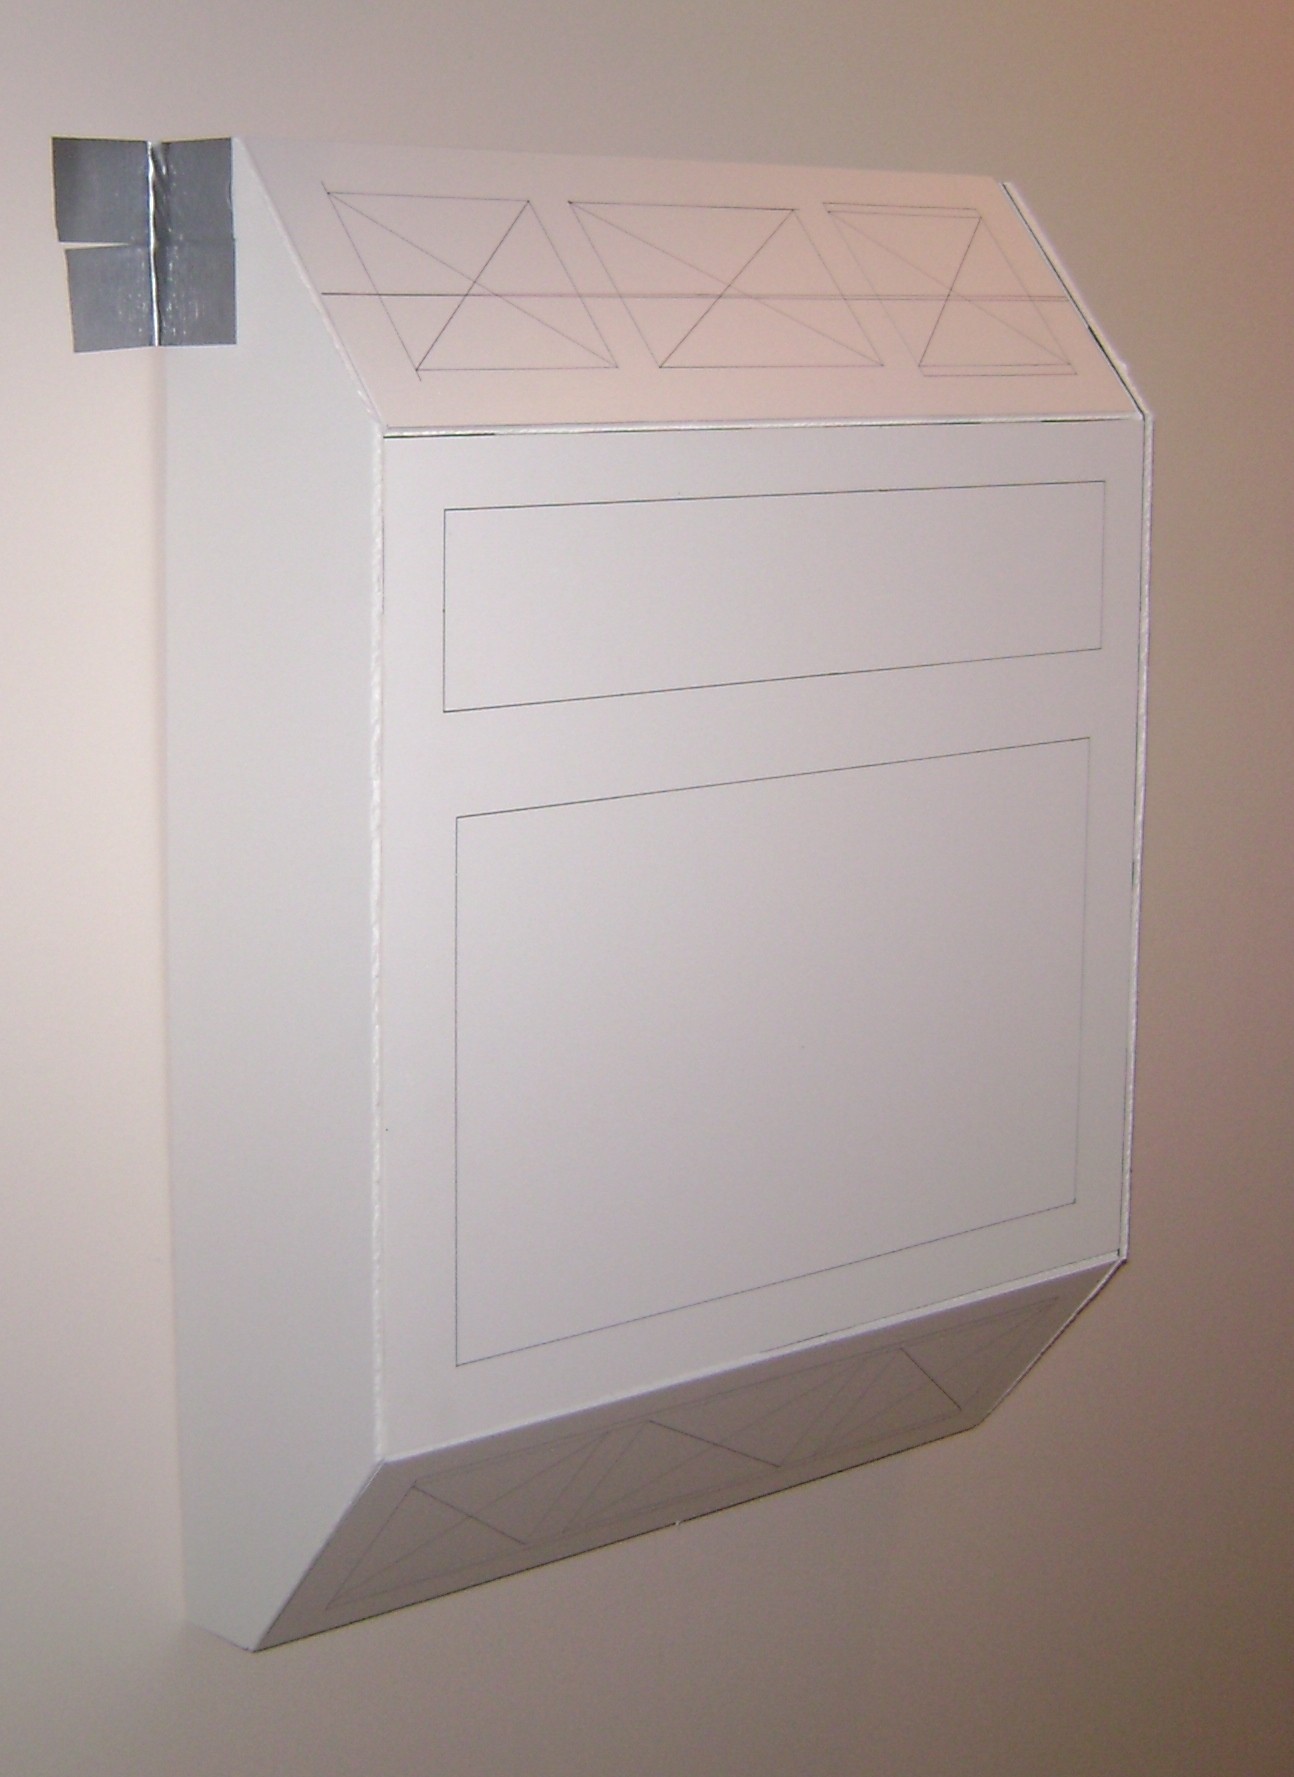
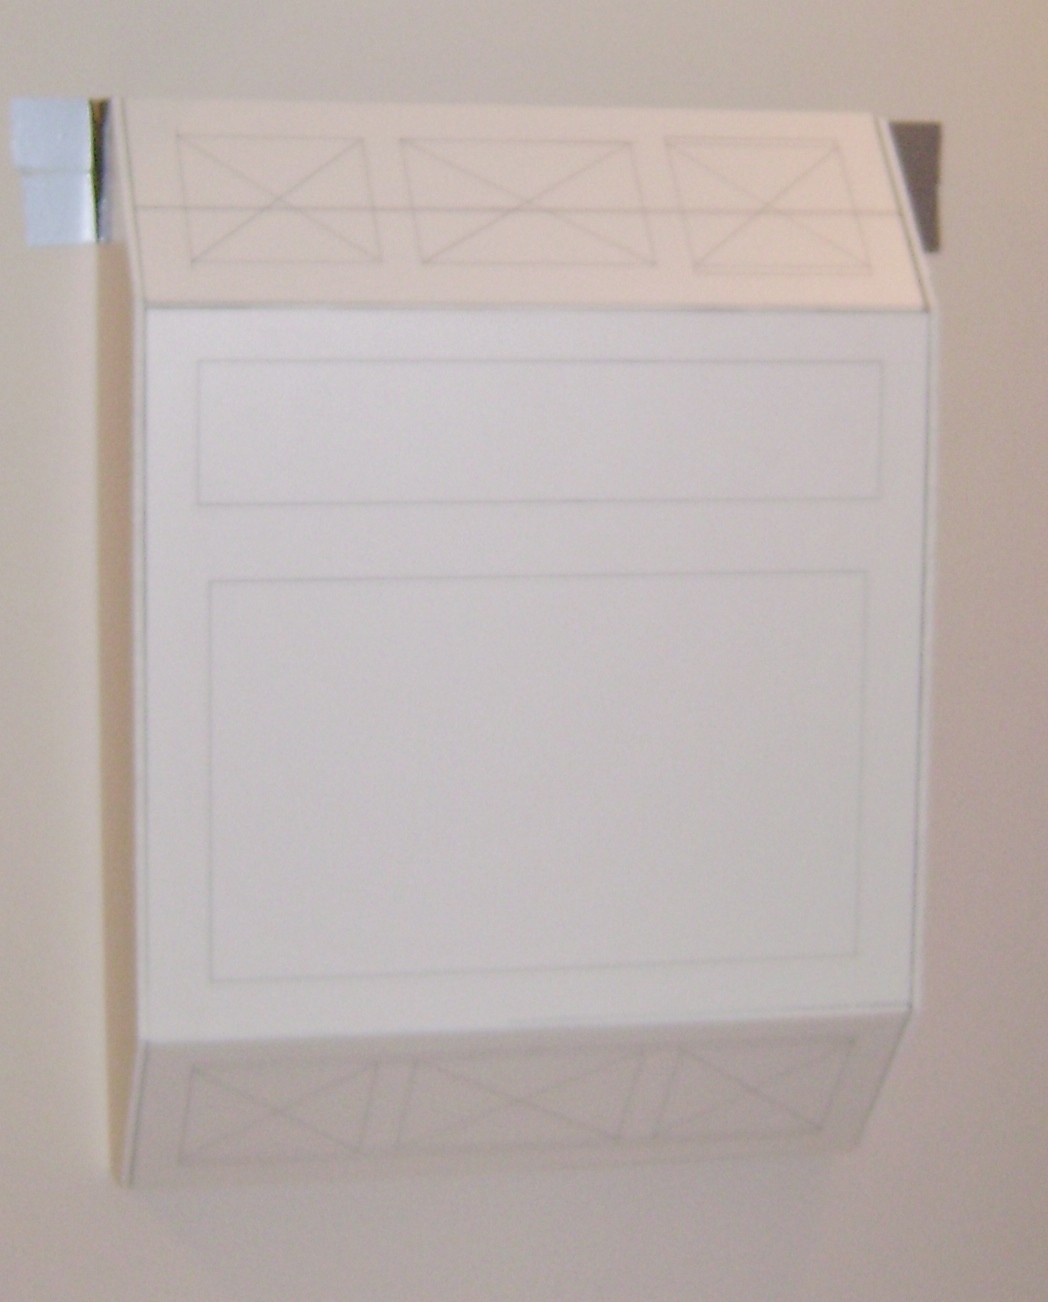
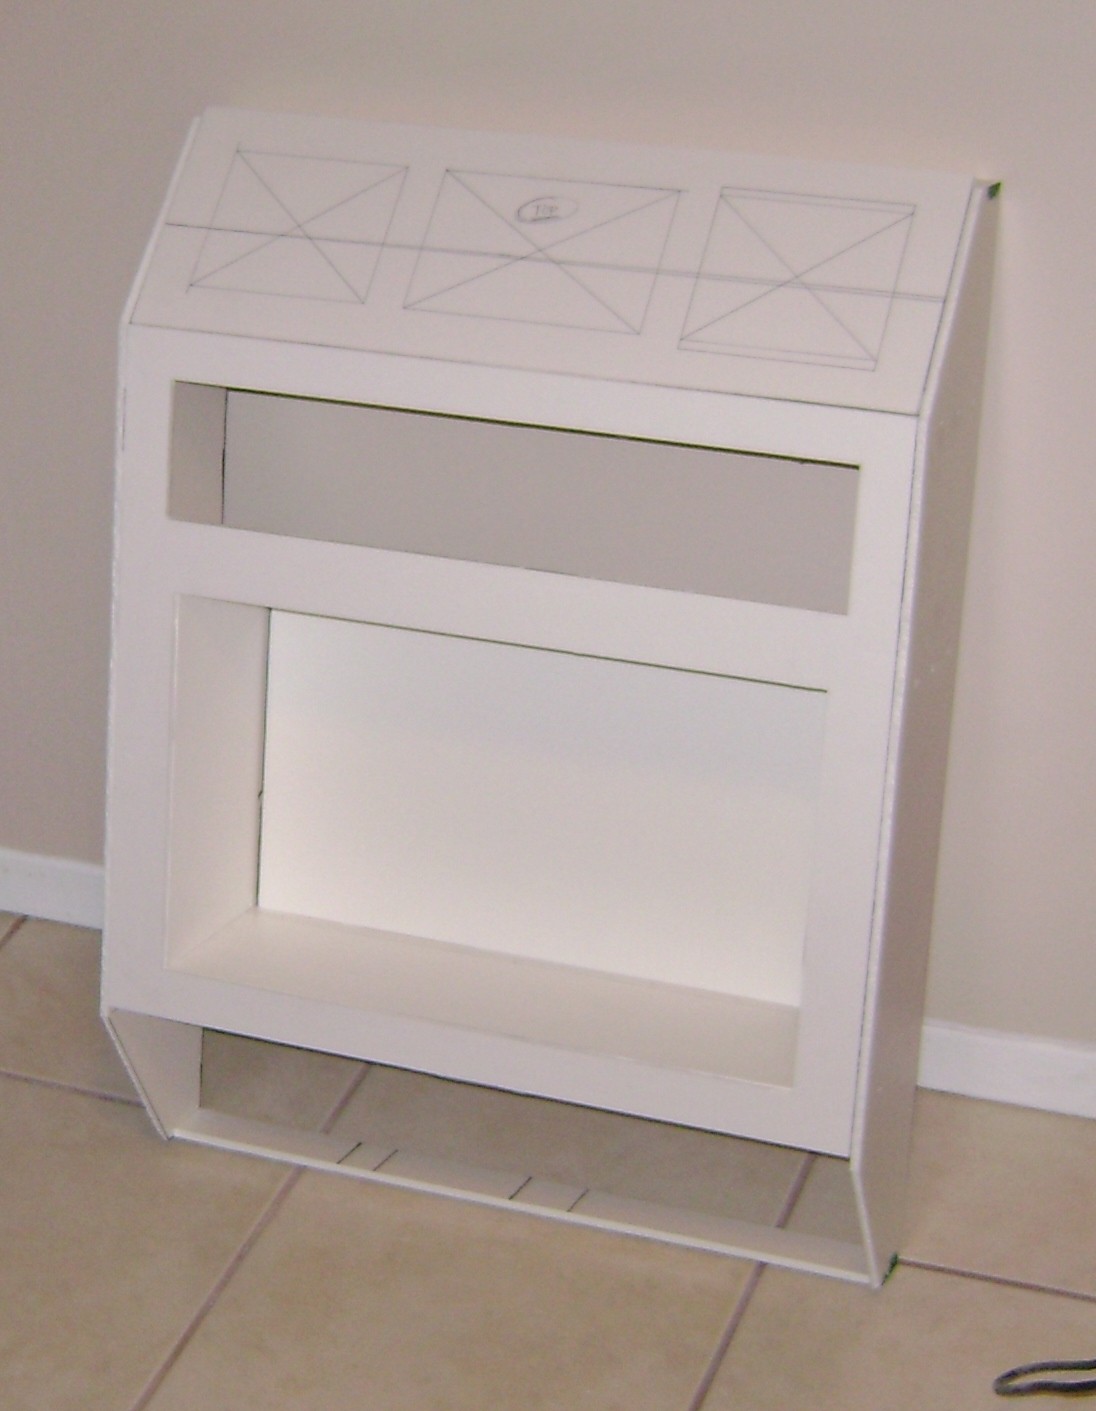
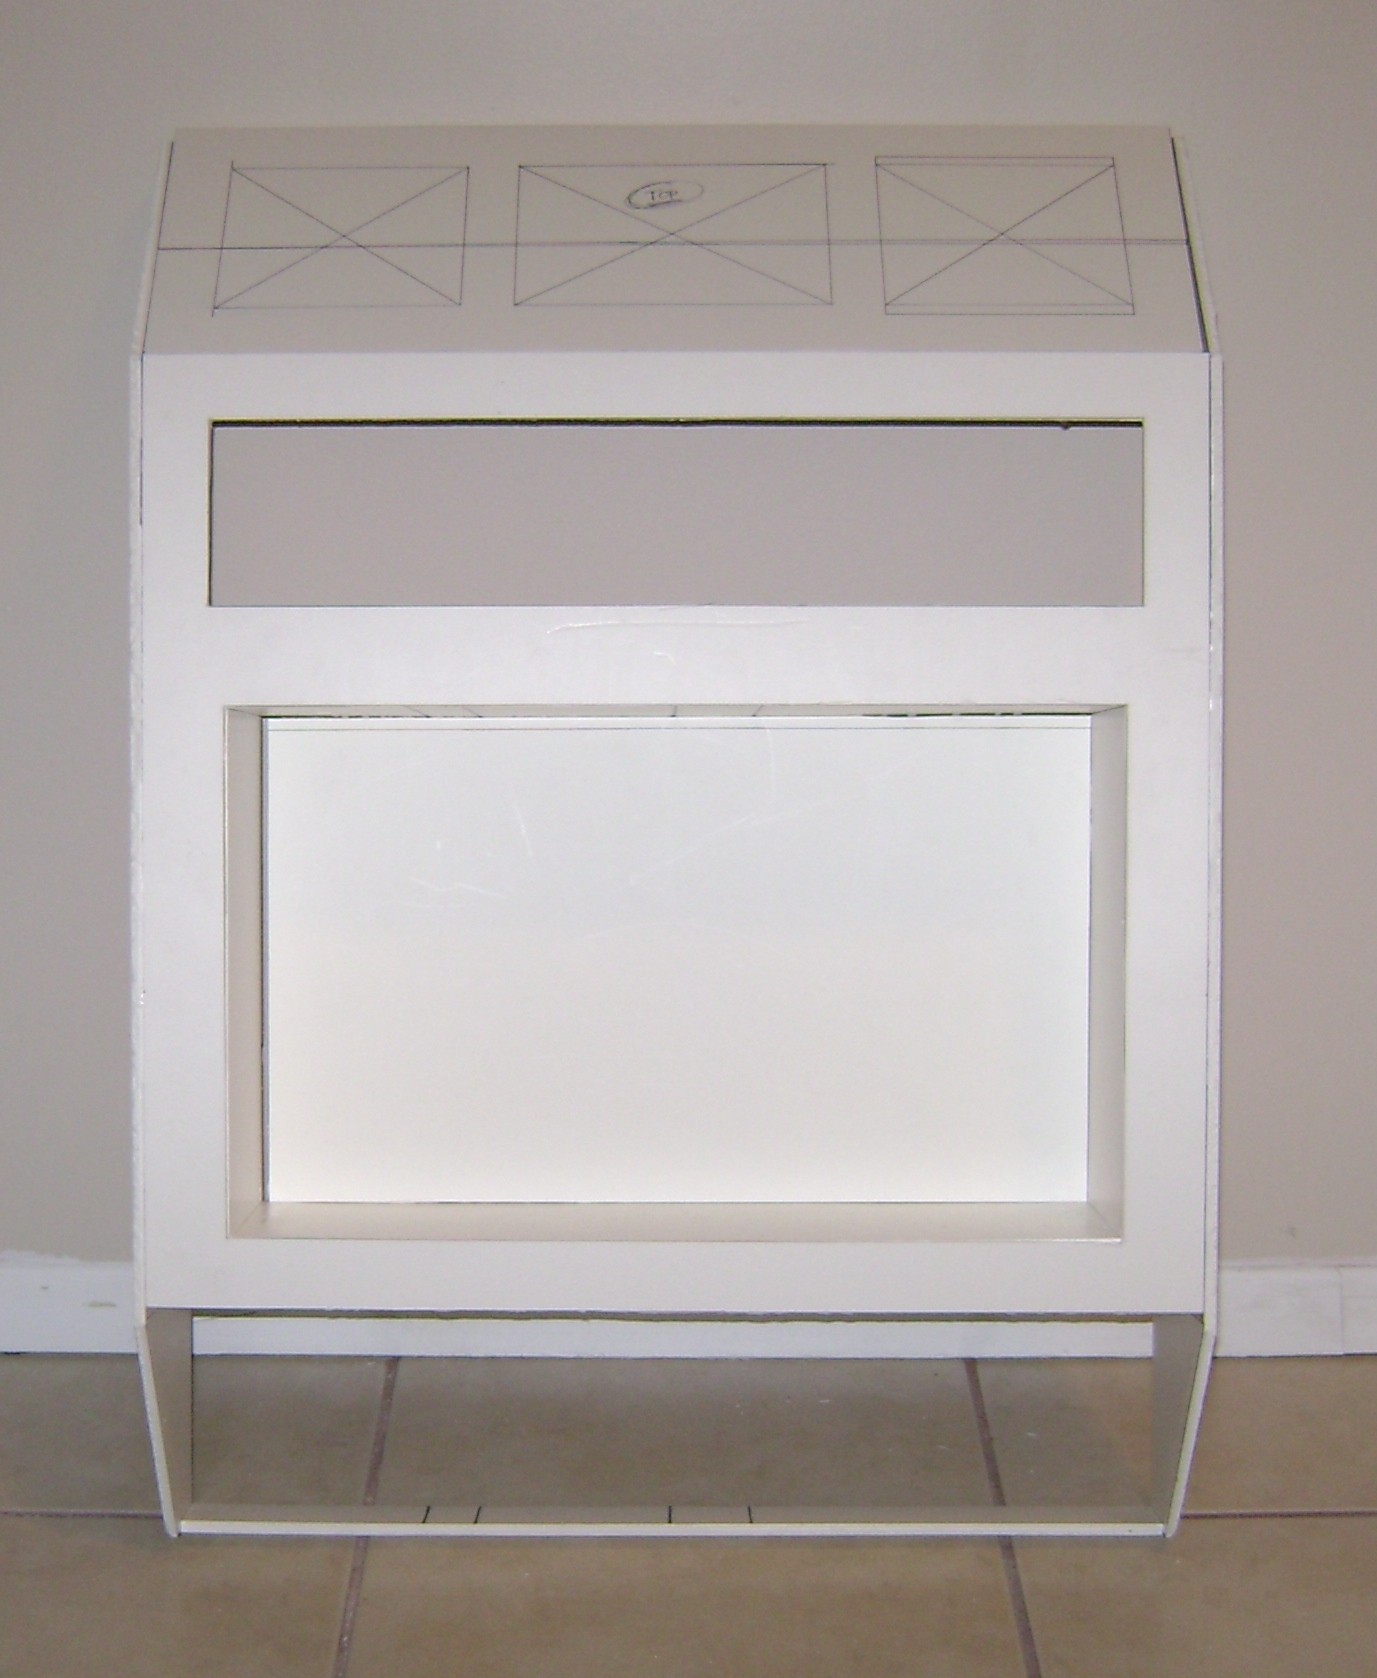
Though I haven't gotten around to cutting out all the openings (marked in black Sharpie), I still found it kewl to better visualize it this way than simply as a drawing on paper.

As per usual, my friend "ecl" will be doing up the graphic for me. He'll be drawing the image file, which I will then take some place local for actually printing out the full-size LCARS graphic for use on the replicator.

It's pretty much already done, we just need to discuss a few minor tweaks then it should be ready for me to get printed out.

The plan is to have the replicator be a fully self-contained unit with a power supply and electronics situated in both the top and bottom sections, easily accessible through the access panels. The LCARS panel will of course light up, as will the materialization chamber.

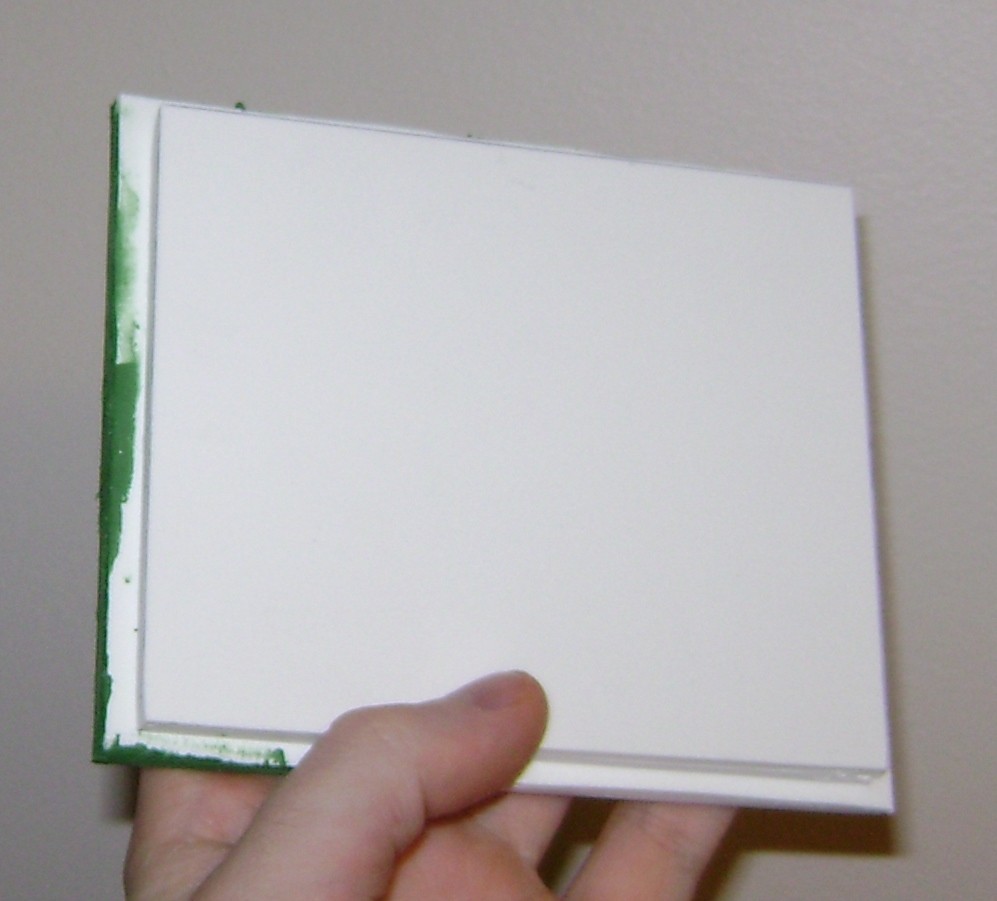
Since the entire build will be comprised of Sintra (PVC) board, it'll be relatively light and so should be easy enough to hang on a wall :)
 
You never cease to amaze me :D:thumbsup

Thanks, buddy ;)

Love it!

Get some Bodums and you are all set!!

Tea, Hot! Earl Grey.

Already got that covered. Bought myself a set of six screen-accurate BODUM mugs years ago, with matching sugar and milk "beakers", lol. Only thing I'm missing is the coffee/tea press. Once I've put this up, I'll be putting one in the materialization chamber for just that purpose :D
 
They used to sell the Bodum cups at Cost Plus Imports in assorted sizes and colors (white, red, black)
The coffee press is still easy to find, I've seen them at Target.

I have the black Bistro set w/ 4 cups, press, coasters, spoons, cream and sugar. (no I will not sell it)
Also have the thermos used as set dressing in all the crews quarters.

BOLD # 1: Is it the same model of coffee press as what originally came with the set?

BOLD # 2: I forgot the complete set came with coasters and spoons. Have the mugs, cream and sugar "beakers", but not the rest.

BOLD # 3: I can't say I recall the thermos. Would you have a pic or screencap to share?
 
Last edited:
Here's the set I have.
It should help you to find the correct one although I don't recall ever seeing the press anywhere in the show.
12894749773_8fa4e0d817_o.jpg

I spent over an hour on Trek Core looking for a screen cap before I gave up.
Anyway here is a pic of mine.
12894641115_dcf855a7ca_o.jpg

Here is another one.
This flatware was used in both 2001 ASO and Voyager.
12894745693_c27c3cbf87_o.jpg

Keep in mind that these are just random items I had that I later noticed where in these shows.
The Bistro set and flatware both came from Cost Plus Imports.
The thermos was from Costco.
 
Awesome! Thanks for the info, sir! Much appreciated ;)

Bit of an update, I didn't really have much of a chance to work on it today, but in the span of about 15-20 minutes I managed to add part of the internal framework to help stabilize it and also box in the materialization chamber. Will post some pics later.

Still have to cut out the openings, but hope to maybe get to that tomorrow. Also doing the final revisions to the LCARS graphic. That part of it's almost done now, though.
 
As promised, here's a couple pics showing the framework I added to the inside of the replicator:

ydha.jpg

dt93.jpg


That, of course, was accomplished yesterday in the span of 15-20 minutes. Today I managed to get further:

3y43.jpg

mu5fo.jpg


The materialization chamber has now been completely boxed in, and both openings on the front panel have been cut out.

I was able to use the cut-out for the materialization chamber for the back wall, which saved me a little bit of material.

Now I just have to work on the top and bottom access panels, then glue those in place.
 
Making some good progress.

I forgot to mention that Picard's ready room bubble aquarium (both 24" and 36") where made by a company called AquaPlex in Hayward, Ca.
Makers of TruVu tanks and filters.
I worked there for almost 8 years.
 
Pretty sure the larger one was used in the series, could be wrong on that since I haven't watched the show in ages.
The large one was used in the movie Generations. (Trek Core has 3 pix of it empty after the D crashes)

While we didn't have a bubble tank in our office/display room we did have a lion fish.
It would follow you as you moved through the room.
 
That's really kewl! I always thought Picard's Ready Room aquarium was a custom-made set piece, didn't realize it was commercially available. If I had the funds (and the space, lol) I'd consider getting one to make my own Ready Room :D

Bit of an update, I managed to get the top three access panels cut out, am now attaching them to slightly oversized panels so they will properly sit in place and not fall inward. Hope to get the bottom panel done tomorrow. Will post pics later.
 
I have all the access panels, top and bottom, cut out now:

sywu.jpg

cm6u.jpg

5boe.jpg

puvv.jpg


With all the major parts cut out for this, I just need to trim the edges of the top and bottom panels (what hold the smaller access panels) before glueing them in place.

Then I can get to smoothing everything over before primering and painting, which of course won't happen until warmer weather allows me to paint outdoors. Should be soon enough.

Next I'll have to figure out the lighting for the LCARS panel and materialization chamber.
 
Hmm, I'm not really familiar with LED strips.

What lengths do they come in? If too long, can they be cut down a bit and still function? Perhaps EL panel sheet would be better? :confused

Either way, I'd probably use warm white for the LCARS panel up top, but super-bright white for the base of the materialization chamber.
 
Last edited:
Thanks for the links, guys! I appreciate the help ;)

Btw, earlier tonight I finished trimming and fitting the top and bottom access panels, and glued them in place:

i660.jpg

ksqe.jpg


So, everything's firmly together now. All that's left to do is putty along the seams and sand it smooth, then primer and paint it once the weather's warm enough to do so.

As my prop funds are limited at the moment, I won't necessarily be able to get the LCARS graphic printed out, a piece of smoked plexi made the same size as the LCARS and buy up the electronics I need to do the lighting all at once.

Since I have to wait for the weather to improve to further this build along anyway, it's not like I'm in a real rush or anything, lol.

EDIT: Aside from using smoked plexi for the LCARS panel, I decided I'll want to get additional pieces of smoked plexi to "skin" the interior of the materialization chamber and also for the small frame around it. That way, all the black areas will be consistent and have the same look.
 
Last edited:
This thread is more than 10 years old.

Your message may be considered spam for the following reasons:

  1. This thread hasn't been active in some time. A new post in this thread might not contribute constructively to this discussion after so long.
If you wish to reply despite these issues, check the box below before replying.
Be aware that malicious compliance may result in more severe penalties.
Back
Top