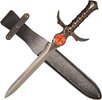
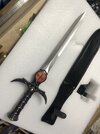
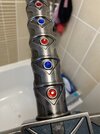
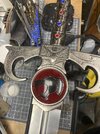
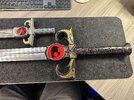
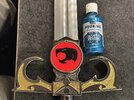
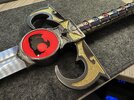
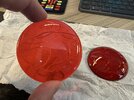
Inspired by you guys I decided to update my Sword of Omens too. However, after finding my old (and well loved) LJN sword, in the attic, at my Mum's house, I decided to go in a different direction and try and make a more realistic version of that toy, using the gold hilt highlights, vs a blue or green tint (although I reeeally like the blue). So here is my progress so far. While searching for a suitable gold paint, Amazon recommended me a gold leaf (gilding) set. At £10 I thought it would likely look better than any paint, but was nervous having never worked with gold leaf before. Despite being harder than I anticipated, I am extremely happy with the results. The only downside is that I'm now not sure if the blue that I had picked out (cobolt) will go with the gold, so am debating with myself whether to use it still? Find another blue? Or just leave it? Any thoughts on this would be welcomed. Lastly, I don't have my own 3D printer, so am still waiting for my Eye of Thundera to be printed and shipped. I don't think I have the expertise, or patience, to add LEDs to the build so, for now, I will probably just add them without lighting. I am contemplating using a pearl black for a more ethereal look but, I have concerns that pearl black might look more grey than black? I have ordered them at a 66mm diameter, so hopefully that will be the correct size!