You are using an out of date browser. It may not display this or other websites correctly.
You should upgrade or use an alternative browser.
You should upgrade or use an alternative browser.
Thunderbird Sidewinder scratch build
- Thread starter Muzza
- Start date
Muzza
Sr Member
I will not be building it studio scale as I would guess it would be huge I think 400mm wide and 2m long.Yes. I think the arms were stacked paper or cake tins. Is this going to be studio scale??
Do I see some Dapol bridge parts there on the table

I am working on another project with the bridge parts.
Muzza
Sr Member
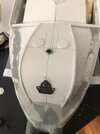
The rivets are clever and effective. Interested in how you are going to do the arms. I'd thought about thimbles or maybe even dolls house plant pots depending on scale.
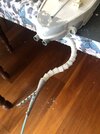
I was thinking of 3D printing the arms. The legs are another story.
Muzza
Sr Member
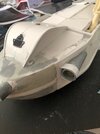
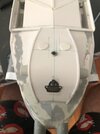
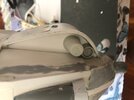
Making the rear Atomic Engine vents I first mad a mould using the foam board, it is easy to glue and carve onto shape.

Using my Vacuum former I was able to make two vents.


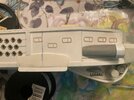
I trimmed them and filled the inside of the vent with more foam board to give it a large area to stick to the model. I set back some mesh at the intake of the vent and painted ans dry brushed it before gluing to the model.


Using my Vacuum former I was able to make two vents.


I trimmed them and filled the inside of the vent with more foam board to give it a large area to stick to the model. I set back some mesh at the intake of the vent and painted ans dry brushed it before gluing to the model.


Muzza
Sr Member
Muzza
Sr Member
Yes there will be more updates, I am just waiting on more enthusiasm to get it completed as other projects have caught my eye.This is looking FAB, Muzza. Hope there'll be more updates!
Similar threads
- Replies
- 26
- Views
- 1,289


