Re: Thorssoli's Episode VII Builds
Not so much. If I'd done it like a boss, I'd have hired some other guy and had him do it. Boss fail.
That's the whole point of the site, isn't it? The other option would just be me saying, "hey guys, look at all the nifty stuff I've got. Aren't I swell?" That's nowhere near as interesting.
There will be more... Have I mentioned I'm writing a book? I even started a thread asking for content suggestions here: http://www.therpf.com/showthread.php?t=235598
I guess I am, but there's a whole lot of other things to knock out before then (such as my Halloween costume). The good news is that it looks like the chest and shoulders for the TIE pilot are the same as the chest and shoulders for Phasma and the standard troopers. So I've got that going for me... Which is nice.
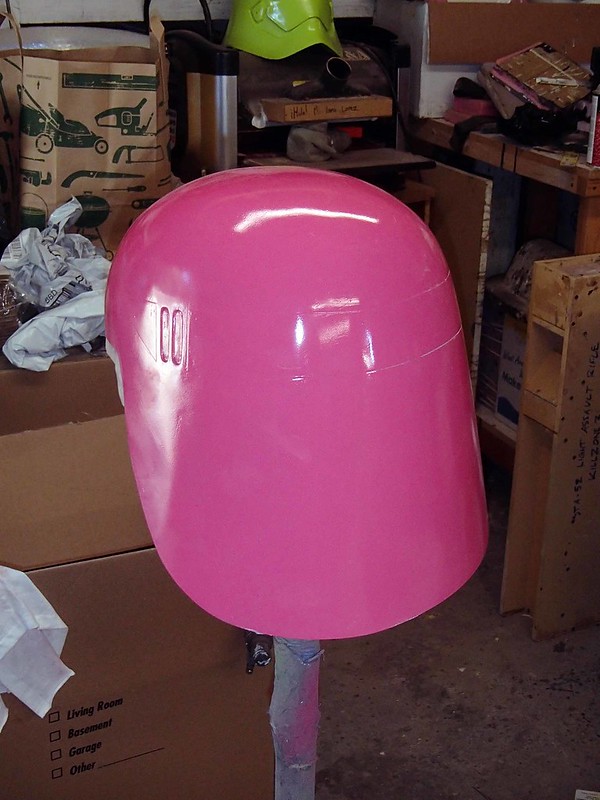
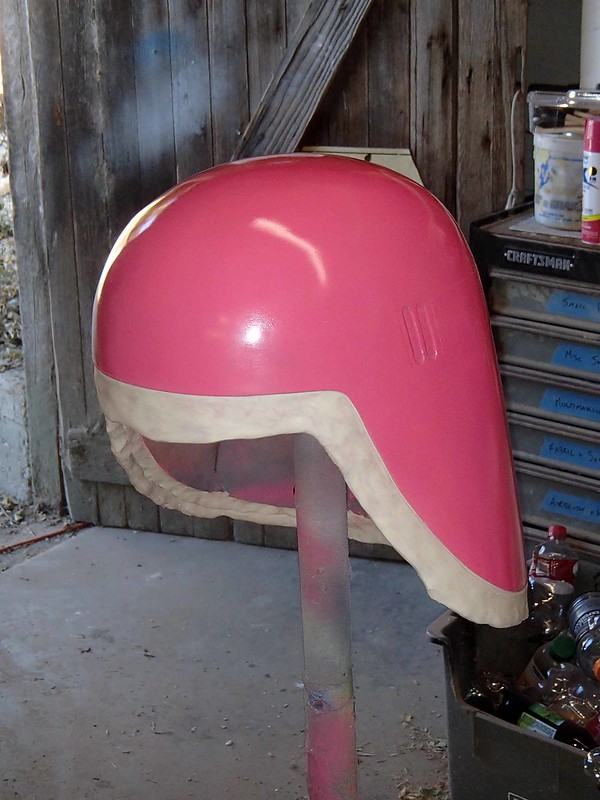
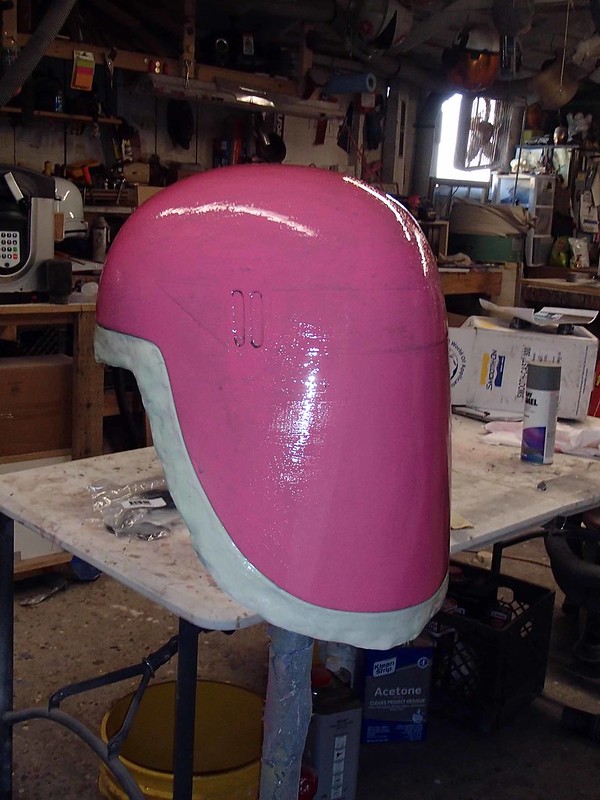
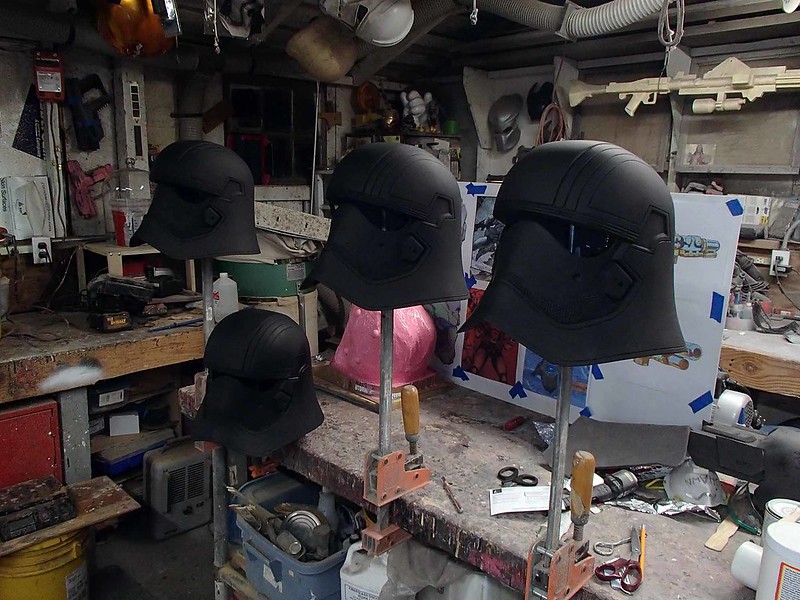
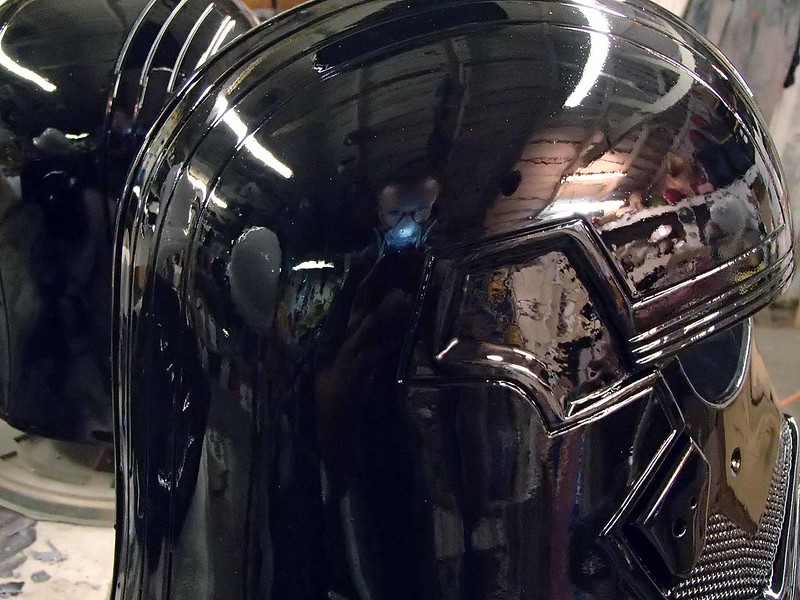
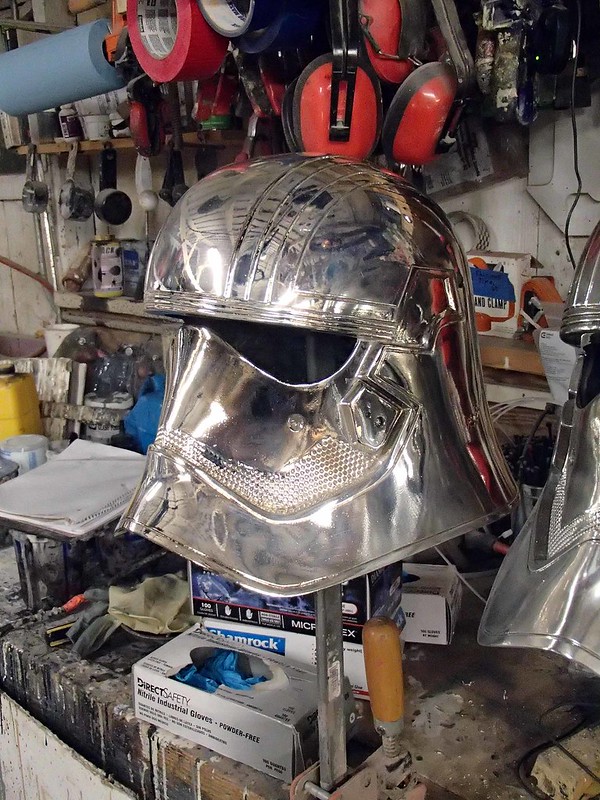
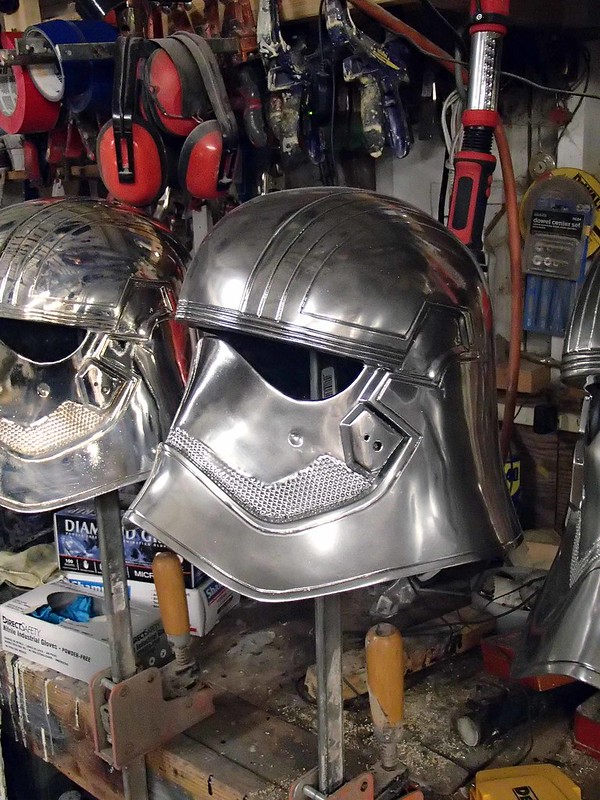
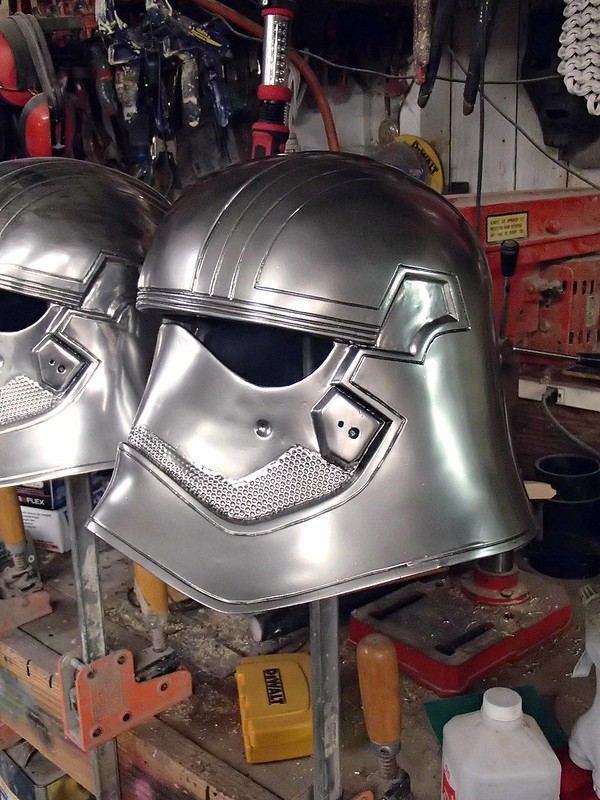
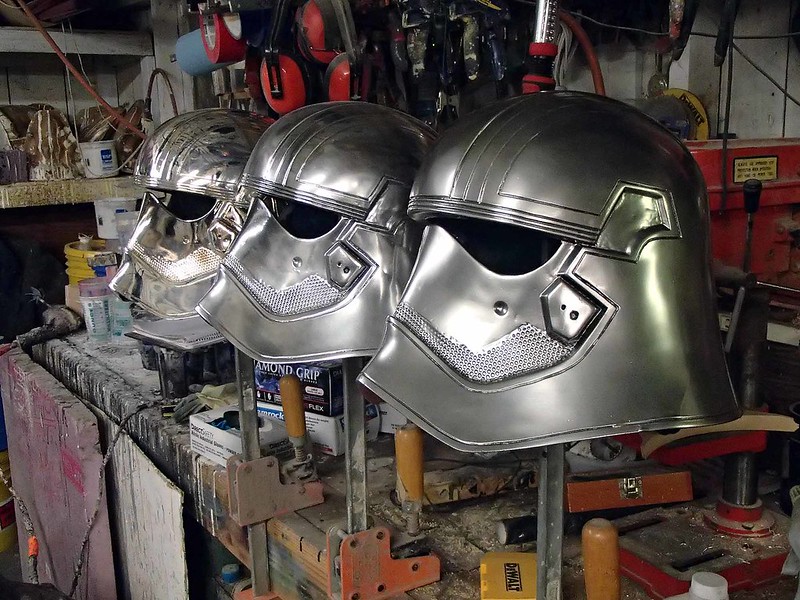
Not much in the way of updates to mention. I've been focused on a couple of things with paychecks attached to them, but in between all of the real work I've finally managed to break out the HVLP gun and put a clearcoat on three of these guys:
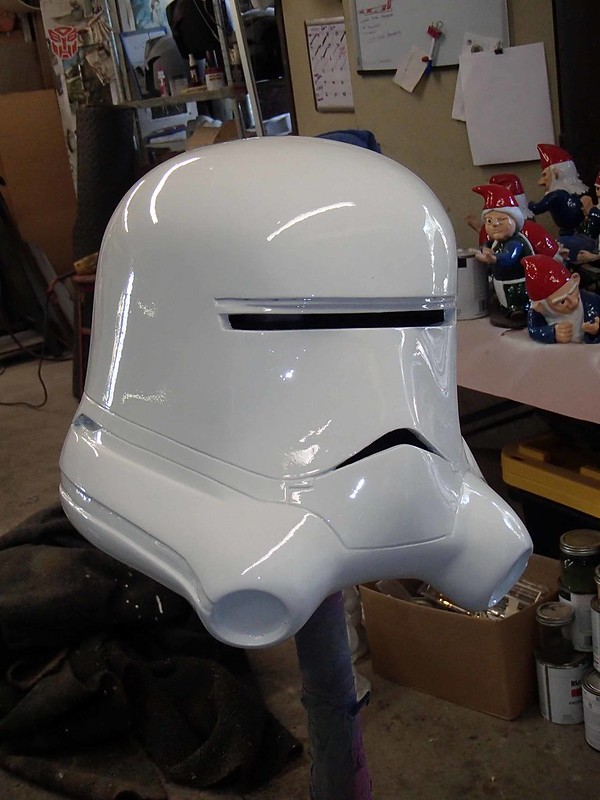
Of course, I'm an idiot and didn't think to completely clean out the gun before I started spraying. It turns out that whatever jerk used it last (probably me) left a bit of gunk in it and now one of the helmets has some interesting little speckles on the snout. It's actually not a bad look when you consider that these guys spend all of their time playing with fire, but it's not ideal.
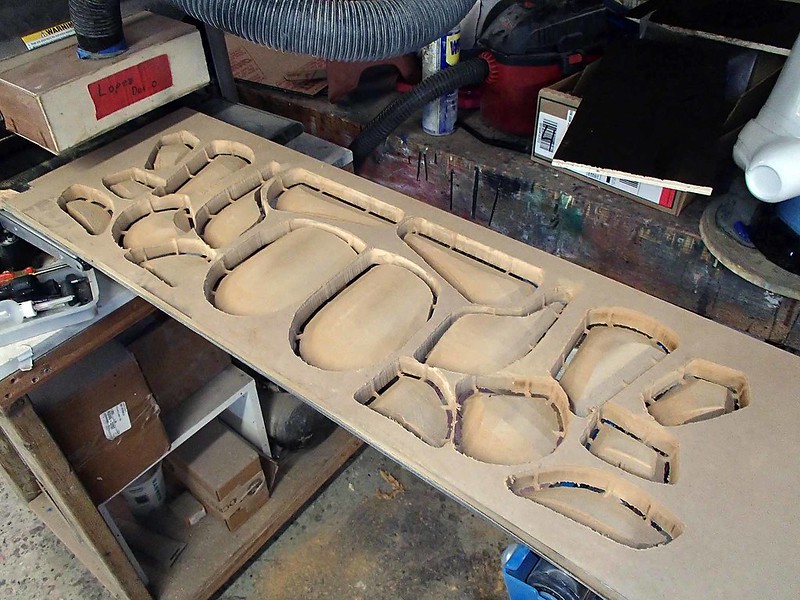
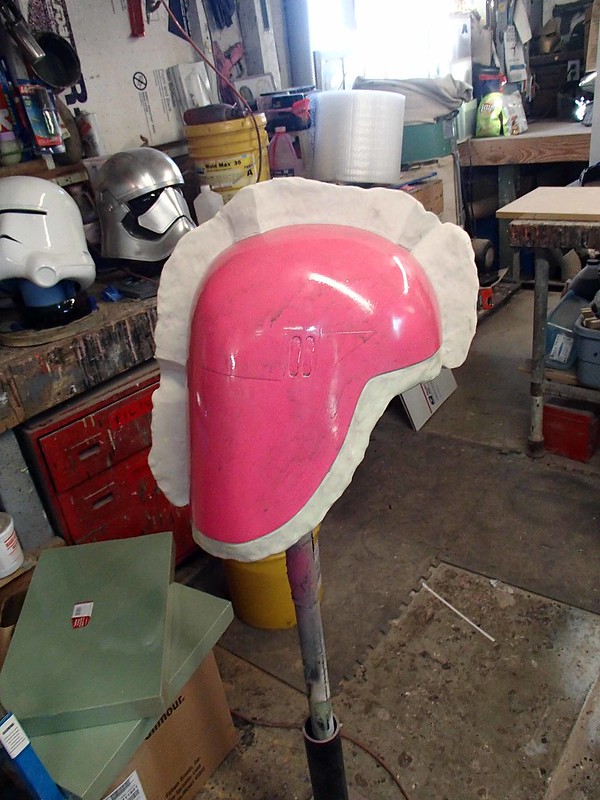
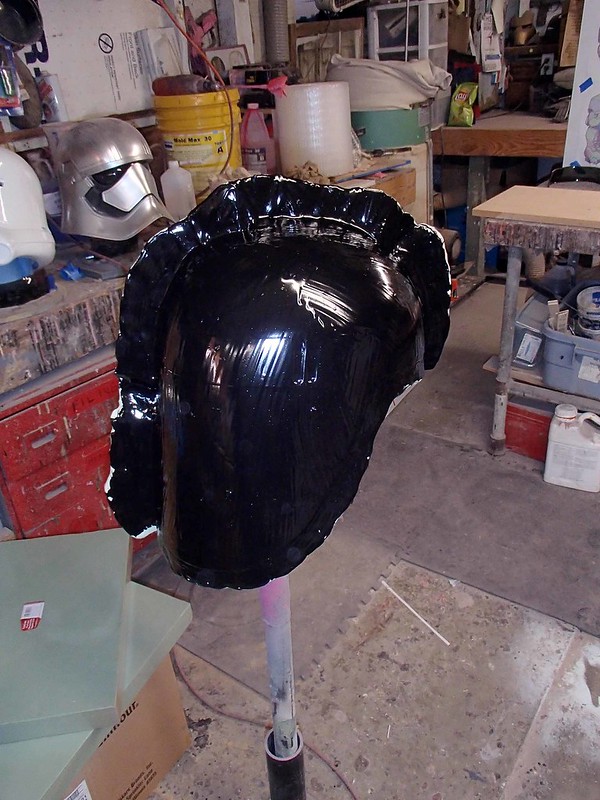
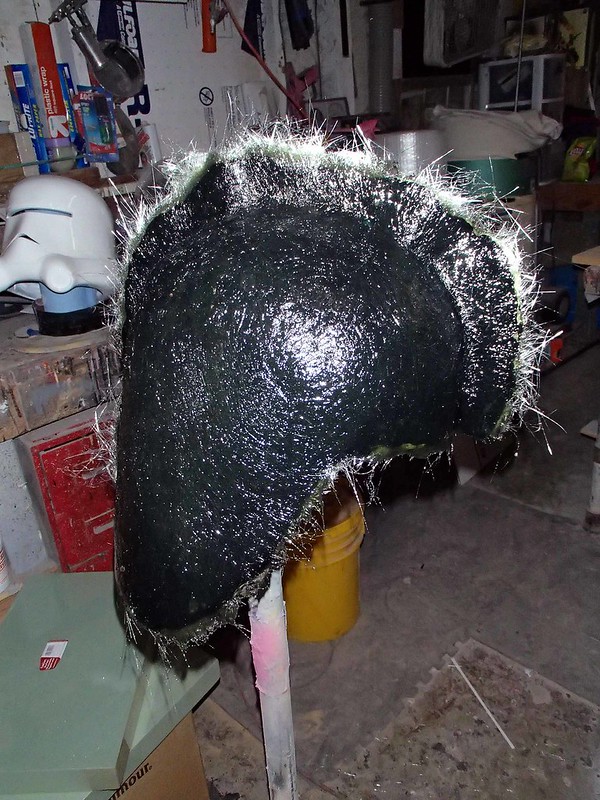
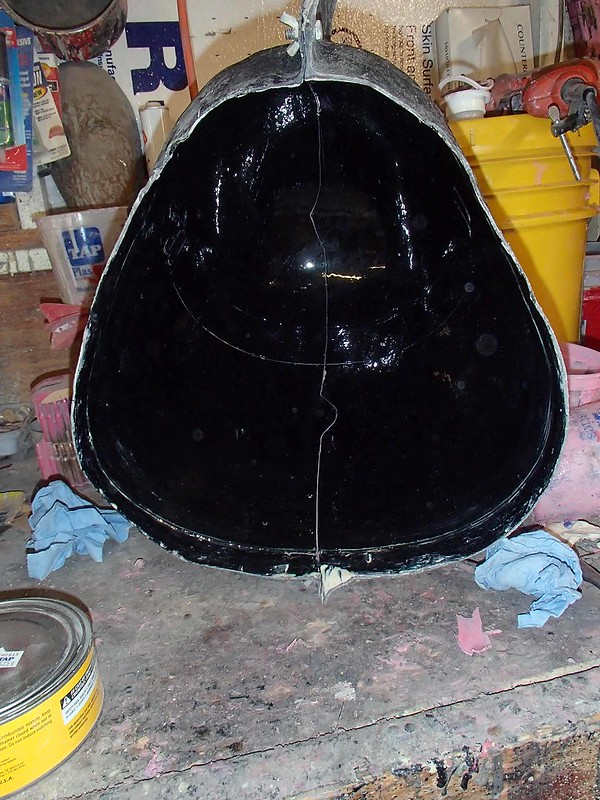
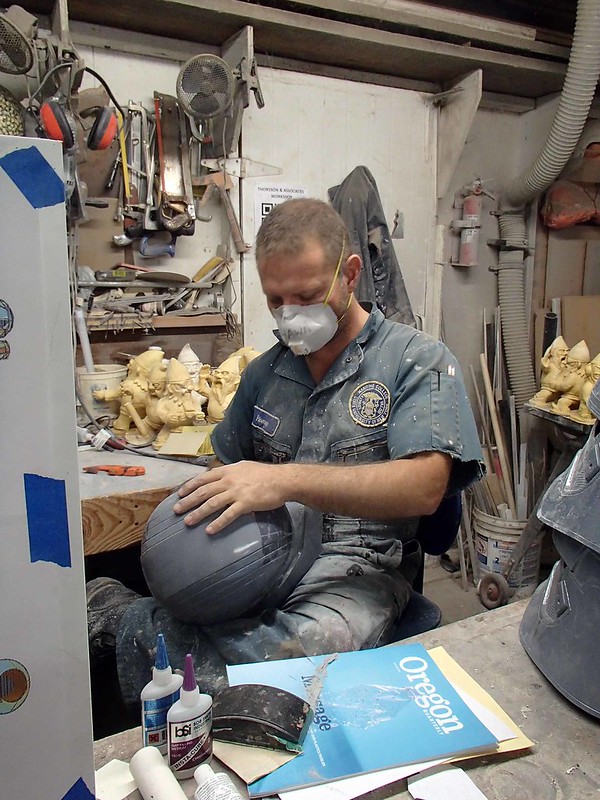
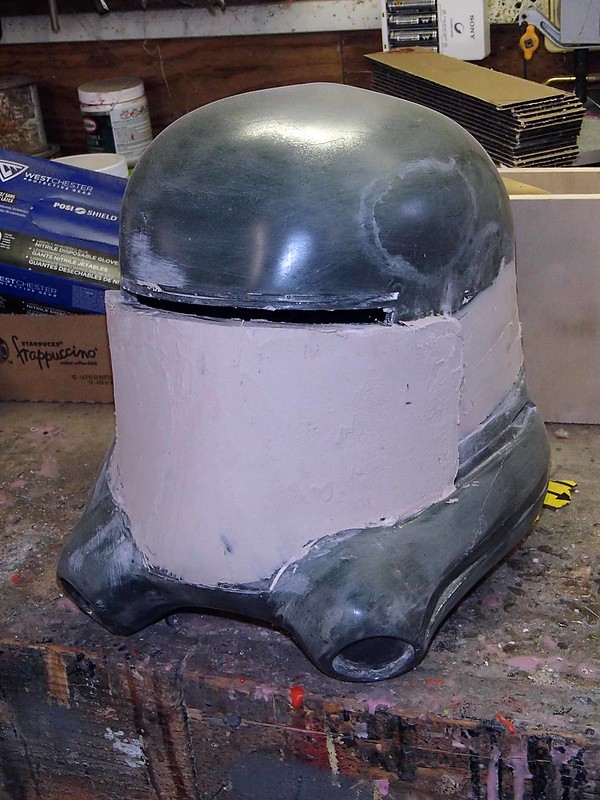
In other news, I've made tiny bits of progress on the Snow Dome:
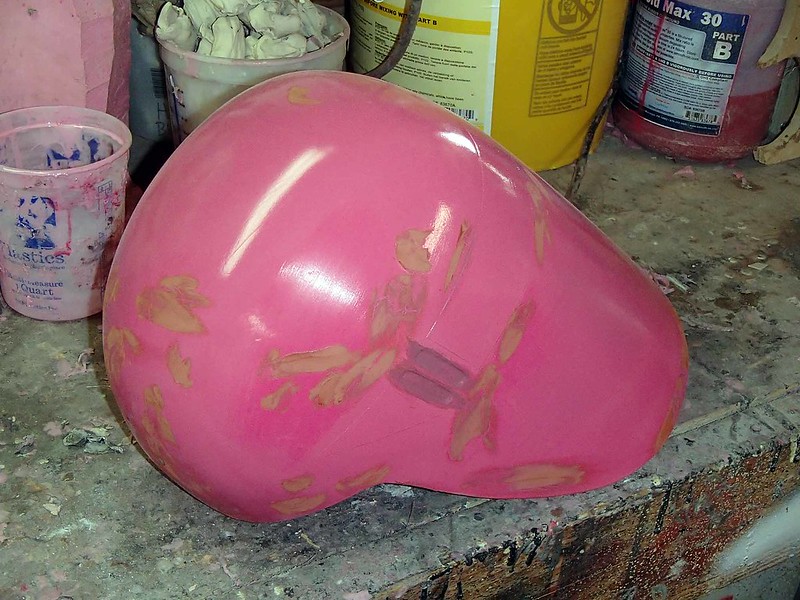
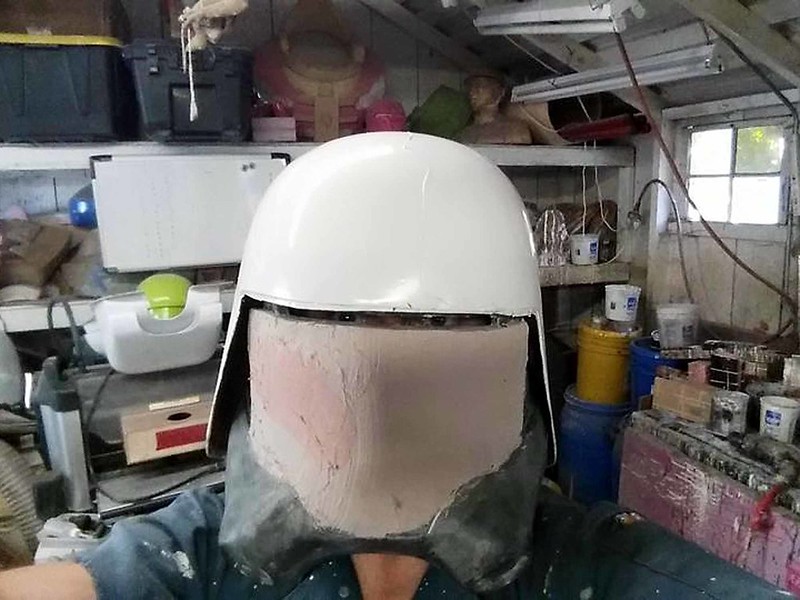
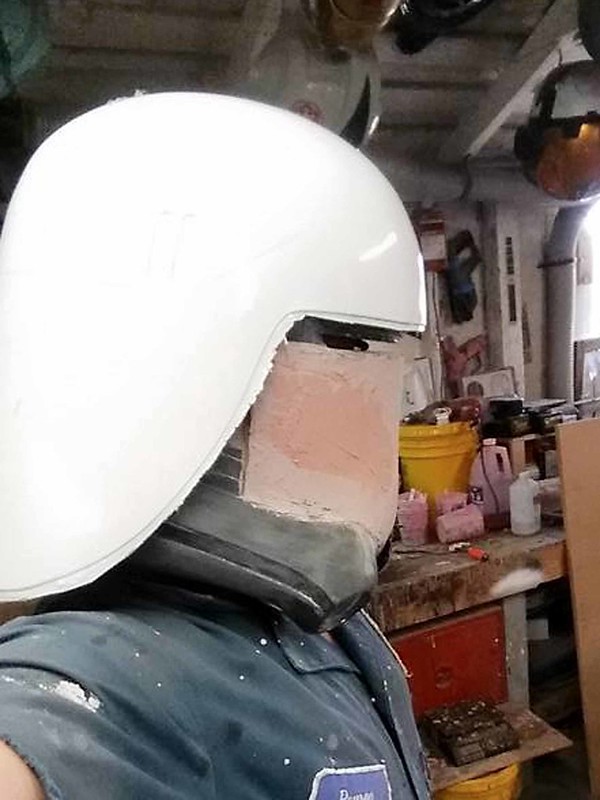
I'm waiting until I've got that molded and I can test fit it onto the rest of the helmet before I finalize the shape of the faceplate:
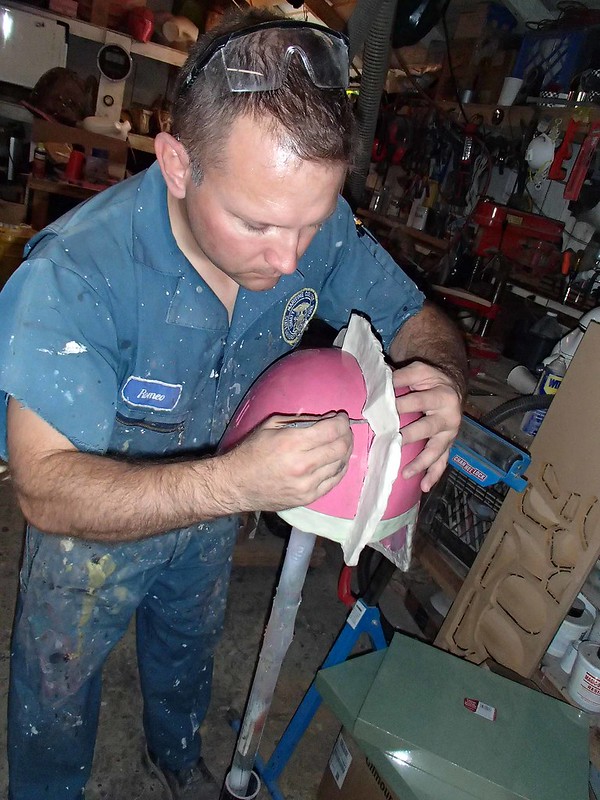
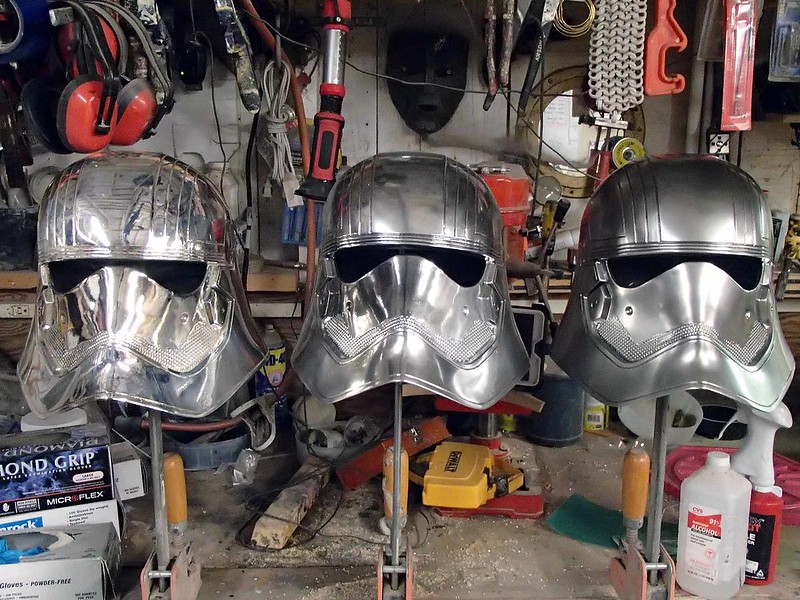
Hopefully I'll have an update on those guys soon. But first, let me take a selfie:
Stay tuned...
Like a BOSS......
Not so much. If I'd done it like a boss, I'd have hired some other guy and had him do it. Boss fail.
I know folks have said it before, but it's beyond awesome that you take the time to show us how you make things.
That's the whole point of the site, isn't it? The other option would just be me saying, "hey guys, look at all the nifty stuff I've got. Aren't I swell?" That's nowhere near as interesting.
That's as good a tutorial as one could hope for.
There will be more... Have I mentioned I'm writing a book? I even started a thread asking for content suggestions here: http://www.therpf.com/showthread.php?t=235598
Please tell me you are going to start the new TIE helmet next! eagerly awaiting that one!!
I guess I am, but there's a whole lot of other things to knock out before then (such as my Halloween costume). The good news is that it looks like the chest and shoulders for the TIE pilot are the same as the chest and shoulders for Phasma and the standard troopers. So I've got that going for me... Which is nice.
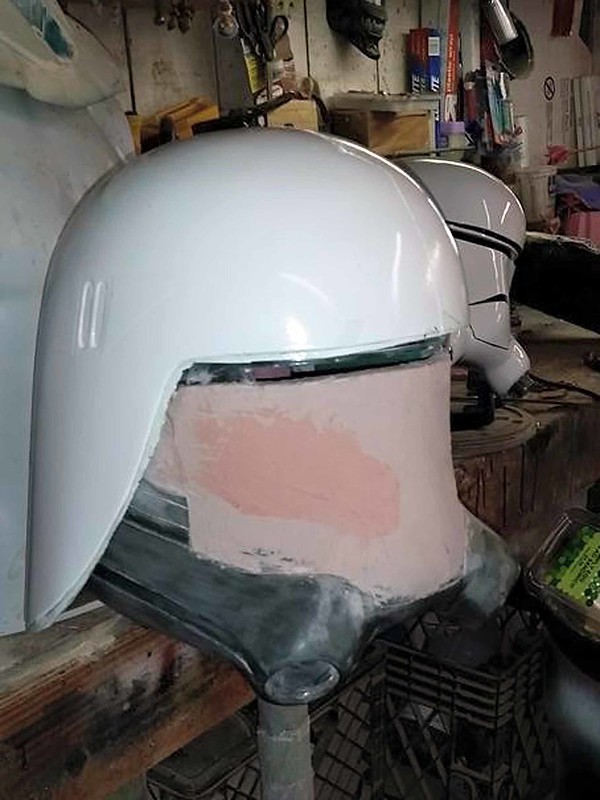
Not much in the way of updates to mention. I've been focused on a couple of things with paychecks attached to them, but in between all of the real work I've finally managed to break out the HVLP gun and put a clearcoat on three of these guys:
Of course, I'm an idiot and didn't think to completely clean out the gun before I started spraying. It turns out that whatever jerk used it last (probably me) left a bit of gunk in it and now one of the helmets has some interesting little speckles on the snout. It's actually not a bad look when you consider that these guys spend all of their time playing with fire, but it's not ideal.
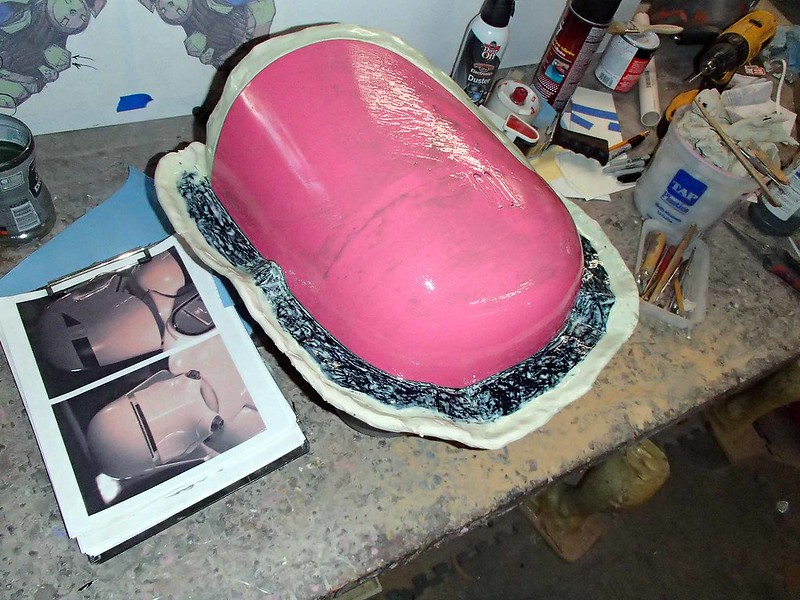
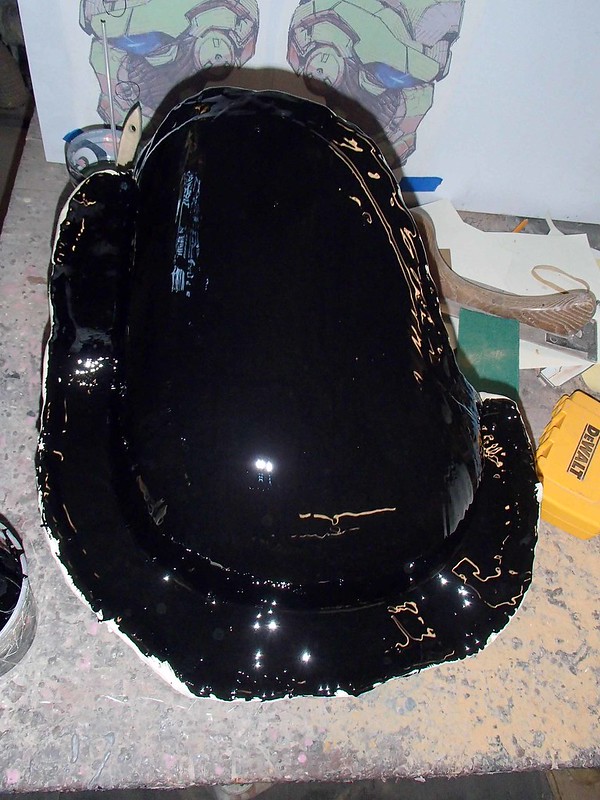
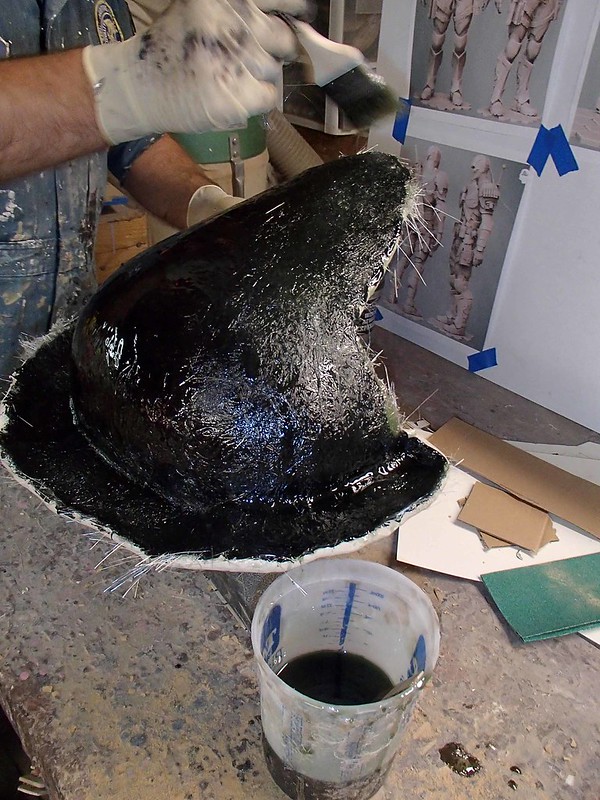
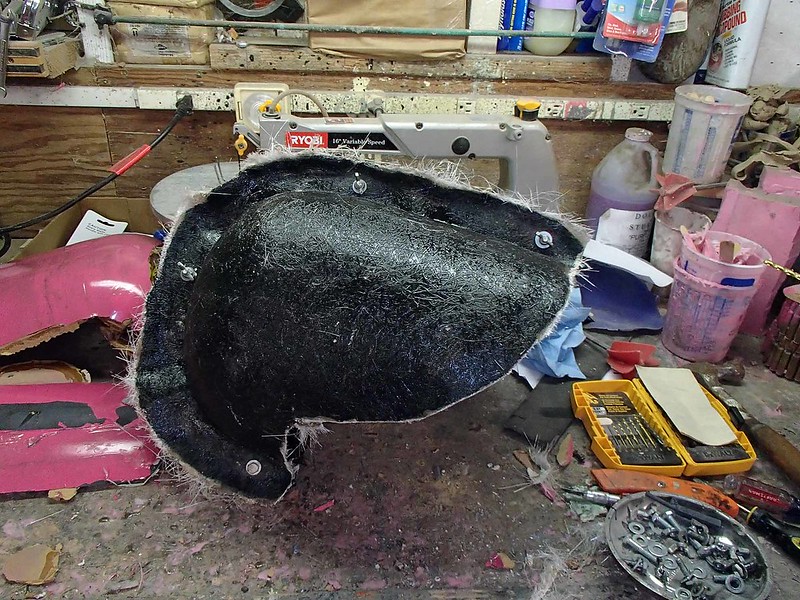
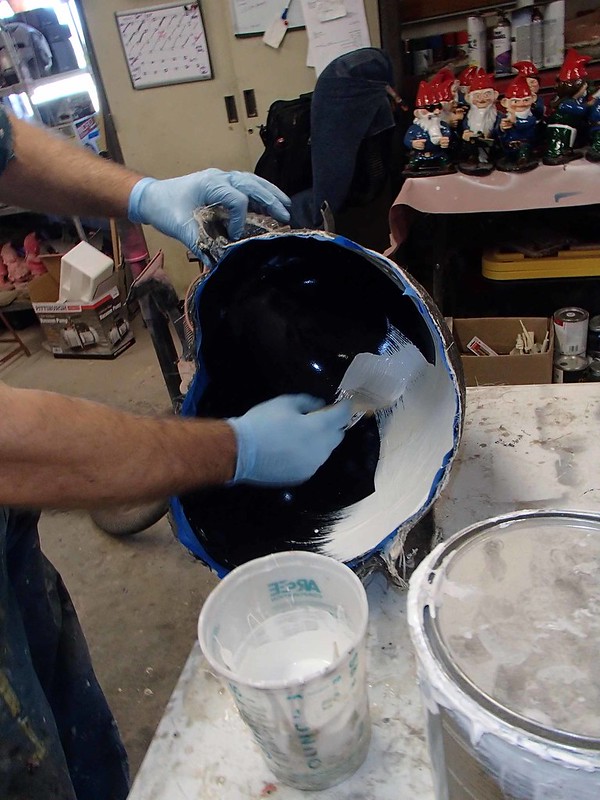
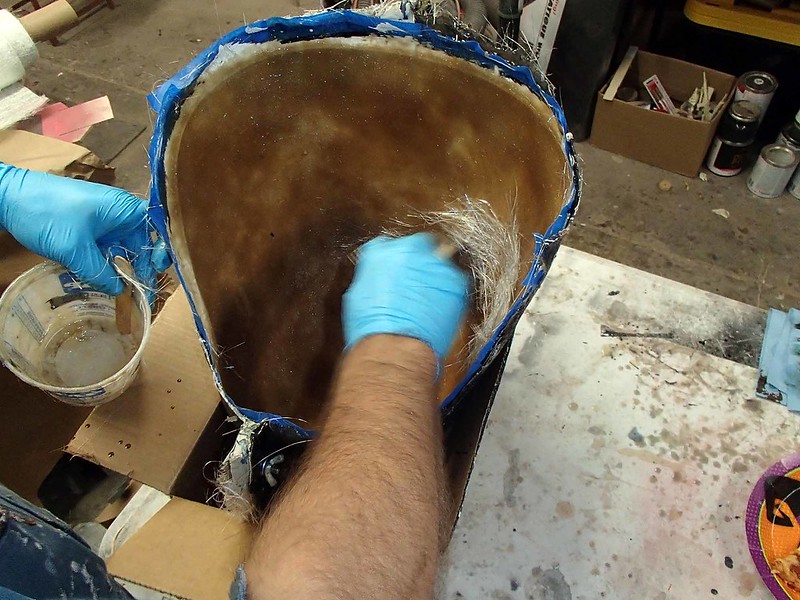
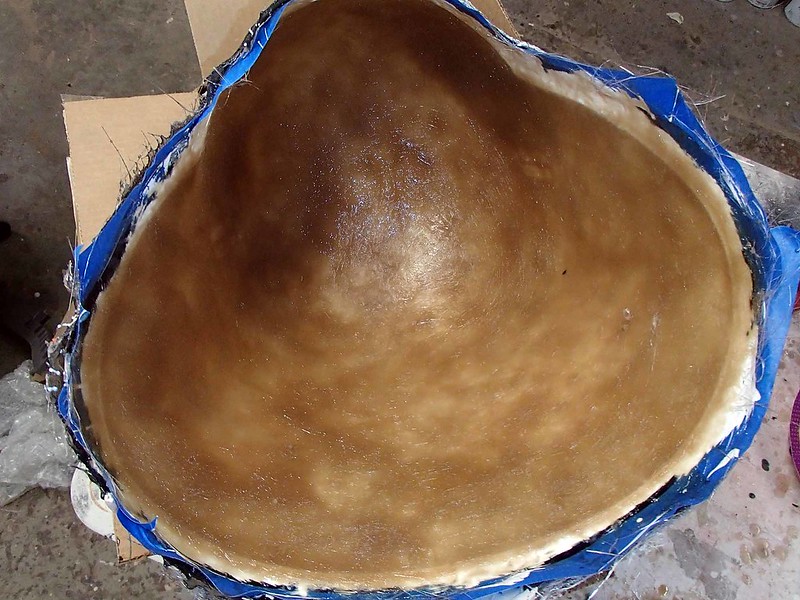
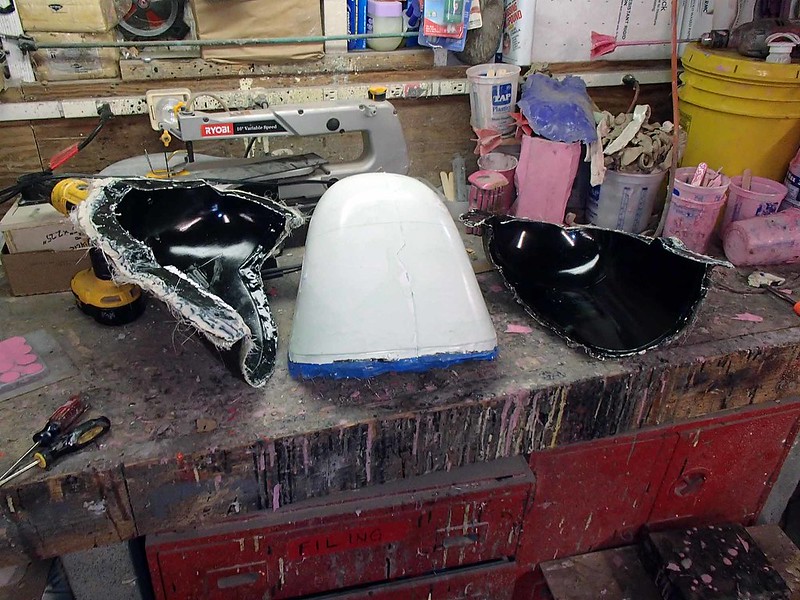
In other news, I've made tiny bits of progress on the Snow Dome:
I'm waiting until I've got that molded and I can test fit it onto the rest of the helmet before I finalize the shape of the faceplate:
Hopefully I'll have an update on those guys soon. But first, let me take a selfie:
Stay tuned...
Last edited: