You are using an out of date browser. It may not display this or other websites correctly.
You should upgrade or use an alternative browser.
You should upgrade or use an alternative browser.
Thorin Oakenshield ,The Hobbit
- Thread starter Contec
- Start date
FordPrefect
Well-Known Member
Love it ! Need a video when done for the unveiling !!
Miki
New Member
I have to say, this is absolutely most impressive! I'm new to costume making so seeing all these techniques is just so clever! I really like the sewing of the foam to make the muscles, I'd not have though of that. Brilliant! I'd just die to see this full costume strutting around! I'll keep an eye on this for sure! Thanks for being so inspirational!
")

Contec
Master Member
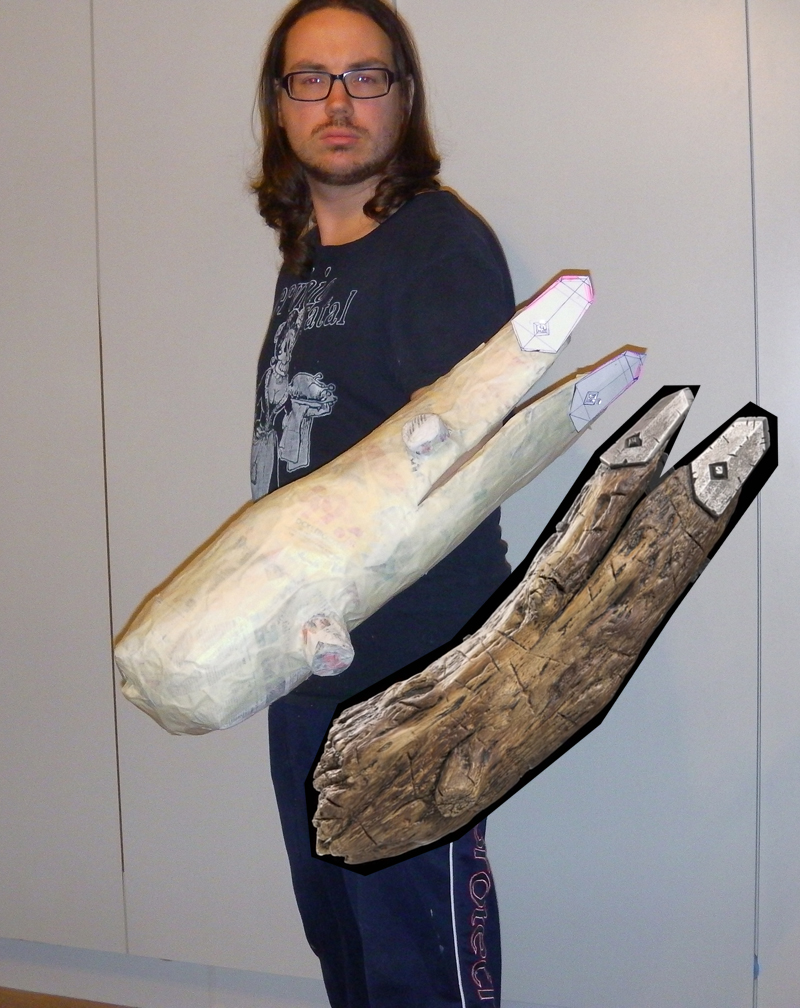
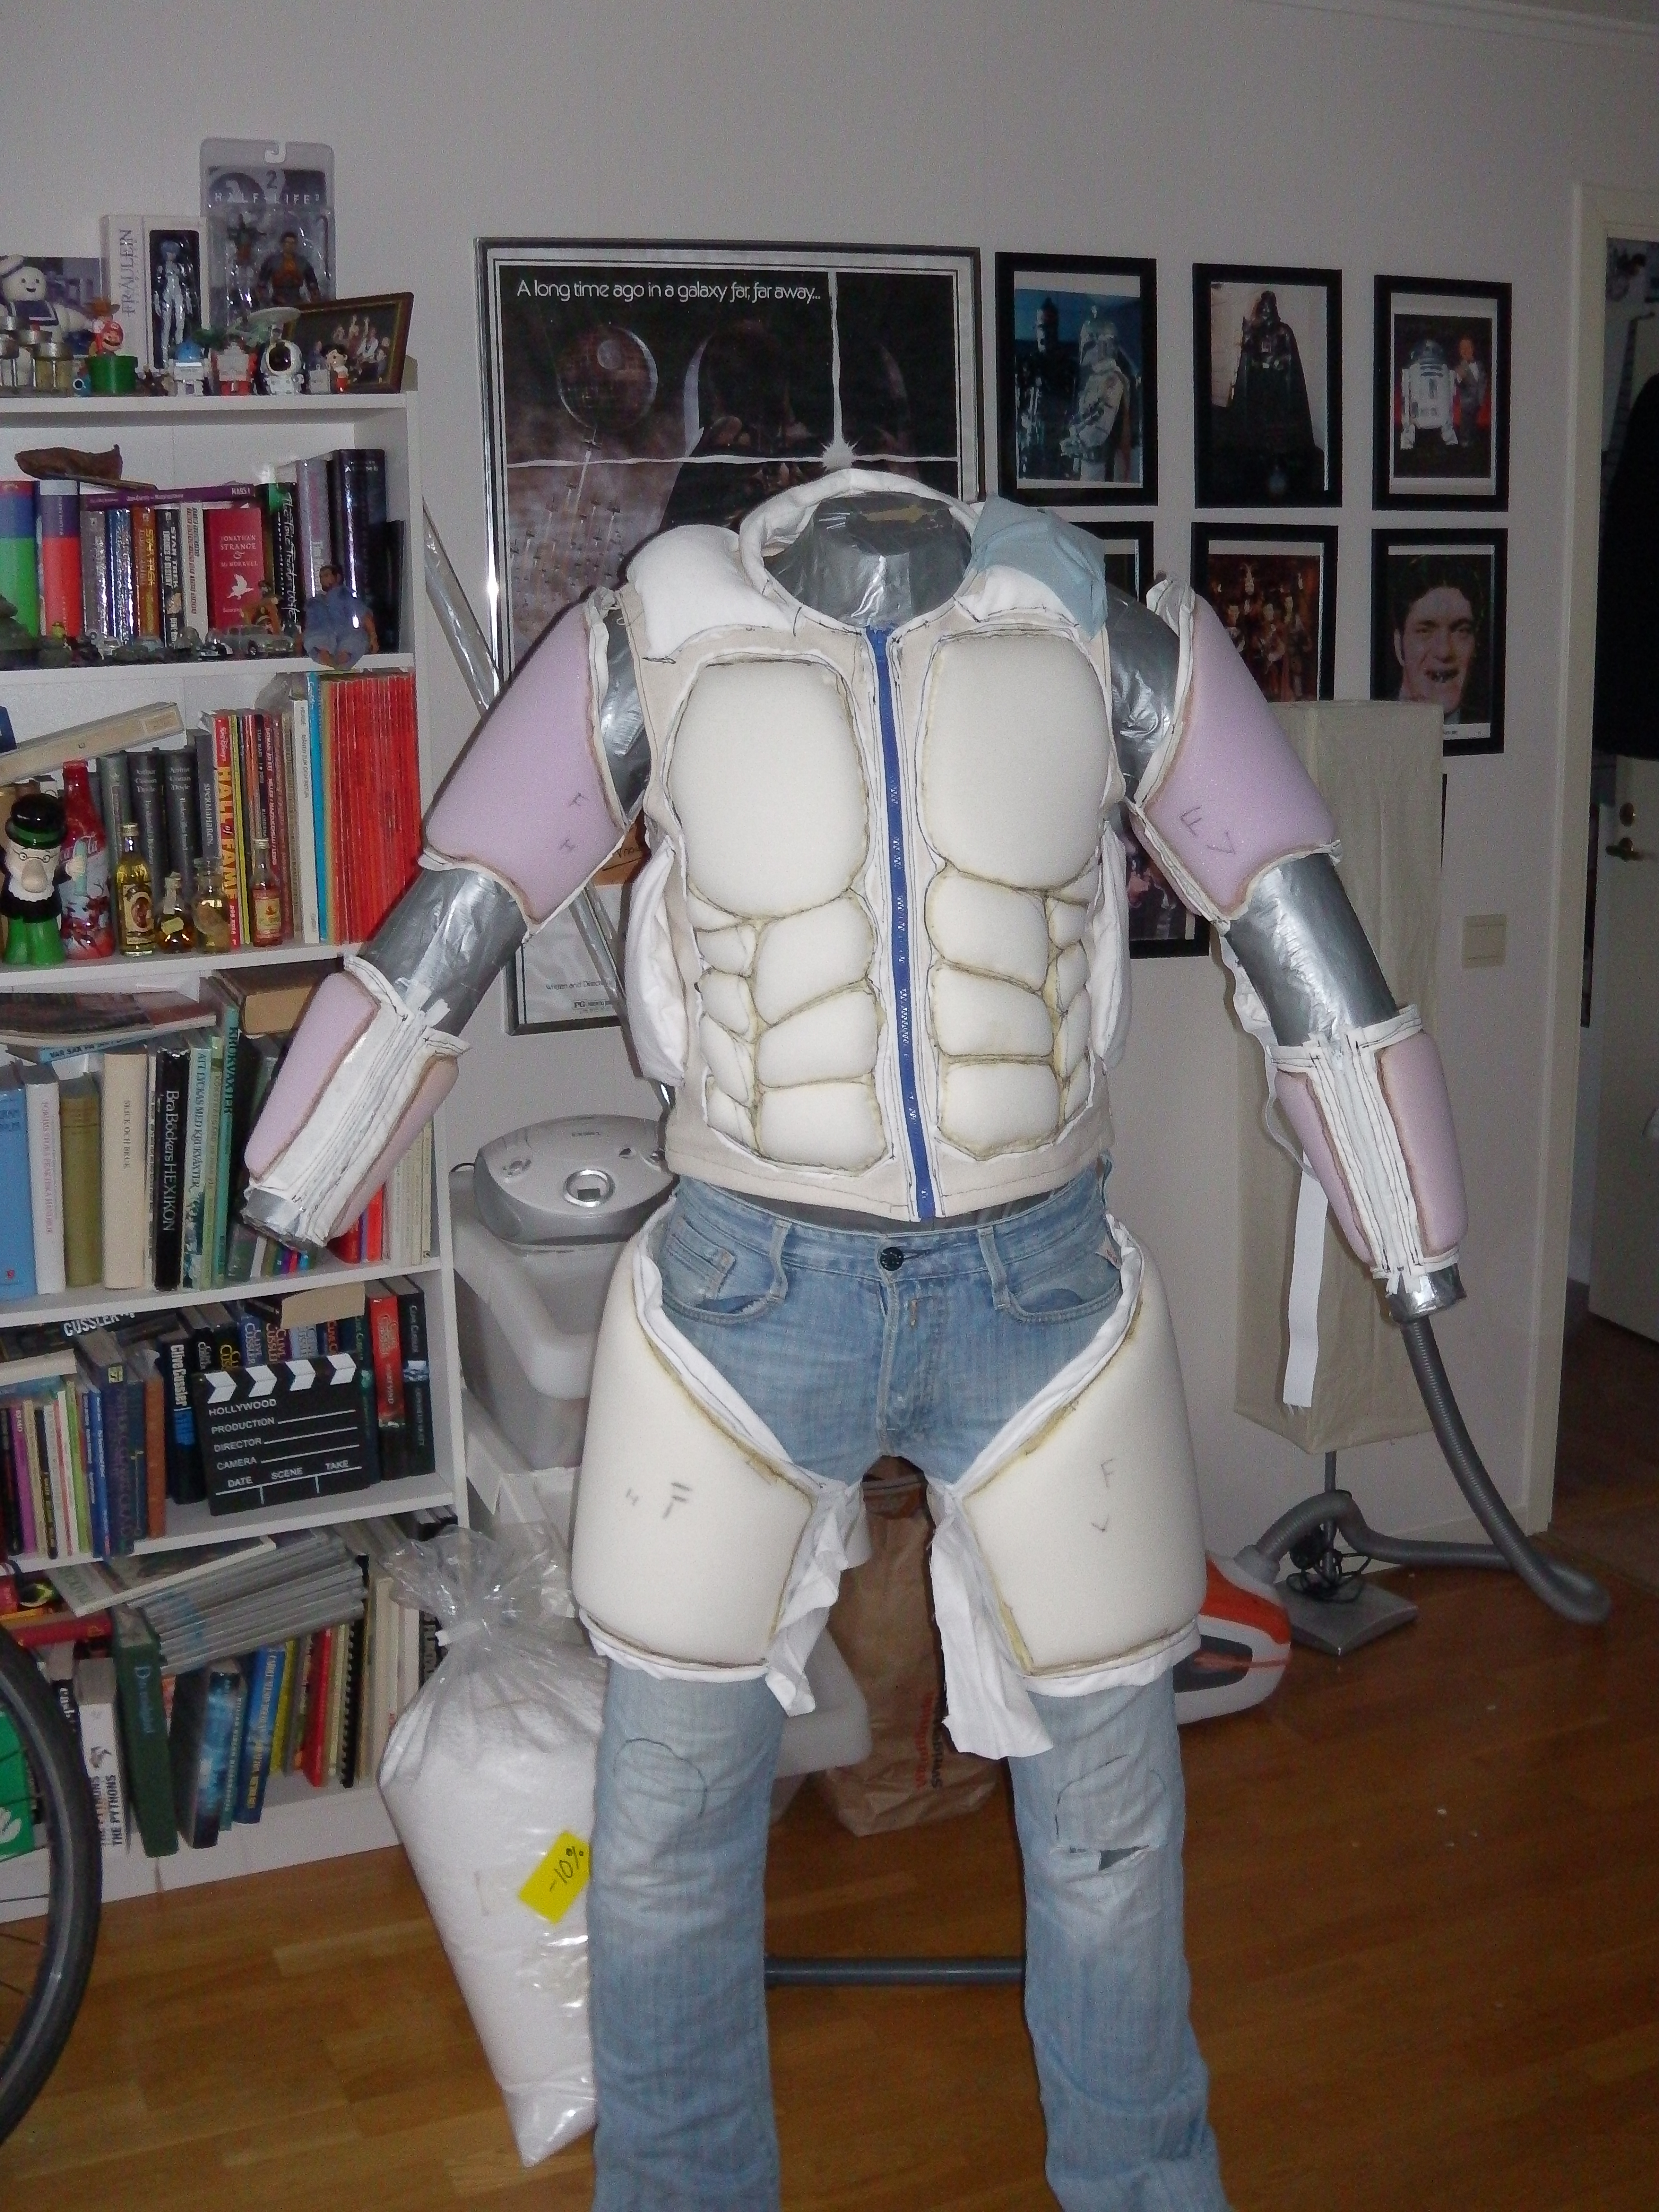
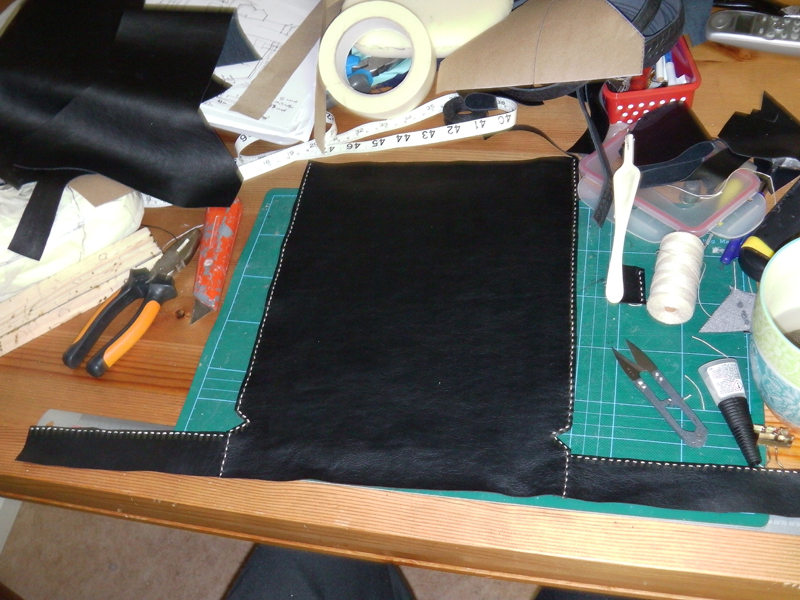
Been working on the muscle suit. I have have now made the two part that attaches to the arms T What i have left too do on the arms is to attach the elbow pad with elastic straps.
I also made the two upper pieces on the legs, I figured that i don't want to freeze when wearing just the foam and Thorins pants, so i been sewing the foam onto a old pair of denim jeans.Next part do make is the kneepads and the lower leg parts.
I also made the two upper pieces on the legs, I figured that i don't want to freeze when wearing just the foam and Thorins pants, so i been sewing the foam onto a old pair of denim jeans.Next part do make is the kneepads and the lower leg parts.

Contec
Master Member
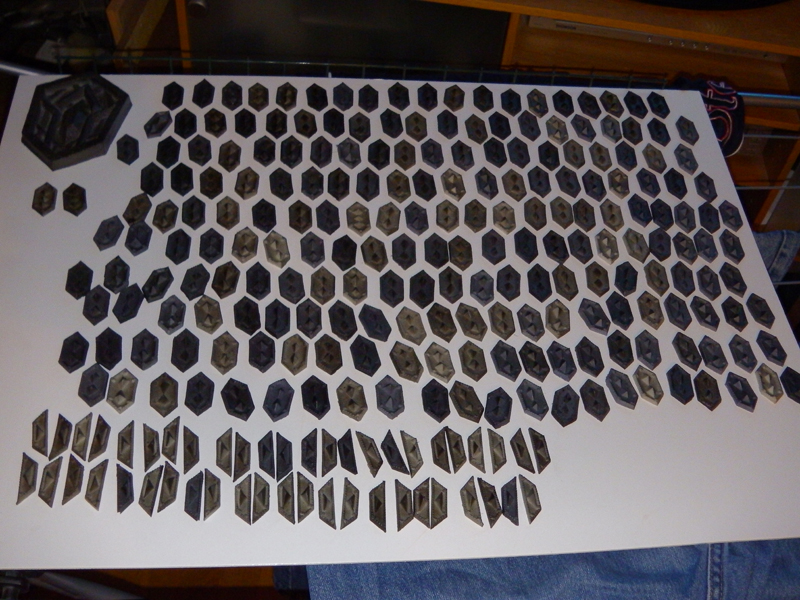
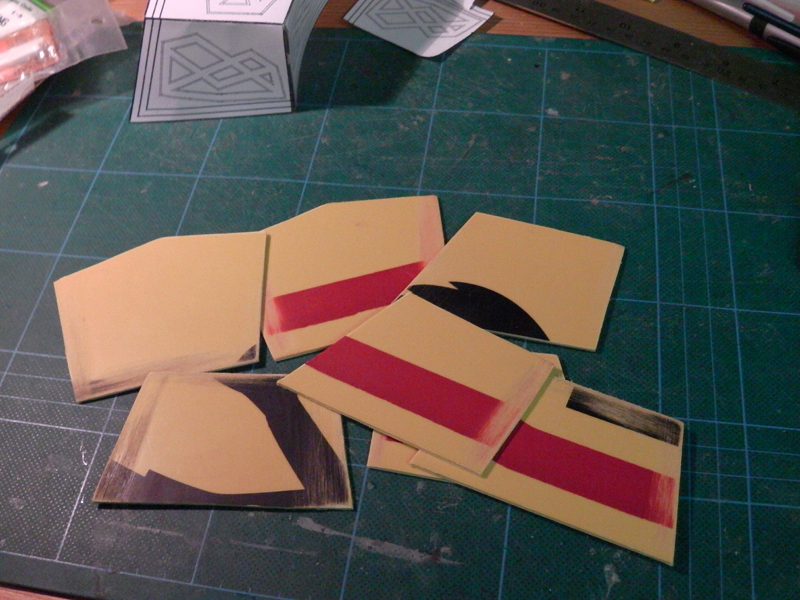
The weather is getting better and better here in sweden , so i have been able to start painting outside on my balcony. I still have a bucket of sprayed black parts to spray silver.
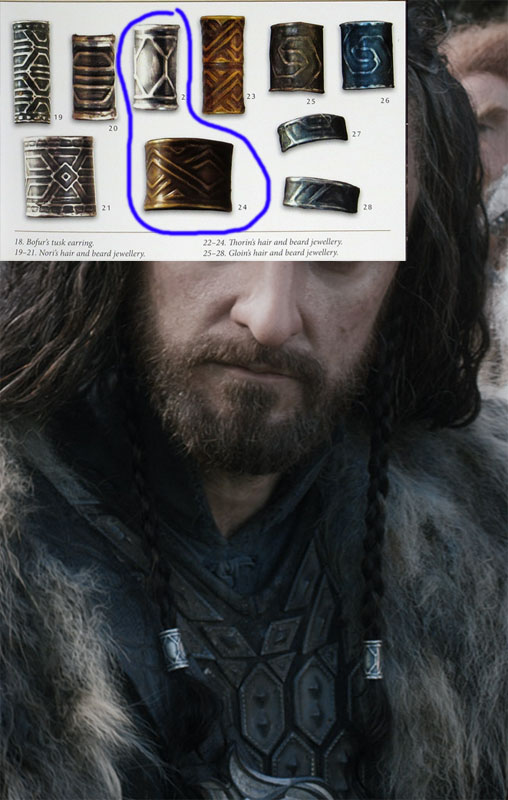
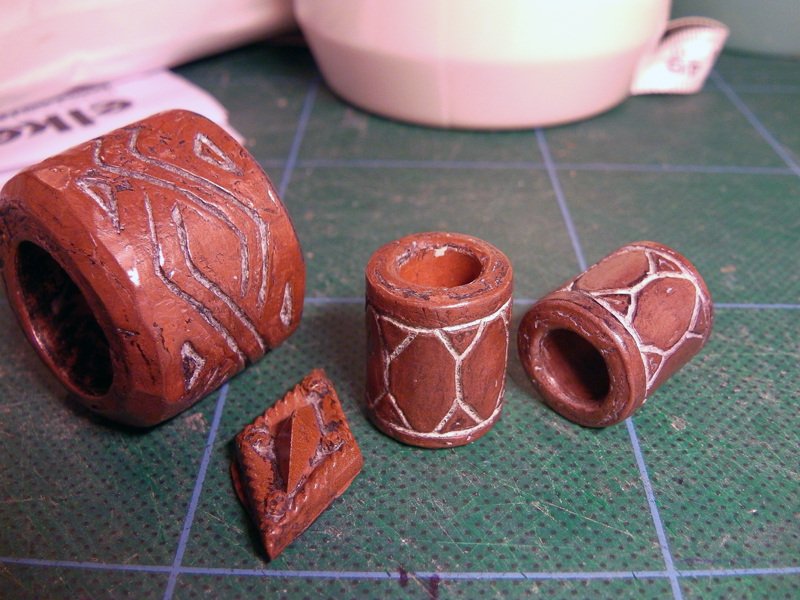
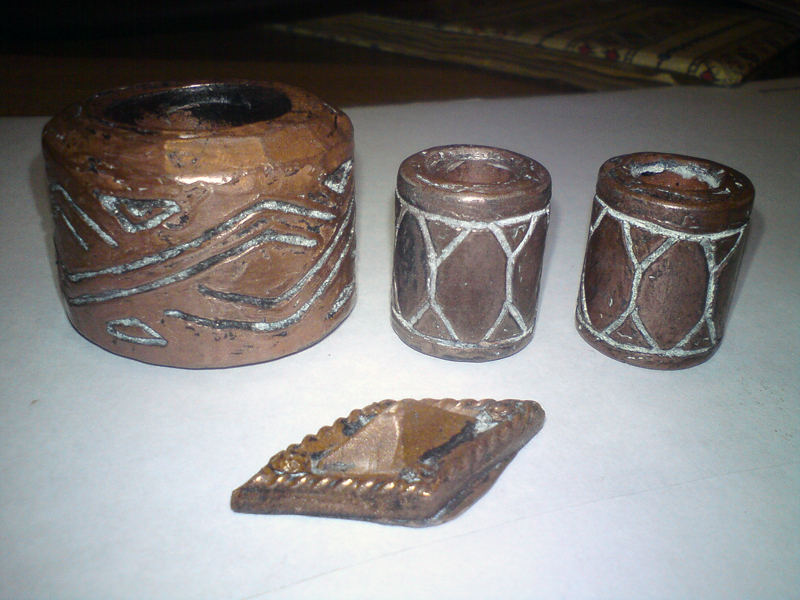
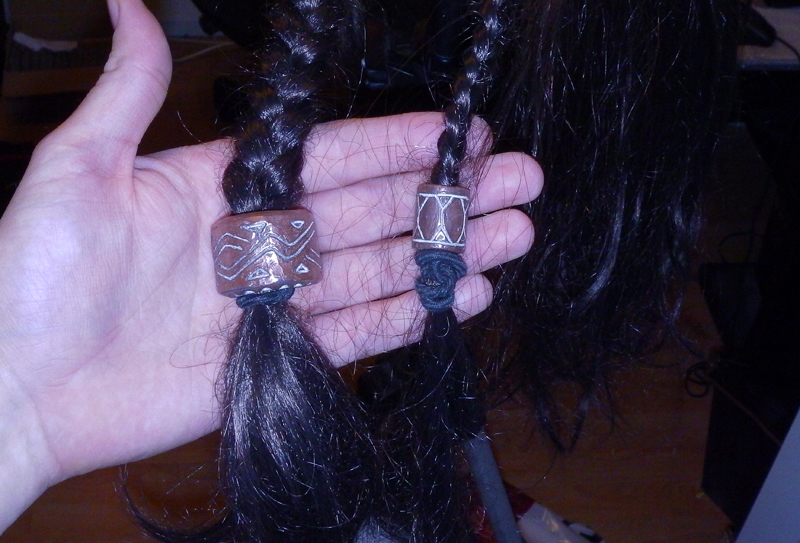
I am really proud of my work on the belt buckle. Its going to look so good with drybrushing in all that texturing.
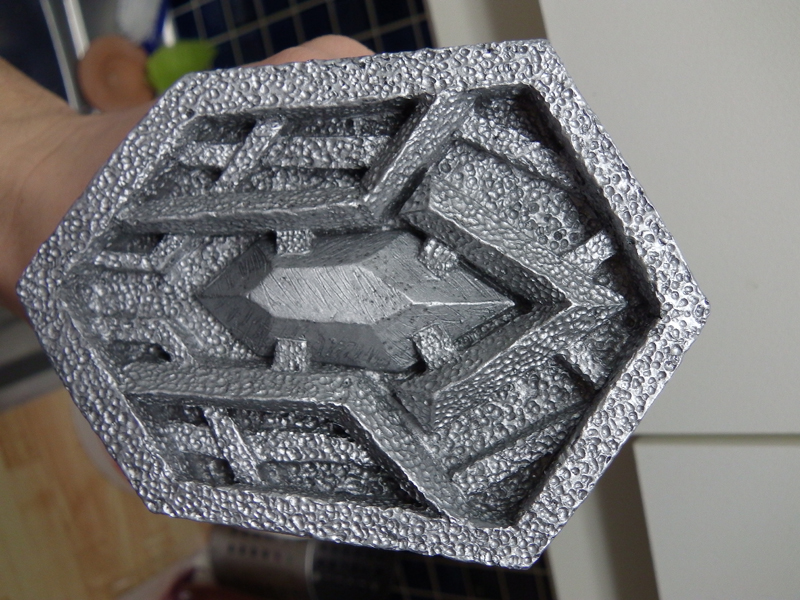
I am really proud of my work on the belt buckle. Its going to look so good with drybrushing in all that texturing.
Contec
Master Member
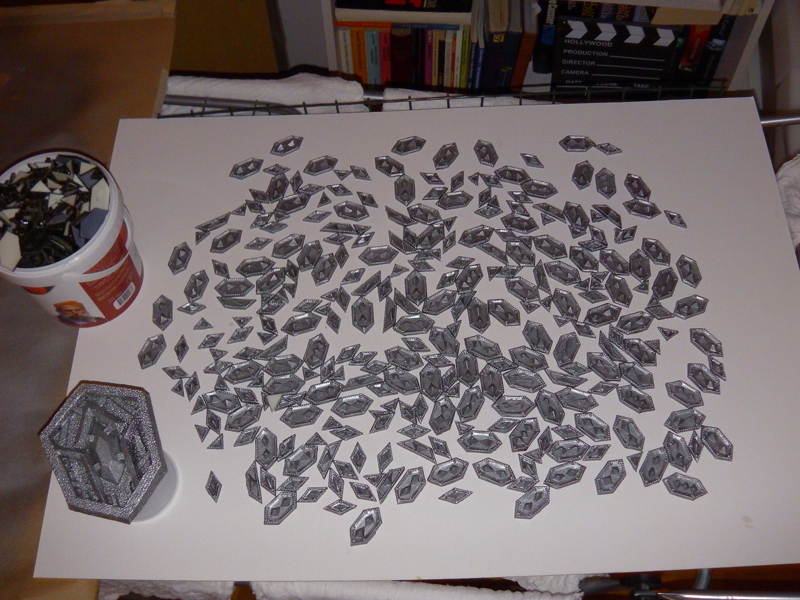
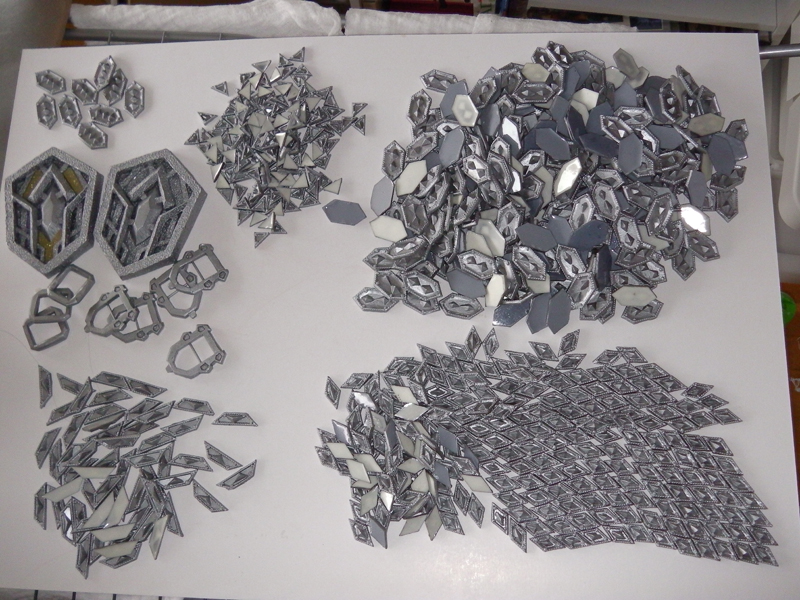
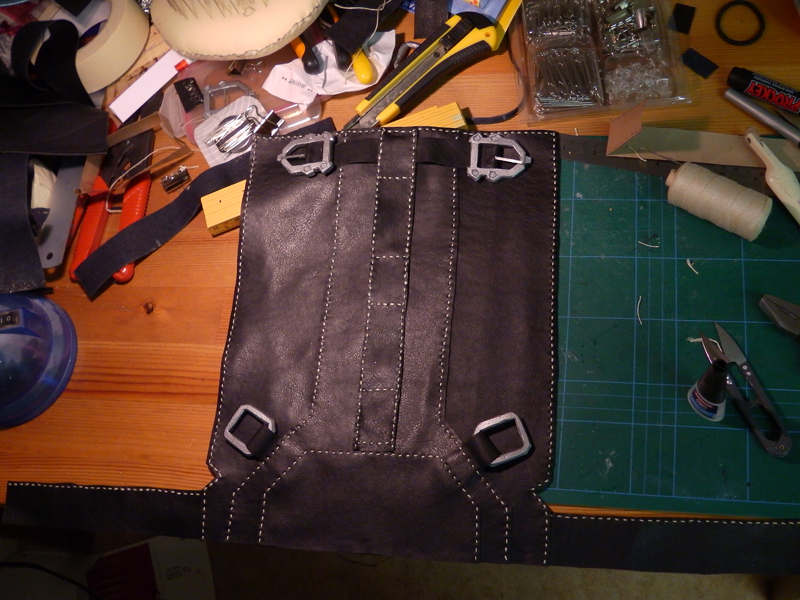
All the pieces are painted silver, I am going to be needing to cast a few more strap buckles but i think the amount of metal pieces will be ok.
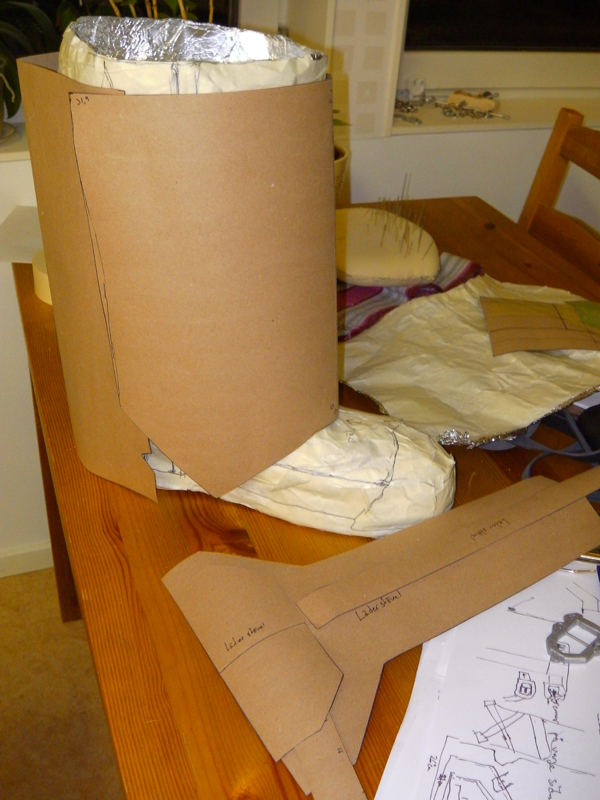
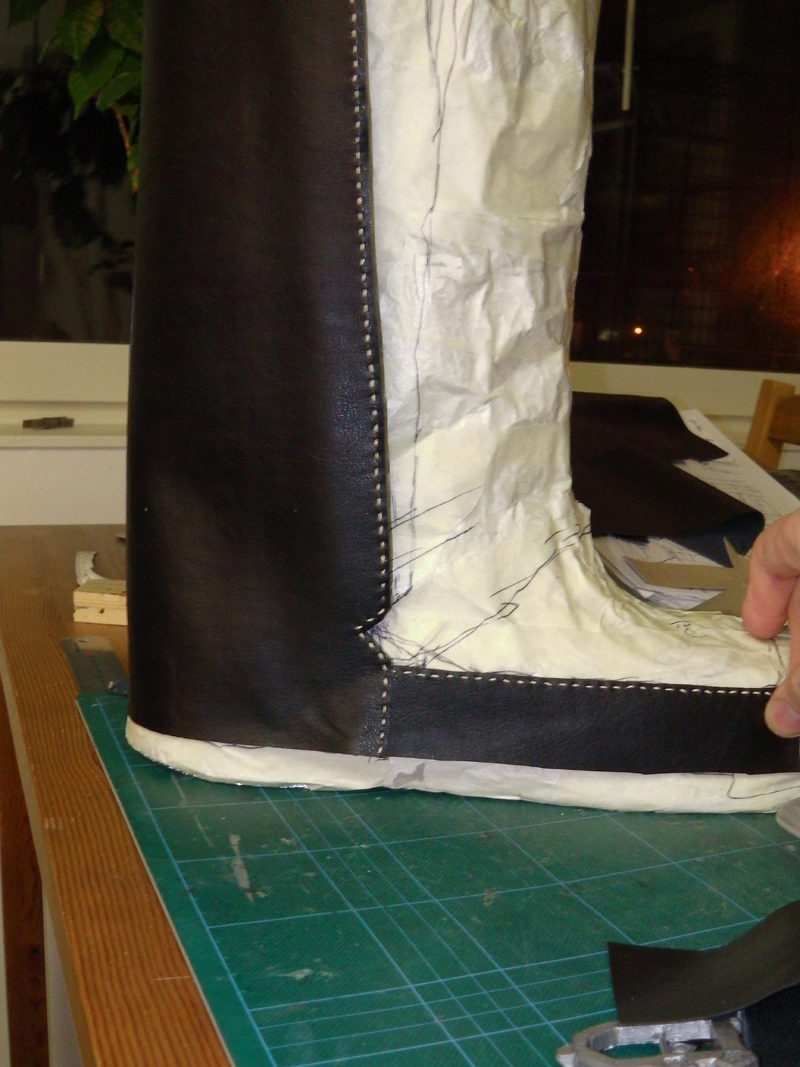
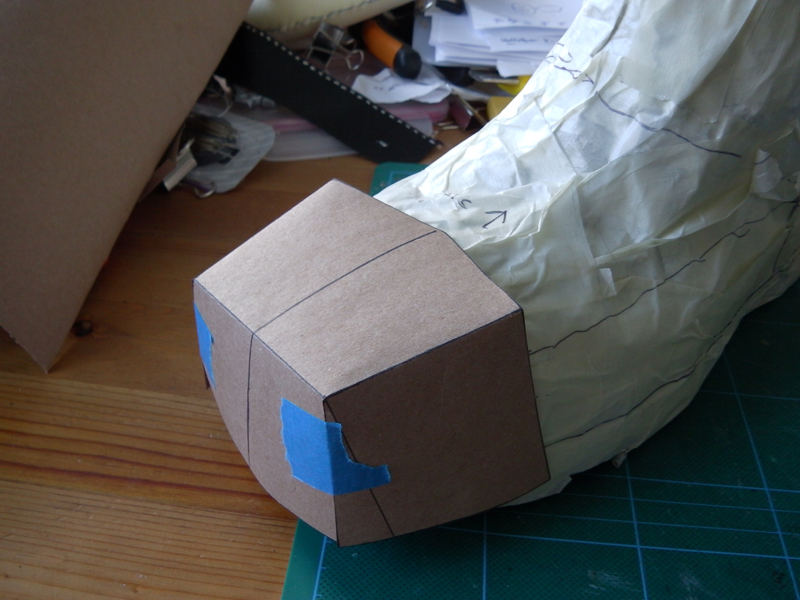
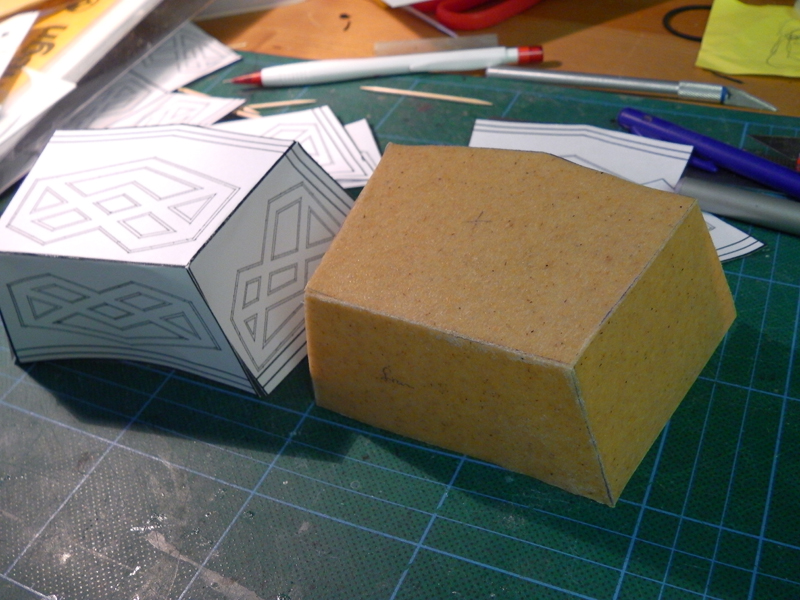
Starting replicating Thorin's Boots.
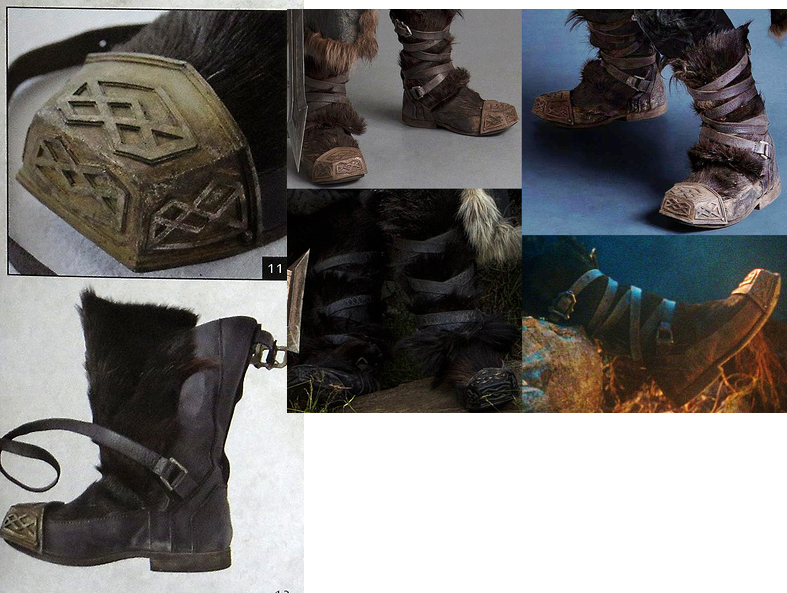
I have a boot sole from my previous Dredd cosplay , I plan on making parts from fake fur and fake leather and glue them to the sole. I started by wearing the sole and my muscle suit pants so i get the right thickness around my leg. Then i cover my leg and sole with aluminum foil and then masking tape. That way i get a boot that i can draw my pattern from.

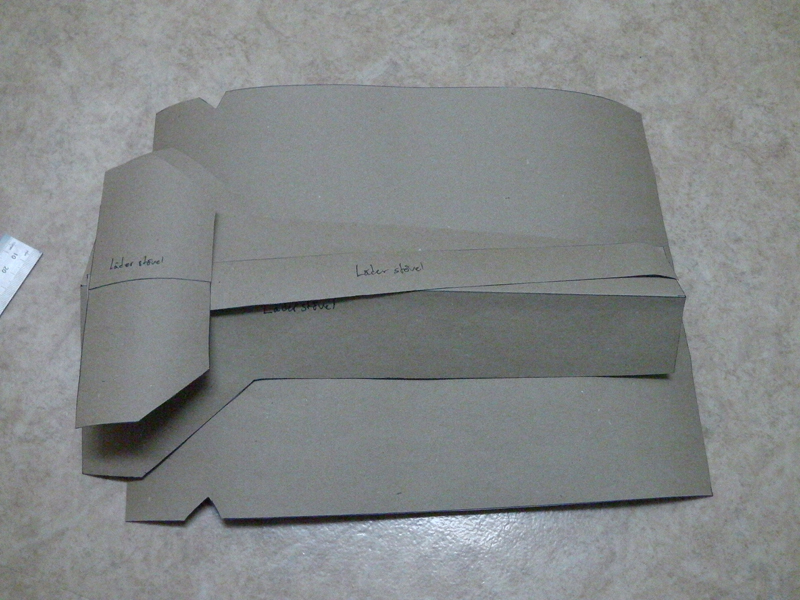
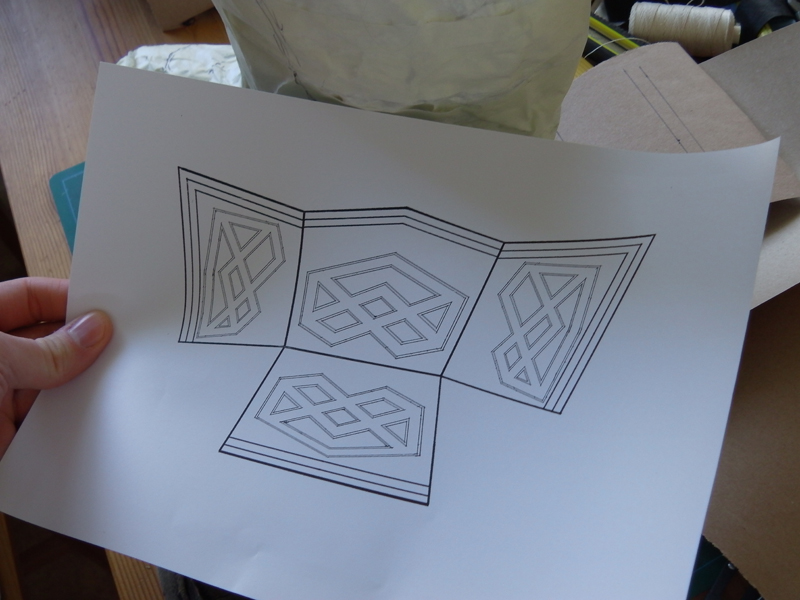
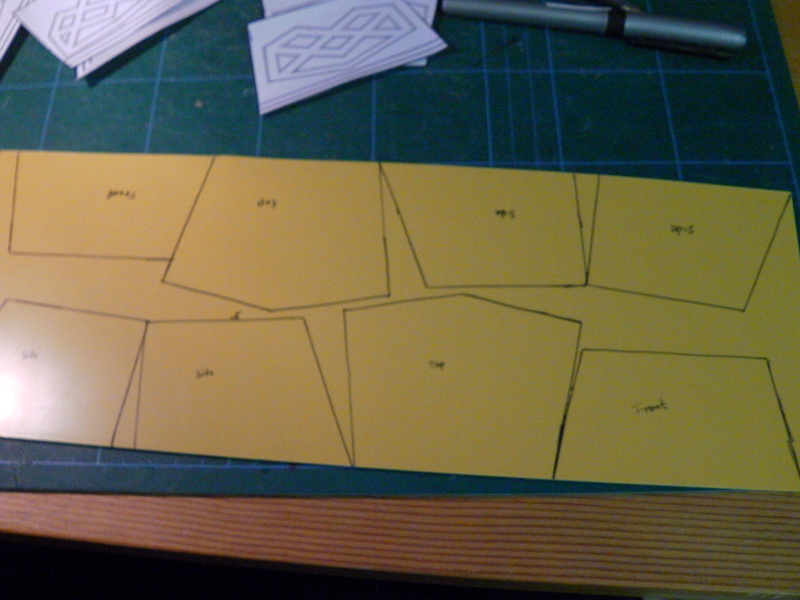
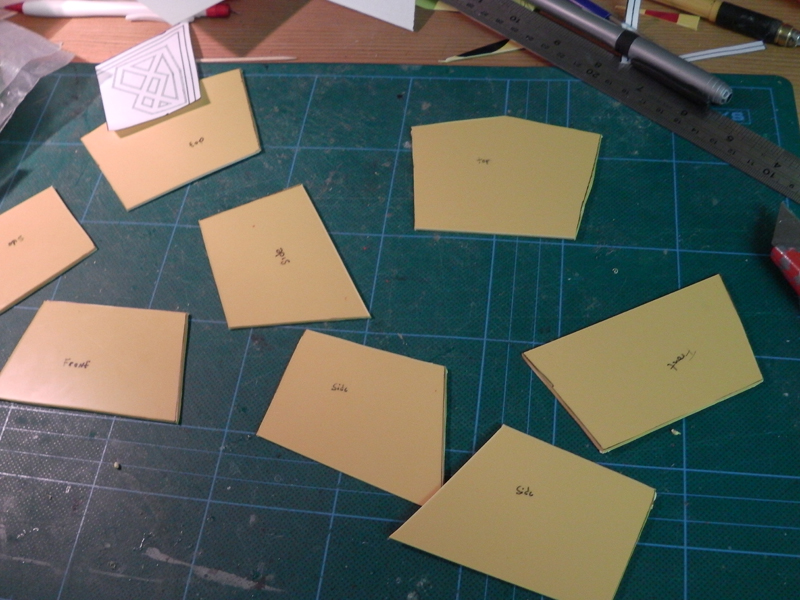
The back pattern for the leather parts
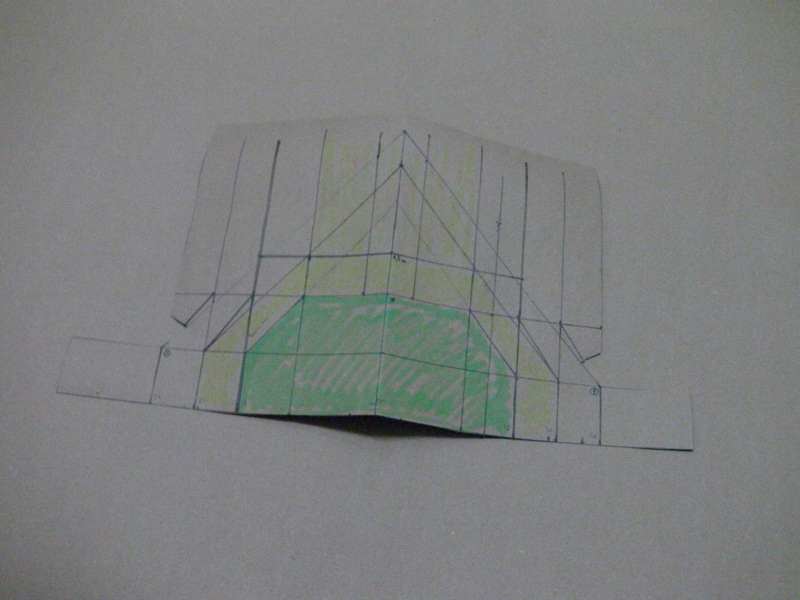
Pattern drawn and cut out from stiffer paper.
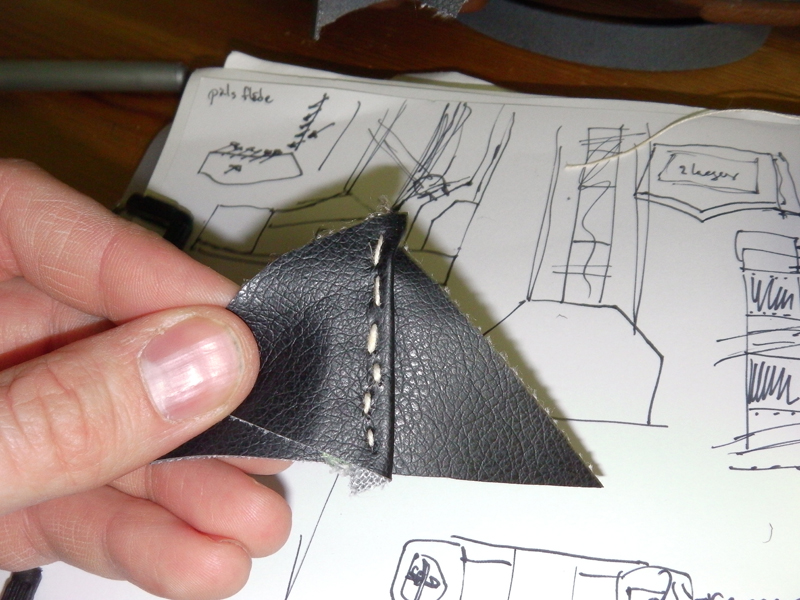
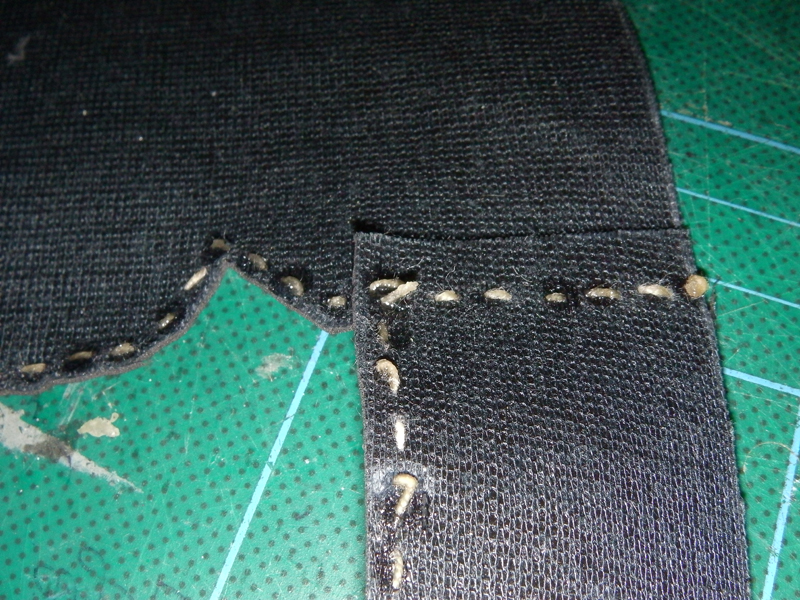
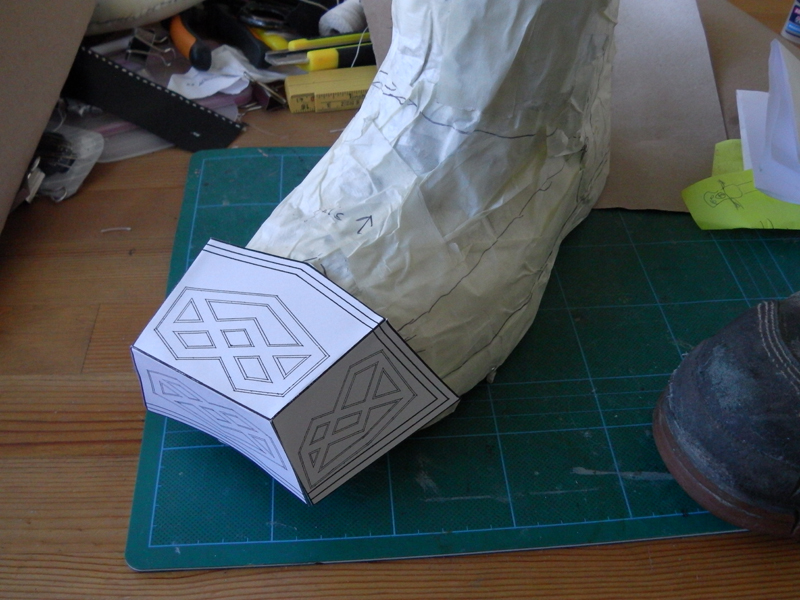
The leather on the boot has stitches around the edges so i am gonna replicate them by stitching string. On the real thing i am going to sew straighter than on this test piece.
Its all starting to come together.
Starting replicating Thorin's Boots.
I have a boot sole from my previous Dredd cosplay , I plan on making parts from fake fur and fake leather and glue them to the sole. I started by wearing the sole and my muscle suit pants so i get the right thickness around my leg. Then i cover my leg and sole with aluminum foil and then masking tape. That way i get a boot that i can draw my pattern from.
The back pattern for the leather parts
Pattern drawn and cut out from stiffer paper.
The leather on the boot has stitches around the edges so i am gonna replicate them by stitching string. On the real thing i am going to sew straighter than on this test piece.
Its all starting to come together.
Contec
Master Member
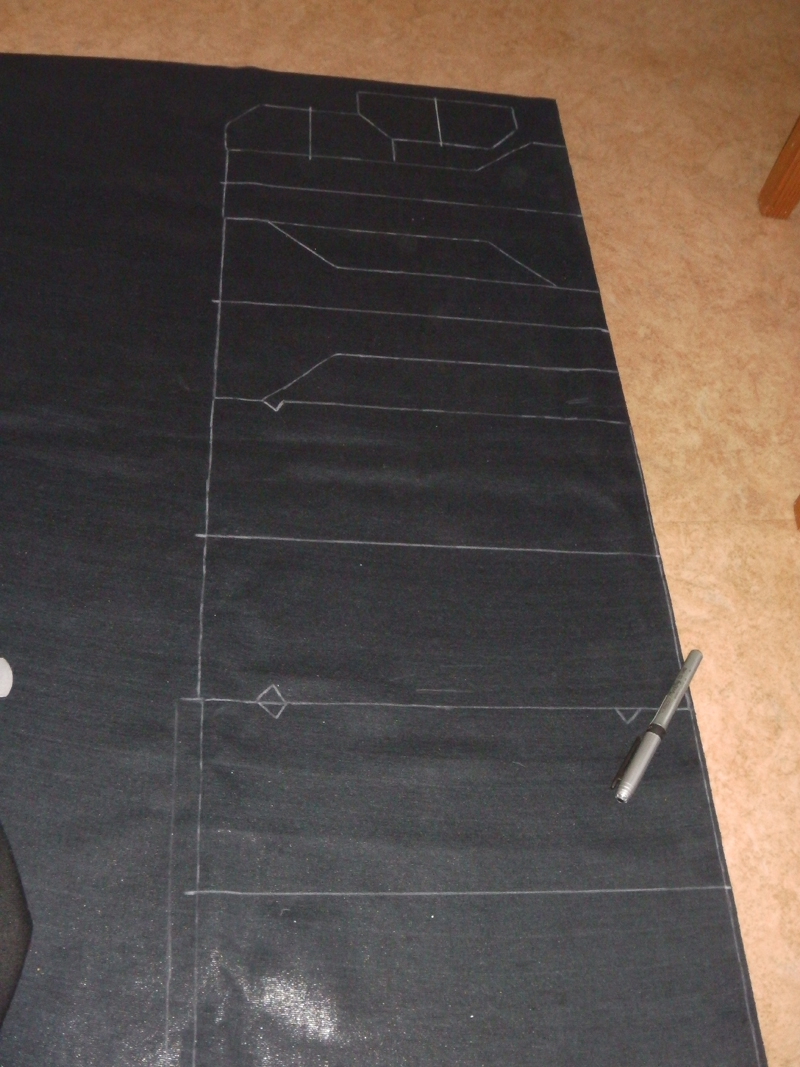
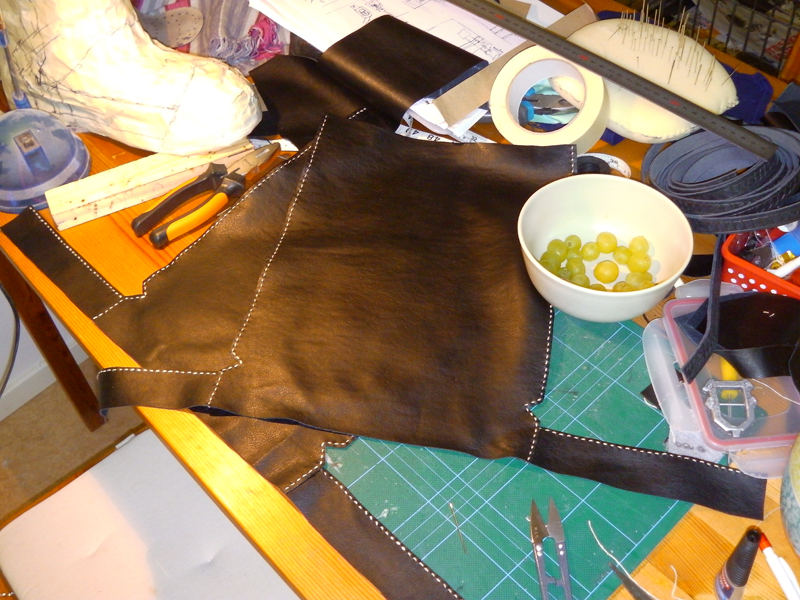
Today i have cut out the parts from faux leather.
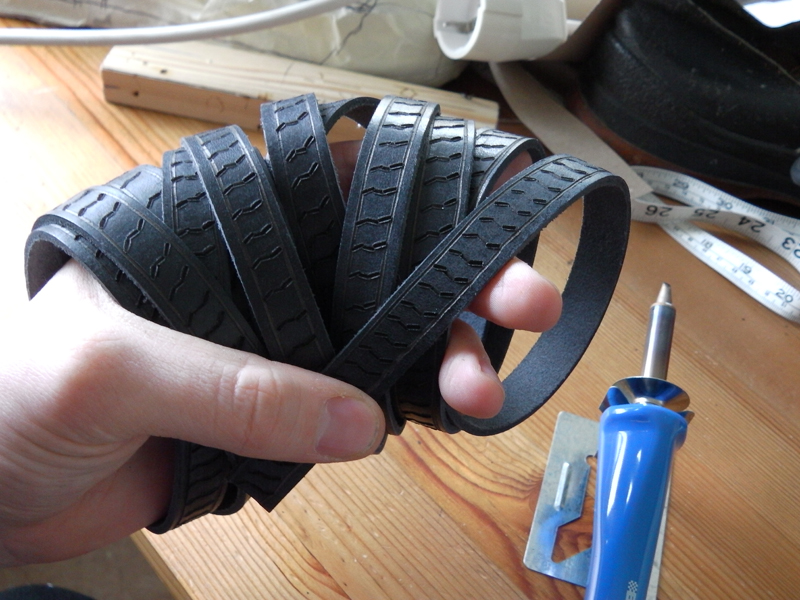
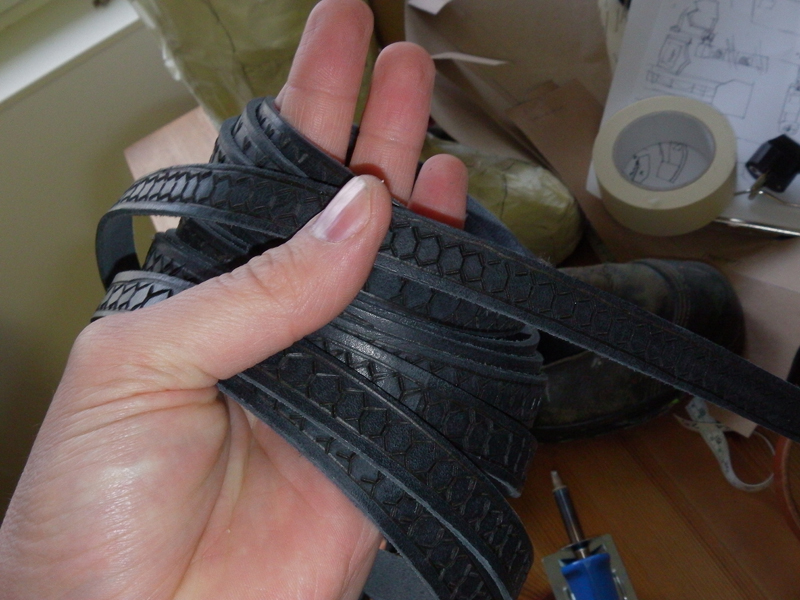
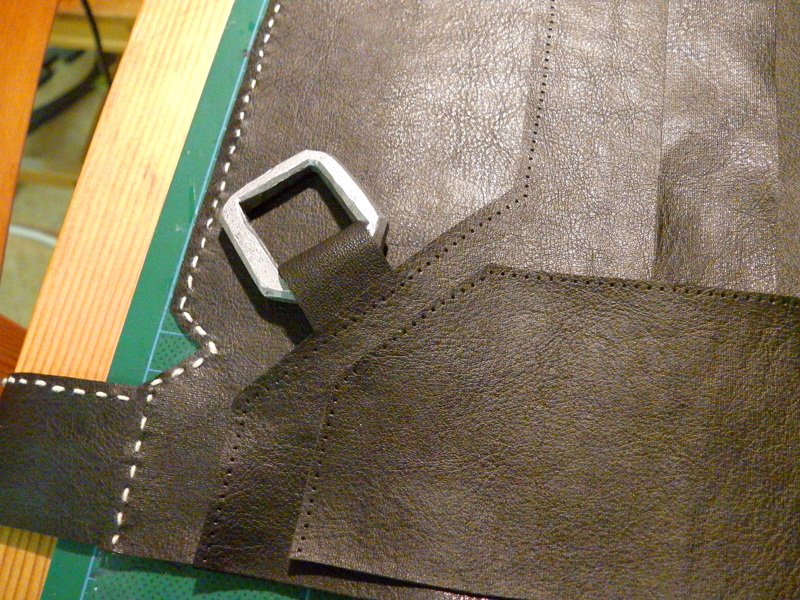
The boots has decorated leather straps attached to the boots. There are two straps on each side of the boots and they are winded around the boot all the way up and then attached with a belt buckle. You can also see on these pictures that the boots has a nice threads running on the edge of the leather, As i am making mine from faux leather i do not need to use expensive leather thread, It only need to look the same.

I have a wood burning tool that i read can be used to decorate leather. So i first make the two lines on the edge of the strap.

The first half of the pattern is ready.
and the final pieces are done. It became a little sloopy but not bad for the first time.
Onward with the faux leather pieces... The pieces are all cut and i and using super glue to hold them together.

I use this spurrwheel tool do make indents in the fabric where the stitchs are gonna be.
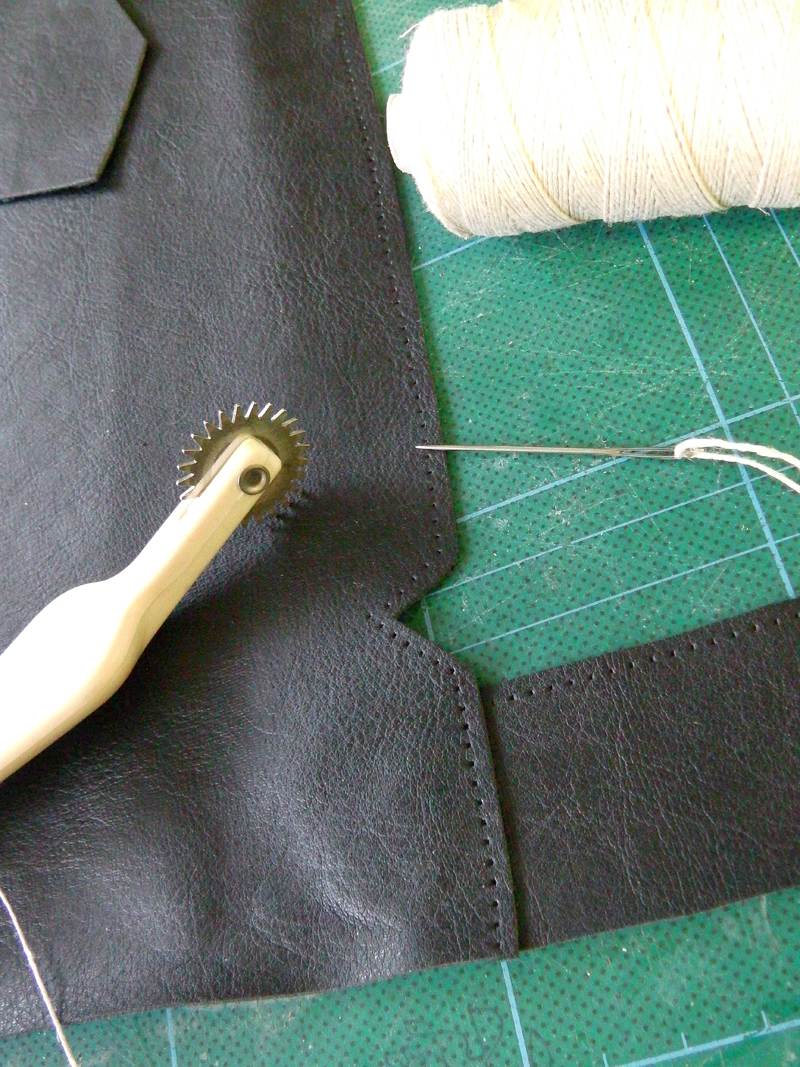
Then i use a thicker thread and just stitch up and down the holes i made.
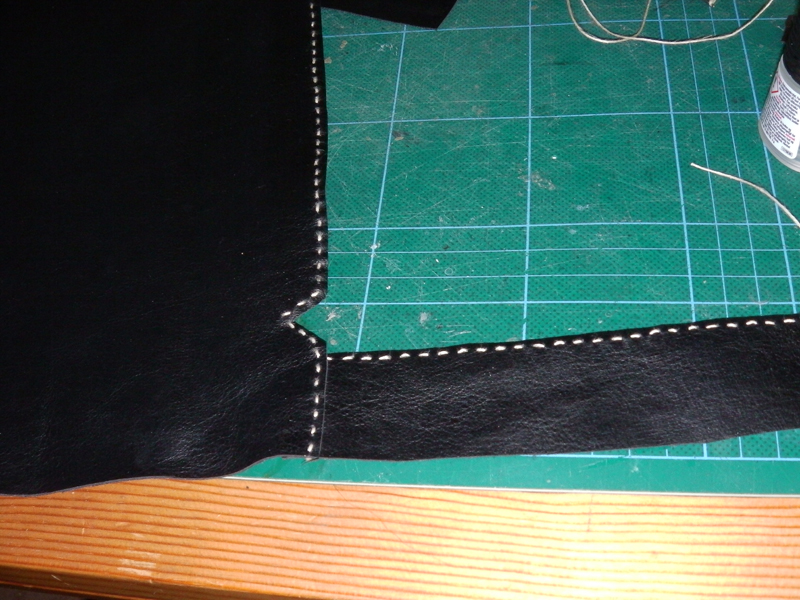
When finished i turn the fabric around and use a small amount of superglue on all the stitches. This way they are not going to loosen.
An hour later the whole thing sewed.
Fits perfectly.
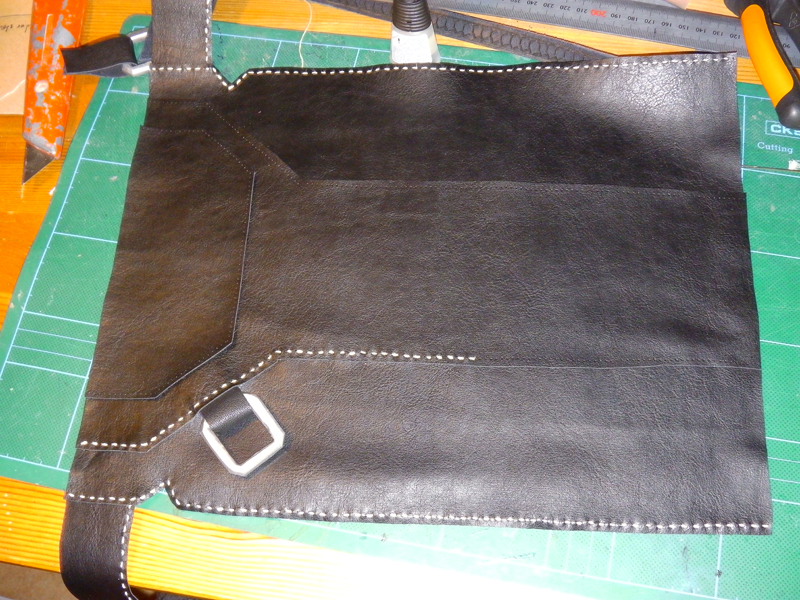
And then after another hour both pieces are finished. Now i am going to attach the other back pieces and sew them on as well.
A mockup on how the pieces gonna fit together
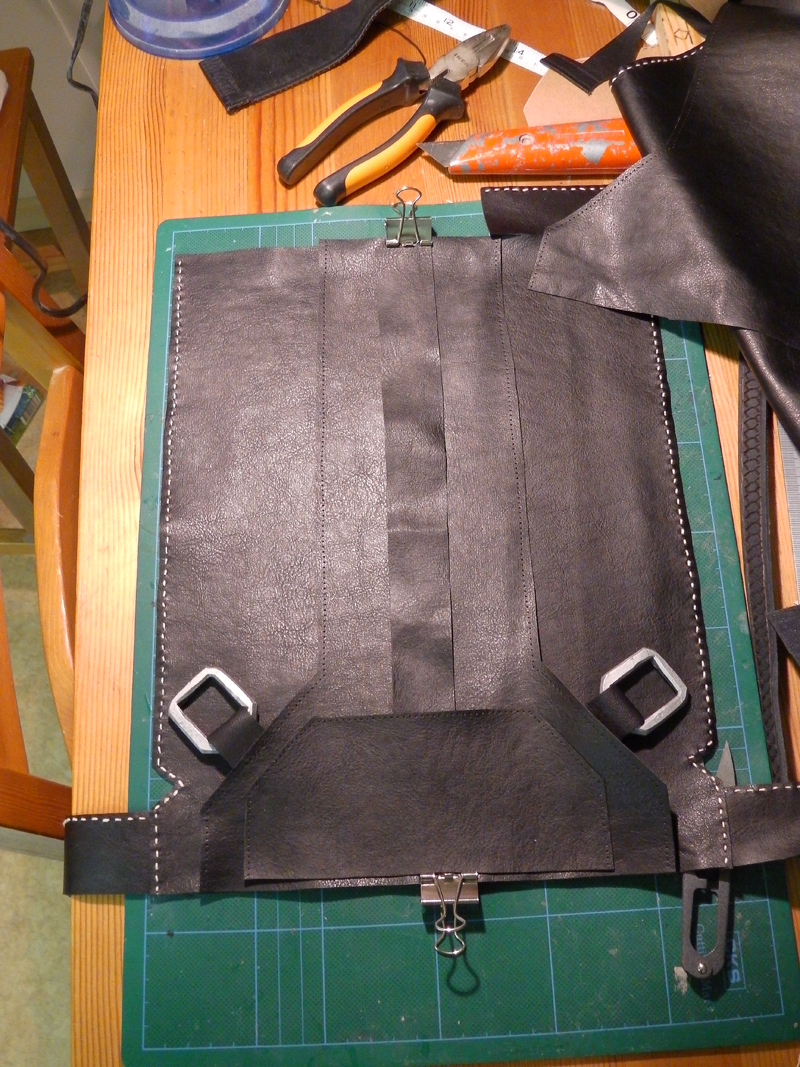
Started sew
The boots has decorated leather straps attached to the boots. There are two straps on each side of the boots and they are winded around the boot all the way up and then attached with a belt buckle. You can also see on these pictures that the boots has a nice threads running on the edge of the leather, As i am making mine from faux leather i do not need to use expensive leather thread, It only need to look the same.
I have a wood burning tool that i read can be used to decorate leather. So i first make the two lines on the edge of the strap.
The first half of the pattern is ready.
and the final pieces are done. It became a little sloopy but not bad for the first time.
Onward with the faux leather pieces... The pieces are all cut and i and using super glue to hold them together.
I use this spurrwheel tool do make indents in the fabric where the stitchs are gonna be.
Then i use a thicker thread and just stitch up and down the holes i made.
When finished i turn the fabric around and use a small amount of superglue on all the stitches. This way they are not going to loosen.
An hour later the whole thing sewed.
Fits perfectly.
And then after another hour both pieces are finished. Now i am going to attach the other back pieces and sew them on as well.
A mockup on how the pieces gonna fit together
Started sew
Last edited:
closet batfan
Well-Known Member
Doh! Although you are probably better off with dark brown as it will photograph better than black.
Contec
Master Member
Doh! Although you are probably better off with dark brown as it will photograph better than black.
Yeah, Most of his costume is different shades of dark blue, and a little black. Luckily i have enough of the old black leather fabric to finish the boots and the vambrace /gloves. So its only the coat that is getting darkbrown.
Contec
Master Member
Started building the toe cap with Worbla, but it was not as stable as i wanted and there is the risk that it will break if the temperature gets high.
So i scrapped that idea and started over with Styrene plastic.
Marking out the pattern on a old sign.
Cutting out the pieces.
Sanding the pieces so that the glue attach better.
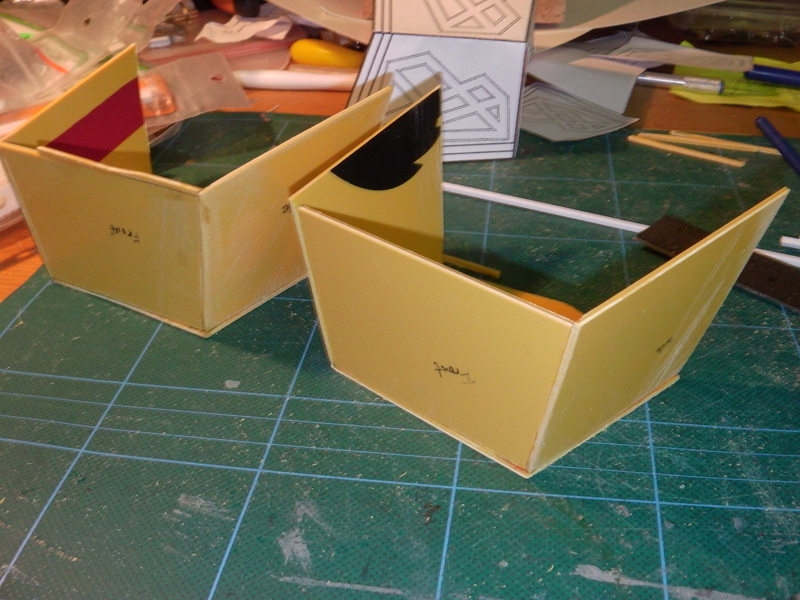
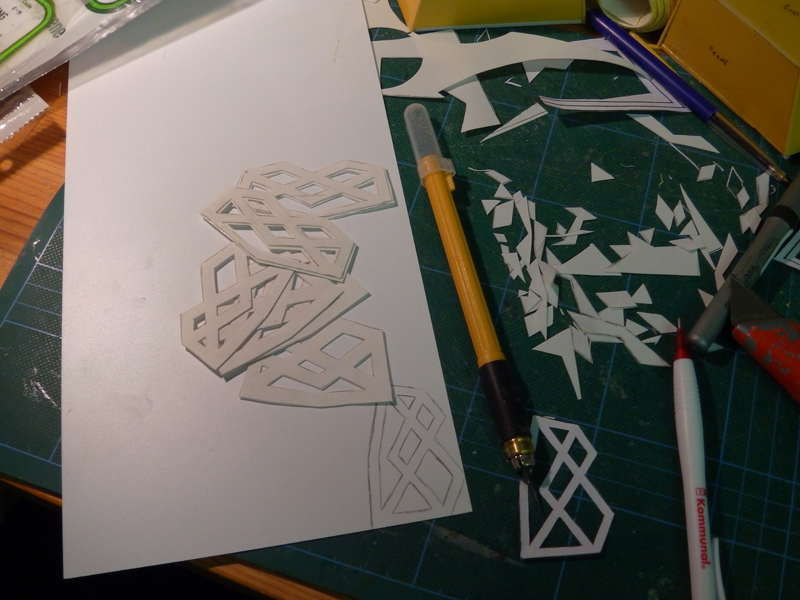
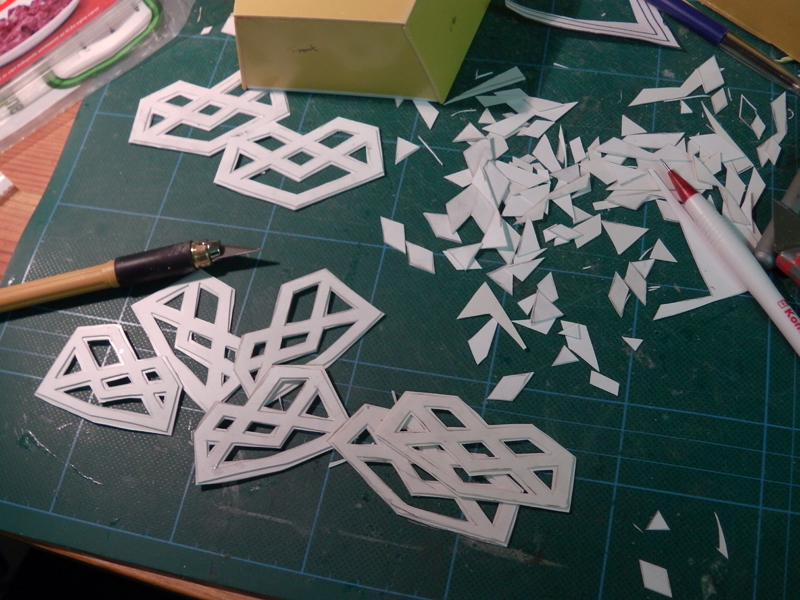
Cutting out the details. This would have been pretty much impossible with worbla because of the thickness.
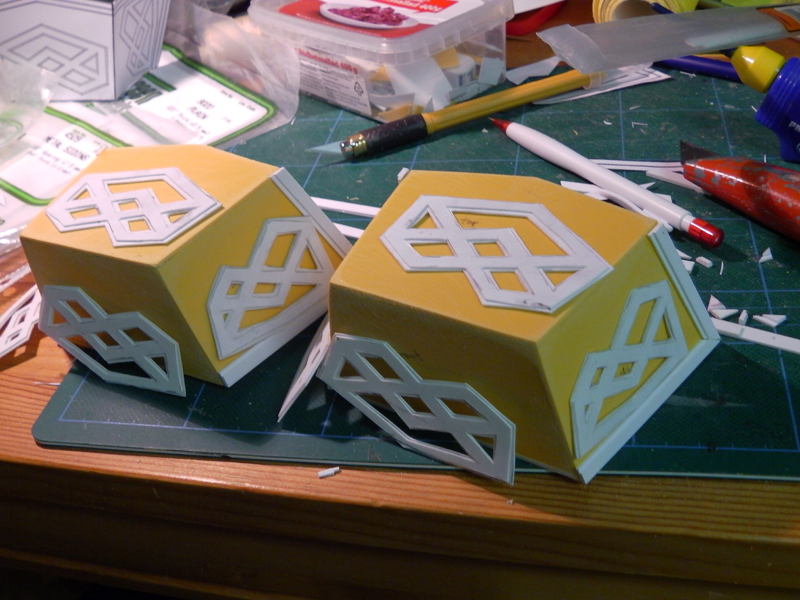
Glueing the pieces together
Started to attach the borders around the toe caps. Then i am going to attach all the details.
So i scrapped that idea and started over with Styrene plastic.
Marking out the pattern on a old sign.
Cutting out the pieces.
Sanding the pieces so that the glue attach better.
Cutting out the details. This would have been pretty much impossible with worbla because of the thickness.
Glueing the pieces together
Started to attach the borders around the toe caps. Then i am going to attach all the details.
Similar threads
- Replies
- 5
- Views
- 425
- Replies
- 0
- Views
- 239