The Betty (Alien Resurection) 1:30 Scale Build

gooses2

Active Member
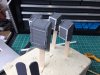
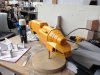
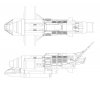
I'm really excited about this one! It's one of my favourite ships. I settled on 1:30 scale, so the finished thing will be around 55cm in length.

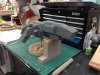
I drew up some designs based on screen grabs from the film. This model is quite a bit smaller than the studio scale model so I'm not intending on capturing all the detail from the actual craft.

attachment.php


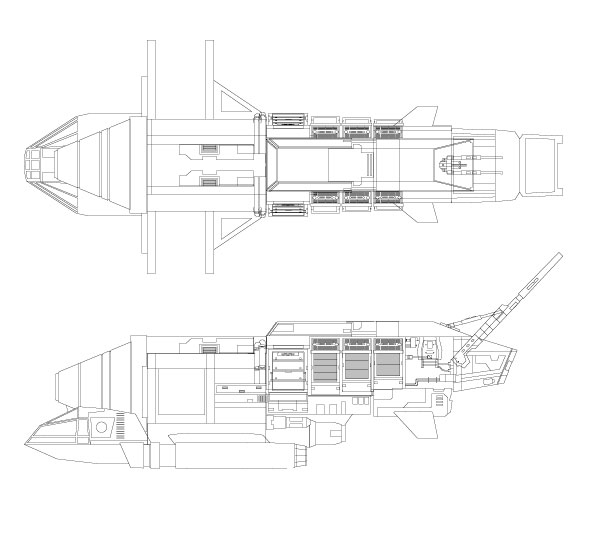
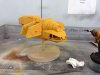
These designs are not finalised in terms of the detail. I also need to draw up designs on the large side thrusters.

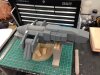
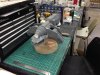
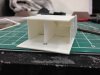
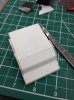
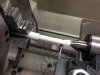
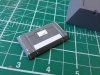
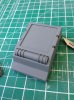
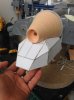
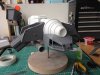
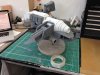
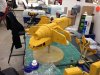
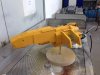
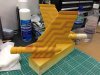
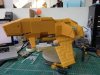
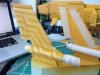
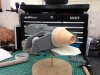
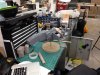
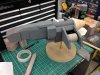
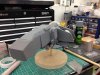
So I'm pretty far into the build at this point, most of the form for the body is there

attachment.php


attachment.php


attachment.php


attachment.php


attachment.php


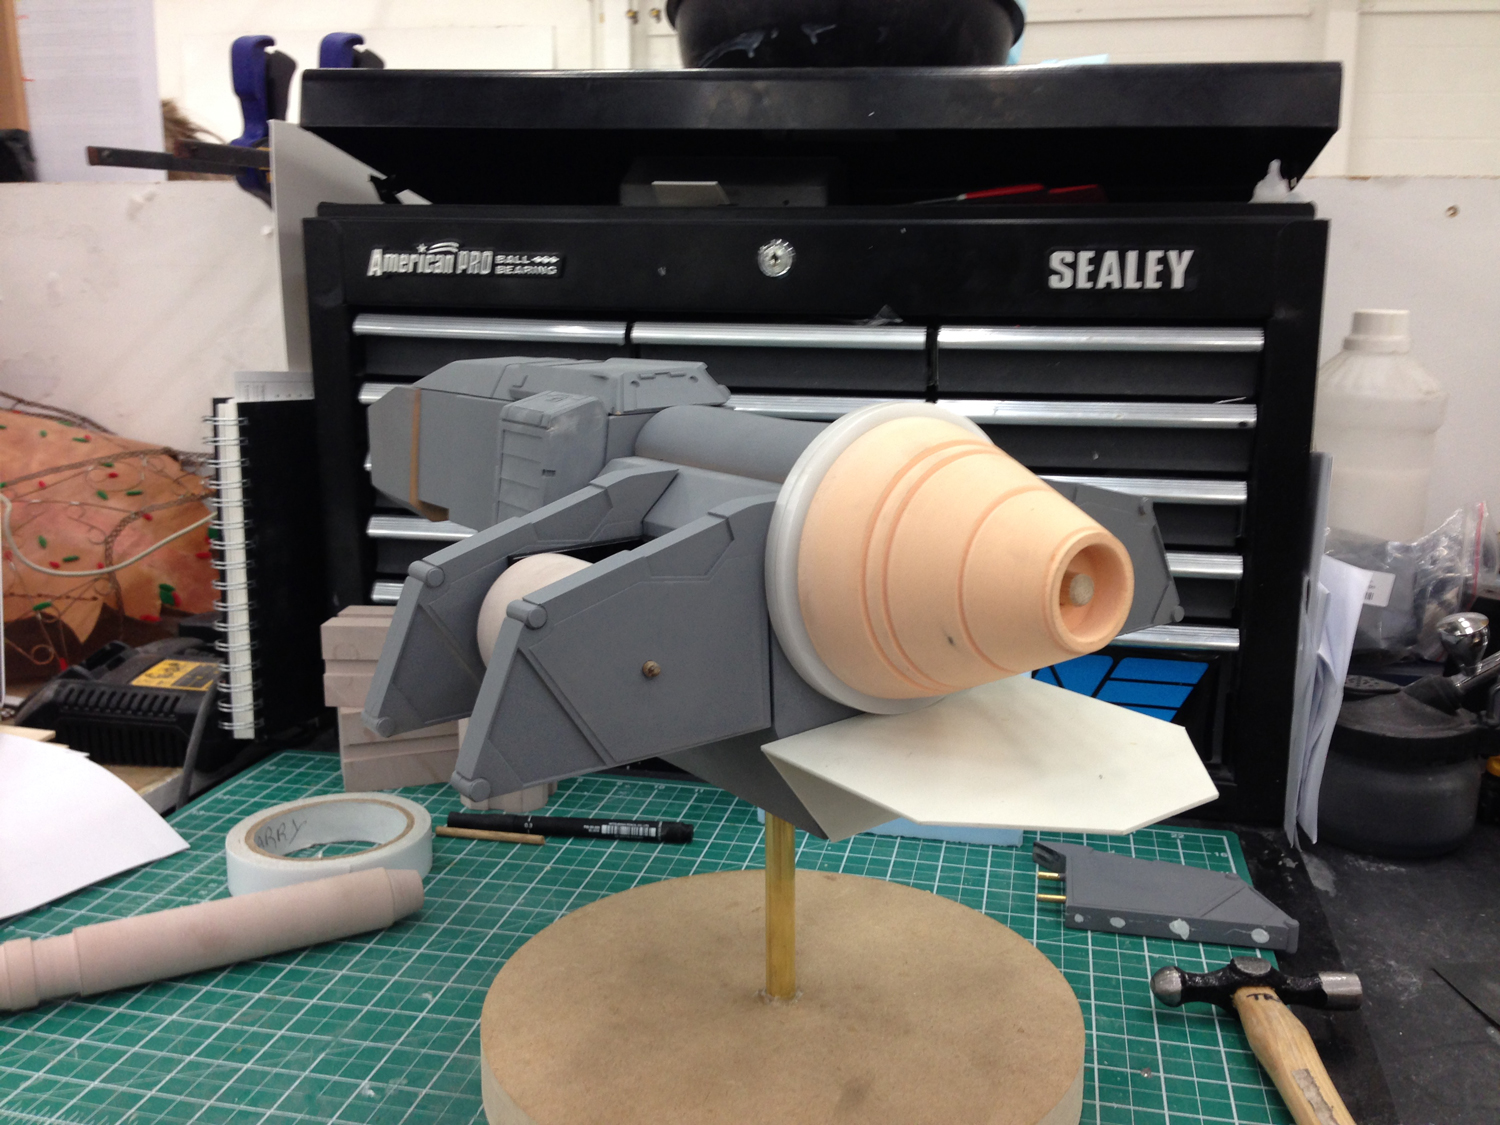
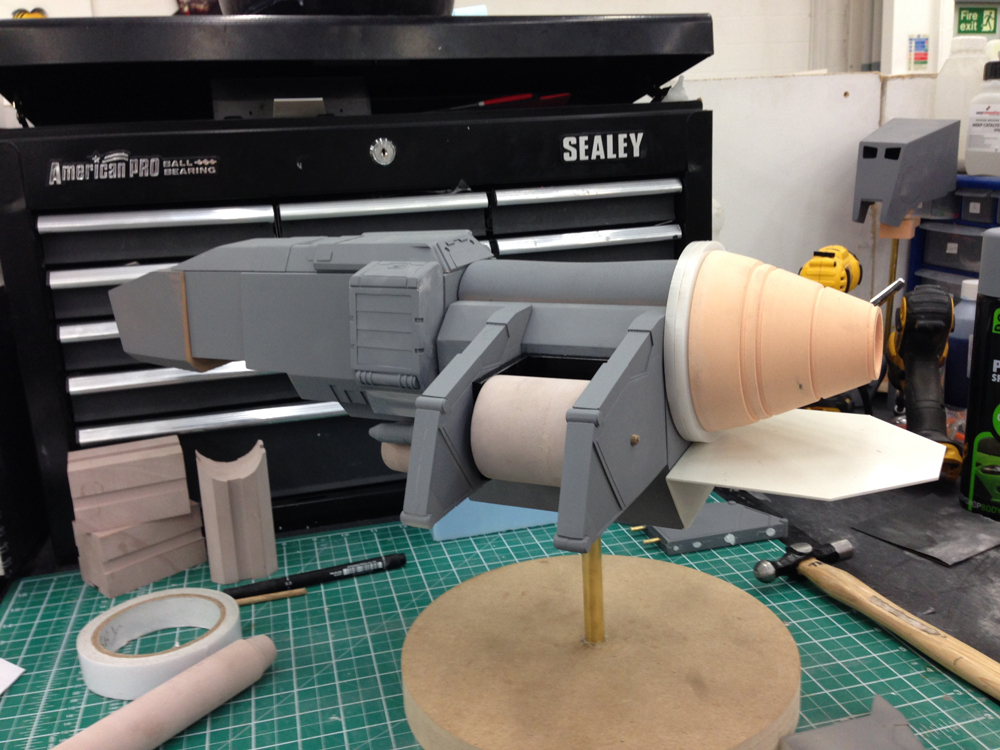
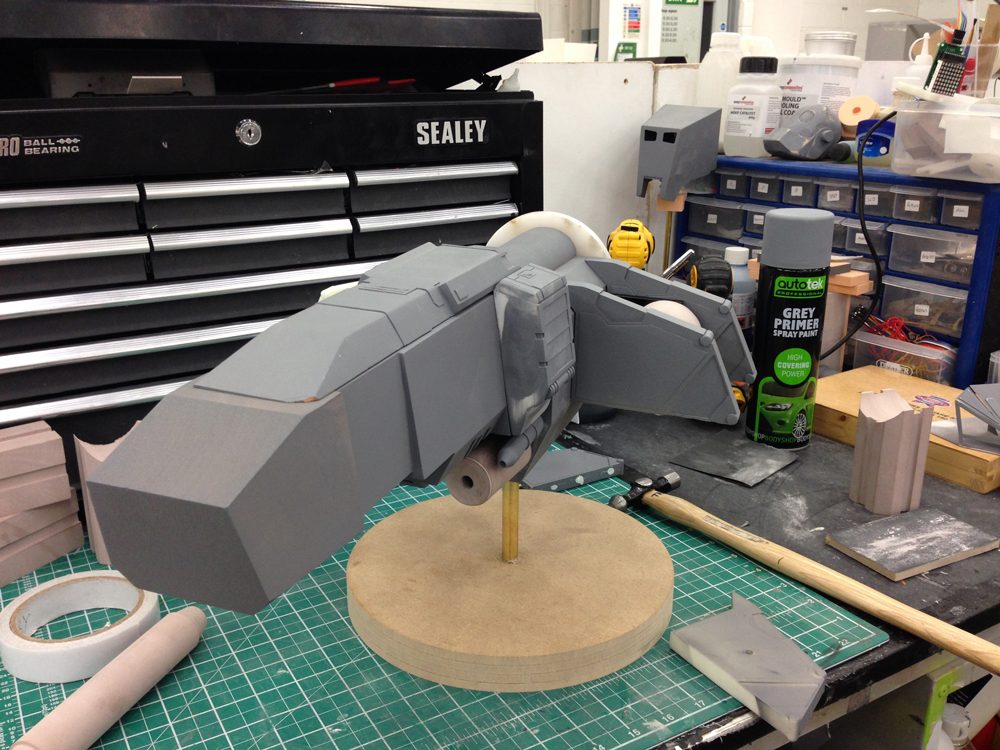
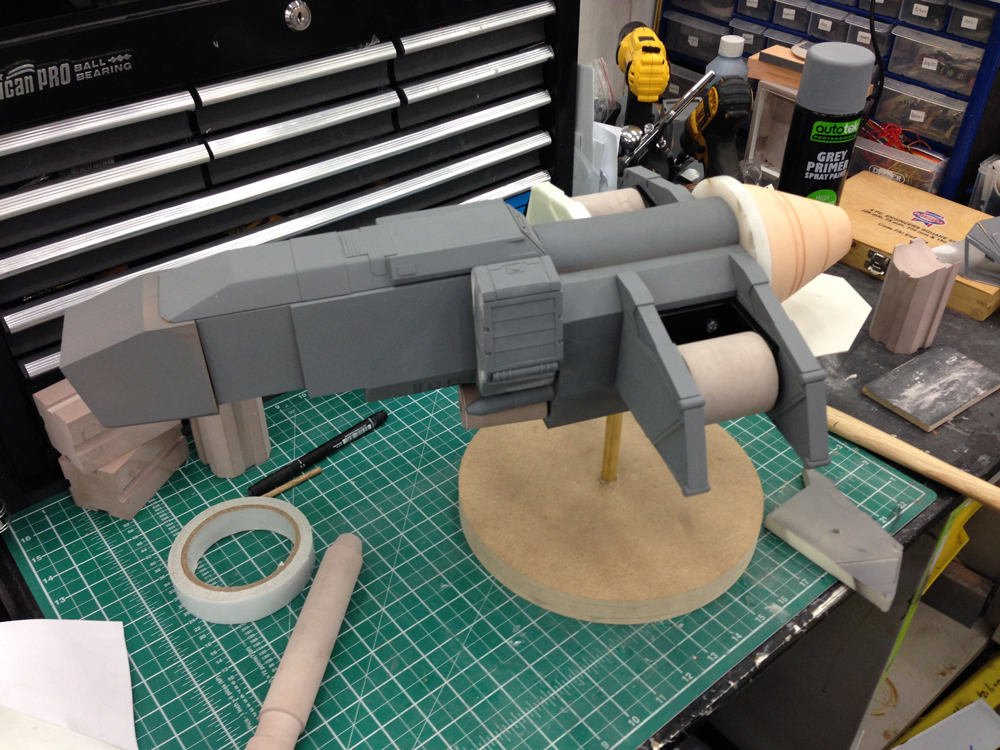
Expect more updates soon!
 

Attachments

  • bettydesign.jpg
    bettydesign.jpg
    33.2 KB · Views: 2,160
  • betty.jpg
    betty.jpg
    940.6 KB · Views: 1,874
  • betty4.jpg
    betty4.jpg
    578.1 KB · Views: 1,838
  • betty3.jpg
    betty3.jpg
    595.5 KB · Views: 1,804
  • betty2.jpg
    betty2.jpg
    576.9 KB · Views: 1,828
  • betty5.jpg
    betty5.jpg
    466.5 KB · Views: 1,826
Oh man, she's a beauty!!!
Can you show how you build all those details? It looks very precise and detailed, are you using 3d printer, or CNC cutter or something??
Great job!
 
Oh man, she's a beauty!!!
Can you show how you build all those details? It looks very precise and detailed, are you using 3d printer, or CNC cutter or something??
Great job!

It's a combination of things. Some of the really fine detail is laser cut acrylic the rest is hand cut abs or styrene.

This part (cargo door) is just abs cut with a scalpel.

attachment.php


attachment.php


Vinyl rod turned on the lathe.

attachment.php


This is a small piece of chemiwood that I have layered with thin styrene.

attachment.php


Here Ive stuck the turned rod down and coated with it with primer.

attachment.php


On the cargo door has some more detail here. Again just cut styrene.

The 3 cargo holder things are the same process but the top grate is to fine to cut by hand so it was laser cut.

attachment.php


The cockpit I built from card first. I then took the measurements of each panel and recreated them in illustrator.

attachment.php


Using the illustrator data I then had the pieces lasercut. Still need to do some cleanup on this part.

attachment.php
 

Attachments

  • 1.jpg
    1.jpg
    262.9 KB · Views: 1,331
  • 2.jpg
    2.jpg
    555.6 KB · Views: 1,328
  • 3.jpg
    3.jpg
    268.4 KB · Views: 1,316
  • 4.jpg
    4.jpg
    401.2 KB · Views: 1,302
  • 5.jpg
    5.jpg
    714.6 KB · Views: 1,294
  • 6.jpg
    6.jpg
    315.2 KB · Views: 1,307
  • 7.jpg
    7.jpg
    391.6 KB · Views: 1,282
  • card.jpg
    card.jpg
    483.6 KB · Views: 1,330
Looks good. On the big cargo box. That top piece is a separate shroud. And the cockpit is a little fatter. But you look like nailed all the main details Keep posting updates


Al
 
Here's another little update. I'm on a pretty tight schedule for this so I'm working fast. I have to finish this in just 2 more weeks.

The main body has been primed white ready for the yellow.

attachment.php


attachment.php


attachment.php


I've blocked out the 2 side thruster things, their posed quite high here but thats only because the joint isn't tight enough to hold them correctly yet.

attachment.php
 

Attachments

  • 1.jpg
    1.jpg
    370.7 KB · Views: 1,100
  • 2.jpg
    2.jpg
    348.8 KB · Views: 1,077
  • 3.jpg
    3.jpg
    368.3 KB · Views: 1,057
  • 4.jpg
    4.jpg
    398.9 KB · Views: 1,067
OK guys! I've gone and painted the base coat of yellow. I used a rattle can mustard colour then went over the top with some humbrol enamel to bring down the gloss to a matte.

This is the gloss from the rattle can.

attachment.php


Here i've gone over and lightened the yellow with enamels.

attachment.php


attachment.php


attachment.php


Next up is the reddish zig zag across the body and quite a bit of weathering!
 

Attachments

  • 4.jpg
    4.jpg
    402 KB · Views: 914
  • 3.jpg
    3.jpg
    363.8 KB · Views: 922
  • 2.jpg
    2.jpg
    351.5 KB · Views: 910
  • 1.jpg
    1.jpg
    372.1 KB · Views: 910
Here's a little update on the paint job.

Ive masked off the wings with an approximate representation of the original pattern and then sprayed a reddish colour over the top.

attachment.php


attachment.php


attachment.php
 

Attachments

  • 3.jpg
    3.jpg
    353.7 KB · Views: 823
  • 2.jpg
    2.jpg
    362 KB · Views: 834
  • 1.jpg
    1.jpg
    380.9 KB · Views: 828
Very cool scratch building project! Nice job on the wing color pattern. The crafting skill here is most impressive.
 
This thread is more than 6 years old.

Your message may be considered spam for the following reasons:

  1. This thread hasn't been active in some time. A new post in this thread might not contribute constructively to this discussion after so long.
If you wish to reply despite these issues, check the box below before replying.
Be aware that malicious compliance may result in more severe penalties.
Back
Top