TFA Stormie Armor

Wonderful work.
Are you making the molds yourself?
Really impressed by your dedication as well as your craftsmanship.
Carry on now.
Feel free to start boxing a set up for me.

Thanks! I do have a small fiberglass outfit, so the workers makes the molds from the prototypes I make. Naturally, they also make the products pulled from the molds.


Consider me your first customer if you plan to sell. Your TFA helmet is also fantastic.

I already have my TFA boots and gloves in the mail. Just need the helmet, armor, and soft parts!

Did you get them from Francois? He's a great guy to deal with. I also have a pair of his TFA gloves ........... and waiting for his boots once he visits again next month.

Mardon (MLC)
 
Did you get them from Francois? He's a great guy to deal with. I also have a pair of his TFA gloves ........... and waiting for his boots once he visits again next month.

Yep! Francois has been great as far as communication. I was part of the initial group of people on the first run of boots. I figured I would go ahead and start collecting what I can for the TFA even though I don't have the armor or helmet. I am itching for another build so I can't get my hands on armor quick enough. My scout was my first ever build and I never thought I would want another build again.
 
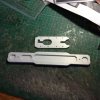
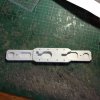
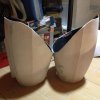
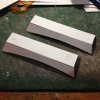
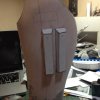
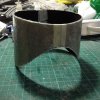
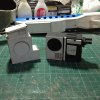
We just finished sanding the bondo work on the yoke/back armor. We're now adding bondo to the thighs and next would be the shins. I also started on making the blaster holster(?) plate that would be added to the right thigh. I'll be in 2 parts - main bottom plate and top plate. Im still deliberating whether the main plate should be added to the thigh before molding so its part of the thigh or leave it separate. The top plate could either be screwed down or glued down but with screw heads cutoff.

IMG_2545.jpgIMG_2552.jpgIMG_2551.jpgIMG_2546.jpg
 
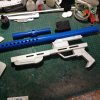
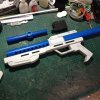
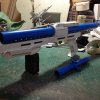
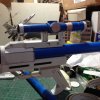
It got me thinking that building the holster is quite useless without a blaster, so I started with the idea of going the pvc tube route. I really had a great time when I built my first E-11 many years ago. I cant remember the name of the tutorial website that started you off with a 1.25" diameter tube and a downloadable pattern for drilling the sterling holes on the barrel, but that site was great help for me. Anyway, I thought it might be fun going that route again when doing the new blaster and hope it serves me years just like the first one.

With the new 2-tone blaster, I decided to separate (as much as possible) parts that would need to be painted differently. I could've done it with the scope, but I accidentally glued it together before I realized my mistake. Well, another masking job I guess. I will also be adding the sterling E-11 parts once I've collected their molds.

Mardon (MLC)

IMG_2553.jpgIMG_2554.jpgIMG_2555.jpg
 
Last edited:
Good god man , you are a machine , wish I could get these good results in the small amount of time it's take you to get this lot together, fantastic work as always
 
Last edited:
I'm going to have to stop opening threads that deal with the TFA Stormtroopers. Every single time I do it makes me want a set. You are doing incredible work here! Can't wait to see the finished version.
 
Thanks guys!

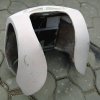
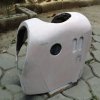
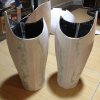
The thighs and the shins have been bondoed to shape and holster platform on the right thigh have been incorporated. Nothing much on the blaster except making the scope mount.

Mardon (MLC)

IMG_2558.jpgIMG_2557.jpgIMG_2556.jpgIMG_2560.jpg
 
Hahahaha - you guys! :D

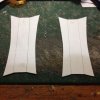
I was wondering if anyone of you would know what these 2 boxes on the left shin represent? Just curious actually .......... and I kept asking what these are for when I was making 'em.. Anyway, I replicated both but just wondered.......

Mardon (MLC)

IMG_2561.jpgIMG_2562.jpgIMG_2563.jpgtfa shin 5.jpg
 
I assume those are for holding Kit-Kats for use in the field. A trooper gets hungry!

I'd go for M&M dispensers!

Once those shins get produced they will be hollow inside ......... and now it makes me wonder what the others will put or use it for :)

Mardon (MLC)
 
It's to fit stabilisers to the troopers so they can finally shoot straight and actually hit a target, just kidding , I have no idea.
 
We're currently molding the yoke/back armor and I've started on making the ankle spats. Will re-shape with more card then bondo for the final shape.
Also started on making E-11 blaster parts - mag and hengstler counter. Finally found the molds for my old E-11 parts and pulled a few pieces that would be needed for the new blaster. I cut a small portion of a 1.25" pvc tube so I could mount pieces that would need to be molded anew.

Mardon (MLC)

IMG_2565.jpgIMG_2566.jpgIMG_2567.jpg
 
Thanks guys! :)

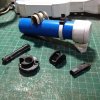
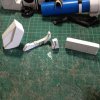
Here's a small update ............. more blaster parts. In trying to keep separate colored parts separate, here's the grip, front grip, cocking lever and the greeblie behind the trigger (limiter?). They could be glued on after paint.
I forgot to inform my workers to pull 5pcs of wipers for the barrel, so that'll be forthcoming.

IMG_2568.jpg
 
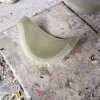
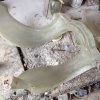
Not the most exciting WIP pics ..........but we finally got the yoke/back armor as well as the knee plate molded. Another pic showing some work on detailing the shins to get them ready for molding.

Mardon (MLC)

IMG_2569_zpseibbvddq.jpgIMG_2570_zps6zad6lp0.jpgIMG_2571_zpserkago7c.jpgIMG_2572_zpsrgpqwtlg.jpg
 
Still nice to see progress however small, :)

Thank you sir :)

While waiting for my FG workers to work on the props, I would be looking into the soft parts. I would need a new black undersuit from my tailor and will check if he can sew me some cloth ribbed gaskets. I got TFA gloves from Francois and awaiting his business trip to this part of the world by next month - hoping he has some TFA boots for me.

Mardon (MLC)
 
Back
Top