Team Fortress 2 Backburner

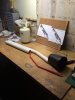
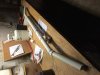
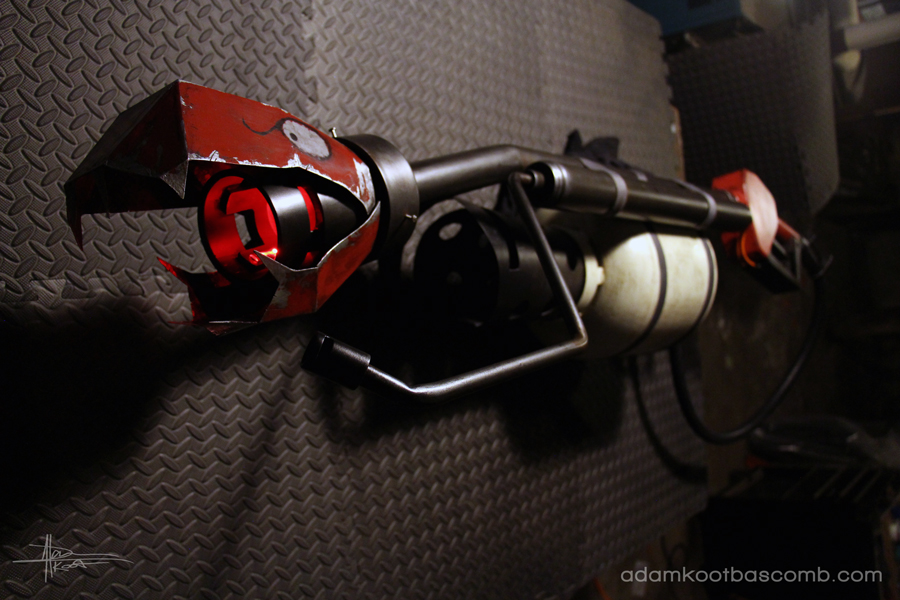
Whassup guys. I just finished up a commission for a friend of mine going to Otakon who wanted a Backburner flamethrower. This was a first for me using resin and fiberglass as well as a lot of other prop techniques so needless to say I learned a ton while doing this! With the deadline and real life taking up all manner of my time I am only just now able to post pics. I know I'm doing this whole thing in reverse, starting with the finish and then showing the process... but better late than never right?

Also full disclaimer, thats my friend in the costume. She's a crazy good seamstress so she built pretty much everything that wasn't the flamethrower. I'm very proud to see the finished product in her very capable hands.


attachment.php

IMG_0844_WEB.jpgIMG_0814_WEB.jpgIMG_0950_WEB.jpgIMG_0794_WEB.jpgIMG_1070_WEB.jpgIMG_1055_WEB.jpgIMG_1034_WEB.jpgIMG_1022_WEB.jpgIMG_1153_WEB.jpg
 

Attachments

  • IMG_1083_WEB.jpg
    IMG_1083_WEB.jpg
    337.7 KB · Views: 1,365
Last edited:
So after scaling some rough dimensions for the length off of my friend's height (I'm thankful she wasn't any taller because this thing is already 6 feet long...), I spent a lot of time in the plumbing aisle of Home Depot. Originally I was going to have the handle be detachable to make stringing everything up for painting easier, so I had a lot of coupling incorporated initially. But after realizing the weight of everything and its wonky shape, I decided to go with a single length of 1.5" PVC for fear of her posing the wrong way with it in the middle of the con only to have it snap. NOT ON MY WATCH. So with the help of my heat gun and dremel I bent the main pipe in 2 places and bondo'd the gaps. The photo with the red pipe is actually early on in the build where I was still trying to have the handle detatch, so the pipe is still about 2 feet shorter than the final iteration. You can also see the flower pot I was going to try and use (though I kinda already knew it wasn't going to look satisfactory).

IMG_2054.JPG IMG_2038.JPG

After tracing some screenshots in Illustrator I also had my shape and size for the gas pump. I had never done any prop work with MDF before so I used this as the perfect excuse to dive in. I understand why so many people love the stuff it's awesome! Learned quickly that it shreds a fair deal at a certain size but whatever, we made due. Because I wanted to make extra work for myself I also made the "trigger" moveable. Doesn't do anything but hey it looks nice. The axel was just a large steel screw I sawed the head off of. Everything so far has just been a lot of jigsawing and sanding. Also, I admittedly I can't take credit for the hollow pump design. I saw another guy online build the standard flamethrower and realized my idea of carving a block of wood may have been too heavy. Regardless I also needed to make sure I had easy drill access where I planned on installing LEDs, and wanted the switch and battery within easy reach of the trigger, meaning that I'd have to be able to string wire through easily, when would have been near impossible with a non hollow design.

IMG_2147.JPGIMG_2150.JPGIMG_2219.JPGIMG_2227.JPGIMG_2226.JPGIMG_2229.JPGIMG_2197.JPG
 

Attachments

  • IMG_2038.JPG
    IMG_2038.JPG
    811.2 KB · Views: 107
  • IMG_2054.JPG
    IMG_2054.JPG
    1.4 MB · Views: 140
This thread is more than 8 years old.

Your message may be considered spam for the following reasons:

  1. This thread hasn't been active in some time. A new post in this thread might not contribute constructively to this discussion after so long.
If you wish to reply despite these issues, check the box below before replying.
Be aware that malicious compliance may result in more severe penalties.
Back
Top