XtremeTACTICS
New Member
Hey everyone,
Halloween is quickly approaching, and time is running short to assemble a completed costume. With approximately 28 days remaining until Halloween, I have decided to restart an age-old project that I first started back in 2007. I’m fairly new to costuming, so everything from 2007 until now has been a learning experience in this particular method of costuming.
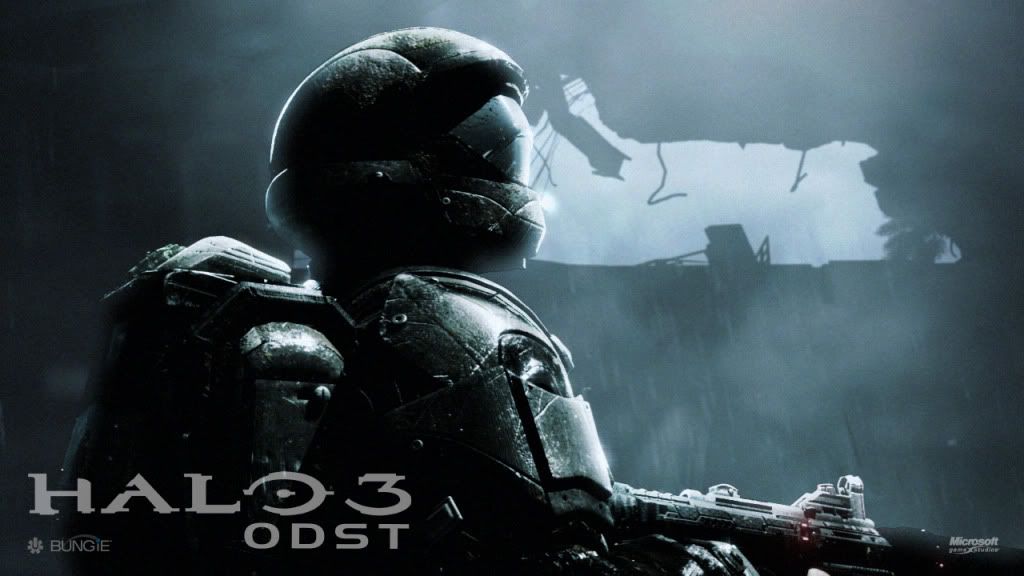
I have decided to replicate a ODST costume primarily based on the design of multiple Halo live-action short film costumes. Mainly the Legacy Effects ODST costume featured in the “We Are ODST” live-action short film released in 2009.
Because of time restraints, I have decided to skip a few of the armour parts to insure the completion of my “partial” ODST costume by October 31, 2010. The armour parts that will be left out for the Halloween variant of the costume will be added to the costume later down the road. However, the majour components of the costume (chest/back armour, shoulders and thighs) will be finished in time.
Anyway, onto my progress…
--------------------------------------------------
CONCEPTS AND FORMER ATTEMPTS
I have been at the conceptualization stage for the better part of my time as a costumer. This project has been a on-going experience between multiple other projects I am working on. As new ideas have come to the table, I have had more to work with. My imagination gradually expanded, and my knowledge of modern day tactical body armour and other tactical components has increased aswell. With the information I now posses I was able to add to the Legacy Effects ODST costume design to create a more tactically efficient costume, aswell as keep its “tacti-cool” look.
As an example, I decided to base my thigh armour on the 3-piece thigh featured on the Legacy Effects ODST costume. However, I changed the design slightly aswell as added a MOLLE system to attach pouches to.

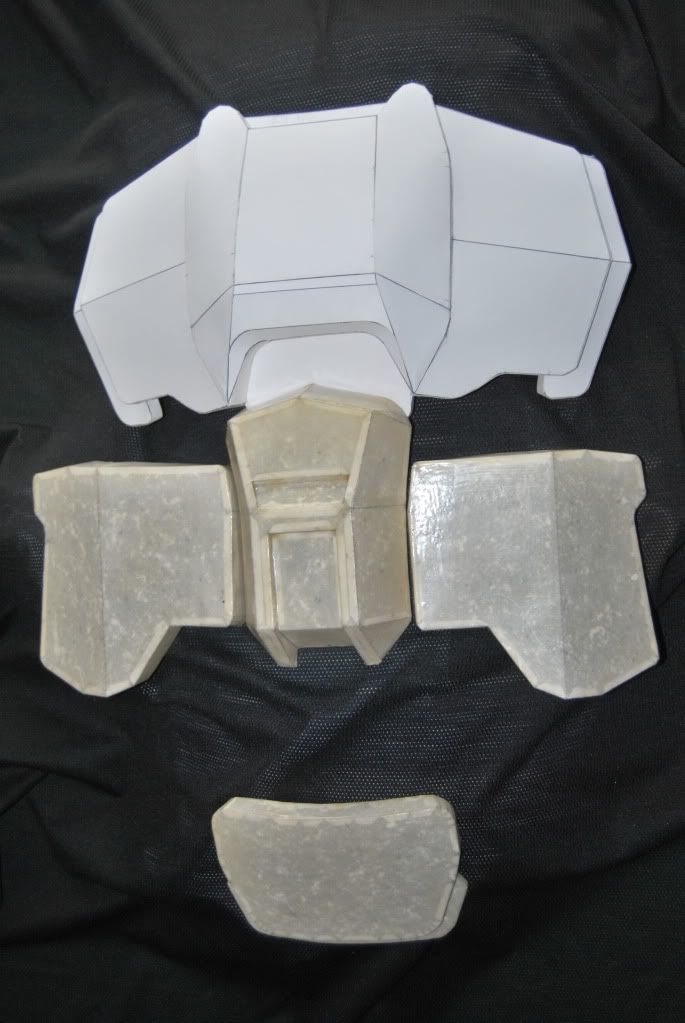
After evaluating my first attempt at the ODST chest armour back in 2007 (pictured below) I realized that there was very little flexibility, and its overall strength due to it being completely constructed from cardboard was pour to say the least. After researching around the RPF and the 405th aswell as experimenting a lot I have gained valuable knowledge of new methods that can meet my needs.

With the new knowledge I gained from the RPF, the 405th and the release of multiple live-action trailers, I was able to gain a new understanding of how I should make the armour, and the design I should follow. Eventually the “We Are ODST” trailer was released, and I saw my final objective.
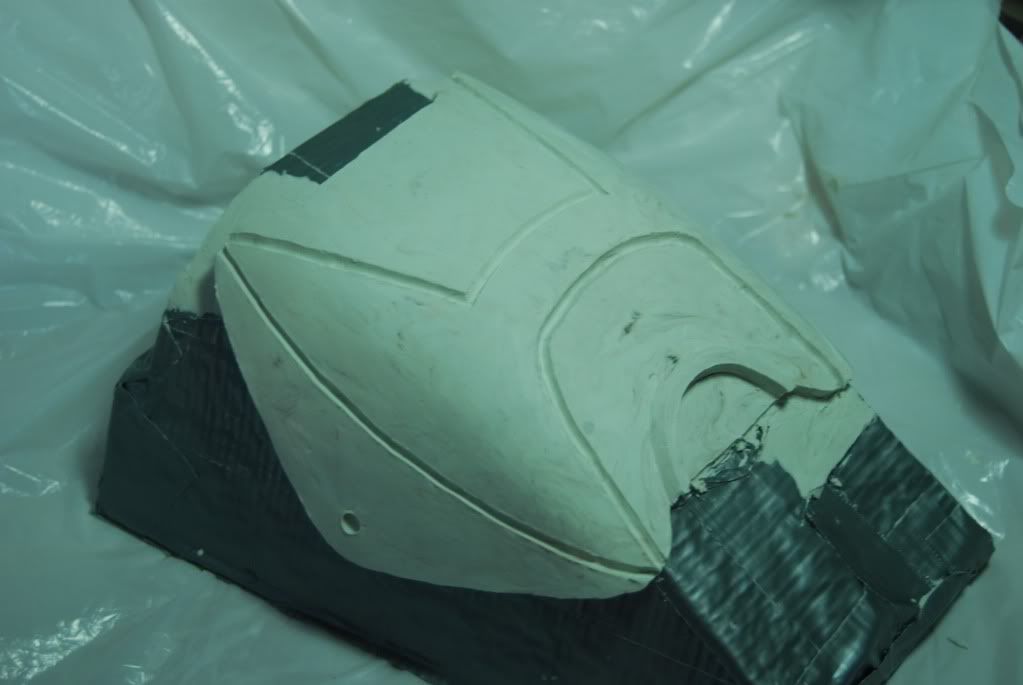
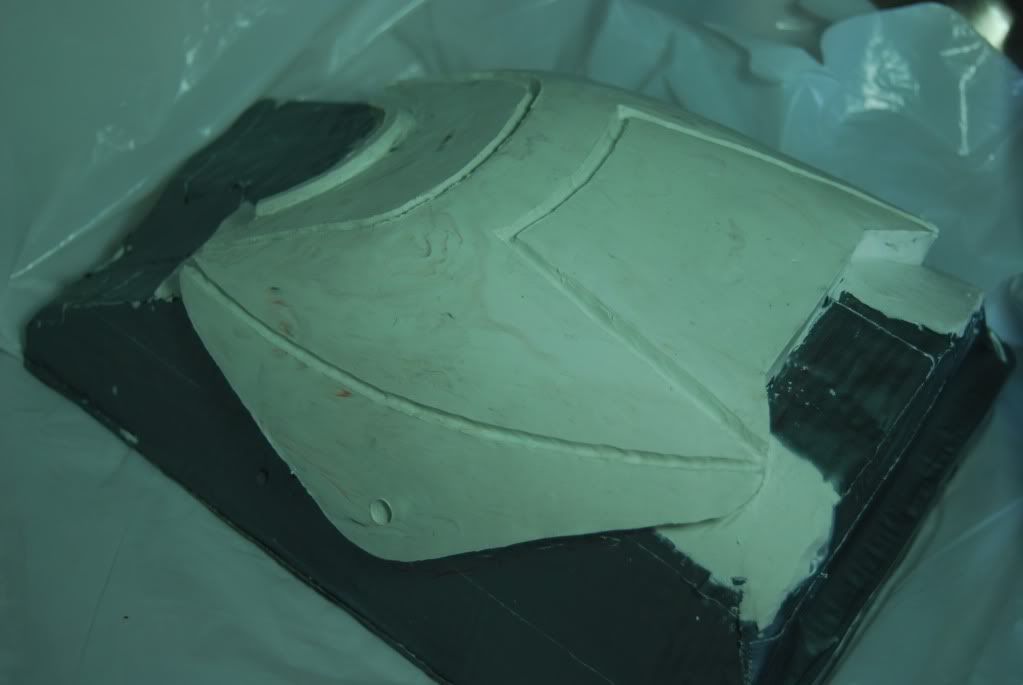
I went to work on my first version of the chest plate (pictured below) using a simplified version of the method I use today that I have dubbed “scratch peping”. “Scratch peping” is very similar to the Pepakura process, but the entire Pepakura assembly is done without the aid of 3D models and the Pepakura Designer/Viewer software. It’s a form of scratch building a physical 3D model from cardstock, apposed to a virtual 3D model. The process is very hard, but with the proper mindset, experience and knowledge, you can pull it off as I have.
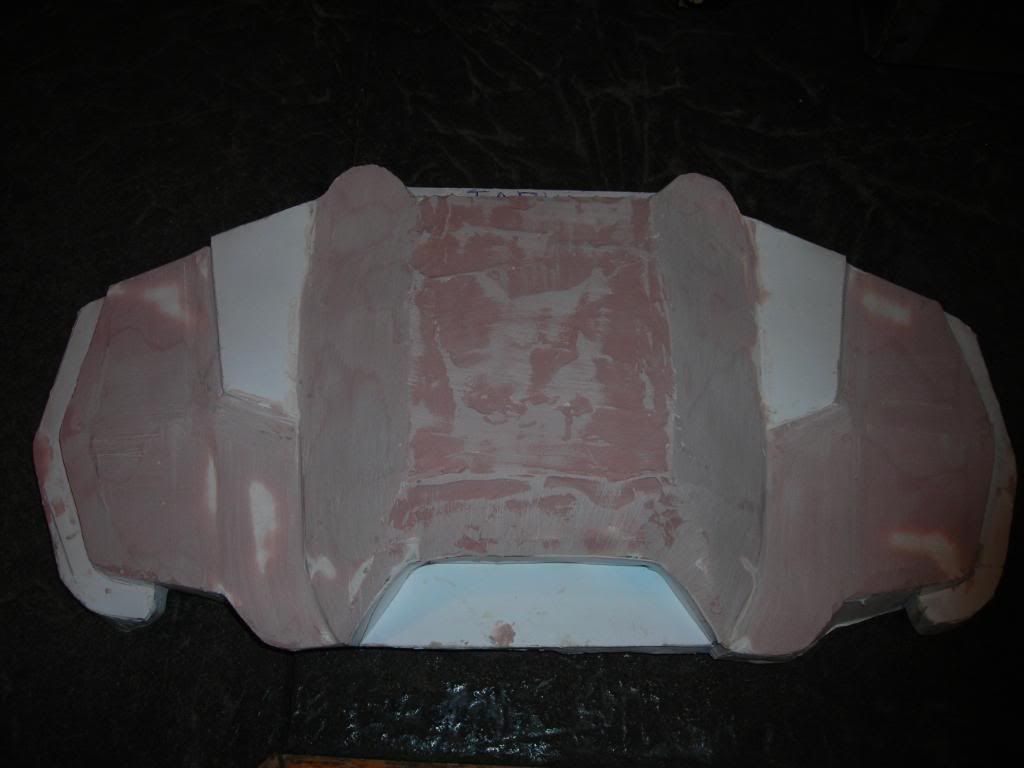
As depicted in the only in-progress shot of the chest plate I had taken, after the “scratch peping” phase, it quickly turns into the traditional Pepakura assembly method. Using the traditional fiberglass reinforcement method, and bondo for detailing, you achieve the same results as you would if you were to use a pre-made 3D model uploaded into the Pepakura program. The only difference is you get exactly what you want in the end instead of having to sacrifice some of your original ideas because the restrictions of the pre-made model.
The final result of this method is pictured below.
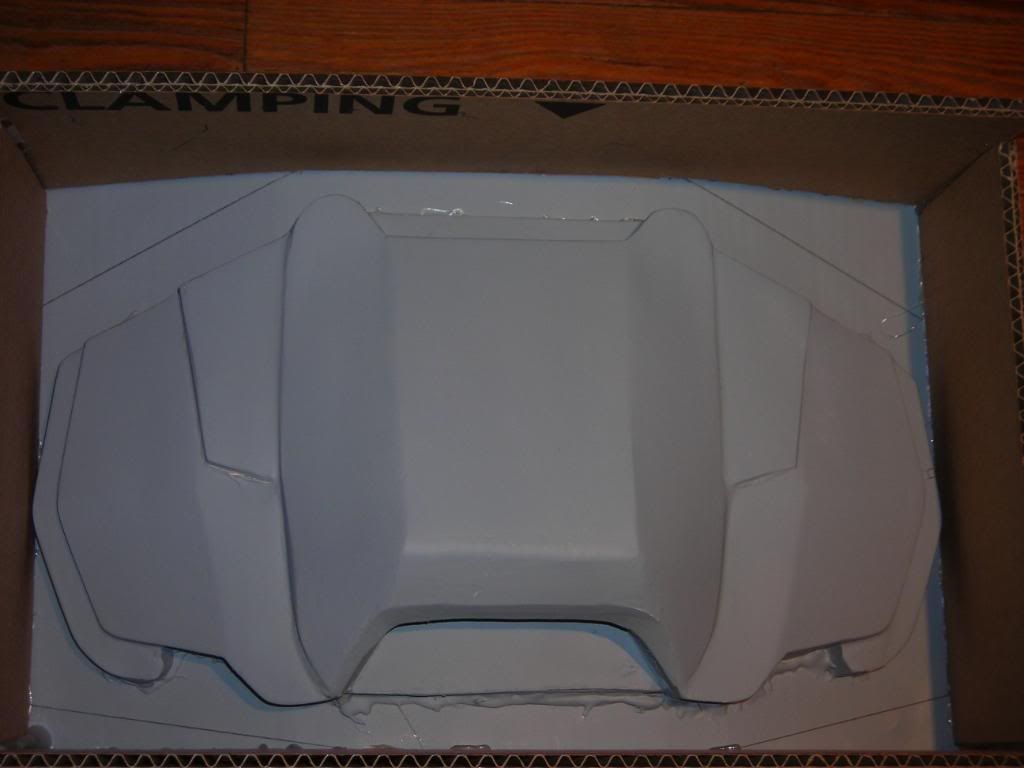
However, I have declared this chest plate inaccurate after some light was shinned later on down the road from a few friends in high places. As a result, I went back to square one with my “scratch peping” method to make version 2 of the chest plate (Pictured below).
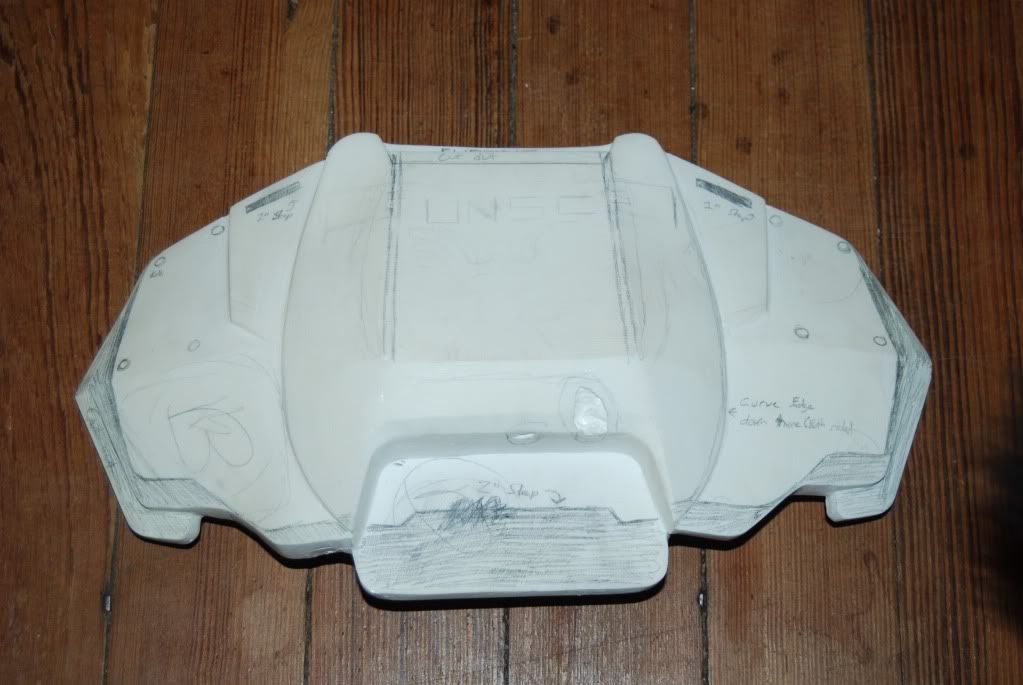
Again, this chest plate I have declared inaccurate due to an error I made during the “scratch peping” process that I had only noticed after reinforcement of the part had been completed.
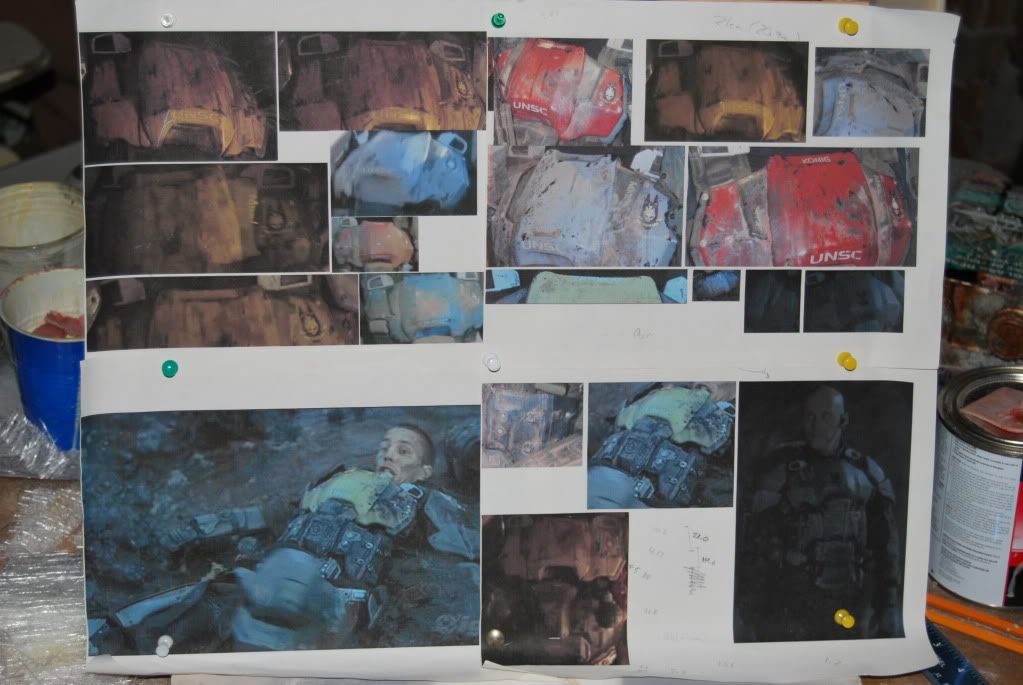
Finally, after receiving more reference from my friends in high places I was able to draft out every view of the original Legacy Effects “We Are ODST” main chest plate, and the rest of the chest armour.
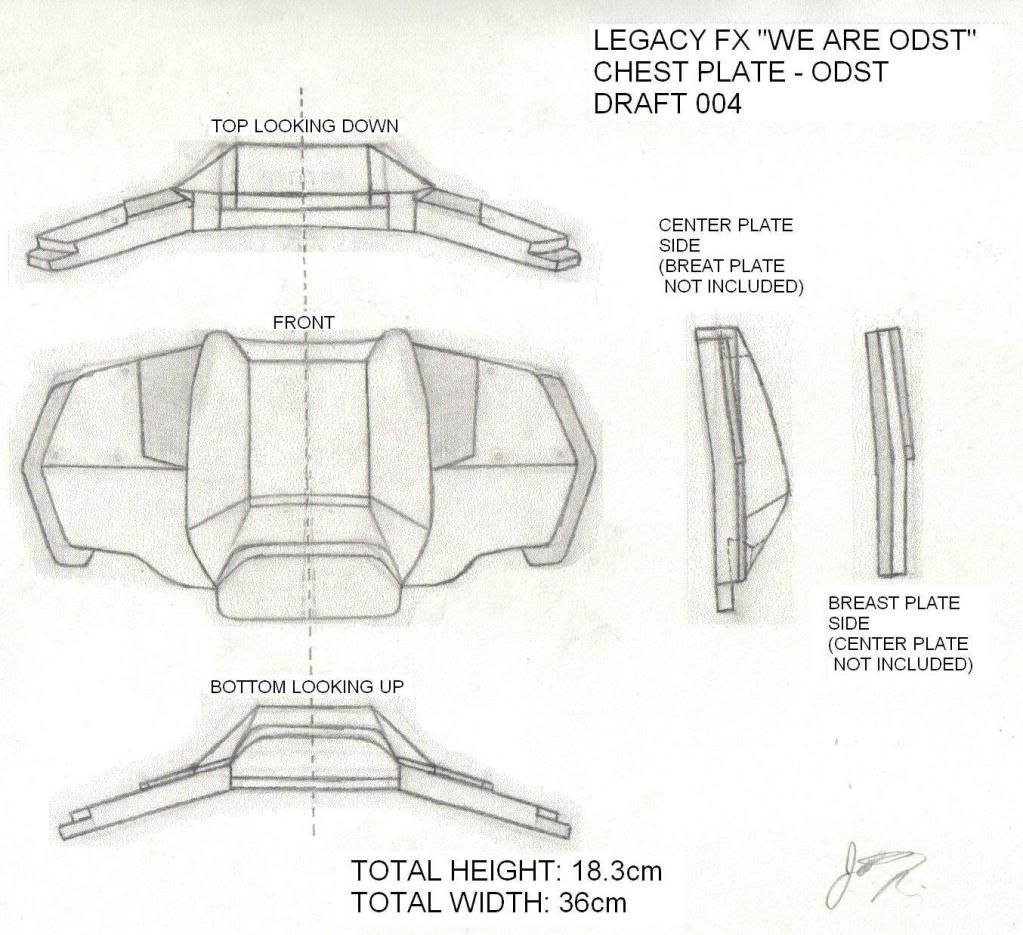

After finalizing the drafts, I got to work once again using my “scratch peping” method.
--------------------------------------------------
CURRENT PROGRESS
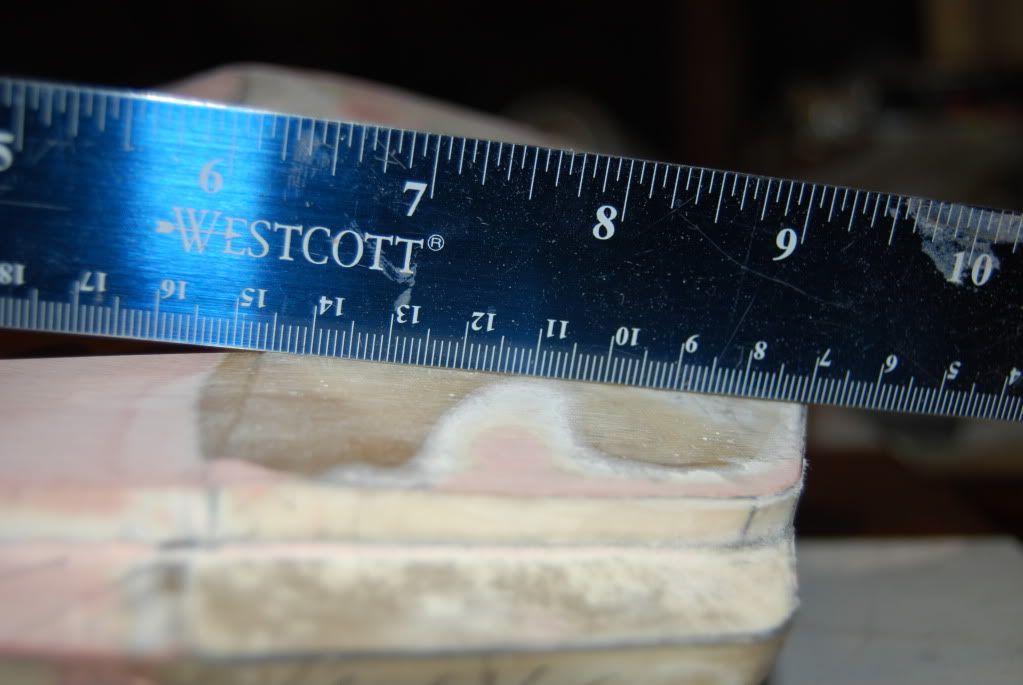
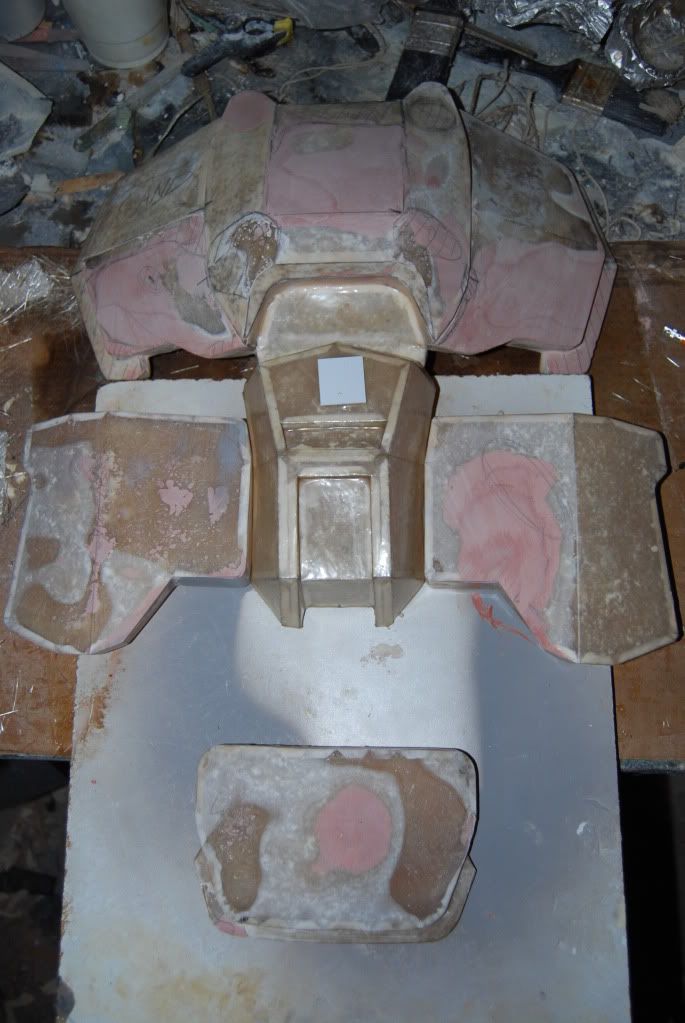
Version 3 of the “We Are ODST” variant main chest plate has already been “scratch peped” and its design is currently being finalized. The rest of the chest armour (disinclining the belt plate) has also reached the same stage. Every part is in perfect scale to the original chest armour of the “We Are ODST” armour using references and measurements supplied by my friends in high places, and numerous mathematical equations. Luckily the chest armour is fairly universally fitted to anybody from 5’9”-6’3”, so naturally at 6’1” everything fits me very well.
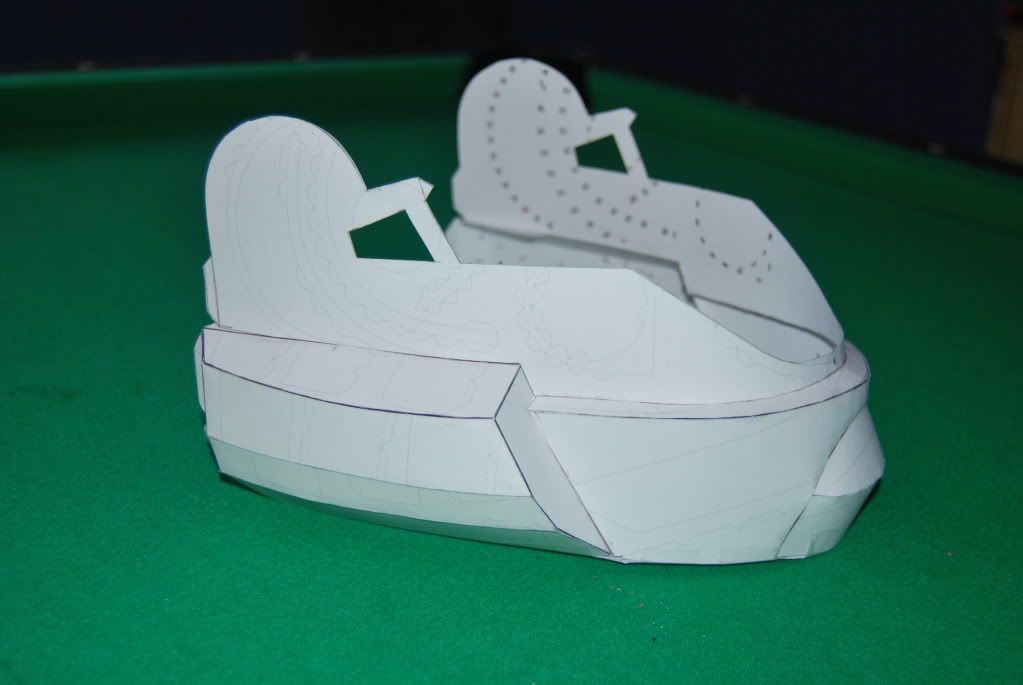
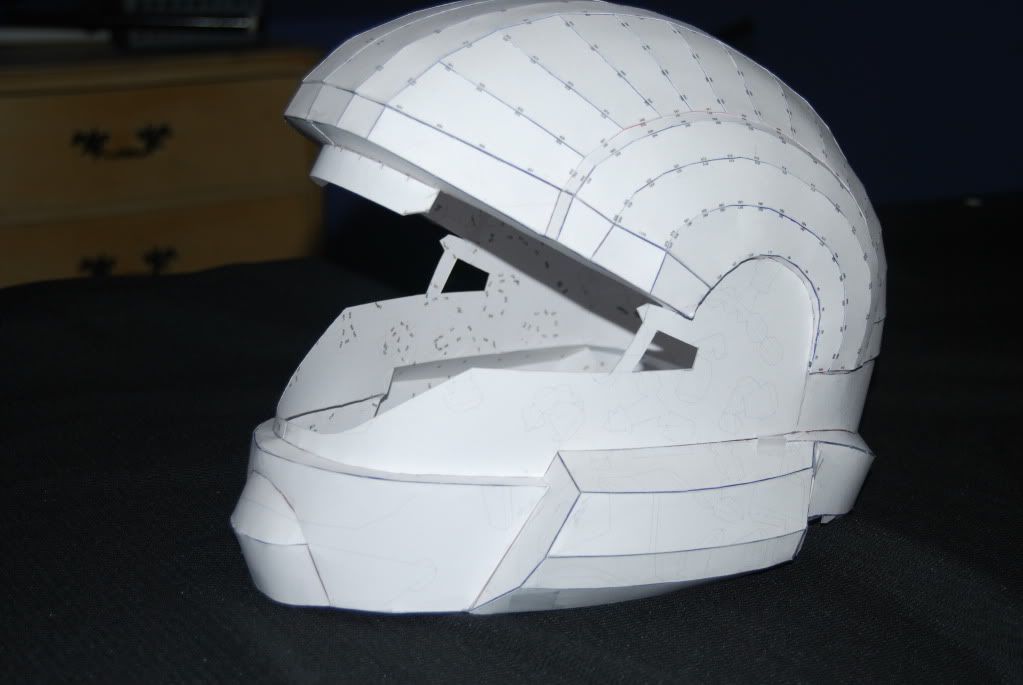
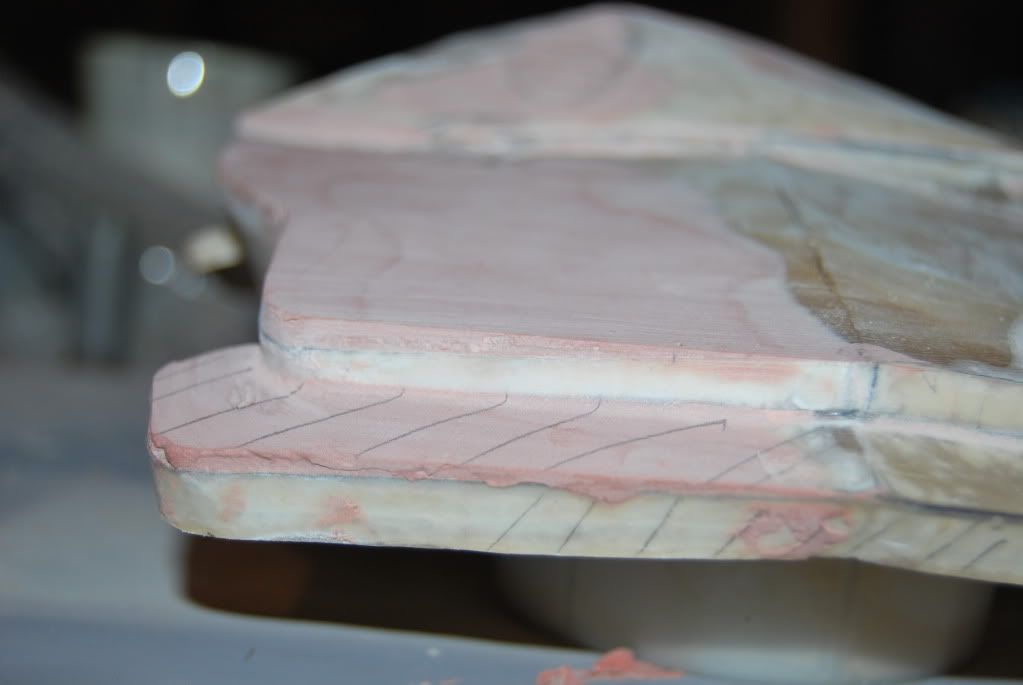
Using the same method for the version 3 main chest plate, I “scratch peped” the rest of the chest armour. Every part naturally fits together, and the design of each part flows in sync with each other.
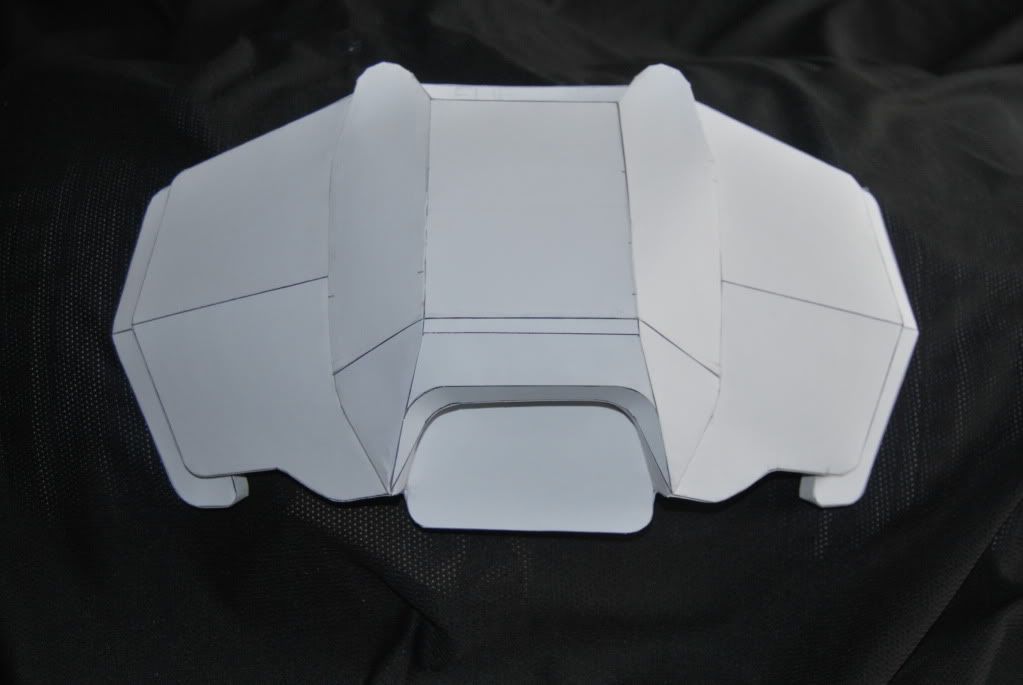
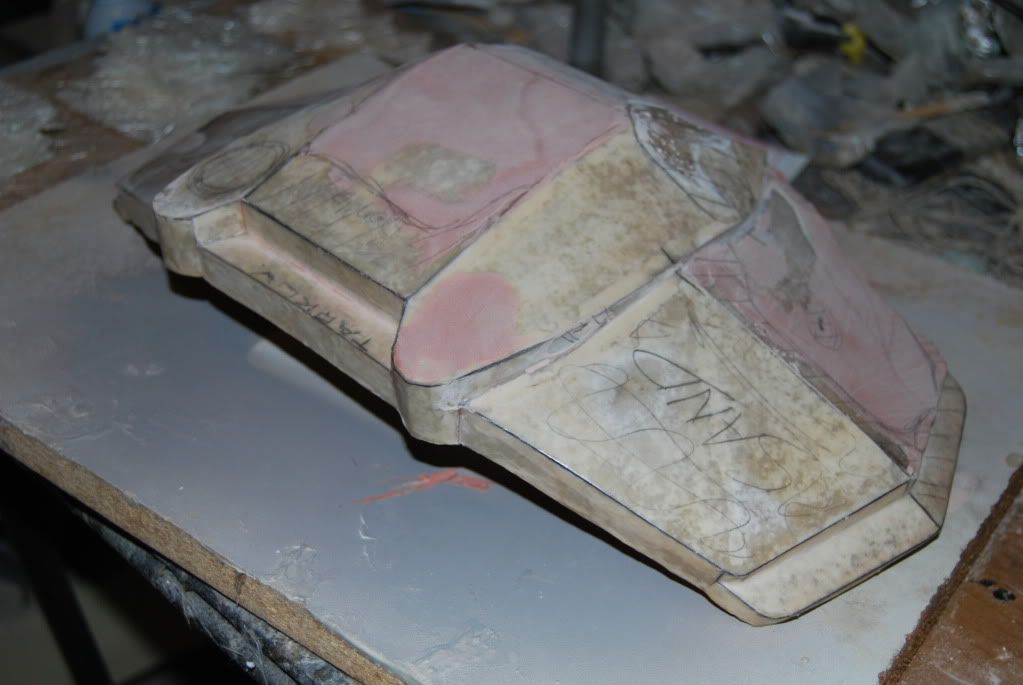
Main Chest Plate.


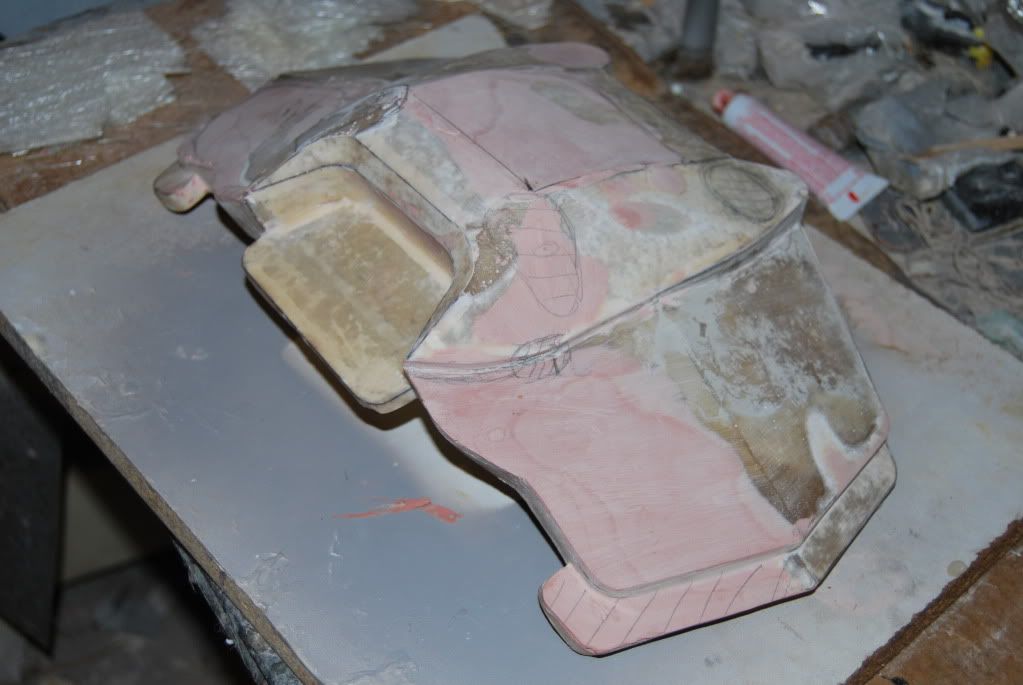
Stomach Plate.
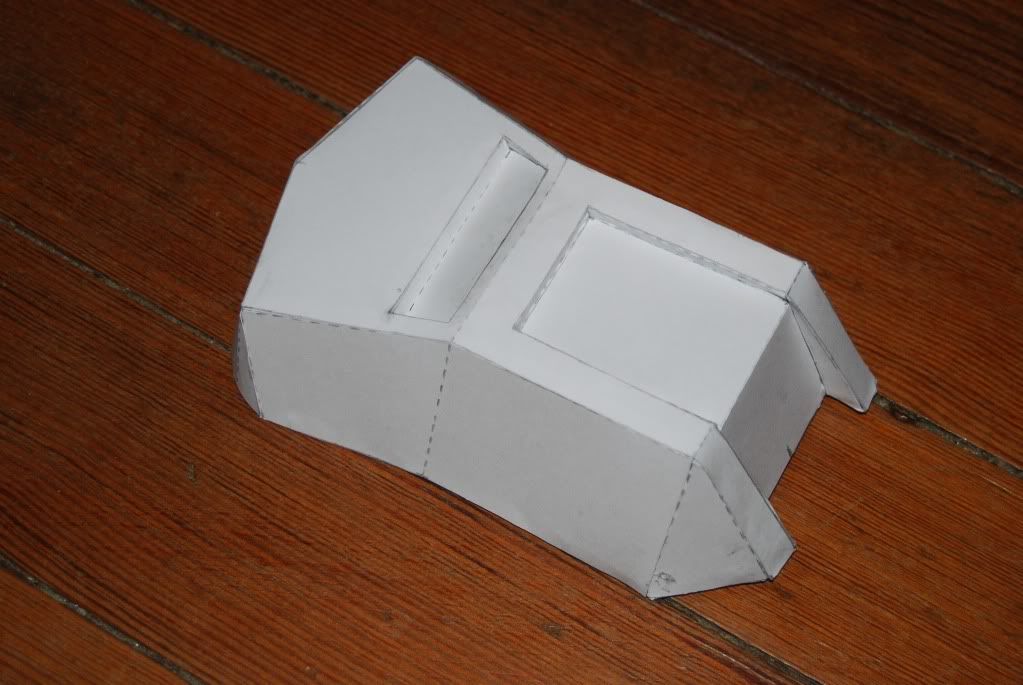
Kidney Plate.
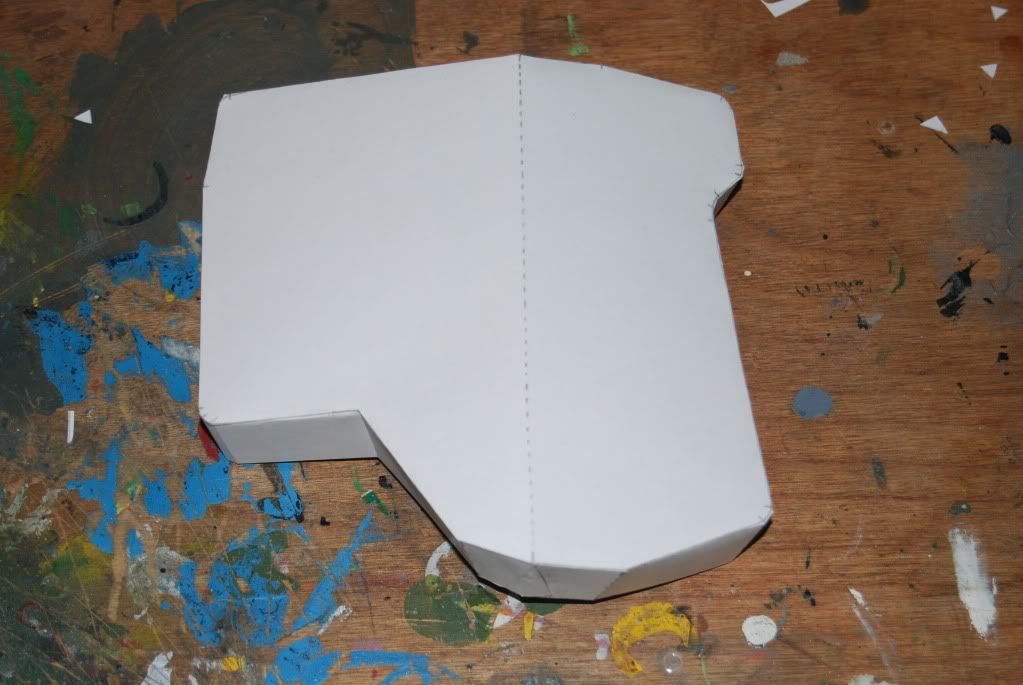
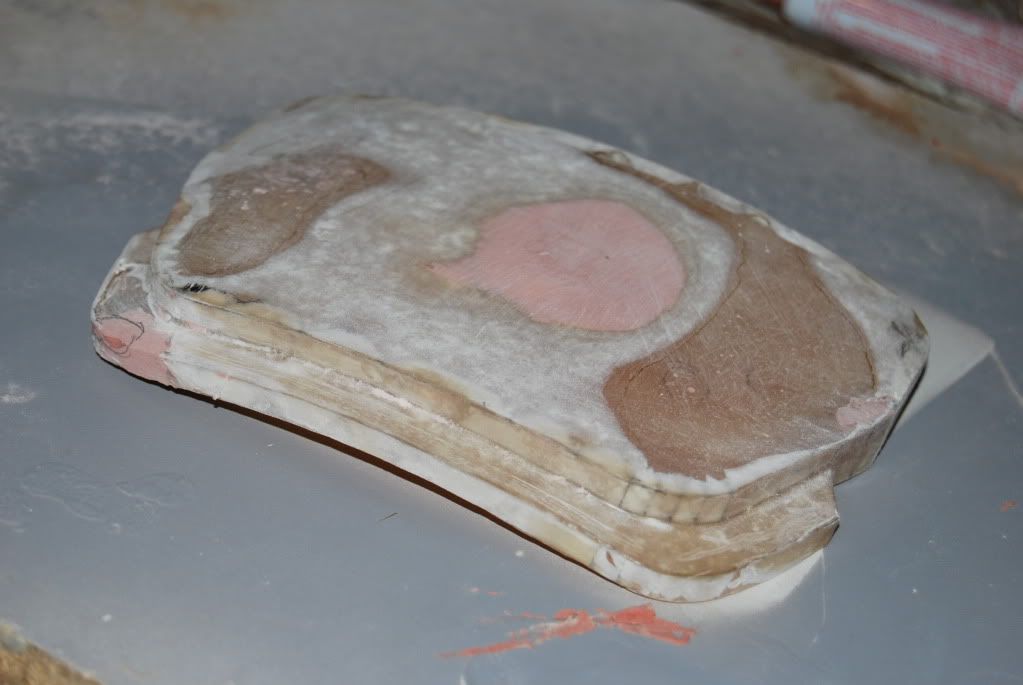
Groin Plate.
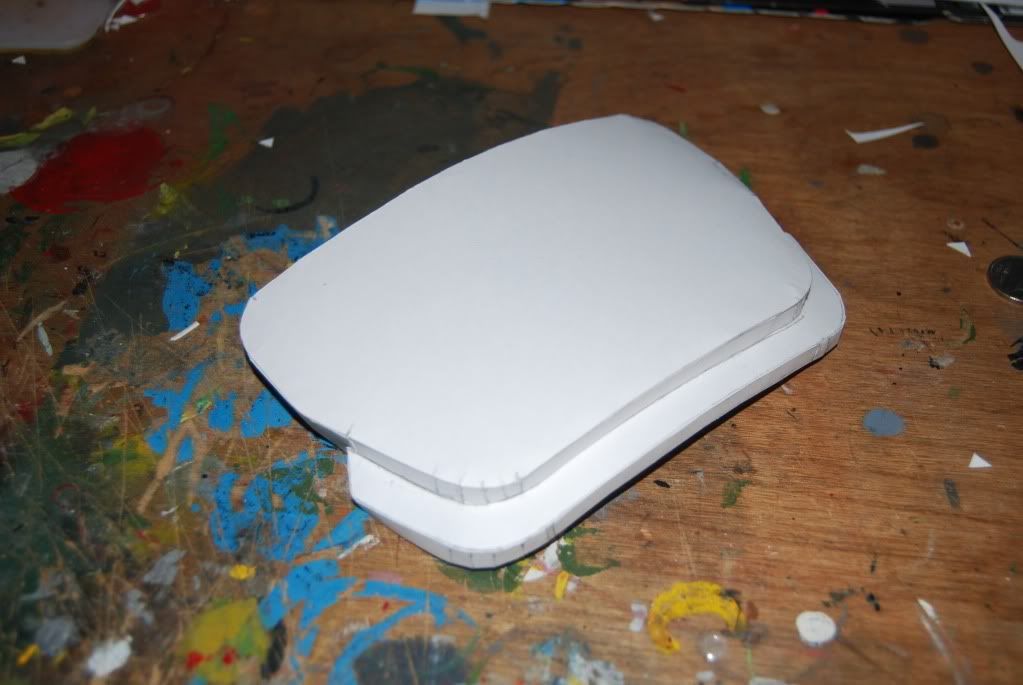
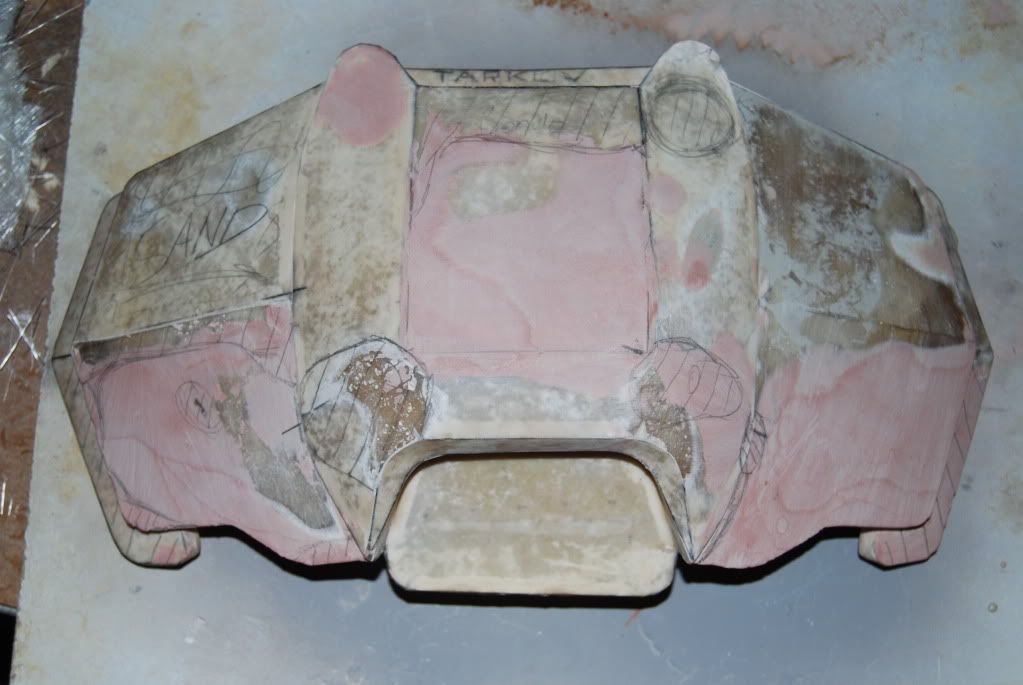
Current Assembly.
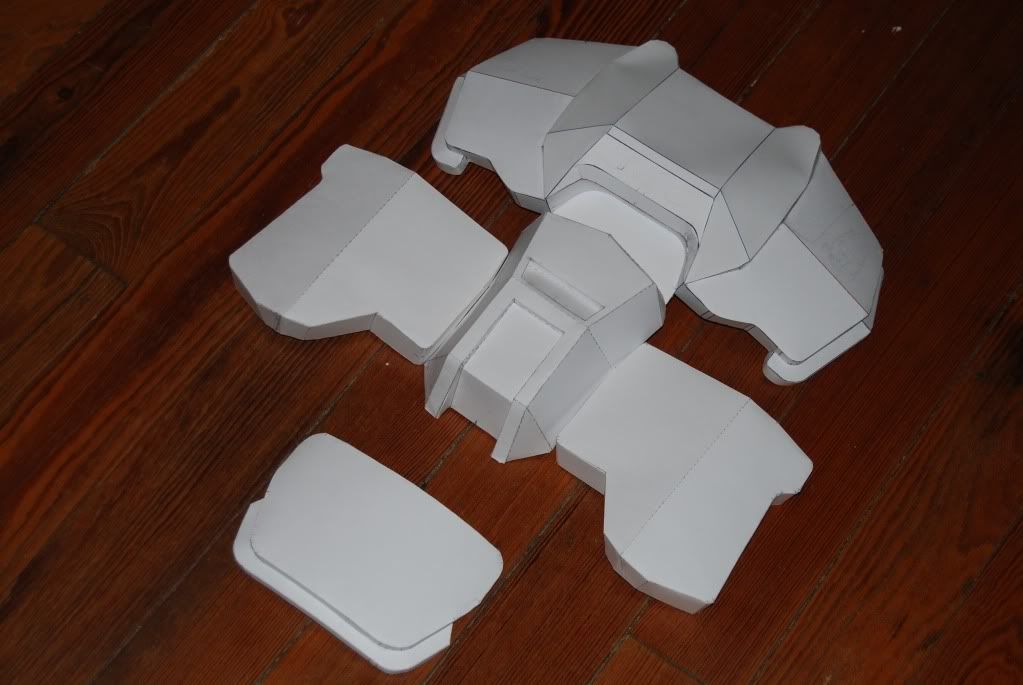
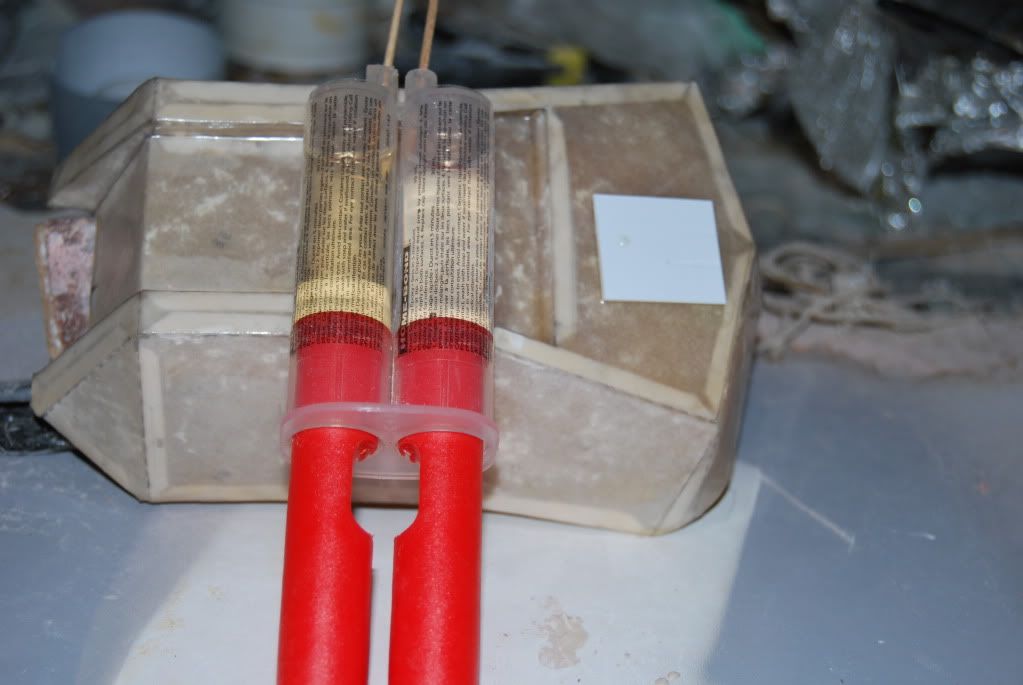
I purposely left out a large amount of details that will be added in later with sheet styrene and bondo. Rest assured that the chest armour will be a very close replica of the original “We Are ODST” costumes, but with the addition/subtraction of a few small details for a slightly more custom and/or tactical effect.
--------------------------------------------------
To avoid adding another “Great Wall of China”-like wall of text, I will spare you all the details of the rest of the armour and my exact plans for the future of this costume as it progresses. However, rest assured that everything will be revealed in my future updates as the build continues.
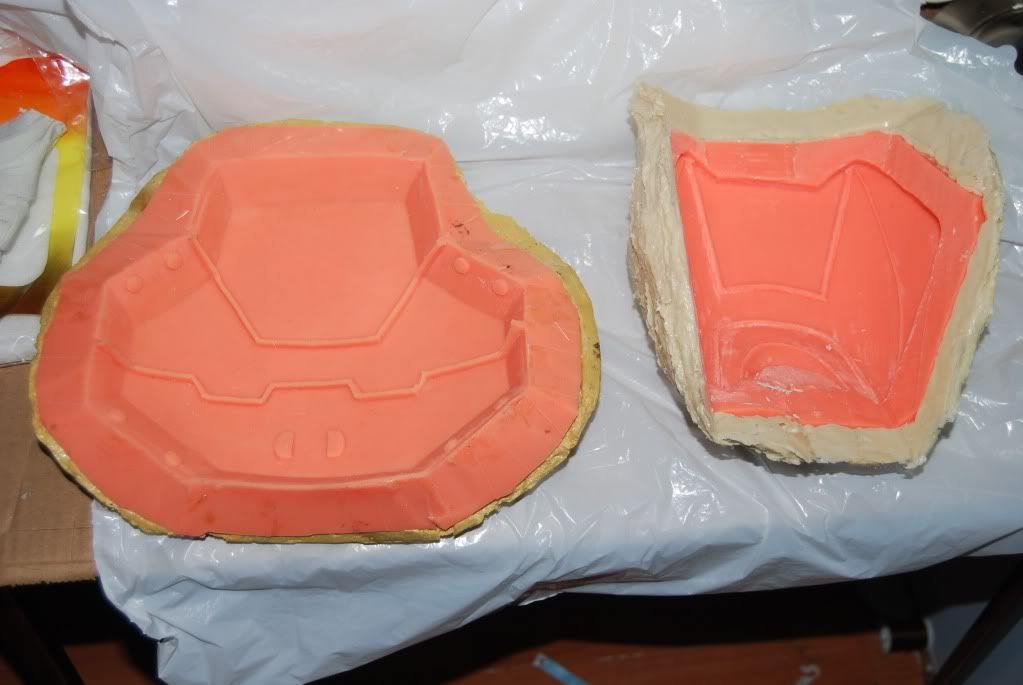
Constructive criticism and personal opinions are welcome and encouraged. I will update again with some more parts “scratch peped” aswell as some resin/fiberglass work done in the near future.
Until then, stay frosty,
Jake
Xtreme TACTICS
Halloween is quickly approaching, and time is running short to assemble a completed costume. With approximately 28 days remaining until Halloween, I have decided to restart an age-old project that I first started back in 2007. I’m fairly new to costuming, so everything from 2007 until now has been a learning experience in this particular method of costuming.
I have decided to replicate a ODST costume primarily based on the design of multiple Halo live-action short film costumes. Mainly the Legacy Effects ODST costume featured in the “We Are ODST” live-action short film released in 2009.
Because of time restraints, I have decided to skip a few of the armour parts to insure the completion of my “partial” ODST costume by October 31, 2010. The armour parts that will be left out for the Halloween variant of the costume will be added to the costume later down the road. However, the majour components of the costume (chest/back armour, shoulders and thighs) will be finished in time.
Anyway, onto my progress…
--------------------------------------------------
CONCEPTS AND FORMER ATTEMPTS
I have been at the conceptualization stage for the better part of my time as a costumer. This project has been a on-going experience between multiple other projects I am working on. As new ideas have come to the table, I have had more to work with. My imagination gradually expanded, and my knowledge of modern day tactical body armour and other tactical components has increased aswell. With the information I now posses I was able to add to the Legacy Effects ODST costume design to create a more tactically efficient costume, aswell as keep its “tacti-cool” look.
As an example, I decided to base my thigh armour on the 3-piece thigh featured on the Legacy Effects ODST costume. However, I changed the design slightly aswell as added a MOLLE system to attach pouches to.

After evaluating my first attempt at the ODST chest armour back in 2007 (pictured below) I realized that there was very little flexibility, and its overall strength due to it being completely constructed from cardboard was pour to say the least. After researching around the RPF and the 405th aswell as experimenting a lot I have gained valuable knowledge of new methods that can meet my needs.

With the new knowledge I gained from the RPF, the 405th and the release of multiple live-action trailers, I was able to gain a new understanding of how I should make the armour, and the design I should follow. Eventually the “We Are ODST” trailer was released, and I saw my final objective.
I went to work on my first version of the chest plate (pictured below) using a simplified version of the method I use today that I have dubbed “scratch peping”. “Scratch peping” is very similar to the Pepakura process, but the entire Pepakura assembly is done without the aid of 3D models and the Pepakura Designer/Viewer software. It’s a form of scratch building a physical 3D model from cardstock, apposed to a virtual 3D model. The process is very hard, but with the proper mindset, experience and knowledge, you can pull it off as I have.

As depicted in the only in-progress shot of the chest plate I had taken, after the “scratch peping” phase, it quickly turns into the traditional Pepakura assembly method. Using the traditional fiberglass reinforcement method, and bondo for detailing, you achieve the same results as you would if you were to use a pre-made 3D model uploaded into the Pepakura program. The only difference is you get exactly what you want in the end instead of having to sacrifice some of your original ideas because the restrictions of the pre-made model.
The final result of this method is pictured below.

However, I have declared this chest plate inaccurate after some light was shinned later on down the road from a few friends in high places. As a result, I went back to square one with my “scratch peping” method to make version 2 of the chest plate (Pictured below).

Again, this chest plate I have declared inaccurate due to an error I made during the “scratch peping” process that I had only noticed after reinforcement of the part had been completed.
Finally, after receiving more reference from my friends in high places I was able to draft out every view of the original Legacy Effects “We Are ODST” main chest plate, and the rest of the chest armour.


After finalizing the drafts, I got to work once again using my “scratch peping” method.
--------------------------------------------------
CURRENT PROGRESS
Version 3 of the “We Are ODST” variant main chest plate has already been “scratch peped” and its design is currently being finalized. The rest of the chest armour (disinclining the belt plate) has also reached the same stage. Every part is in perfect scale to the original chest armour of the “We Are ODST” armour using references and measurements supplied by my friends in high places, and numerous mathematical equations. Luckily the chest armour is fairly universally fitted to anybody from 5’9”-6’3”, so naturally at 6’1” everything fits me very well.
Using the same method for the version 3 main chest plate, I “scratch peped” the rest of the chest armour. Every part naturally fits together, and the design of each part flows in sync with each other.
Main Chest Plate.


Stomach Plate.

Kidney Plate.

Groin Plate.

Current Assembly.

I purposely left out a large amount of details that will be added in later with sheet styrene and bondo. Rest assured that the chest armour will be a very close replica of the original “We Are ODST” costumes, but with the addition/subtraction of a few small details for a slightly more custom and/or tactical effect.
--------------------------------------------------
To avoid adding another “Great Wall of China”-like wall of text, I will spare you all the details of the rest of the armour and my exact plans for the future of this costume as it progresses. However, rest assured that everything will be revealed in my future updates as the build continues.
Constructive criticism and personal opinions are welcome and encouraged. I will update again with some more parts “scratch peped” aswell as some resin/fiberglass work done in the near future.
Until then, stay frosty,
Jake
Xtreme TACTICS

