Rusty85
Sr Member
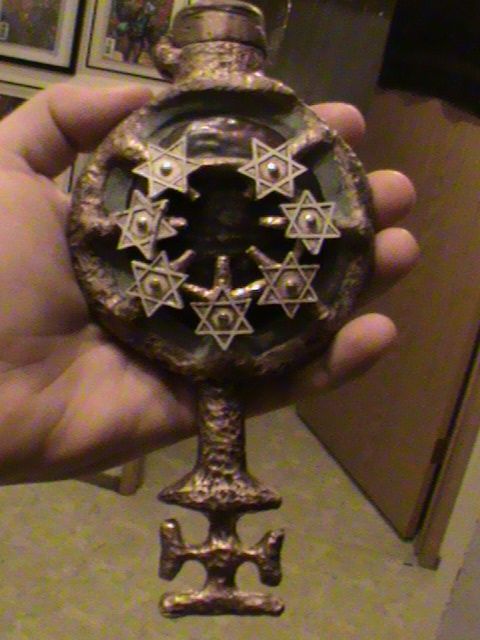
Hello! I've been working on putting together this key from Demon Knight that I just picked up from a member here. It came in kit form which has been fun to put together this last week. It came with all the parts to assemble it like this.


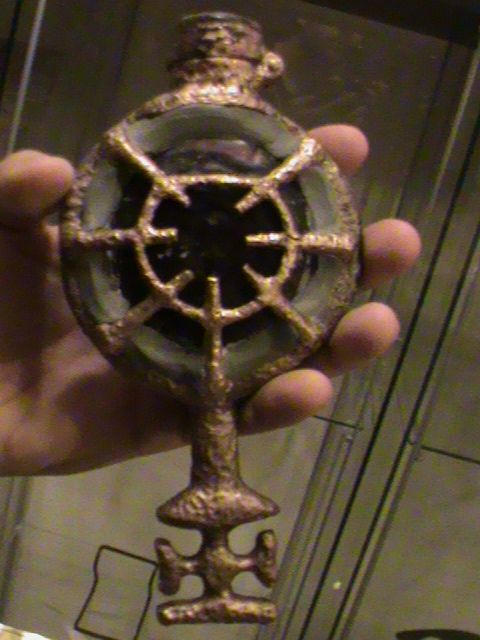
Originally, the two halves of the vile were one piece that had to be trimmed and sanded to lay flush with each other. All the other parts had small cleanup as well around the edges that were pretty easily taken care of.
Next, I took my drill bits and gradually drilled the hole through the top until it was as big as it would go, then finally using a dremel to make it big enough to fit the end of the vile inside once it had been glued together.

After that I put the lid on top and drilled a small hole straight through, careful not to come out of the front side of the Key (so the pin will only show on the backside). I then used a small brass nail as a pin which fits snugly enough the lid doesn't move without some resistance.


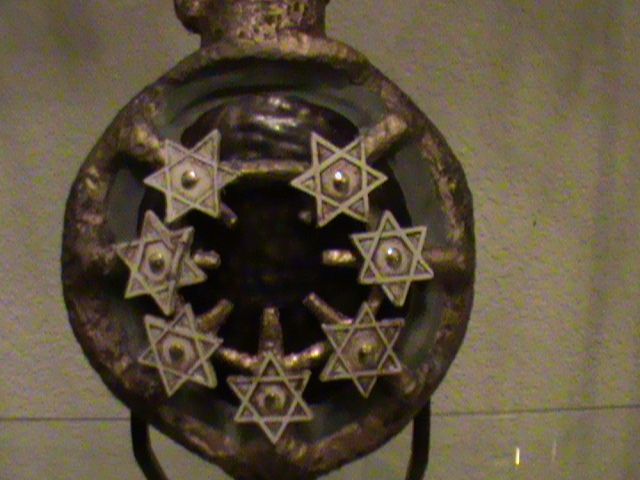
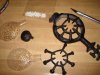
Once that was done I drilled small holes in the center of the stars and also on the stems on the front of the key. I did two different spots as I wasn't happy with the spacing the first time around.


I also during that time painted the stars a Krylon Gloss Ivory.

And here is what they look like with the nails that will hold them to the key once its finished.

I used Krazy Glue Gel to glue the key together. Its very sturdy and I've used it for lots of different projects. I like it better than regular Krazy Glue as it doesn't run and isn't watery and is ideal if there's a slight gap in whatever you're gluing.

After spraying the key with primer I did a few coats of Krylon Metallic's Bright Gold. Its super shiny and is a great color, dries instantly, and isn't a sticky metallic paint like some other's I've used in the past and handles great.


I've finished painting it (pics above are before weathering had been done) and am just waiting for some Magic Sculpt in the mail to get it done. I'll post more progress pictures soon for anyone interested about the finish I did on it. I think I was able to make it look very aged which is what I was hoping for. I also did the stars but have yet to post new pics of either yet.
Originally, the two halves of the vile were one piece that had to be trimmed and sanded to lay flush with each other. All the other parts had small cleanup as well around the edges that were pretty easily taken care of.
Next, I took my drill bits and gradually drilled the hole through the top until it was as big as it would go, then finally using a dremel to make it big enough to fit the end of the vile inside once it had been glued together.
After that I put the lid on top and drilled a small hole straight through, careful not to come out of the front side of the Key (so the pin will only show on the backside). I then used a small brass nail as a pin which fits snugly enough the lid doesn't move without some resistance.
Once that was done I drilled small holes in the center of the stars and also on the stems on the front of the key. I did two different spots as I wasn't happy with the spacing the first time around.
I also during that time painted the stars a Krylon Gloss Ivory.
And here is what they look like with the nails that will hold them to the key once its finished.
I used Krazy Glue Gel to glue the key together. Its very sturdy and I've used it for lots of different projects. I like it better than regular Krazy Glue as it doesn't run and isn't watery and is ideal if there's a slight gap in whatever you're gluing.
After spraying the key with primer I did a few coats of Krylon Metallic's Bright Gold. Its super shiny and is a great color, dries instantly, and isn't a sticky metallic paint like some other's I've used in the past and handles great.
I've finished painting it (pics above are before weathering had been done) and am just waiting for some Magic Sculpt in the mail to get it done. I'll post more progress pictures soon for anyone interested about the finish I did on it. I think I was able to make it look very aged which is what I was hoping for. I also did the stars but have yet to post new pics of either yet.
Attachments
Last edited: