T1 and T2 Endoskeleton Research Thread

I'm definitely on the side of vac-metalized like C-3PO for the movie endoskeletons. Just look at the difference between these two.

PropStore - 2019-08-14 - Terminator 2 - Endoskeleton - 005.jpgPropStore - 2018-09-20 - Entertainment Memorabilia Live Auction - Lot 545 - T2 - Terminator En...jpg

Sorry, can't find the link to the first one, but I have it saved as a Propstore auction piece.

The link to the second one.

Notice the front port cover detail.

And regarding how the legs attach I remembered this from a Propstore auction:
 
Noticed something on the Bob Burns casting. Seems like it is linked to a casting similar to the one used to make the mold that my foam skull links back to.

Notice the hint of the mold line going vertical at the temple area.
Bob Burns - Collection - T1 Skull - Quartz - IMG_4581_lv.jpg

This is also seen in this casting, which I have previously suggested is a similar casting as was used to create the one-piece foam skull mold.
Endo Skull - T1 - Reject - 004.jpg

Then here it is on my foam skull - notice the two mold lines: one from the source casting and one from the one-piece mold made of it.
20221213_142705.jpg

Here are the Stan Winston pictures I think show the one-piece mold and one of the castings.
T4 - Endoskeleton - Skulls - 02-1.jpgT4 - Endoskeleton - Skulls - 03.jpg

Hope this post isn't too confusing.
 
A. Savage also purchased a resin kit from an Aussie seller and said that the T2 endos were chromed in a shop in California. He had his done there using the same process. It's at the 2:00 minute mark of this video:
 
I'm so happy to see this thread come alive! The screen used Endo's I've seen seem to be plated chrome.... truth I've only really seen T2 artifacts though... there is documented SWS saying the T1 endos were Vacuum Metalized .. and the company who did them is also known and still in business. From what I read they went with an electroplating process for T2 as they stated the Vacuum Metalizing did not hold up to well to the rigors of filming. For purest if you are doing a T1 I'd have it VM'd for T2 EP'd but in the end $$ is going to matter to the individual builder. I am a fan of the latest variant of spray chrome with a 2K clear sealer its very convincing and 1/2 the cost of electroplating.
Also, for the sake of continuity, the 1:1 scale Endo(s) had to "match", as close as possible, the Endo puppet in terms of sheen...that could be tricky also;)
 
As far as the ball joint... there is something in there that allows the leg to not only front to back but also flex side to side.. you can see it on the picture you posted the left leg is pivoted out at the hip tops still forward a bit.. the one on the right is fairly square but the foot is turned out to the right. the only way that can happen if it pivots at the hip joint. Thats what's wrong with most Endo displays in my opinion the legs are straight up and down. Most you see at SWS the legs are spread apart indicating some type of mech to allow this at the hip. to be able to turn the foot, knee out there must have been something that allowed that. there are too many pictures the show the foot and knee not in direct line with the hip. IMHO of course.
Yep, difficult to assess since, as you know these were not supposed to walk with full range of motion i.e: same type of mechanical abilities of a human femur + ball joint into pelvis. Most of those were on special gimbles or harnesses. Here's a pic also with the puppet.
And another of a "Half Arnold" with a special harness

FAz-WvWXEAQ1s1f.jpg


1682339326882.jpeg
 
ok with that being said it has to be a positive friction type of attachment or they would just flop around.. your thoughts... is the pivot at the pelvis or at the femur.. I cant tell from the pictures if the shaft from the pelvis is angled in any picture the pivot its at the pelvis.. if its straight then its at the femur to whatever degree there has to be the ability to move the leg front and back.. side to side (minimally) and rotate the leg/foot looking down from top right and left (minimally)
For the "split effect" that some see, you can angle the pivot (the piece attached to the pelvis) in a certain angle. That is: if looking at the pelvis from a front view and the pivots attached to the pelvis are slightly angled toward the rear of the pelvis, then the left/right leg's forward movement will go to the left/right of the pelvis/viewer. It's a simple trick that doesn't involve a ball joint and a complicated building/manufacturing method.
Standing with straight legs, that slight angle will not be seen by the viewer. I hope this explanation is clear and makes sense;)
 
I'm definitely on the side of vac-metalized like C-3PO for the movie endoskeletons. Just look at the difference between these two.

View attachment 1694369View attachment 1694372

Sorry, can't find the link to the first one, but I have it saved as a Propstore auction piece.

The link to the second one.

Notice the front port cover detail.

And regarding how the legs attach I remembered this from a Propstore auction:
The head sheen is better vac-metalized than the body:oops:
 
For the "split effect" that some see, you can angle the pivot (the piece attached to the pelvis) in a certain angle. That is: if looking at the pelvis from a front view and the pivots attached to the pelvis are slightly angled toward the rear of the pelvis, then the left/right leg's forward movement will go to the left/right of the pelvis/viewer. It's a simple trick that doesn't involve a ball joint and a complicated building/manufacturing method.
Standing with straight legs, that slight angle will not be seen by the viewer. I hope this explanation is clear and makes sense;)
In some pictures it seems the rod that goes between pelvis and leg is straight out at a 90° angle from the leg, so maybe the ball joint or connection is inside the open pelvis - which would make it easier to construct instead of having the ball join inside the leg like you would naturally assume.

Just see Jaz Creations' video on how he created his, as he had to cut up the leg, do all sorts of things to create the ball joint socket, and then glue things back together locking in the ball joint in place so there was no way to get to it unless taking it all apart again.
 
Another thought that popped into my head just now. Since my mind was blown with what I thought was T2 style being T2:3D or later... do we actually have reference of the temple inserts as they look on the screen used endoskeletons, or is most of the reference from post T2 or copied from the M1?
 
Another thought that popped into my head just now. Since my mind was blown with what I thought was T2 style being T2:3D or later... do we actually have reference of the temple inserts as they look on the screen used endoskeletons, or is most of the reference from post T2 or copied from the M1?
Oh boy do I think I have a doozy revelation on this topic (at least it was recent and surprising for me) I need a bit of time to put the images together but let me put this out there as text first.

I think I have discovered the following which may also explain where certain commercial replicas trace back to as well.

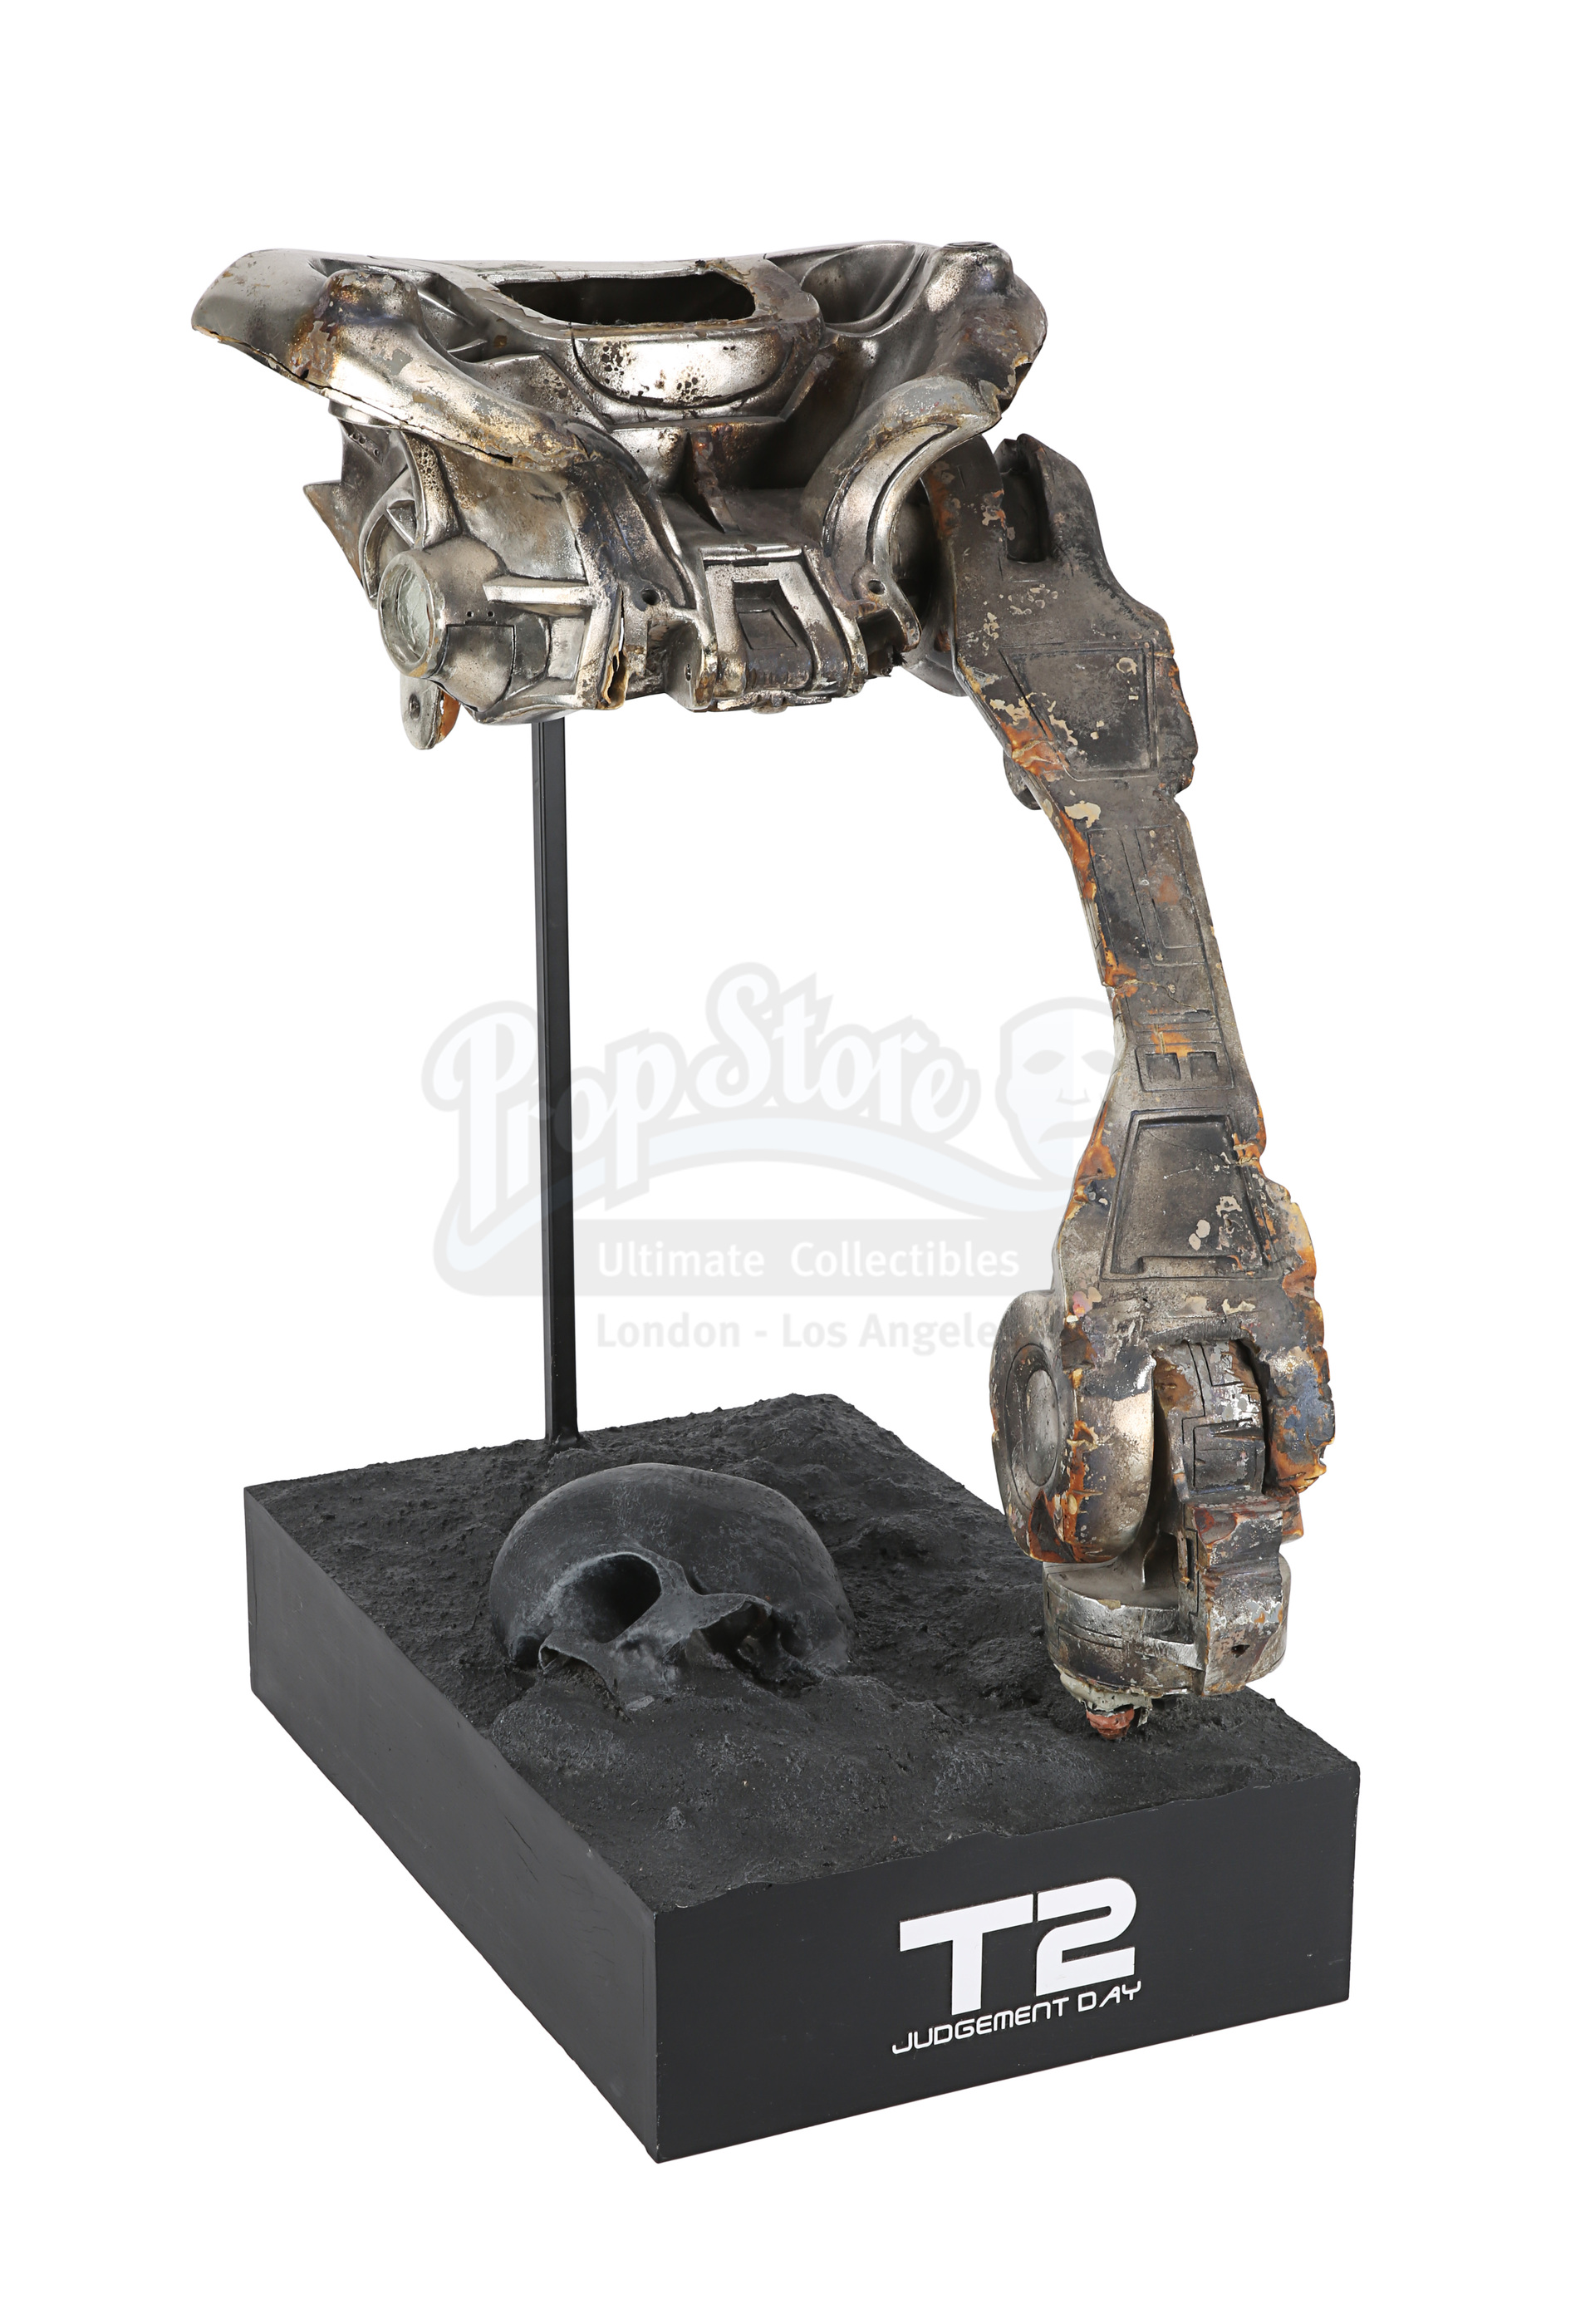
T1 - SWS creates the original source for the skull temple detail panels. These seem to be separate castings that are then attached to the upper skull.

T2 - SWS uses the same temple panels from T1, they may have been re-molded but they seem to match detail-wise. Not totally sure if they are still separate pieces, but my guess so far is that they were.

M1 - The temple pieces for the vinyl skull kit are re-made from scratch. They look very close to the screen used items and appear to have used some of the same source model kit pieces as details. However, I’ve determined that their R/C gearbox had some differences that are very easy to spot.

SWS Gift Skull - Bomb drop? I’m saying that SWS took those M1 temple panels and used them in the new master for these skulls. I’ve looked over photos of other finished gift skulls, I’ve compared my “JR” skull casting as well. And remember I own the M1 kit. These temples match.

T2:3D - I believe that T2:3D used the same masters/molds as the SWS Gift Skulls. And from what I can tell it’s why these temples have the same differences/tells.

Icons V1 - These temples and other details like the CPU port match the SWS Gift and “JR” skull.

Icons V2/Timeless - This skull has the T1/T2 temples! It also is the only commercial replica to have the T1/T2 CPU port.

Discuss!
-Dana
 
Last edited:
Glad I asked.

I've been talking with the guy who owns the Timeless upper skull master... so that would be the one to base our production style temple inserts from?
Did you share photos already of his “master”I’d be curious to examine those tells to verify it really is what they think it is. And to see how clean the parts are.

Is this person a member here?
-Dana
 
I have not shared pictures. Still waiting for him to send them. It's currently in storage, but he'll get to it when he can.

He's a member, but I will let him join the discussion if he wants. I have alerted him of this thread.

The side view from this page stood out to me.

The Terminator has a Timeless skull, so hopefully we can get him to post some more images of those temple inserts?
 
Noticed something on the Bob Burns casting. Seems like it is linked to a casting similar to the one used to make the mold that my foam skull links back to.

Notice the hint of the mold line going vertical at the temple area.
View attachment 1694394

This is also seen in this casting, which I have previously suggested is a similar casting as was used to create the one-piece foam skull mold.
View attachment 1694397

Then here it is on my foam skull - notice the two mold lines: one from the source casting and one from the one-piece mold made of it.
View attachment 1694401

Here are the Stan Winston pictures I think show the one-piece mold and one of the castings.
View attachment 1694402View attachment 1694403

Hope this post isn't too confusing.
I think this seam line occurs on other skulls too. For example, I think if you look at the Tomenosuke and Lightstorm skulls, you can barely make out a bit of wonkiness and cleanup. There are hints of offset, and I actually think that is the reason skulls are often missing 1 or 2 screws around the rear port. It's because they ran a mold seam across the screw area. And I bet that as they cleaned up these skulls they had to use filler and sanding which wiped screws at that seam area if they weren't careful or the offset was bad enough to cause them to use more filler. Check out the collage and you'll see what I mean.

I haven't gone back to closely examine all T1/T2 skulls for hints of that particular seam, but I wouldn't be surprised if found it on other skulls.

-Dana
 
One thing that I'm always fascinated by is the identification of real world (or assumed real world items) items on props. I've heard the temple cutout areas referred to as a "gearbox". Is this because it resembles one, or have real world parts been identified as such?
 
One thing that I'm always fascinated by is the identification of real world (or assumed real world items) items on props. I've heard the temple cutout areas referred to as a "gearbox". Is this because it resembles one, or have real world parts been identified as such?
Yes they used the casing halves from a Tamiya R/C car gearbox. Here’s a set I acquired that may be the same. I also have the kit bashes detail parts that were used. Took a long time (and to find and acquire some of these bits)
ECAFD04D-D0DD-405A-9F7A-065280280B2C.jpeg


-Dana
 
Back
Top