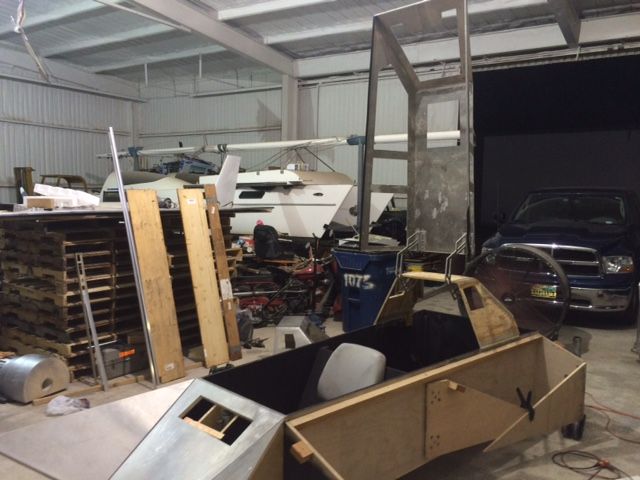
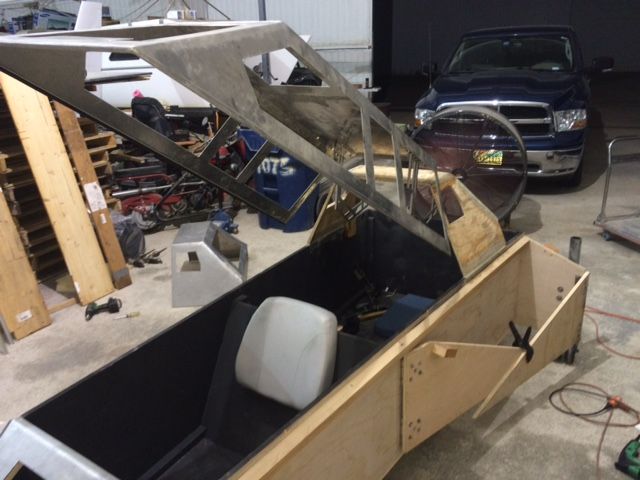
T-47 Snowspeeder 1:1 full scale prop build

This is possibly the most awesome thing I've ever seen. The snowspeeder ia my all time favorite Star Wars vehicle!!!!
 
Friday Oct 9. Day 55 of the build.

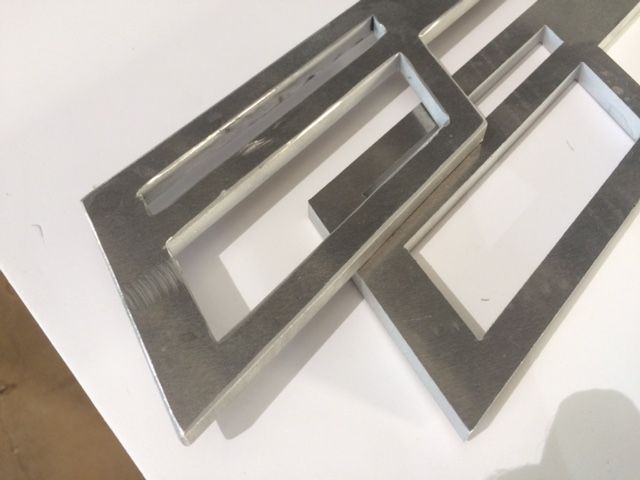
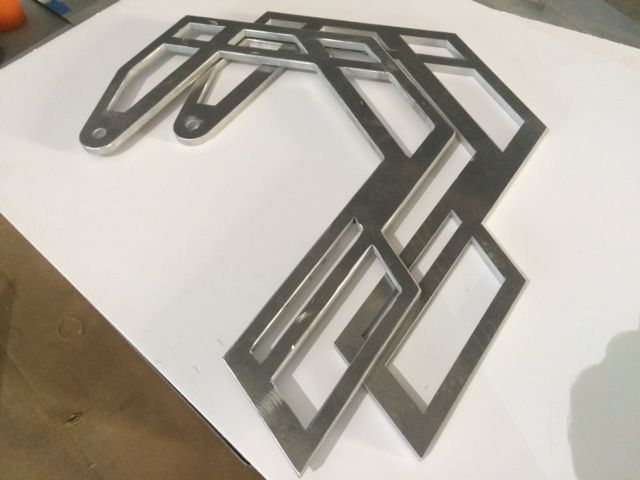
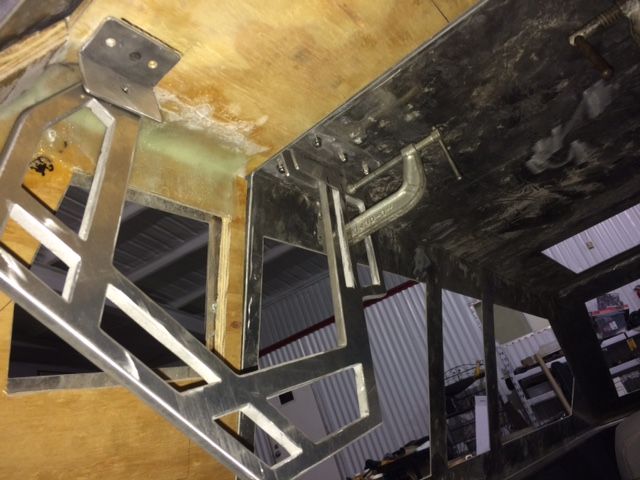
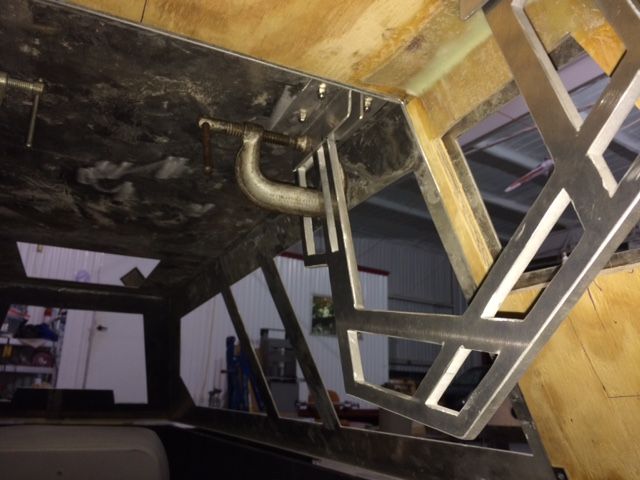
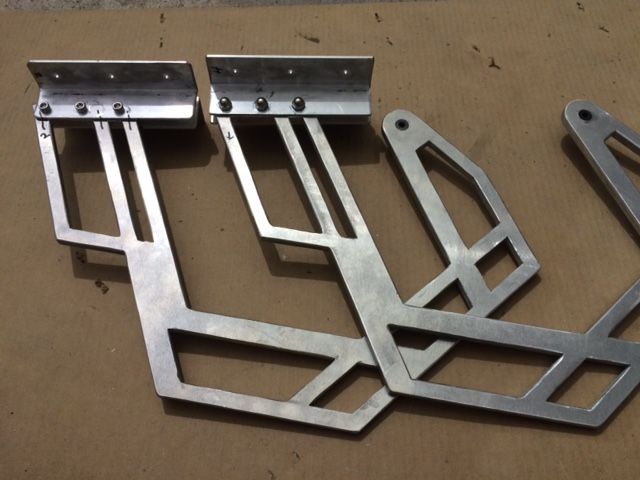
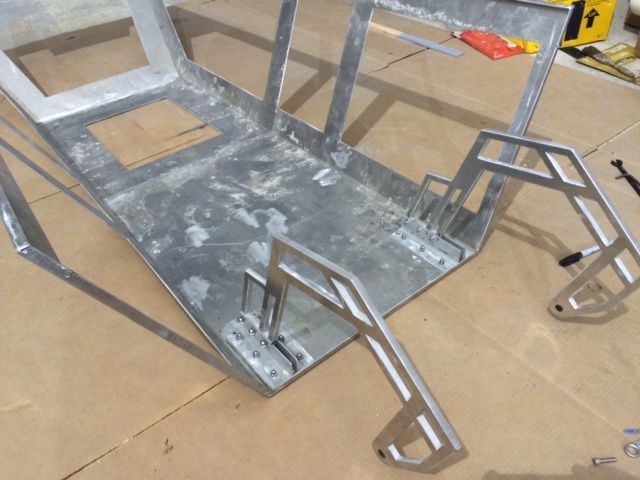
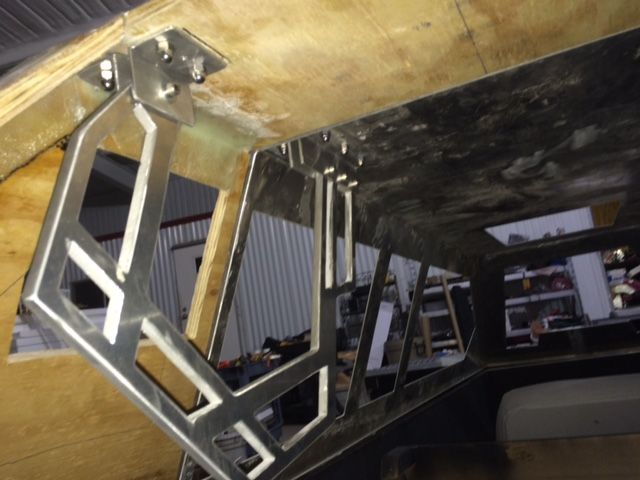
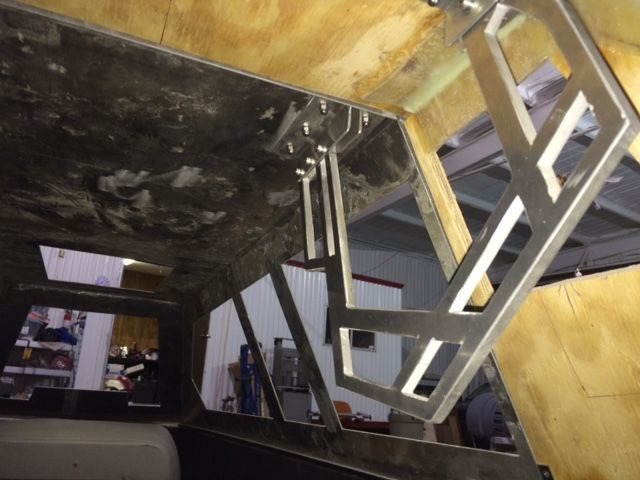
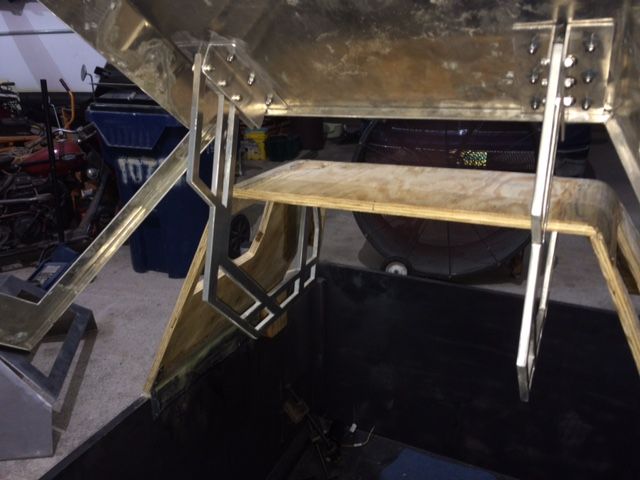
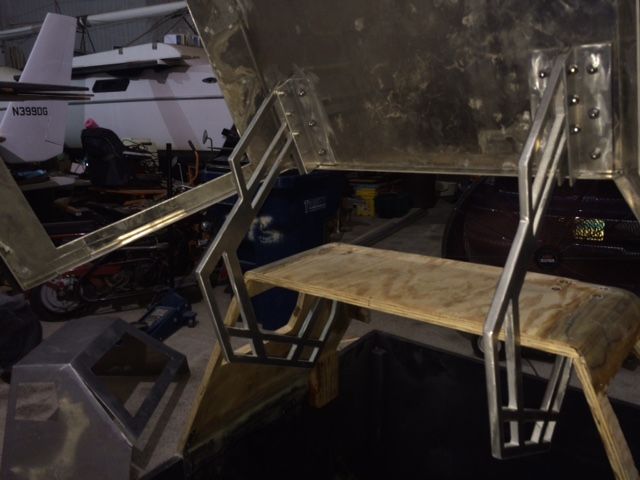
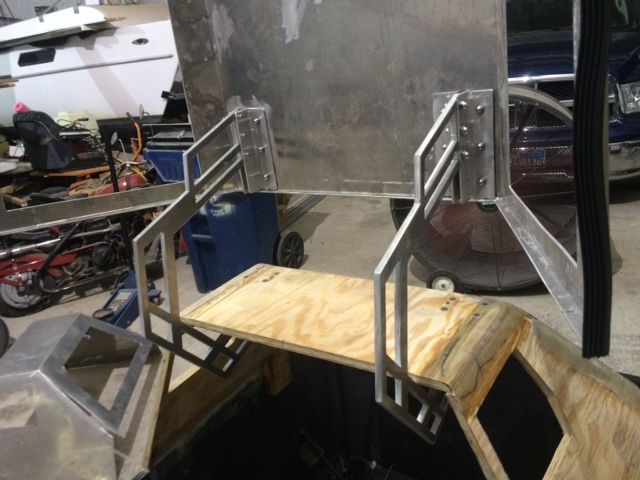
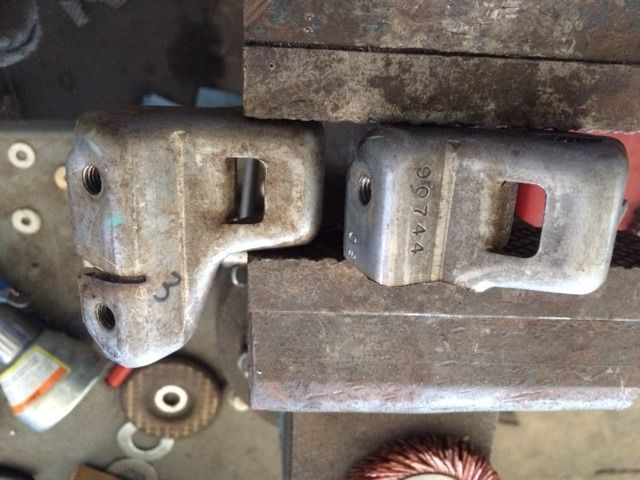
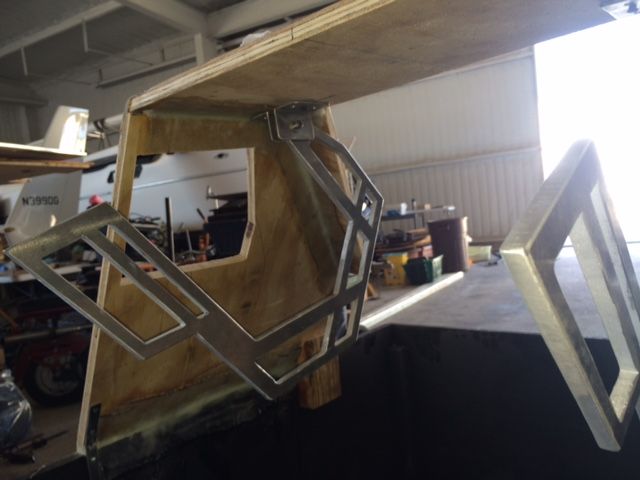
The laser cutting shop finished the second set of aluminum armor panels and the canopy hinges today. I grabbed it on the way to the hangar and got caught in Friday drive-home traffic south of the airport in the heart of Arlington. What a beating. We immediately started de-buring the sharp edges of all the flat panels with rotary air sanders. The canopy hinges look fantastic. Each is cut from 3/8" thick aluminum plate. The laser cuts a very sharp and precise edge. I hand dressed a generous radius edge on all sides with a combination of air powered sanding discs and rotary flap sanding heads. These hinges are right at eye level of the rear gunner and easily grabbed onto while in the cockpit, so I want it to be safe to the touch, while at the same time look great. The cardboard template for comparison. We worked until after midnight with the doors open, enjoying a steady breeze and cooler than expected temperatures for a Fall Texas night.


Saturday, Oct. 10.

Not too early of a start today. Stayed up too late last night sanding edges. But today I was motivated to get the front nose panels in place. Originally we covered the 3 part nose with 1/10" thick fiberglass pre-made flat panels panted with Krylon aluminum paint. It looked OK, but you could tell by the luster that it was not real aluminum armor panels like the wings were covered with. When I had the first batch of armor panels laser cut, I had not yet built the front nose, so I couldn't confidently risk cutting the aluminum and it not fit. Now I get to correct that. The center trapezoid and the two triangular side pieces were only held on by screws in their corners, so it was easy enough to remove them.
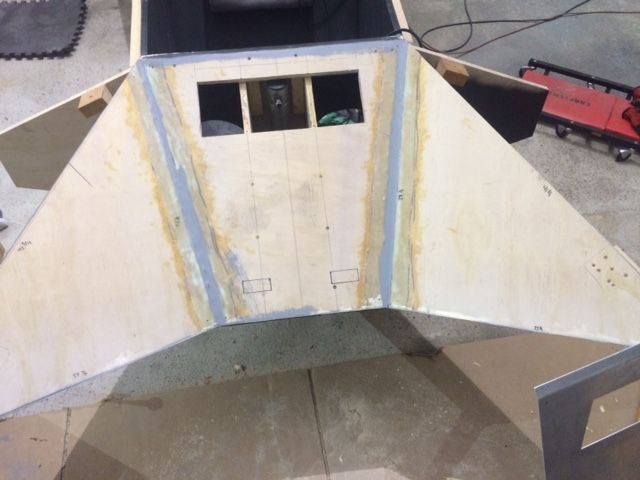


After carefully measuring all the angles, I bent the bottom edge of each panel in a double bend "J" shape, 3/4" wide with about an inch tail that fits snug against the underside of the 3/4" plywood. If you run your hand under the nose of the speeder, you'll feel that the armor panel is a continuous curved piece that extends unseen under the wing that extra inch.
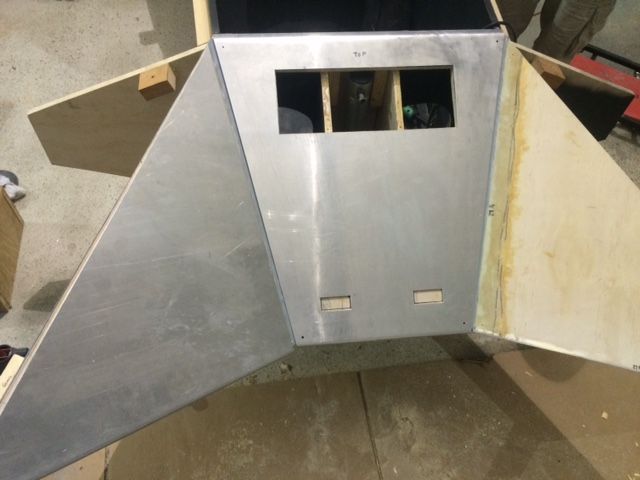
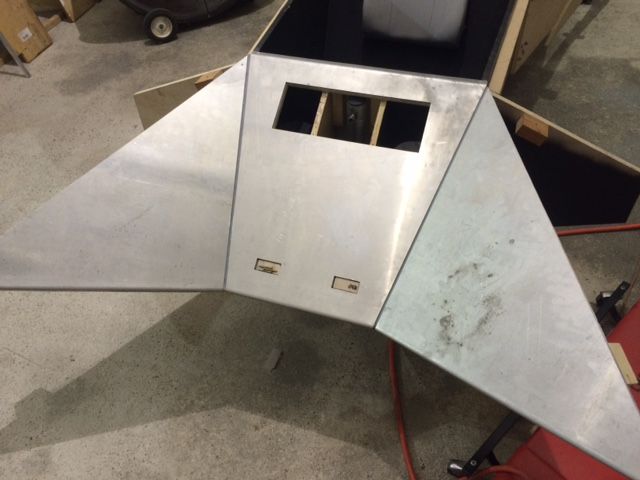


After all three panels were bent and installed in place with the gap set at 1/4" inch all around, I drilled holes in the corners at a 3/4" offset to the edge, like I did to all of the wing armor. I urethane glued the two triangular side pieces in place in addition to the screws. These won't need to be removed in the future. However the center piece has the large cutout for the grill work and two small rectangular cutouts for the forward flood lights. These will all need to be accessed in the future so this panel is only held in place with screws. Using the armor panel as a template, we traced the holes on the plywood under body and cut them out with the jig saw. You can see some discoloration on the aluminum panels due to surface oxidation. In some places I am planning to leave it in place as it adds to the "used" gritty distressed look that a military vehicle would likely have.

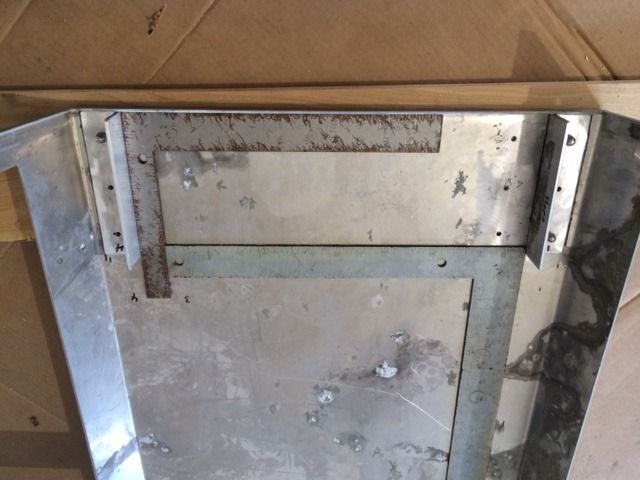
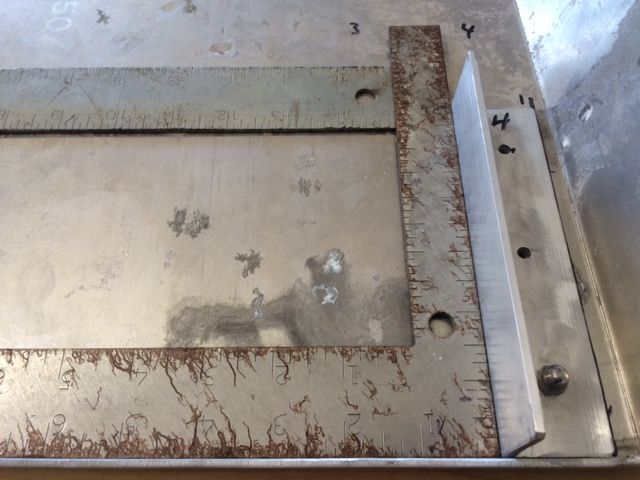
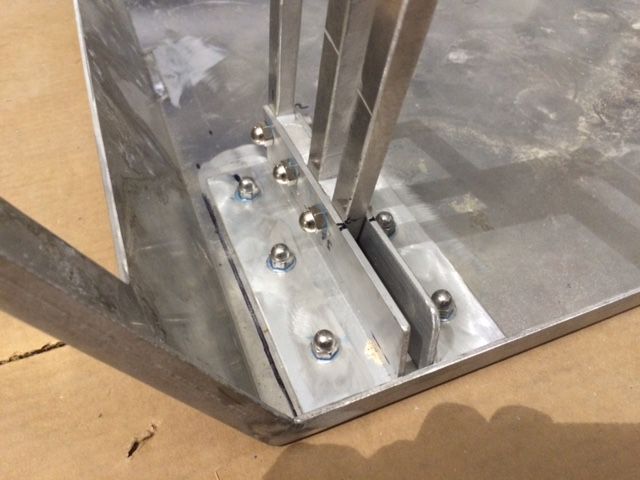
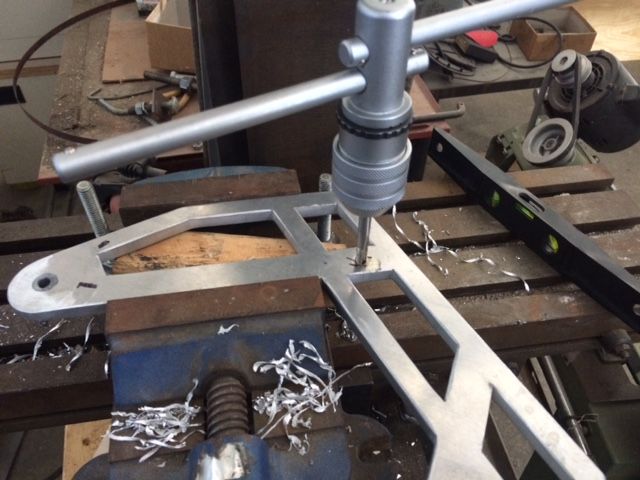
Next. The canopy hinges will mount to the roof with 1-1/2" wide angle brackets. I cut 4 pieces at 3-1/2" long and sanded all the edges smooth. Drilled the 1/4" holes on the end mill drill press. Once I set up a jig for the first one, the other three followed much quicker.

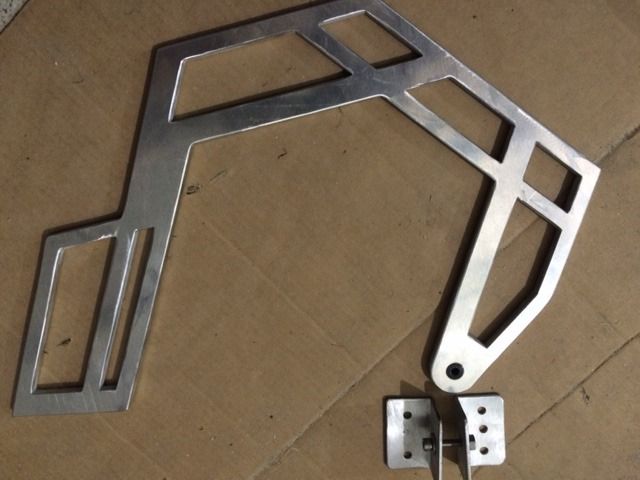


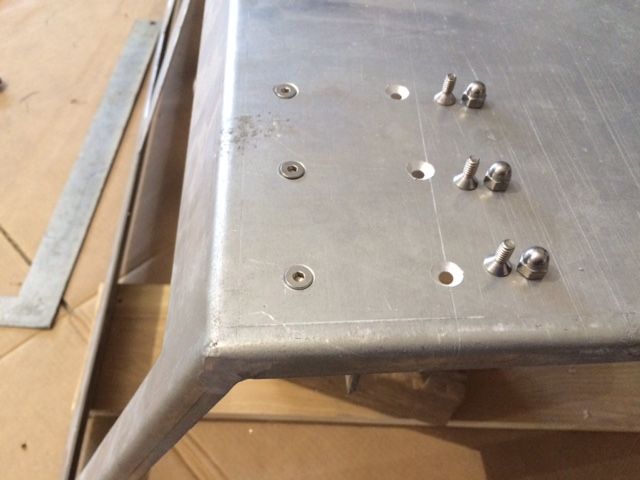
A black nylon bushing fits in the laser cut 1/2" diameter hole. The I.D. of the bushing is 1/4". This will be the pivot point for the canopy hinges and I wanted it to be a smooth silent operation. 1/4" stainless steel socket head cap bolts and acorn nuts hold everything together.
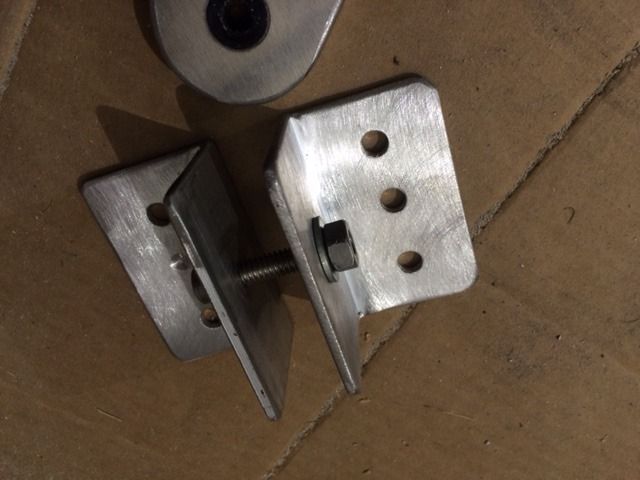


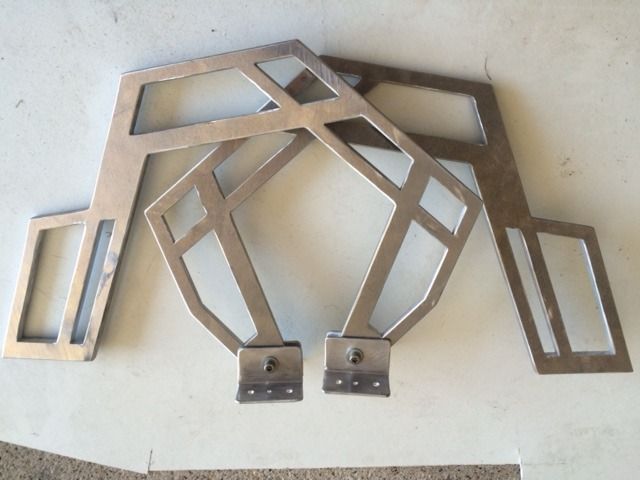
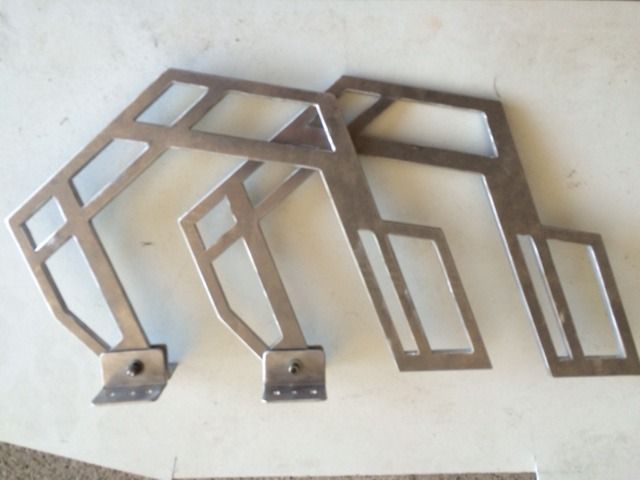


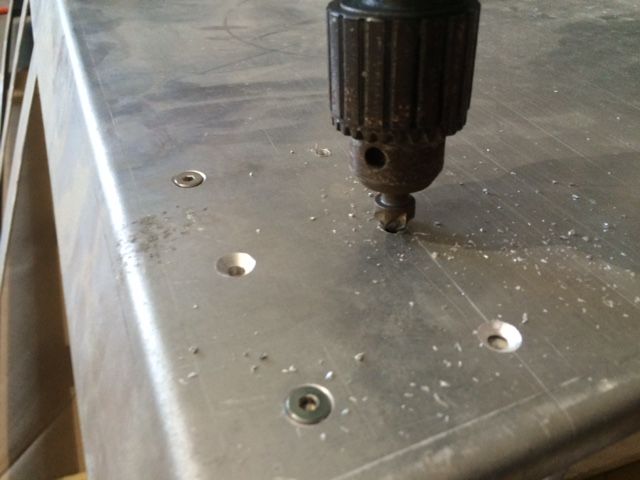
While we still had a little daylight and energy left, we did a quick position check by drilling a single hole for each bracket in the roof panel. Once we have the whole canopy attached and confirm the swing motion is correct, we will drill the final 4 permanent holes per mount plate and secure the hinges in their proper place.
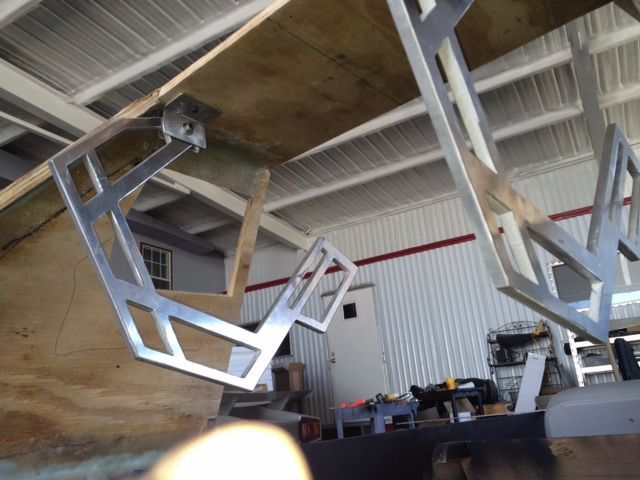


Off to the house to clean up and spend a little Saturday night family game time. We'll be back at it Sunday after church and lunch.
 
Last edited:
The T-47 is looking better and better with each post. I am also hating you more and more with each post.
Hmm..

Does that make me a bad person? Probably. :p
 
This is So freaking AMAZING!!! One of my favorite ships growing up after watching Empire Strikes Back! You do this AT-AT killer a great justice!!! and the cardboard Fett gives it a lovely touch ;) .
 
Dude... I can't wait to see this thing completed! Did you decide if you are gonna paint it or just leave it the aluminum bare? Personally I think you should paint it... but use epoxie paint... hard as nails and will stand up to people climbing all over it!
 
When this is done, it would be very cool to set up a green screen where you'll display it and put in digital backgrounds for you guys to shoot photos and videos.
Fantastic!
 
Sunday October 11. Build day 57.

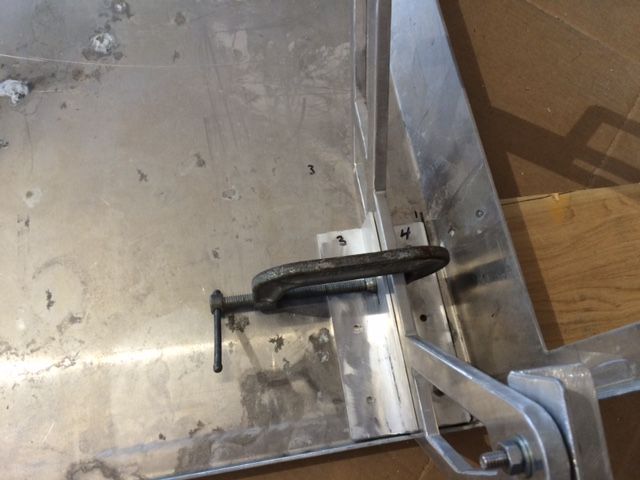
Adding the hinge attachment brackets to the top of the canopy. 1-1/2" x 1-1/2" aluminum angle. Setting centerline and right angles to the back edge of the canopy. 17" between the brackets should give headroom clearance and match up to the screen shots of the interior filming hero set prop.


Temporary clamping to set the correct gap for the hinge bar.


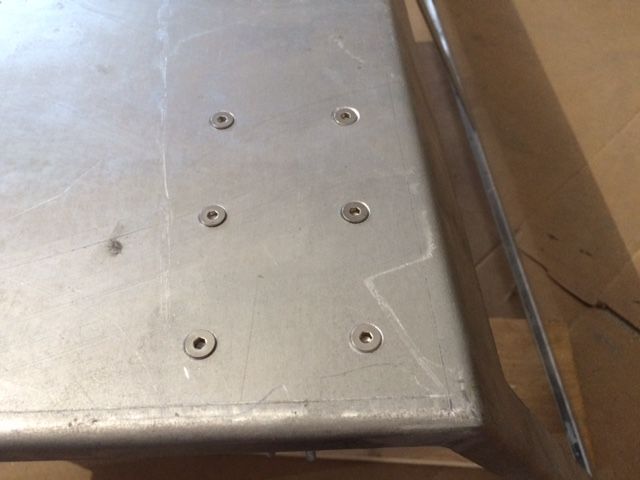
Each bracket will be attached to the canopy with 3 countersunk bolts and acorn nuts.


Now checking the lateral placement of the hinge bars with the canopy sitting in place on the speeder body. Some adjustment front to back before I commit to drilling the holes that will attach the hinge bar to the bracket side walls.


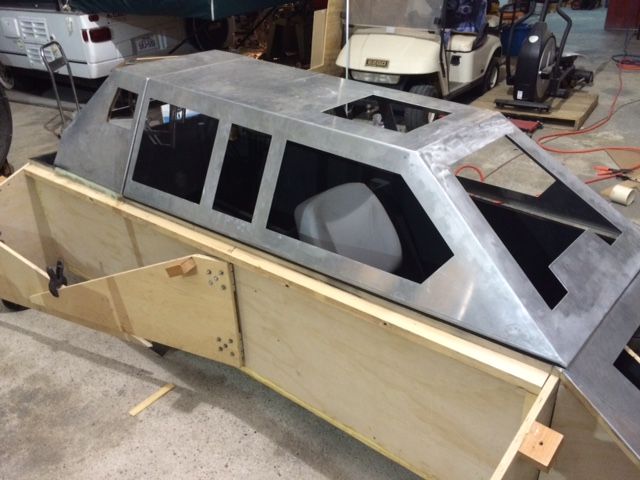
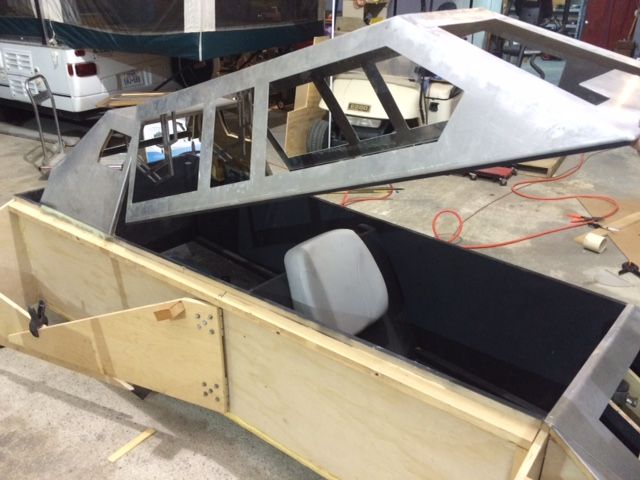
Canopy bolted in place for the first time.


The first test lift. It felt very smooth and rock solid. No twisting. Very nervous getting to this point since I'm making it up as I go along.


Exhausted, hungry and out of daylight. A good weekend.
 
Looking good! Are you guys bringing it out next month?

If you are talking about the Fan Days Dallas ComicCon at Irving, Feb 13-14, 2016 then the answer is "no". That building is quite small, so we only have room to display the X-34 Landspeeder. We will have both the X-34 and the T-47 Snowspeeder at the much larger Fan Expo Dallas ComicCon on June 3-5, 2016. The Dallas convention center is much larger. We hope to have Rey's Speeder Bike completed by then and have all 3 on display. Come see us and spread the word.
 
Monday October 12. Build day 58.

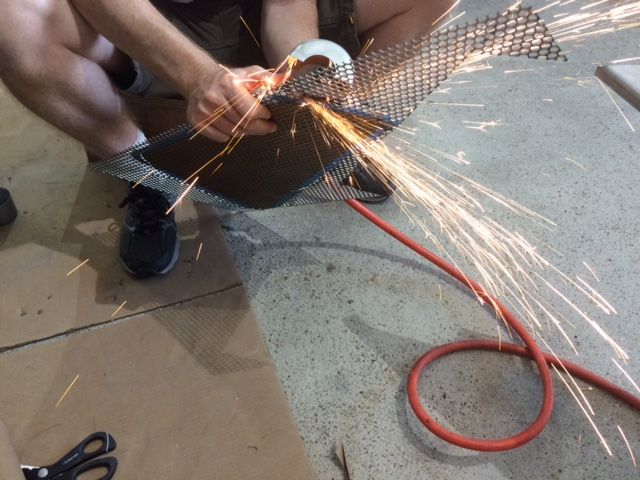
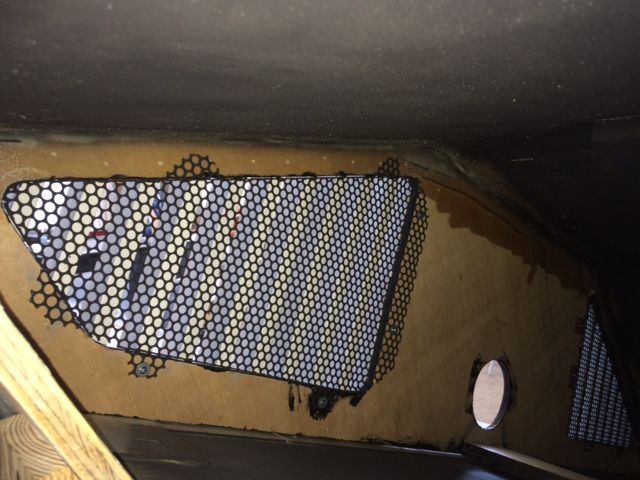
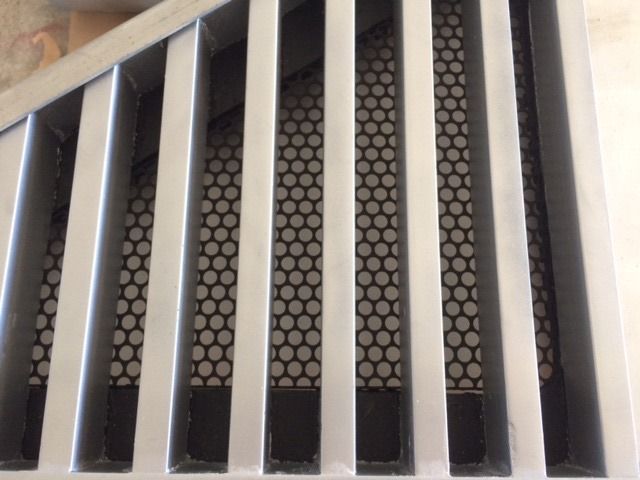
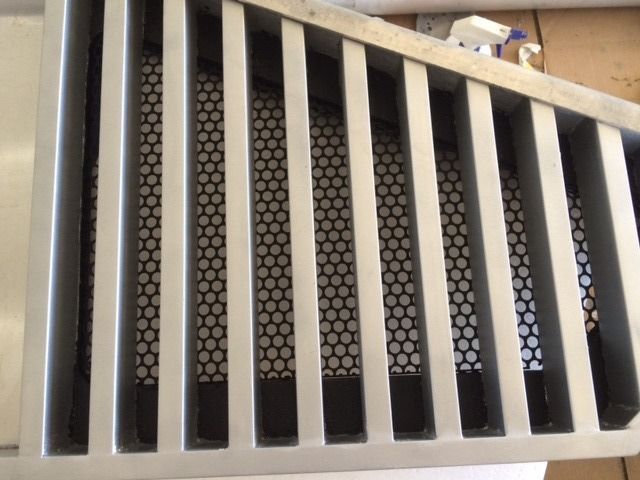
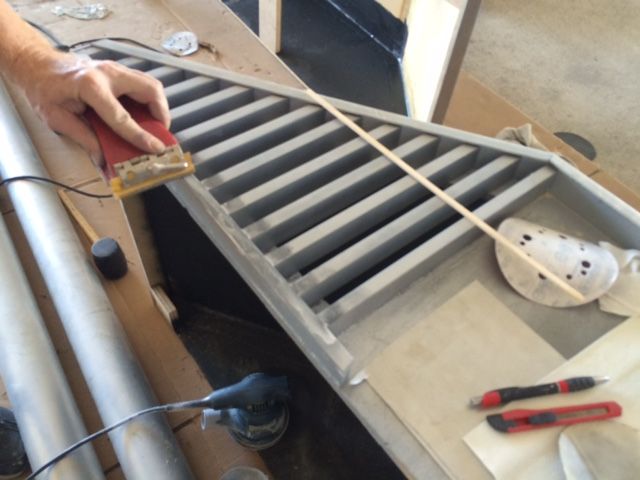
While we had the engine boxes off of the wings, we needed to cut and install the air breathing grill screens behind the vertical grill bars. And finish smoothing out the joinery work at the edges.


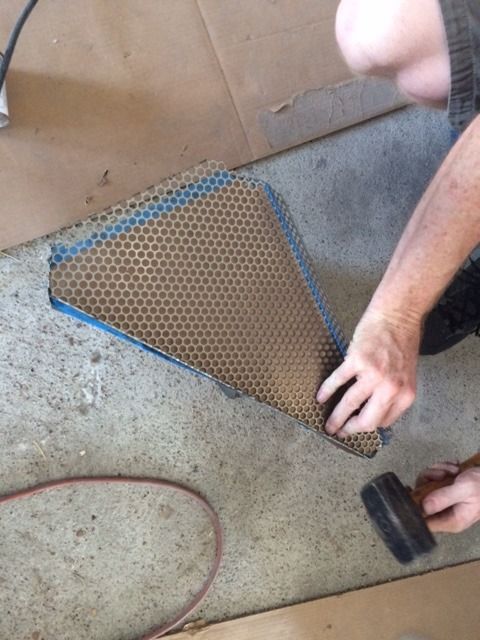
We made paper templates of the holes and then cut the steel hole punched screen material to size with the angle grinder. Flying sparks make great pictures.


Bent the edges of each screen on all 3 or 4 sides to provide a smooth edge and a place to attach the screens to the inside of the recessed boxes. Final adjustments with the hammer.


Installed.


Last edited:
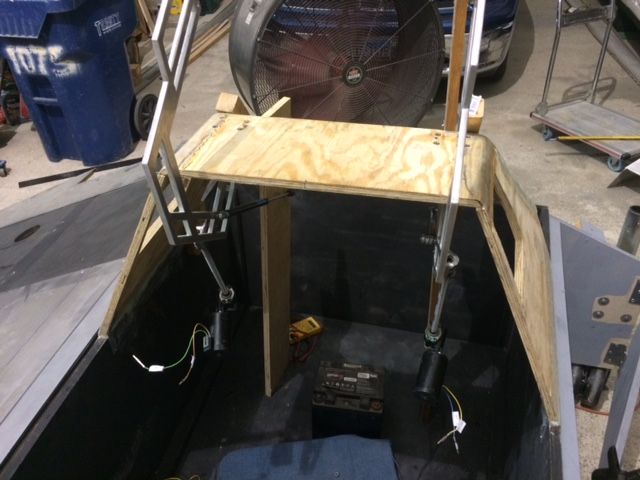
The canopy is actuated by independent twin drive motors. 12 volt, 150 watt gear motors driving a 10" linear ball screw. The drive carriage attaches to a mid point on the hinge bar with a through drilled and threaded 1/4" socket head cap screw.


The original carriage nut holder that was part of the linear actuators was larger than what is needed so I cut the extra area away with the air grinder cut off wheel. A little more trimming and polishing and it will look right at home on the hinges.


The drive actuators installed on the hinges and the hinges back in place attached to their roof pivot mounts.


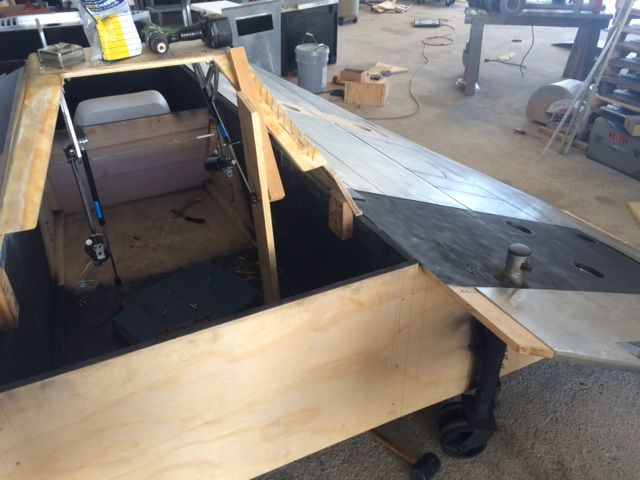
The linear actuator motors are not strong enough to lift the 25 pound, 6 foot long canopy by themselves. Each hinge is supported by an air push-rod lifting cylinder rated at 18 pounds of lifting force. Some trial and error temporary fitting finally found the right attachment placement and angle of motion. Temporary wood blocks in place to test out the mounting.

 
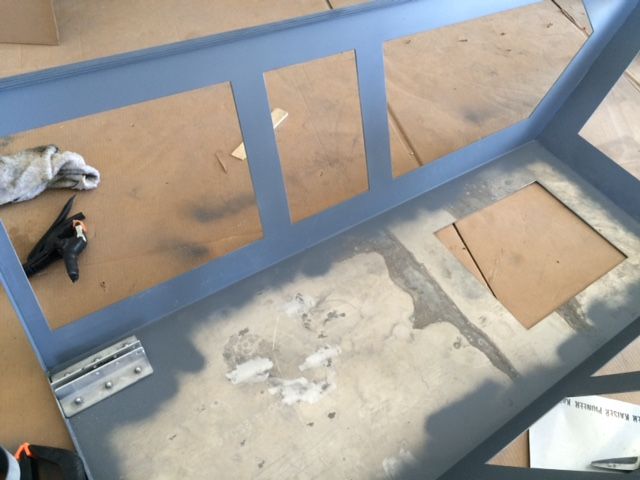
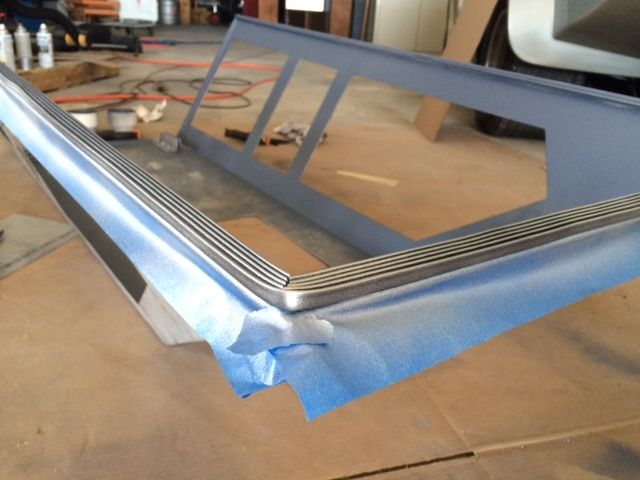
While the canopy was off, we sanded all of the window edges to a clean, safe, smooth radius. The laser cutter leaves a very sharp edge. We then cleaned all the surfaces and prepped the metal with dark grey primer.


We installed 3/4" wide rubber gasket around the edge. The black color of the rubber made for to much contrast to the aluminum, so we painted the rubber with aluminum color so it would blend in.


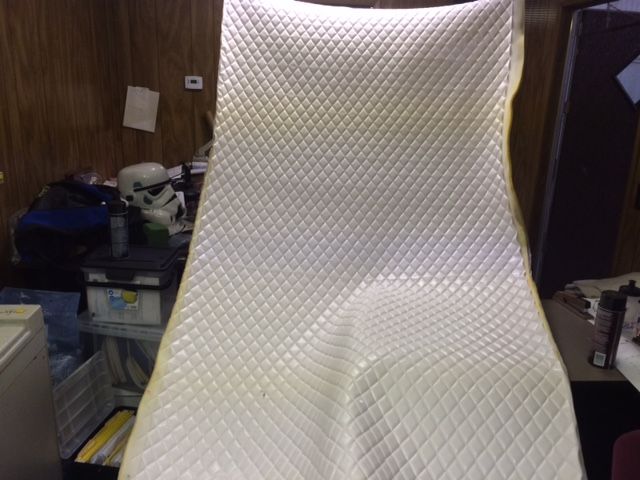
The majority of the interior of the canopy will be covered with insulating foam backed vinyl. A few yards of 52" wide material. Good looking stuff without any fake leather embossed pattern.


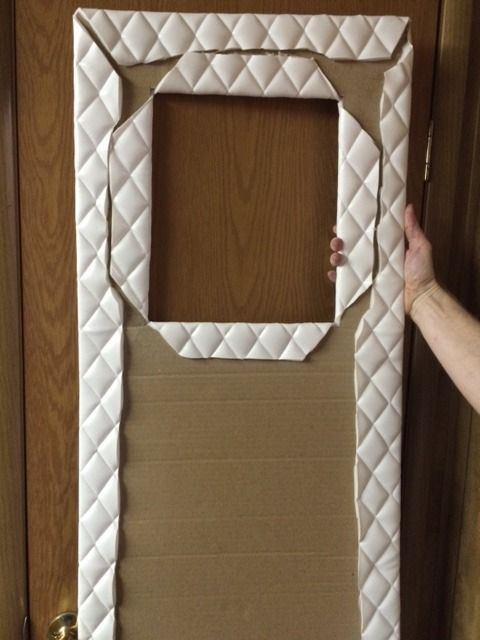
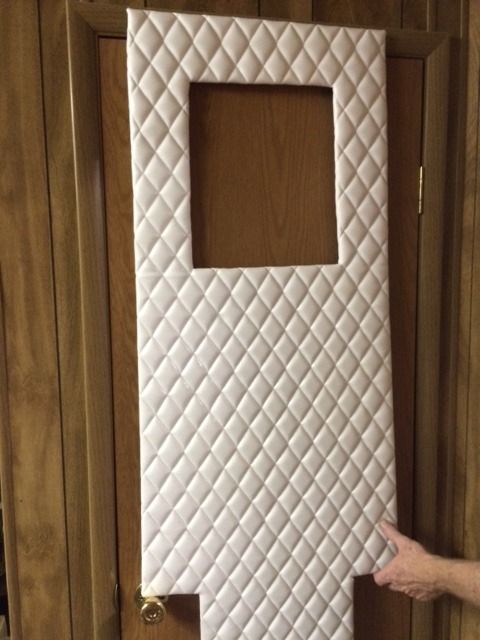
A cardboard backer board is wrapped with the diamond pattern quilted vinyl. 3M spray adhesive holds the material to the backer board.


Back
Top