[Suggestions] Carving a thin line on hardened plaster

Pannaus Props

Sr Member
Guys, I'm going crazy about this issue.
I'm almost done with my iron man helmet and I need to re-do the lines on the sides (above the ears), on the back and on the wings of the faceplate.

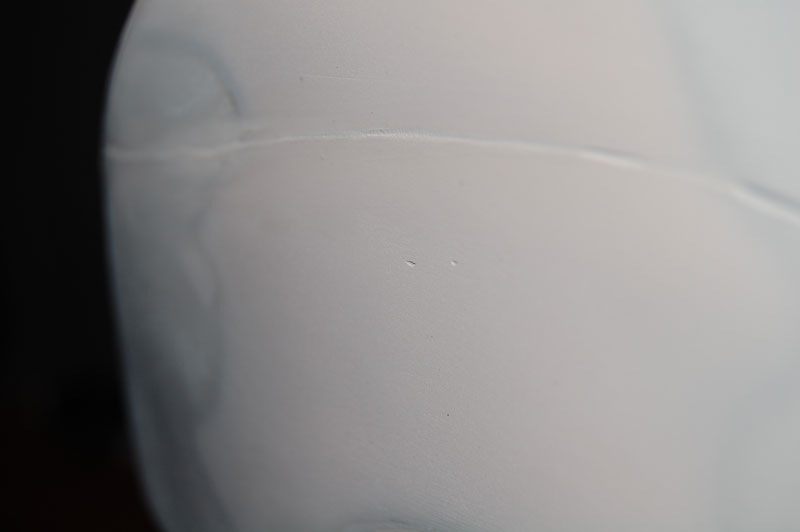
I did them on sintra and they were flawless. Then some plaster (milliput first, then bondo) got in the way and when I tried to re-trace them the plaster just broke and made small chips. Result: it sucks! Looks like I've done my lines with a a lawnmower...

So, please, there's any way you know how to carve a thin good line on a already hardened plaster surface?

I use a modelling knife (do you write it this way? modelling knife?), but on plaster it just slips everywhere. Tried the smallest head with my dremel too...but the rotating wonder it's not for me...can carve sintra like I'm the god of plastic, but plaster is killing me.

Any help?
Pllllleeeeeeeeeeaaaaaaassssseeee :cry

If there's a post about this, I'm sorry, I searched the board but couldn't find anything quickly!
 
You need something to act as a guide. The easiest thing to find might be double sided tape. Just adhere it along the line you want to carve and while tracing the line, make sure to push into the tape. This should keep you going in a straight line. Use the back side of the blade and make a few light passes first, to establish a line. One you have a line going, you can then start going a bit deeper.

-Fred
 
Hmmm, useless to say I have to do curves :D HAHAHAHHAAH
But I'm gonna try a thicker tape. I usually stuck with the...hmmm...how do you say it...the cream-colored tape...normally used on walls to delimitate areas when you're painting...here it's called paper-tape.
Almost forgetting : THANKS!
 
Gonna sound weird, but I have had some luck with a simple glass cutter to get score lines to start with.
 
When I was into Gunstock checkering, I used something similar to this tool.
I bet they would work well for scribing lines.

CT0901.JPG


FB
 
Last edited:
You need to use a flat 'tip' with very crisp edges, and NOT a pointed tool.
A point 'pushes' away the material as it is dragged down, which is what is causing your chipping.
Try using the edge/tip of a flat needle file- this scores, rather than cuts...
 
I agree with what has been said above. I will ask if we are talking about plaster of paris, or something more durable? Plaster of Paris is quite soft, and scribes well. If it is something like Hyrostone, it will scribe, but needs several passes.

As mentioned above, it requires a flat, "chisel-like" cutting surface (the width of the line), rather than a sharp blade. If you are using an Exacto Knife, break the tip off and use it backwards (sharp side up) and scrape you line.

Since it is a compound curve, the foam tape method will work for you. It stretches and will make the curve very nicely. Start out with a very light touch, and just scape the surface. The more pressure; the more it will chip, or go astray. You can give it more pressure with each pass of the cutter. Make several passes once you have the groove started.
 
Ok guys.
Did try.
It works. i wrote the line on a transparent sheet, then with a soft pencil I pushed as much as I could. I then turned the paper and put it over the paper tape over the helmet. The graphite on the tr. sheet transferred on the tape. I fixed the line with the pencil on the tape. I passed and perfecto knife, i used one of the blades I had. Flat, really thin. Did the first pass. THen used a needle file to widen a bit the line.

It works, but works on the light metallic plaster I've been using since 5 days ago. I doubt it'd work on the more durable Metallic plaster I used to use. That chips badly all the time. This plaster instead is a little bit softer and works just fine.

It takes a lot of patience and time, but it works eventually.
Thanks a lot fellas!
 
What about using a chalk line as a guide?

Ah ok, just saw that you'd done it.
I should've read all the posts first.
 
Last edited:
Guys, another problem...As I'm approaching the end of my works on the helmet, I keep finding holes in the bondo parts...this is driving me crazy....

I used a 320 sand paper with the help of water to finish everything, but guess what...

this is what comes up here and there:

DSC_0482.jpg


What do you suggest? What should I do?
Also...putting bondo on the holes and sanding again it's making the surface uneven...this is nuts...I wanna kill myself...I'm so close to finish the damn thing...

Thanks for your help...

you could try some thinned wood putty (in the tin) or the water mix water putty that is put out by DAP i think. ive used it instead plaster for maquette bases. you could use either one of those to fill the holes
 
Patching cured plaster can be the bane of the sculptors existence. What I use is powdered joint compound, it works better than the pre-mixed stuff. Mix up a small batch, apply it to our plaster, and you'll have a "reasonably good chance of blending it in. The biggest problem with blending and patching plaster is when you go to sand the repair, the old plaster is of a different density than your patch-repair. It can be virtually impossible to make the repair disappear. As a final patch, after your first repair is thoroughly dry, you can try pre-mixed joint compound. The problem is that plaster usually retains moisture, and when you apply pre-mixed joint-compound it takes a long time to dry because it remains moist. When all of your patching is done and the plaster is dry, you can prime the sculpture with spray primer and examine it for flaws.

As for your initial question, carving grooves in plaster, yes,you would benefit from using a guide so your lines remain straight and "machine-smooth". I use a peice of flexible sheet metal to guide my scribing tool. I use a "v" shaped file to score the lines in the surface, or the corner of a screwdriver blades or sharp-angles putty knife. I find that a sharp, 90 degree corner works best for scribing, but the "V" shaped files are good for fixing areas where you may have chipped the grooves you are trying to carve.

Scott
 
If you are close seal the plaster with shellac and let it dry all the way, give it 24 hour just to be safe... Then proceed to fill the small holes again and then sand and finish...

You will find once you seal down the raw plaster patching small areas will be much easier...

And don't be afraid to just get the area close on the first round of patching, and then spray it again with sealer let dry and rework again...
 
Back
Top