Star Trek: Voyager Compression Rifle Comission update: 11/8/11

tubachris85x

Master Member
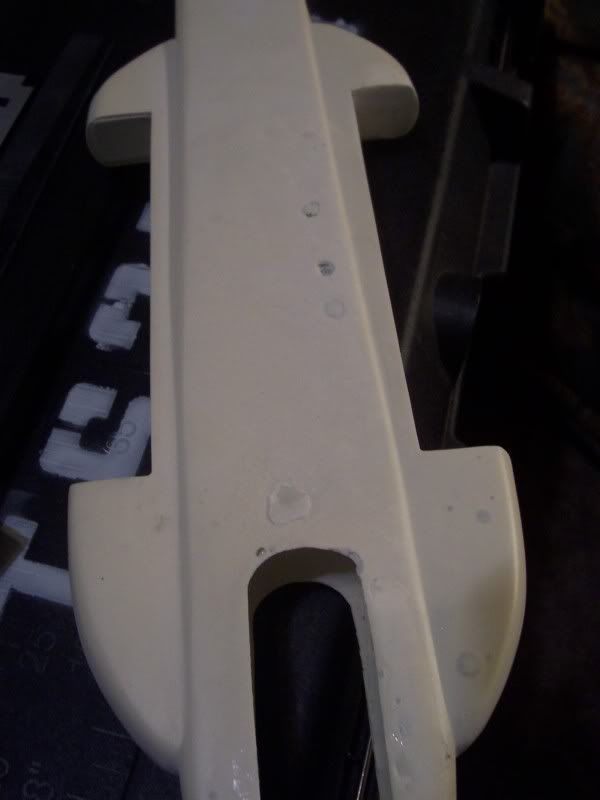
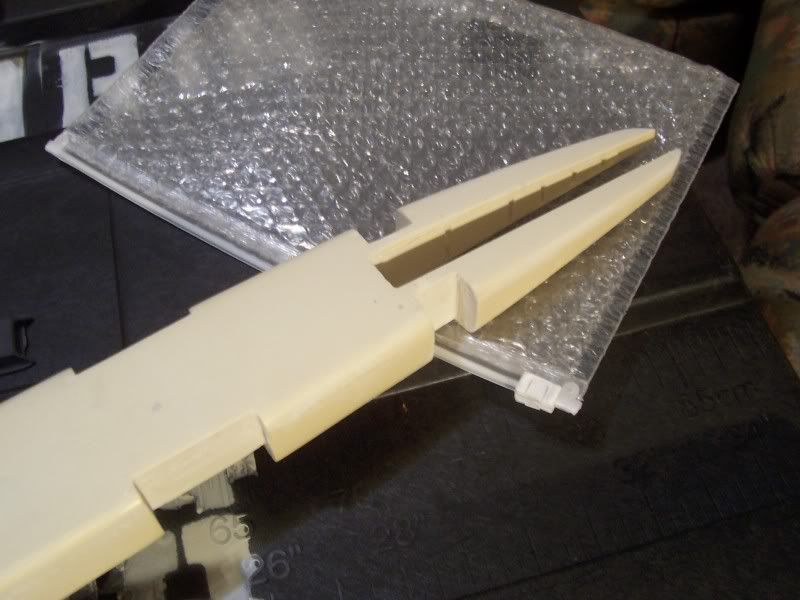
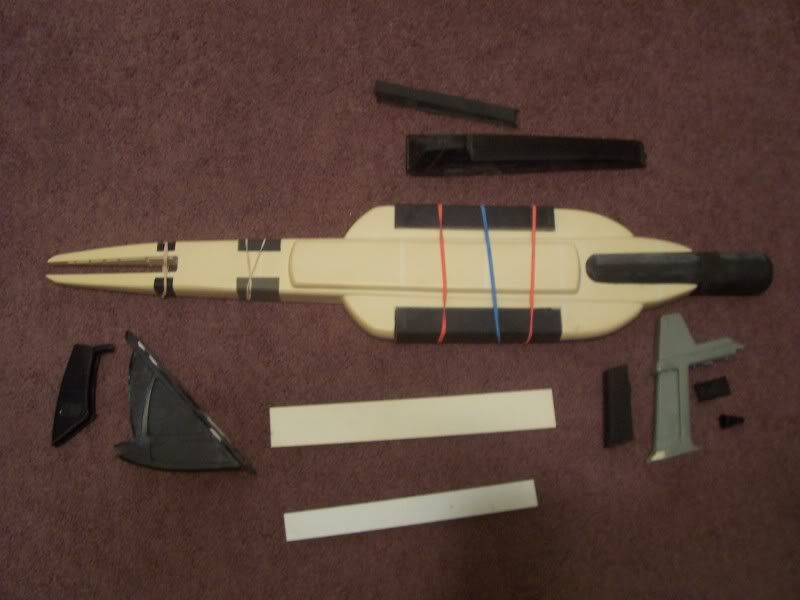
So, I'm not entirely familiar with star trek weapons, however, I'm going to be putting together this kit! I'm sure a few trek heads would be able to ID this one. It's a pretty straight forward assembly and paint job. This particular kit is still very rough and is going to need a significant amount of clean up before I can even consider attaching/painting anything. I have a few ideas for this kit that will hopefully be in agreement with my client (Idk if you want me to post your board name on this or not!) but these ideas will not affect accuracy or hinder the desired end result!

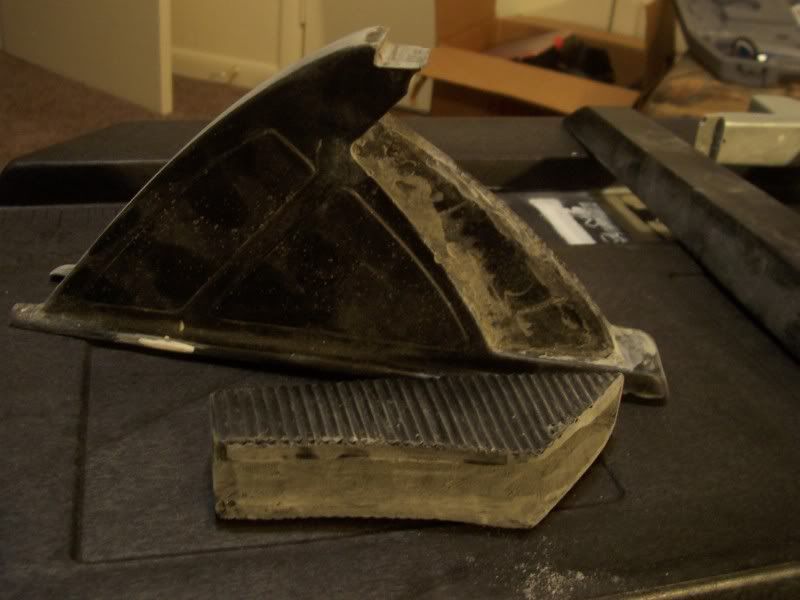
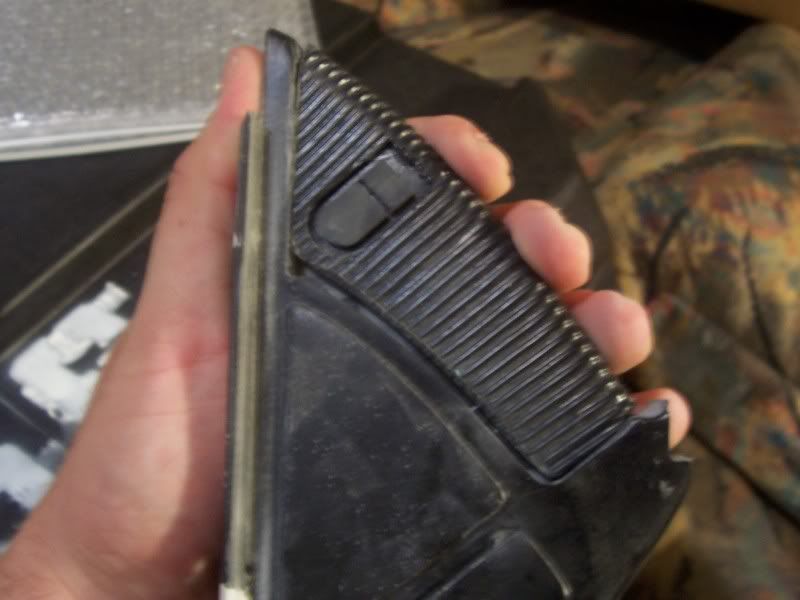
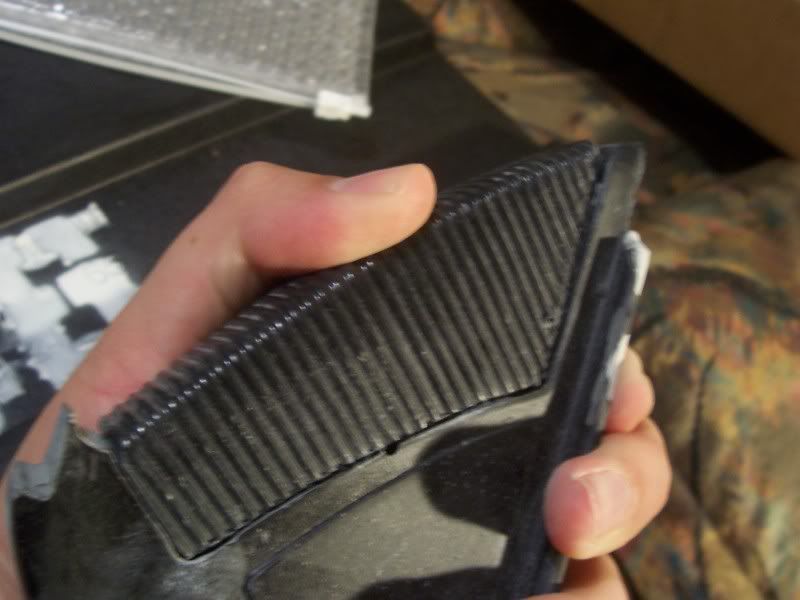
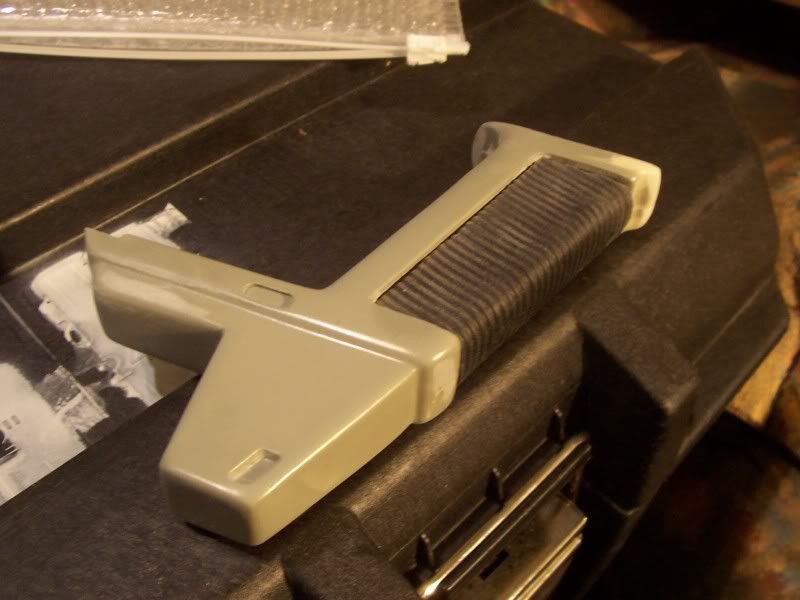
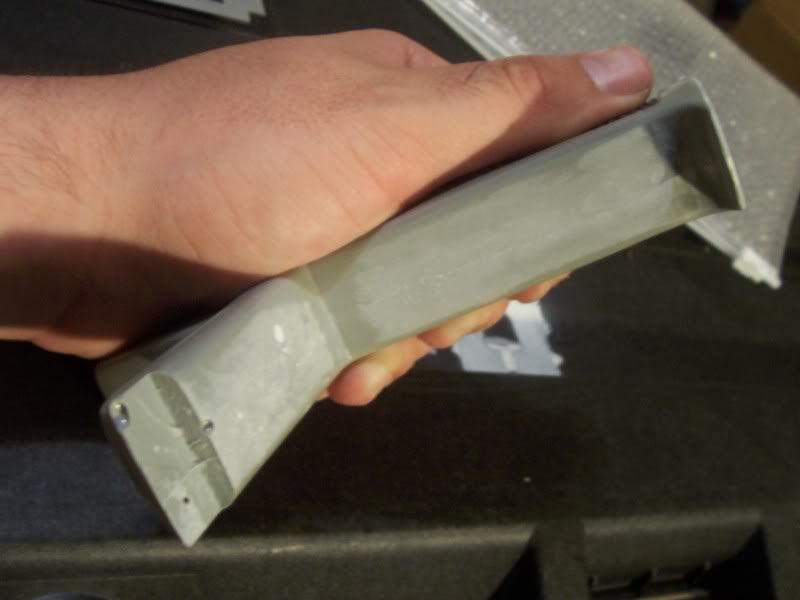
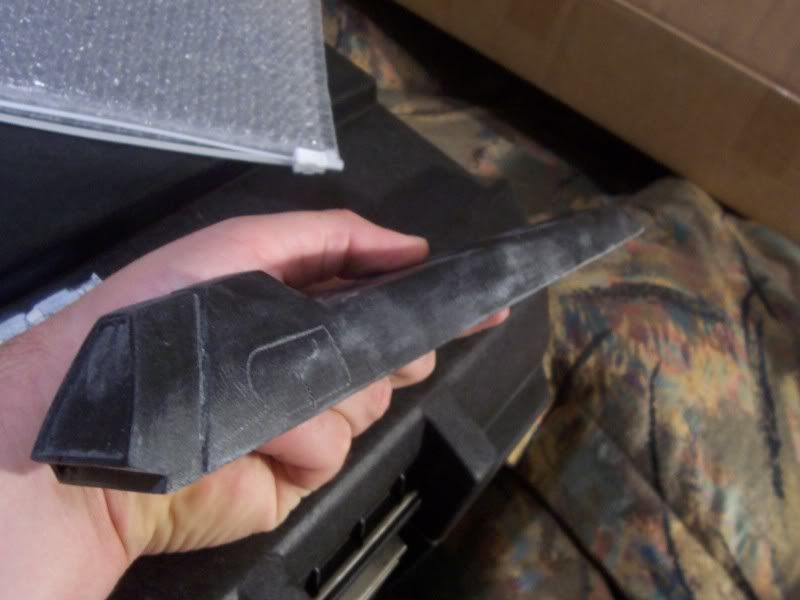
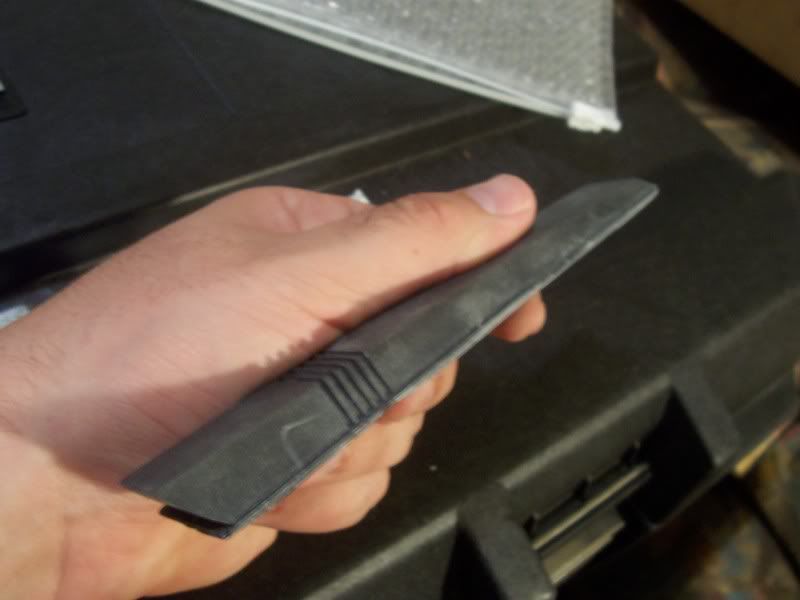
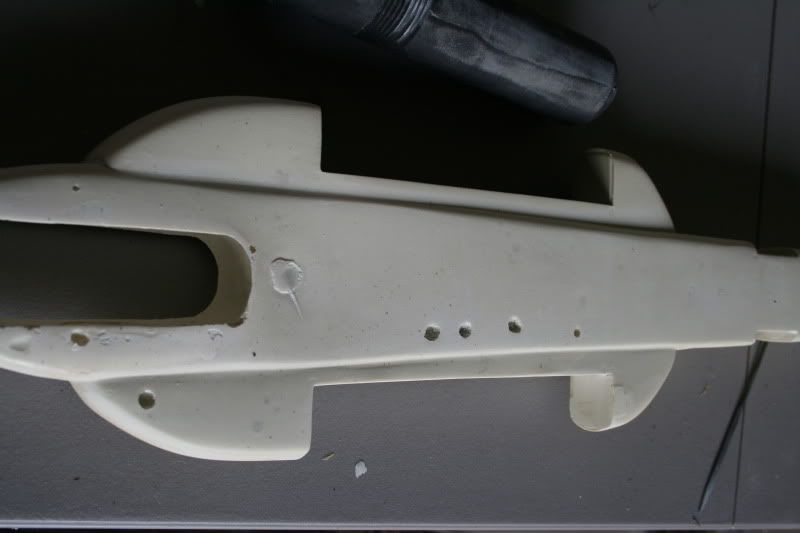
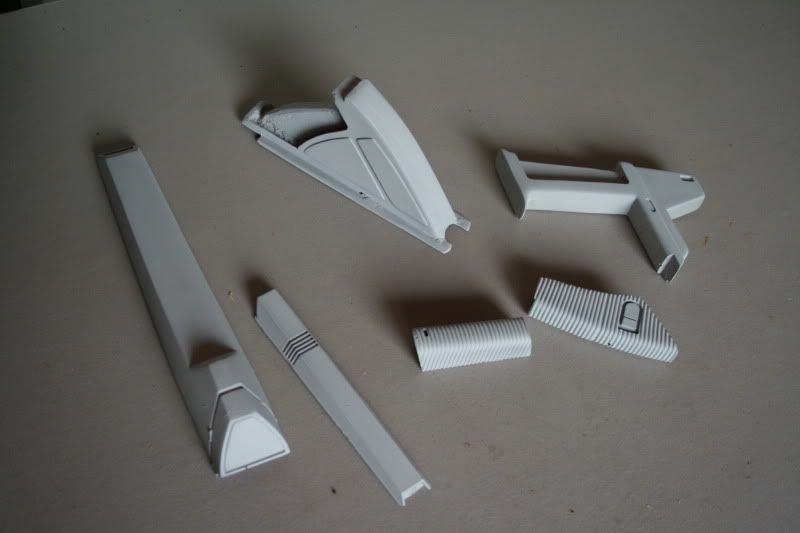
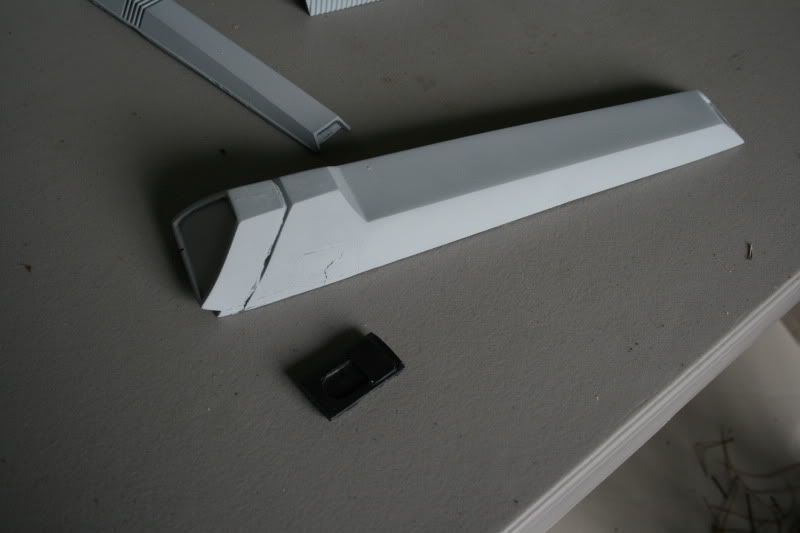
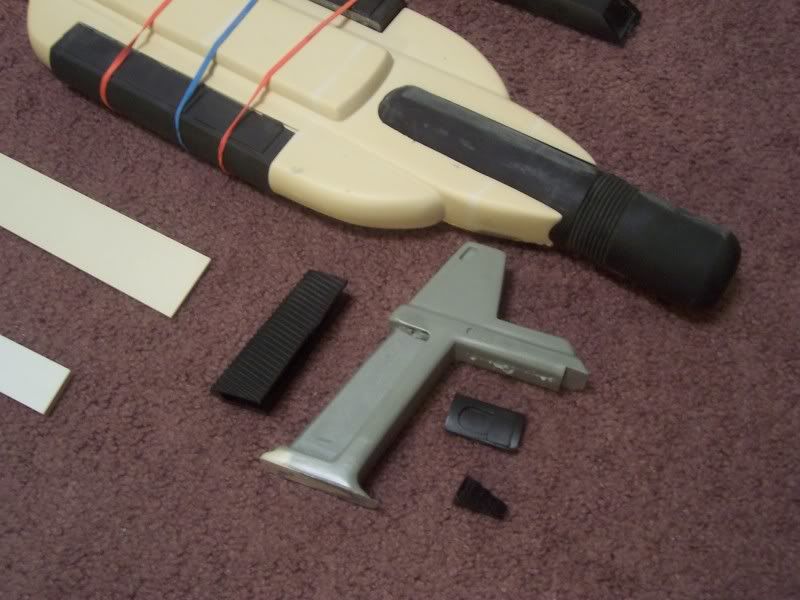
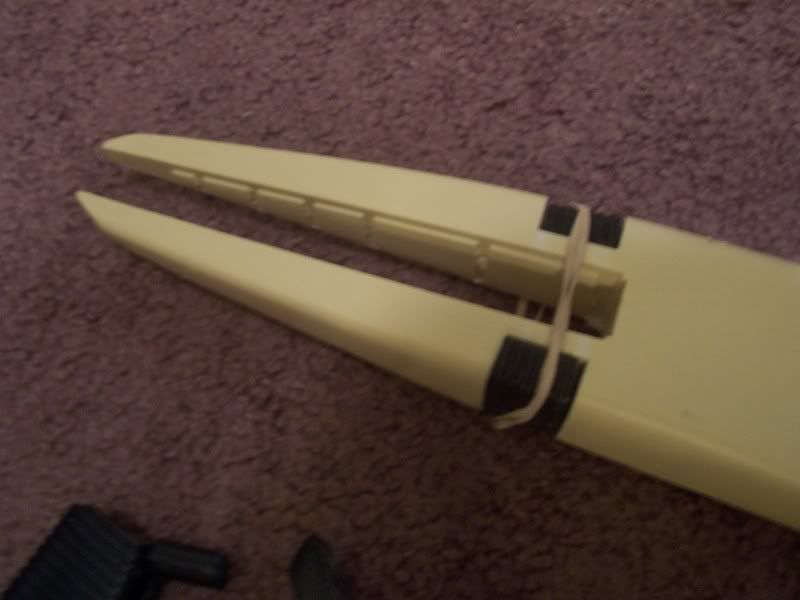
So here are some pics of the kit. I've been busy so far this week, but I am going to start the clean up of the smaller pieces (the ridges and such in the grips and the rear canister specifically. I want to make sure all these piece fit correctly with each other and look clean.


002.jpg


003.jpg


004.jpg


005.jpg


I'm still utilizing the reference pics from a screen used rifle so I can further educate myself before I really get into the build. I want to make sure that the little details are taken care of that I may not know (or see) that a trekkie might!

Stay tuned..

-TC
 
Re: Star Trek: Voyager Compression Rifle Comission

This is one of my favorite props. Look forward to seeing your progress!
 
Re: Star Trek: Voyager Compression Rifle Comission

Finally got started on this today. Focused on getting the majority of the sanding/cleaning done and go from there. There is going to be ALOT of filler needed just for the small parts alone.

I'll post pics in a few...
 
Re: Star Trek: Voyager Compression Rifle Comission

Ok, now that I have some more time! Pics!

It doesn't look like a whole lot was done, but there was a significant amount of cleanup I spent most of the time doing today, and there is still plenty left to do. I'm going to have to focus alot on using needle files for the grips and hard to reach areas as well.

First up was getting a quick run down of the main body. Had a nasty mold line which I got most off. I discovered alot of mini-air holes underneath the mold line, nothing drastic, but another area that will require filler. I noticed there are a few spots where filler was already applied, but it was starting to crumble and flake off when I was sanding around it.

100_2696.jpg


The forward "muzzle" needs alot more attention, since it has details along the inside portion, and a serious build up of excess resin from the mold.

100_2697.jpg


I focused alot of my attention today on the rear and fore grips. The rear grips are nothing short of a pain in the butt. The grip detail is not wanting to fully fit itself on leaving one side nearly flush and the other with a noticeable gap. I'll have to continue playing around with these two pieces to get them fitting how they should

100_2688.jpg


100_2695.jpg


100_2694.jpg


The fore grip went pretty smooth. Sanded the seam lines and got alot of that finished, but enough air holes to keep me busy. However, the grip details went on quite perfectly. There is a very slight gap along the top due to the detail being a little short in height, but nothing serious.

100_2691.jpg


100_2692.jpg


Not sure what these other two pieces technical names are but got some work on these. This piece I know is going to be on the top and I am considering putting a light into it like the original prop. Not a whole lot of clean up required, but I'm going to have to run my files through the embedded detail to remove excess resin.

100_2689.jpg


This next piece wasn't bad either. I need to confer with my reference to determine if that lip is supposed to be there as it appears purposefully molded. Would need considerable filler work to get those edges looking sharp...

100_2693.jpg


Thats it for now. I hope it doesn't rain like it has been all day today tomorrow. Got a new table for the back to use...

-TC
 
Re: Star Trek: Voyager Compression Rifle Comission update: 10/10/11

Starting again tomorrow. Brother was in town all weekend as he just got back from deployment last month. Found my needle files too!
 
Re: Star Trek: Voyager Compression Rifle Comission update: 10/10/11

Got a little more clean up work done today. I focused on the grips as there is alot of excess resin that was along the edges. Waiting to hit home depot to get some filler. Found some more air holes :/
 
Re: Star Trek: Voyager Compression Rifle Comission update: 10/10/11

These are pics from this past sunday, I've been kinda behind on updating the thread. I've been working on filling air bubbles/etc. This is to show you how rough it was just on the main body. I don't how air bubbles that large get created, but these holes were fairly deep, but had a very thin film of resin over it. Also started cleaning up the canister as well, alot of excess resin built up in those grooves. I've already filled these air hole since this pic

004-78.jpg


The handle grips edges are free and clear now of the extra resin, so they are next on filler. Primed everything just to make it easier to see issues..

005-60.jpg


Like I said, I've never put one of these kits together, so here is another question; does this black piece go into the light housing? It appears to have an outline of this piece etched into it's side, so is it supposed to be like a switch?

008-40.jpg


Going to get to sanding today, and more filling. This is alot of clean up lol
 
This thread is more than 12 years old.

Your message may be considered spam for the following reasons:

  1. This thread hasn't been active in some time. A new post in this thread might not contribute constructively to this discussion after so long.
If you wish to reply despite these issues, check the box below before replying.
Be aware that malicious compliance may result in more severe penalties.
Back
Top