Re: Star Trek TNG First Contact Type III Phaser Rifle - First Pull!
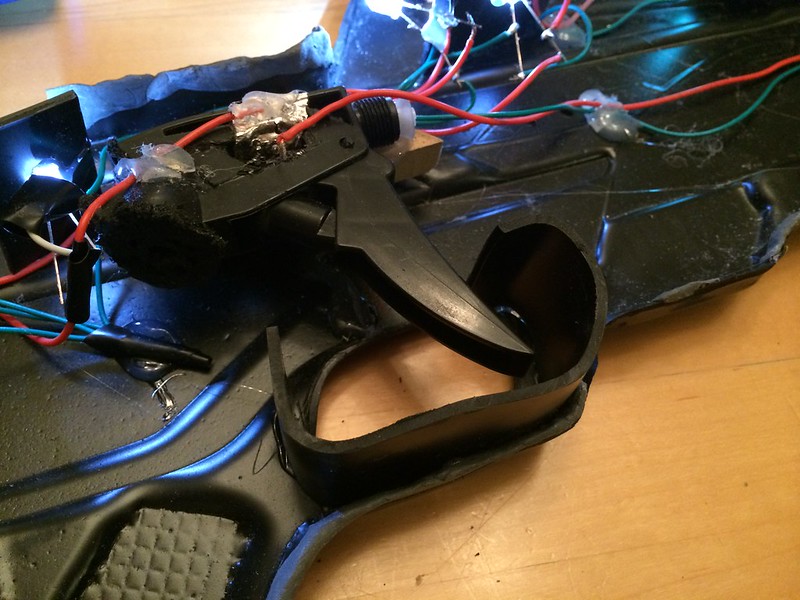
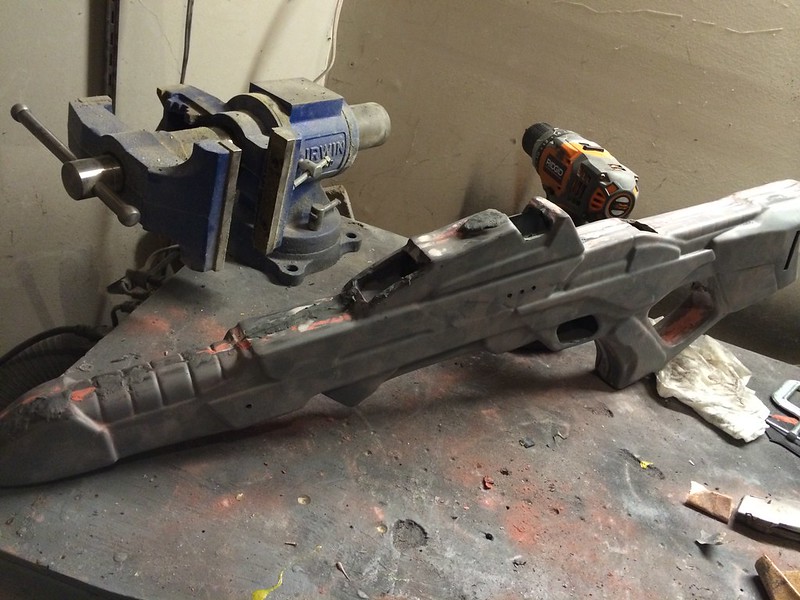
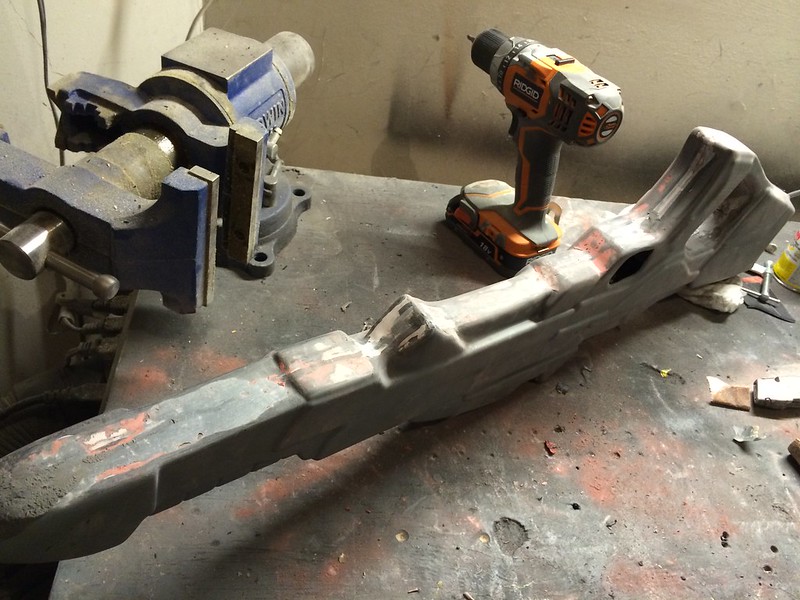
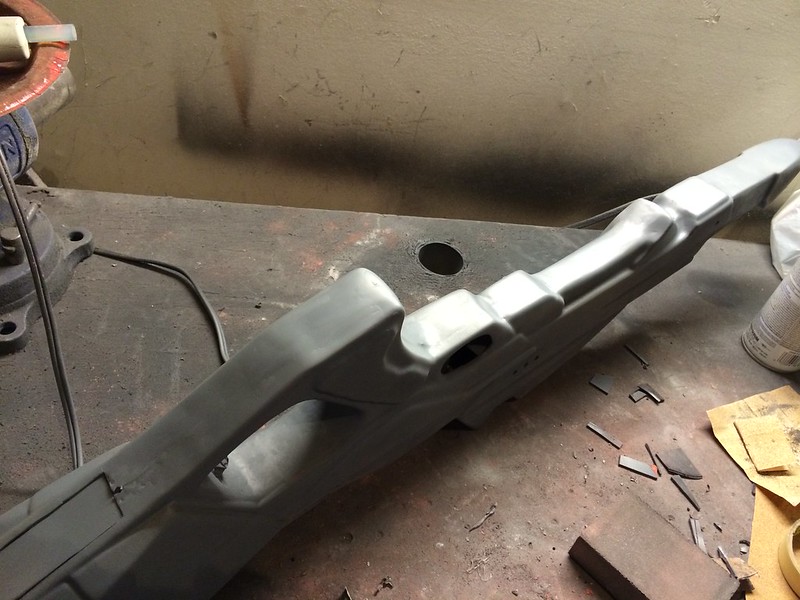
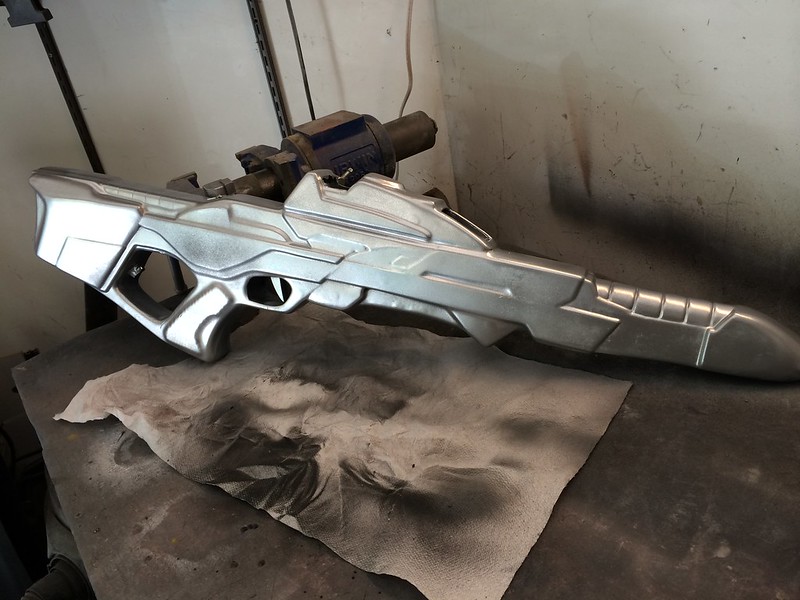
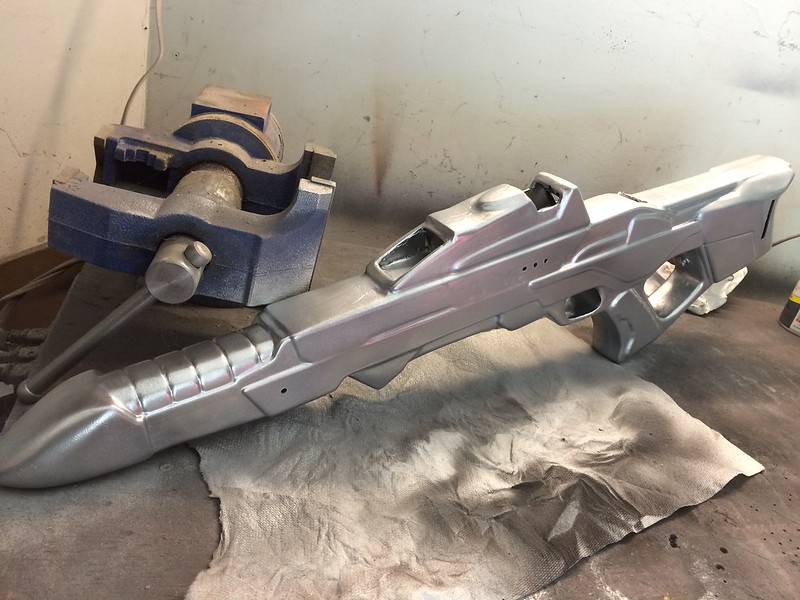
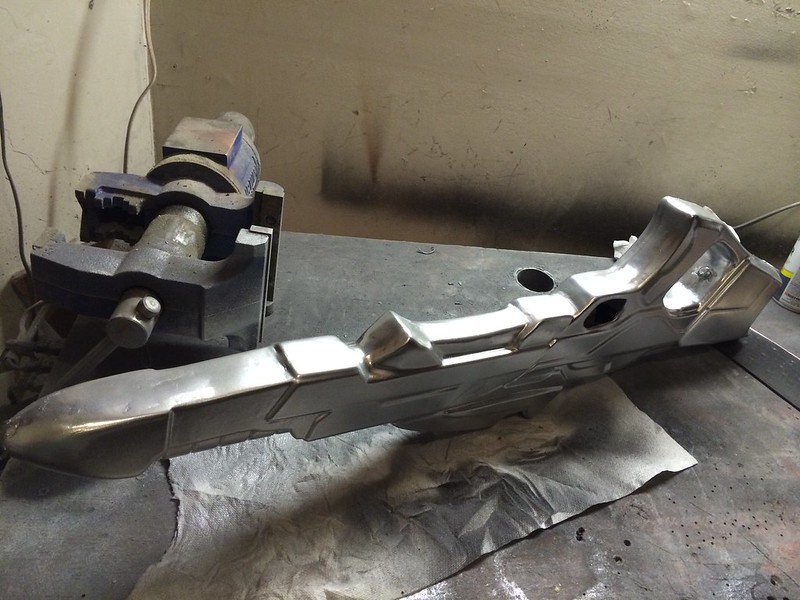
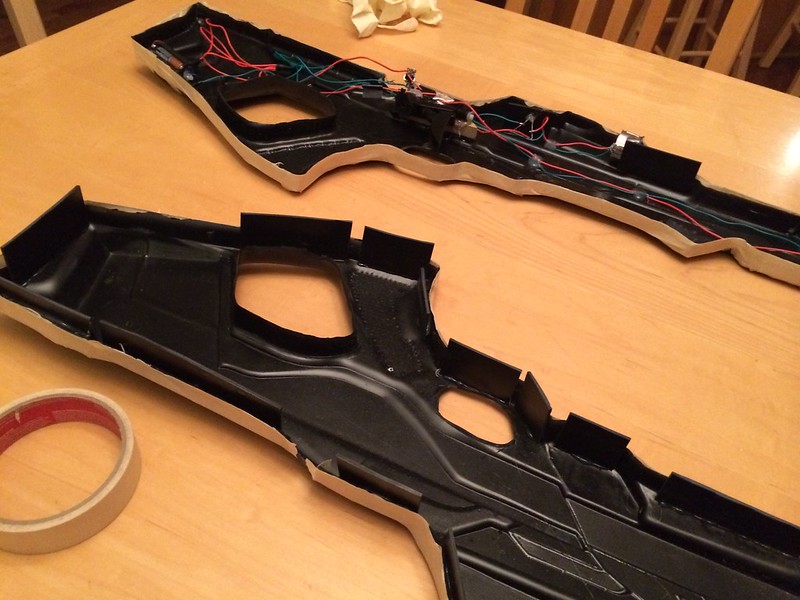
I've decided to move forward on cleaning up the edges. Here's the gun reassembled (love how the trigger worked out).

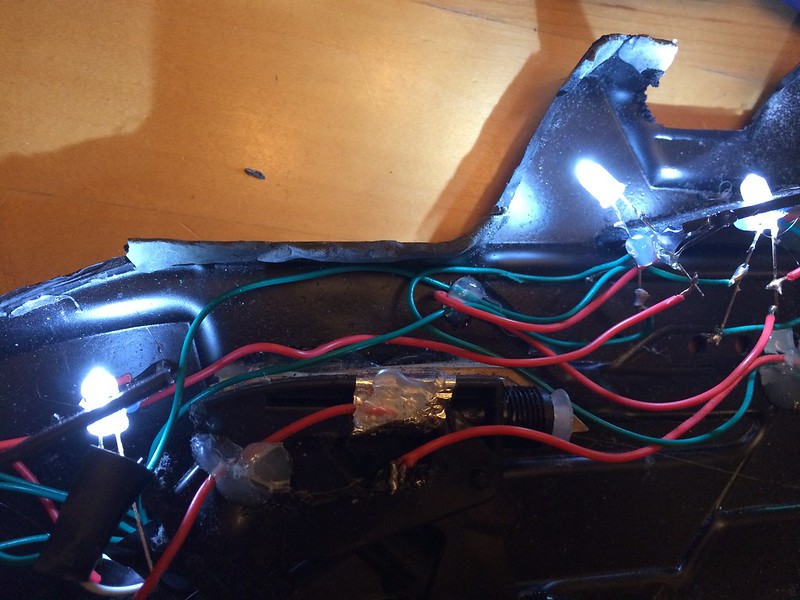
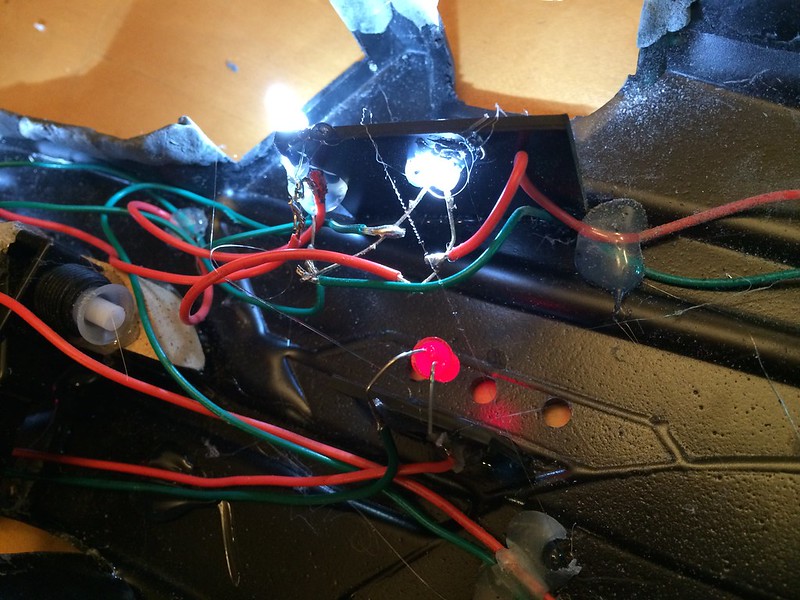
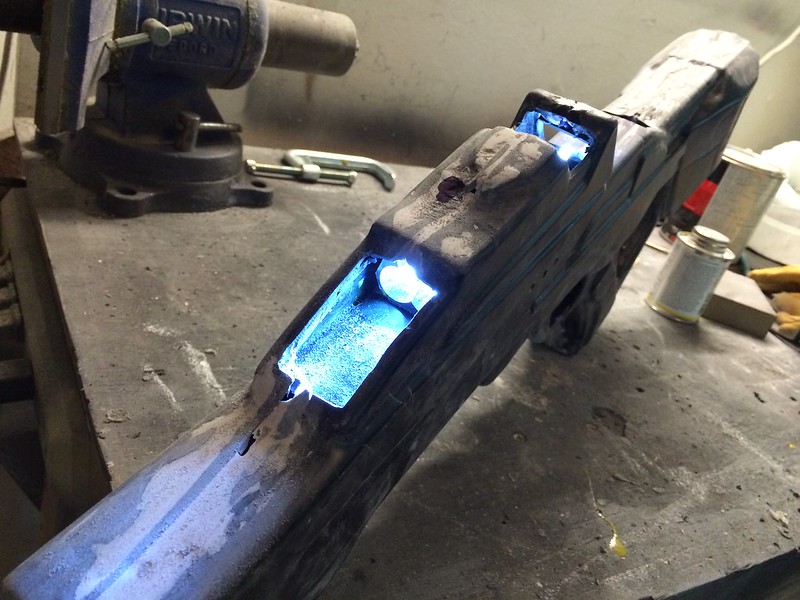
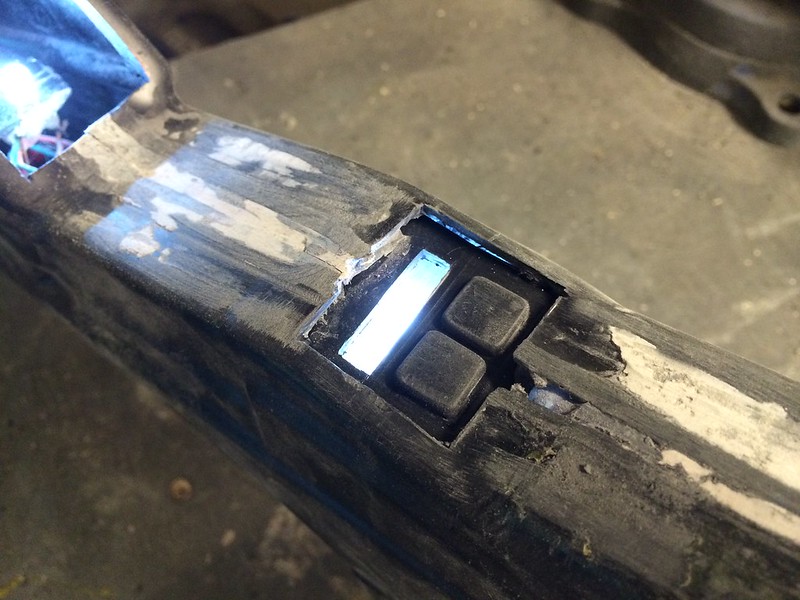
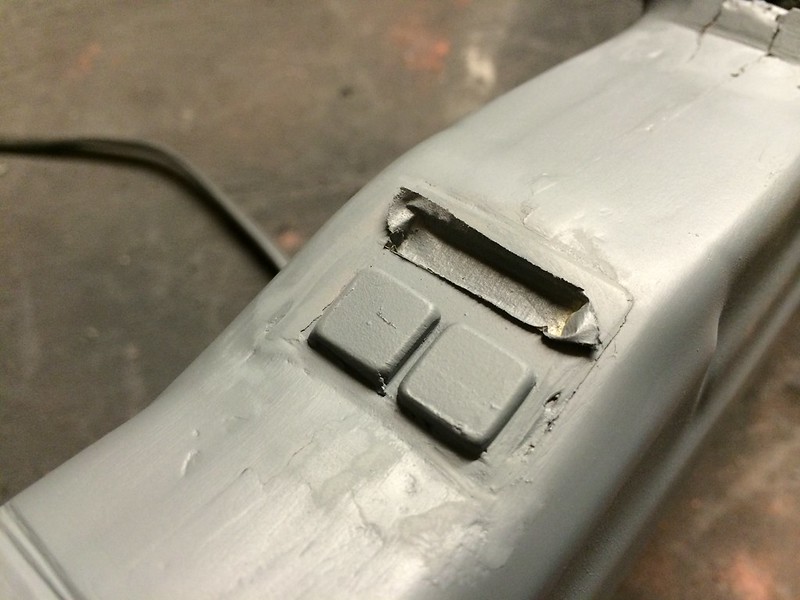
A nice view of the light
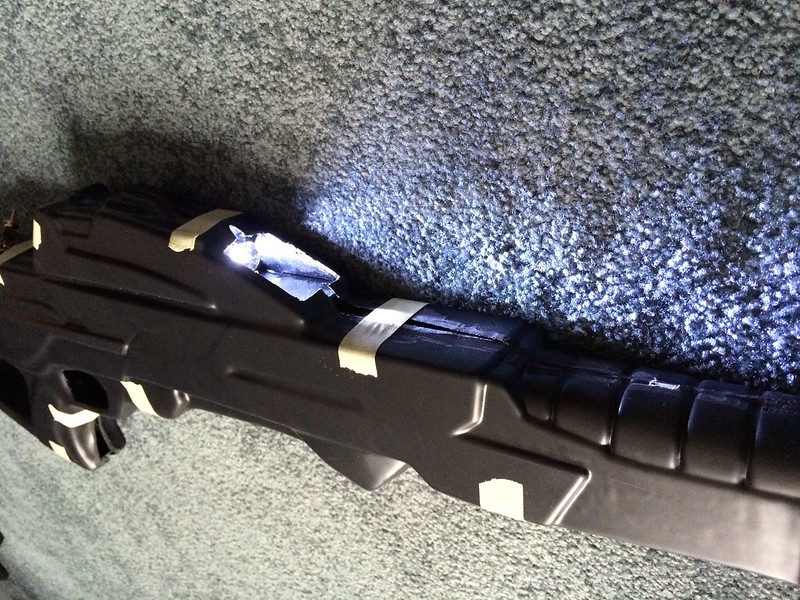
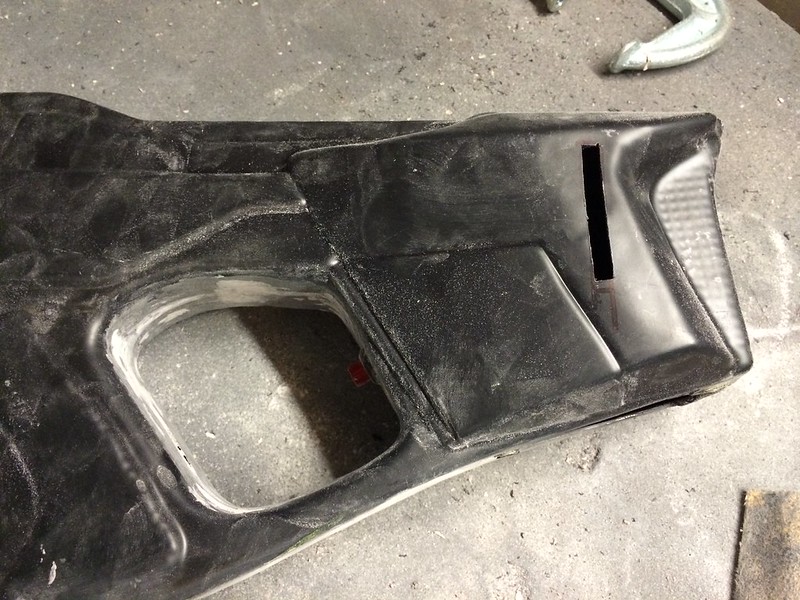
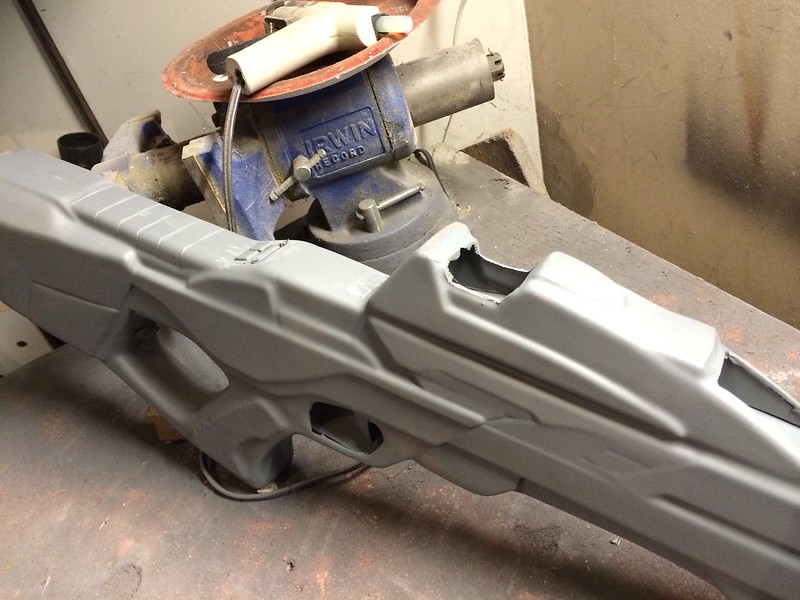
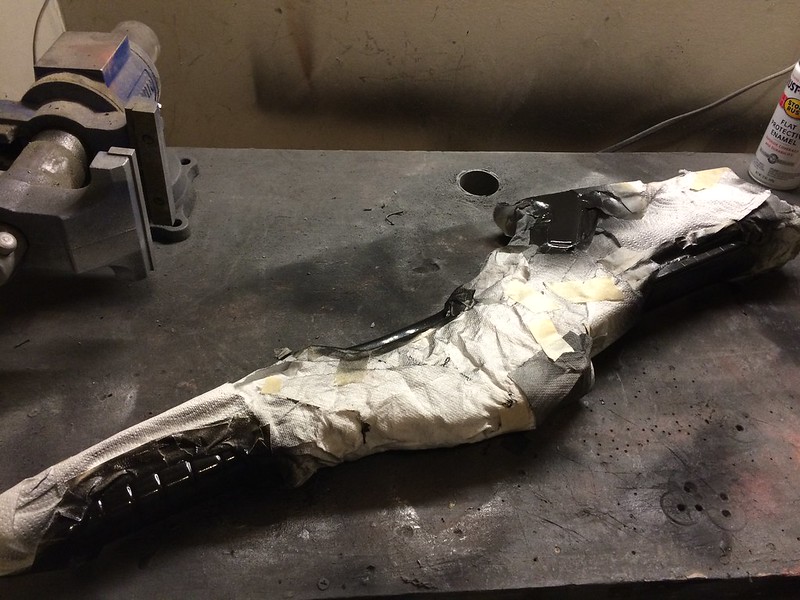
I won't permanently place the "Phaser emitter" until the edges and seams are cleaned up -it will be embedded in the nose.

Stay tuned...
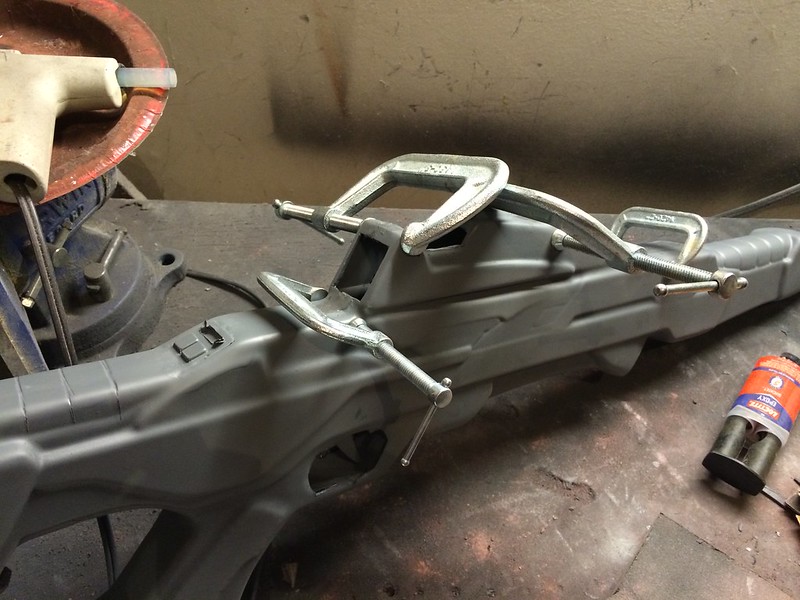
Thanks, I appreciate the advice.Use Bondo Gold, it will bond to styrene.
I've decided to move forward on cleaning up the edges. Here's the gun reassembled (love how the trigger worked out).
A nice view of the light
I won't permanently place the "Phaser emitter" until the edges and seams are cleaned up -it will be embedded in the nose.
Stay tuned...


")