Inigou
Well-Known Member
Re: Sign up thread for NEW Luke V2 light saber run. Spring 2018 edition (SIGN UP CLO
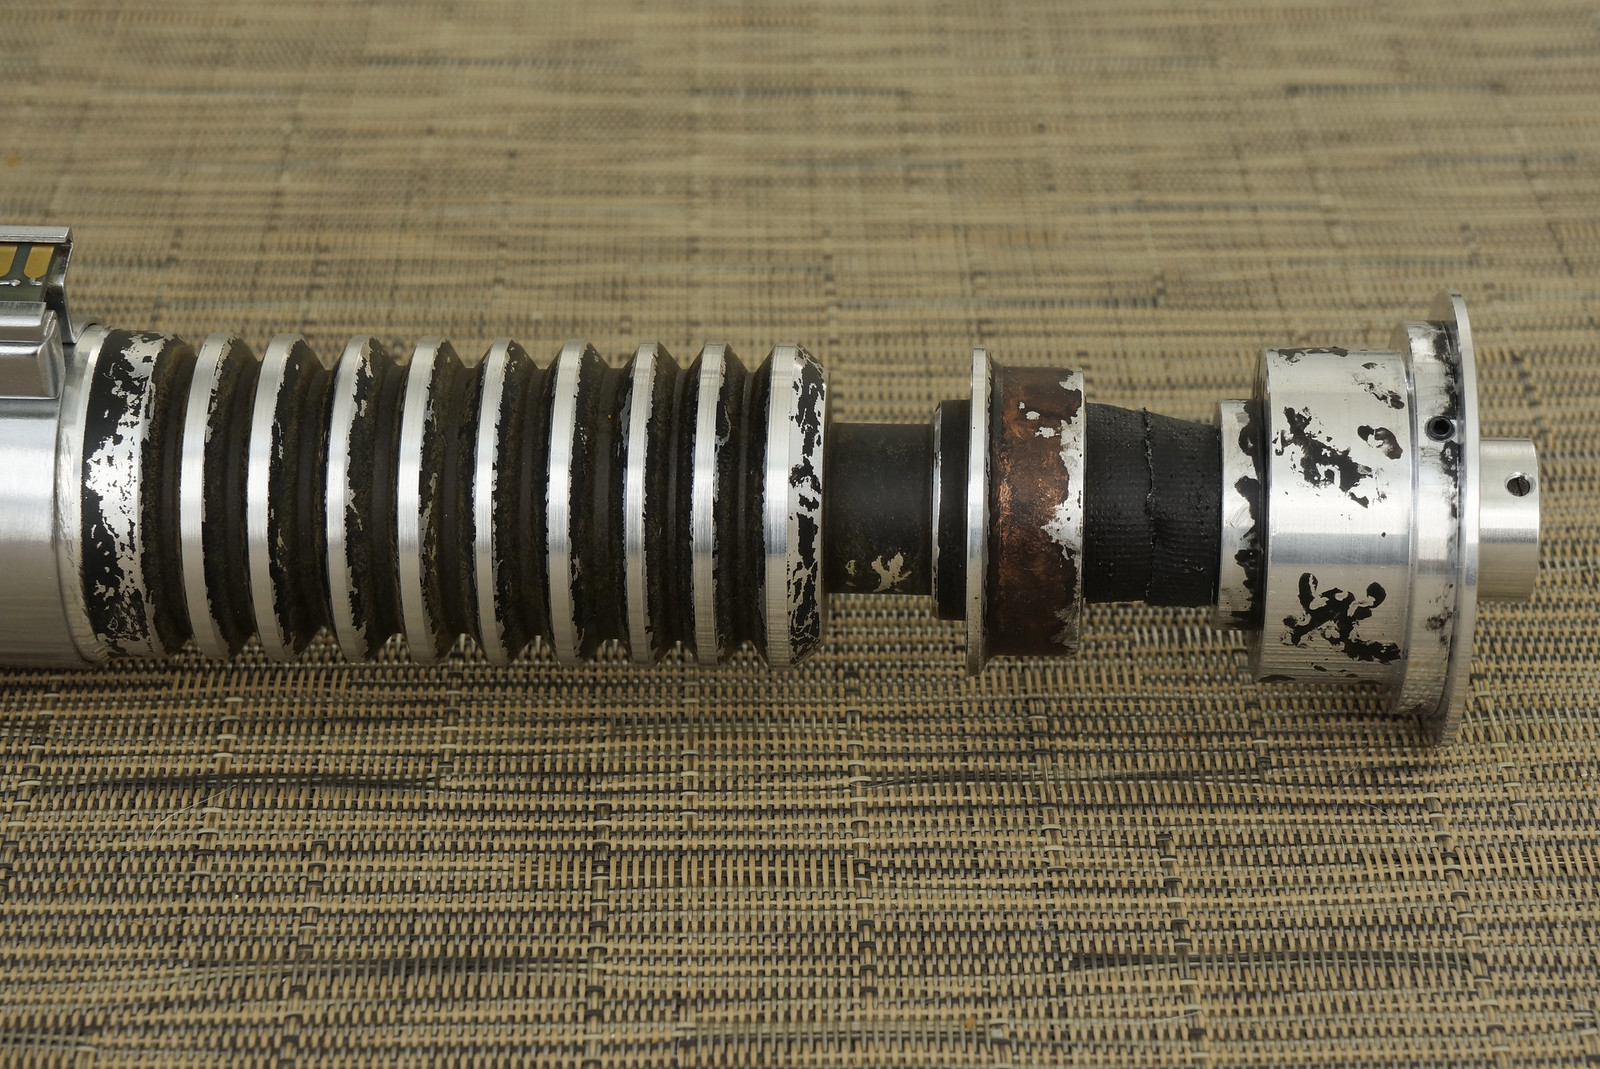
Mine received!
I adjusted the wobbling emitter and the mystery chunk to sit flat.
Here is a small tutorial for those who can be interested on doinf the same.
First, the mystery chunk.
I used the drill with the dremel to shave the threaded lines. The chunk have to be introduced with no resistance. Shave and check until you get the sweet spot.
Use a drill smaller than the hole and rotate inside with the lower rotation speed.
 image (2) by inigou, en Flickr
Then I used some putty inside the pommel and just have to introduce the chunk, center it and let it cure. Very easy.
 image (6) by inigou, en Flickr
 image (8) by inigou, en Flickr
 image (7) by inigou, en Flickr
 image1 by inigou, en Flickr
Next is the emmiter.
I used the dremel with that pictured tool to shave the bottom of the steel part (dont know how its called, sorry)
I shaved about a mm ar maybe a bit more. You can see how much you need to shave when you assemble it.
 image (5) by inigou, en Flickr
Once it sit flat, i added some tamiya masking tape to avoid it wobbling. Add the amount you need to let it spin, but filling the extra space that makes it wobble.
Once you have it, re-assemble and thats it. Perfect fitting.
 image (3) by inigou, en Flickr

image (1) by inigou, en Flickr
Hope you find it helpful!
Mine received!
I adjusted the wobbling emitter and the mystery chunk to sit flat.
Here is a small tutorial for those who can be interested on doinf the same.
First, the mystery chunk.
I used the drill with the dremel to shave the threaded lines. The chunk have to be introduced with no resistance. Shave and check until you get the sweet spot.
Use a drill smaller than the hole and rotate inside with the lower rotation speed.
image (2) by inigou, en FlickrThen I used some putty inside the pommel and just have to introduce the chunk, center it and let it cure. Very easy.
image (6) by inigou, en Flickrimage (8) by inigou, en Flickrimage (7) by inigou, en Flickrimage1 by inigou, en FlickrNext is the emmiter.
I used the dremel with that pictured tool to shave the bottom of the steel part (dont know how its called, sorry)
I shaved about a mm ar maybe a bit more. You can see how much you need to shave when you assemble it.
image (5) by inigou, en FlickrOnce it sit flat, i added some tamiya masking tape to avoid it wobbling. Add the amount you need to let it spin, but filling the extra space that makes it wobble.
Once you have it, re-assemble and thats it. Perfect fitting.
image (3) by inigou, en Flickrimage (1) by inigou, en Flickr
Hope you find it helpful!
Last edited:


")

