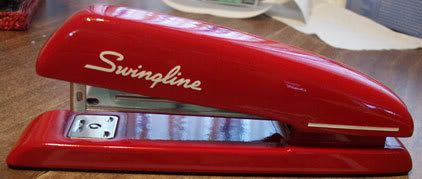
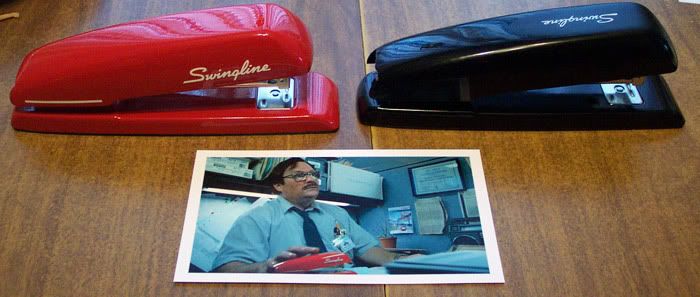
Re: Show me your Red Swingline Stapler!
Is there a tutorial up anywhere on taking these apart to make painting easier?
It is super easy.
Step 1) Grip the staple top (including the holder section silver bits) near the front, and grip the base. Gently pull apart. The holder section friction fits into the base at the rear.
Step 2) Look at the inside of the top. You will see a metal flex clip near the front. It is holding in the staple holder. Pull back on the top of the clip while pulling the holder in the other direction until it pops out. Swing the holder back down, and lock back into the base.
Step 3) Place a smooth flat head screwdriver between the plastic top and the metal base where the hinge pin is. Gently twist the screw driver while twisting the top away from the base. You do not need to move it far or with great force. The top will then pop off the hinge.
Step 4) Remove the hinge pin. Once again, gently pull the holder from the base. It is important to not separate the two main components of the holder. There is a spring, and it is under tension. Parts will fly everywhere. And unless you where paying very close attention, you will have a hard time getting it back together.
Step 5) Flip the base over, and remove the rubber bottom.
Step 6) Press the staple bender thingy (don't know what it's really called) up, and place a small 1/8" piece of something under it to keep it in the up postion. This will allow you to mask it off, so you don't paint the chrome bit. You can drill ot the rivet the holds it in place, but you will never get it to work properly again.
Step 7) Wait. You are done. It's in pieces, 5 in all. And hopefully you have put them all in a small baggy so you don't lose them. :eek
The rest is removing the old logo/texture, and then painting it. And of course, assembly is just the reverse.
Hope that was helpful.


