beachbum80
New Member
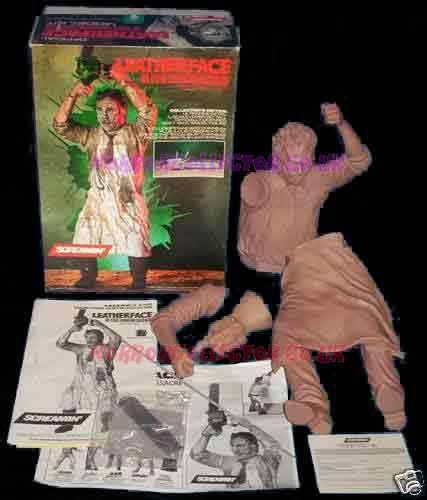
Hey everybody, I'm new to this forum and new to vinyl models. I just bought a Screamin Leatherface model from e-bay. It is the real thing, not an Asian knock-off, but it didn't come with the instructions. The seller did mention that they had been lost. Anyhow, I did some homework before I got it, but still seem to be a little clueless. Everything thing I've read says to fill the bottom portion with plaster of paris or newspaper, but there's no place to fill it without making a large hole in the top of the bottom half. Is that what I do? Also, I plan on using a brush instead of an air brush. What brand and type of brushes and paints do you guys recommend? Any help would be great! Thanks