hoosleberg
Jr Member
I wanted to build a y-wing at a pretty big scale but not quite studio scale so 1/36 it was.

1/35 would probably be a more conventional modeling scale but I was using the Bandai 1/144 y-wing to measure off of and multiplying everything by 4 made for easier numbers to work with.


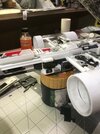
I'll be using a few different tanks and artillery to kitbash from --but nothing screen accurate. The general features of the y-wing will be followed but my version will deviate from the original when it comes to the finer details.


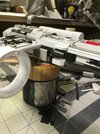
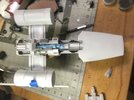
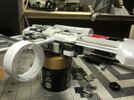
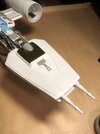
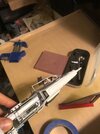
The exhaust section from a tiger tank kit. The scale isn't proportional but I'll build it up with some styrene bits and greeblies.

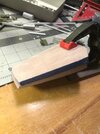
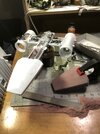
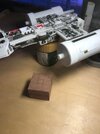
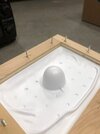
Some high density foam to sculpt a buck for vacuforming the nose section.


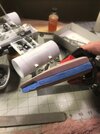
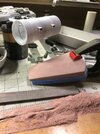
First pull didn't go well. Too thin styrene


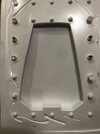
Second pull from thicker styrene but the "no parking" text on the sheet got imprinted on to the side showing. I'll try again later but use this as a placeholder in the meantime.
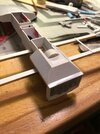
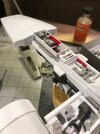
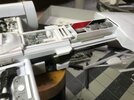
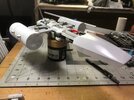
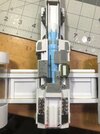
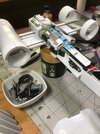
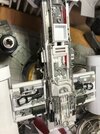
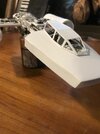
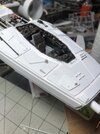
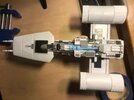
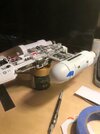
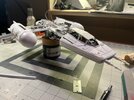
Back to the rear fuselage...


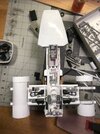
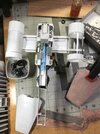
Underside

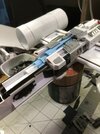
Midsection

Wings
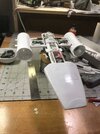
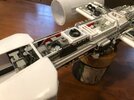
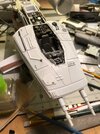
I stray from the original y-wing a lot here when it comes to the greeblies.


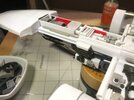
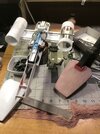
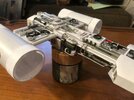
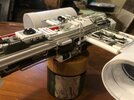
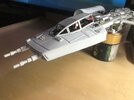
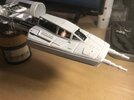
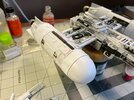
Engine tubes cut from 1 3/4" acrylic and wrapped in styrene


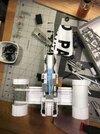
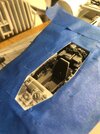
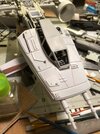
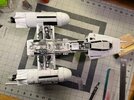
That's the current state of the ship. Not sure what I'll work on next. Probably finishing the buck for the bottom half of the nose.
1/35 would probably be a more conventional modeling scale but I was using the Bandai 1/144 y-wing to measure off of and multiplying everything by 4 made for easier numbers to work with.
I'll be using a few different tanks and artillery to kitbash from --but nothing screen accurate. The general features of the y-wing will be followed but my version will deviate from the original when it comes to the finer details.
The exhaust section from a tiger tank kit. The scale isn't proportional but I'll build it up with some styrene bits and greeblies.
Some high density foam to sculpt a buck for vacuforming the nose section.
First pull didn't go well. Too thin styrene
Second pull from thicker styrene but the "no parking" text on the sheet got imprinted on to the side showing. I'll try again later but use this as a placeholder in the meantime.
Back to the rear fuselage...
Underside
Midsection
Wings
I stray from the original y-wing a lot here when it comes to the greeblies.
Engine tubes cut from 1 3/4" acrylic and wrapped in styrene
That's the current state of the ship. Not sure what I'll work on next. Probably finishing the buck for the bottom half of the nose.