Scout Trooper & Speeder Bike by Bandai

Jaitea

Master Member
Hey all,....I got the Speeder Bike in the post on Wed morning,....I'm not gonna start it just yet,....but I couldn't wait to crack open the box & compare it to the MPC kit


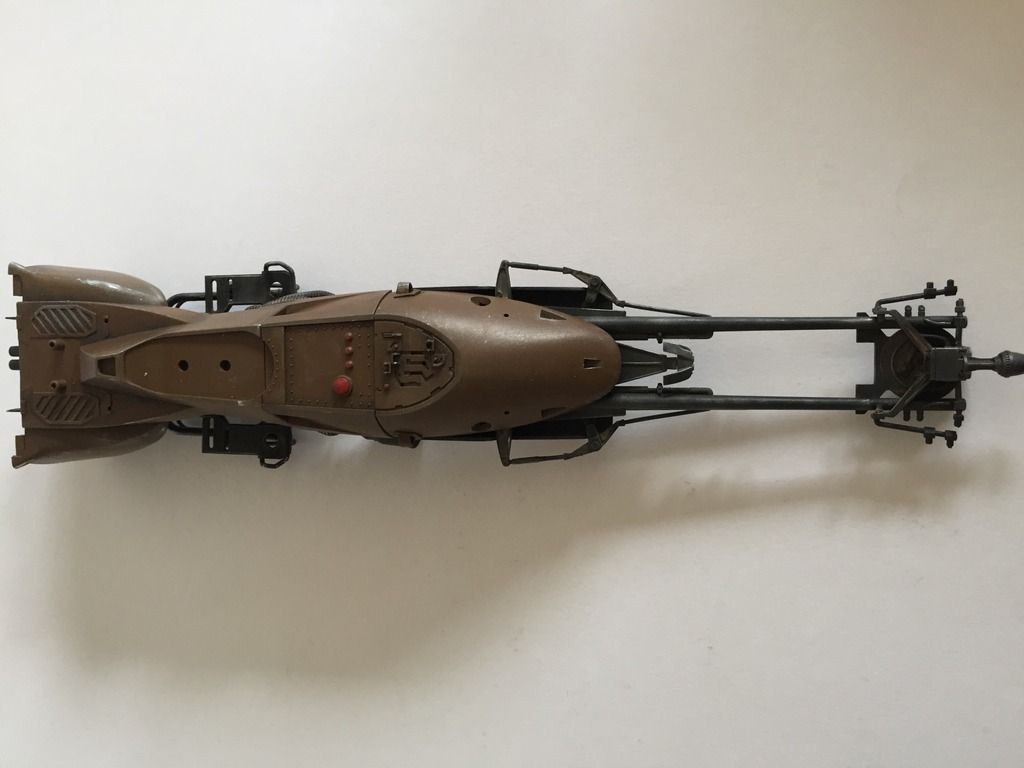
It's supposed to be roughly the same size......and right enough it is,......well the bike anyway


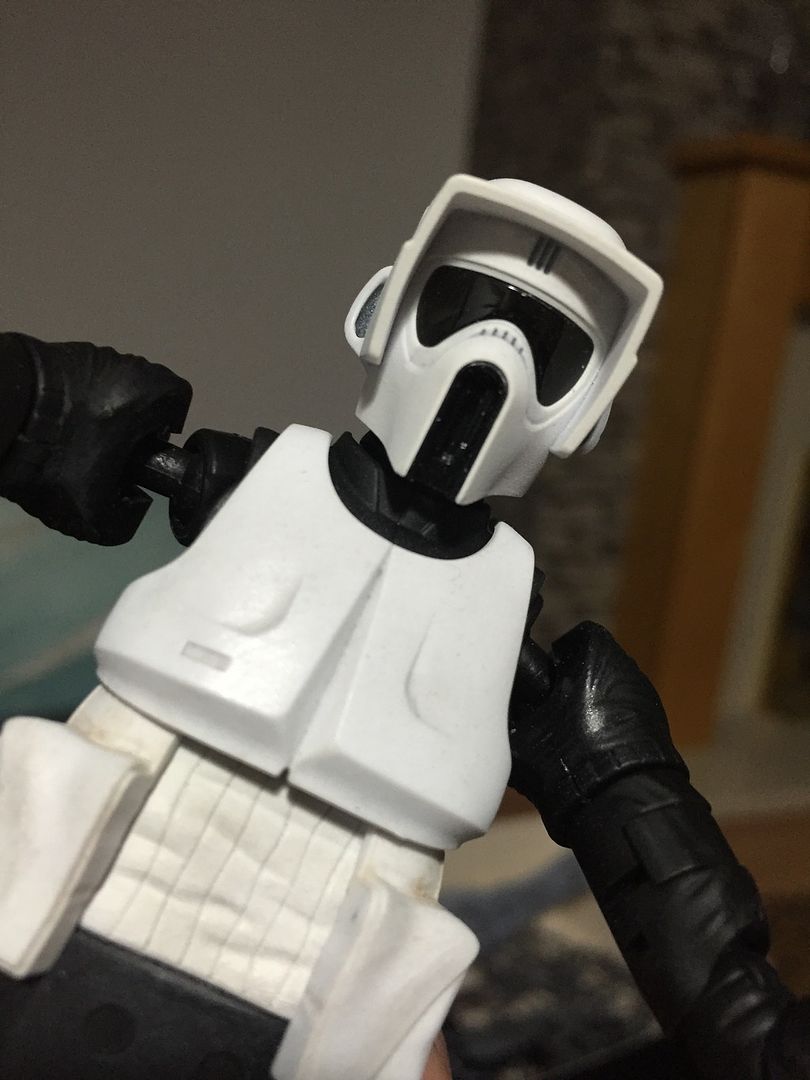
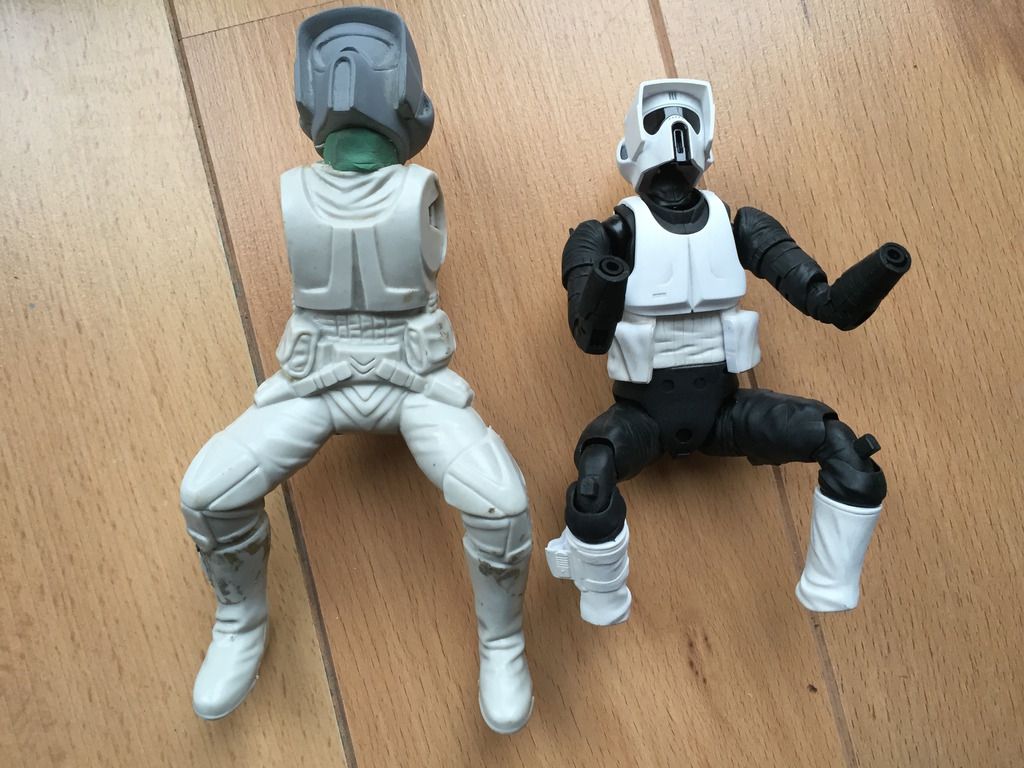
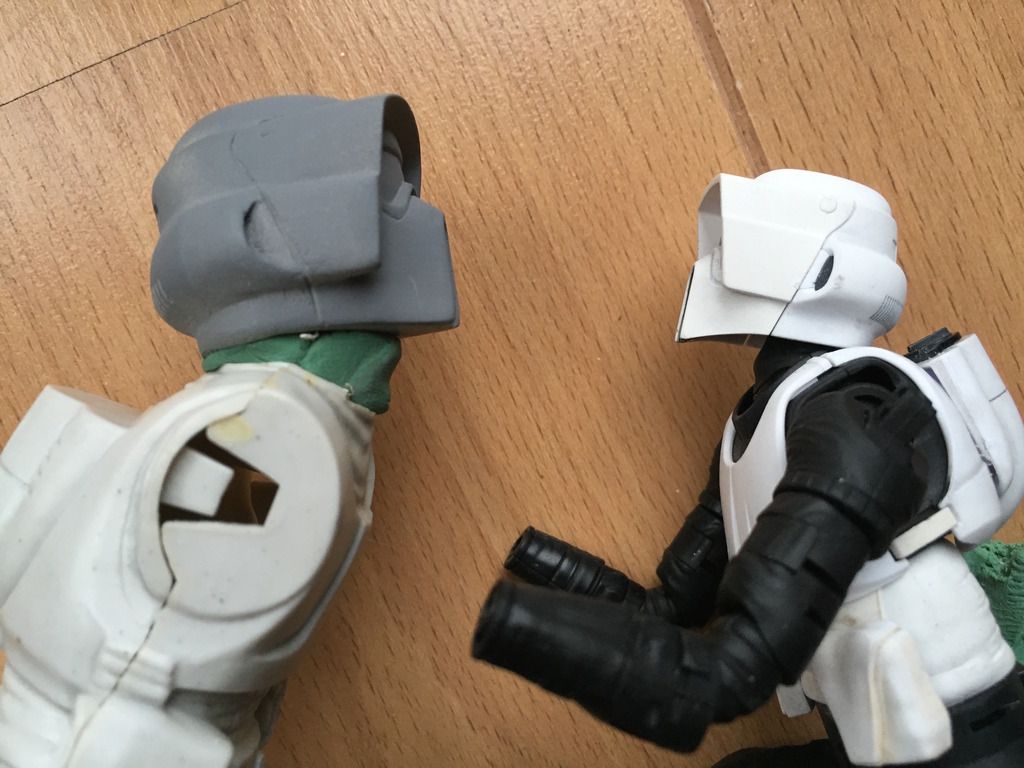
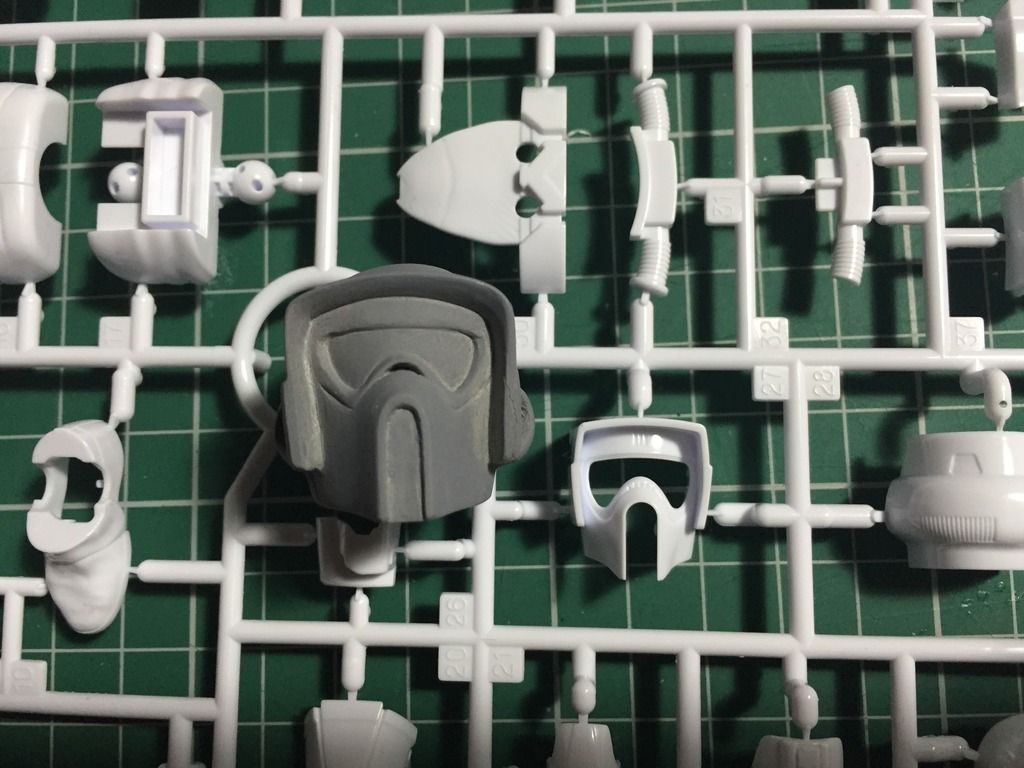
The MPC trooper is a good bit bigger......(This helmet has been reshaped a bit):


FullSizeRender.jpg

FullSizeRender-1.jpg

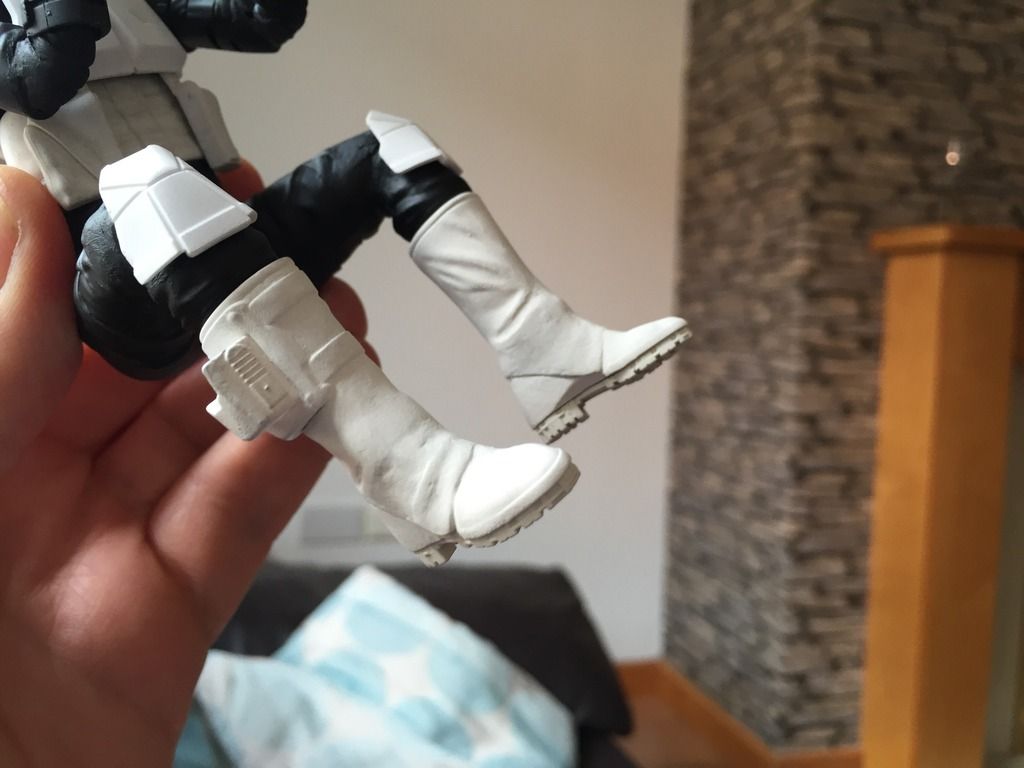
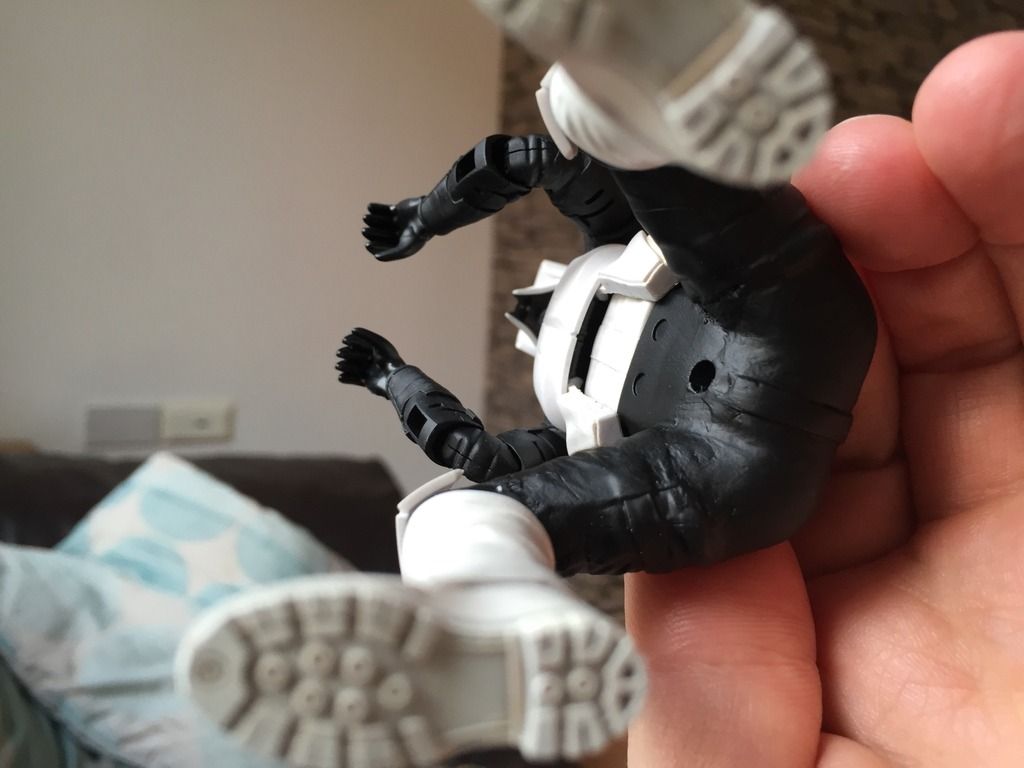
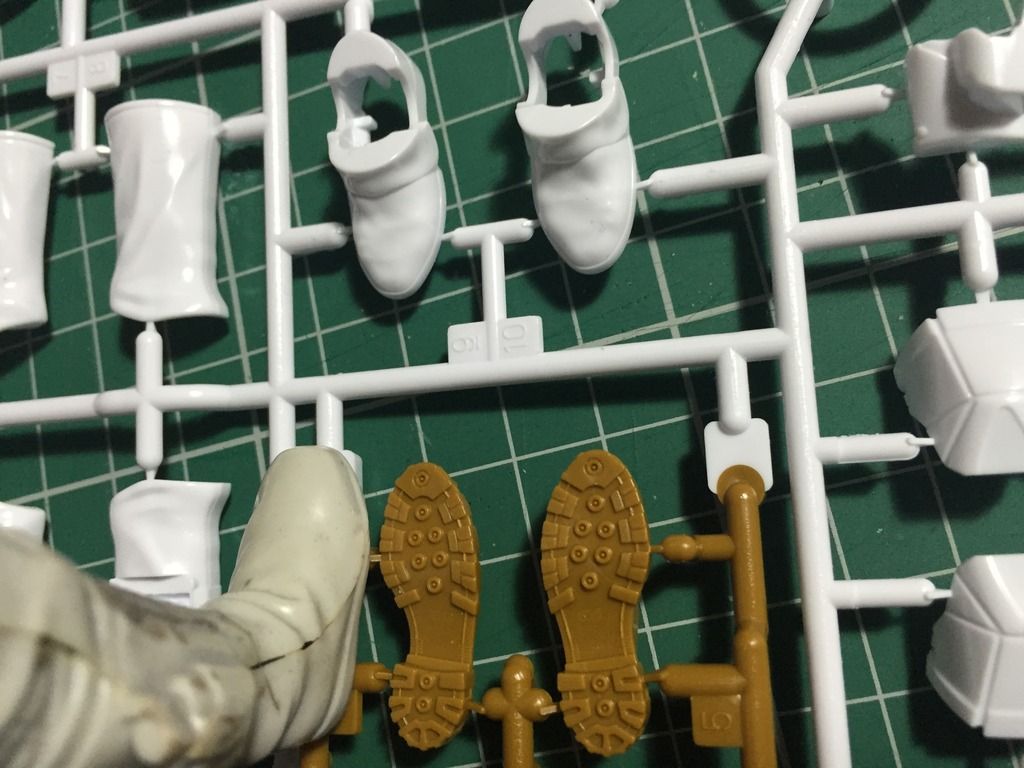
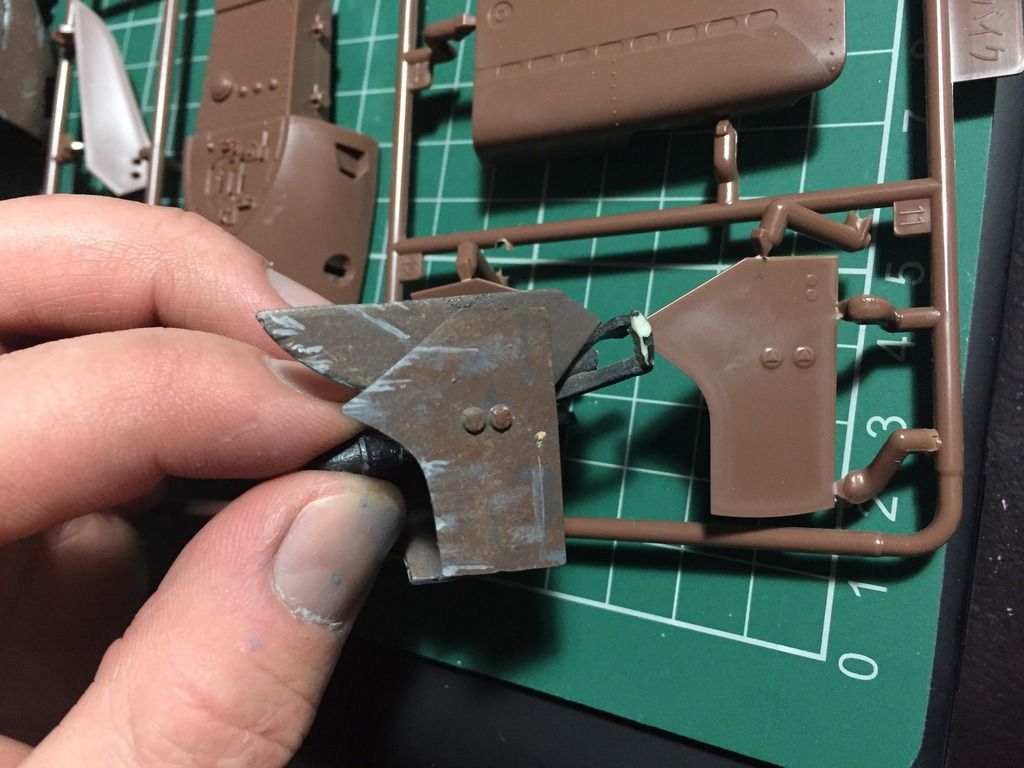
The feet are almost the same size:
IMG_2383.jpg

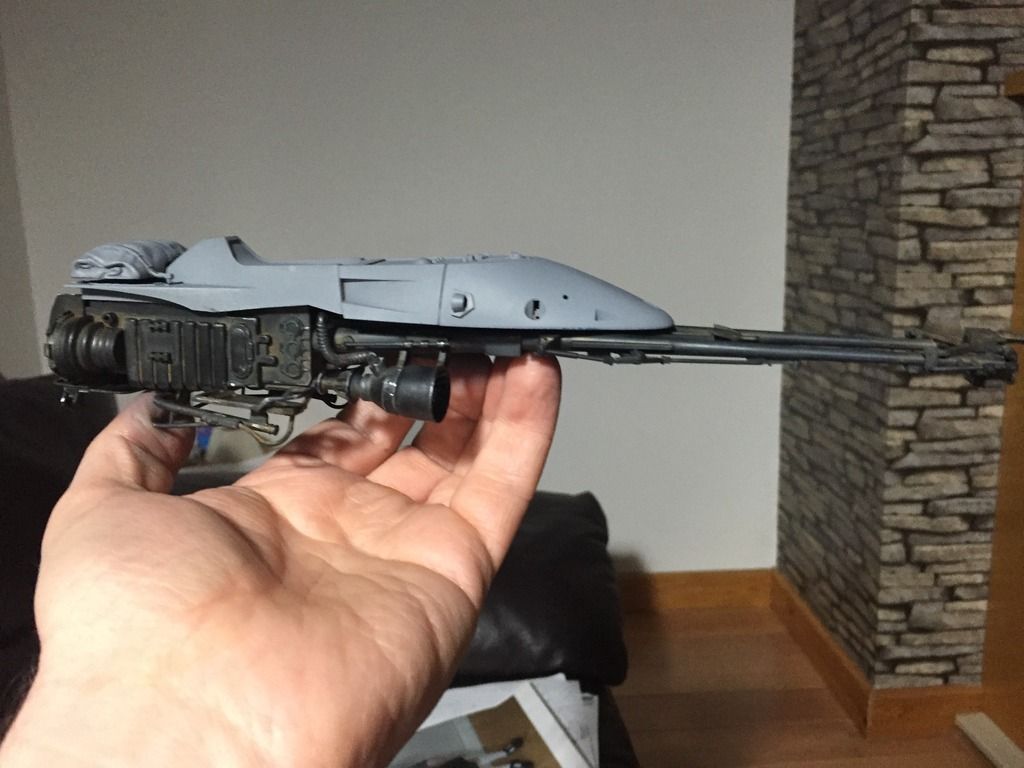
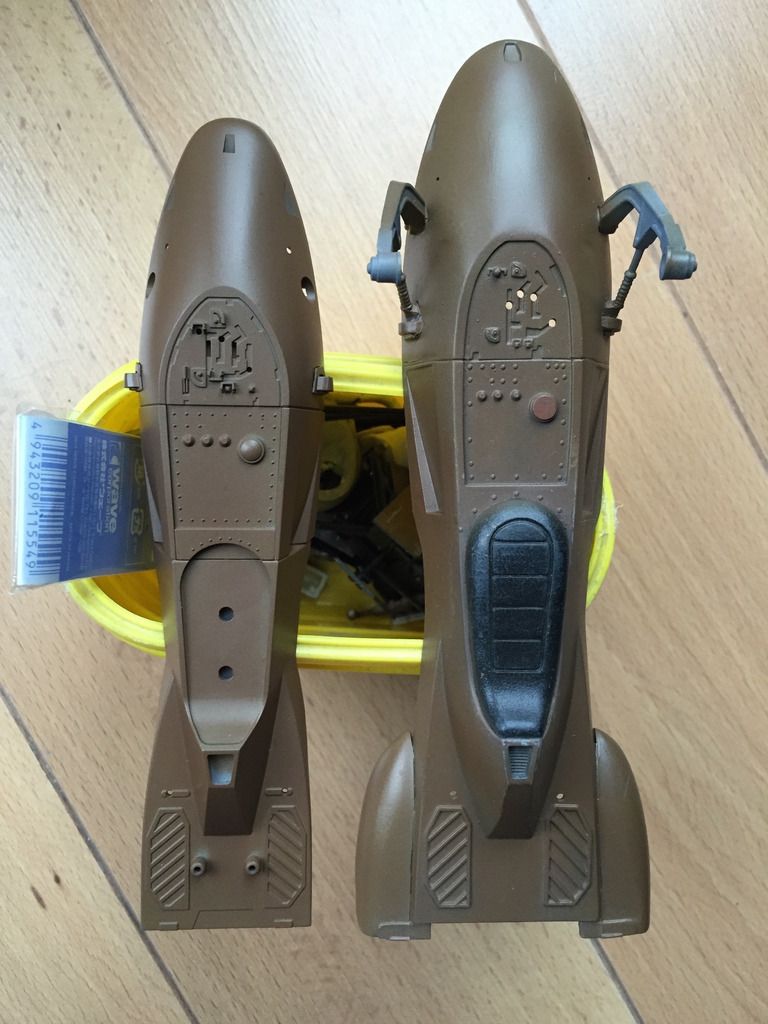
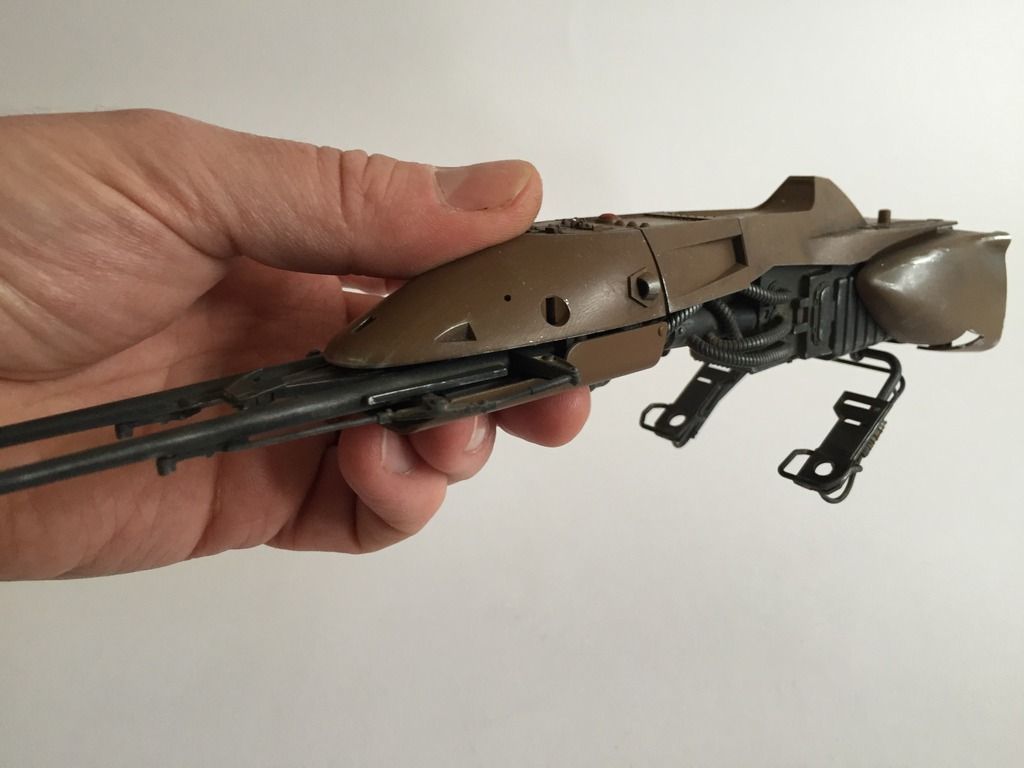
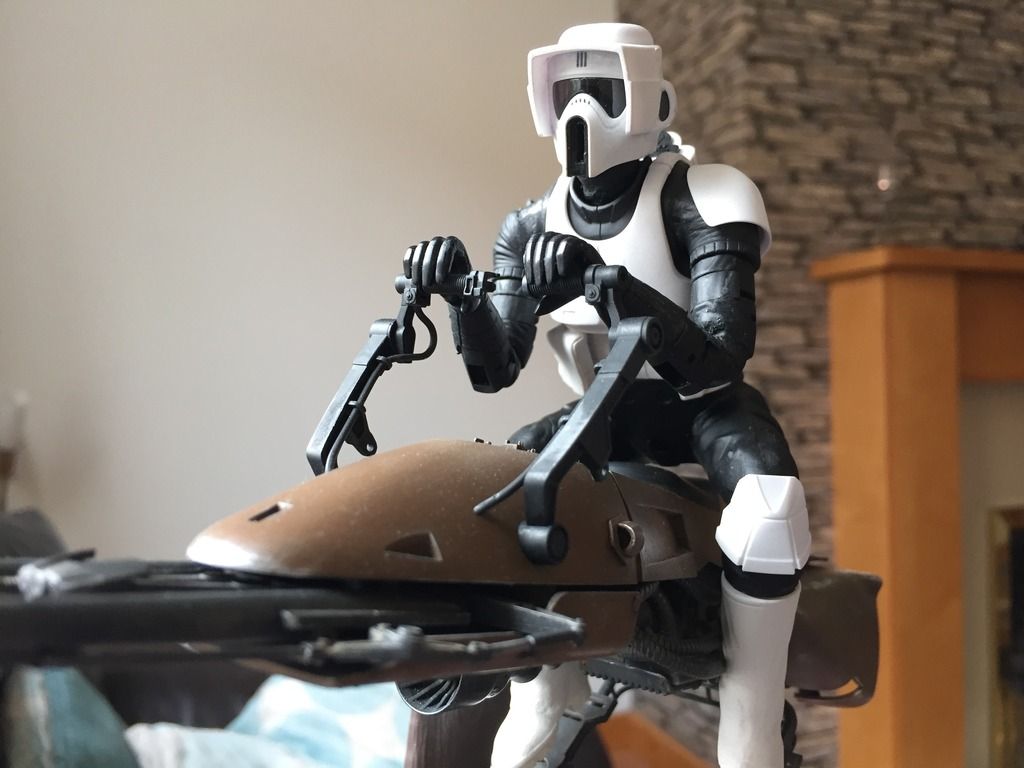
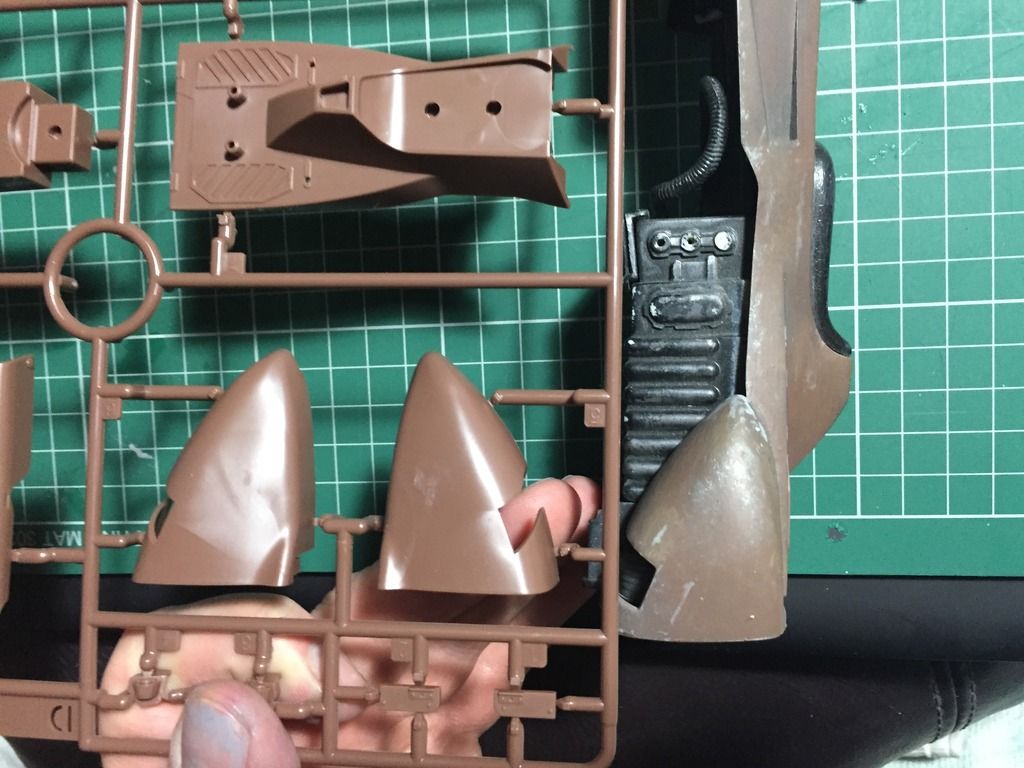
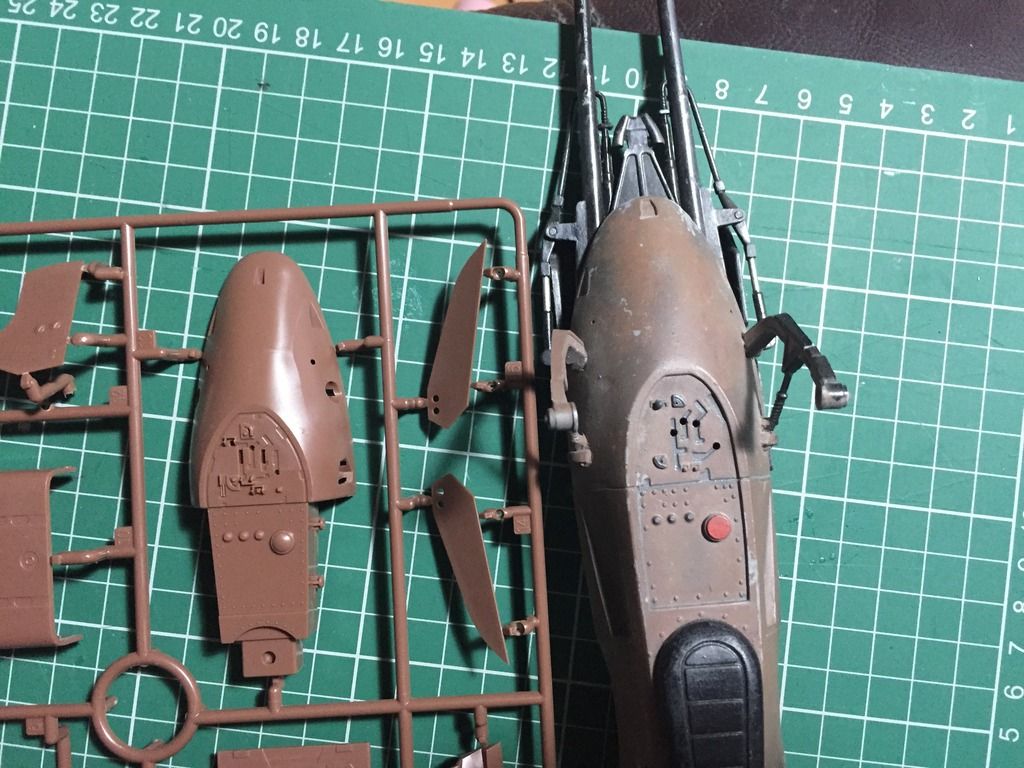
The Space Shuttle nose is a slightly different shape,....I'll have to check reference photos to see which is correct,...(likely Bandai):
IMG_2384.jpg

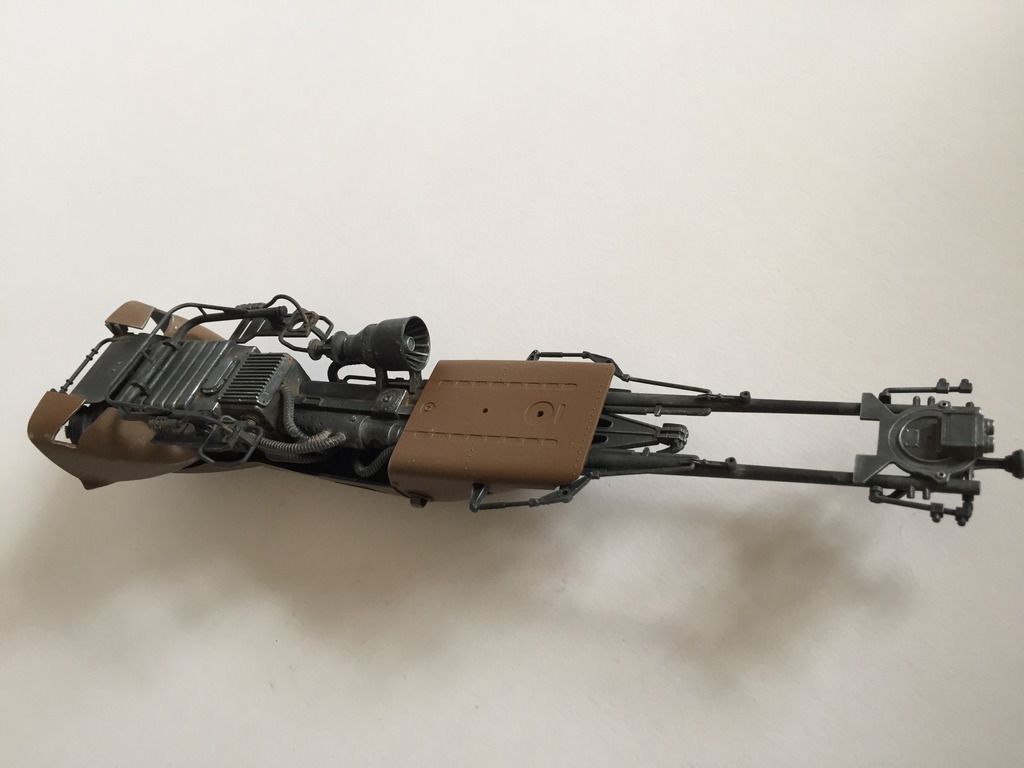
Very similar size here:
IMG_2386.jpg

IMG_2387.jpg

IMG_2388.jpg

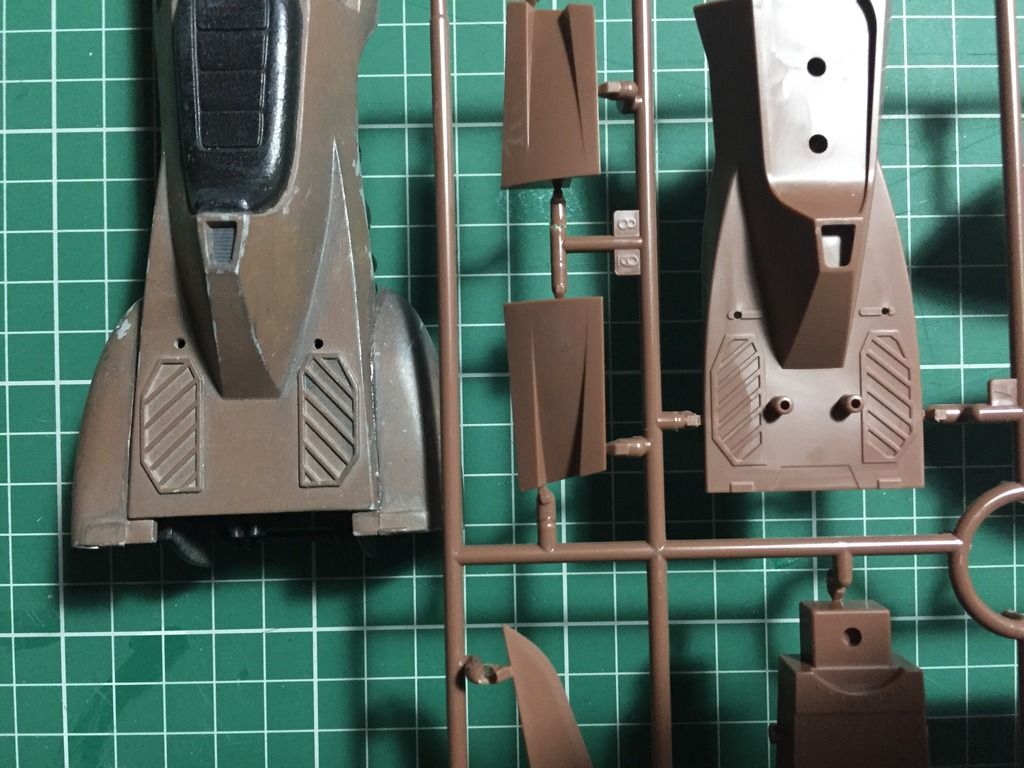
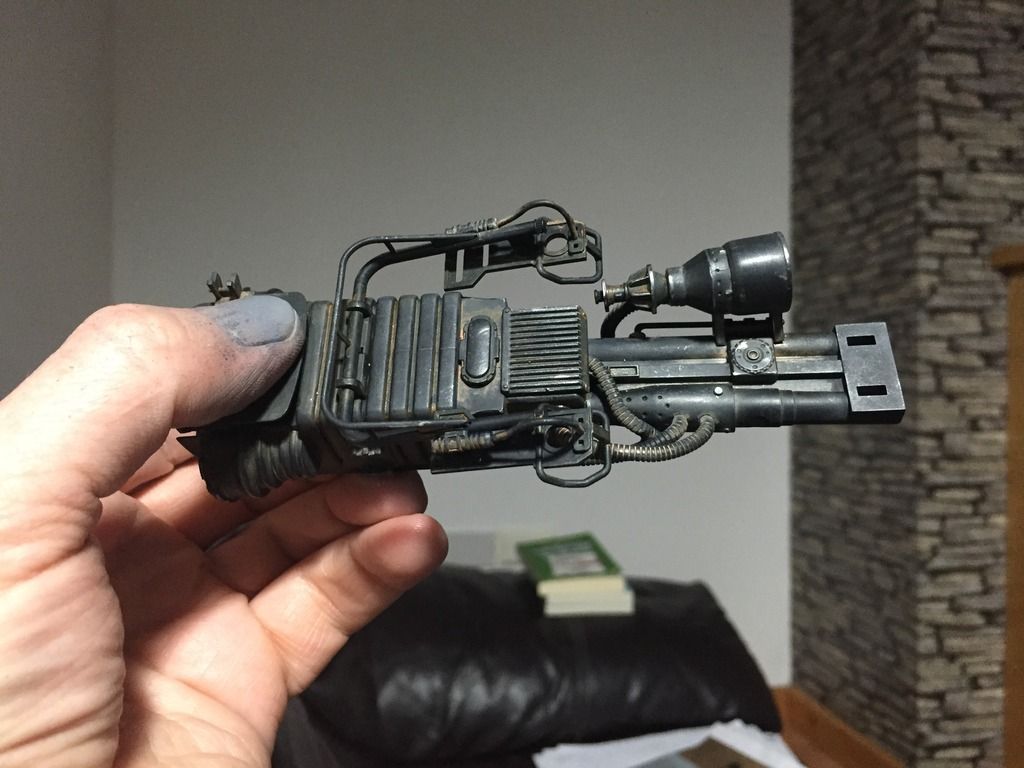
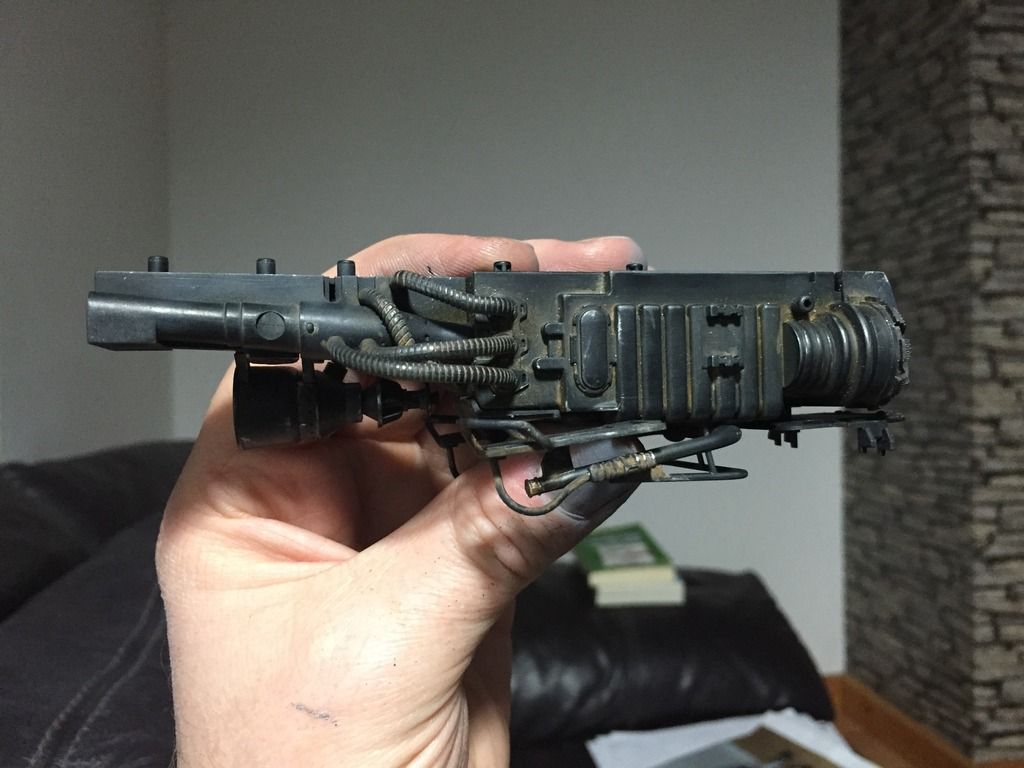
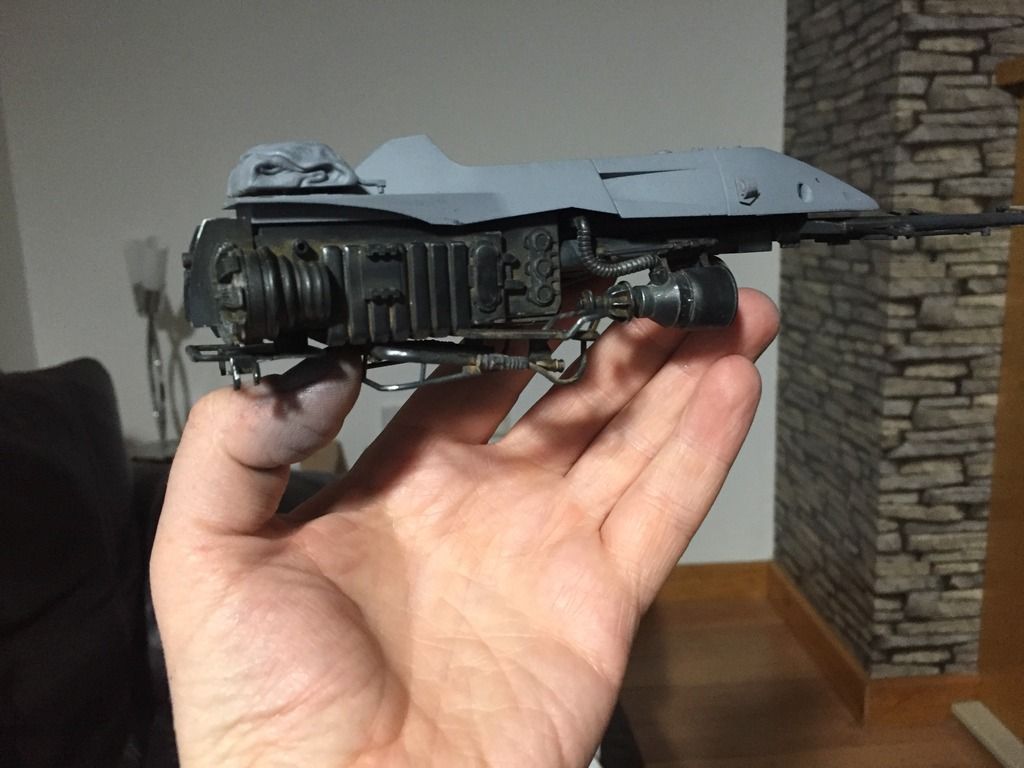
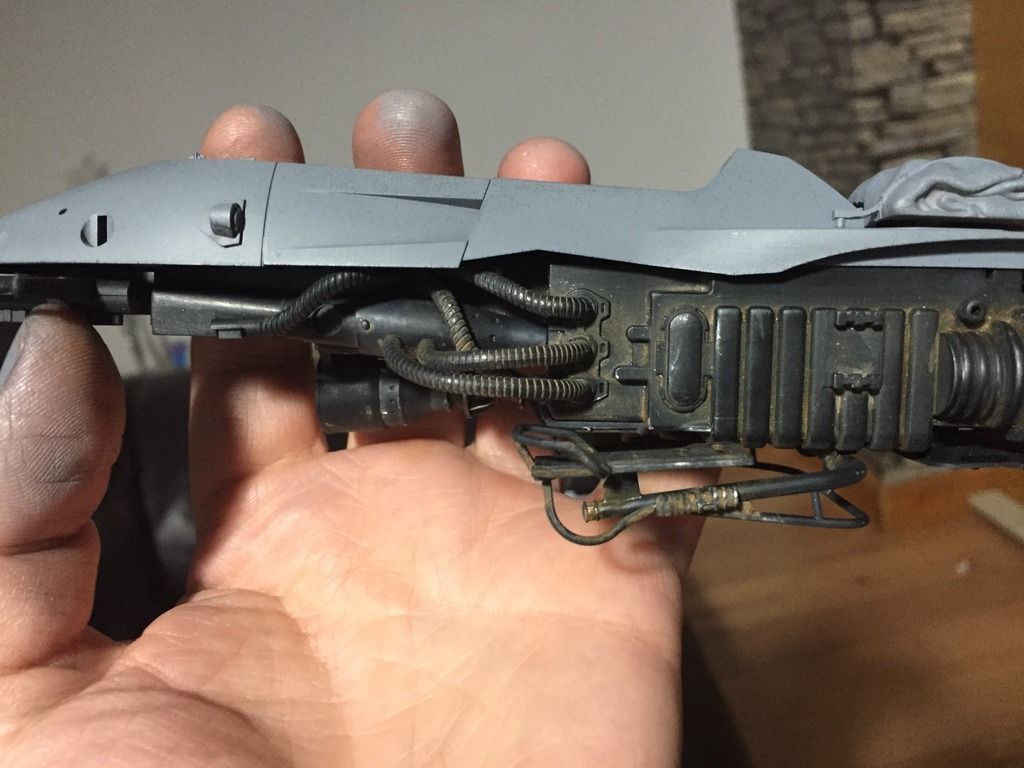
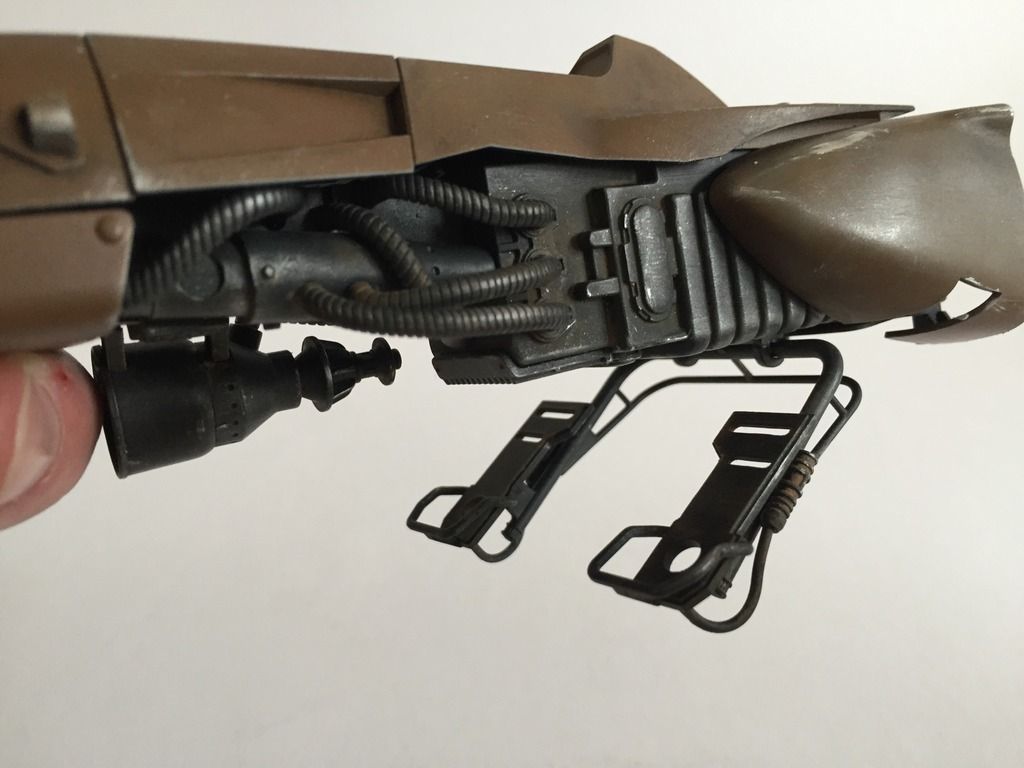
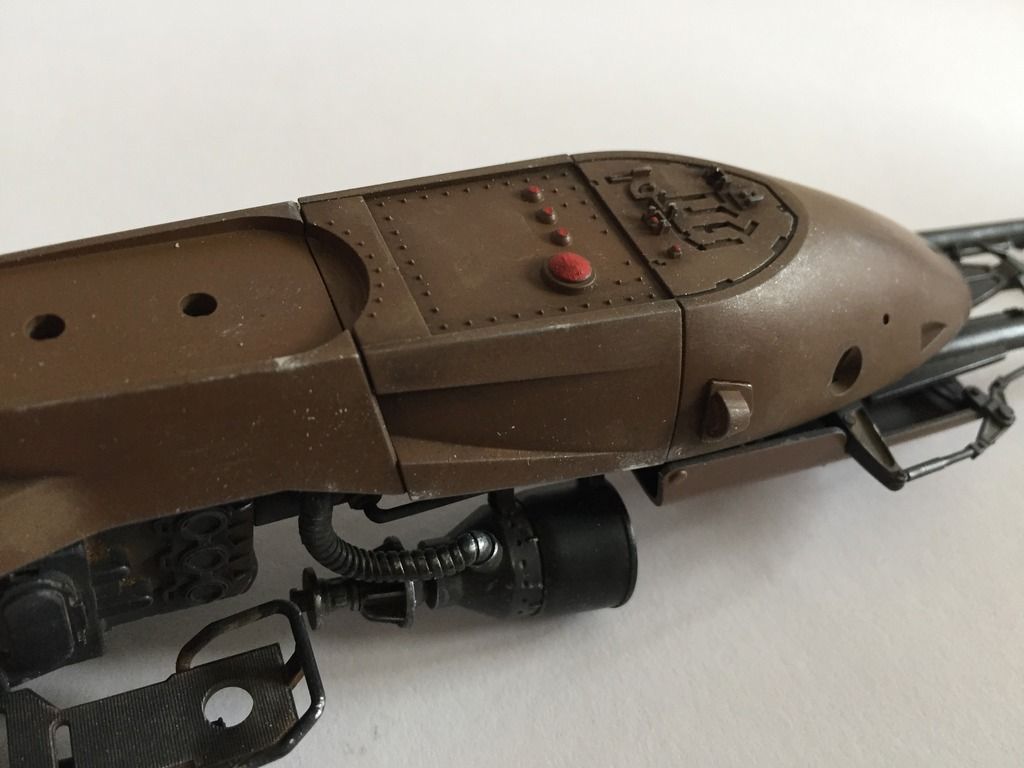
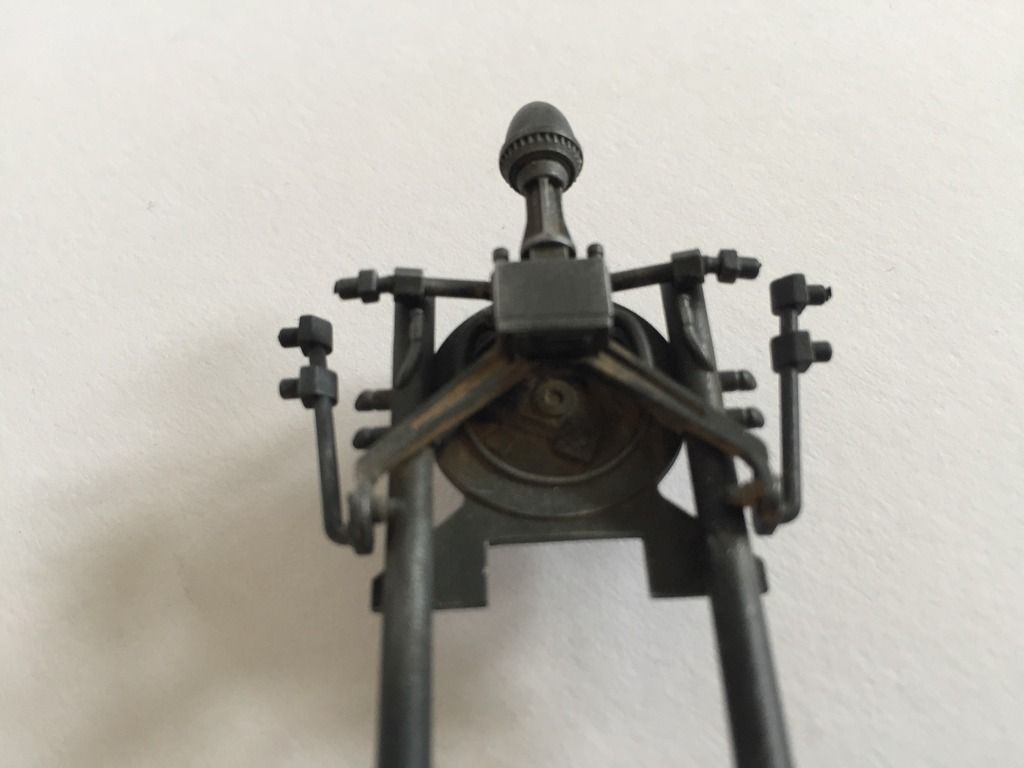
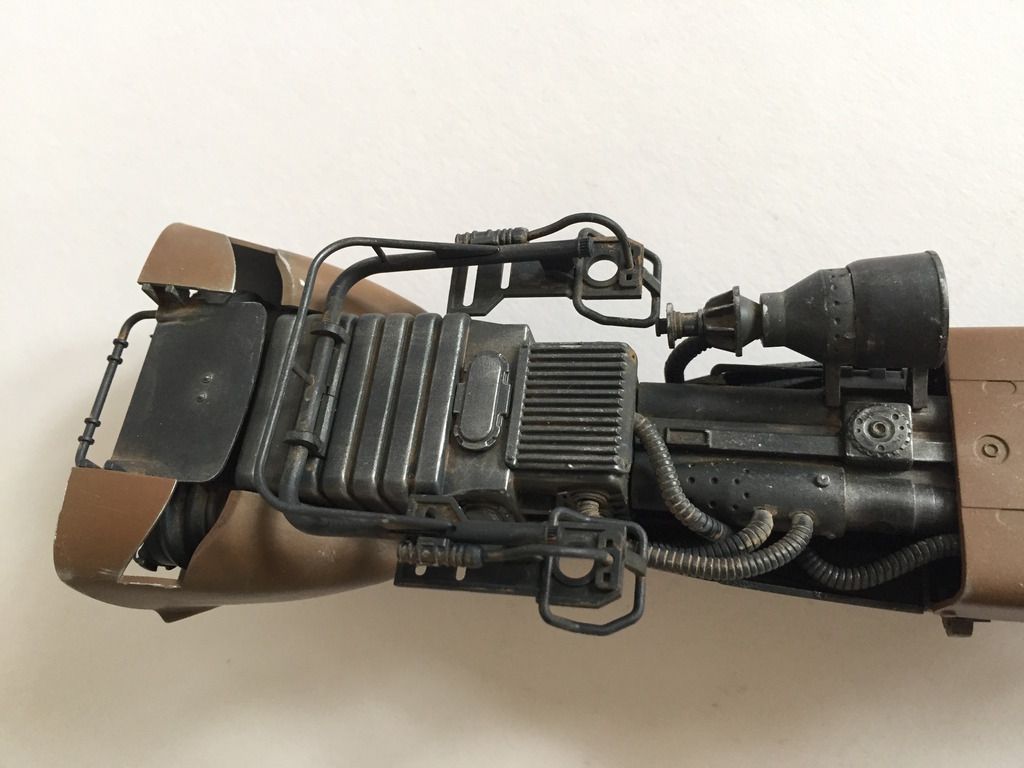
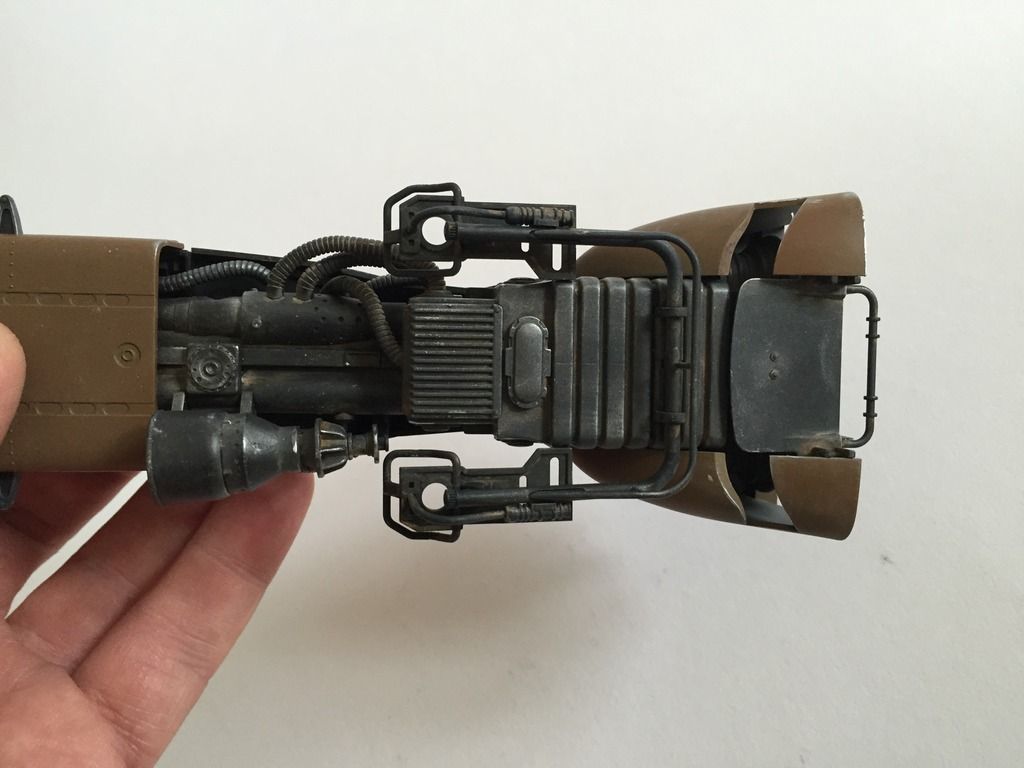
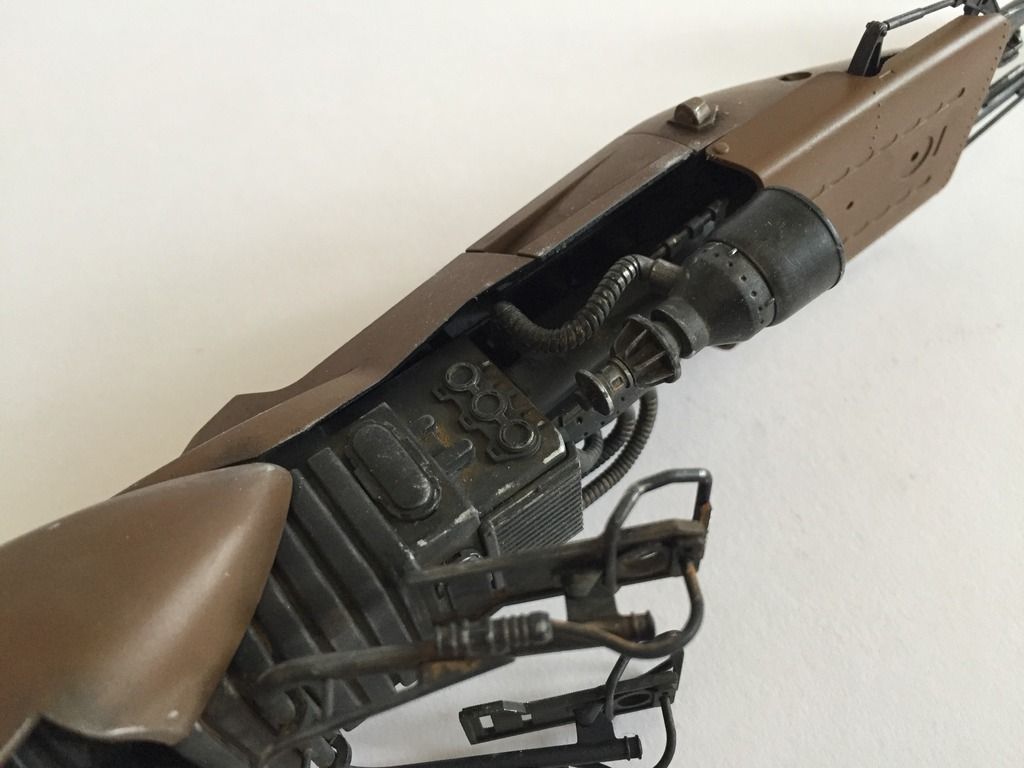
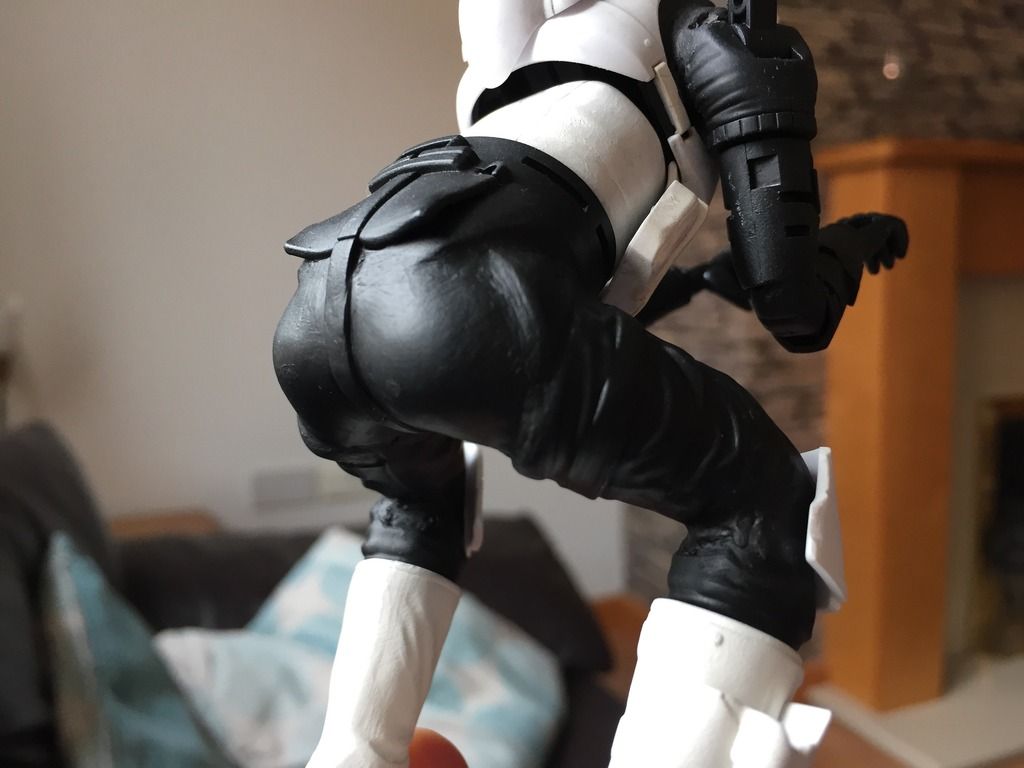
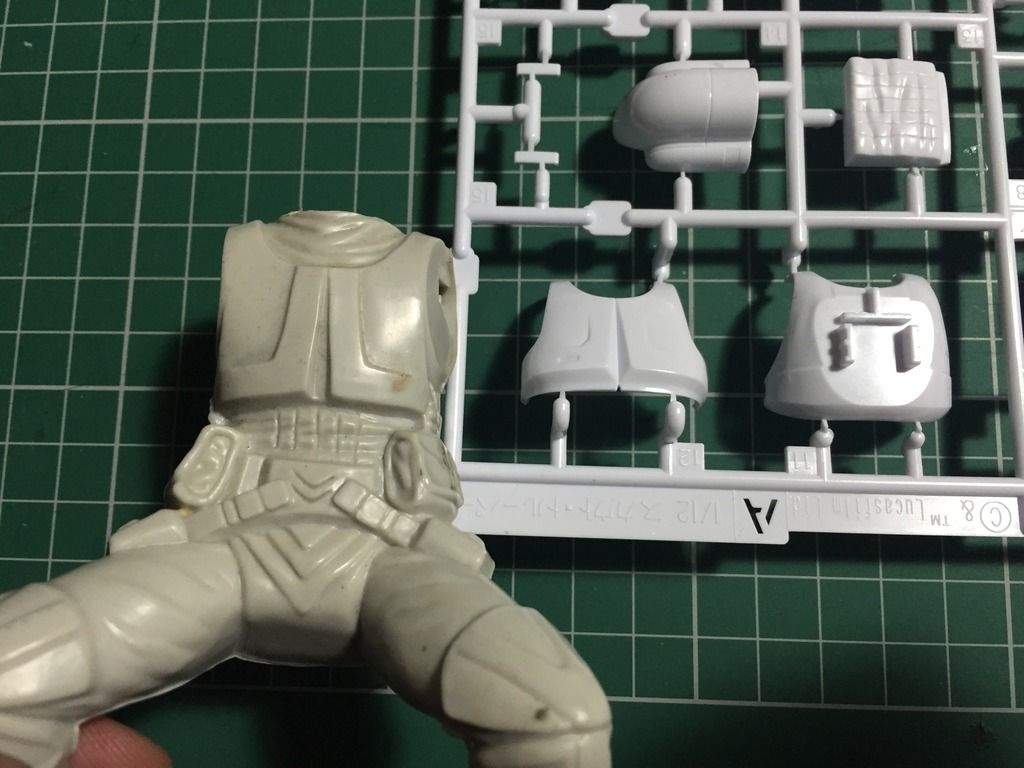
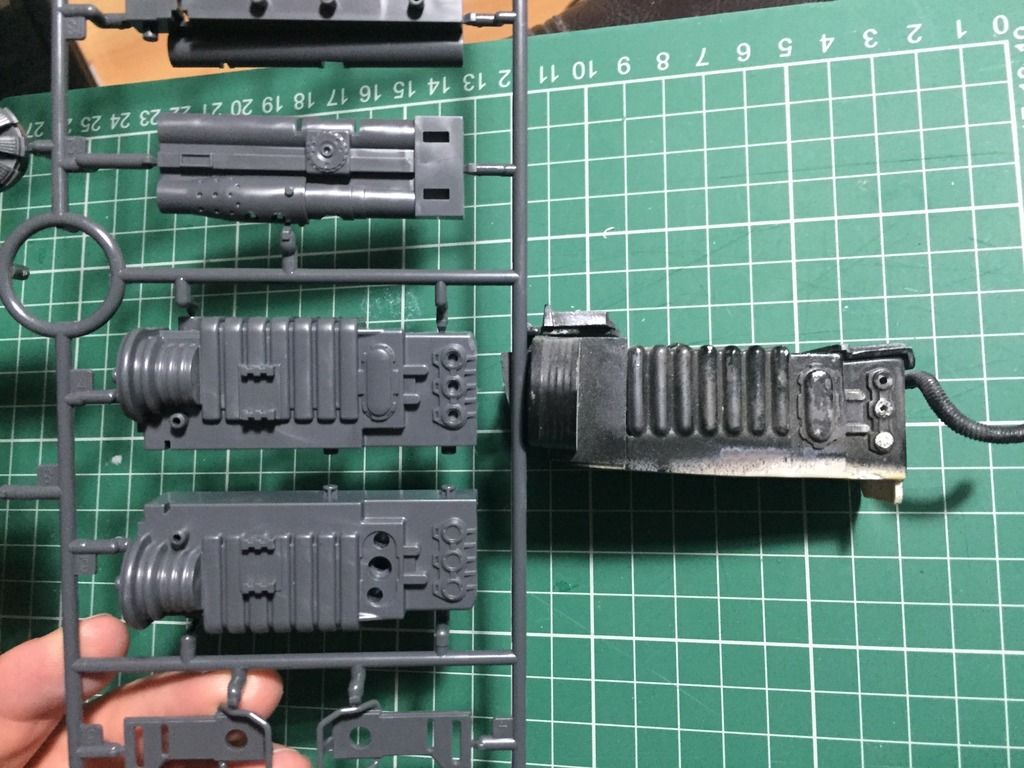
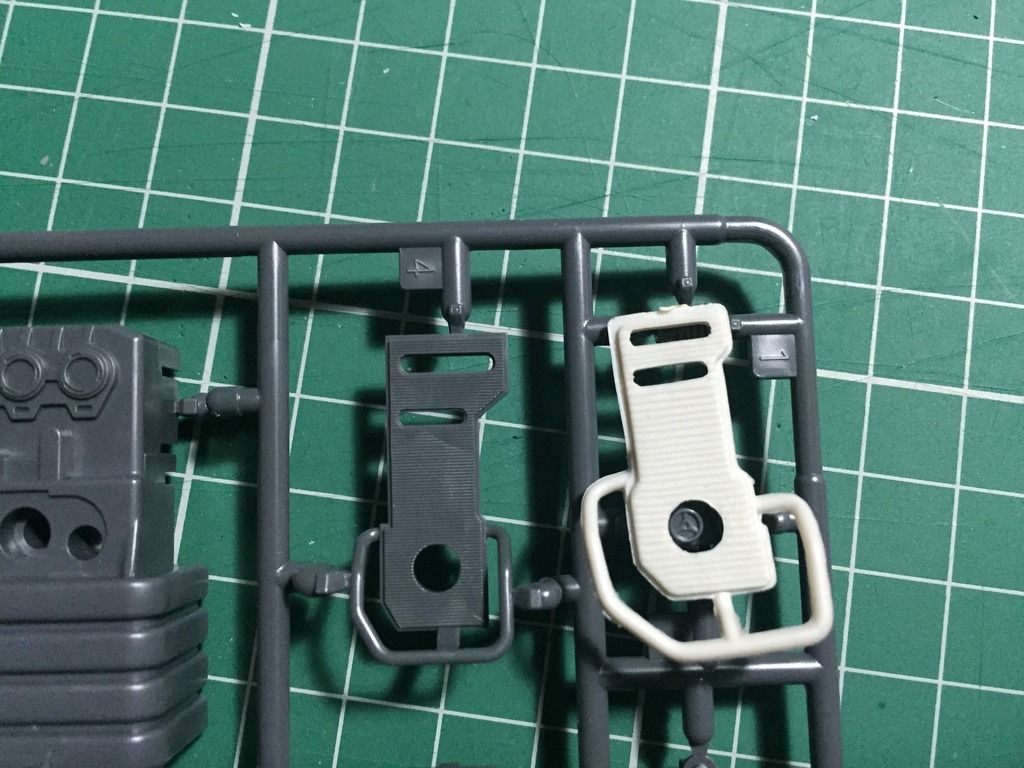
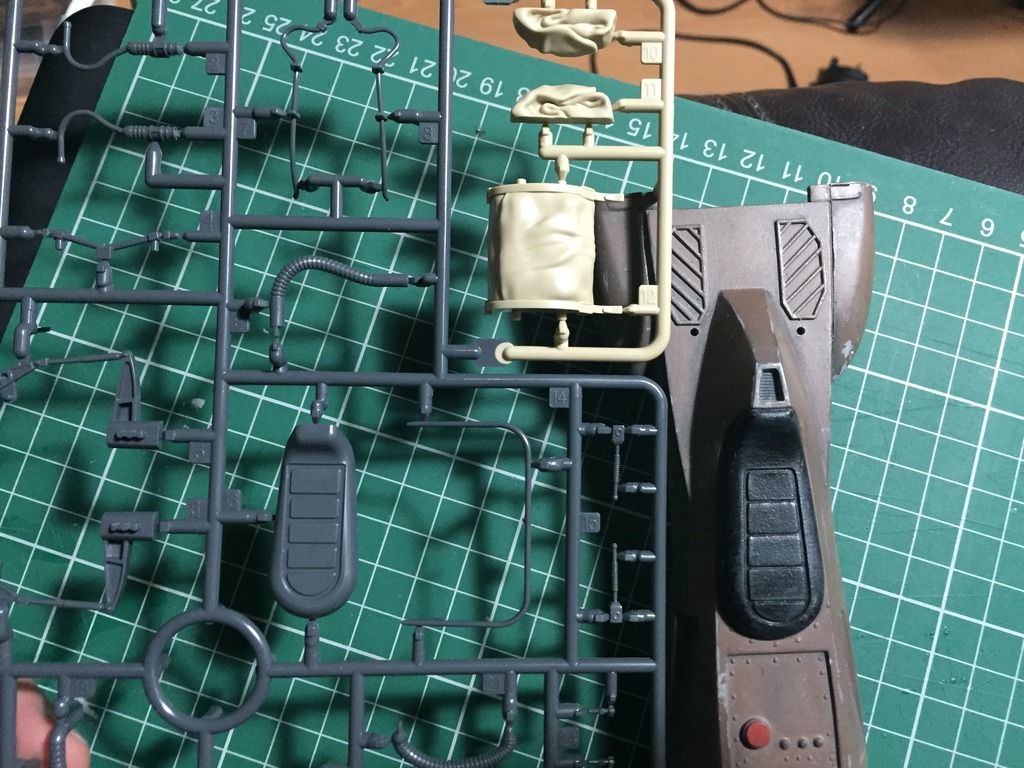
Finer Details on the Bandai:
IMG_2389.jpg

IMG_2390.jpg

IMG_2391.jpg

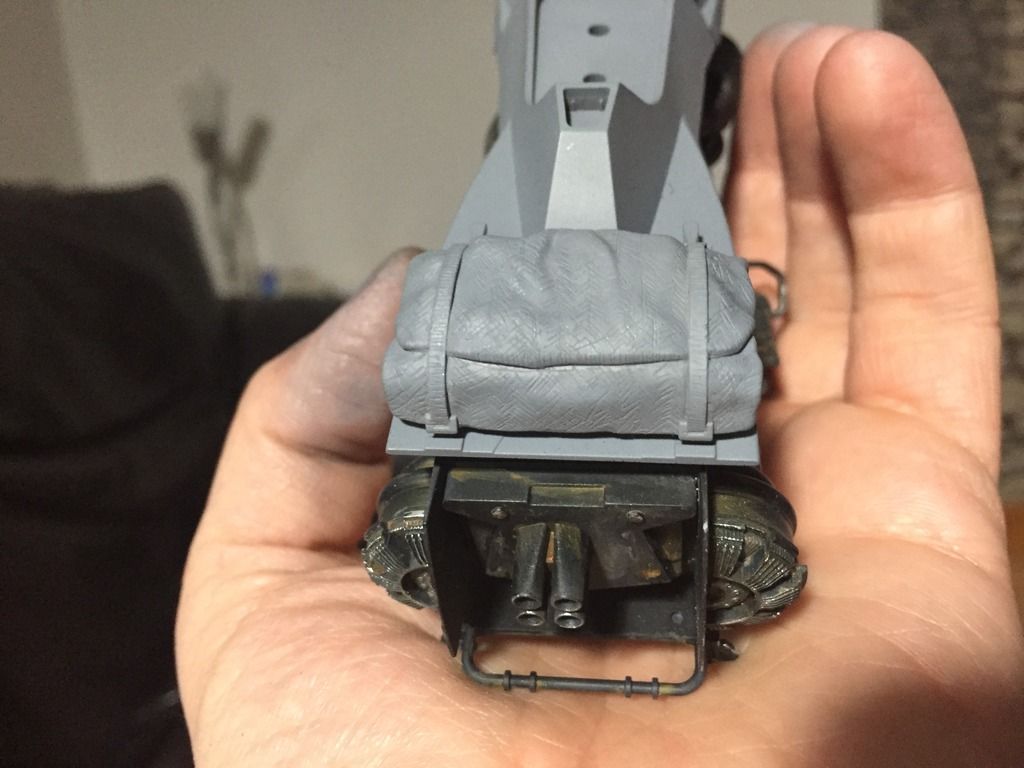
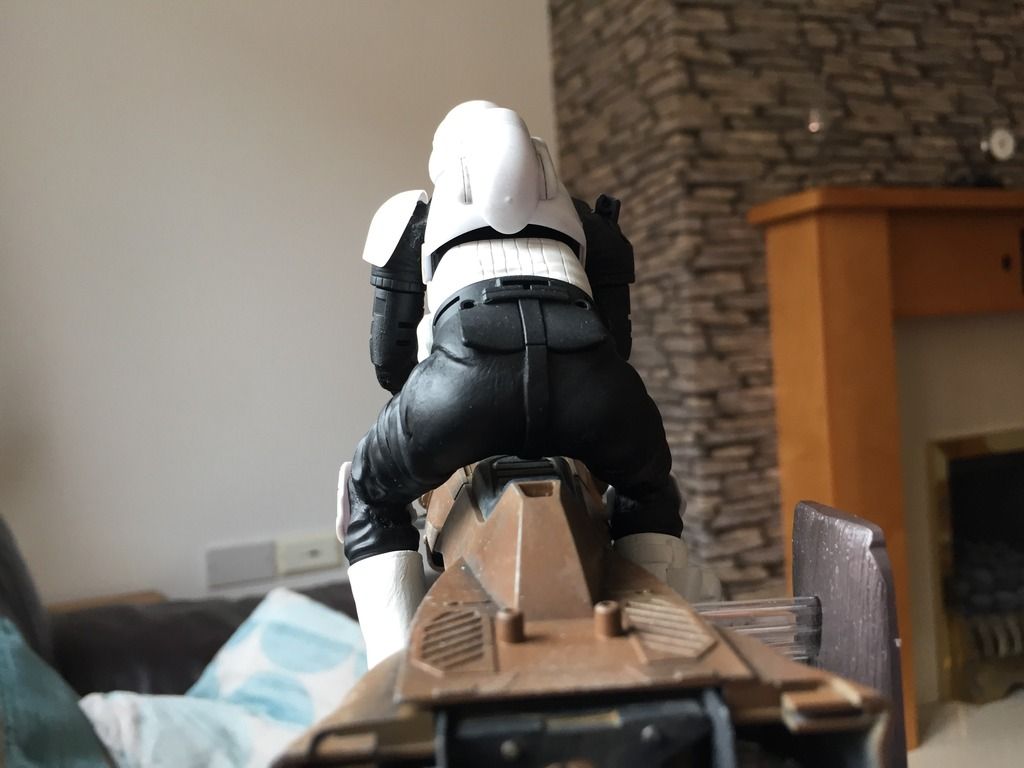
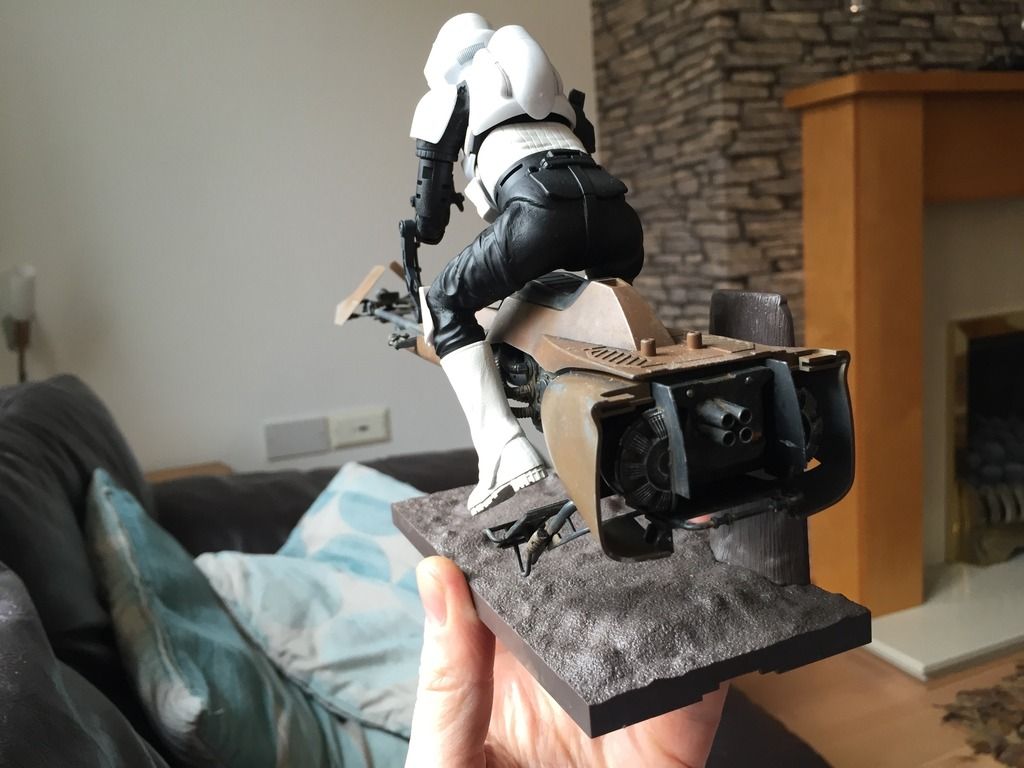
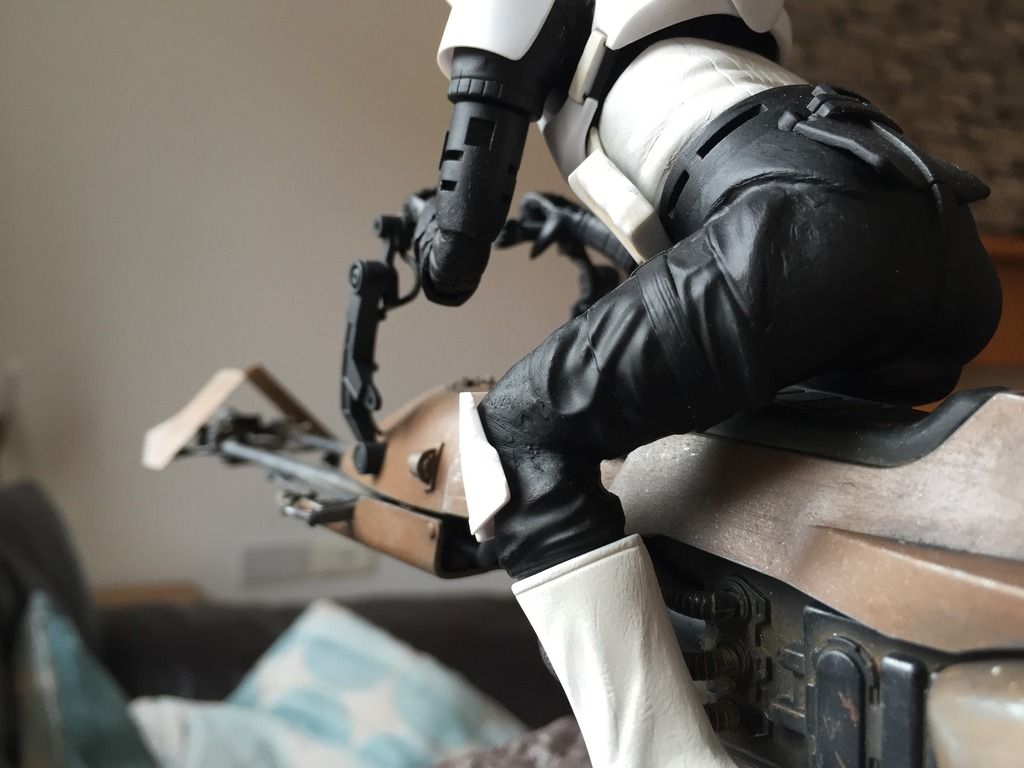
Smaller seat for a smaller bum:
IMG_2392.jpg


Thats it for a while,...(till I get other projects out of the way)


J
 
Its a great model. I'm building one now and have just finished painting all the figure parts using tamiya spray paints. The figure looks so much better painted.

Keith.
 
Its a great model. I'm building one now and have just finished painting all the figure parts using tamiya spray paints. The figure looks so much better painted.

Keith.

Keith. My only advised for this model is to removed the shoulder cap armor supports on the polycap and on the shoulder cap parts. The shoulder cap armor should be resting way down on the shoulder and a bit front. This will removed the "shrugging look" on the figures.

http://www.junaustriamodel.blogspot.com/p/wip-banda-scout-trooper-and-bike.html

This is the look I after...

Scouttrooper_speed.jpg

Still trying to figure out if I can rotate the armor on the triceps...

Review_SpeederBikeWithScoutTrooper_stillA.jpg

The figure will be permanently fixed on the bike. So gonna put some epoxy putty on those joints.
 
Last edited:
Surprise!!!

IMG_2427.jpg


....yes I said I was gonna do other things,.....but I gave in & started it:

Decided to make the under armour first,.....sprayed the armour with white primer

IMG_2426.jpg

IMG_2425.jpg


Its going together great

J
 
I bought one of these and am impressed so far...
loving the mods to the mask on the AMT :)( haven't seen one since 1986? ) and can't believe the bikes are the same scale, the helmets are crazy scalewise.
 
Thanks RogueTrooper & Thanks Crackerjazz

I found some nice reference pics,....& I'm just copying them:)

Heres some more comparisons to the MPC.....I'm glad Bandai have the right reference pics,.....the MPC Trooper looks mad:

IMG_2452.jpg

IMG_2453.jpg

IMG_2454.jpg


J
 
Beautiful work, John! What kind of black paint did you use, and how is the weathering done on the black if you don't mind my asking : ( ? It's incredible the way you're able to match the prop's looks.
 
Thanks very much crackerjazz,.....I gave the parts a coat of black car primer,....Hycote,....I always use that brand,.....it sprays nice and smooth,...no splatters,...only £3 a tin

The weathering is just oils,....put it on in layers,.....you really only see it right when it dries on the black,....the metallic is Mr Colour silver,...that I bought for the R2 dome......when you dry brush with it,...it goes on like a powder .....& you can polish/buff it up

One thing I did do with the black was when its dry I rubbed it with a scouring pad,....this sort of polished up the raised areas,....so that it looks shinier on the raised,....I also did this on the biker,.......the black parts & the white armour

The white armour has been sprayed matte white primer,.....but buffed back up to a satin shine on the raised areas

John
 
Cool I've been wishing some one would do a comparison with these two kits , i also have an MPC kit finished and i really don't care too much for the MPC scout trooper, so my questions are could you put up a pic of the bandai scout trooper riding the MPC speeder , wondering would he be too small?? what height is the bandai scout standing?
 
I spent a bit of time filling in the Trooper's joints,.....I got him posed on the bike to how I liked, then put a spot of SuperGlue on the joints,.....then filled the joints up with Humbrol Filler

Still a bit of fine sanding,.....its a bit rough,....I've just set him on the bike,...he's not positioned right yet

IMG_2638.jpg

IMG_2636.jpg

IMG_2635.jpg

IMG_2634.jpg

IMG_2639.jpg

IMG_2641.jpg

IMG_2642.jpg

IMG_2643.jpg


.....so still a bit to do,....but nearly there

Thanks for looking
John
 
This thread is more than 8 years old.

Your message may be considered spam for the following reasons:

  1. This thread hasn't been active in some time. A new post in this thread might not contribute constructively to this discussion after so long.
If you wish to reply despite these issues, check the box below before replying.
Be aware that malicious compliance may result in more severe penalties.
Back
Top