usaeatt2
Active Member
Hello all, I decided to start my own build thread instead of continuously hijacking Mike's Official V4 Info thread.
Progress will be slow since I'm working on other projects and X-wing research occupies about 3/4 of my build time right now.
This is my first X-wing AND my first resin kit, so I suspect this will be more of a learning experience than anything else.
My hope is to complete a nice looking Red 5 with functional wings and fiber optic lighting that I can pose on an armature and admire.
I've read many of the X-wing threads on the RPF and other modeling sites and collected a great deal of reference material.
Thanks to all the veteran builders for sharing your knowledge and pictures!
With all the research, I'm beginning to understand the phrase "X-wing nutter" with regards to paint color debates, photographic perspective and minutia detail.
I'd like my build to be as screen accurate as possible without sacrificing fun in the process.
I'll likely be making mistakes, so comments and advice are welcome.
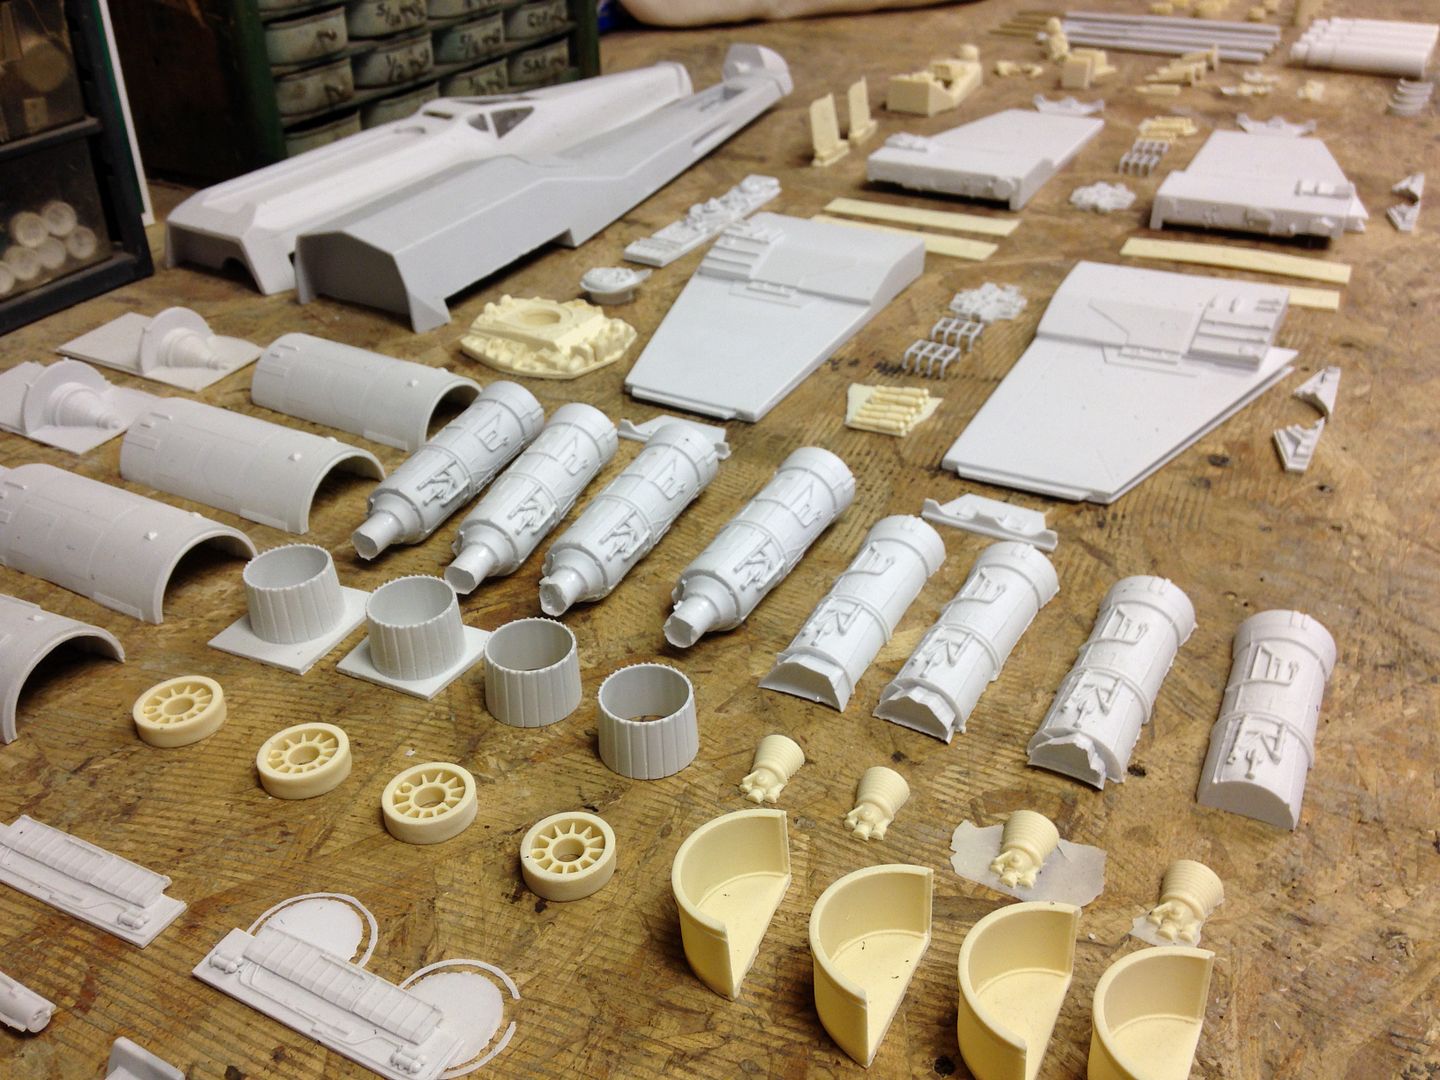
Here goes! First, I unboxed and laid out all the V4 parts. Staring at the contents, I have to wonder if I'm in over my head?
I count 146 parts (including landing gear). Since I've never built a resin kit, I can't make any comparisons, but my understanding is this is a very nice kit.
The details are crisp and the resin is nice. Air bubbles are virtually non-existent. I usually work with metal, but I'm finding resin is a lot more relaxing.
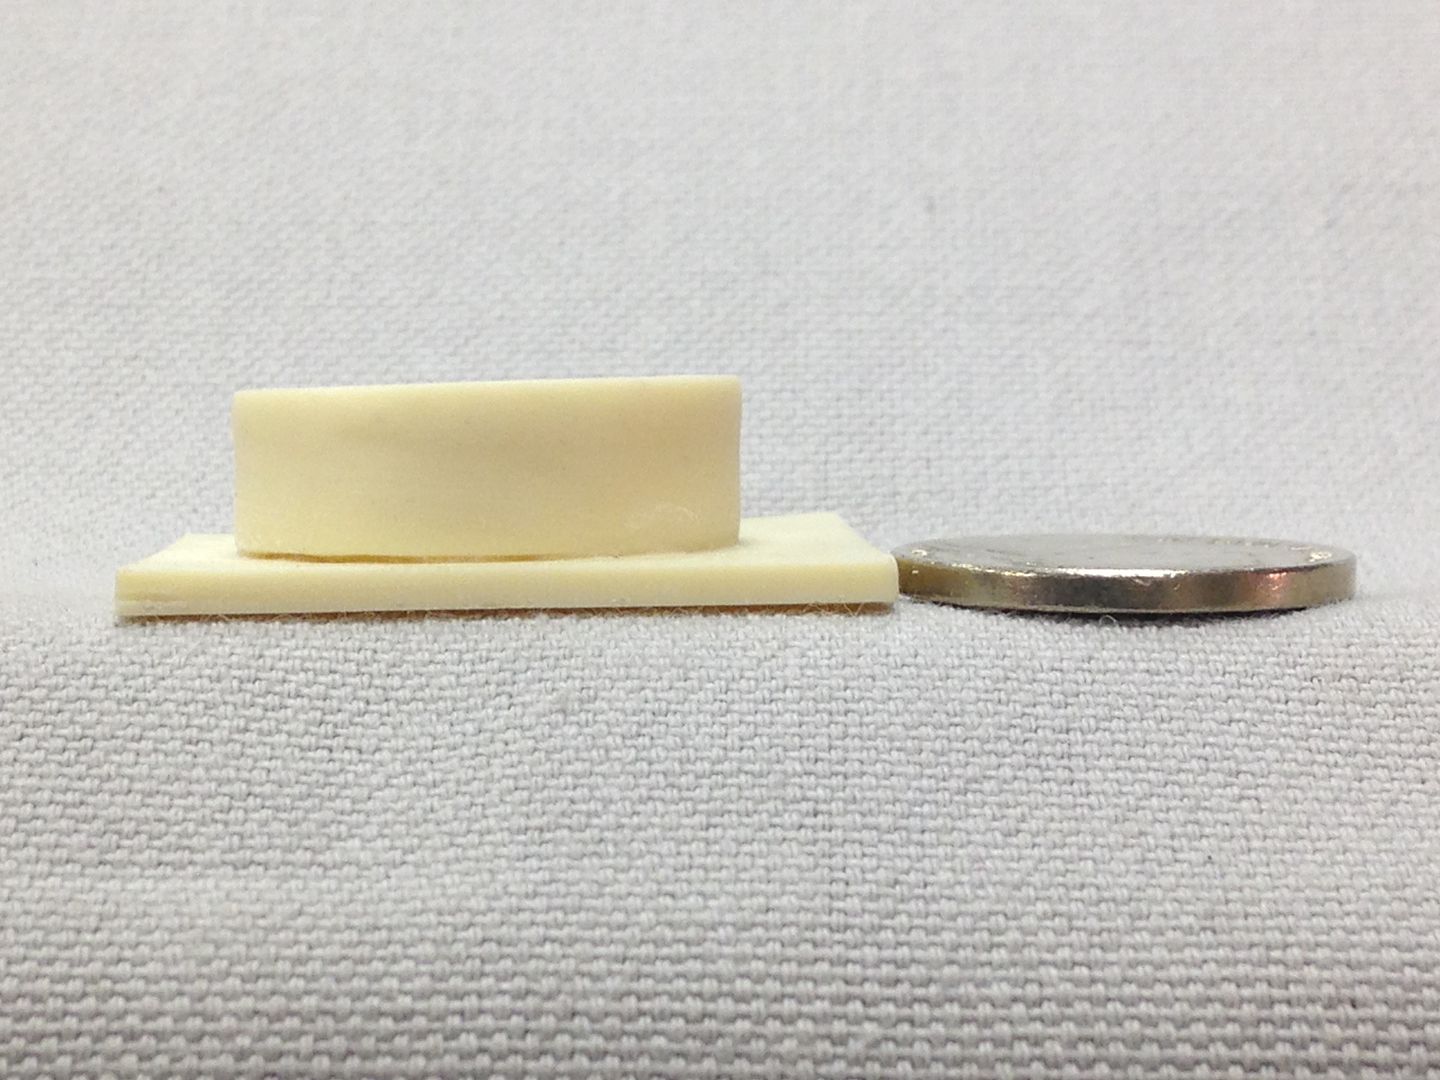
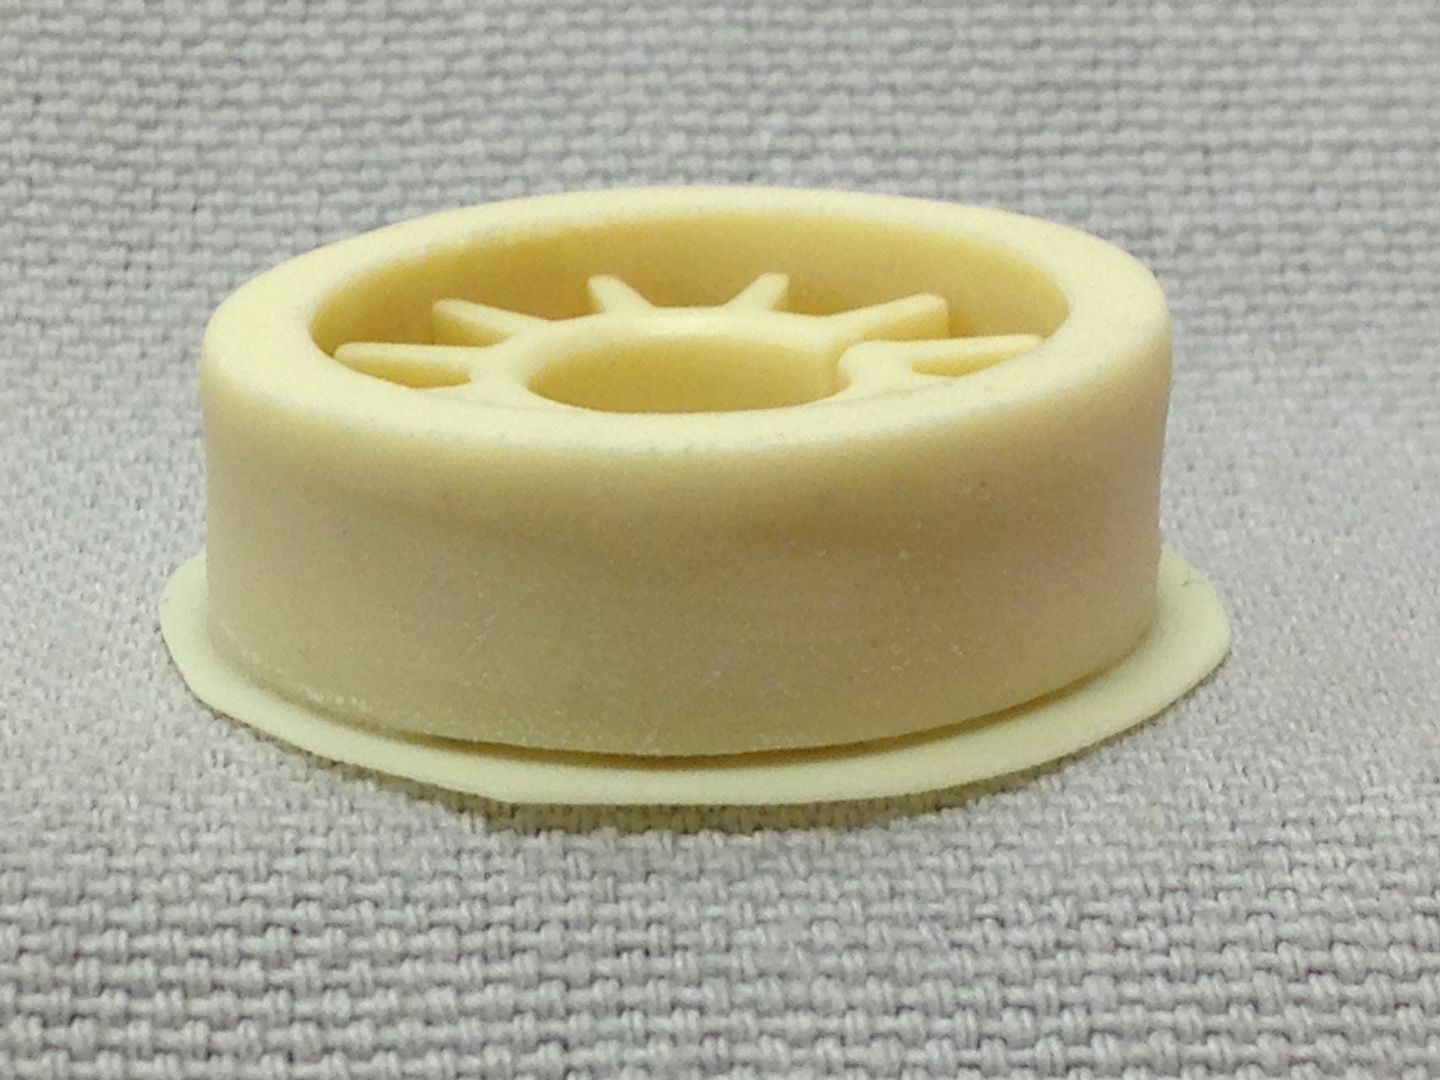
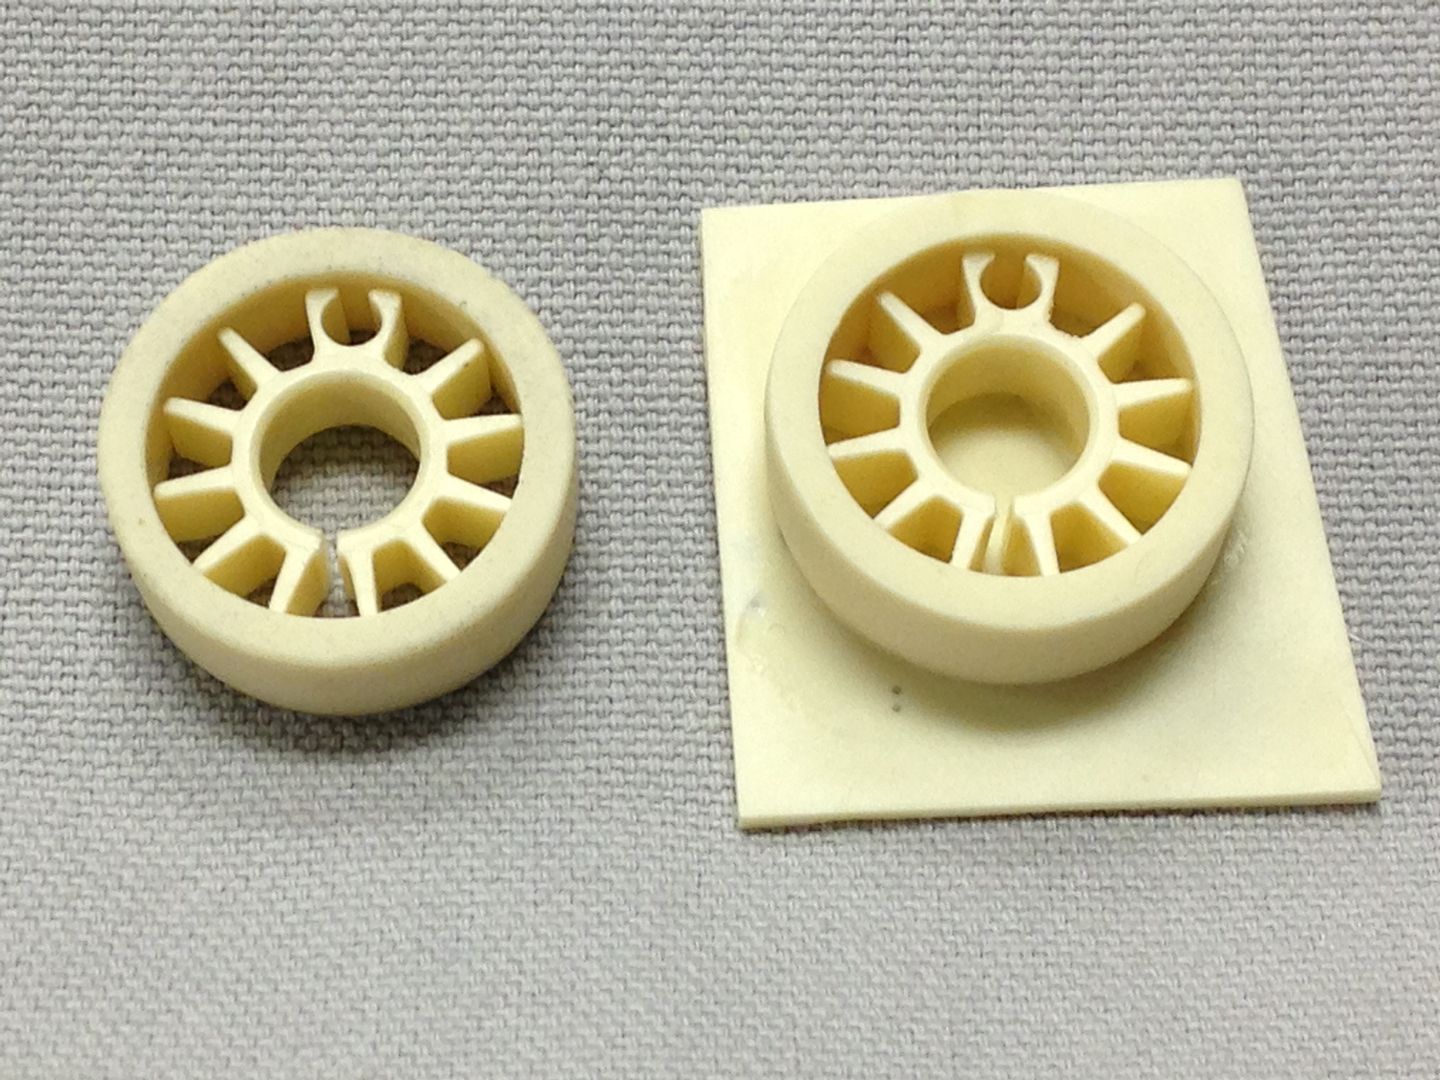
Beyond the kit, I've been collecting building materials and asking questions. I decided a good way to get more comfortable with this project was to start by removing the flashing from all the pieces. By starting here, I figure I can get familiar with all the parts and maybe the build will seem less daunting. For the most part, it's obvious where flashing needs to be removed. I learned flashing can be removed with nail clippers (I wouldn't have thought of that on my own!). I've also used an exacto knife, needle files and fine sandpaper. Some parts are molded on thick bases. I was advised to use a razor saw, but I feared cutting into the part. Instead, I used a small pair of diagonal cutters to nip away at the resin "bases" until close to the part, then used a benchtop belt sander with a 120 grit belt to CAREFULLY sand each part to the correct shape and thickness. Then I cleaned up any remaining flashing and finish sanded each part with 400 to 1000 grit sandpaper. Here's an example:
"Bases" on engine exhaust details (next to a US nickle for size reference).
In the process of nipping and sanding.
Completed part next to an untouched kit part.
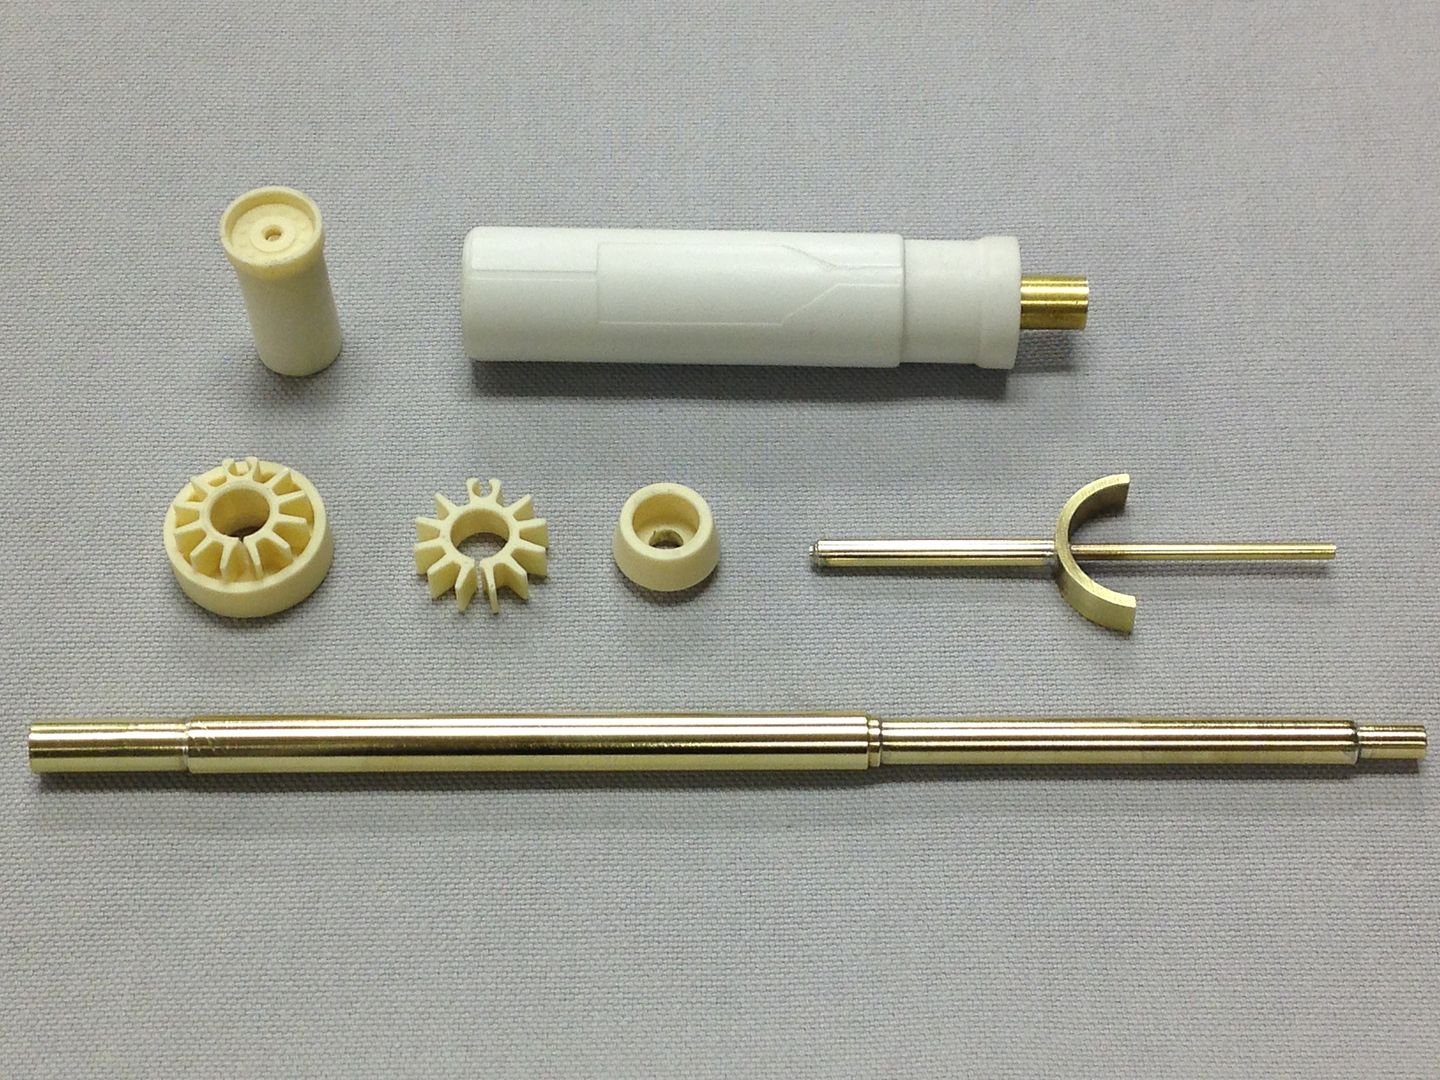
To keep my V4 build going, I decided to work on one part each night. Towards the end of the day, I clean up other projects, choose a V4 part, look through reference material and do any required detailing. I don't feel like I'm ready to glue anything yet, but figured I could start piecing together smaller assemblies. The engines/cans/intakes seem a little complicated, so I decided to start with the laser cannons. The V4 lasers are a nice resin/brass hybrid, but after reading about how the originals were built, I wanted to have a go at making brass lasers. If it doesn't work out, I can always go back to the V4 pieces. I bought 3 foot pieces of all the required brass tubing for about $40. I also want to try a little experiment with making the C-shape "flashback suppressors" from brass tubing and silver soldering them to the tube before attaching resin parts.
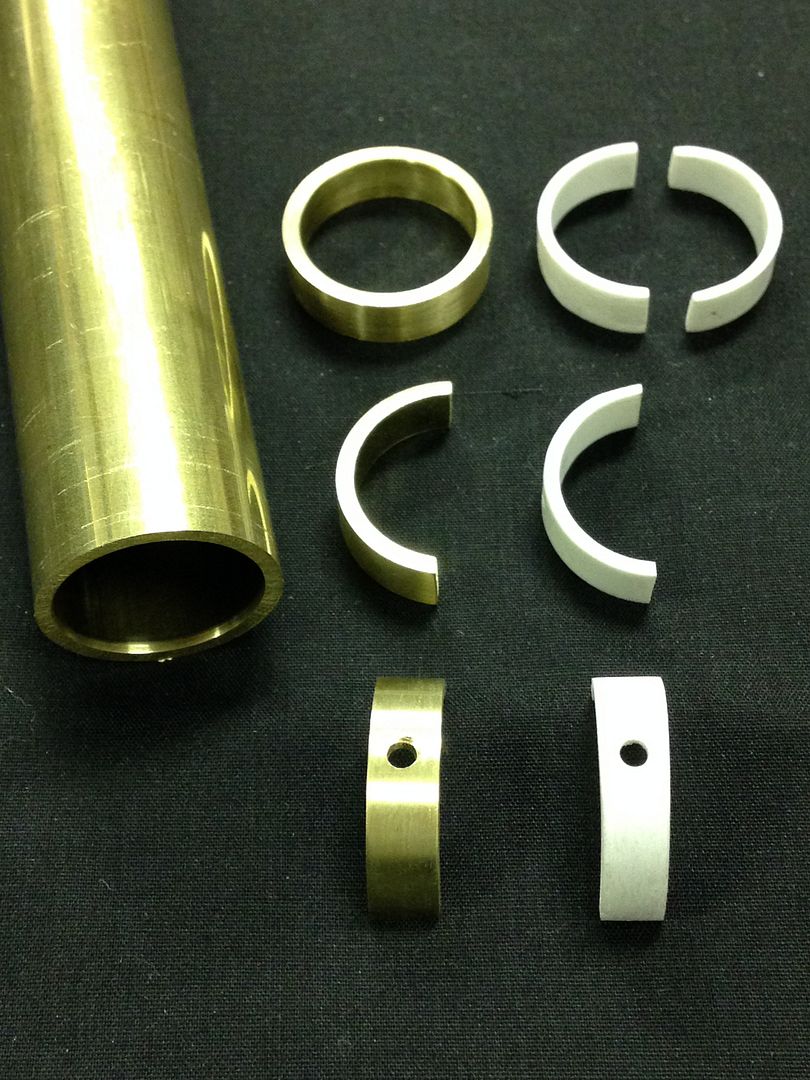
The C-shapes near the tips of the lasers seem like a fairly prominent feature for an X-wing, so I'd like them to be as consistent as possible with regards to thickness and shape. With some reference measurements, I made two prototype brass flash suppressors from a piece of 7/8" brass tubing (0.875" OD x 0.065" wall). To do this, I cut a ring about 1/4" wide, then sliced that in half to make two C-shapes. Then I drilled a 3/32 hole in the part and deburred everything. I sanded the edges until the width was very close to the V4 parts. Here's the V4 C-shapes along with my brass replicas.
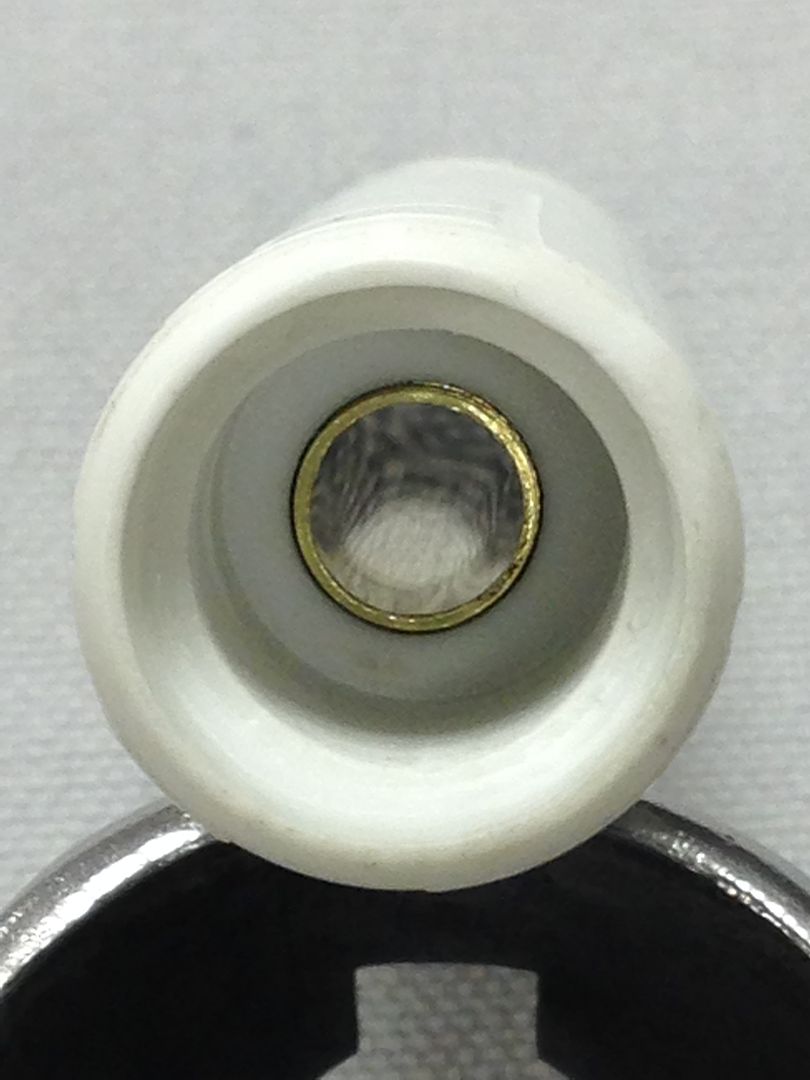
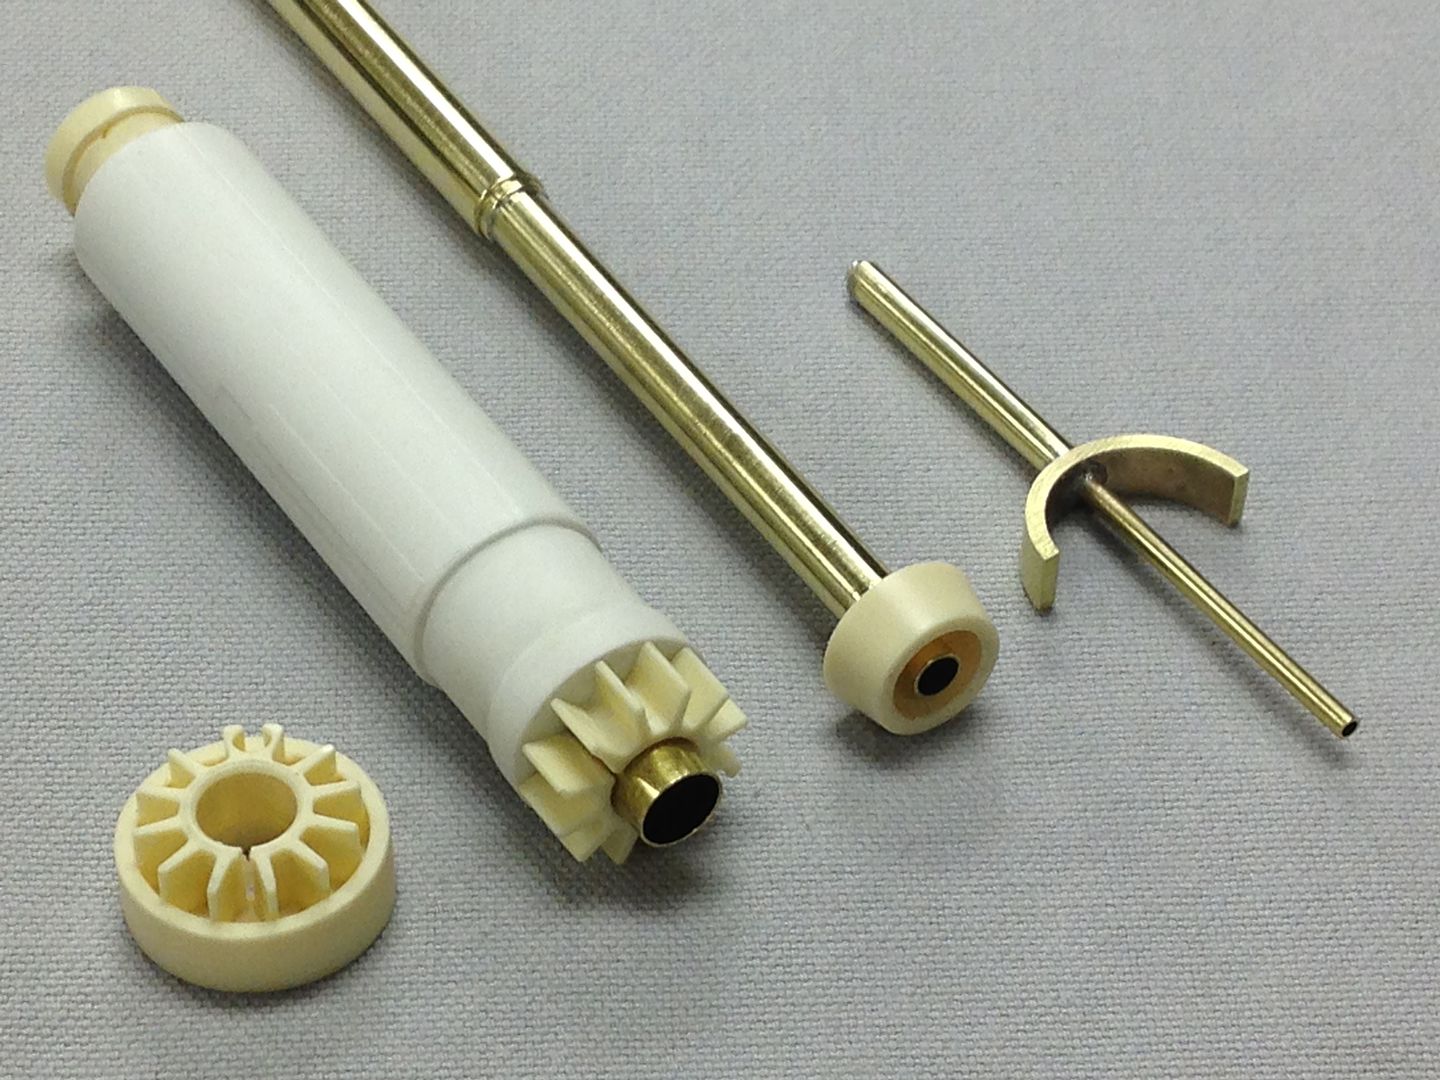
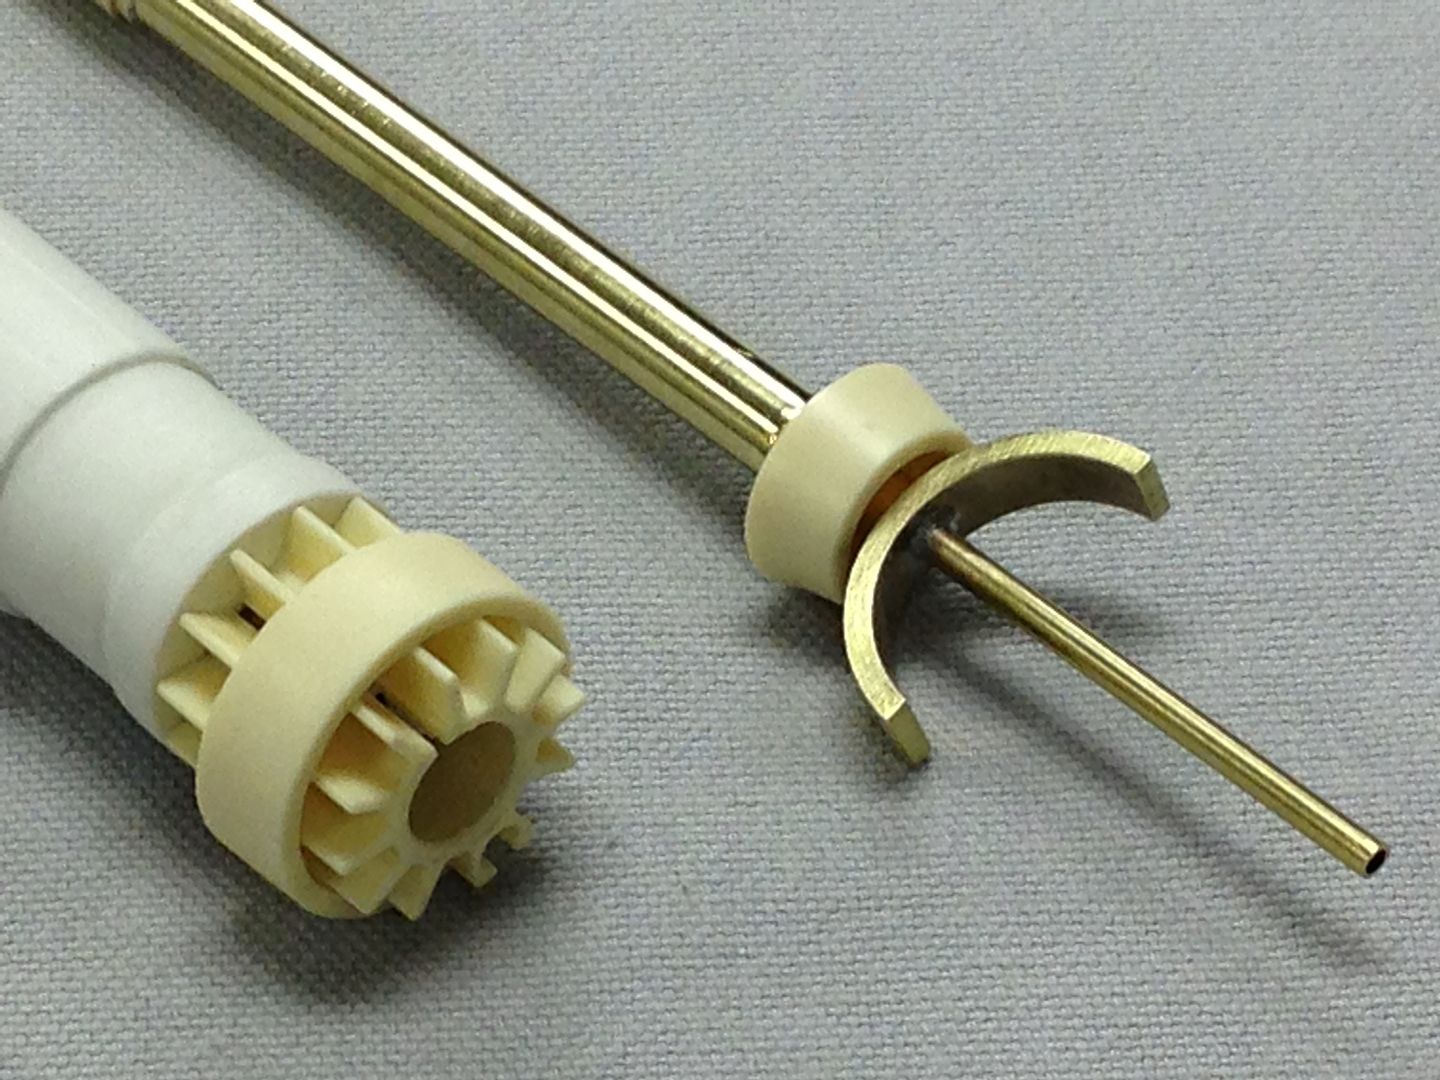
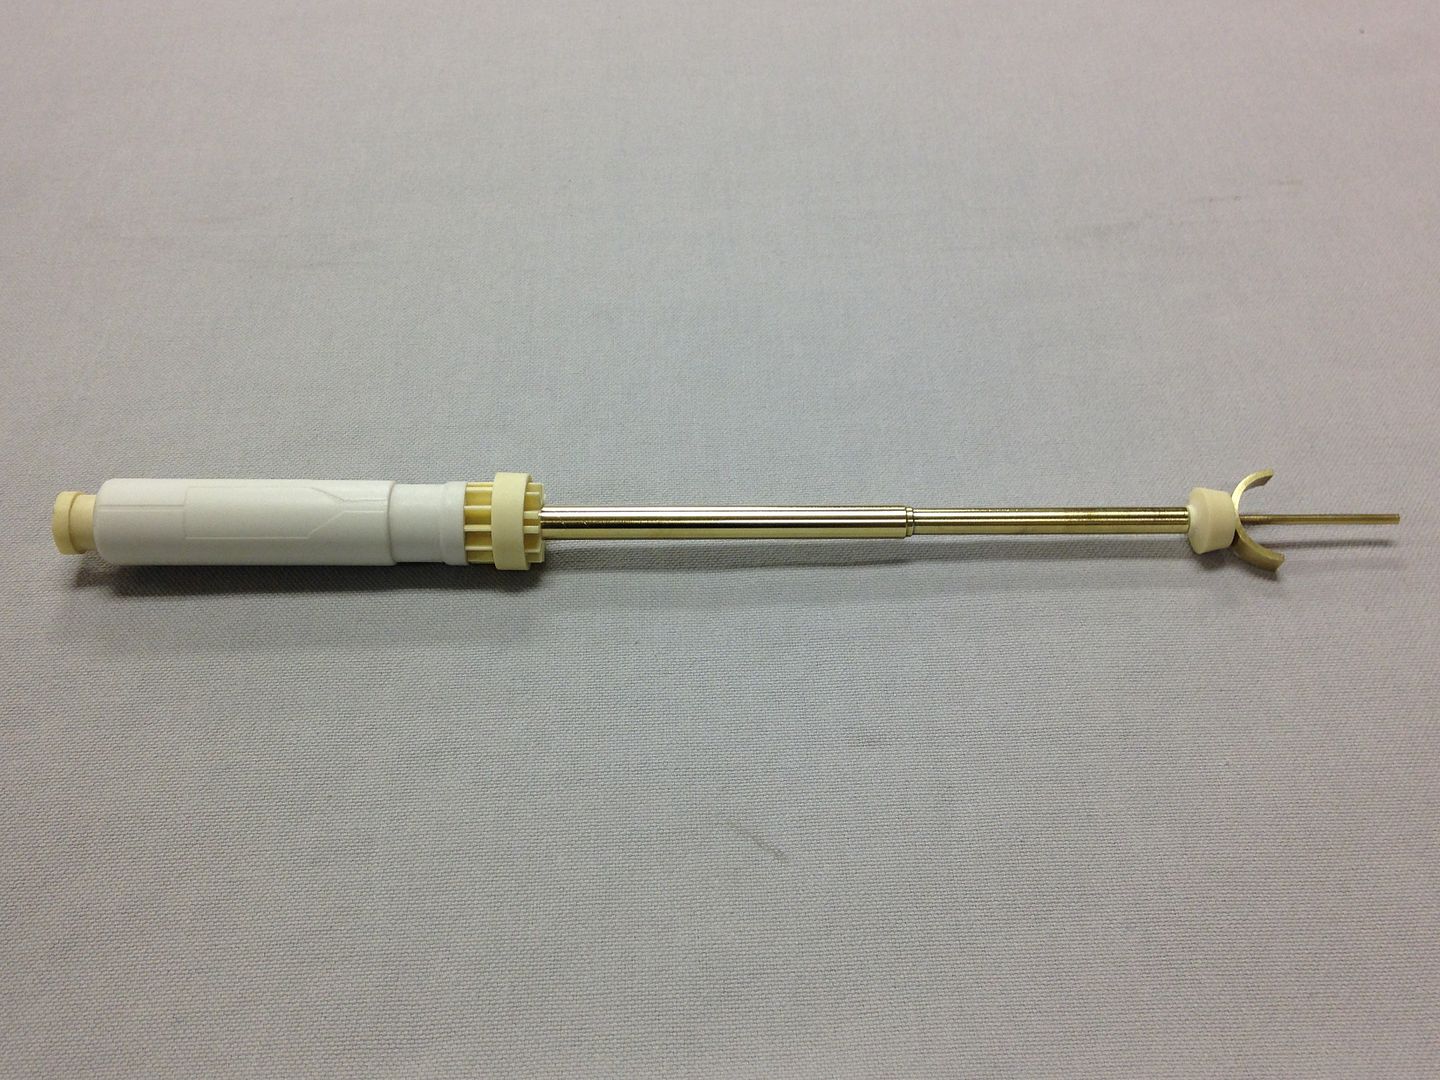
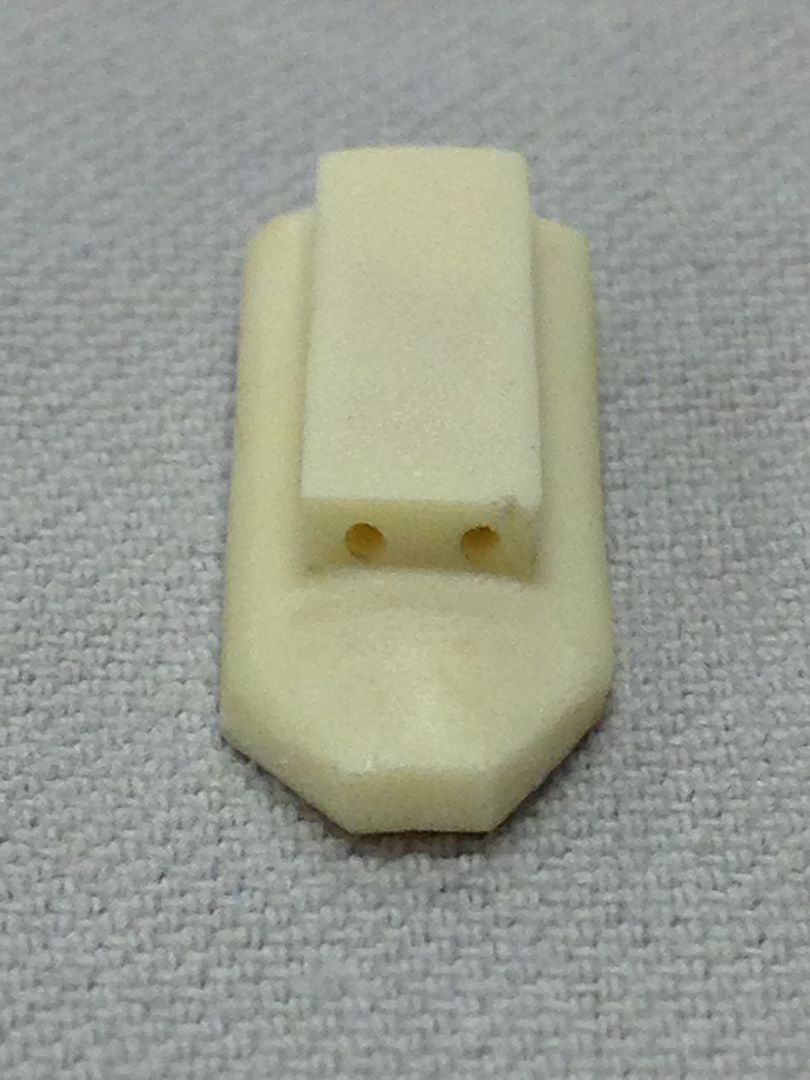
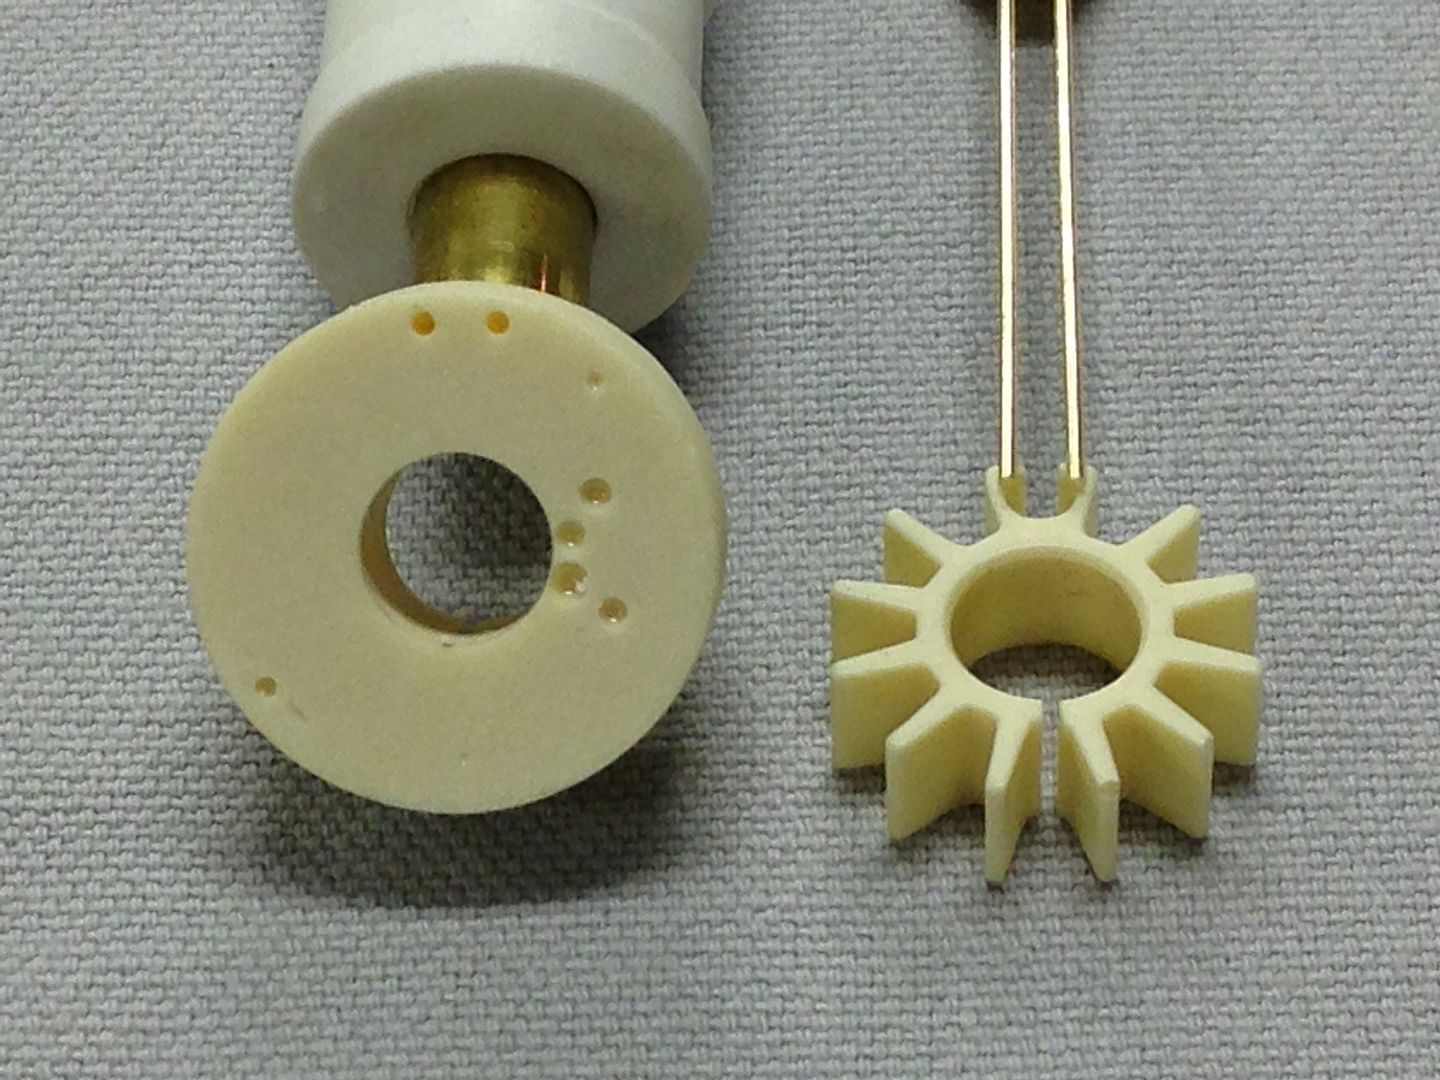
Next up are the brass tubes for the lasers. I fitted all the telescoping tubes together, then mocked them up with resin parts to see what they look like.
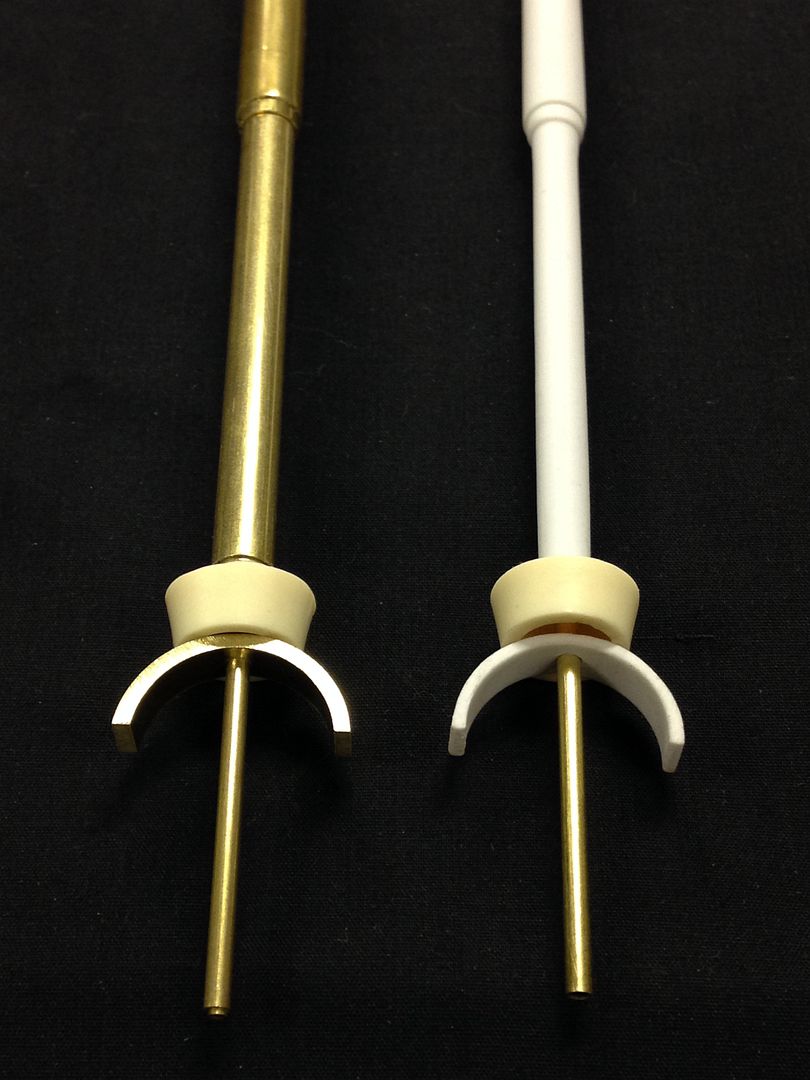
I could just make the lengths the same as the V4 parts, but I also need to know how far to insert them into the cannon bodies.
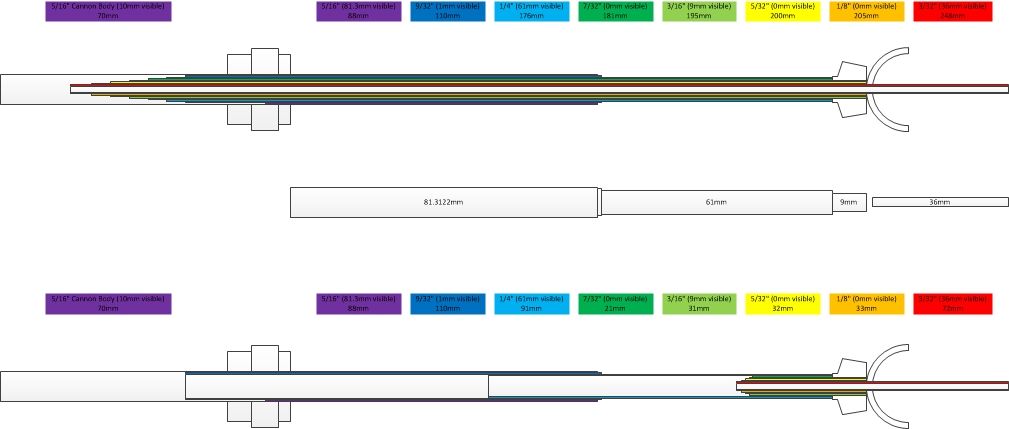
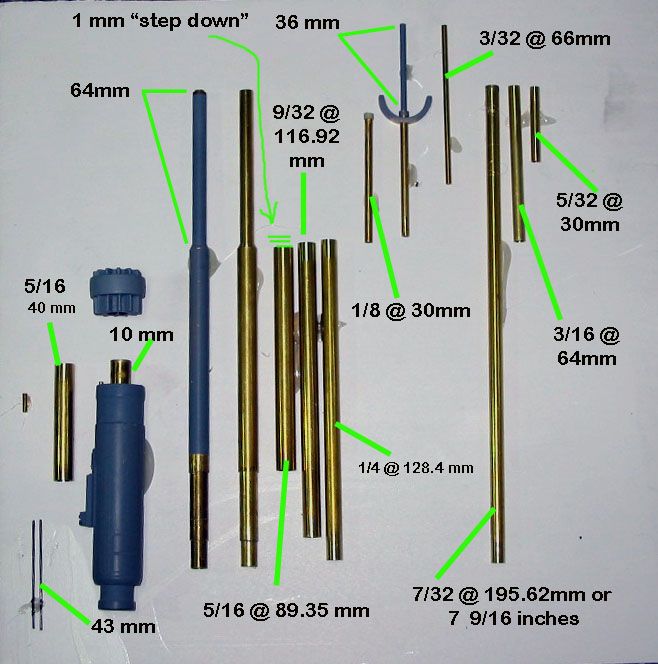
I have a brass tubing reference I found in an older build thread (thank you to whoever posted this!).
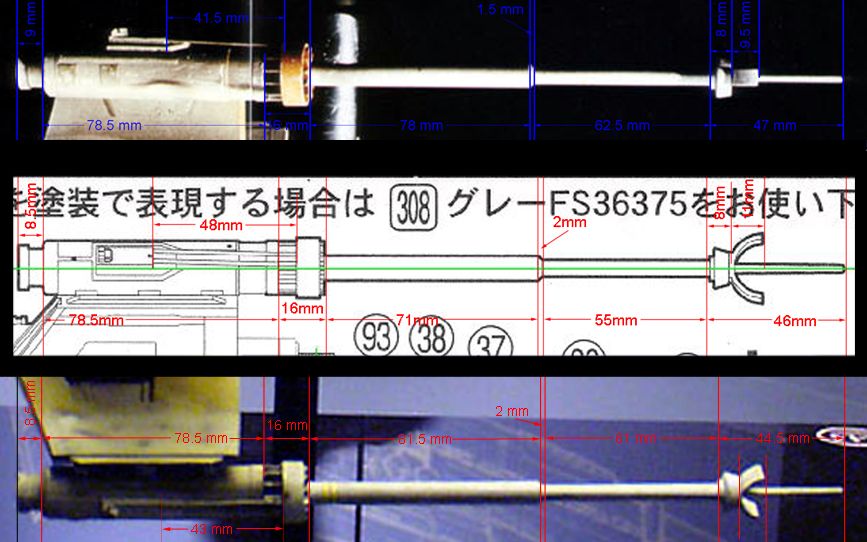
Beyond the tubing reference, I scaled several cannon body pictures to match the size of the V4 cannon bodies, pasted them into a single drawing and took measurements. There's a bit of variation, but that might be caused by focal length of the pictures or photographic perspective. I figure I might be able to average the variations together and come pretty close to the actual measurement. So far, most measurements are also close to the tubing reference. Hopefully, this doesn't mean I'm becoming a nutter...
Maybe the laser tubing length varied a little between all the X-wings? Does anyone have accurate measurements for a Red 5?
Once I'm satisfied that I've given the measurements due diligence and the lasers are the correct length, I'll set the tubing and silver solder the pieces together near the inner ends to prevent movement.
Thanks for reading! I'll post more updates as I get further into this! Aaron
Progress will be slow since I'm working on other projects and X-wing research occupies about 3/4 of my build time right now.
This is my first X-wing AND my first resin kit, so I suspect this will be more of a learning experience than anything else.
My hope is to complete a nice looking Red 5 with functional wings and fiber optic lighting that I can pose on an armature and admire.
I've read many of the X-wing threads on the RPF and other modeling sites and collected a great deal of reference material.
Thanks to all the veteran builders for sharing your knowledge and pictures!
With all the research, I'm beginning to understand the phrase "X-wing nutter" with regards to paint color debates, photographic perspective and minutia detail.
I'd like my build to be as screen accurate as possible without sacrificing fun in the process.
I'll likely be making mistakes, so comments and advice are welcome.
Here goes! First, I unboxed and laid out all the V4 parts. Staring at the contents, I have to wonder if I'm in over my head?
I count 146 parts (including landing gear). Since I've never built a resin kit, I can't make any comparisons, but my understanding is this is a very nice kit.
The details are crisp and the resin is nice. Air bubbles are virtually non-existent. I usually work with metal, but I'm finding resin is a lot more relaxing.

Beyond the kit, I've been collecting building materials and asking questions. I decided a good way to get more comfortable with this project was to start by removing the flashing from all the pieces. By starting here, I figure I can get familiar with all the parts and maybe the build will seem less daunting. For the most part, it's obvious where flashing needs to be removed. I learned flashing can be removed with nail clippers (I wouldn't have thought of that on my own!). I've also used an exacto knife, needle files and fine sandpaper. Some parts are molded on thick bases. I was advised to use a razor saw, but I feared cutting into the part. Instead, I used a small pair of diagonal cutters to nip away at the resin "bases" until close to the part, then used a benchtop belt sander with a 120 grit belt to CAREFULLY sand each part to the correct shape and thickness. Then I cleaned up any remaining flashing and finish sanded each part with 400 to 1000 grit sandpaper. Here's an example:
"Bases" on engine exhaust details (next to a US nickle for size reference).

In the process of nipping and sanding.

Completed part next to an untouched kit part.

To keep my V4 build going, I decided to work on one part each night. Towards the end of the day, I clean up other projects, choose a V4 part, look through reference material and do any required detailing. I don't feel like I'm ready to glue anything yet, but figured I could start piecing together smaller assemblies. The engines/cans/intakes seem a little complicated, so I decided to start with the laser cannons. The V4 lasers are a nice resin/brass hybrid, but after reading about how the originals were built, I wanted to have a go at making brass lasers. If it doesn't work out, I can always go back to the V4 pieces. I bought 3 foot pieces of all the required brass tubing for about $40. I also want to try a little experiment with making the C-shape "flashback suppressors" from brass tubing and silver soldering them to the tube before attaching resin parts.
The C-shapes near the tips of the lasers seem like a fairly prominent feature for an X-wing, so I'd like them to be as consistent as possible with regards to thickness and shape. With some reference measurements, I made two prototype brass flash suppressors from a piece of 7/8" brass tubing (0.875" OD x 0.065" wall). To do this, I cut a ring about 1/4" wide, then sliced that in half to make two C-shapes. Then I drilled a 3/32 hole in the part and deburred everything. I sanded the edges until the width was very close to the V4 parts. Here's the V4 C-shapes along with my brass replicas.

Next up are the brass tubes for the lasers. I fitted all the telescoping tubes together, then mocked them up with resin parts to see what they look like.

I could just make the lengths the same as the V4 parts, but I also need to know how far to insert them into the cannon bodies.
I have a brass tubing reference I found in an older build thread (thank you to whoever posted this!).

Beyond the tubing reference, I scaled several cannon body pictures to match the size of the V4 cannon bodies, pasted them into a single drawing and took measurements. There's a bit of variation, but that might be caused by focal length of the pictures or photographic perspective. I figure I might be able to average the variations together and come pretty close to the actual measurement. So far, most measurements are also close to the tubing reference. Hopefully, this doesn't mean I'm becoming a nutter...
Maybe the laser tubing length varied a little between all the X-wings? Does anyone have accurate measurements for a Red 5?
Once I'm satisfied that I've given the measurements due diligence and the lasers are the correct length, I'll set the tubing and silver solder the pieces together near the inner ends to prevent movement.

Thanks for reading! I'll post more updates as I get further into this! Aaron

