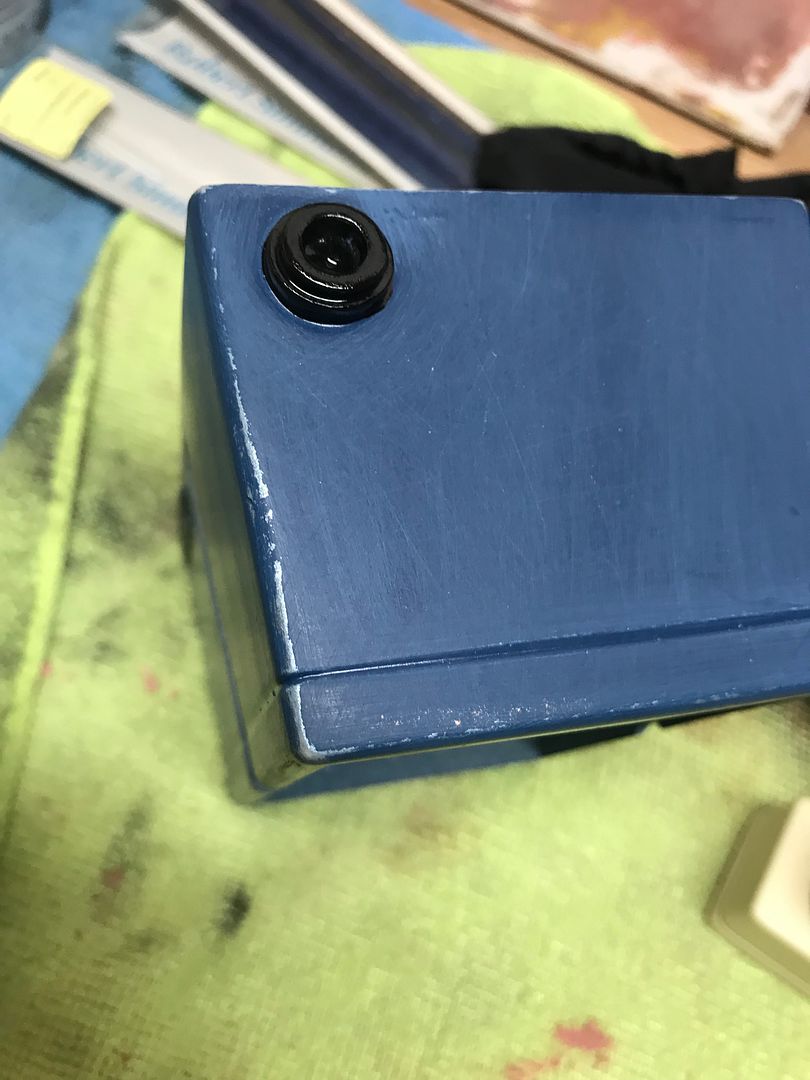
I'm a fan of the Sideshow & Hot Toys 1/6 scale figures, so when Rusty J offered up his GNK, I had to get one. I want to illuminate the projector on the lower front and be able to "open" the top to access whatever electronics I use. So my solution was to Dremel out the top half to fit over the solid bottom half thus no light would escape between the halves and I won't have to glue them together. My Dremeling is a little crude, in hind sight I wish I'd taken this little guy down to the shop and milled it out. Here's my progress so far. Next up, a little spot putty to fill in a few minor bubbles and last coat of primer.


You are using an out of date browser. It may not display this or other websites correctly.
You should upgrade or use an alternative browser.
You should upgrade or use an alternative browser.
Rusty J's 1/6 Scale GNK Droid
- Thread starter TatooineMachine
- Start date
I boxed this little guy up and kind of forgot about him, so I pulled him out and gave him a little love! Got the top milled out and the holes in the bottom drilled a little deeper to fit the two halves together, milled off the details I didn't want, Bondoed as needed, and primed! Here's the pics-


I decided to add at least one LED, thus why I milled out the top to fit over the bottom and not allow light to peek out between the halves. My milling was less than straight so I taped the bottom off and caulked the gaps. I hope this works!

I'll keep working on him!
I decided to add at least one LED, thus why I milled out the top to fit over the bottom and not allow light to peek out between the halves. My milling was less than straight so I taped the bottom off and caulked the gaps. I hope this works!
I'll keep working on him!
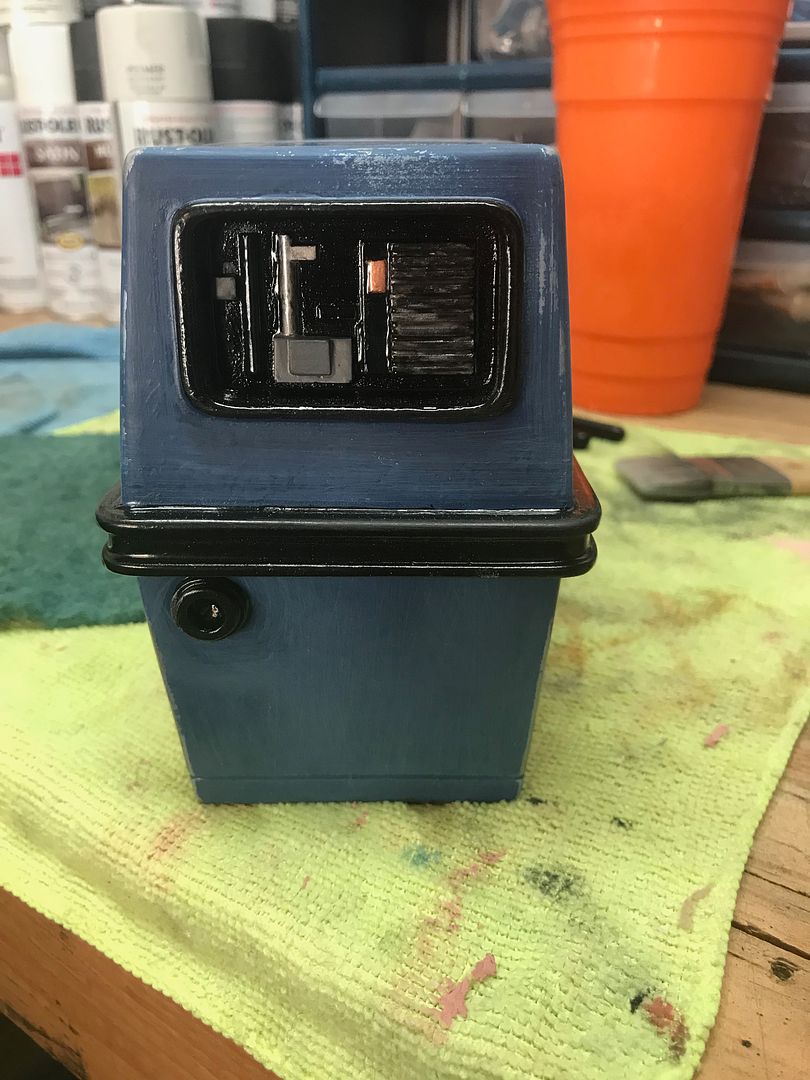
I haven't taken many shots of this little GNK, but I have been working on him! As I am not a great modeler, I tried my hand at layering and weathering. After primer, I shot a few coats of light blue metallic automotive lacquer from my 2-1B droid, then a postal blue rattle can over that, let it dry for several weeks, then hit it with a green Scotchbrite pad, and finally a little dry brushed silver. Came out pretty cool so I started to paint the details and continue. Here some pics!
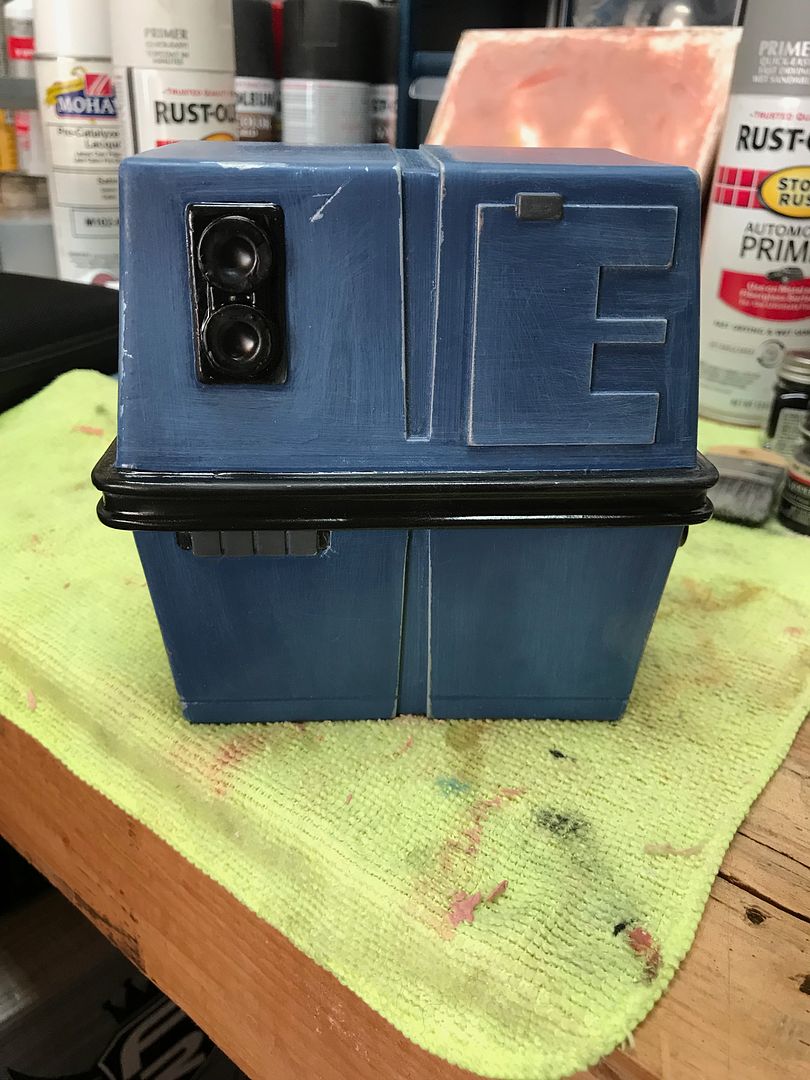
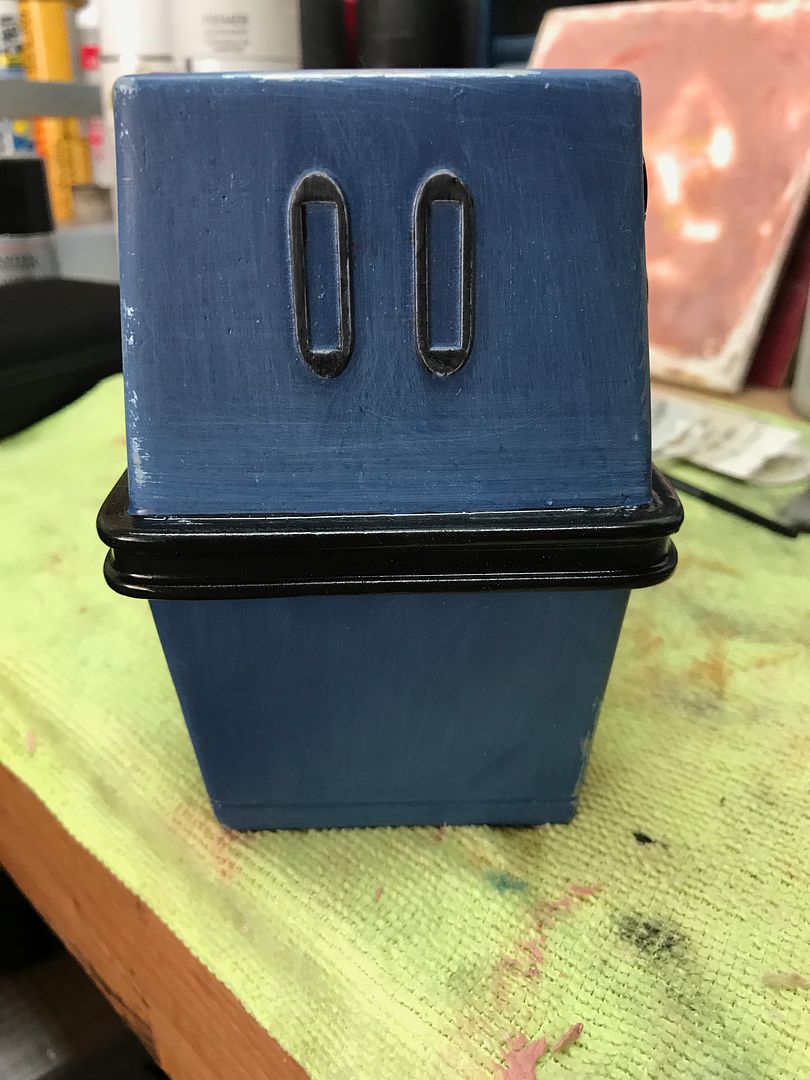
I still need to finish the front pan details and shoot him with matte clear. I also want to add an LED to the lower front "lens" and some greeblies to the top - an antenna, something....
I still need to finish the front pan details and shoot him with matte clear. I also want to add an LED to the lower front "lens" and some greeblies to the top - an antenna, something....
Feet - First coat silver, Second coat satin black
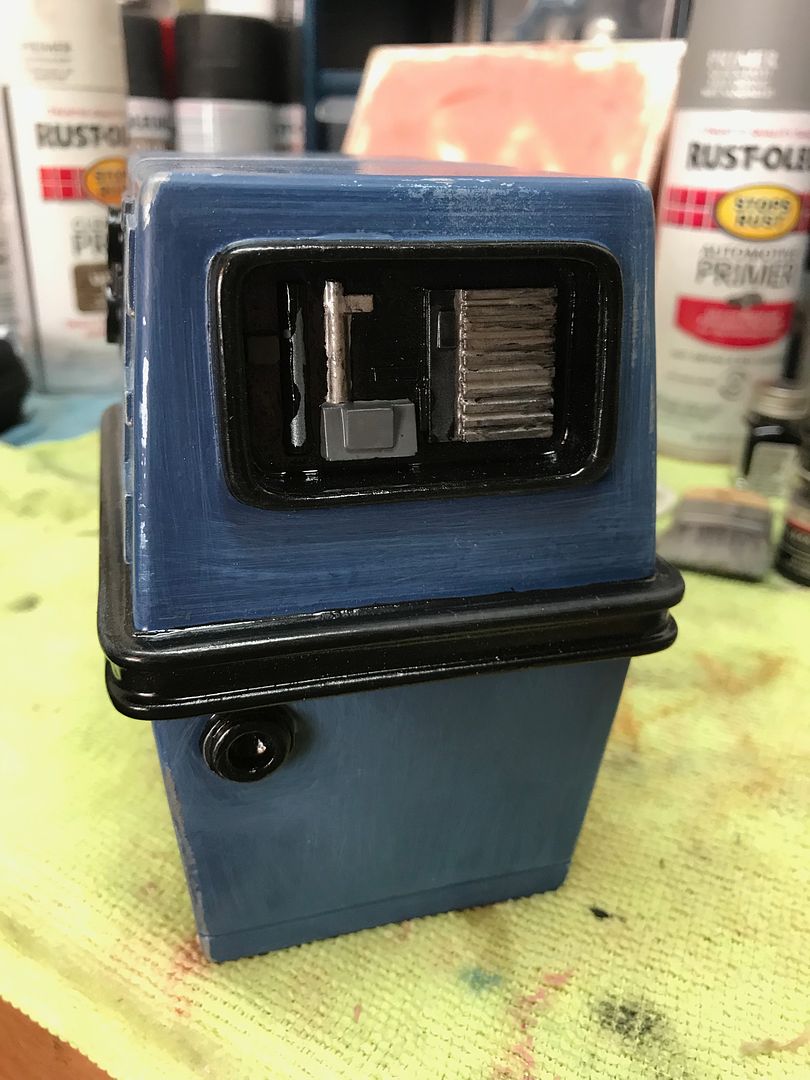
Pan detail done
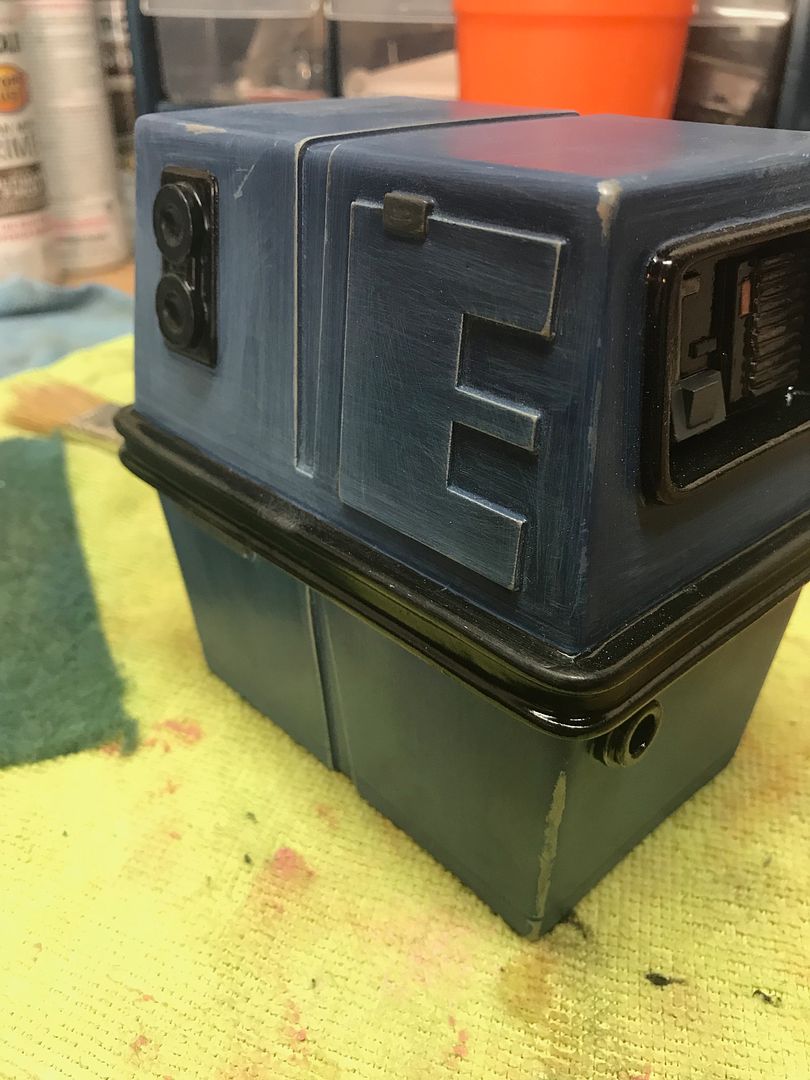
Few of the just about completed little guy
I'd like to give him a bit of grime, then a matte clear coat, attach the legs too!
Pan detail done
Few of the just about completed little guy
I'd like to give him a bit of grime, then a matte clear coat, attach the legs too!
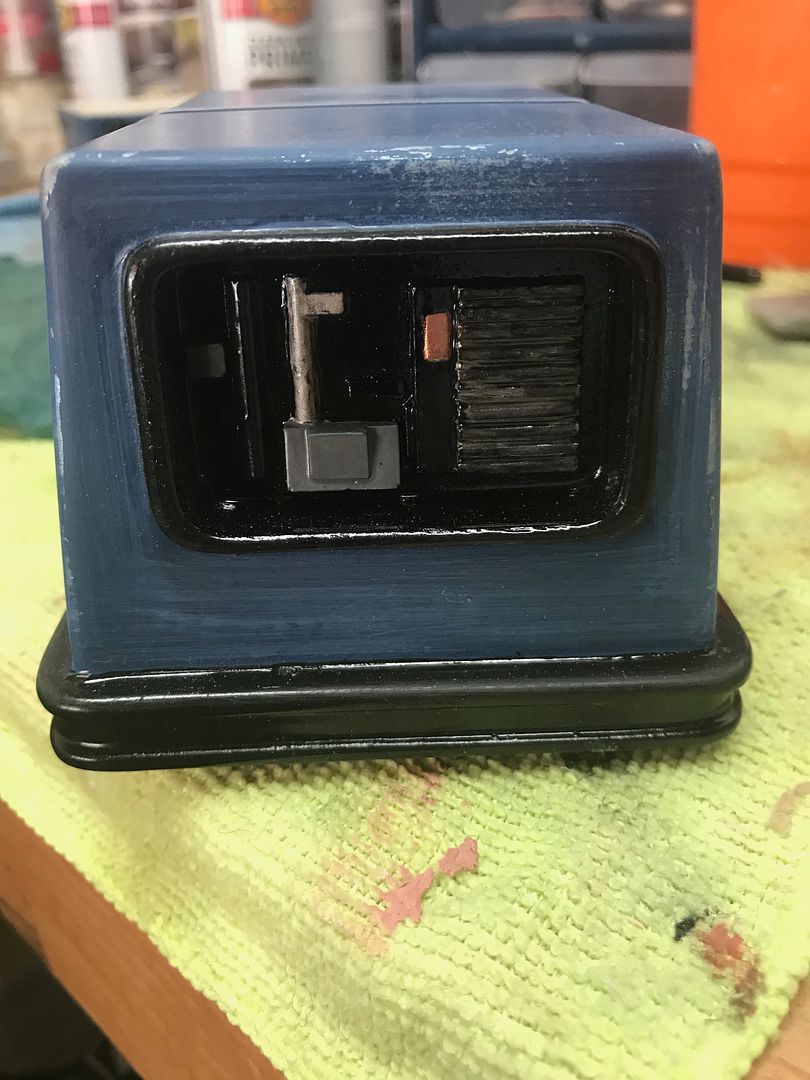
I used a Testor's Black Wash acrylic on the whole GNK and am really happy with the results. Here's a pic before the matte clear top coat

After matte top coat


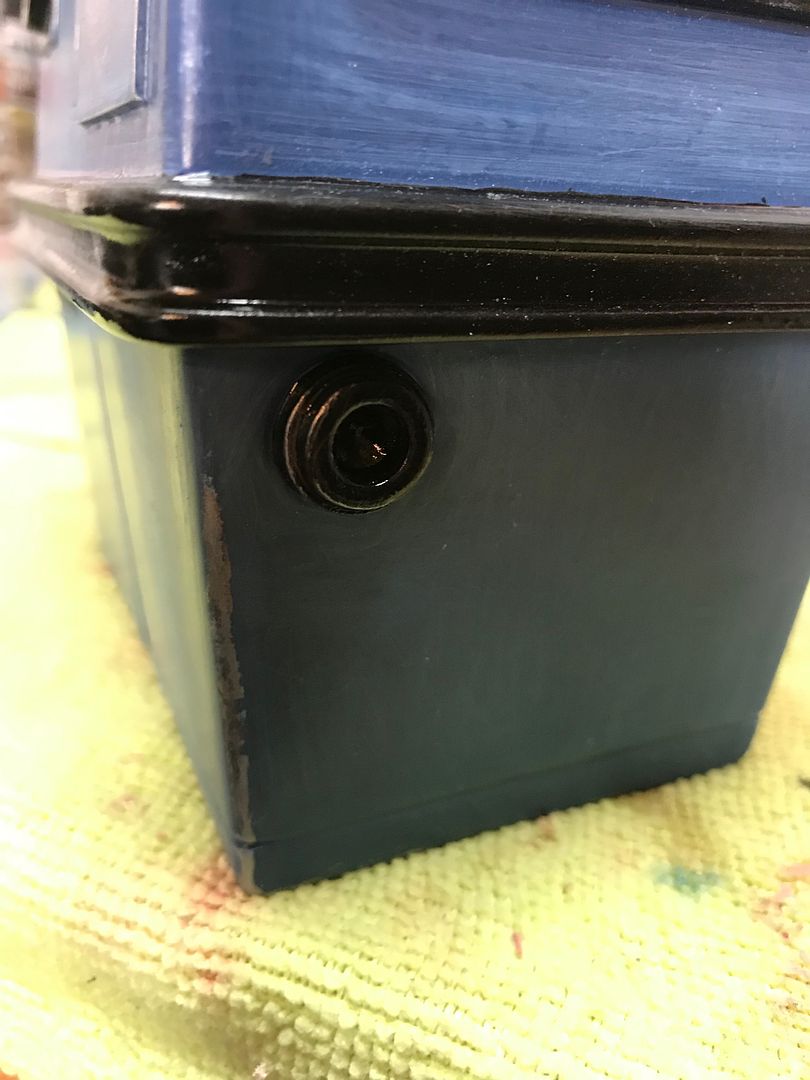
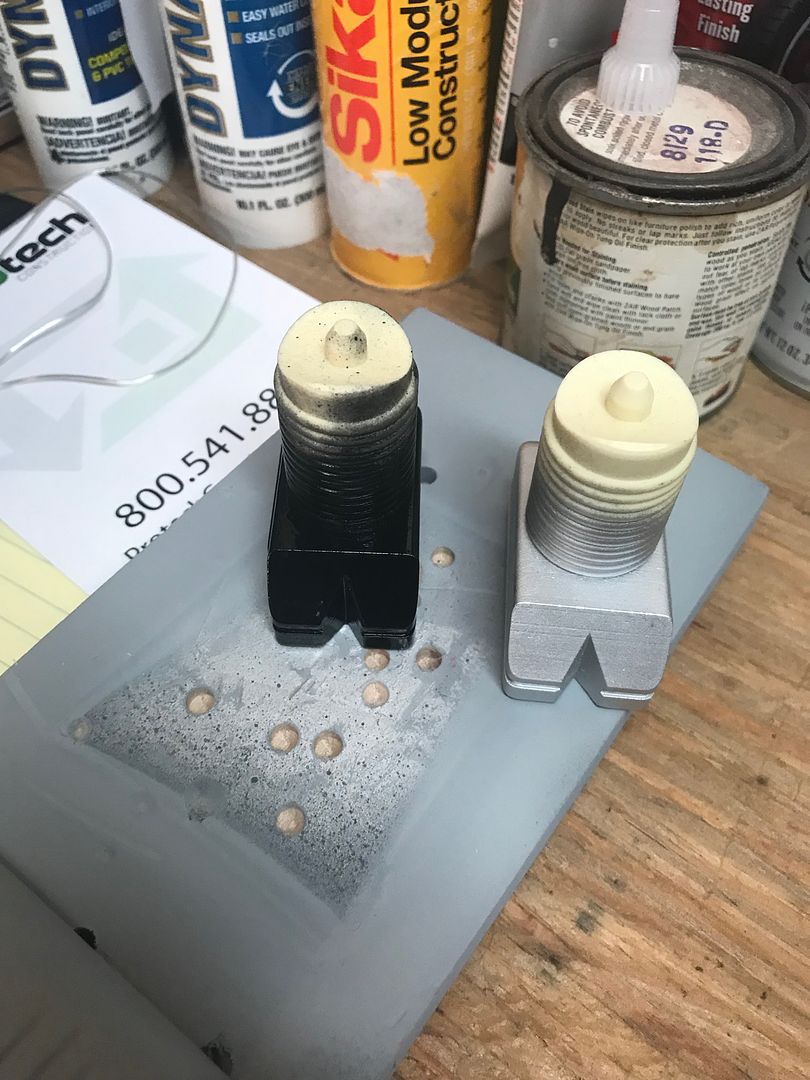
Drilled a hole in the base for the LED to run up through for the front lens and picked up a battery box with a switch for a 2032 battery, should work perfect!


Now to finish painting the legs & feet!
After matte top coat
Drilled a hole in the base for the LED to run up through for the front lens and picked up a battery box with a switch for a 2032 battery, should work perfect!
Now to finish painting the legs & feet!
Looks great. I cant wait to see what you do with the lighting.
I have one of these kits sitting in a box at home.....need to get started on it!
I have one of these kits sitting in a box at home.....need to get started on it!
Feet are oh so close. I'm adding feet hydraulic lines kind of like on an Astromech's feet. Used a threaded shaft with an allen end like to hold a TP holder to the wall bracket. Testor's also has a cool rubber color paint I used for the ribbed legs, after a good wash of black & matte clear these should be ready to glue in place! I'll add the hydraulic lines tonight too! Yipee he's almost done!

Hydraulic lines added! Used galvanized 1/16" cable


Hit them with copper paint


Bought a 1/35 German Tank model and robber a few pieces to make an antenna

Added a few more pieces and painted black. It was wet in the pics so they're not so great!


Need to dirty up the cables and matte clear the feet and antenna. Then all that's left is the red, blue, green LED
Hit them with copper paint
Bought a 1/35 German Tank model and robber a few pieces to make an antenna
Added a few more pieces and painted black. It was wet in the pics so they're not so great!
Need to dirty up the cables and matte clear the feet and antenna. Then all that's left is the red, blue, green LED
Thanks Rusty! This is a very cool kit and I’ve had fun trying out layering and weathering techniques! Don’t you offer a Mouse Droid kit too?
A friend of mine told me ILM used 3 different colors to weather, as nothing ever weathers or patinas in a single color! Thanks Cam, grease & soot, dirt, and rust worked well! I’ll post pictures soon
Well GNK is done! The three color weathering really pops - Black wash, sand, and light touches of rust! Here some pics


Two 2032 battery case with switch and a red, blue, green LED!

One hole in the "lens" then painted black


For not ever doing a 1/6th scale figure/droid, weathering, or electronics at this scale, I'm really happy with this guy! Thanks for playing along
Two 2032 battery case with switch and a red, blue, green LED!
One hole in the "lens" then painted black
For not ever doing a 1/6th scale figure/droid, weathering, or electronics at this scale, I'm really happy with this guy! Thanks for playing along
russellsch
Master Member
Such an incredible job!!!  All the details you put into this are so amazing. I can't wait to see this displayed next to the 6th scale R5 & Jawas.
All the details you put into this are so amazing. I can't wait to see this displayed next to the 6th scale R5 & Jawas.Here's you family photo Russ and display photo. Thanks for the props, now get yours DONE too!


Wait! Wait.....you got these from RS?!?
NOYCE. Your Gonk looks like it could walk right off the table.
Are those the Sideshow R5 and R2? I need an R5 in my life.....
Thank you Attirex! Yes, all of the others are Sideshow
Similar threads
- Replies
- 26
- Views
- 1,796
- Replies
- 1
- Views
- 236