Some time ago,I finally returned to an old favorite of mine: the original 1/650 AMT old of the TOS Enterprise. My first one was a model kit that someone else had built that they sold for 5 bucks at a tag sale back when I was a kid in the 80's (I know...rawr. I is dinosaur!)
Since that time (as well as a bajillion models of it later), I finally decided to revisit this kit with accurate references (for the first time!). So here we go:
Correction of B/C decks:
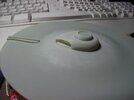
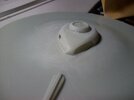
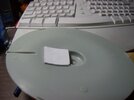
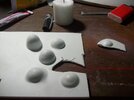
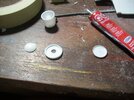
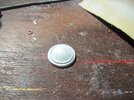
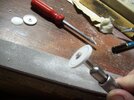
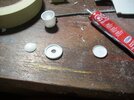
"Smash-molding" a new planetary sensor dome and dome base for the lower saucer section:
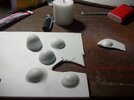
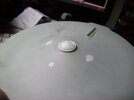
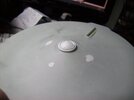
A new Main Bridge dome (my reference is in the back on the screen in the first pic):

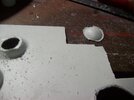
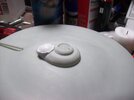
Redid the 3 blocks under the Bussard collector (old piece was wayyyyy too short and inaccurate!)
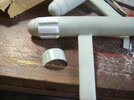
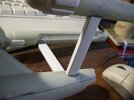
Removed, realigned and remounted warp engine pylons to the nacelles. I scrapped the old pylons (they were far too flimsy) and using the old pylons, fabricated a new set from solid styrene plate:
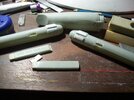
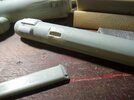
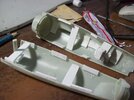
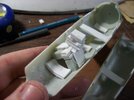
Since the secondary hull had a rather nasty habit of cracking, splitting and generally falling apart, I reinforced the living daylights out of it with some very heavy styrene plate, Devcon Plastic Welder, and judiciously applied model cement. the heaviest reinforcement was at the internal mounting block for the warp pylon tabs: this essentially became a solid block of styrene after the plastic and adhesives were added. I also added tabs to provide more gluing surface and to lock the halves together, as well as heavy reinforcement against "crush pressure" above the mounting post at the bottom:
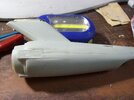
Warp nacelles test fitted; slight variances, but not enough to dissuade me. New pylons are mounted in the correct position on the nacelles; the old position was incorrect (compared to official blueprints). Also, secondary hull now sealed up:
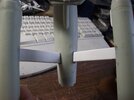
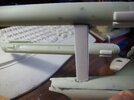
Final assembly and start of painting:
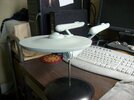
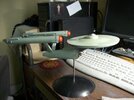
Decalling and weathering:
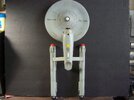
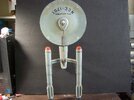
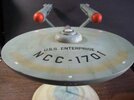
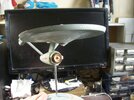
Final shots on stand with my scratchbuild of the Cassini space probe:
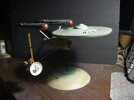

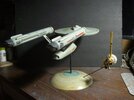
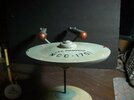
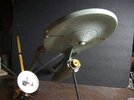
Cassini:
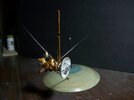
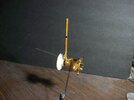
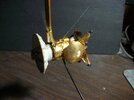
A few extra details: 1) I added a post extending from the inside of the bridge dome down through the bottom of the planetary sensor for support and to prevent the hollow saucer from compression damage (the end of the post is actually just outside the ship, as the small "nipple" on the planetary sensor!); 2) I removed the old Bussard domes and smash molded a new pair out of plexiglass, which I then sanded and painted translucent orange, and added an inner piece to replicate the Bussard blades (I replicated the same effect I got from my 1/1000 TOS E build!); 3) I added an upper and lower set of navigation lights and hangar bay dome, all molded from plexiglass using an old paint brush handle:
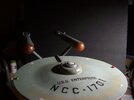
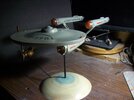
Comparison to my 1/1000 build:

Thanks for looking, folks! See you again soon!
Since that time (as well as a bajillion models of it later), I finally decided to revisit this kit with accurate references (for the first time!). So here we go:
Correction of B/C decks:


"Smash-molding" a new planetary sensor dome and dome base for the lower saucer section:


A new Main Bridge dome (my reference is in the back on the screen in the first pic):


Redid the 3 blocks under the Bussard collector (old piece was wayyyyy too short and inaccurate!)

Removed, realigned and remounted warp engine pylons to the nacelles. I scrapped the old pylons (they were far too flimsy) and using the old pylons, fabricated a new set from solid styrene plate:


Since the secondary hull had a rather nasty habit of cracking, splitting and generally falling apart, I reinforced the living daylights out of it with some very heavy styrene plate, Devcon Plastic Welder, and judiciously applied model cement. the heaviest reinforcement was at the internal mounting block for the warp pylon tabs: this essentially became a solid block of styrene after the plastic and adhesives were added. I also added tabs to provide more gluing surface and to lock the halves together, as well as heavy reinforcement against "crush pressure" above the mounting post at the bottom:


Warp nacelles test fitted; slight variances, but not enough to dissuade me. New pylons are mounted in the correct position on the nacelles; the old position was incorrect (compared to official blueprints). Also, secondary hull now sealed up:


Final assembly and start of painting:


Decalling and weathering:


Final shots on stand with my scratchbuild of the Cassini space probe:


Cassini:


A few extra details: 1) I added a post extending from the inside of the bridge dome down through the bottom of the planetary sensor for support and to prevent the hollow saucer from compression damage (the end of the post is actually just outside the ship, as the small "nipple" on the planetary sensor!); 2) I removed the old Bussard domes and smash molded a new pair out of plexiglass, which I then sanded and painted translucent orange, and added an inner piece to replicate the Bussard blades (I replicated the same effect I got from my 1/1000 TOS E build!); 3) I added an upper and lower set of navigation lights and hangar bay dome, all molded from plexiglass using an old paint brush handle:


Comparison to my 1/1000 build:

Thanks for looking, folks! See you again soon!
Last edited:

