crowe t
Well-Known Member
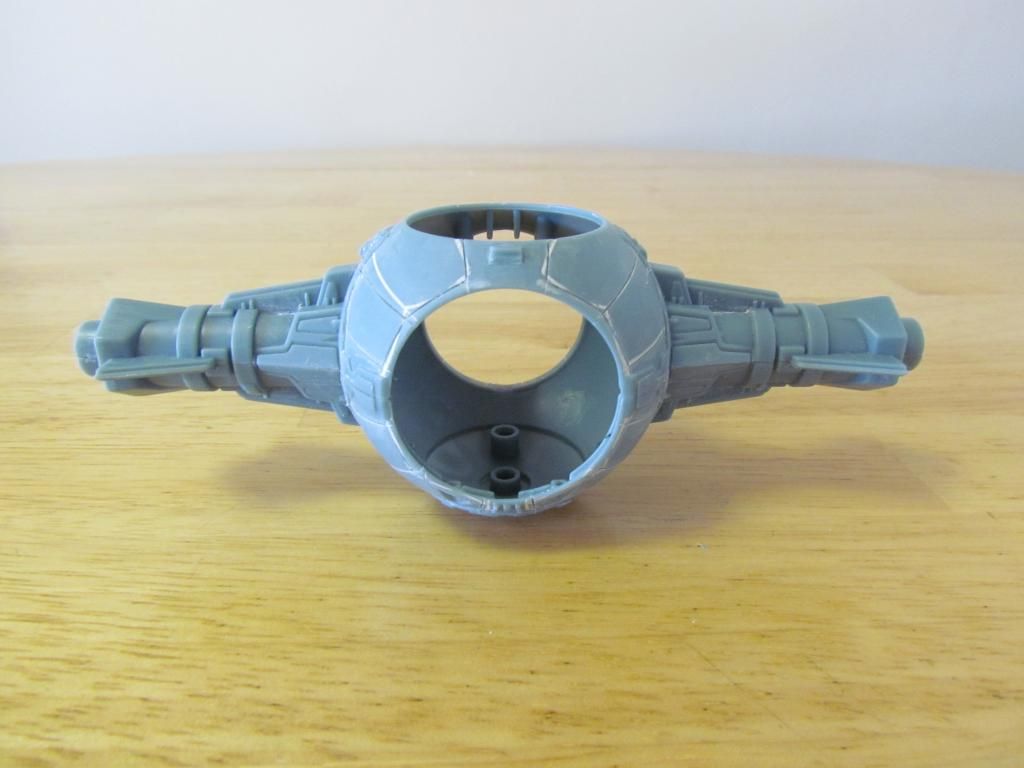
Here is a project I've been planning for a while, a Revell Tie Fighter.
The Revell Tie Fighter is a pretty decent kit. The overall shape is quite accurate, just some of the details need to be re-worked.
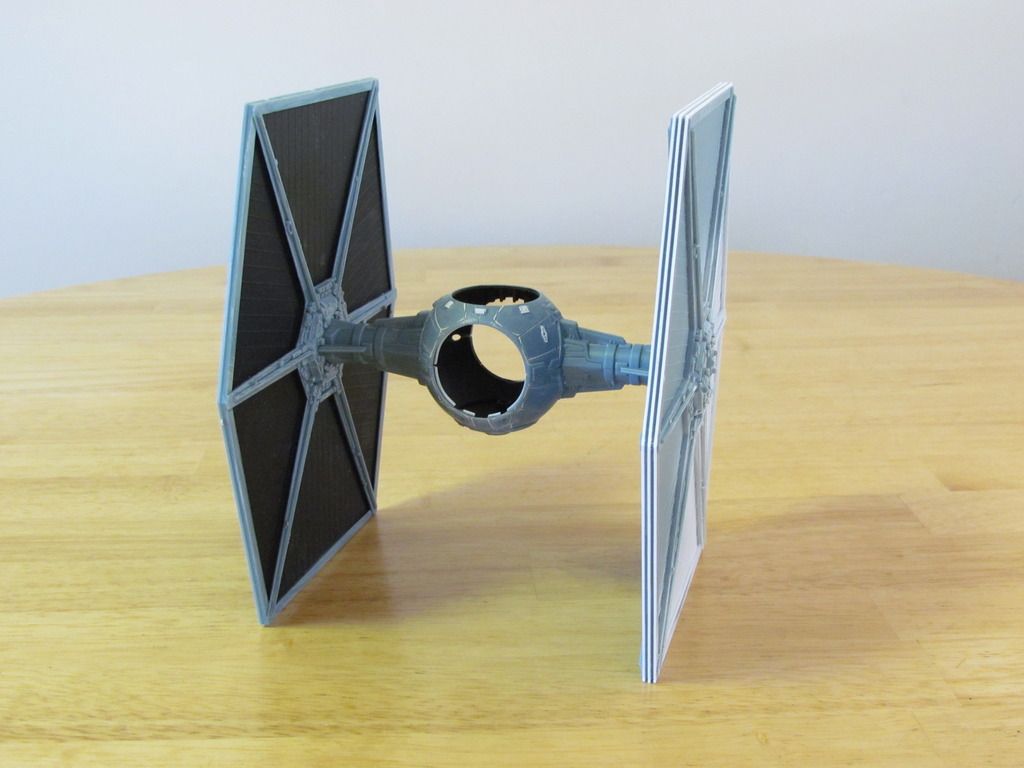
For this build I'm attempting to build a replica of the studio model and not a 'real' Tie Fighter so I removed the cockpit 'glass'.
I started by filling in the panel lines on the cockpit 'ball' section and re-scribed new ones. The kit's panel lines are a bit out of scale and not 100% accurate to the studio models. I also scribed a couple of the lines uneven as they appear on the studio models.
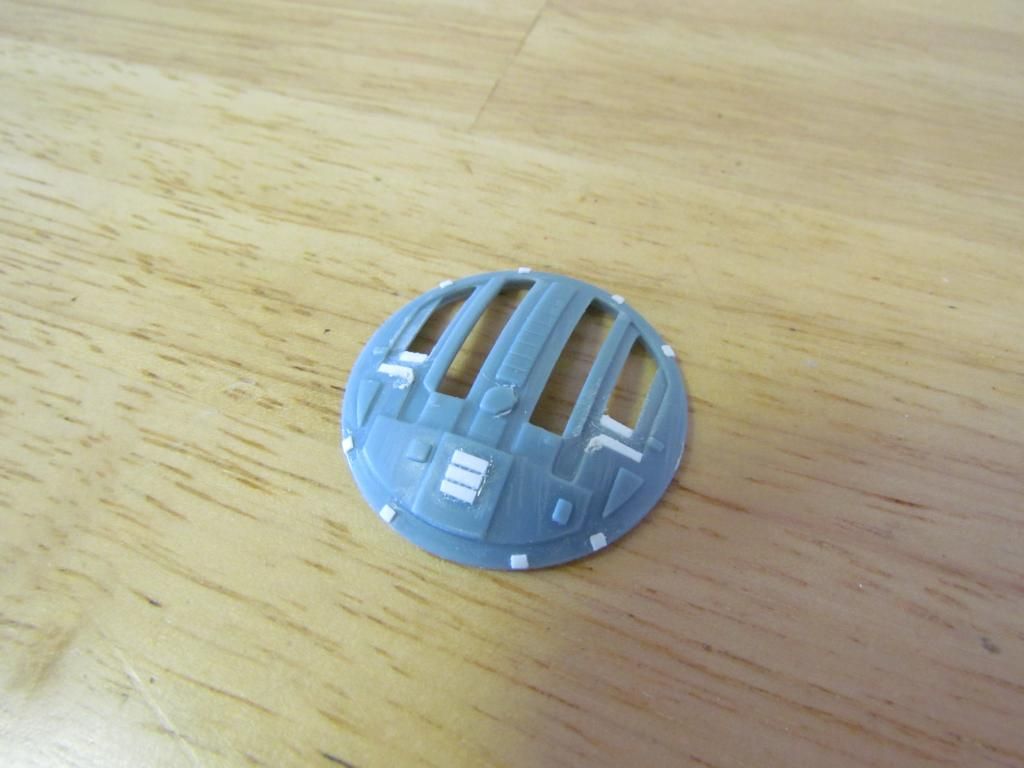
I added some details to the hatch and shortened the 2 outer windows. There are still a few details to add to finish it.
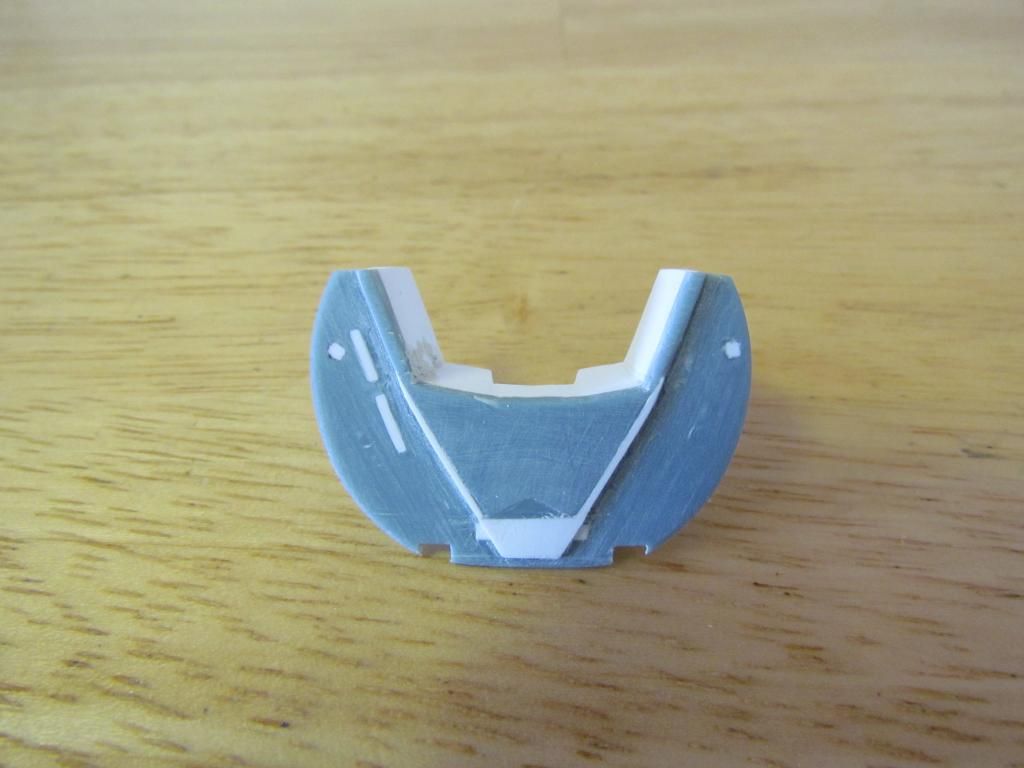
The details on the kit's cockpit front wall were removed and it was re-shaped. I started scratch building a cockpit that matches the studio models.
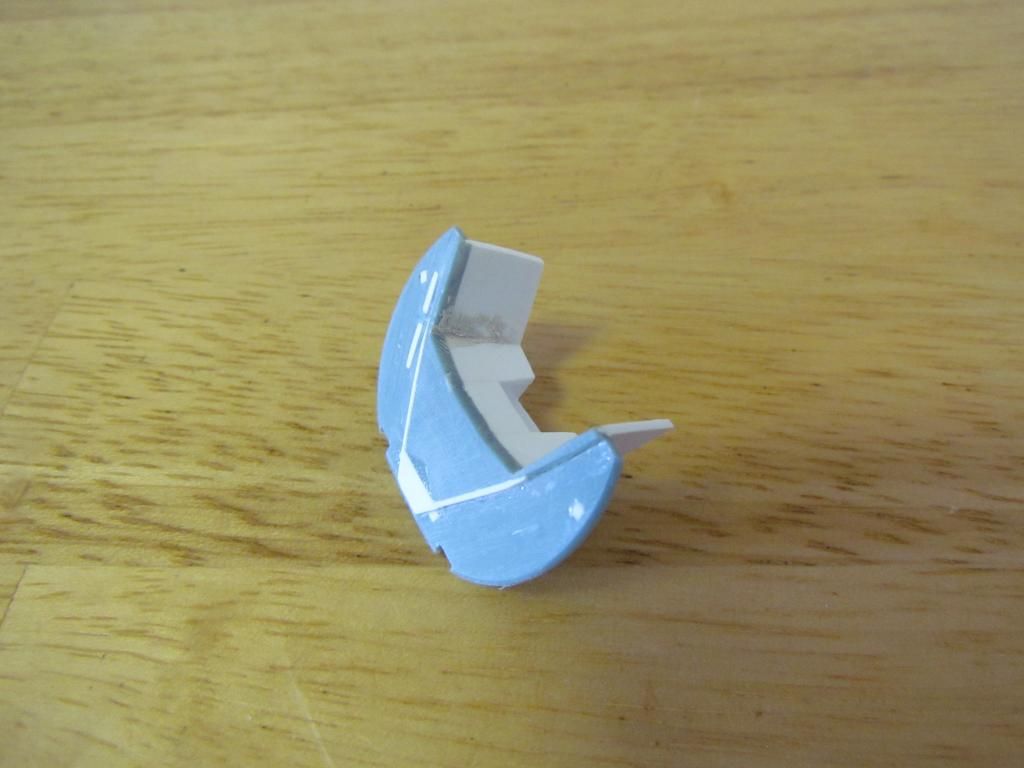
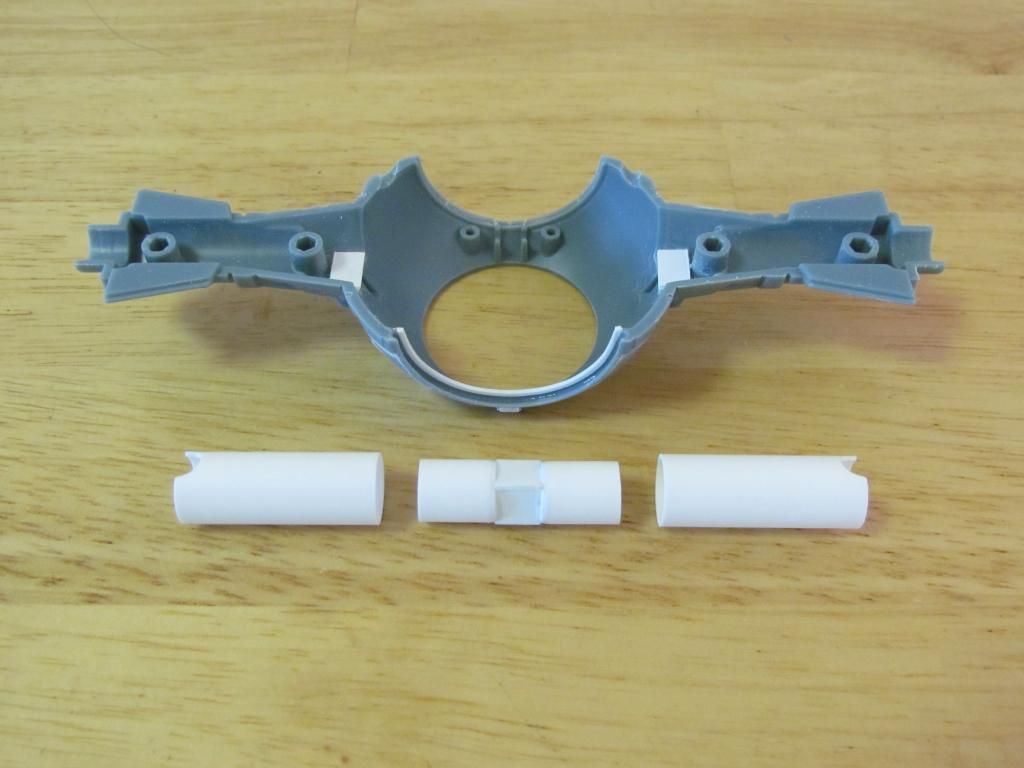
I made an armature from styrene tubing and 1 mm sheet styrene. It's not a real armature but hopefully will look the part when it's installed.
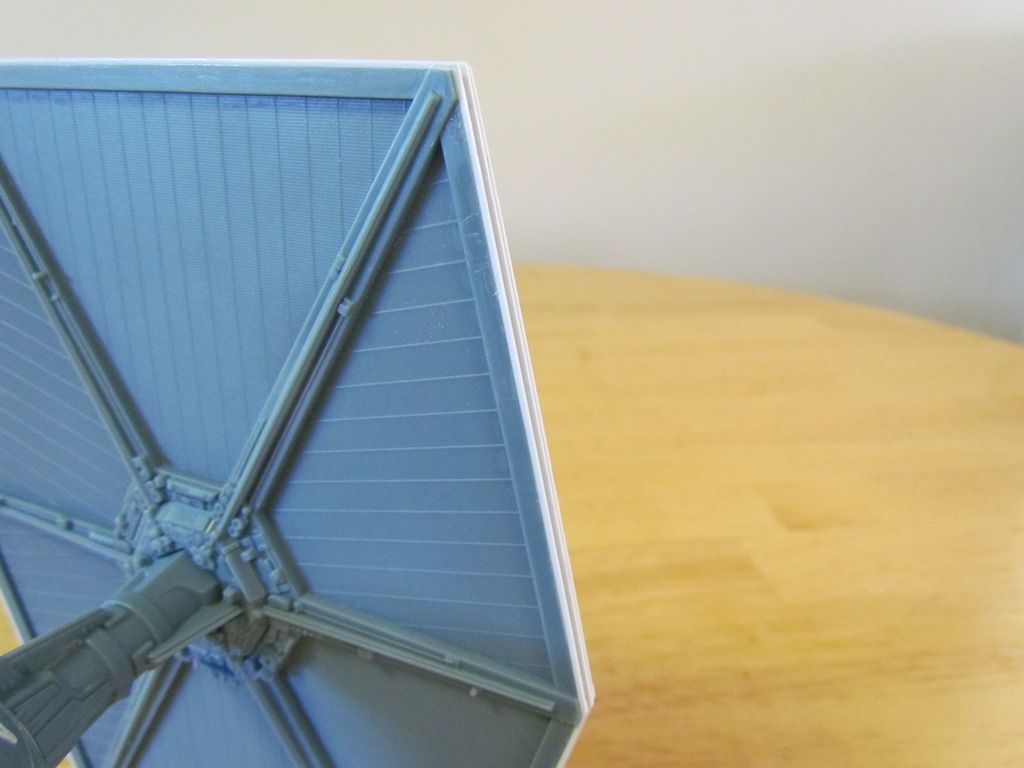
Today I worked on adding the raised ribs to the edge of one of the wings. I used .75 x .75 mm strips for the outer edges and .75 x 1 mm strips for the center rib.
I'm planning on installing LED's to light the 2 rear engines and possibly an LED to light the interior.
I'll post some more updates as work progresses.
Mike.
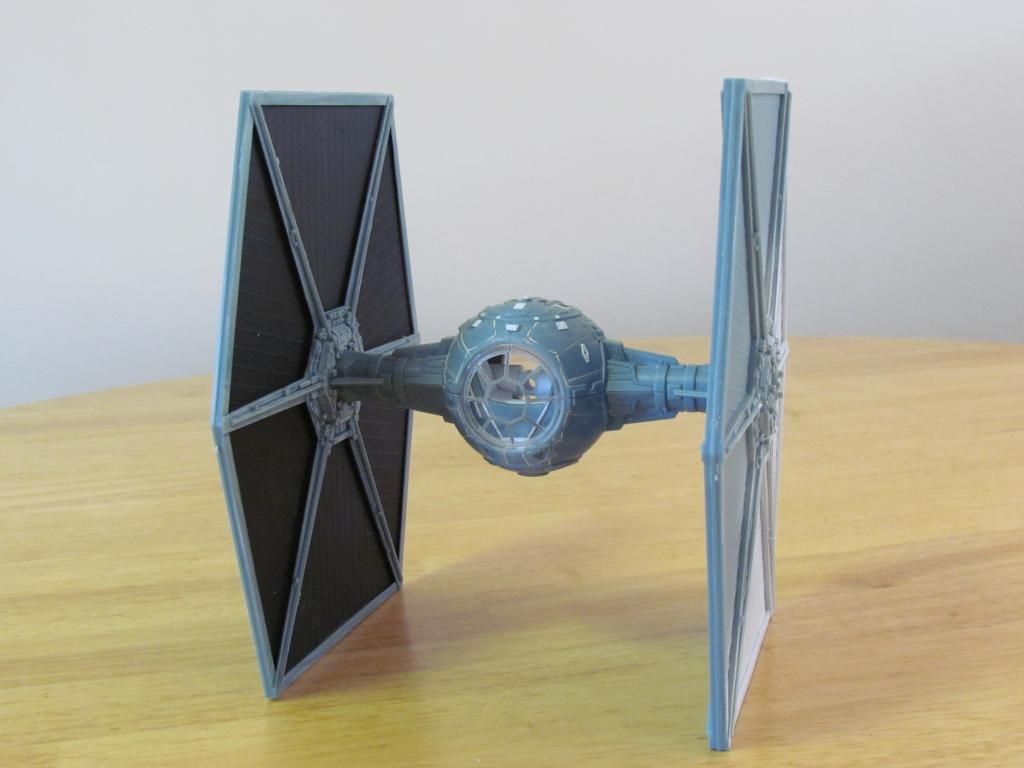
The Revell Tie Fighter is a pretty decent kit. The overall shape is quite accurate, just some of the details need to be re-worked.
For this build I'm attempting to build a replica of the studio model and not a 'real' Tie Fighter so I removed the cockpit 'glass'.
I started by filling in the panel lines on the cockpit 'ball' section and re-scribed new ones. The kit's panel lines are a bit out of scale and not 100% accurate to the studio models. I also scribed a couple of the lines uneven as they appear on the studio models.
I added some details to the hatch and shortened the 2 outer windows. There are still a few details to add to finish it.
The details on the kit's cockpit front wall were removed and it was re-shaped. I started scratch building a cockpit that matches the studio models.
I made an armature from styrene tubing and 1 mm sheet styrene. It's not a real armature but hopefully will look the part when it's installed.
Today I worked on adding the raised ribs to the edge of one of the wings. I used .75 x .75 mm strips for the outer edges and .75 x 1 mm strips for the center rib.
I'm planning on installing LED's to light the 2 rear engines and possibly an LED to light the interior.
I'll post some more updates as work progresses.
Mike.


Last edited:


