samster27
Well-Known Member
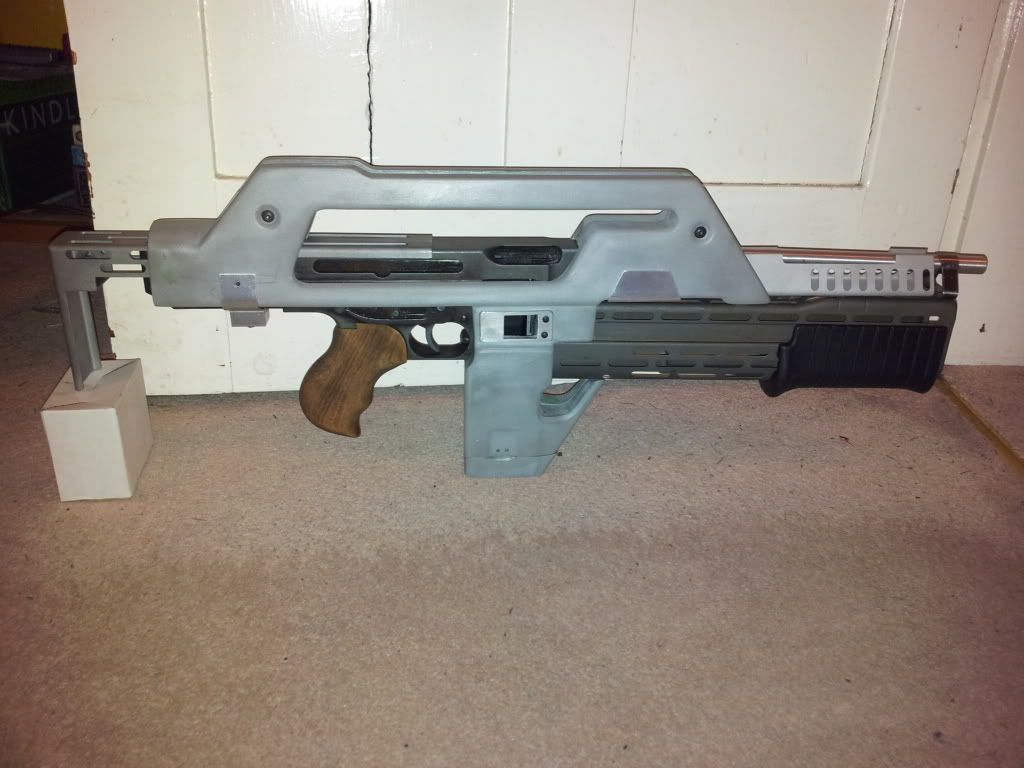
PR Build
I know its been 25 years since the movie, but I am finally building a PR and case.
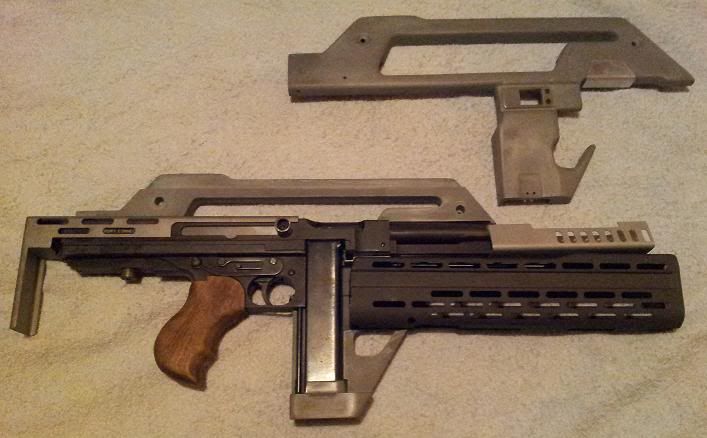
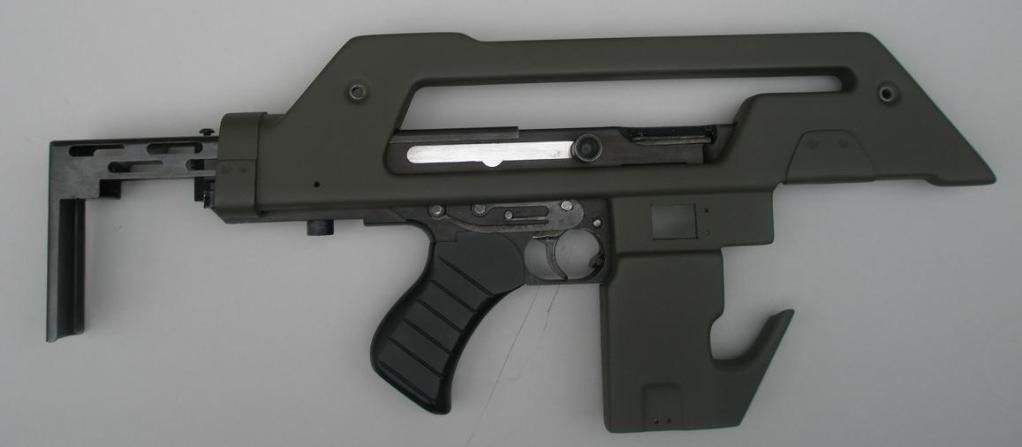
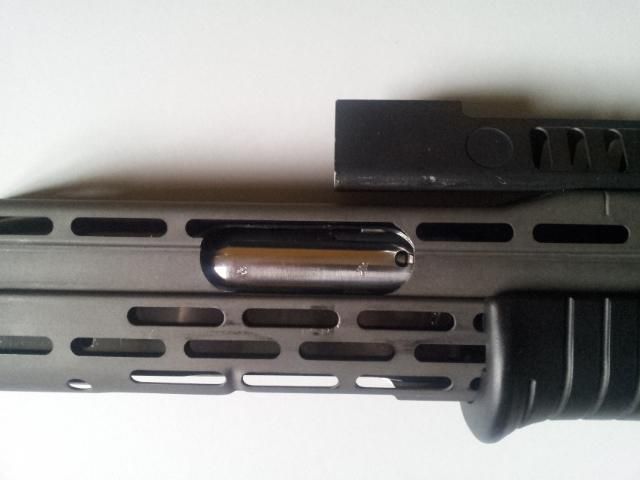
The shrouds are Matsuo’s lovely Aluminium impregnated resin units.
Grip by Matsuo too.
Shroud Metal components, barrel and stock ( all cracking items ) from Steve at SD studios
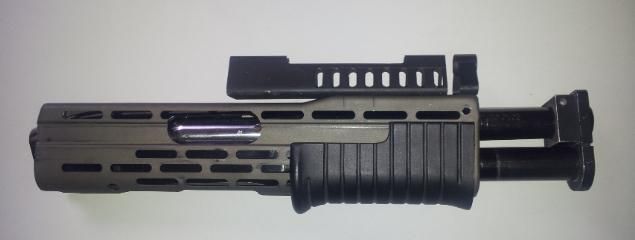
Gorgeous SPAS parts from the forums member Armourer
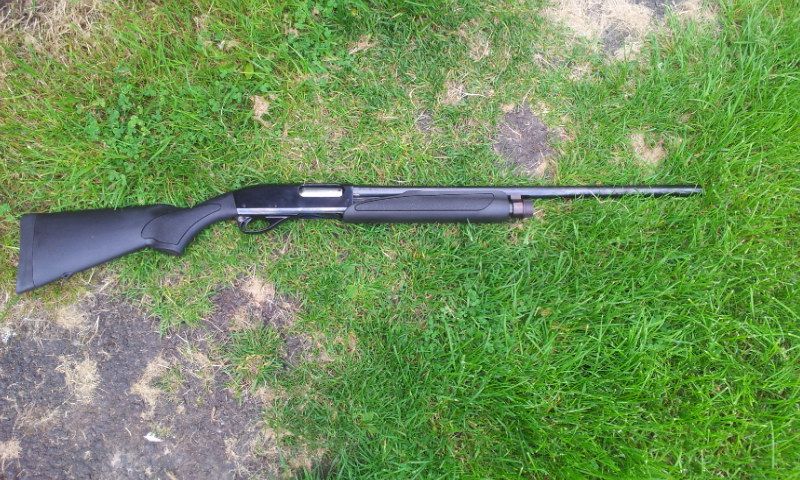
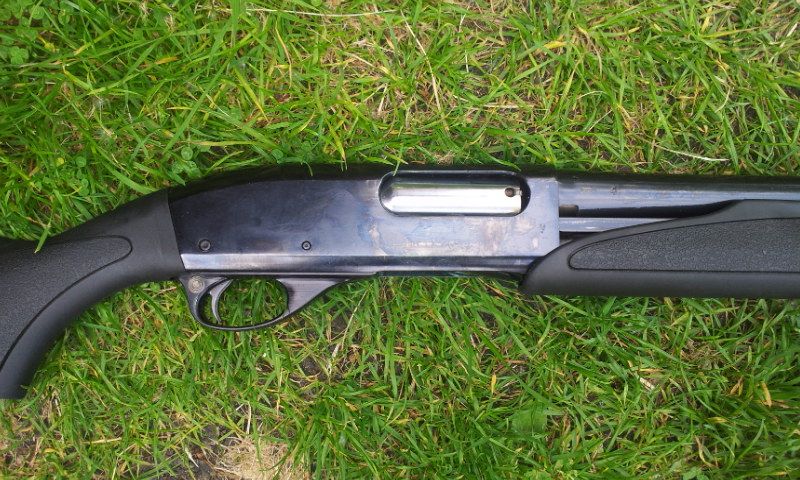
Deactivated Remington M870
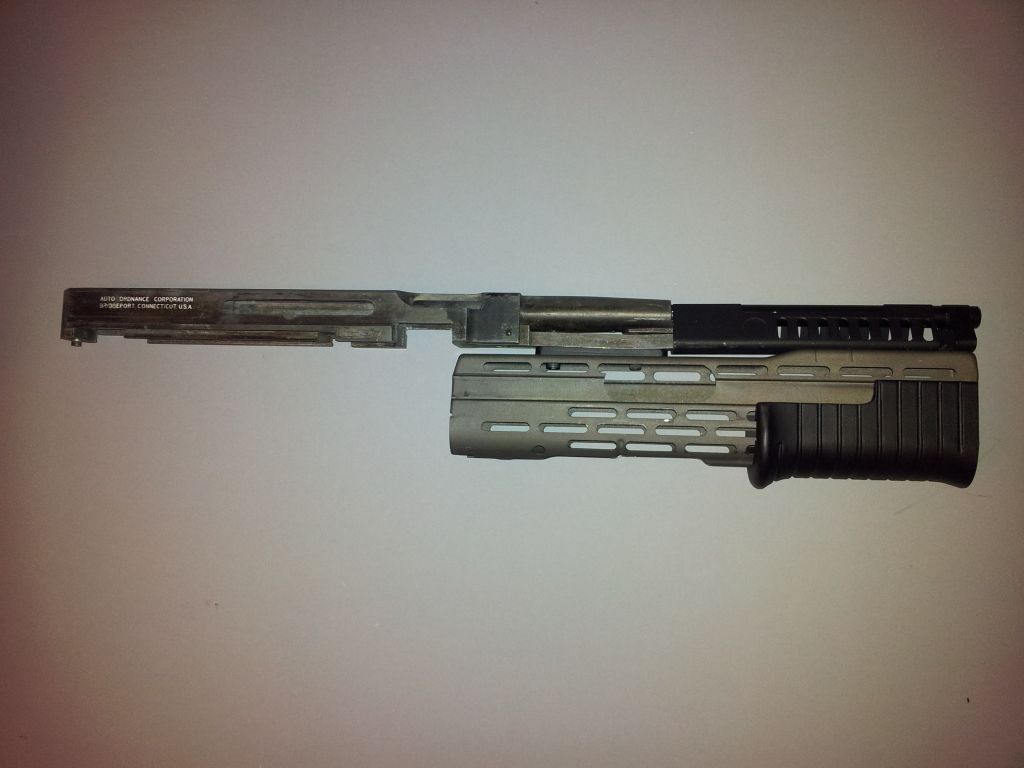
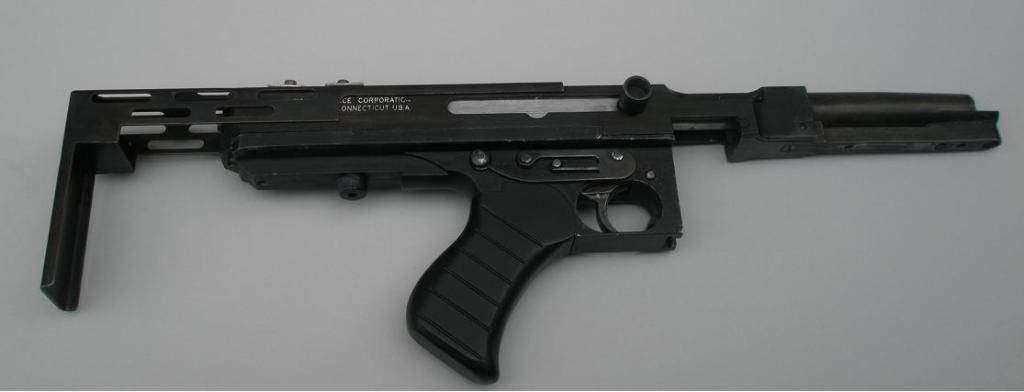
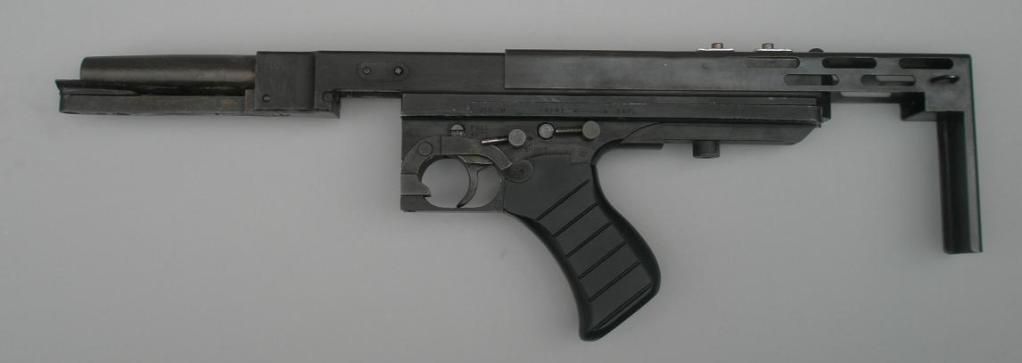
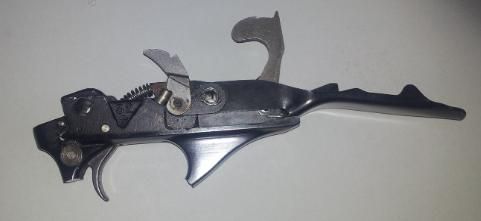
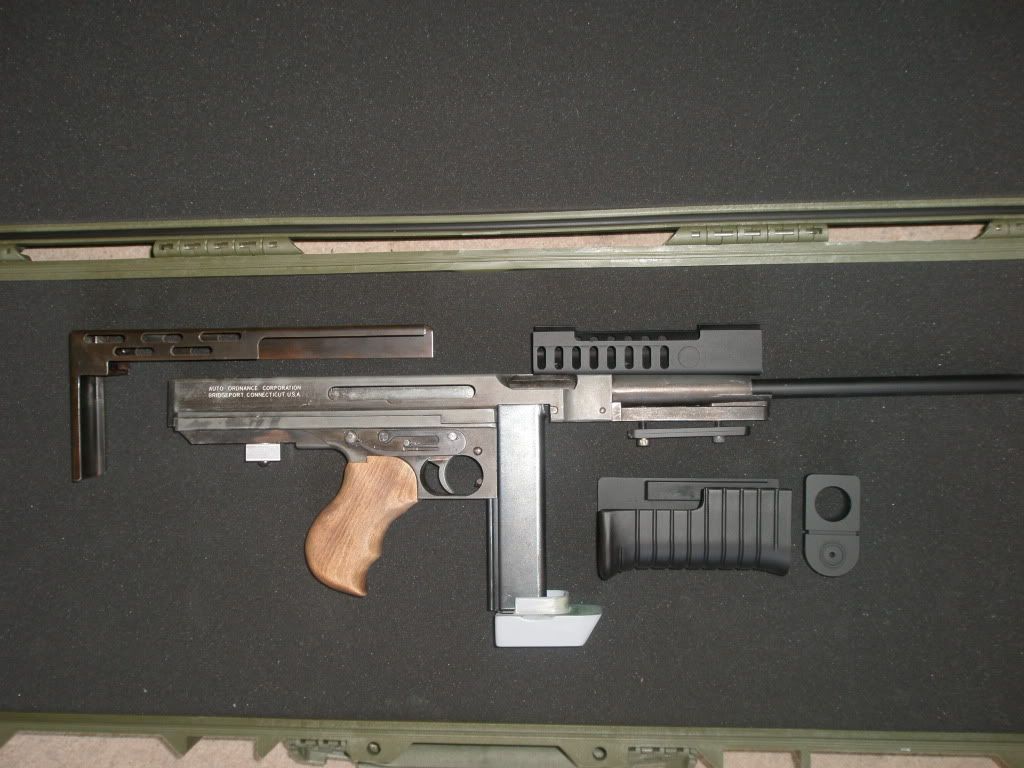
Hudson Gas Blowback Thompson M1A1
Pelican OD Case
Case stickers from the forums marsattack ( top bloke )
Potentially additional case stickers from the forums member Noble.
Ammo counter from Lightbenders.
Bits and Bobs from Maplins ( love this shop....so many geeky things )
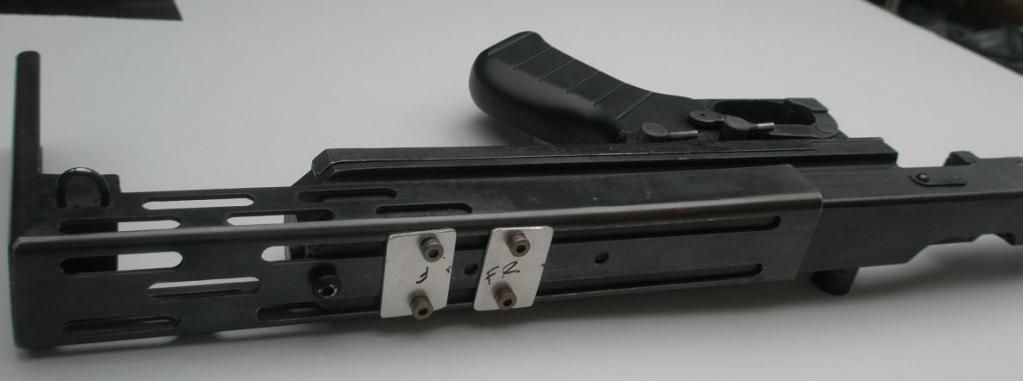
The build has been straight forward until the other day when a spilled bottle of superglue bunged up the Thompsons workings and I could not disassemble it because it would not budge. However after a night submerged in petrol, a bath in boiling water in the morning, I was eventually able to remove the pins holding in the trigger assemble components which after about an hour of jiggling and moving bits with a screw driver ( through the bolt handle opening ) I was able to drop them down and allow the bolt to slide forward so that the gun could be taken apart. Jeez..scarey times.
I must admit this was a very tense time with visions of a useless chunk of metal sitting in the PR, instead of a fully functioning gas blowback! The trigger would not even move. Thankfully it will now be fully operational.
I am waiting for the Remington to return from the proof hose. I will then have the barrel removed the main body adjusted so that it cannot take a barrel.
My future concern will be making the indentation in the SPAS pump handle for the metal plate which screws to the Rem pump action arms. Hope this goes OK. I already messed up the cutting of the handle by referencing the wrong picture, but have re-built the missing section and to be honest, and to my surprise, its back to perfect.
With regard to the Pelican Case, I have decided to take a slightly different approach to the Derrick Beana case, which I must admit is fantastic, but a bit unrealistic ( I know its all fiction ) but shipping HIGH EXPLOSIVE grenades with the Rifle is never going to happen ( although they do look great in there ...it was tempting )
My case will feature elements that I think would be more realistic in terms of both how the rifle would be shipped from the manufacturer and how the Marine Corp would enter it into their inventory and deal with it from then on. Certainly not as exciting as opening a case to find a 6 pack of glistening grenade shells, but I think it will look good. Will post some pictures as soon as its finished.
If anyone is interested, I know where a Rem M870 can be found and I know a gunsmith that can do the deactivation work. Drop me a PM and I will send the info over.
I know its been 25 years since the movie, but I am finally building a PR and case.
The shrouds are Matsuo’s lovely Aluminium impregnated resin units.
Grip by Matsuo too.
Shroud Metal components, barrel and stock ( all cracking items ) from Steve at SD studios
Gorgeous SPAS parts from the forums member Armourer
Deactivated Remington M870
Hudson Gas Blowback Thompson M1A1
Pelican OD Case
Case stickers from the forums marsattack ( top bloke )
Potentially additional case stickers from the forums member Noble.
Ammo counter from Lightbenders.
Bits and Bobs from Maplins ( love this shop....so many geeky things )
The build has been straight forward until the other day when a spilled bottle of superglue bunged up the Thompsons workings and I could not disassemble it because it would not budge. However after a night submerged in petrol, a bath in boiling water in the morning, I was eventually able to remove the pins holding in the trigger assemble components which after about an hour of jiggling and moving bits with a screw driver ( through the bolt handle opening ) I was able to drop them down and allow the bolt to slide forward so that the gun could be taken apart. Jeez..scarey times.
I must admit this was a very tense time with visions of a useless chunk of metal sitting in the PR, instead of a fully functioning gas blowback! The trigger would not even move. Thankfully it will now be fully operational.
I am waiting for the Remington to return from the proof hose. I will then have the barrel removed the main body adjusted so that it cannot take a barrel.
My future concern will be making the indentation in the SPAS pump handle for the metal plate which screws to the Rem pump action arms. Hope this goes OK. I already messed up the cutting of the handle by referencing the wrong picture, but have re-built the missing section and to be honest, and to my surprise, its back to perfect.
With regard to the Pelican Case, I have decided to take a slightly different approach to the Derrick Beana case, which I must admit is fantastic, but a bit unrealistic ( I know its all fiction ) but shipping HIGH EXPLOSIVE grenades with the Rifle is never going to happen ( although they do look great in there ...it was tempting )
My case will feature elements that I think would be more realistic in terms of both how the rifle would be shipped from the manufacturer and how the Marine Corp would enter it into their inventory and deal with it from then on. Certainly not as exciting as opening a case to find a 6 pack of glistening grenade shells, but I think it will look good. Will post some pictures as soon as its finished.
If anyone is interested, I know where a Rem M870 can be found and I know a gunsmith that can do the deactivation work. Drop me a PM and I will send the info over.