Seananigans
Well-Known Member
Sorry no assembly manuals, I’ll post a link for the combined receiverFirst off, massive thank you for sharing your files. I've been looking for some way to print and build this iconic blaster and this is the most comprehensive set of files that I know of. Awfully generous of you to share your hard work with the community. However, in reviewing your latest download link, I have several questions.
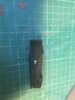
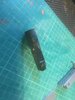
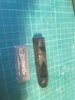
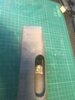
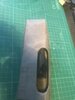
1. I see 3 sets of 'trigger box' files with what looks like the same part repeated 3 times; big trigger box (1), new trigger box parts (2), and trigger box fix (1). big trigger box and trigger box fix also look similar. Which one should we print? Likewise, 'carrier spring remix (1)' and 'remington carrier full size' are the same? There are 2 Thompson grips too it seems.
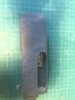
2. Any possibility of combining the thompson rec half cut and (1) into one single file?
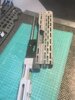
3. Is there any assembly manual for this?
Again, thank you!
First off, massive thank you for sharing your files. I've been looking for some way to print and build this iconic blaster and this is the most comprehensive set of files that I know of. Awfully generous of you to share your hard work with the community. However, in reviewing your latest download link, I have several questions.
1. I see 3 sets of 'trigger box' files with what looks like the same part repeated 3 times; big trigger box (1), new trigger box parts (2), and trigger box fix (1). big trigger box and trigger box fix also look similar. Which one should we print? Likewise, 'carrier spring remix (1)' and 'remington carrier full size' are the same? There are 2 Thompson grips too it seems.
2. Any possibility of combining the thompson rec half cut and (1) into one single file?
3. Is there any assembly manual for this?
Again, thank you!

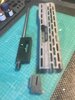
thompson full reciever with markings.stl
1 file sent via WeTransfer, the simplest way to send your files around the world
 we.tl
we.tl