Pulp Fiction- Big Kahuna Burger props build -Vid link in post #1

juliet76

Member
Hamburgers! The cornerstone of any nutritious breakfast.

Hey everybody here on the RPF! I've been a member for quite some time now but have never had anything to show so I just haven't posted. Recently my partner and I talked our way into doing up props for a Pulp Fiction Big Kahuna Burger scene re-enactment. The fella doing the re-enactment with his mates has done several now for fun and we convinced him that a few props would lift the calibre of the scene a notch or two.

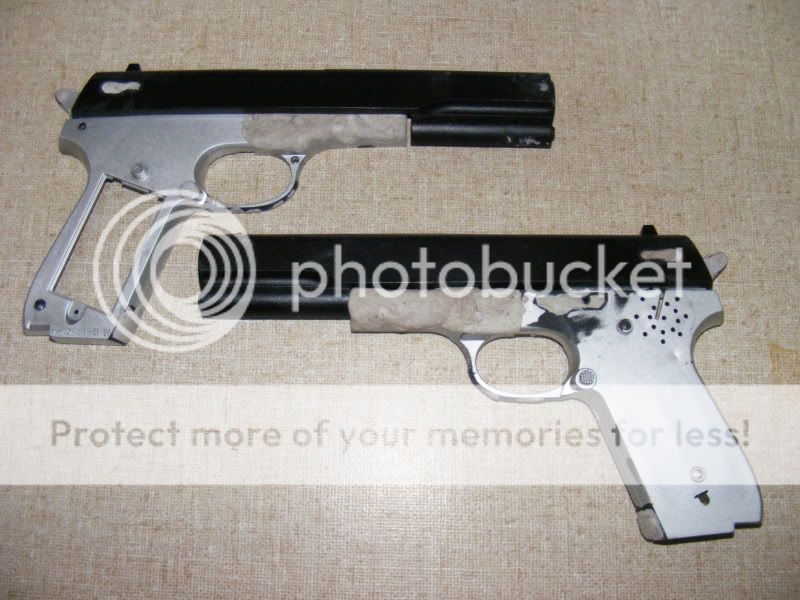
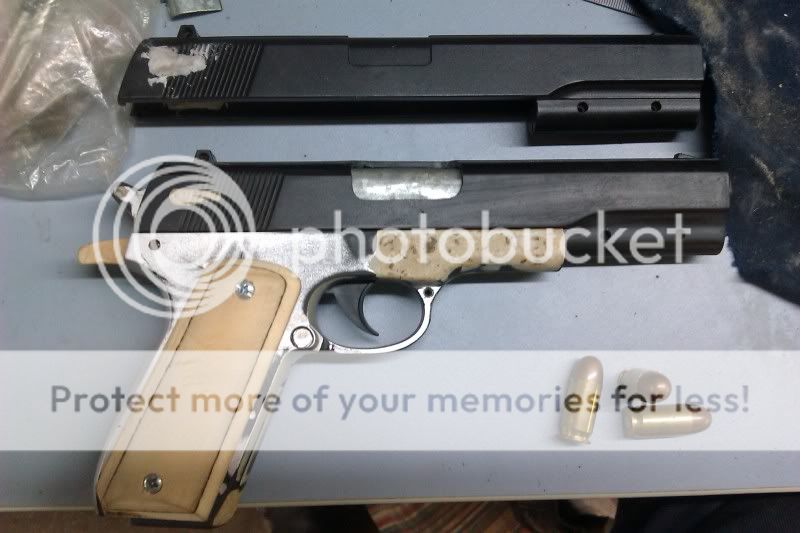
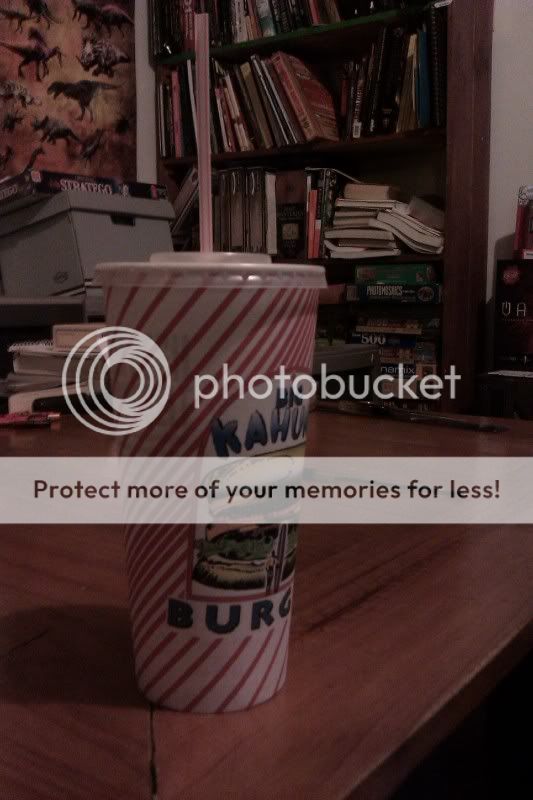
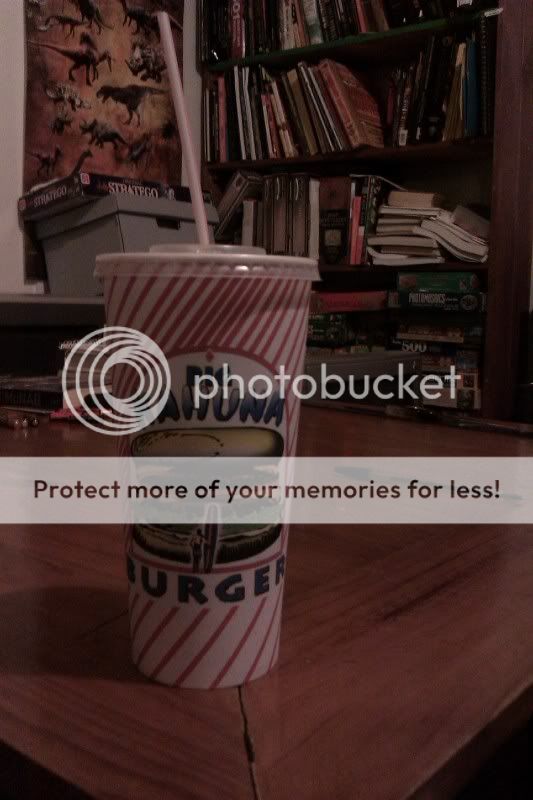
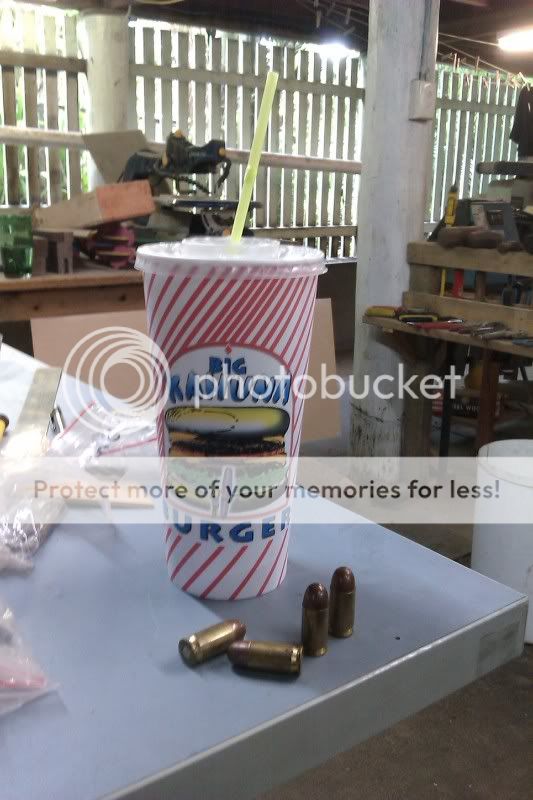
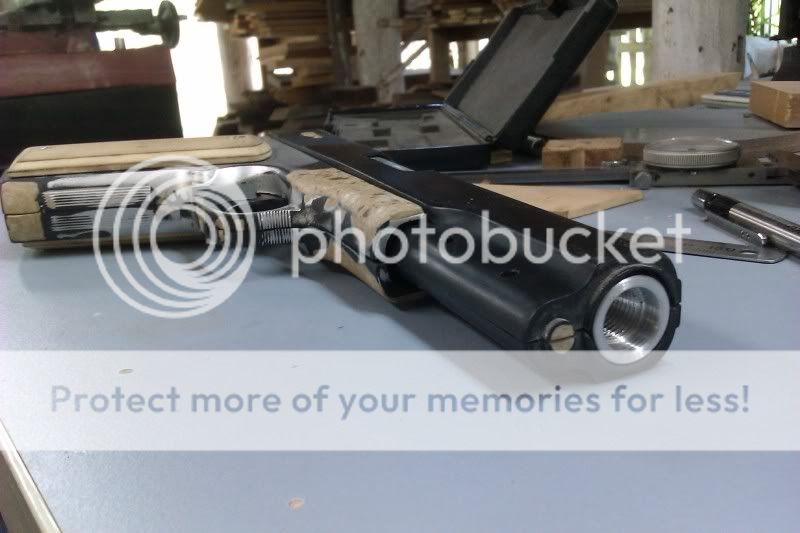
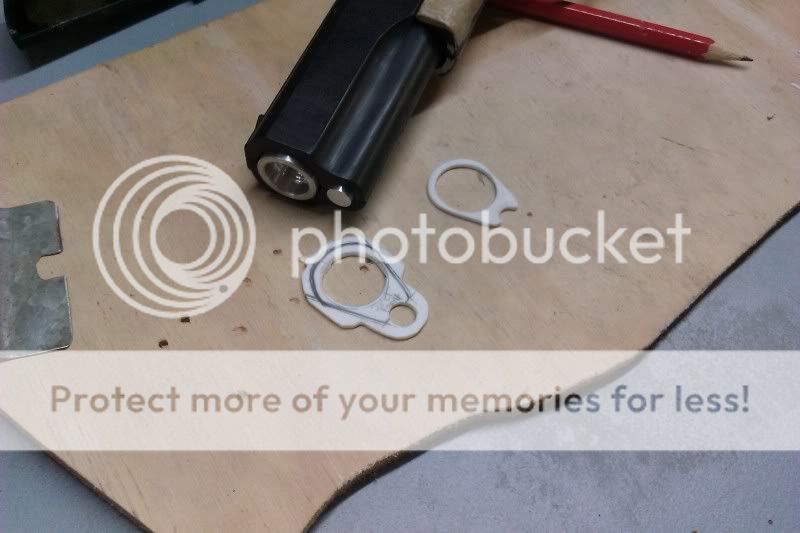
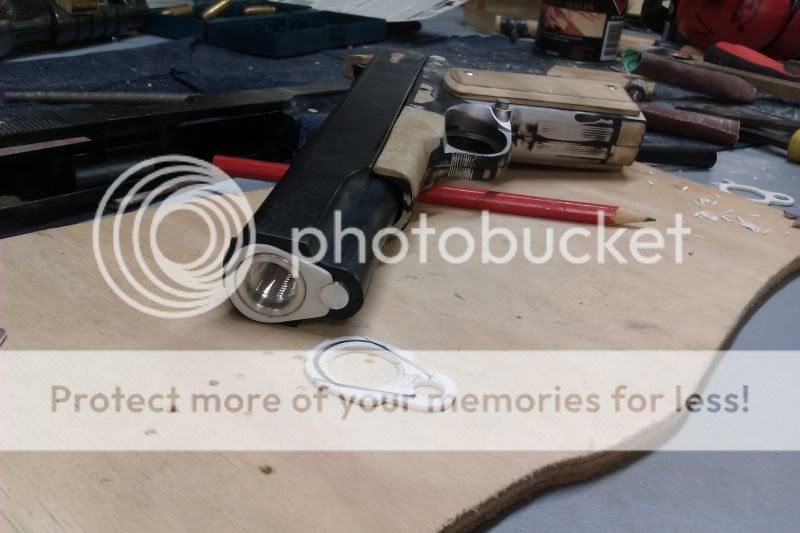
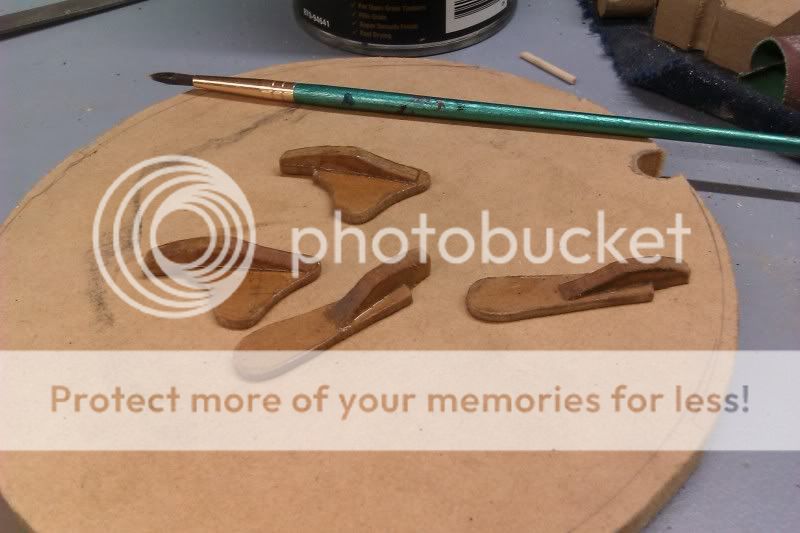
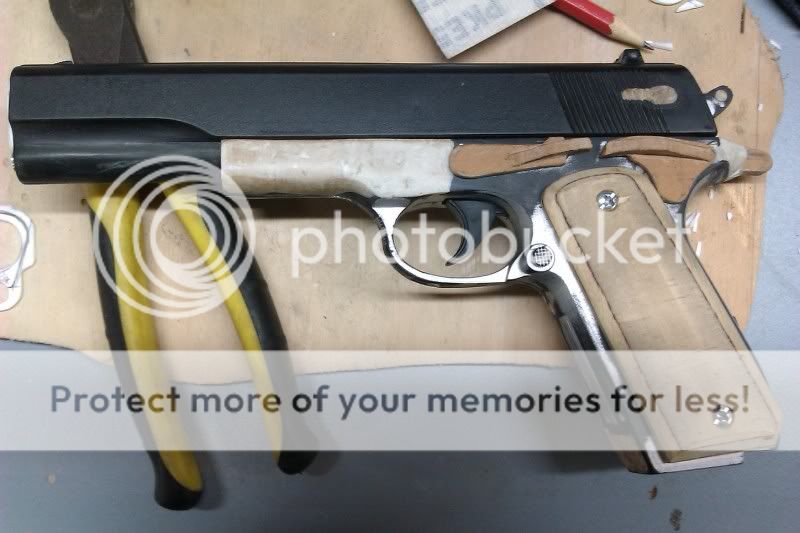
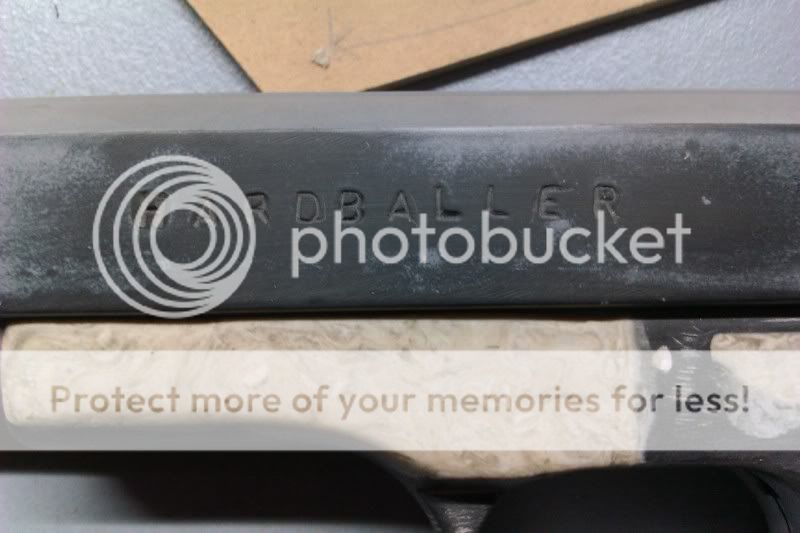
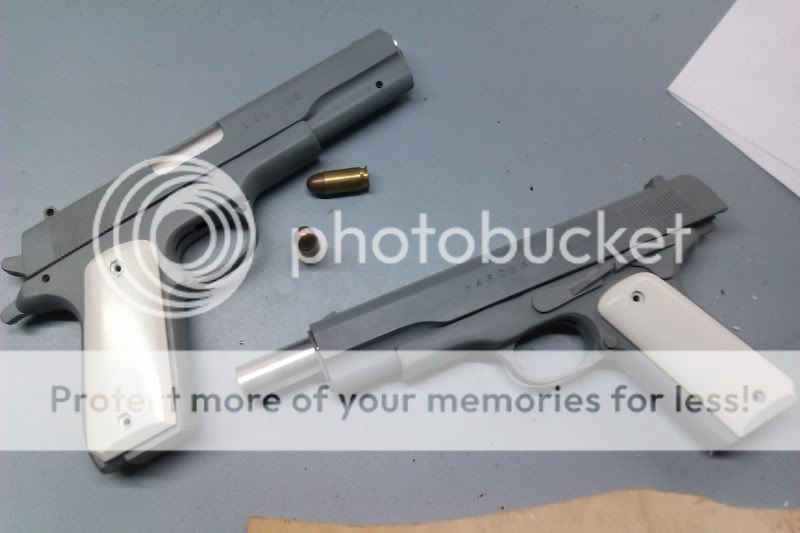
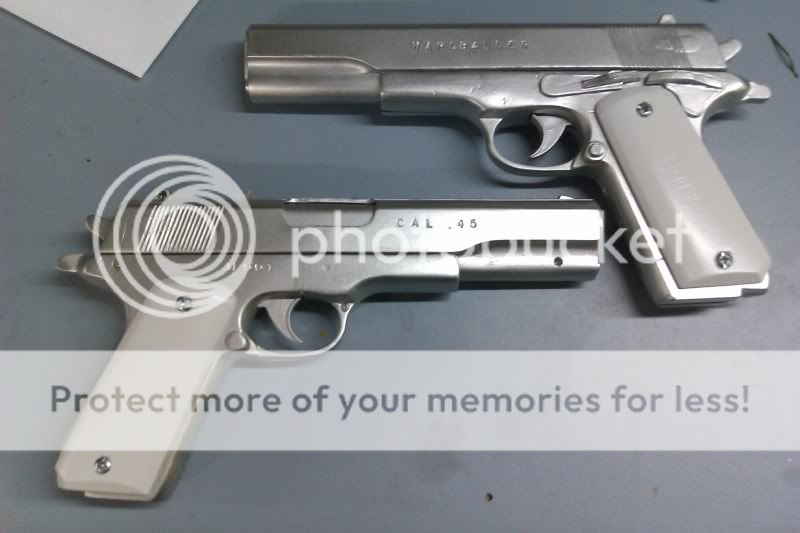
We ended up making- the Big Kahuna Burger bags and cups, the glowing briefcase (always wanted to do it!) and a couple of .45's (modded from toys as airsoft is illegal here in Australia and replicas go for around $400 a pop). None of the stuff is 100% screen accurate as it's just for a YouTube video, but we think what we made helps add to the scene.

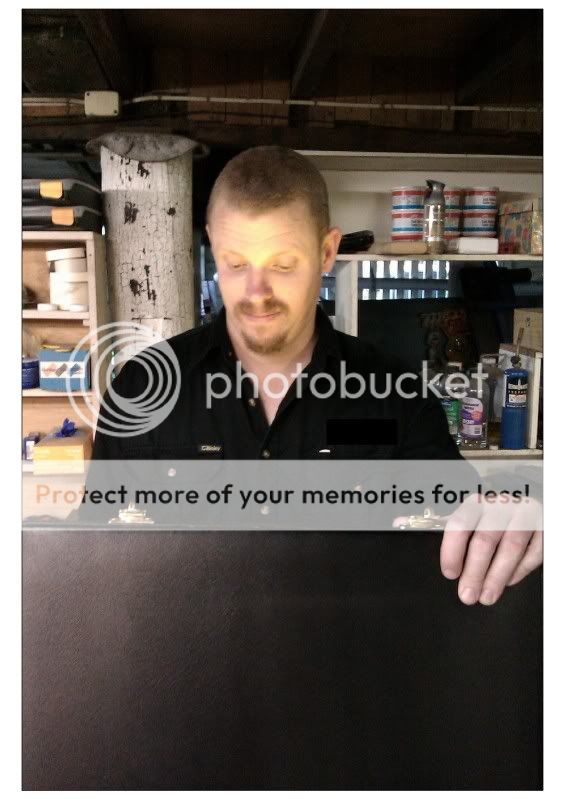
Here's a group shot of the props we did.
BK001.jpg


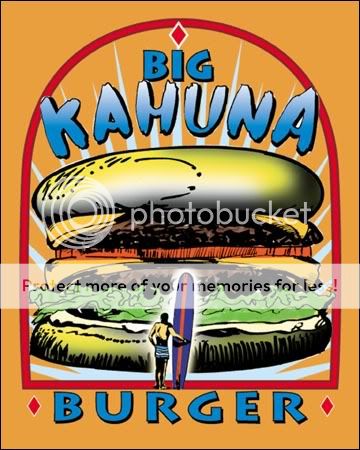
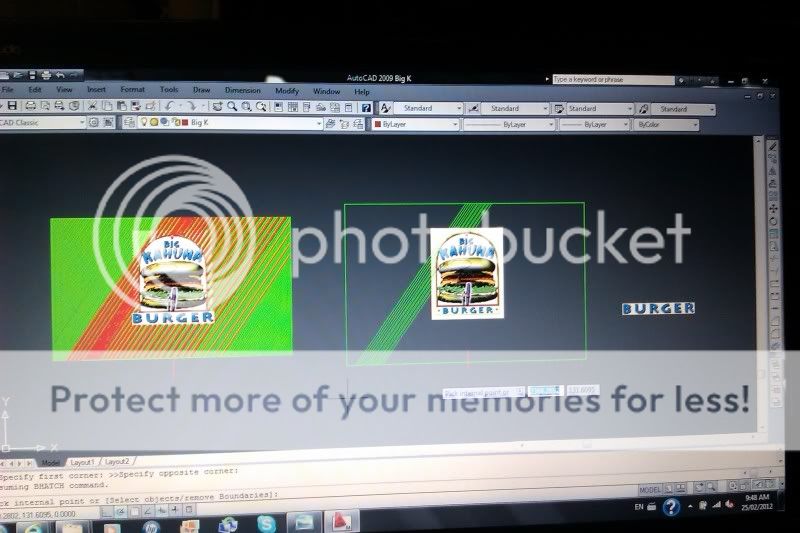
One of the first ones we did was the bags, which came together in one day. I'd gotten the Big Kahuna logo and edited it in Photoshop while on the train on my way to work.
BKB003.jpg


Linda (the better half) asked if I could email her the image which I did on my lunch break. By the time I'd gotten home from work she had found a tutorial on how to fold your own paper bags and made two of these out of A4 sheets.
BKB001.jpg


Here's a link to the paper bag folding thingy (I ain’t much for folding paper) if anyone's interested. Apparently Linda started winging it part way through step 6-

How to Make a Paper Bag: 9 steps - wikiHow


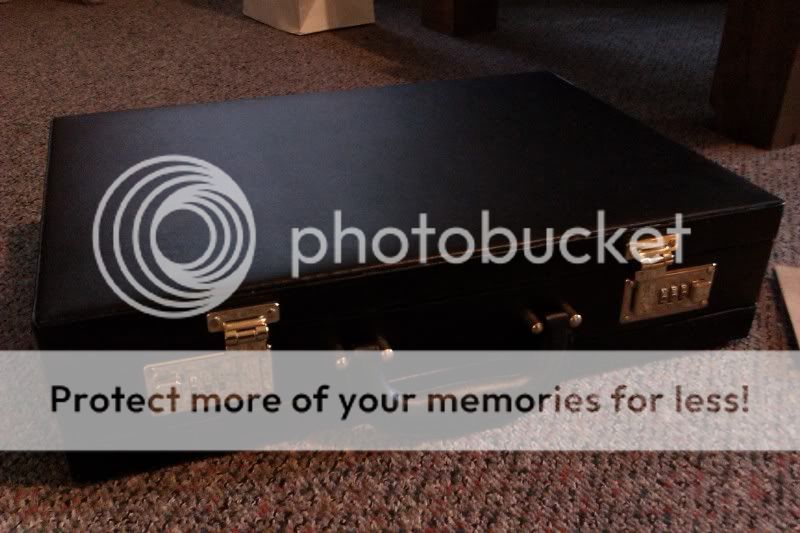
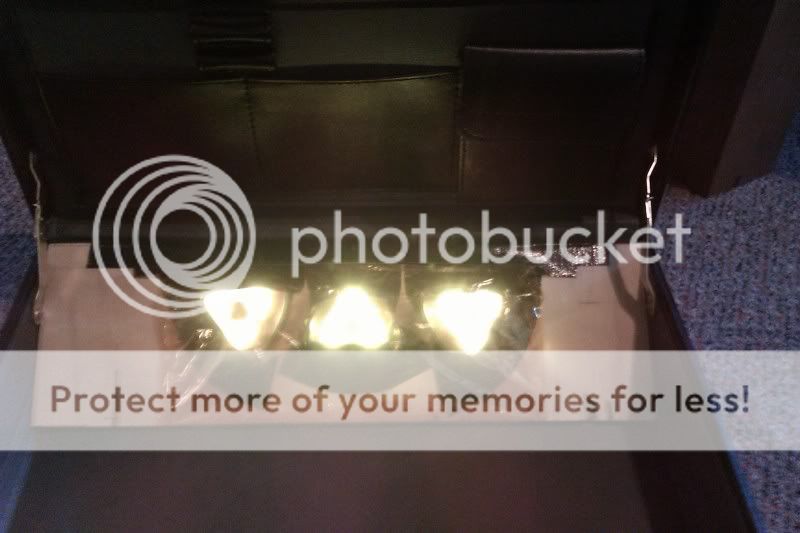
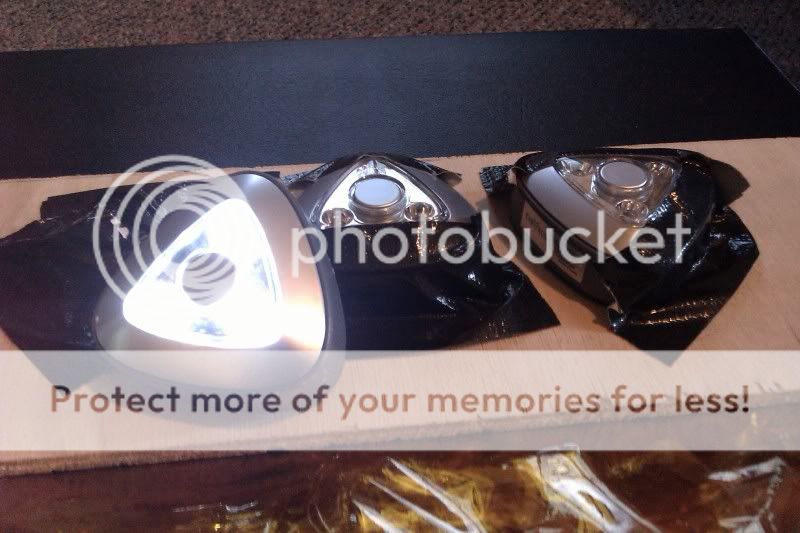
But before the bags we'd done the briefcase, complete with lights!
BKB002.jpg


If anyone's interested in seeing anymore I'll upload the briefcase next. What is it's mysterious contents?

Hope my first proper post isn't too lame. :p


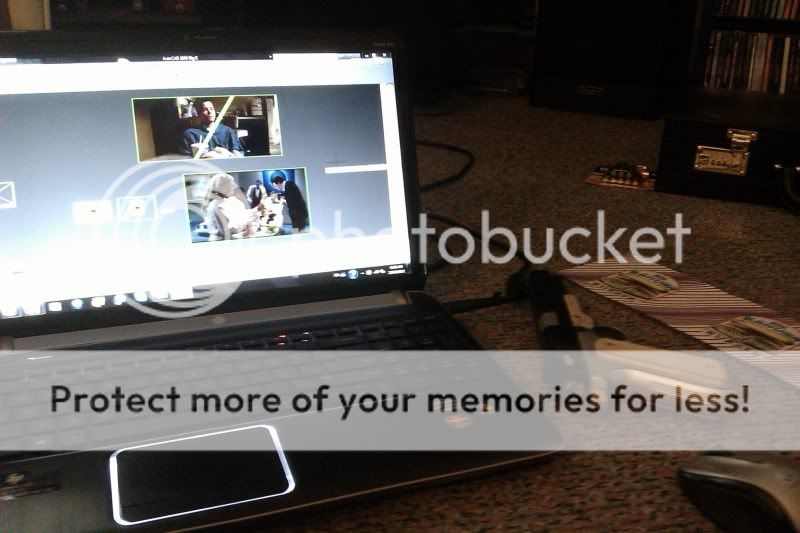
Edit: Here's a link to the re-enactment-

Pulp Fiction - Breakfast Scene Reenactment - YouTube
 
Last edited:
Re: Pulp Fiction- Big Kahuna Burger props build

Great thread! Thanks for the info about how to make one ourselves. Very cool!
 
Re: Pulp Fiction- Big Kahuna Burger props build

Great thread! Thanks for the info about how to make one ourselves. Very cool!

No probs thegreatgalling. Anyone's welcome to the edited Biga Kahuna Burger image too if they want.

Here's a before and after comparison-
Kahuna.jpg
BKB003.jpg


I got a little overzealous with the meat patty when editing the image. But can you blame me? It is a tasty burger!


Royal with cheese!!!

Because of the metric system? :p


oooh............ let's see the briefcase :D

I'll try and get it posted tonight when I get home from work, I'm posting from the train now- I don't mind modern technology sometimes. :D

Thanks for the positive comments so far fellas, I hope you like the rest.
 
Re: Pulp Fiction- Big Kahuna Burger props build

Very nice, I've never heard of anyone doing something like this. I'm just wondering how many people will ask for a sip of your tasty beverage.
 
Re: Pulp Fiction- Big Kahuna Burger props build

Very nice, I've never heard of anyone doing something like this. I'm just wondering how many people will ask for a sip of your tasty beverage.

Haha, hopefully not many! I'm becoming a dirty old man so fast that I'm sure I'd take it out of context and offend someone with my response. :lol Anyway the most important sipping to be done is the guys in the video.

Is that what I think it is?

Mmm-hmm.

...It's beautiful.


Who hasn't wondered what was in the briefcase? Well, while I can't tell you what Ringo thought was so beautiful in the diner, I can tell you what's in the briefcase we made up for the re-enactment by 3 Git Films (the guys we know who we did the props for). And it's far less impressive. :p

It was the first prop we made for the scene. I'd just convinced one of the fellas from 3 Git to let us make some props for their re-enactment while he was at work one Saturday. Once he said yes Linda and I went around and collected everything we needed from the shopping centre we were in and went home to start.

We grabbed a generic black briefcase with gold fittings.
BC001.jpg


The first thing I did at home was put in the appropriate combination
BC002.jpg


Now for the real magic I kept it simple. This isn't a prop to be left around the home and shown off when a random comes over who hasn't seen it before, so it doesn't need a switch to turn on and off when opened, all it needs is to have a light on in the briefcase when opened in the scene. Simple.

Sooo, we grabbed a 3 pack of LED's and some orange cellophane. I then cut a piece of 7mm thick plyboard to the right size to wedge at an angle in the back of the case- so the light can be positioned to point at the actors face -taped the LEDs to the board with gaffer tape and wrapped them in layers of the cellophane (6 in this case) until we got a colour we were happy with.

And that's the contents of our mysterious briefcase.
BC003.jpg


The good thing about there being 3 LEDs is that you can turn on and off whichever ones you want, to give different light/shadows on the actors face.
BC004.jpg


BC005.jpg


BC006.jpg


And here's one of my ugly mug to give an idea of the lighting effect, although the guys at 3 Git Films have done a much better job in the scene with the lighting. :)
IMAG0438.jpg


Next up I'll post part 1 of the toy gun mod we did. :)
 
Re: Pulp Fiction- Big Kahuna Burger props build

Got a link for the guys video-

Pulp Fiction - Breakfast Scene Reenactment - YouTube

They've done a ton of re-enactments of their favourite films (I really like the Predator handshake one) with humours twists thrown in. It's fun to see their progression in so many skills. The Pulp Fiction one in the above link is their latest (at the time of writing) and the first one that we've supplied props for.

Hope you have a good time with it. ;)
 
Re: Pulp Fiction- Big Kahuna Burger props build

Haha - enjoyed the video, very funny when his 'tache falls off. Props look good, nice job.
 
Re: Pulp Fiction- Big Kahuna Burger props build

Haha - enjoyed the video, very funny when his 'tache falls off. Props look good, nice job.

Thanks Ob1al, glad you liked it! The props ended up looking good in all the shots. Thank goodness for the camera hiding some of the average detailing that we did. :p


"We should have shotguns for this kind of deal."


Here's what we did for the pistols. I had a couple of .45 auto type toy guns that I had been wanting to convert into AMT Hardballers for an Agent 47 costume I want to do one day. The slides are the same as the AMT's but the lowers are closer to a Baretta 92F. We figured they'd look good enough in the scene and we could lose the pearl coloured grips afterwards to convert them to Hitman's Silverballers.

Here's when I'd started cutting sections out of the first one and the other still in it's original state.
45001.jpg


Starting to putty up.
45002.jpg


I milled out the ejection port to make it a more realistic size and bent some scrap sheet metal to make the cover. I'd also started on some Colt syle grips out of 7mm pine, and the extension of the safety at the back out of 6mm MDF.
45003.jpg


I really wanted to be able to see the barrels when the slide on the toy moved back as well as having the option to attach a silencer for my one day Hitman costume, so I intended to make barrels out of aluminium. But fist I needed something to hold onto them.

I got some MDF and made up a little test holder that wedged between sections of the toy's plastic when the two halves were clipped together. It worked so well that I re-made two of them more accuratly on the mill.
45004.jpg


Cutting in some recesses. (I kinda feel like I cheated using the mill for wood work :p)
45005.jpg


Machining up one of the barrels on my home lathe.
45006.jpg


Tapping it for a prop silencer attachment later.
45007.jpg


The arrangement...
45008.jpg


...and assembeled.
45009.jpg


I better leave it there for the moment, don't want to photo overload in one post. :)
 
"You mind if I have some of your tasty beverage to wash this down?

While we were working on the guns we were also doing the Big Kahuna Burger cups.

We grabbed some images and I put them in AutoCAD to help me get the angle of the lines...
BKC001.jpg


...which turned out to be 55 degrees. From there I tried my best to determine the colour and spacing of the lines from reference pictures.
BKC002.jpg


After awhile I just left it at this.
BKC007.jpg


The first one we did was just the image layer wrapped and glued over the cup, but the paper was thin enough for the cup's print to show through.
BKC005.jpg


So we added a blank layer underneath to stop that. We were pretty happy with the end result.
BKC006.jpg
BKC004.jpg


Because the images were on just regular printer paper we added marbles to replace the ice so condensation didn't damge the paper. The straws were just some regular bendy straws turned upside down that we used because we thought the red stripe suited the design of the cup.
 
"Oh I'm sorry did I break your concentration?"

The last build post.

This is how the toy guns looked once I got the barrels in.
45010.jpg


I wanted them to look as little as possible like toys, so Linda made barrel bushing look-a-likes to help cover up the seam at the front.
45012.jpg

45013.jpg


We also wanted to add some extra details for realisim so we made up slide & safety stops out of 3mm MDF. We added some timber sealer to help make them more rigid and to "quench their thirst" before painting. :)
45014.jpg


And on the prop.
45015.jpg


Seeing as how at the time I wanted to re-use them later for an Agent 47 costume (I've since changed my mind and we intend to do another set for the costume) I thought I'd have a crack at stamping them to add some more detail to them.

I heated my 3mm stamps in an electric fry pan to 180 degrees centigrade (you don't want to go much higher than that)...
45016.jpg


...and using a straight piece of timber clamped on top as a guide I melted the stamps into the props. If I'd been a little more paitent I would have gotten it straighter, but I was a little over-excited that it was working. :p
45017.jpg


Then it was off to the little home spray booth for painting.
45018.jpg


Here's where it fell down a little. We haven't done a lot of painting and were starting to run out of time and money. We grabbed the closest silver that we could find and an off-white for the pearl grips but up close it doesn't hold up as well as it does on the video.

The grips...
45019.jpg


...and undercoating the handles and slides.
45020.jpg


Naturally it was at this point that all the little bits that needed more sanding or filing started to become obvious, but we just didn't have anymore time. It was about 10:15pm at this point and we had maybe a day up our sleeves to tweak any mechanical issues after painting. So how they were was how they stayed as far as looks went.
45021.jpg


Some of the mechanical issues were making sure clearences were still okay after painting and little things like this where numerous plastic pins had broken during moding so I replaced some key ones with small bullet head nails cut to size.
45022.jpg


Here's the final results.
45023.jpg

45024.jpg


As we'd made them more realistic for 3 Git films re-enactment I wanted to make sure there were no issues while they were being transported or not in use so I made up some orange safety caps to go on when they weren't being filmed.
45025.jpg

45026.jpg


There's several things we'll do different next time on the prop guns like spending more time on sanding areas after priming shows up problems, two top coats of paint, sourcing flathead screws for the grips. But all in all we were happy with how all the props came together and how they looked in 3 Git Films great re-enactment, we think they did our hard work justice.

I hope you guys & gals enjoyed my first thread here on the RPF and I look forward to doing more when I've got something to show.

Regards- Joe. ;)
 
Thanks Garthok! Yeah, I wanted to go to a little bit more of an effort for the plugs just to try out some different stuff on the lathe. I was lucky enough to get the chance to buy her at the begining of last year but this is the first real chance I've had to do a project on her. Plus at work all I work with is stainless steel so working with aluminium is a nice change and sooo much easier to do things like knurling on, you can get a nice deep pattern with no effort.

Lol, I used every last mil of some off cut to get those plugs done! For I am just a poor home hobbiest, with not much money. :p
 
Hey @juliet76, we had a bunch of to-go bags at work collecting dust, so I figured "What the heck."

I used your logo - a little ink smudged at the bottom of the logo, but it works for me.

11892010_10152988168771717_7969355451954184104_n.jpg

11892010_10152988168771717_7969355451954184104_n.jpg
 
Last edited by a moderator:
This thread is more than 8 years old.

Your message may be considered spam for the following reasons:

  1. This thread hasn't been active in some time. A new post in this thread might not contribute constructively to this discussion after so long.
If you wish to reply despite these issues, check the box below before replying.
Be aware that malicious compliance may result in more severe penalties.
Back
Top