You are using an out of date browser. It may not display this or other websites correctly.
You should upgrade or use an alternative browser.
You should upgrade or use an alternative browser.
Practice Round 2 18" Enterprise Model
- Thread starter Shaw
- Start date
Shaw
Well-Known Member
Thanks!
Yeah, the thought had crossed my mind to take a stab at one of Steve's kits, but then I remembered that my next two major projects (oddly enough, already wife approved) are going to be quite large (a one-to-one scale replica of the original 33 inch TOS Enterprise and a one-to-one scale replica of the original Phase II Enterprise... which is about the same size as Steve's model) and I realized I don't have the space for it.
Plus, I've been looking forward to doing more scratch building after my last test build of the Enterprise (a two-thirds scale version of the 33 inch TOS Enterprise). I've just been held at bay because that model showed me flaws I needed to address in my 33 inch TOS Enterprise plans, and I've realized I needed to do a little more research on the Phase II Enterprise studio model (and how it differed from Matt Jefferies plans) before I can finish up my plans of that model. Having well thought out plans to work from should make life easier with those builds.
But I really appreciate all the insight into construction techniques I've gotten from watching Steve's builds and Jason Ware's beautiful 1701-A build. If I'm able to produce something a fraction as good as they did, I'd consider that a success!
Shaw
Well-Known Member
Update on my progress...
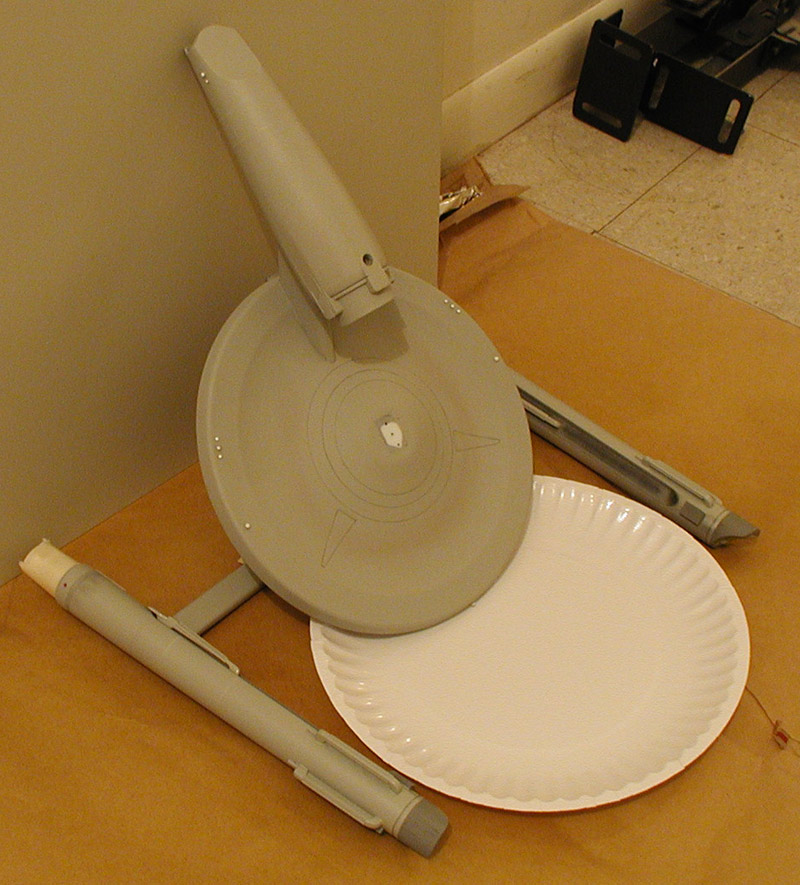
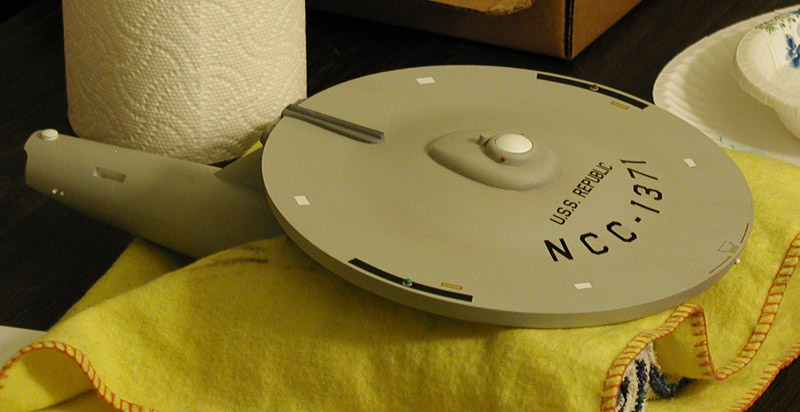
While waiting for an opportunity to paint I added a few other last minute details and started in on painting some of the smaller parts...
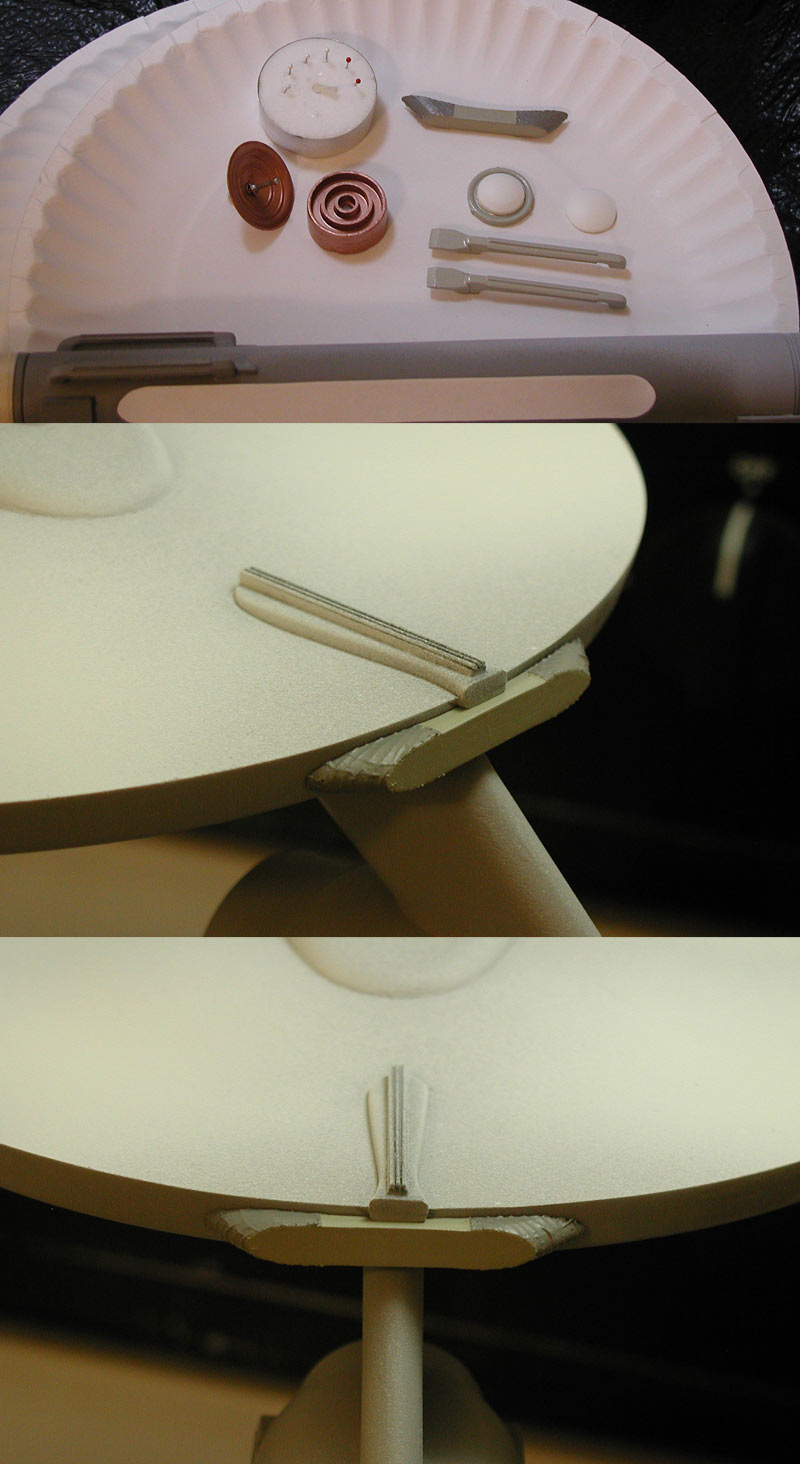
The overall painting went pretty well...
And this is a test fitting (basically just with the nacelles in place) after it had dried enough...
So it is still moving forward, but it'll be a little while before I start in on any weathering and decals.
While waiting for an opportunity to paint I added a few other last minute details and started in on painting some of the smaller parts...
The overall painting went pretty well...
And this is a test fitting (basically just with the nacelles in place) after it had dried enough...
So it is still moving forward, but it'll be a little while before I start in on any weathering and decals.
TheManthradon
New Member
WOW, I really like how its looking so far. Im excited to see it weatherd, keep it up man!
Shaw
Well-Known Member
Thanks!
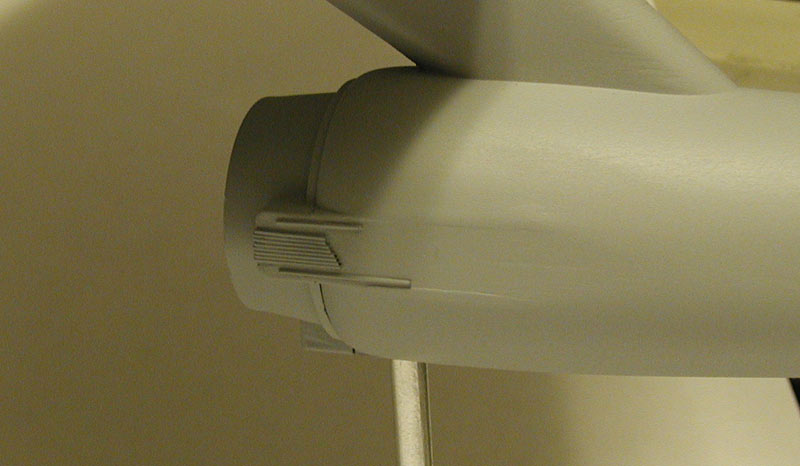
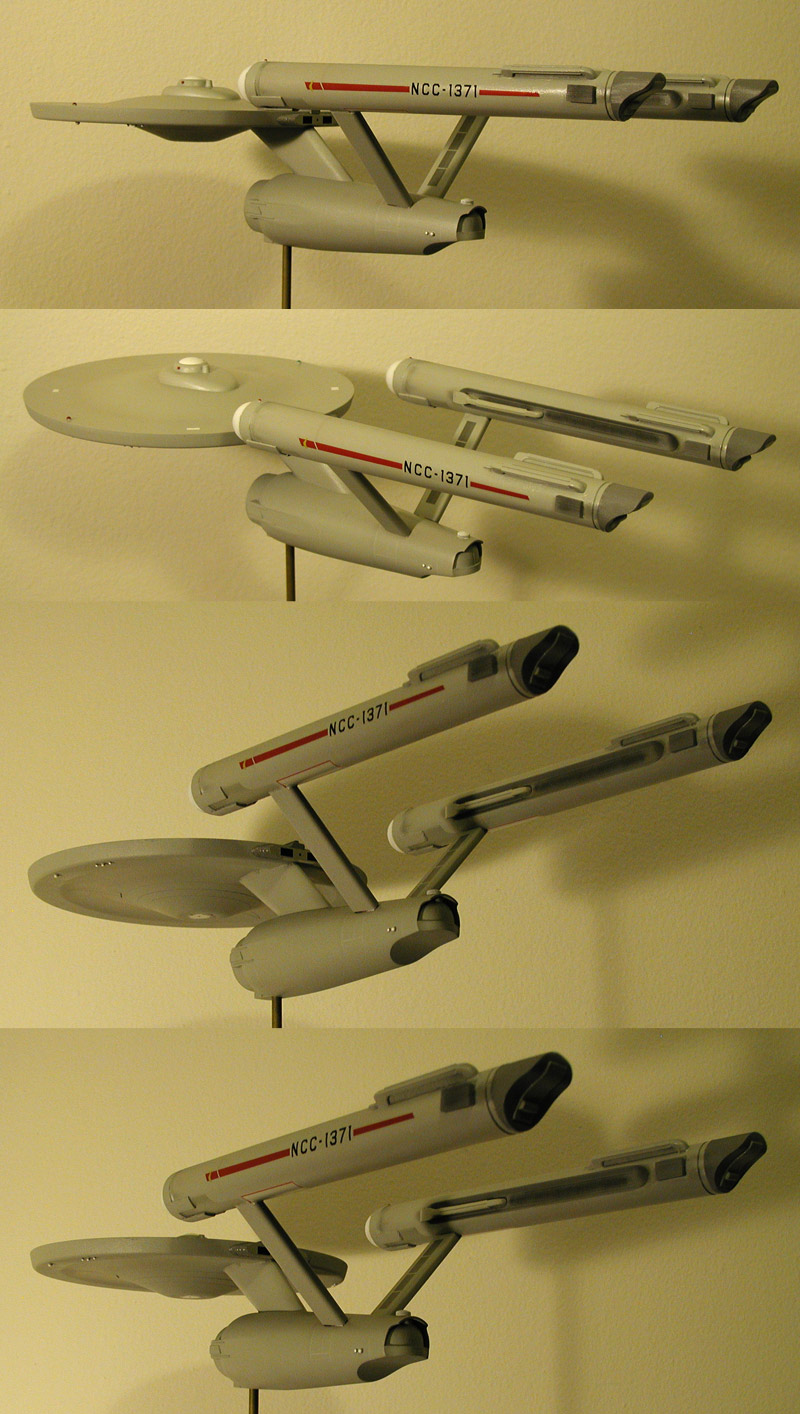
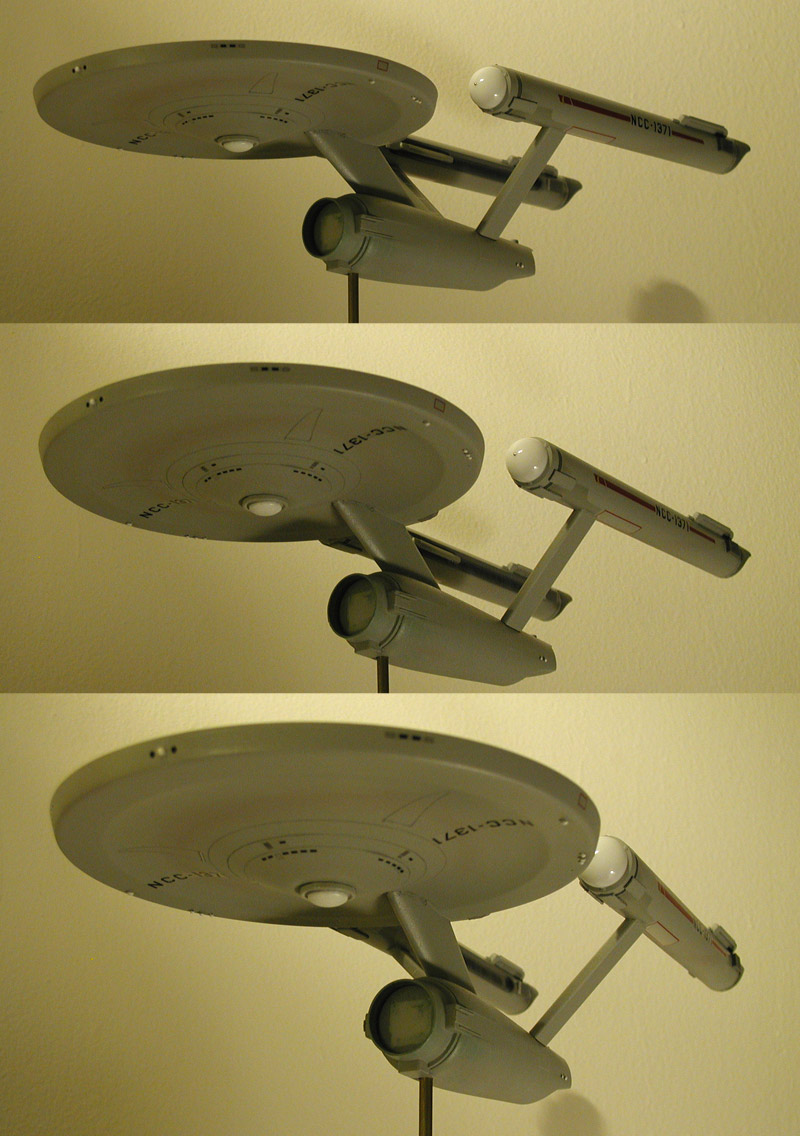
So earlier in the week I added weathering and grid/panel lines. The idea was that they should be very subtle, and they are (to the point that most of what I did hardly shows up in photos.
This is another test assembly, with a few of the panel lines visible.
And I've started in on adding decals. And no, the nacelles aren't glued in place in these images, they are just sitting in place for now. The impulse housing is glued on though.
Shaw
Well-Known Member
Thanks guys! As always, I really appreciate the encouragement.
A little more progress. I've been tied up on other (work) projects and have to split my spare time between my Trek pursuits and training (and training is a little more important right now).
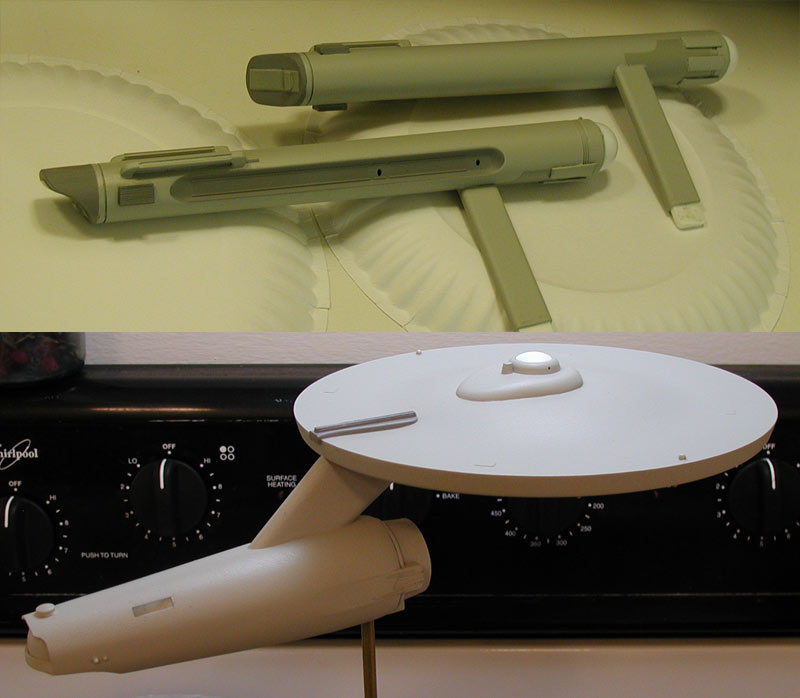
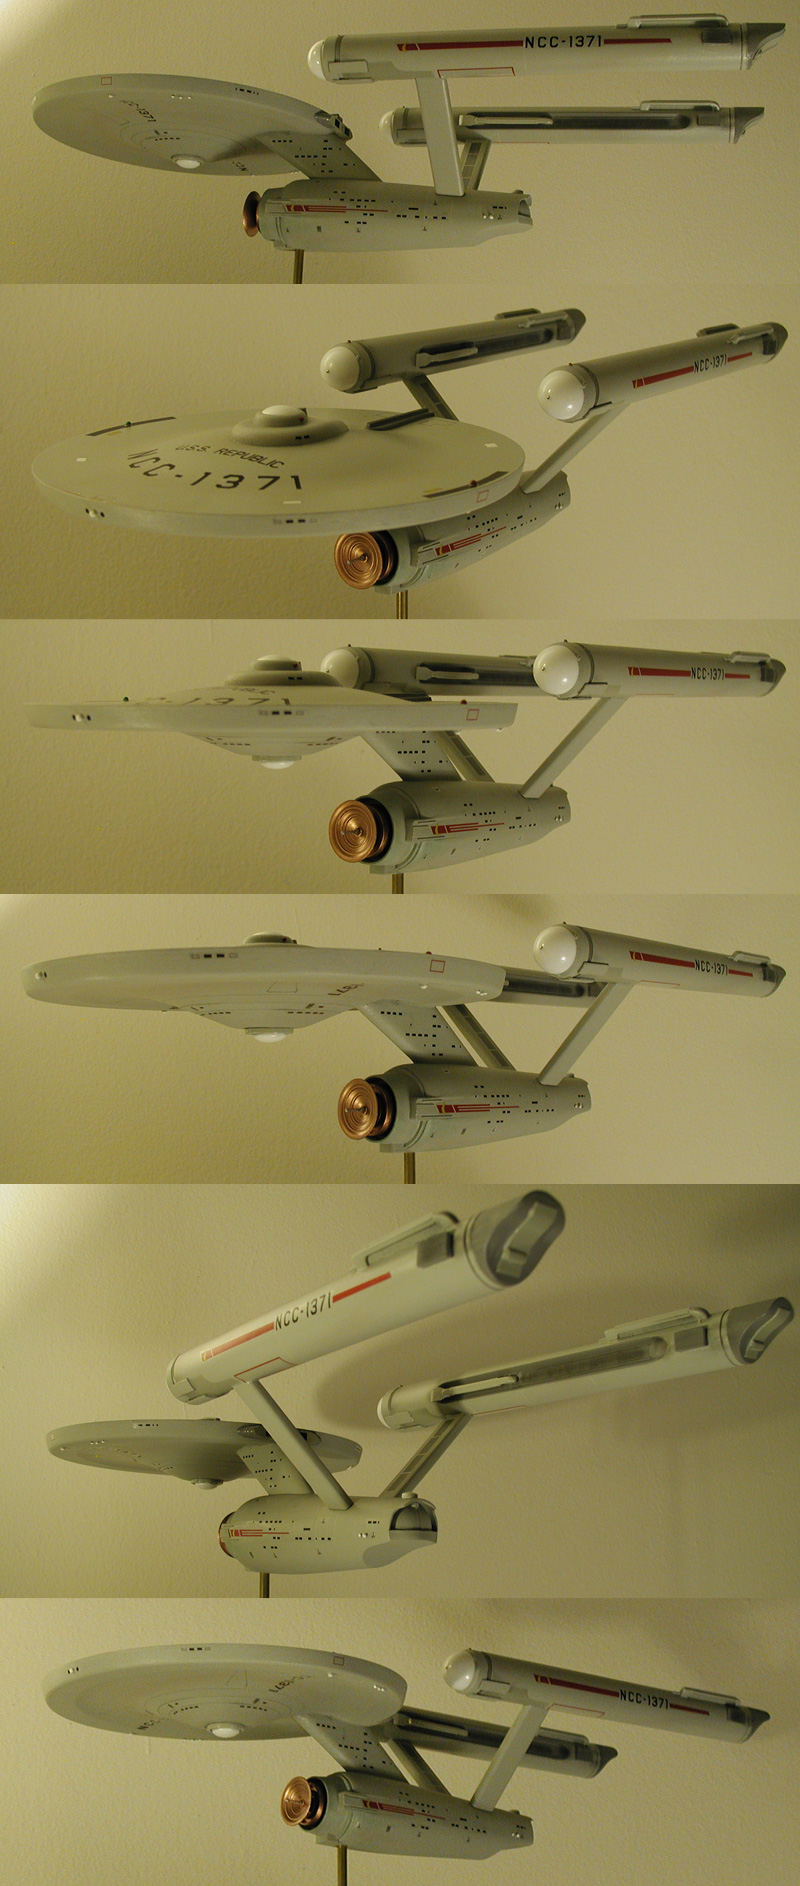
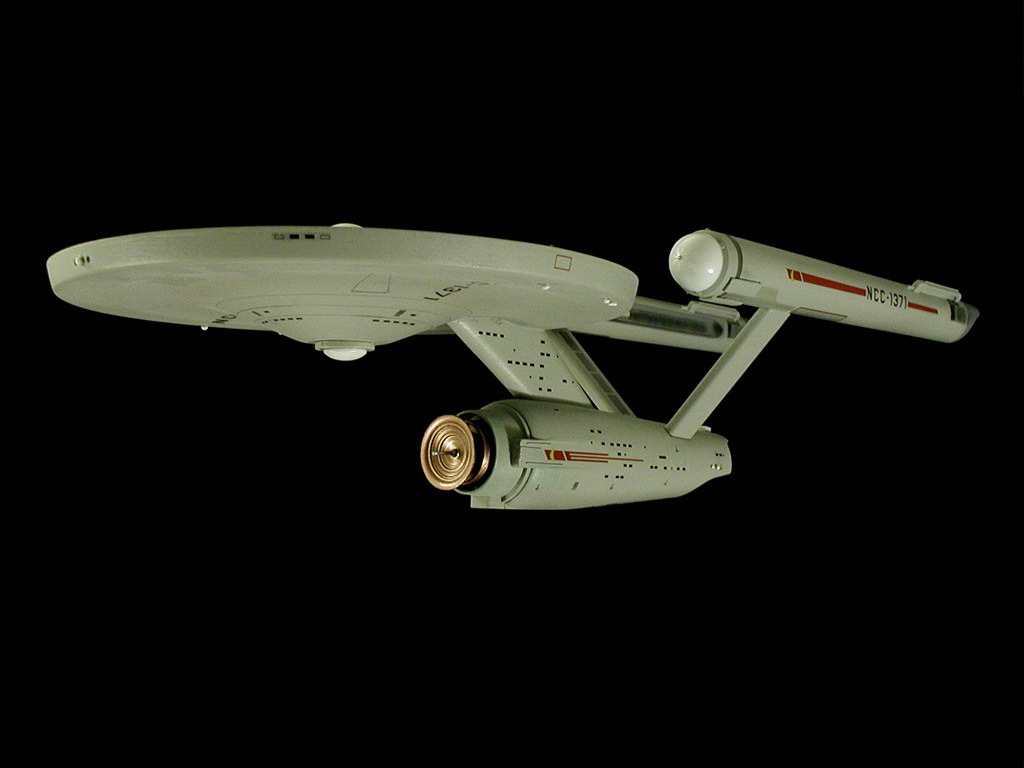
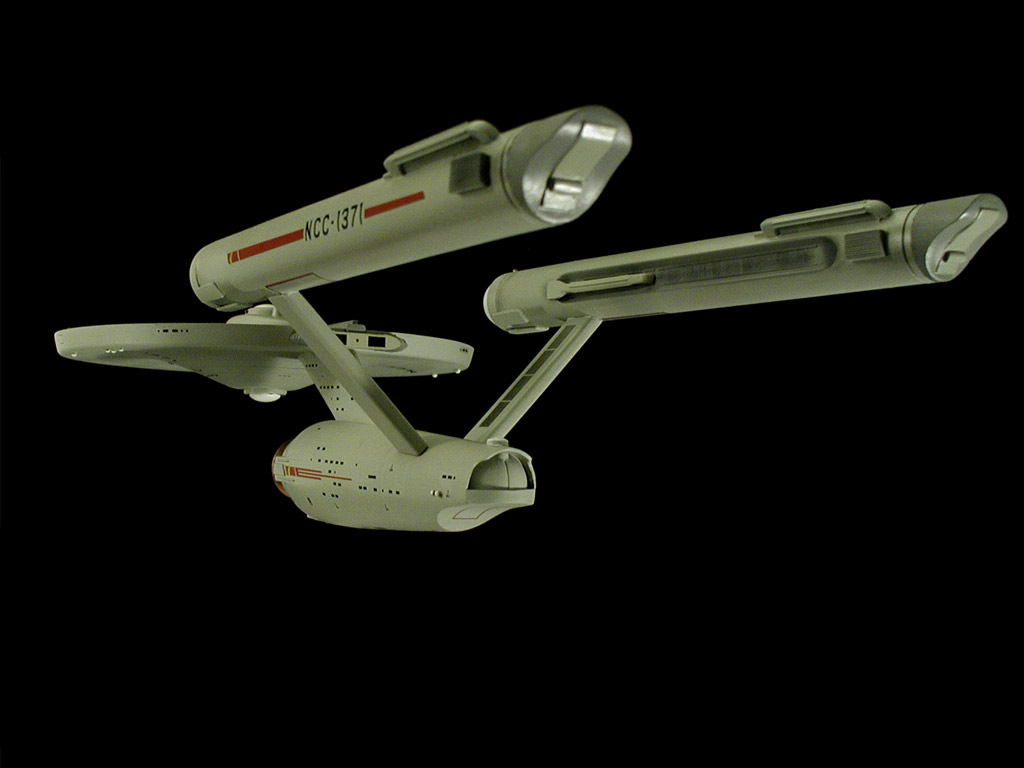
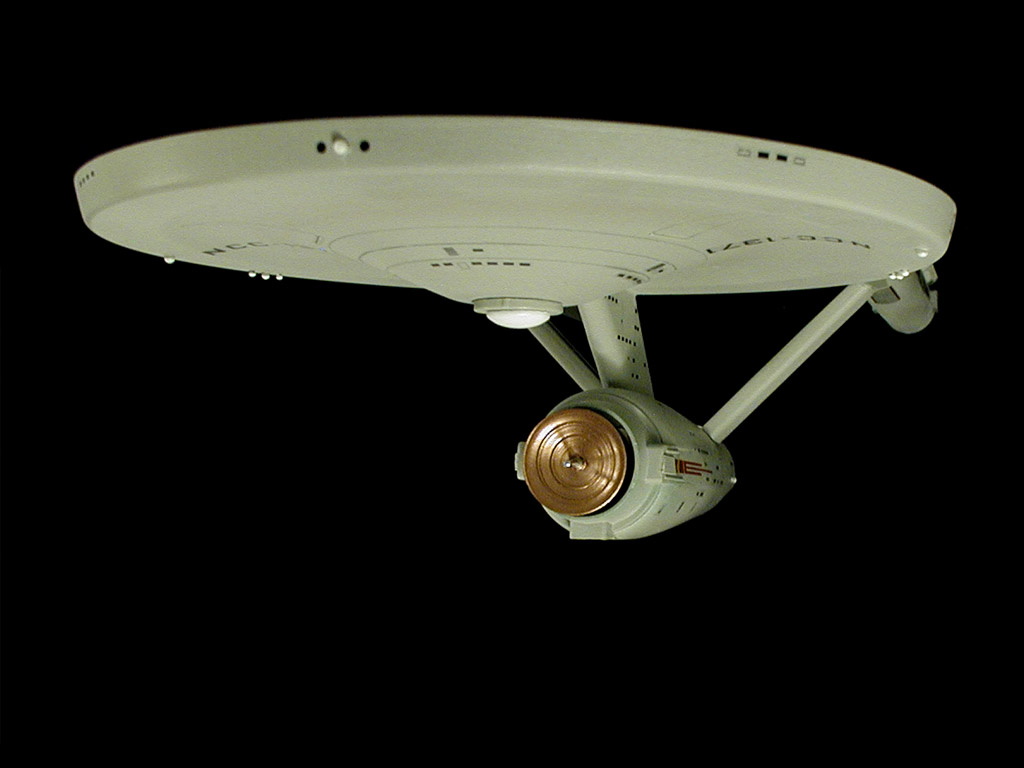
I attached the lower sensor platform and tried to get some shots that would pick up the green weathering. Unfortunately I think my camera isn't differentiating the green in the paint from the green weathering. It is pretty clear in person, but seems to nearly vanish in photos.
Here are a few shots (I put the deflector assembly in place for the first image, but won't glue it in place until the rest of the model is finish to protect the copper paint)...
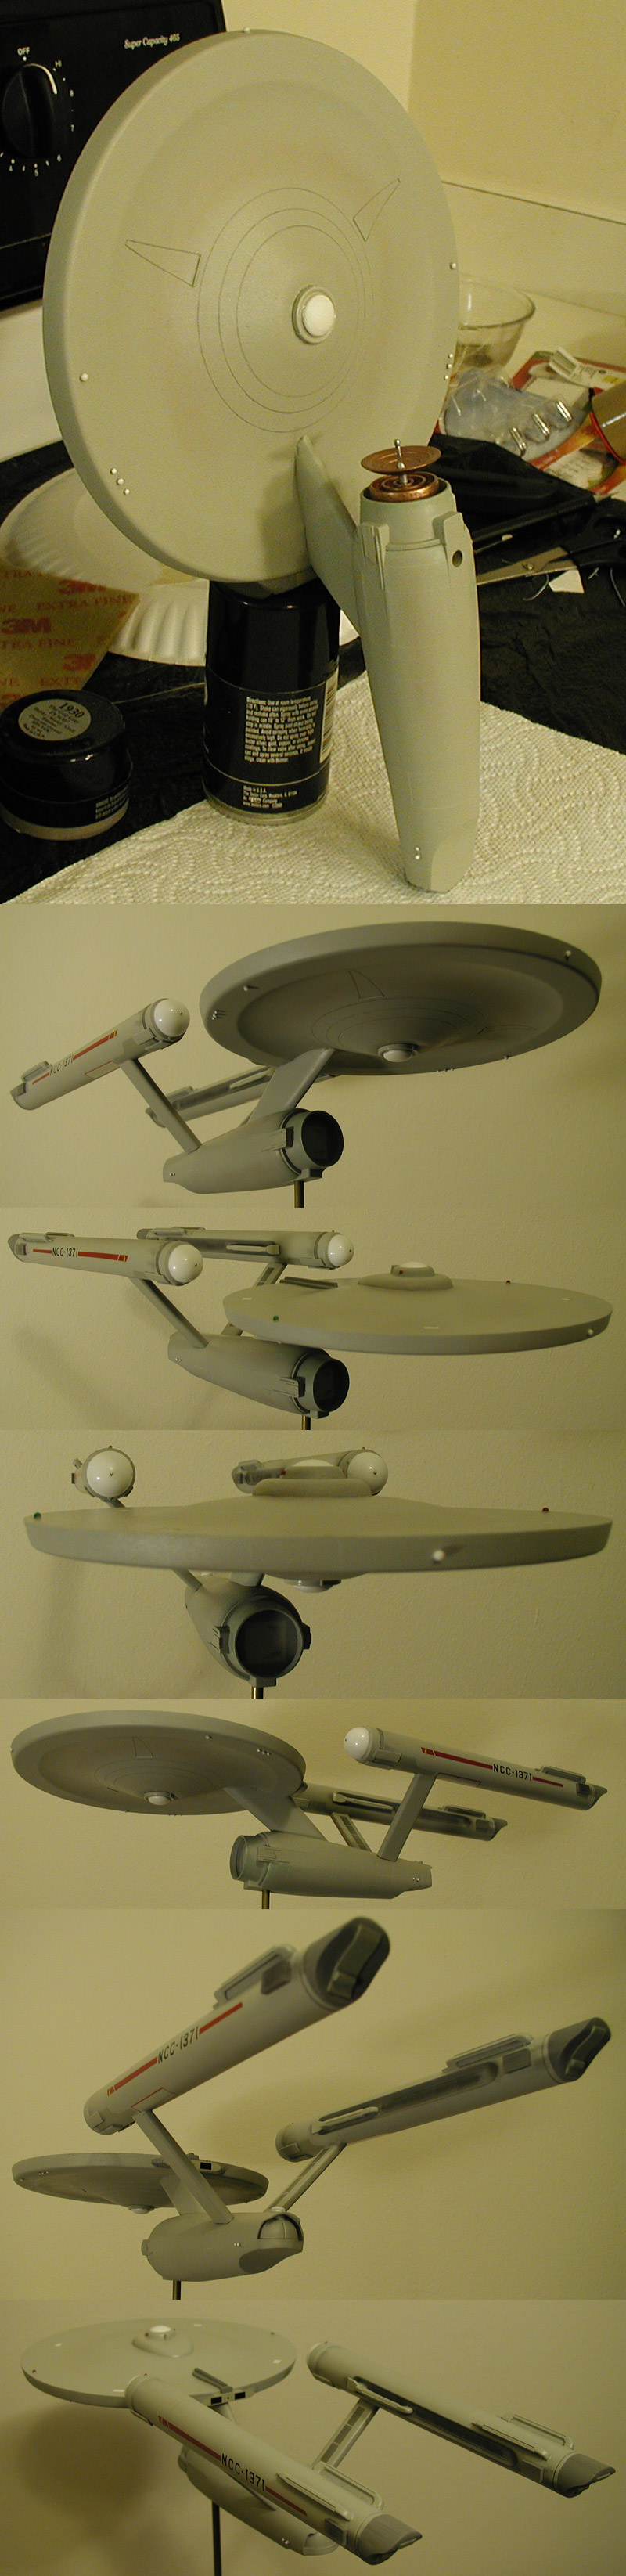
I started in on the upper primary hull decals. As I had trimmed each of the registry numbers down to their edges and the numbers/letters represent the same size characters as NCC-1701, I tried to use the placement from the 11 foot model (within reason, as with a lot of this model, I actually sorta eyeballed the placement once I had the end characters where I wanted them).
Here is where I'm at so far...
A little more progress. I've been tied up on other (work) projects and have to split my spare time between my Trek pursuits and training (and training is a little more important right now).
I attached the lower sensor platform and tried to get some shots that would pick up the green weathering. Unfortunately I think my camera isn't differentiating the green in the paint from the green weathering. It is pretty clear in person, but seems to nearly vanish in photos.
Here are a few shots (I put the deflector assembly in place for the first image, but won't glue it in place until the rest of the model is finish to protect the copper paint)...
I started in on the upper primary hull decals. As I had trimmed each of the registry numbers down to their edges and the numbers/letters represent the same size characters as NCC-1701, I tried to use the placement from the 11 foot model (within reason, as with a lot of this model, I actually sorta eyeballed the placement once I had the end characters where I wanted them).
Here is where I'm at so far...
Last edited:
Shaw
Well-Known Member
Okay, more images of a model that isn't even finished! But I did make a little progress, though not as much as I should have in three days. I had some previous commitments (wife) that took precedence.

Remember, it is this stage of the model (painting, weathering and applying decals) that I needed practice on and is why I'm doing this model. Hopefully I'll learn from my mistakes here and do a much better job on my 1966 AMT Enterprise (which is too expensive and rare to mess up on).
Remember, it is this stage of the model (painting, weathering and applying decals) that I needed practice on and is why I'm doing this model. Hopefully I'll learn from my mistakes here and do a much better job on my 1966 AMT Enterprise (which is too expensive and rare to mess up on).
Shaw
Well-Known Member
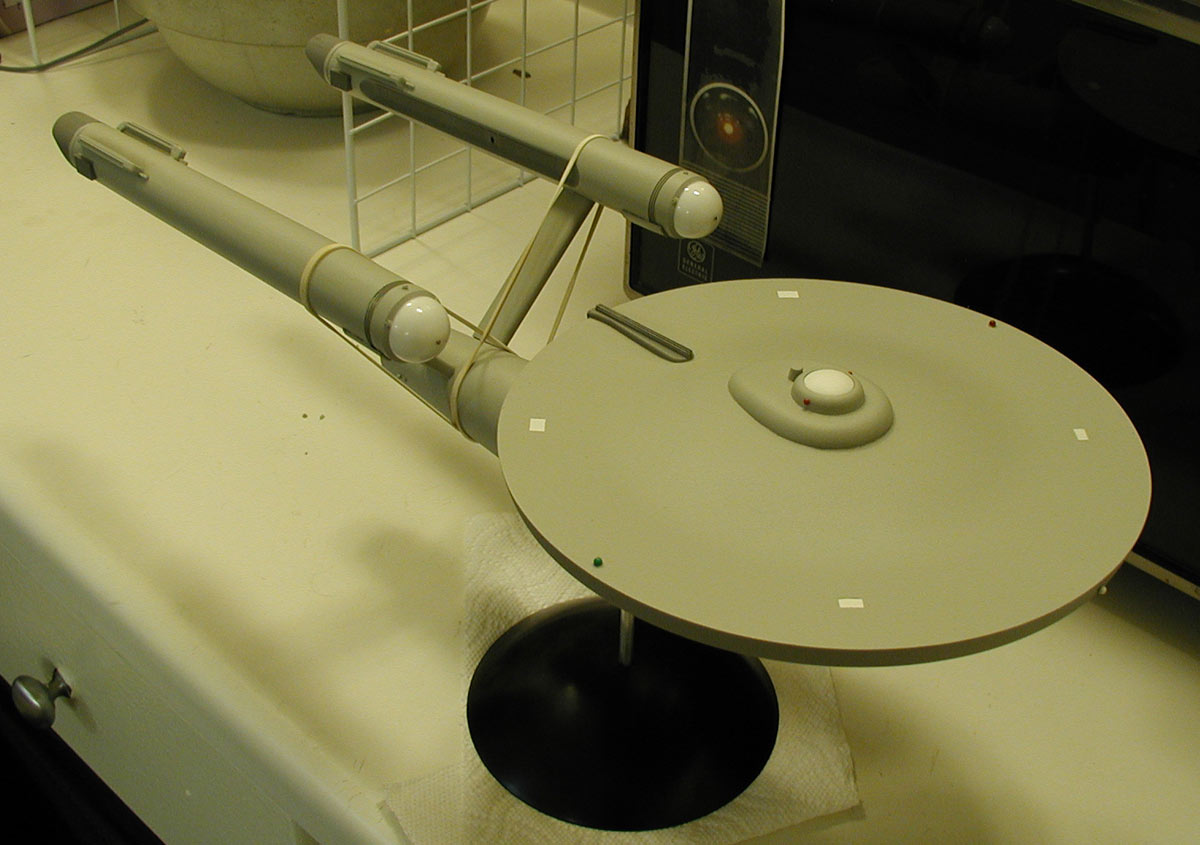
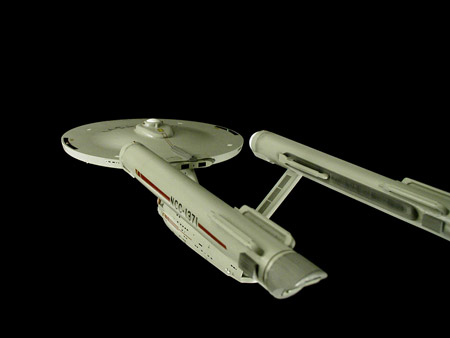
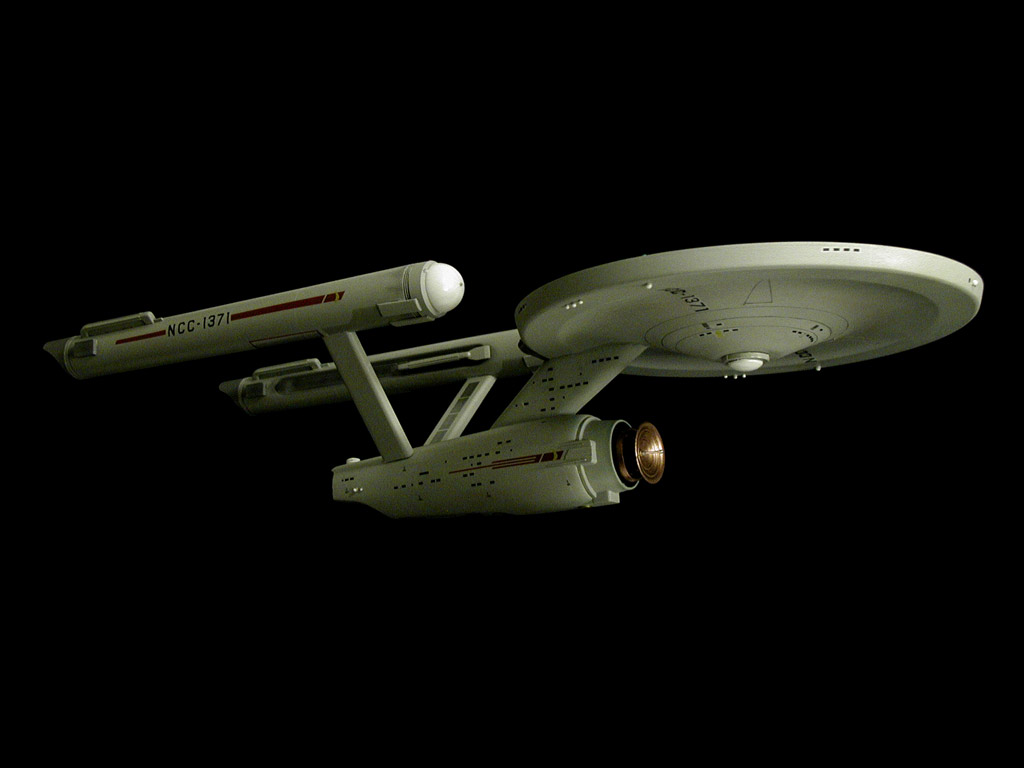
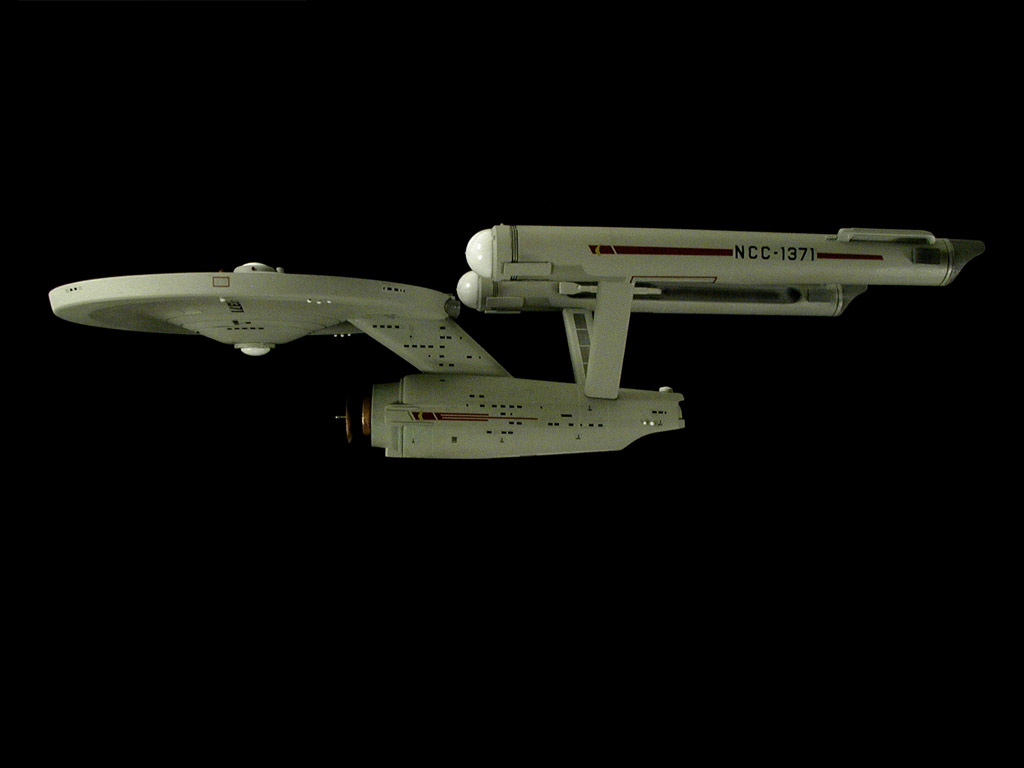
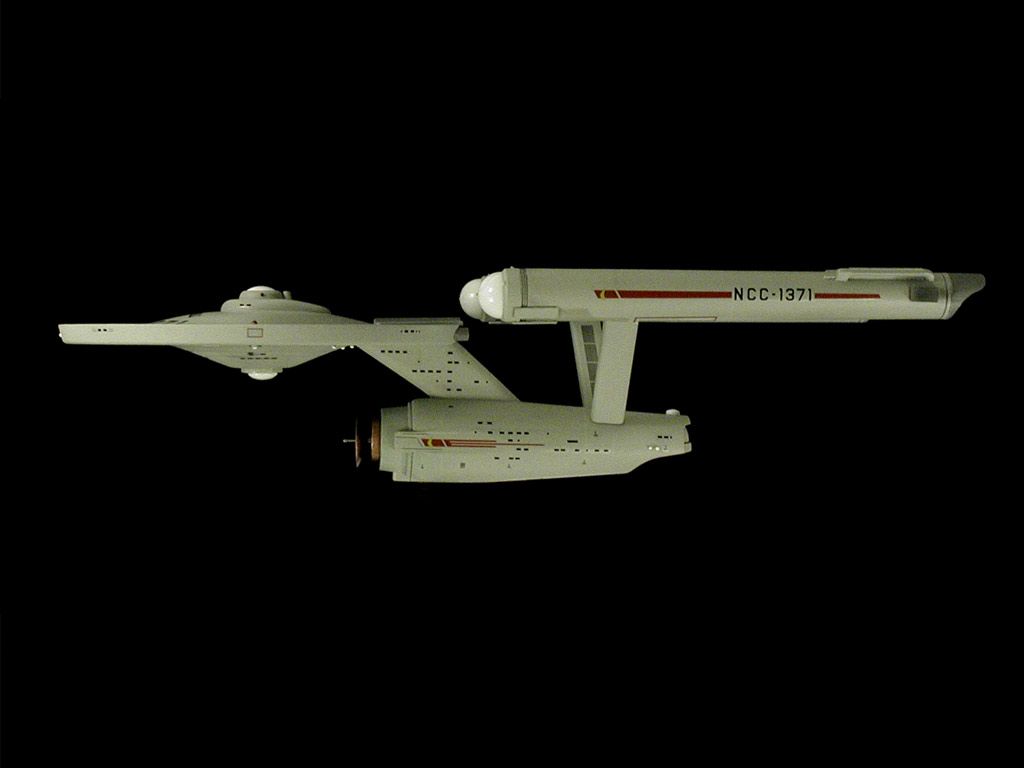
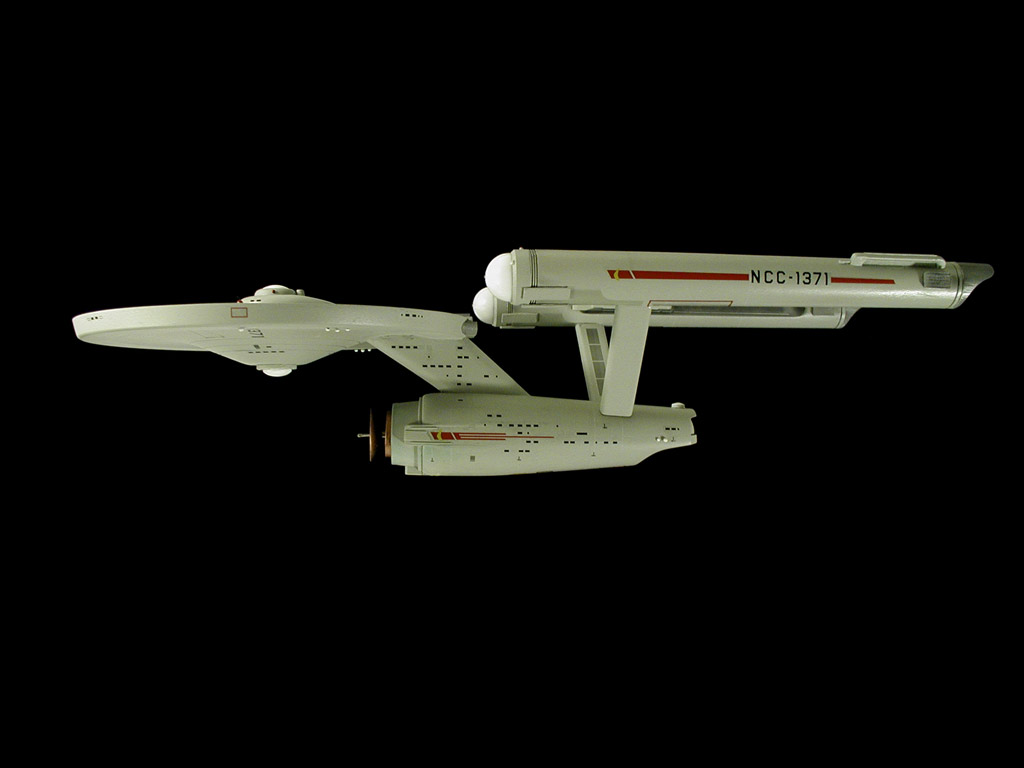
Before looking at these images... please note that the model isn't done yet, these are just some test shots. I still need to apply some decals, a number of gloss coats, and a number of flat coats... plus it isn't even glued together yet.
I was just curious to see how it would look under these conditions and thought I'd share the results.


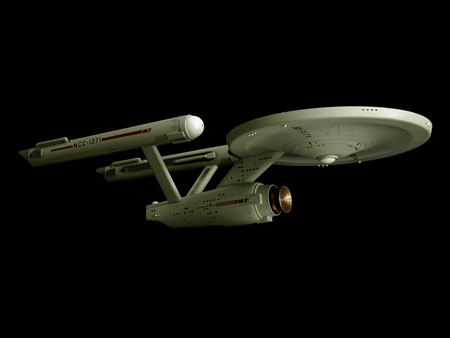
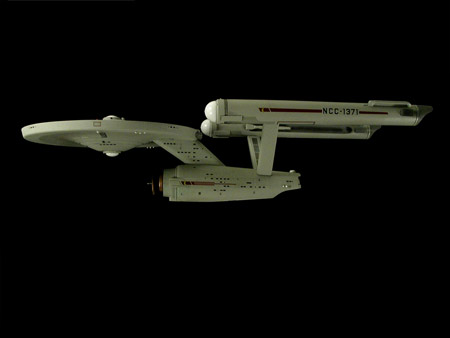


I was just curious to see how it would look under these conditions and thought I'd share the results.

Shaw
Well-Known Member
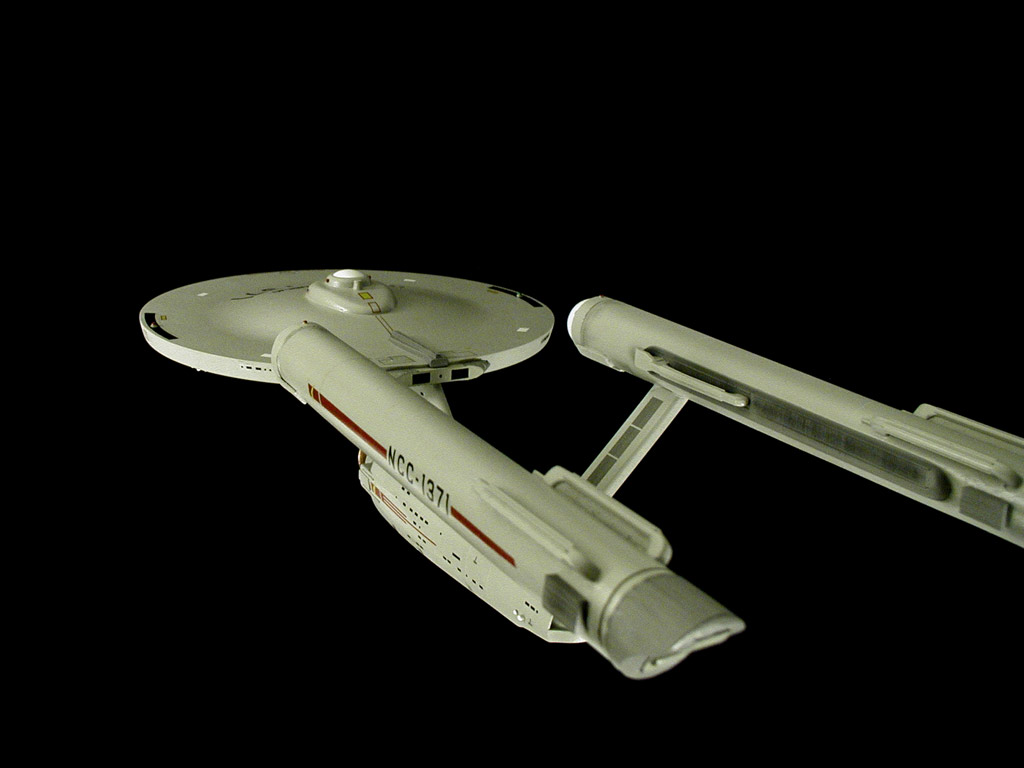
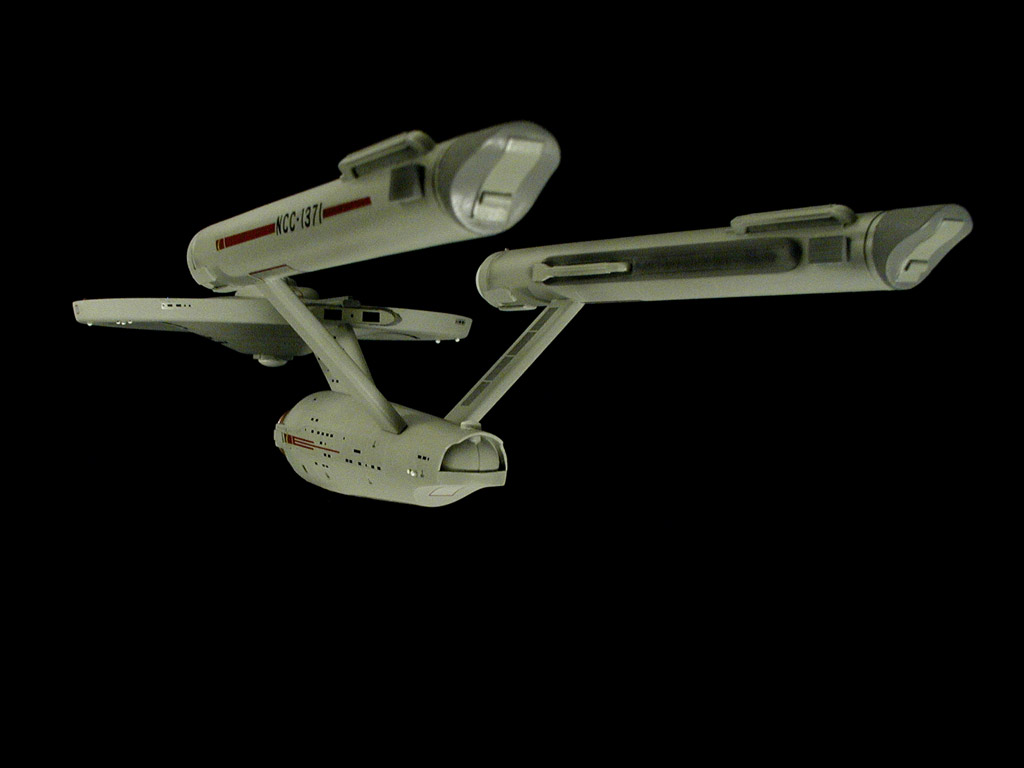
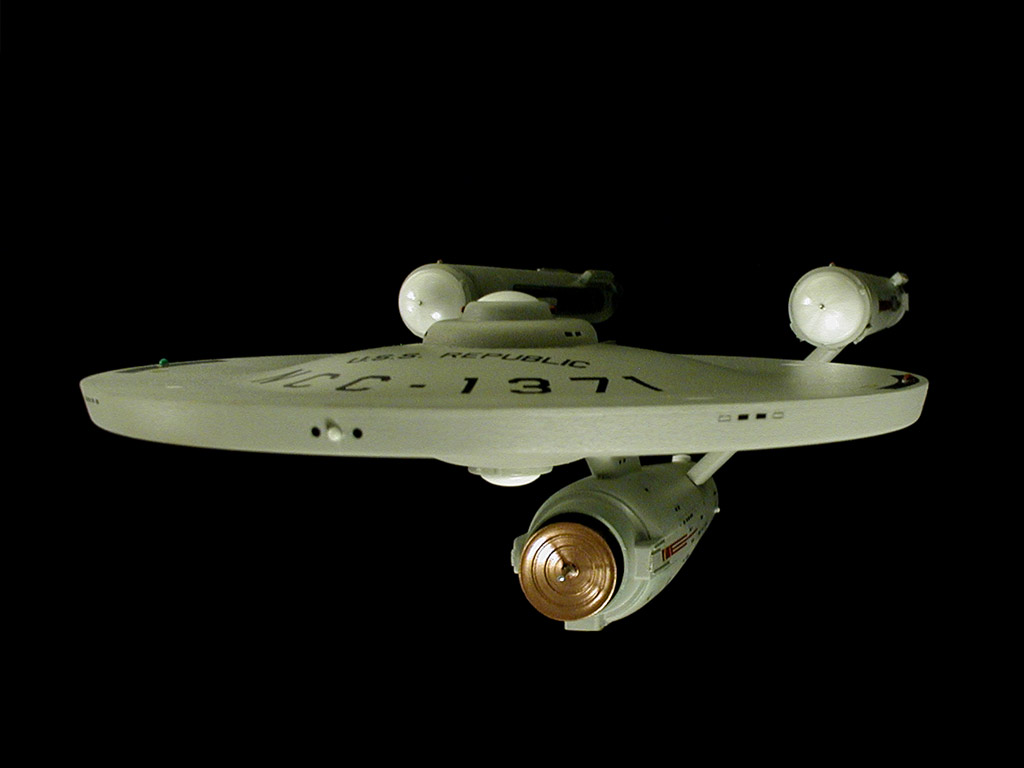
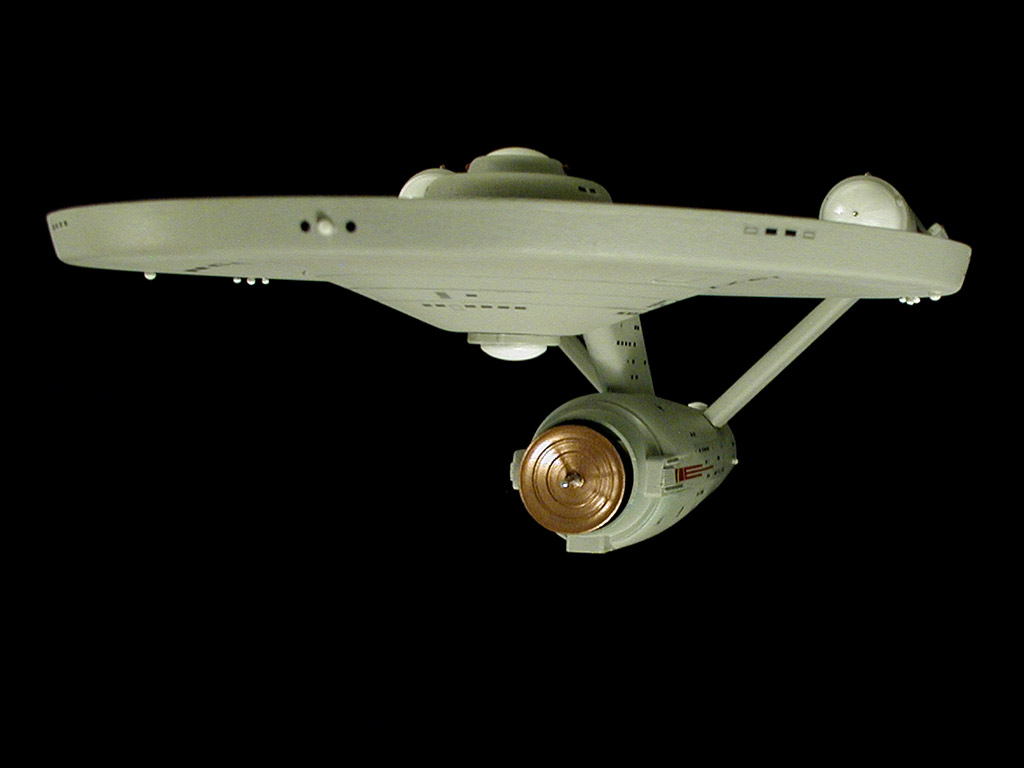
I'm going to leave them white-ish... I did paint them yesterday. Basically, the translucent white plastic that was such a pain while building the model makes for nice domes, but I added fan blades to them by masking them off and hitting them with a pearl essence clear coat. It only shows up at certain angles, so it makes for a very subtle effect (similar to some images I have of the 11 foot model sitting unpowered at the Smithsonian).
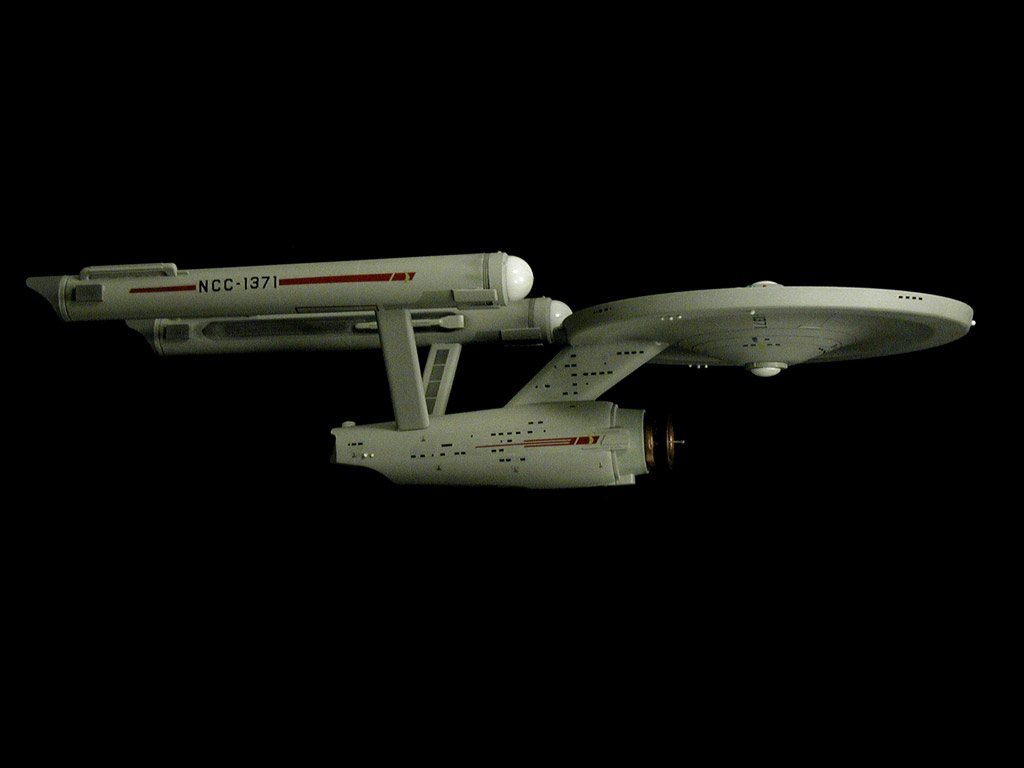
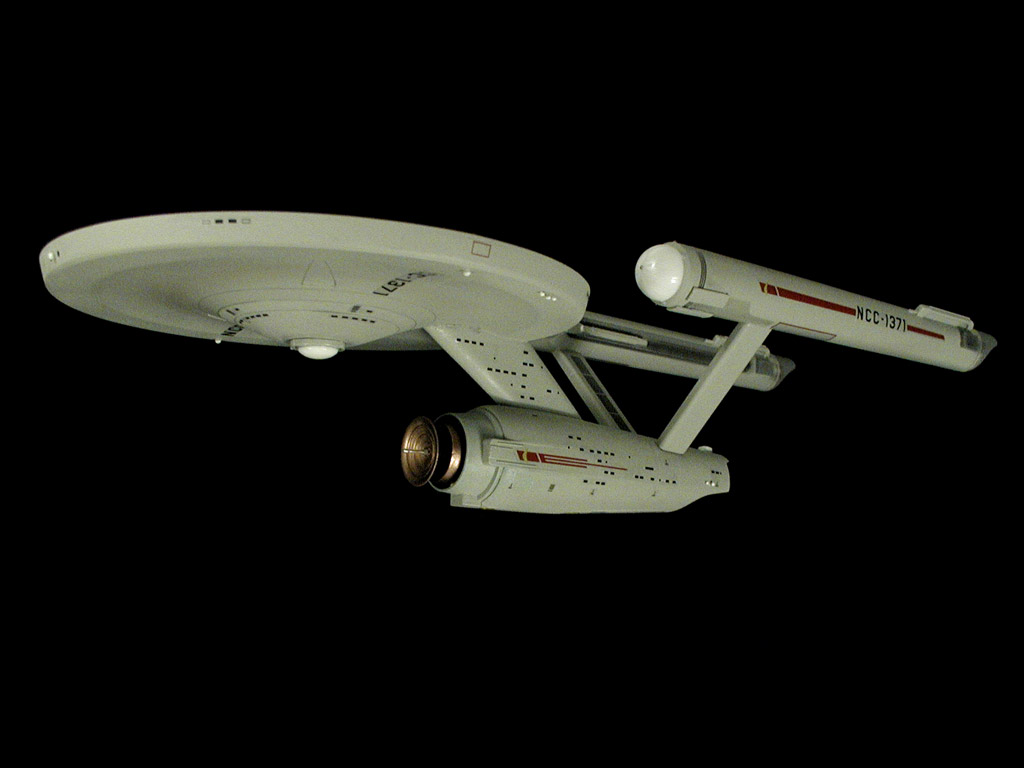
These are better shots of the effect...
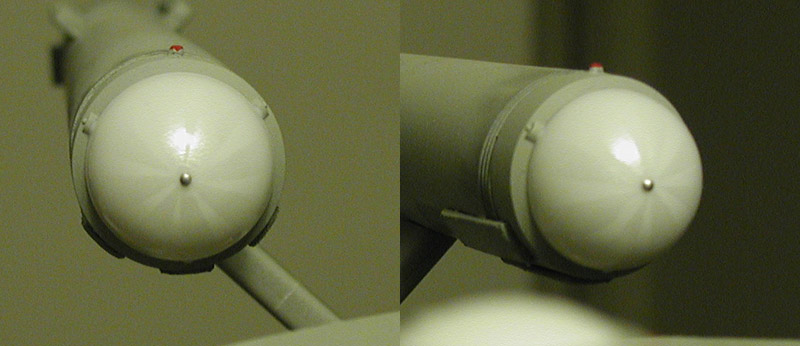
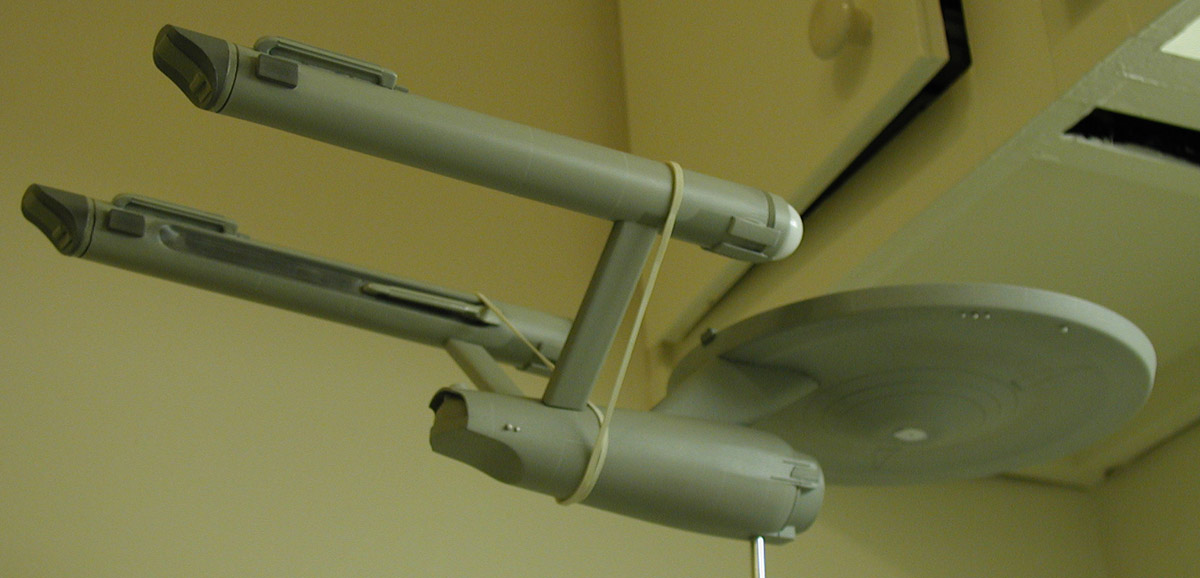
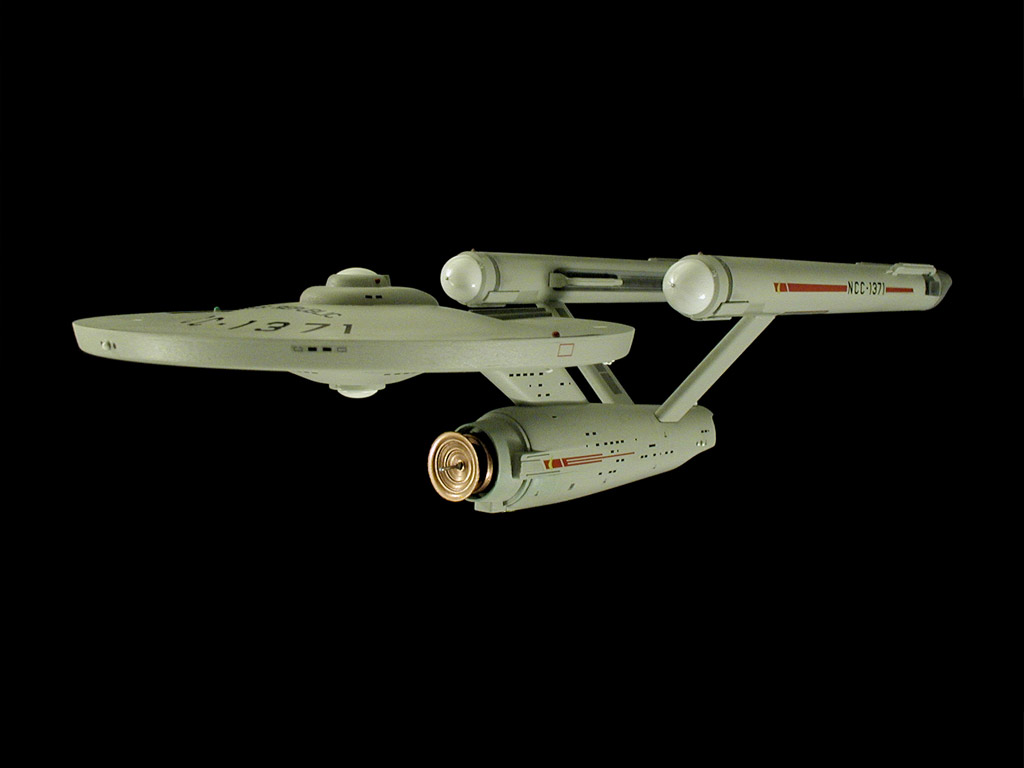
I still need to glue the deflector assembly in place. It is only taped in place in the test photos, and because I had to recharge the batteries for my camera it started pulling away from the model in some of the later shots (which was why I had used rubber bands to hold it in place for my earlier test fittings). I'll glue it in place when I finish with the gloss and flat coats I still need to apply.
The nacelles are held in place using the basic technique you described in your YouTube video on AMT/Round 2 building advice. They seem to be staying where they are supposed to, so I'm most likely going to avoid gluing them (which is the way I like it).
Oh... and I accidentally left off one photo from the series above.

These are better shots of the effect...
I still need to glue the deflector assembly in place. It is only taped in place in the test photos, and because I had to recharge the batteries for my camera it started pulling away from the model in some of the later shots (which was why I had used rubber bands to hold it in place for my earlier test fittings). I'll glue it in place when I finish with the gloss and flat coats I still need to apply.
The nacelles are held in place using the basic technique you described in your YouTube video on AMT/Round 2 building advice. They seem to be staying where they are supposed to, so I'm most likely going to avoid gluing them (which is the way I like it).
Oh... and I accidentally left off one photo from the series above.
clancampbell
Sr Member
Stunning build, it looks like a true studio filming miniature!
Rich
Rich
Shaw
Well-Known Member
Wow... thanks!Stunning build, it looks like a true studio filming miniature!
- BABY PICTURES WARNING -
Just FYI... there has been no real change/progress to the model, these are just shots taken to get more familiar with my camera. Please feel free to skip this the rest of this post.

Similar threads
- Replies
- 7
- Views
- 1,204
- Replies
- 76
- Views
- 5,978