starlordquill
Well-Known Member
Just an FYI I've heard from multiple sources that the pants run smaller than normal sizing... You need to measure your waist and order that number. So if the measurement is over 36" it's a no go...
Any more progress on your Davy bucket? I'm at the breather greeblies stage and cannot figure out where pieces go....!


I used a heat gun to heat them up and then had on some gloves to bend the pieces. And which bronze wire are you talking about?This is very helpful... how did you bent the pieces? Heat them up? And if so, by what method? Also, what did you use the small bronze wire for? Thanks so much!
Looks great! What did you use for the leds?
Your cosplay is so great dude, I'm really impressed.
Quick question!
How long was the shipping for you to get your mask from Davy?
Thank you! c:
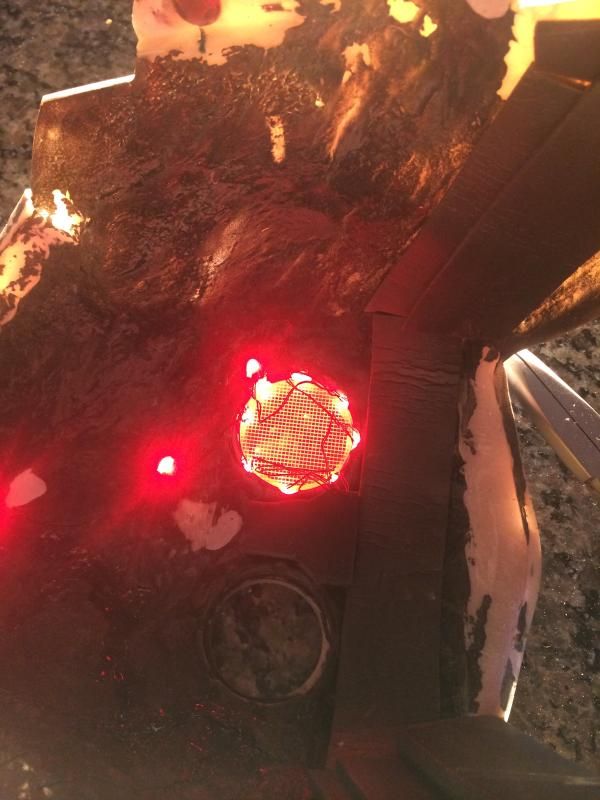
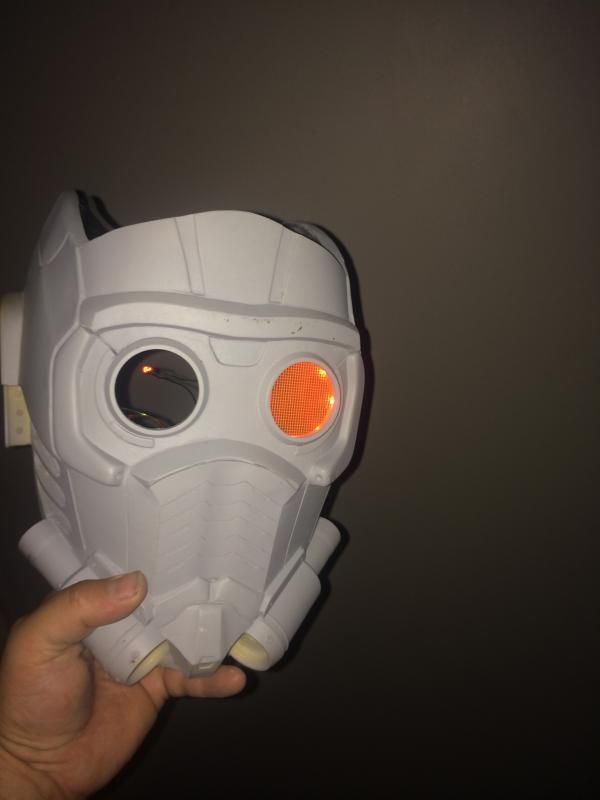
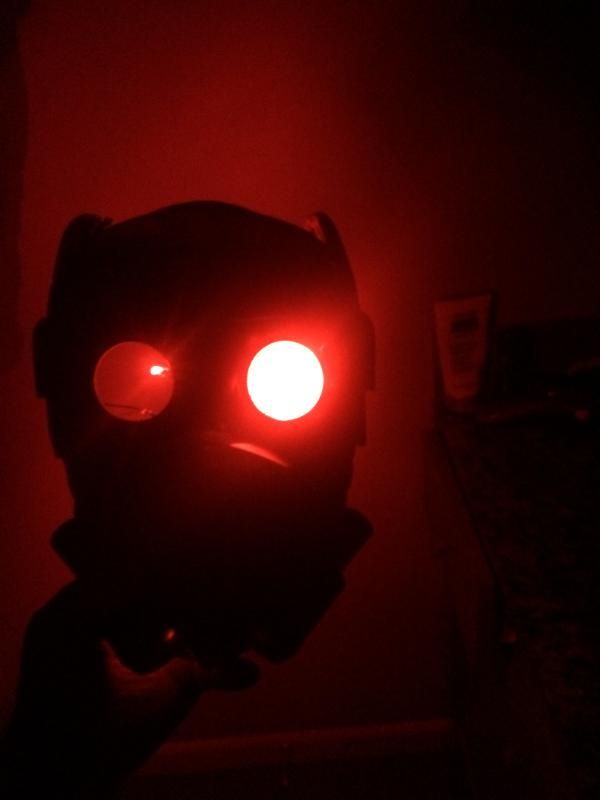
The lights are compact, and easy to fit in the helmet. A little bending was all that's needed. I'll likely need to cover the backs of the LED's so they don't shine back into my eyes, but they are just about as easy to use as can be.
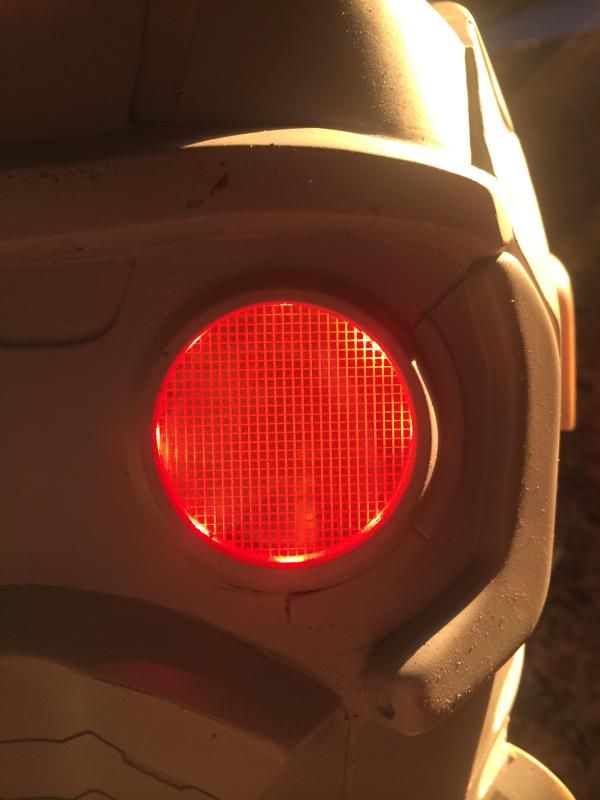
Those are the best looking lenses and lighting I've seen to date. How'd you put together the lenses? Is it basically just clear plexiglass with fabric mesh?
where are you fitting the battery box?
Thanks. Davy was kind enough to supply me with the lenses pre-cut to fit. He also provided a ring of the same material for marking the spacing of the LEDs. I use this ring in the socket to set the lens back towards the face a bit. Having the lens further back means I don't risk punching holes all the way through the helmet in some of the areas where the material is thinner.
That's the easy part. I got some batteries for cameras that are very small and 6V. I'll have to lower the current a touch with a resister, but that should condense the battery to about a single half length AA. If all goes well, It's the same battery I'll use for the blaster. For the helmet I was hoping to use a magnet switch so that the lights will turn on when the back plate is snapped into place, but I can't find an electronics component store that wont gouge me for the switch itself.
what kind of mesh did you use for the eyes? or is it a sheet of plexiglass with etching