SSGT Kitten
Active Member
Well, my PR did arrive. I've had a chance to look it over, so I'll toss out some information here. To start,
WOW.
I was impressed. The packaging was good, double boxed and the rifle itself in a shaped styrofoam container. It came with the charger and battery; standard low grade stuff I expect with any airsoft gun. It came with the manual, BBs, and the bore rod.
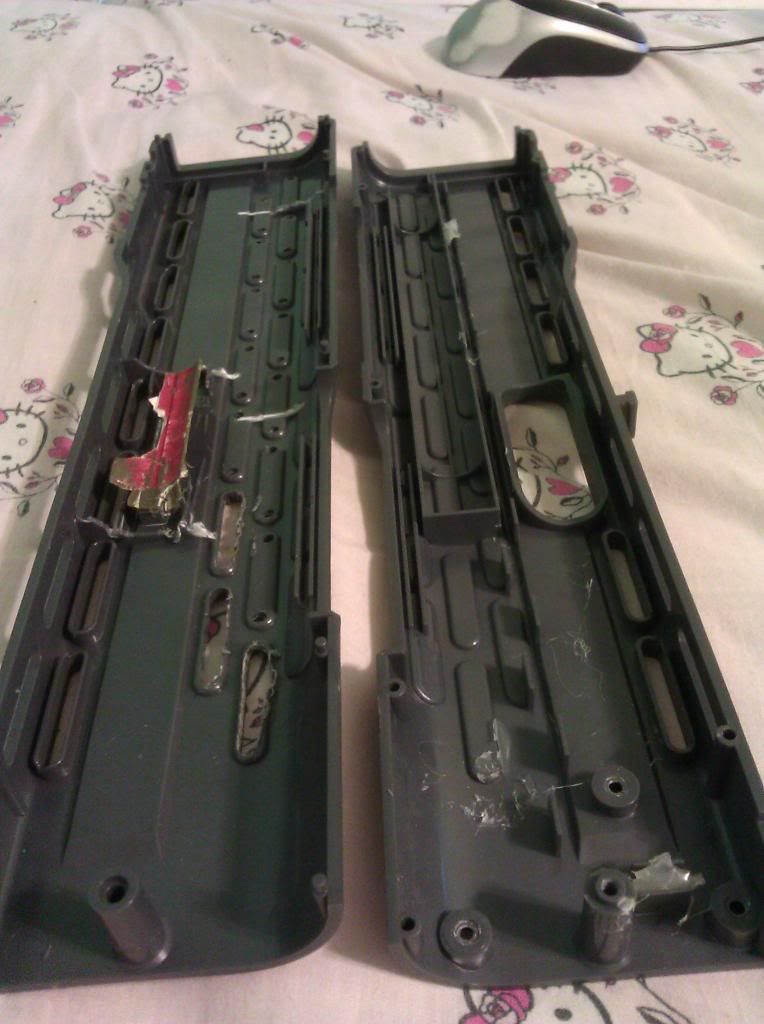
Construction seemed good and sturdy. There were a few minor loose points, mainly in the retractable stock (expected) and the grip (not expected). There was also a tiny bit of looseness in the barrel vent rib, but not bad. Fire control (FA/SA) was easy to manipulate, the safety was extremely stiff. I was impressed with the shroud; good fit, good feel, very minor issues with construction and that is just a nick in the bottom magwell. I had no issues with the grenade launcher pump or the shotgun shell lining up.
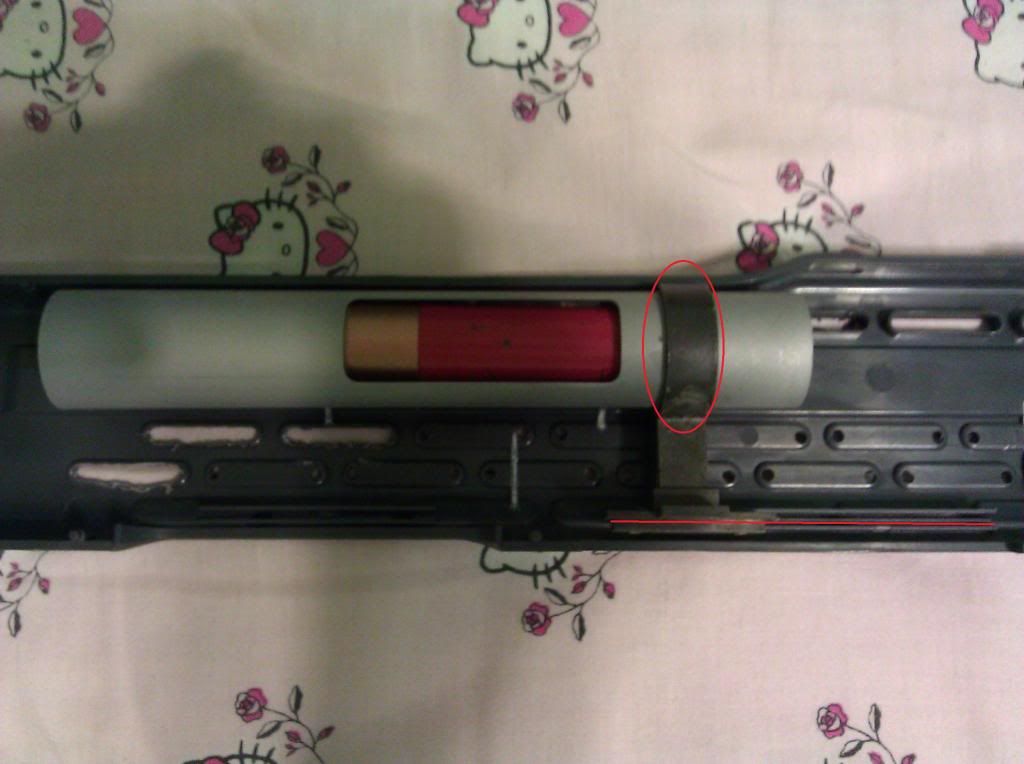
9V battery installation was bit tricky to me, since I apparently thought the battery went upside from the way I would normally install. I was surprised how much it stuck out, but its covered by the mag bottom when that is installed. The counter turned on, went to 00 and then to 95 when the magazine was put in. (AWESOME). Haven't had a chance to fire, as I am still charging the battery.
The caps were easy to remove with the advice earlier in the thread; however even with heating there was some residual glue material on BOTH orange caps. Not an issue as this will be painted over anyway.
The lower grenade launcher colour is light grey. I don't care for that. That's the #1 problem I see with the PR, and that is strictly a personal opinion there. The loading port for the grenades is made of the same green ABS as the shroud; it should be silver but I will repaint that. The Matrix logo appears to be printed, not etched, so removal and repaint shouldn't be too much of a problem. The shotgun shell looks like...well, a shotgun shell. I will hit that with some silver until I can get a machined 30mm grenade.
Overall, as I started, WOW. For the money, I am super impressed with what I got. It's definitely not 100% screen accurate, but for a mass produced item I can't believe how good it is. I would definitely recommend it. I don't know how disassembly will be; I am itching to take it apart to make the mods I want but I know it's better to plan things out and set up the shop properly before diving into it.
Charlie
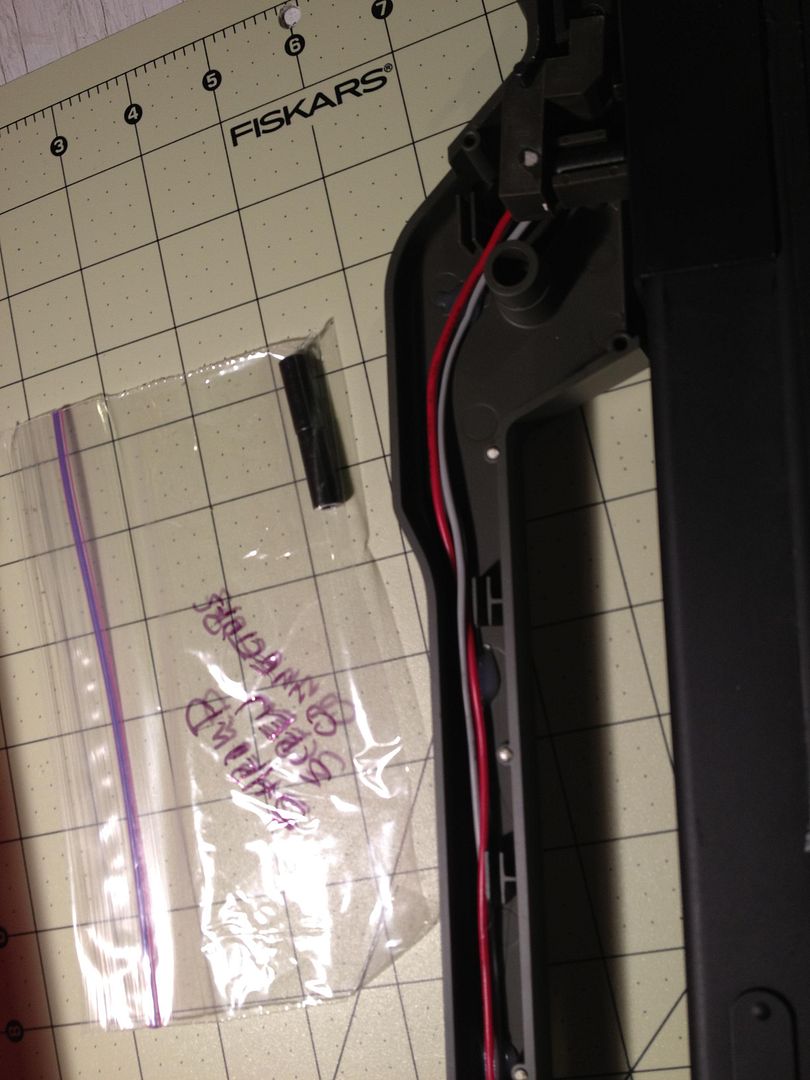
*EDIT*: One thing I haven't heard mentioned before is the sights. Well, there are none, but the sight rail is actually fairly wide and easy to look down. Definitely need the stock extended to get a sight picture, but it's fairly intuitive to aim. Reminds me more of a shotgun than a rifle, but whatever. One thing is that the sight rail area is one solid piece; it fits into the two halves of the shroud. This means you can actually drill a hole in it to mount real sights. I have a tritium shotgun bead sight. I'm seriously considering installing that into the front to mimic what you can see in the A:CM game.
WOW.
I was impressed. The packaging was good, double boxed and the rifle itself in a shaped styrofoam container. It came with the charger and battery; standard low grade stuff I expect with any airsoft gun. It came with the manual, BBs, and the bore rod.
Construction seemed good and sturdy. There were a few minor loose points, mainly in the retractable stock (expected) and the grip (not expected). There was also a tiny bit of looseness in the barrel vent rib, but not bad. Fire control (FA/SA) was easy to manipulate, the safety was extremely stiff. I was impressed with the shroud; good fit, good feel, very minor issues with construction and that is just a nick in the bottom magwell. I had no issues with the grenade launcher pump or the shotgun shell lining up.
9V battery installation was bit tricky to me, since I apparently thought the battery went upside from the way I would normally install. I was surprised how much it stuck out, but its covered by the mag bottom when that is installed. The counter turned on, went to 00 and then to 95 when the magazine was put in. (AWESOME). Haven't had a chance to fire, as I am still charging the battery.
The caps were easy to remove with the advice earlier in the thread; however even with heating there was some residual glue material on BOTH orange caps. Not an issue as this will be painted over anyway.
The lower grenade launcher colour is light grey. I don't care for that. That's the #1 problem I see with the PR, and that is strictly a personal opinion there. The loading port for the grenades is made of the same green ABS as the shroud; it should be silver but I will repaint that. The Matrix logo appears to be printed, not etched, so removal and repaint shouldn't be too much of a problem. The shotgun shell looks like...well, a shotgun shell. I will hit that with some silver until I can get a machined 30mm grenade.
Overall, as I started, WOW. For the money, I am super impressed with what I got. It's definitely not 100% screen accurate, but for a mass produced item I can't believe how good it is. I would definitely recommend it. I don't know how disassembly will be; I am itching to take it apart to make the mods I want but I know it's better to plan things out and set up the shop properly before diving into it.
Charlie
*EDIT*: One thing I haven't heard mentioned before is the sights. Well, there are none, but the sight rail is actually fairly wide and easy to look down. Definitely need the stock extended to get a sight picture, but it's fairly intuitive to aim. Reminds me more of a shotgun than a rifle, but whatever. One thing is that the sight rail area is one solid piece; it fits into the two halves of the shroud. This means you can actually drill a hole in it to mount real sights. I have a tritium shotgun bead sight. I'm seriously considering installing that into the front to mimic what you can see in the A:CM game.