I just finished my first Nerf repaints. I figured I would post them here instead of starting a new thread. Hope that's okay.
There's nothing all that original with these, I'm just imitating the great work I'd seen done by others. But they were fun to do and I'm happy with the way they turned out.
I've got several more in the works...
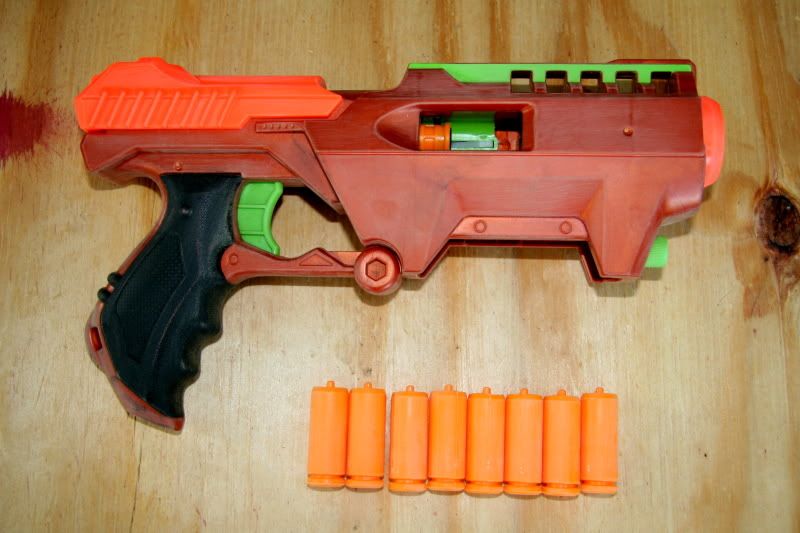
The first thing I did was to sand off all of the Nerf logos and the "made in China" text, etc. To me, those logos really distract from an otherwise nice repaint. Then I filled in all of the screw holes with epoxy, since those holes tend to give away a toy vs. real gun. Some people don't want to do this since it means you basically can never open up the gun again to do repairs or mods. But for me, these guns are visual props first and Nerf second, so I didn't mind.
(This pic is of my Vulcan all sanded and patched as an example. More pics of that gun when I finish it.)
View attachment 56709
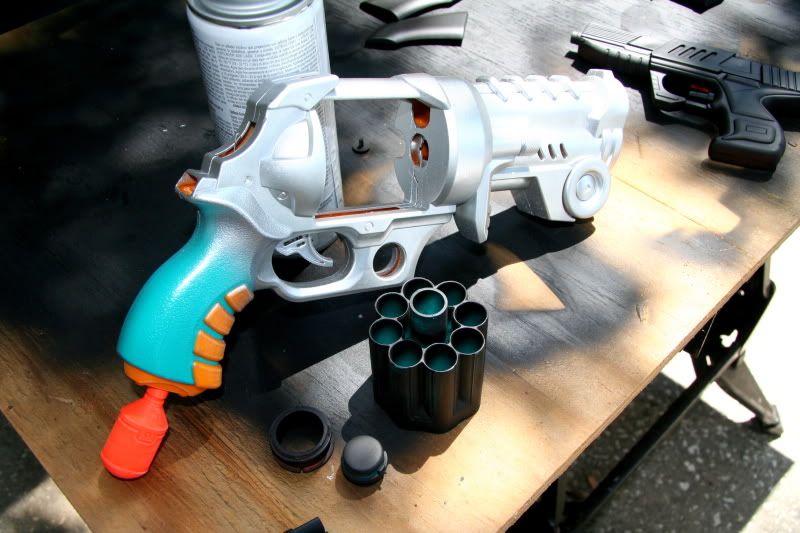
This is the epoxy I use. (It's from Home Depot). Along with it are two of the paints I used - Duplicolor grey primer and Duplicolor black primer (I also tried out the flat black Krylon Fusion but didn't really like it).
View attachment 56708
My first gun was a Nerf Recon. I've seen extended barrels on these and like the look of it, so I decided to make myself a Recon sniper rifle. For the longer barrel, I found a threaded piece of pipe at the hardware store that happened to fit perfectly. I was actually able to screw the threaded end in to the end of the recon barrel, screwing it in to the plastic so that I didn't need to use glue or anything. For the business end of the barrel, I found a slightly larger piece of pipe that I was able to fit over it the other one. There was a bit of a gap between them, but I filled this in with epoxy on both ends, which also held the end onto the barrel. The plastic piece was tapered with threads so I used a dremel tool to sand down the threads a bit and make them less obvious.
View attachment 56695
Once the barrel was in place, I realized I liked the look of the gun better if I extended the magazine down. So I glued it in that way. At this point the gun is no longer usable for Nerf, but that's okay. I prefer the way the extended mag looks. I sprayed the whole thing with flat black primer:
View attachment 56699
Next, it was time for some silver dry brushing to give it a weathered look. I may have overdone it a bit on the weathering, but here's the finished gun:
View attachment 56701View attachment 56702View attachment 56703
For my second gun, I did a Nerf Longshot. I basically left this one as it was out of the box with no mods (but I chose not to add that second pistol grip on the front barrel, or the spare magazine in the stock). So this one is still fully nerf fucntional.
As before, I started with a coat of flat black. Then, I carefully masked off all the areas I wanted to keep black and sprayed it with some grey primer. (I'd seen some two-toned paint schemes like this on other Longshots and really liked the look).
View attachment 56696
Here it is after the two paint colors have been applied.
View attachment 56697View attachment 56698
After this, I added a wash of black to get into the various recesses and add some grime to the rest. I could have gone heavier with this, as it turned out pretty subtle, but this one is going to be paired with a sci-fi costume that isn't heavily weathered, so I didn't want it to look TOO battle-worn.
View attachment 56700
Finally, I did some silver dry brushing on this gun as well. here is the finished product:
View attachment 56704View attachment 56705View attachment 56706View attachment 56707
Question:
What do you Nerf repaint pros use as a top coat to seal in your paintjobs and prevent the paint from chipping? (Bearing in mind that I don't have access to an airbrush). Thanks for any tips, and thanks for all the inspiration.
")