You are using an out of date browser. It may not display this or other websites correctly.
You should upgrade or use an alternative browser.
You should upgrade or use an alternative browser.
My Rubies Supreme Vader Lid - PICTURES
- Thread starter Darth Kahnt
- Start date
The Manlet
Sr Member
damn good job man. i wish my frist rubies helmet came out that well
Darth Domain
Well-Known Member
sweet B)
TK-2067
Well-Known Member
Originally posted by Darth Domain@Dec 6 2005, 09:51 AM
sweet B)
[snapback]1129655[/snapback]
LOOKS GREAT MAN , CANT WAIT TO GET SOME PICS OF THE ONE I AIRBRUSHED TO PUT UP IN HERE. TALK SOON KAHNT. ROD
darth_manu
Well-Known Member
looks great, how much was the neckbrace?
maybe take the helmets outside, the flash seems to take out the details of the helmet.
maybe take the helmets outside, the flash seems to take out the details of the helmet.
PantheraGem
Sr Member
It's probably just me, because I have a Rubies helmet.... but in the bottom pic your mod actually looks better than the fg helmet. Good job. It looks very nice.
Darth Kahnt
Sr Member
Thanks everyone. It is my very first costuming project so I am rather proud of it.
The neckbrace cost about $100 I believe.
Ill try to get some outside pictures, although we got our first snowfall of the year two days ago so it may be hard to get outside pics.
The neckbrace cost about $100 I believe.
Ill try to get some outside pictures, although we got our first snowfall of the year two days ago so it may be hard to get outside pics.
Darth Kahnt
Sr Member
Originally posted by fettster@Dec 16 2005, 10:16 AM
how did you correct the neck flare, thats the only thing i have to do to mine before i paint it. also, where do you get the lenses to go inside the helmet?
[snapback]1137224[/snapback]
I put the part with the flare in a pot of boiling water for 10 minutes then took it out and pressed it into shape while running it under cold water.
I got the lenses from a guy on eBay, cant remember who.
Darth Kahnt
Sr Member
Originally posted by WebChief@Dec 16 2005, 11:50 AM
I think the Rubies looks better in that comparison shot too. Nice job.
[snapback]1137294[/snapback]
Thanks. There are a couple of flaws not evident in the pictures but overall I am pleased with it. I would do a better job on another one because I have the experience of doing this one.
Boba Frett
Sr Member
Nice work :thumbsup
Darth Kahnt
Sr Member
Originally posted by kell@Dec 23 2005, 02:42 AM
looks awesome. I am going to start on one of these soon. Did you fill in the eyes ?
Kell
[snapback]1142126[/snapback]
Yes, I used a two part Epoxy to fill in the eyes.
JDFett
Active Member
im in the middle of a rubies mod right now as well...its coming along but i wont be able to paint it until spring...what did you use for the inside padding? is that motorcycle helmet padding? i also found some putty at HD that works even better than the pc-7 epoxy...i cant remeber the name of it but it was something like plas-tix...it came in a tube and feels and looks alot like clay. it has the two parts rolled into one tube of putty...you cut off what you need and knead it together then mold it..worked real good...as it is made for hard plastics and abs
Darth Kahnt
Sr Member
Originally posted by SithLord7768@Jan 15 2006, 03:05 AM
im in the middle of a rubies mod right now as well...its coming along but i wont be able to paint it until spring...what did you use for the inside padding? is that motorcycle helmet padding? i also found some putty at HD that works even better than the pc-7 epoxy...i cant remeber the name of it but it was something like    plas-tix...it came in a tube and feels and looks alot like clay. it has the two parts rolled into one tube of putty...you cut off what you need and knead it together then mold it..worked real good...as it is made for hard plastics and abs
[snapback]1159566[/snapback]
I used the padding in a garden chair, cut it to shape and covered it in mesh, gives it a soft, comfortable feeling and the padding itself is pretty thick and forms well to your face..... I personally love the way it fits.
Egon Spengler
Master Member
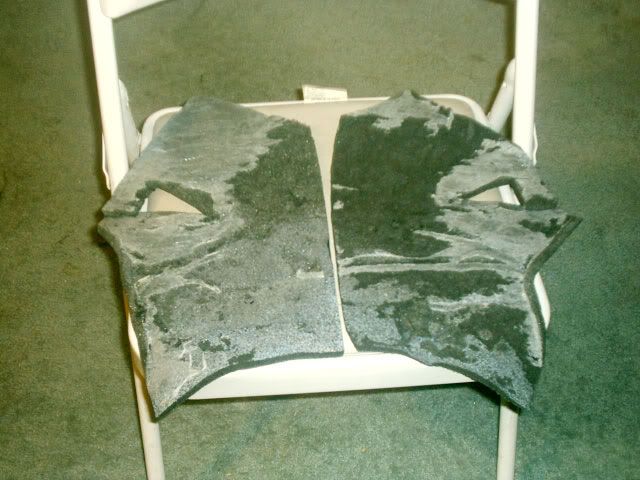
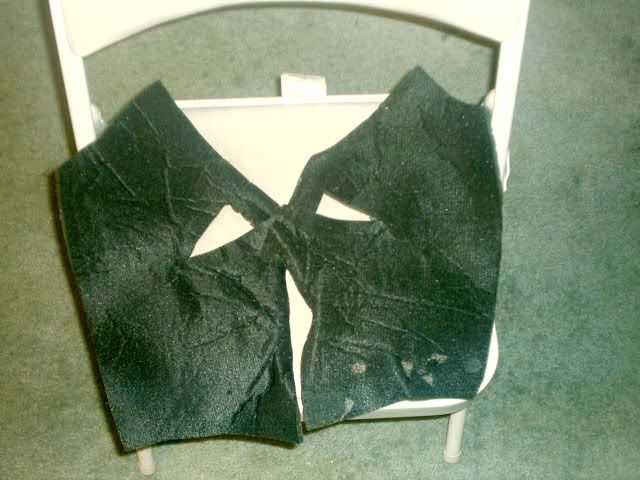
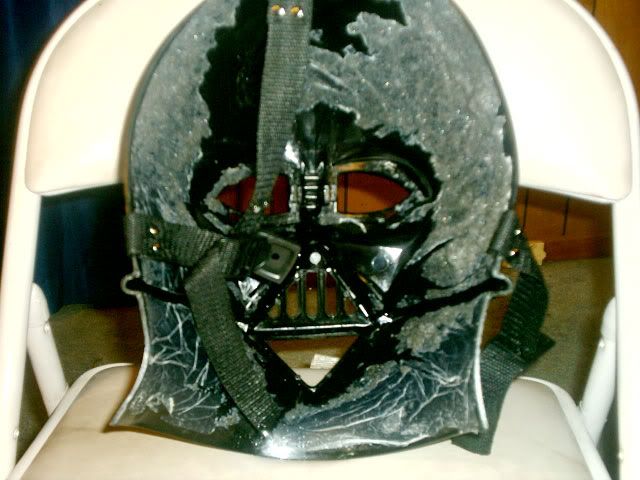
I actually managed to save the padding from my helmet.  I had to tear it out but I did it very slowly a little at a time and managed to save 98% of it even though some of it is still stuck to the interior.
Here are some photos.


Here are some photos.


Similar threads
- Replies
- 3
- Views
- 539
- Replies
- 3
- Views
- 490
- Replies
- 0
- Views
- 329
- Replies
- 5
- Views
- 2,006
- Replies
- 4
- Views
- 447


