You are using an out of date browser. It may not display this or other websites correctly.
You should upgrade or use an alternative browser.
You should upgrade or use an alternative browser.
My Reach Spartan Armor WIP
- Thread starter BMP Props
- Start date
I see you are bouncing back and forth between papercraft and foam, and all of it turning out well too. Keep up the progress!
I enjoy pepakura and all the work that goes into it, but the bottom line is that foam is cheaper, faster, and doesn't irritate my neighbors with fumes and power tools, lol. There are pros and cons to both methods.
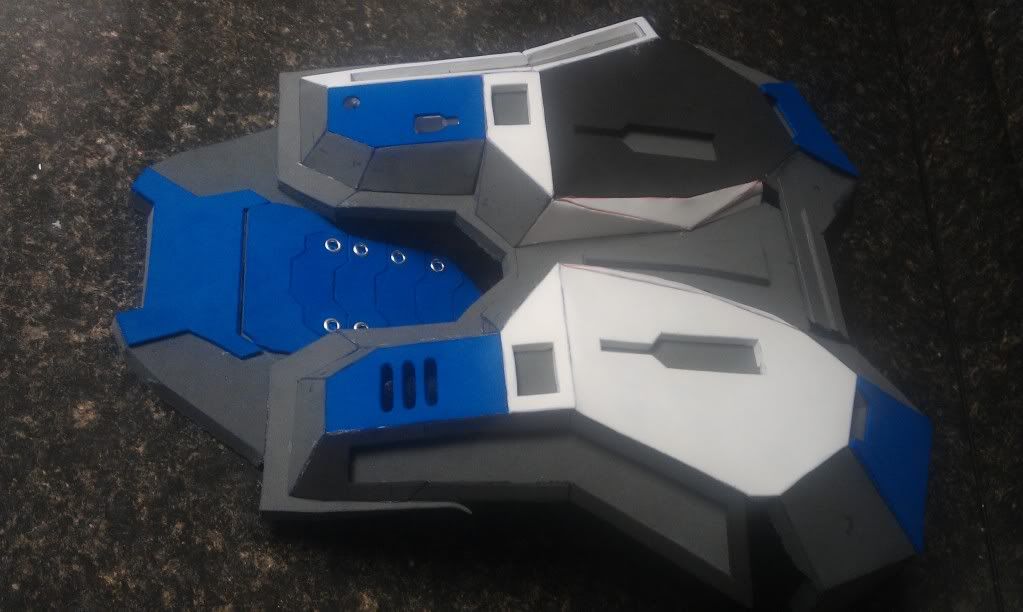
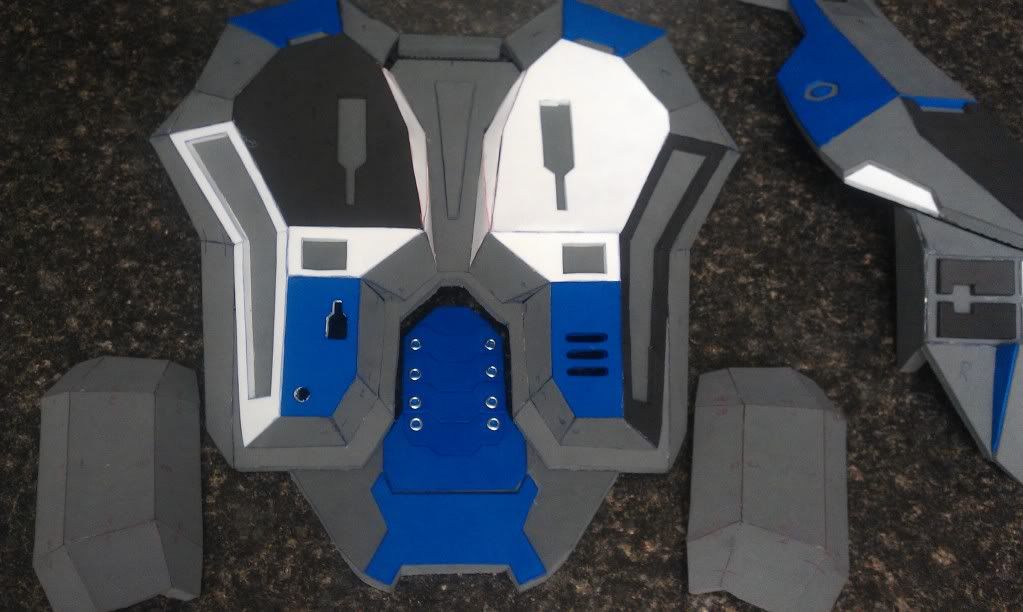
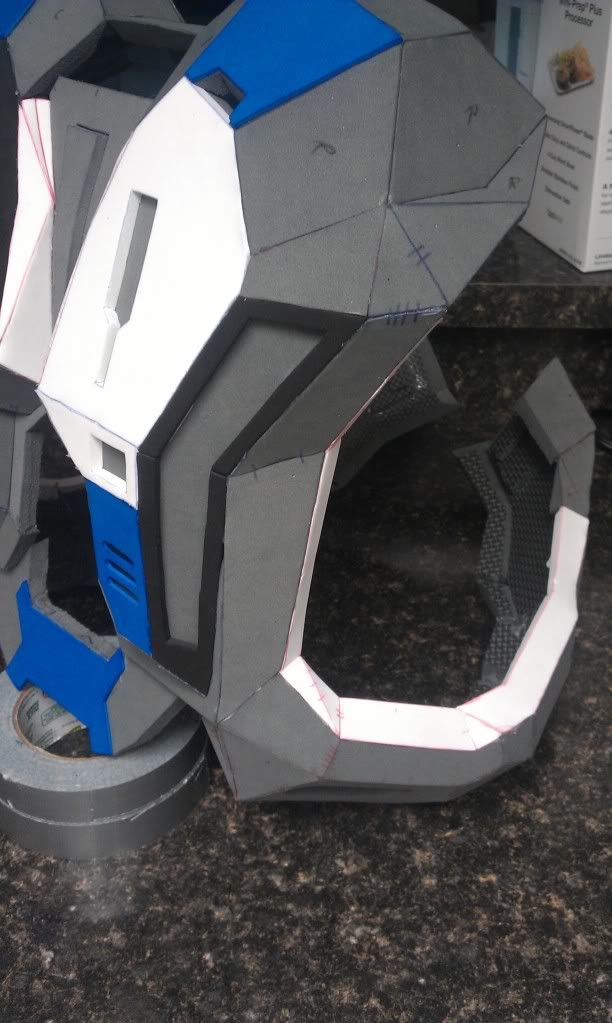
Alright, finished assembling the back portion last night...one more session and this one's good for sealing...
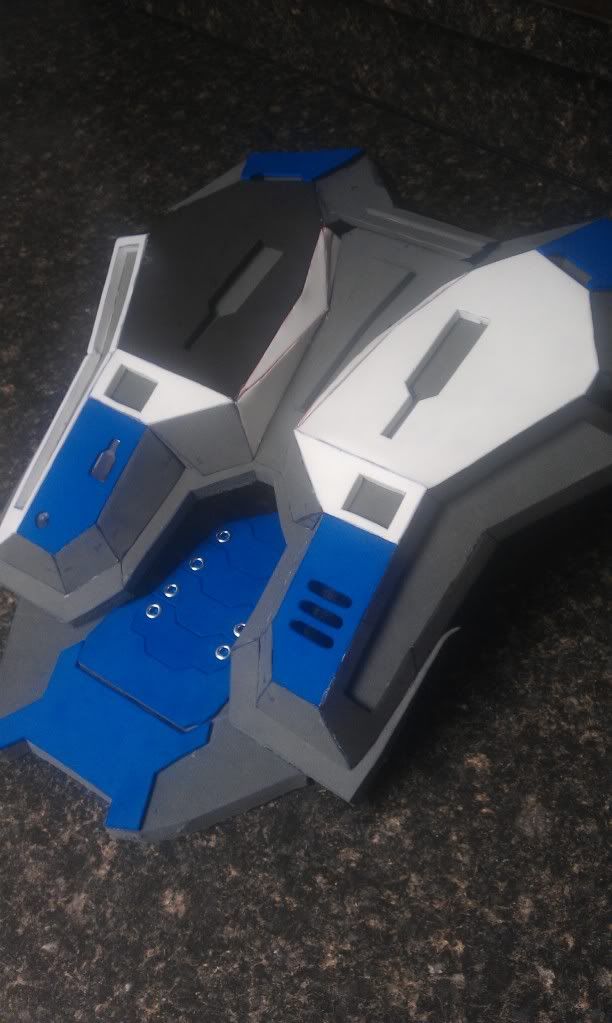
i'm going to leave the cool spinal plates free from the main piece, just attached at the bottom like a hinge. this way it will appear to be connected to the undersuit rather than the armor...i think
also, I'm going to try to do something cool with this section, leaving it unattached for now, will try to make an exhaust vent of sorts that will open and close kind of like the spoiler on an exotic car...
Can't wait to start messing with lights and such...i know NOTHING about electronics, so that should be interesting.
Also decided on colors last night, primary color will be a colonial red with weathered white accents, secondary color will be charcoal like in the game.
Really liking this build man. Nice clean cuts and well put together. It's a good one to be here seeing as 405th is pretty much broken at the moment. I think I might move my MC build over here now as I miss great comments and sharing my progress.
Definitely a subed here")
I here ya, Drack. I miss the 405th and who knows when that mess will be cleaned up. I've come so far with this build since the site went down...I had to share it somewhere! Loving the RPF though, I've found massive inspiration on here and everyone's been quite helpful. I cant wait to wear this thing at Supercon...
Shakeitdavey
Well-Known Member
Great pepakura work - very accurate
Looking good man! What knives are you using? A lot of the cleaner cutters around I've seen using surgical knives or hot knives!
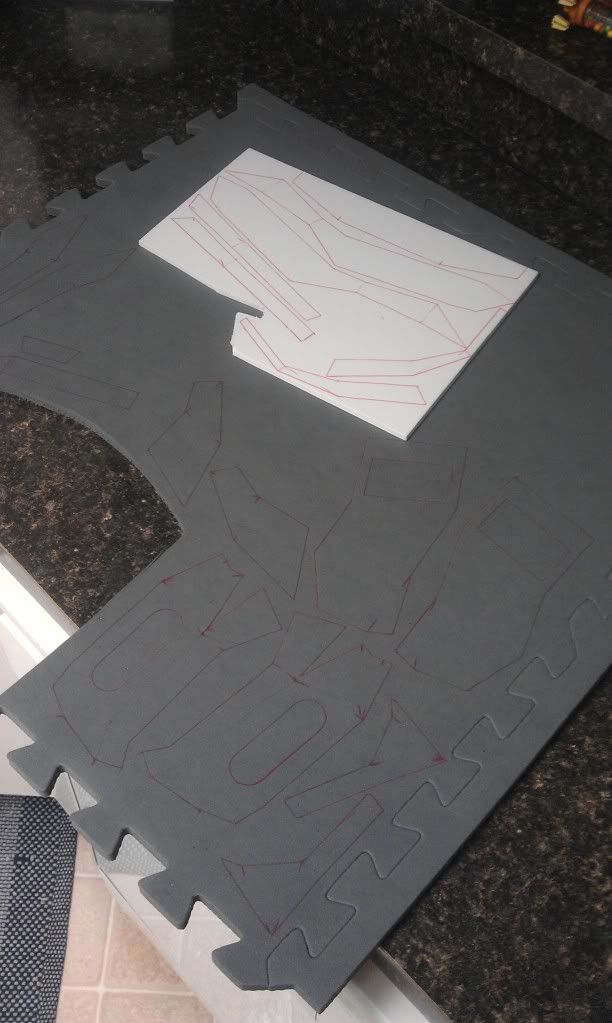
I only use xacto #11 (basic) 'A' blades. The trick is to take a piece of aluminum foil and fold it over a few times to get a few layers, then run your xacto blades through it a couple times. This keeps your blades sharp, thus extending their lives. Do this every few cuts you make through foam and they will cut like butter.
Great pepakura work - very accurate
THANKS!

evilknight621
New Member
Where did u get the pep files. I want to try this.
Where did u get the pep files. I want to try this.
The 405th's file database...
PSA – The 405th Pepakura Database - 405th Infantry Division
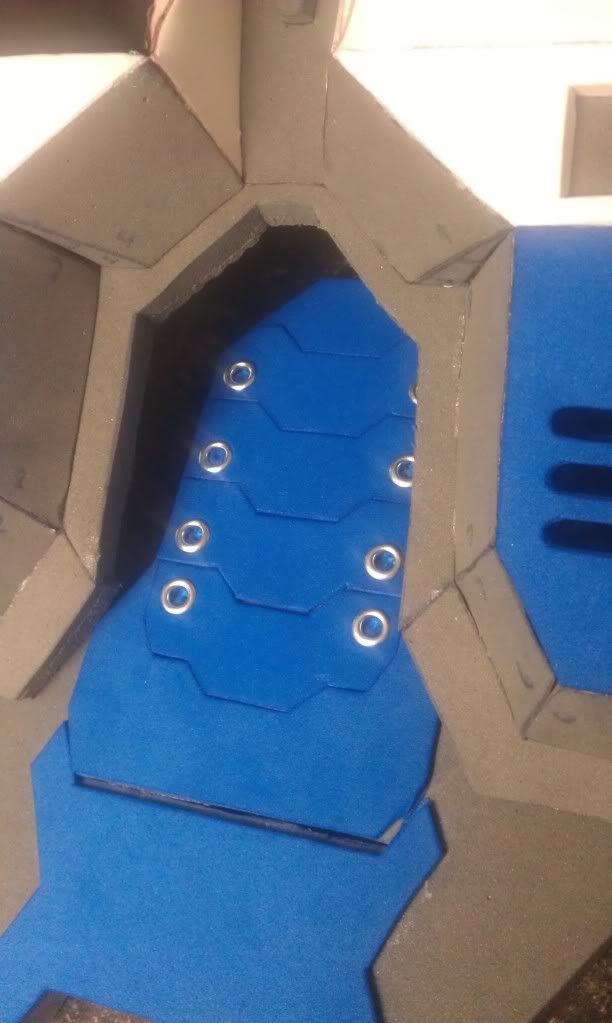
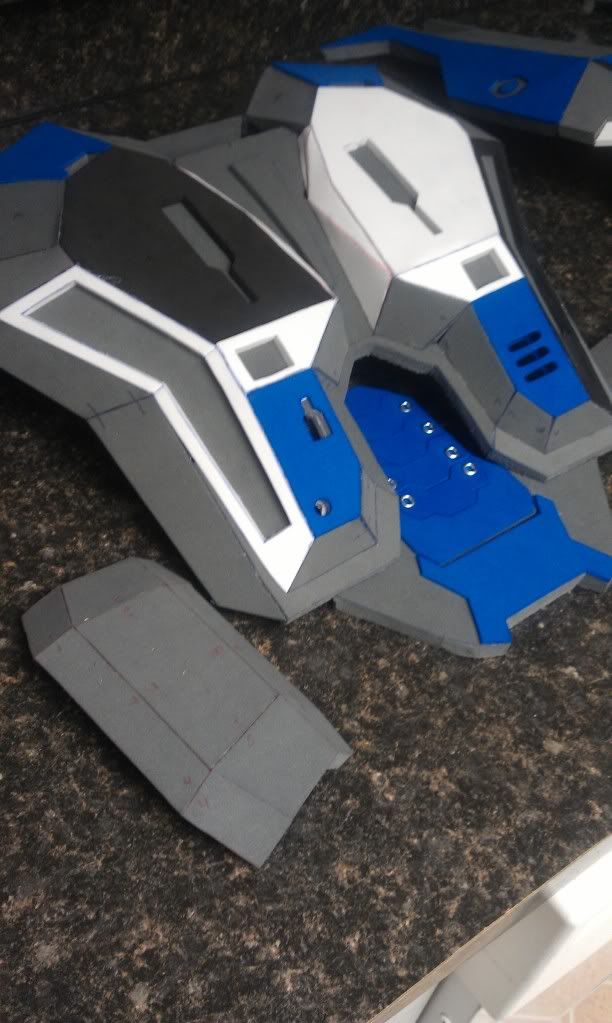
Started assembling everything last night, but I stopped because something just didn't look right, the plating around the arm holes is too plain, it should look like seperate pieces of armor like the one on the bottom in this pic...
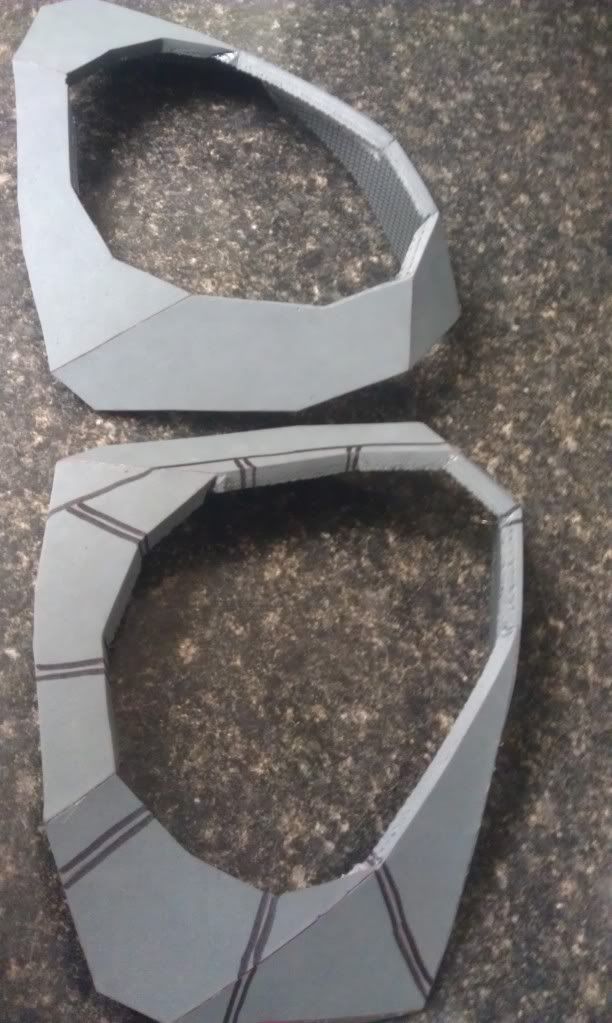
I will add floating faces on top with the 1/8" foam to look like individual plates, it'll be a good depth element as well.
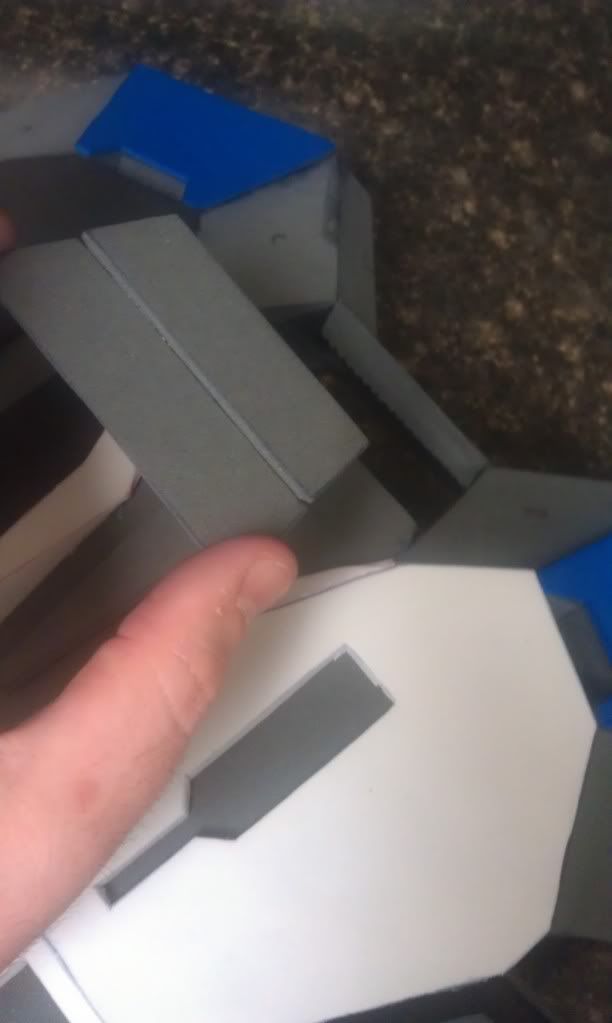
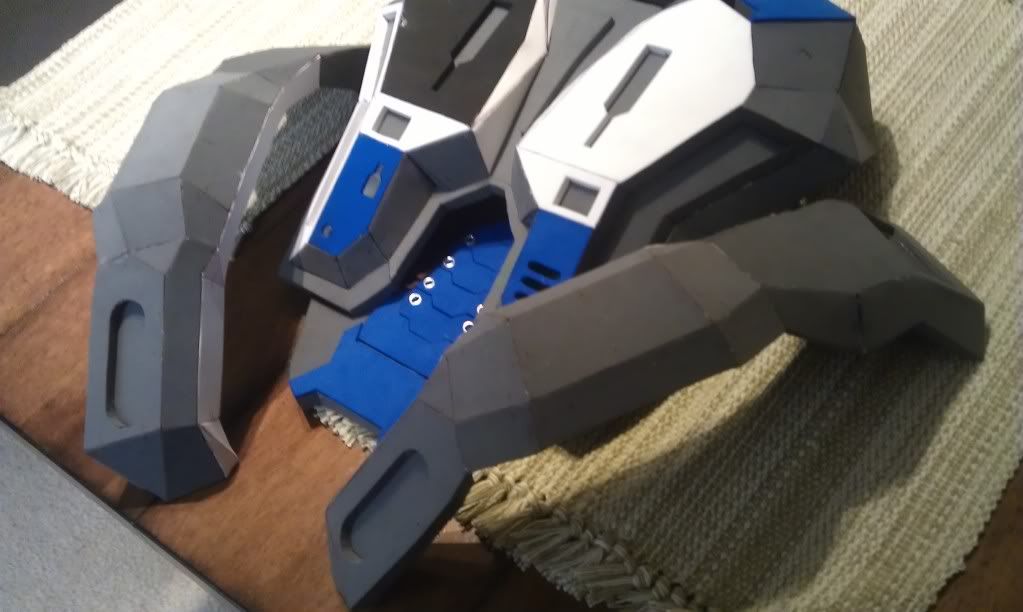
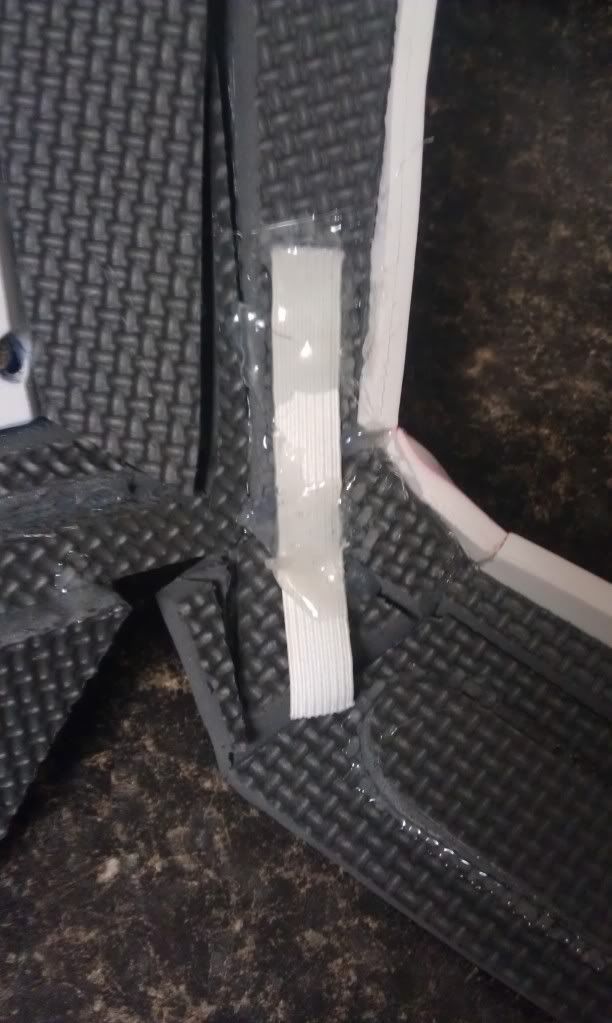
I did attach the bottom pieces to the back...
but, I didn't like the contact point, didn't seem strong enough for 'active duty' so I added some elastic waste-band pieces for support.
I will add floating faces on top with the 1/8" foam to look like individual plates, it'll be a good depth element as well.
I did attach the bottom pieces to the back...
but, I didn't like the contact point, didn't seem strong enough for 'active duty' so I added some elastic waste-band pieces for support.
Similar threads
- Replies
- 26
- Views
- 2,162
- Replies
- 7
- Views
- 695
- Replies
- 63
- Views
- 5,240
- Replies
- 56
- Views
- 7,968